Jump to content


Photo
- - - - -

1960 Austin Seven. Us Spec Ex Scca Car


  • Please log in to reply
159 replies to this topic

#16 Jared Mk3

Jared Mk3

    Has a small thing but it does make a difference

  • Members
  • PipPipPipPipPipPipPipPip
  • 1,974 posts
  • Location: Kokstad, South Africa
  • Local Club: MOCKZN

Posted 30 September 2015 - 06:55 PM

However don't worry this is going to be as classic as it comes, original color, cooper S wheels, simple interior with 4 seats. But it will have some strategic splashes of modern. Think of the Singer 911.


I like the sound of that!


#17 rally1380

rally1380

    Camshaft & Stage Two Head

  • Members
  • PipPipPipPipPipPipPipPip
  • 1,893 posts
  • Location: Cheshire

Posted 30 September 2015 - 10:54 PM


Nice one!!!  Great little (quite big actually) project there.
 
Not the biggest fan of the R1 idea.....mk1's and engine conversions never sit right with me.  But that is my opinion and it is your project so i'll shut up......but if you can make every modification you do reversible then if in the future you wish to put an A series back where it should be then no problem eh?
 
Will be following this project so the very best of luck to you.


Thanks Dave, and it a privilege you want to follow it, as I've been looking through your rally clubman build and I bloody fell off my chair! Excellent workmanship and ingenuity!

I see what your saying about the mk1 and A series. But my dream when I used to own minis in the UK was an engine swapped one.

When I found this one, like I said it was a rolling shell anyway left to rot in this guy's barn for 40 years, it didn't even have any paperwork to road register it, I've been through all that, a year long process, but I now have the all important title or the car. That's why I was reluctant to start the rebuild process ($$$$) until now.

However don't worry this is going to be as classic as it comes, original color, cooper S wheels, simple interior with 4 seats. But it will have some strategic splashes of modern. Think of the Singer 911.


Cheers....flattered you spent time reading my thread....sometimes i wonder if anyone actually reads it, but i like keeping the record of the build so nice that folks are getting something from it.


I get what you mean with Singer....but they manufacture brand spanking new carbon shells don't they?


Just promise that you won't do anything daft like chop the bulkhead or do a rear Z cars conversion and i'll let the matter go....ha ha   ;D


I do remember a red mk1 (might have been a cooper?) featured in one of the UK mini magazines that had a bike engine up front.....real nice job and subtle too.  If i still have the copy i'll dig it out for you.


#18 Chappers

Chappers

    Mini Mad

  • Noobies
  • PipPipPipPip
  • 129 posts
  • Location: Columbus, IN

Posted 18 October 2015 - 07:03 PM

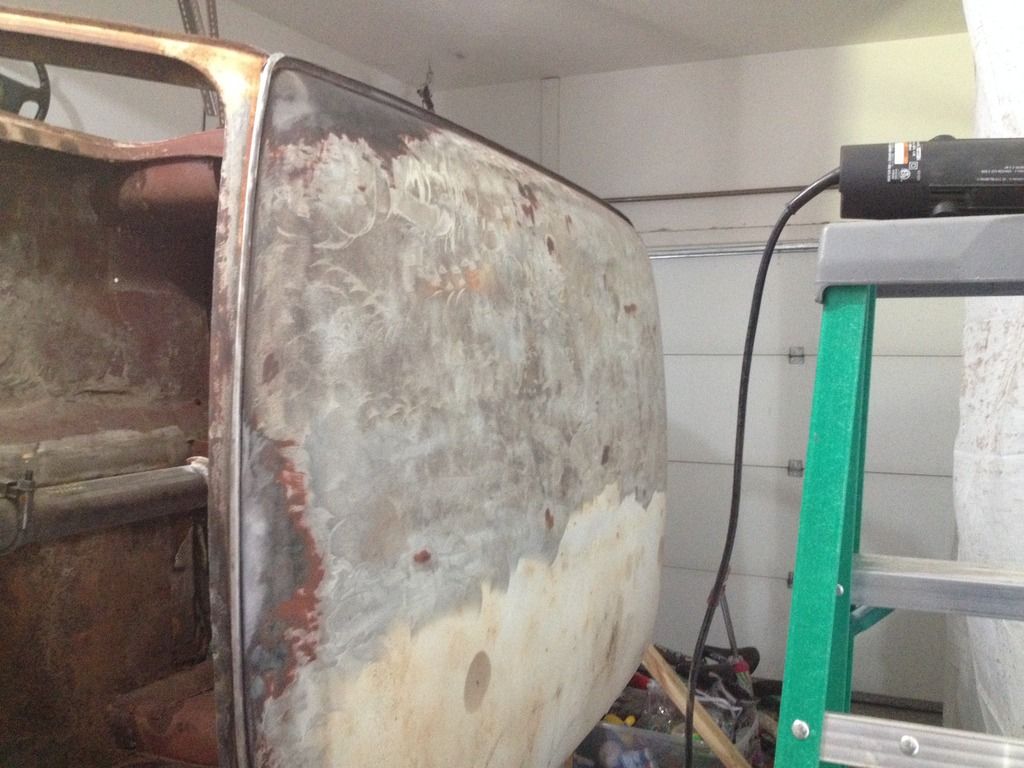
Not knowing really where to start, I decided it was time to start stripping the paint and rust from the shell. For 2 reasons.

1) using mechanical means, such as an angle grinder, it's the cheapest thing to do at the moment. No panels to buy etc
2)if I start cutting panels out, I want to brace the shell, which means limited access to those areas that need cleaning up. So accidentally I found the order to do it.

I also started at the top and working down to the rustiest of the rustiness.
My logic is that if I start on the roof, it's the largest panel, the most tedious and time consuming so the rest will be a breeze by comparison right? Right?
EF6FBDBA-AE5C-48BA-972D-E9D08CD02972_zps

#19 Chappers

Chappers

    Mini Mad

  • Noobies
  • PipPipPipPip
  • 129 posts
  • Location: Columbus, IN

Posted 18 October 2015 - 07:09 PM

I started with a knotted wire wheel in the grinder and it took me 2 hours to get down to bare metal on the picture above!!
I did my research and found that the 3m open cell 'sandblasted' type discs were far better. I bought 1 to try and had a go this morning m. Wow! What a huge improvement, I wa able to do 2/3 of the roof in 1 hour!! I highly recommend, and it's far more safe less, likely to have wire missiles flying off.

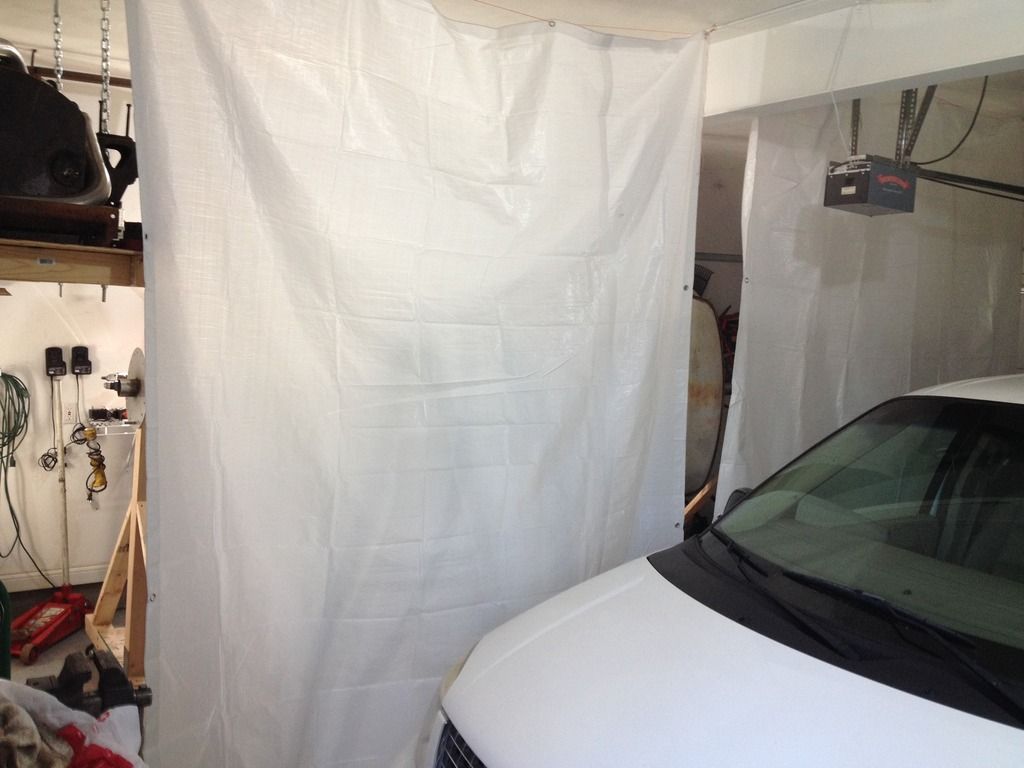
I also hung up some tarps in the middle if my garage to keep the dust off the other side. It's not completely dust free, but probably 90% effective :-)7FF064BA-AB0C-45A2-AB6B-E03F7A71E033_zps

#20 Chappers

Chappers

    Mini Mad

  • Noobies
  • PipPipPipPip
  • 129 posts
  • Location: Columbus, IN

Posted 18 October 2015 - 07:11 PM

092A776B-8283-485A-928F-CC8BA89DACA0_zps
4F8AEF65-4CF4-4BE6-8FA6-8C340DCD2435_zps
3C415690-5146-4BBB-8616-C15C86F22692_zps

#21 Chappers

Chappers

    Mini Mad

  • Noobies
  • PipPipPipPip
  • 129 posts
  • Location: Columbus, IN

Posted 18 October 2015 - 07:13 PM

4086544C-4DE6-48CF-BF0F-2B49AE0A2783_zps
2CCBDF36-8DEF-4D3C-857C-4D1AE1AA0722_zps
I need to get this all done and then get some zinc primer on ASAP

Then I need to start on the underside
FE6FDD47-EA2F-4C4F-909E-FC916661FBB6_zps

#22 Chappers

Chappers

    Mini Mad

  • Noobies
  • PipPipPipPip
  • 129 posts
  • Location: Columbus, IN

Posted 19 October 2015 - 01:09 AM

Had another spare hour before dinner and got 90% of the roof stripped.
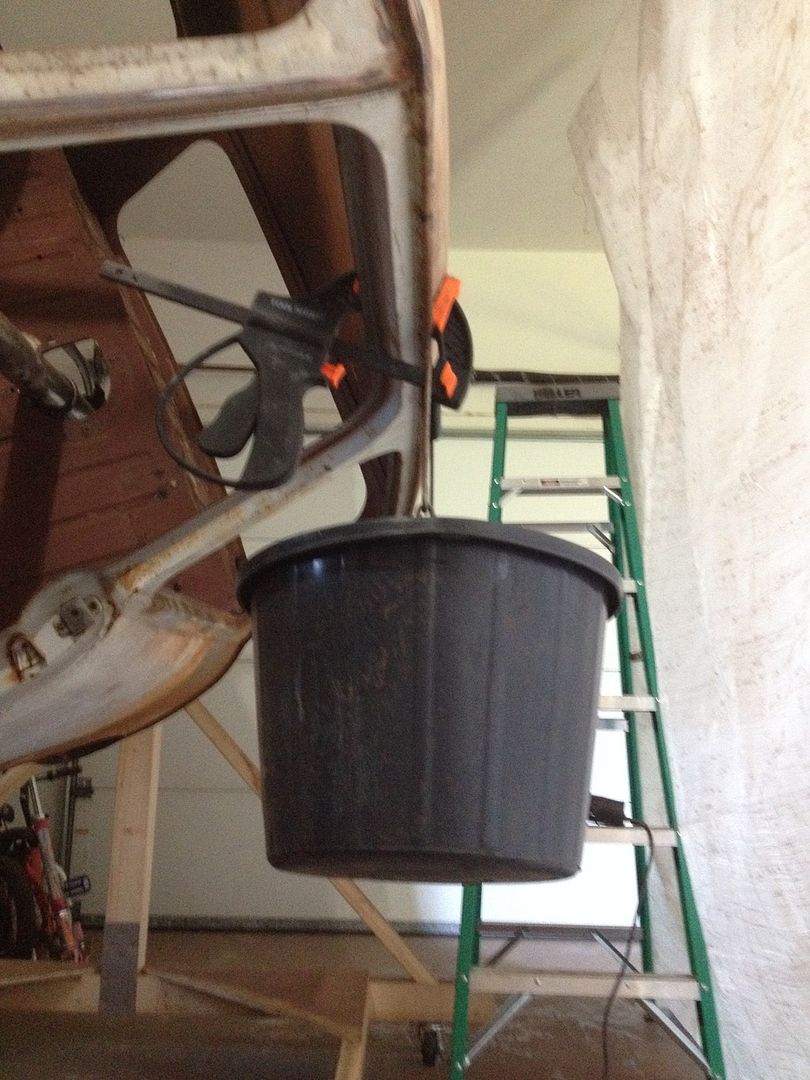
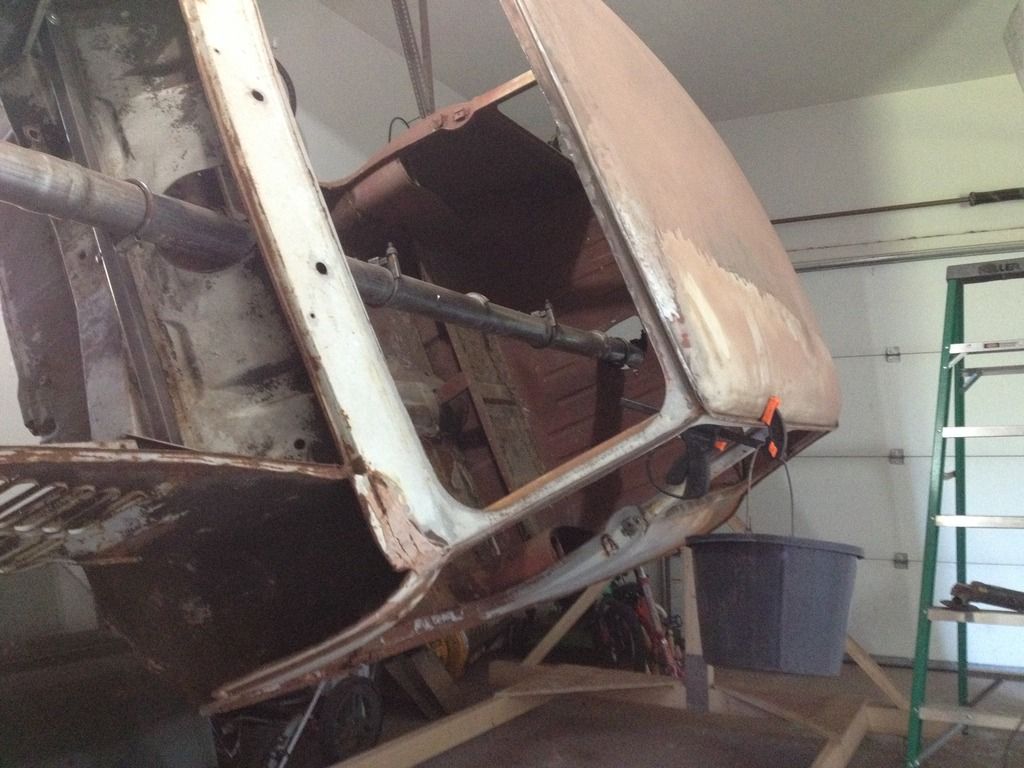
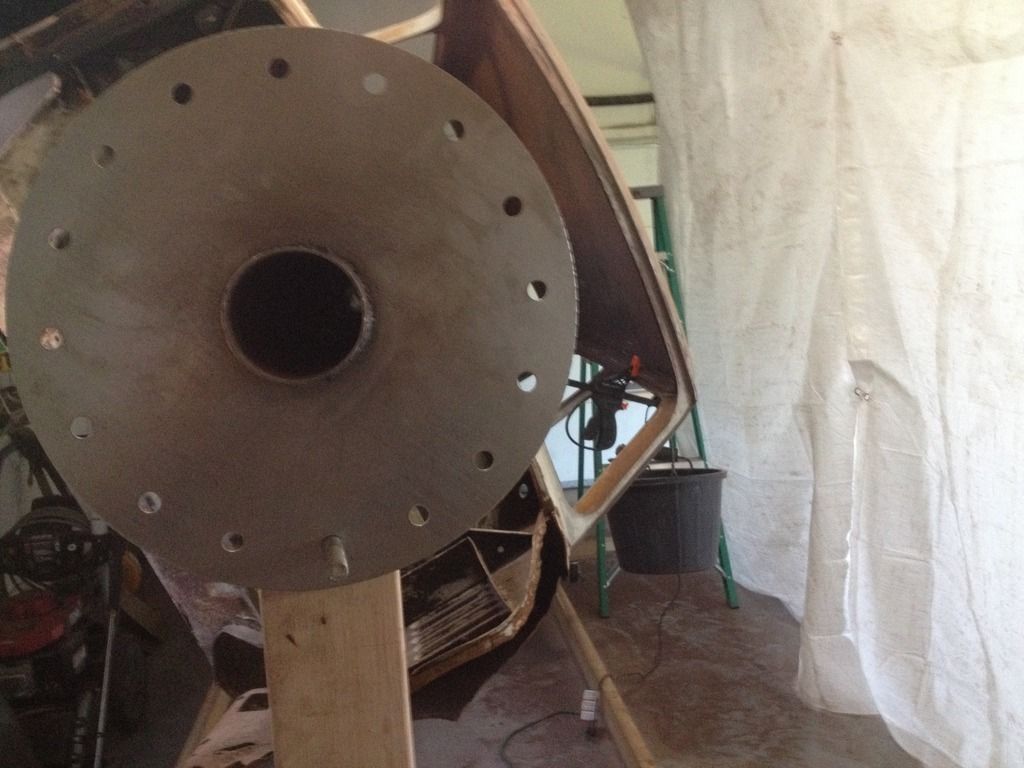
I then needed to turn the shell on the spit to get the lower part of the roof at a better height to work on.

I haven't really finished the rotisserie, I should have really added some counter balance and/or lever arm to enable me to rotate the shell and put the locking bolt in single handed.
This time just I ended up using a bucket of water clamped to the roof as my ballast hehe
0068BF41-D3DC-4391-B640-123916151908_zps
D9173F0D-BACE-4A92-A713-2A1D8AB404C5_zps
3E039C05-90D4-4C67-9538-87A48810F823_zps

Got the job done quickly, but I had to stop, need to buy some more of those paint stripping discs because it wore out.

#23 FlyingScot

FlyingScot

    Up Into Fourth

  • TMF Team
  • PipPipPipPipPipPipPipPipPip
  • 2,660 posts
  • Location: Inverclyde Scotland
  • Local Club: Mini Cooper Register

Posted 19 October 2015 - 07:07 AM

Making progress, nice one. Love your practical solution to balancing the shell :D

FS

#24 James_eaton_thewholething

James_eaton_thewholething

    One Carb Or Two?

  • Members
  • PipPipPipPipPipPipPip
  • 1,063 posts
  • Location: Manchester

Posted 19 October 2015 - 04:57 PM

I really needed to have made a spit when doing mine. i used a whole stopping disc doing my roof glad I got it done though. Good to see some progress

#25 Chappers

Chappers

    Mini Mad

  • Noobies
  • PipPipPipPip
  • 129 posts
  • Location: Columbus, IN

Posted 21 October 2015 - 01:19 PM

While taking the paint of the roof I noticed two areas that have been damaged by the previous owner having the roll cage in. The radius corners of the cage were too tall, but I guess he just persuaded it to fit, bending the roof a little on both sides In two small areas.
It's making me think about my plans for the car and the level of finish I'm expecting.
I don't want to go super clean, I want it rust free.
But I want a road legal weekend racer, kind of sleeper look, something I can take to the autocross and not be disappointed if it gets a stone chip.
So I don't really want to replace the roof panel for steel, carbon or fiberglass etc and the dents aren't that bad. Plus It kind of adds to the character and history of the car too..

I'll try to take a photo of the dents.

What are people's thoughts?

#26 rally1380

rally1380

    Camshaft & Stage Two Head

  • Members
  • PipPipPipPipPipPipPipPip
  • 1,893 posts
  • Location: Cheshire

Posted 21 October 2015 - 02:51 PM

While taking the paint of the roof I noticed two areas that have been damaged by the previous owner having the roll cage in. The radius corners of the cage were too tall, but I guess he just persuaded it to fit, bending the roof a little on both sides In two small areas.
It's making me think about my plans for the car and the level of finish I'm expecting.
I don't want to go super clean, I want it rust free.
But I want a road legal weekend racer, kind of sleeper look, something I can take to the autocross and not be disappointed if it gets a stone chip.
So I don't really want to replace the roof panel for steel, carbon or fiberglass etc and the dents aren't that bad. Plus It kind of adds to the character and history of the car too..

I'll try to take a photo of the dents.

What are people's thoughts?


Part of the cars patina and a scar from a time in it's life......I say leave it and live with it.   If you are intending on 'using' the car, don't worry yourself with tarting it up to the n'th degree.....takes far to much time to do that and there aren't enough hours in the day.


Race cars are very rarely perfect......just build it and enjoy.


#27 Chappers

Chappers

    Mini Mad

  • Noobies
  • PipPipPipPip
  • 129 posts
  • Location: Columbus, IN

Posted 21 October 2015 - 11:31 PM

thanks for the words of encouragement, I totally agree with you.
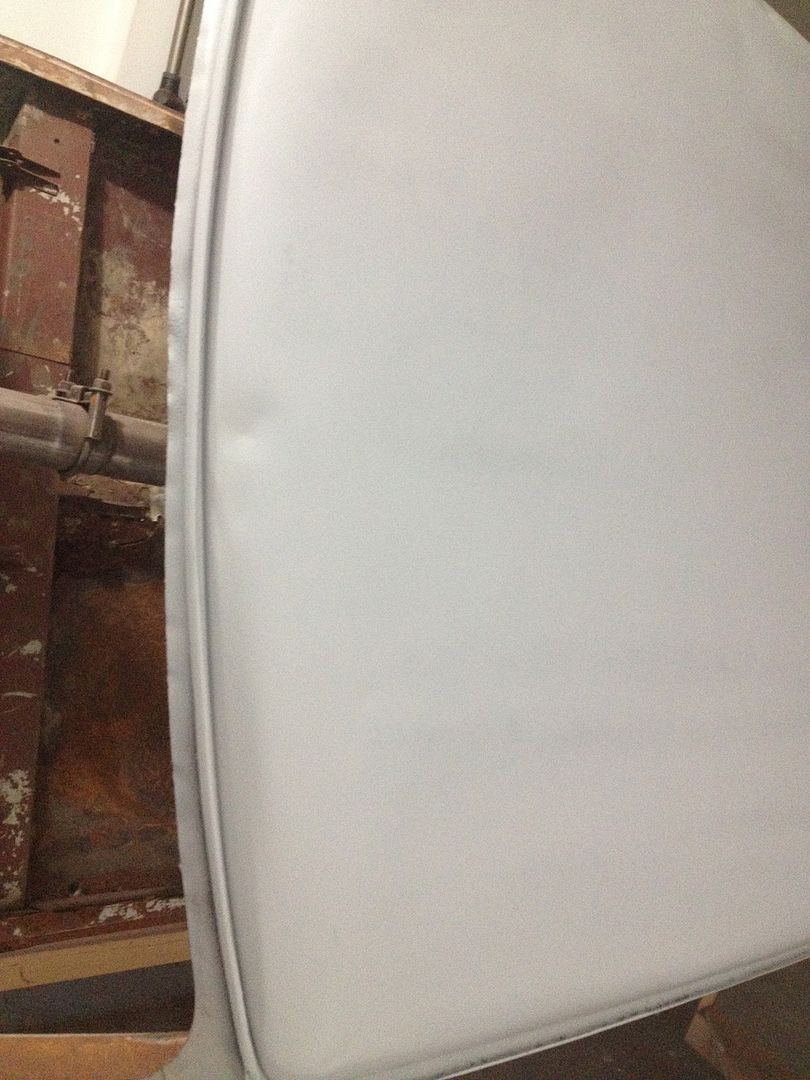
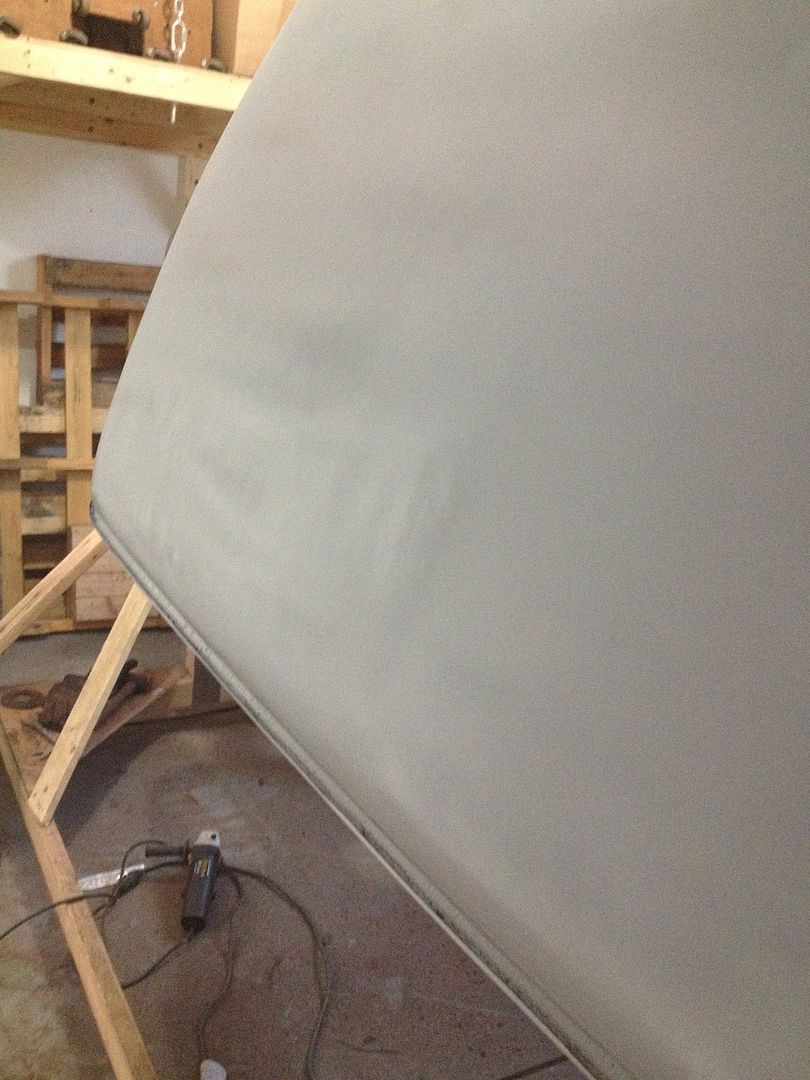
I finished removing the paint, and got some primer on. (Obviously got rid of the dust with tack cloth)
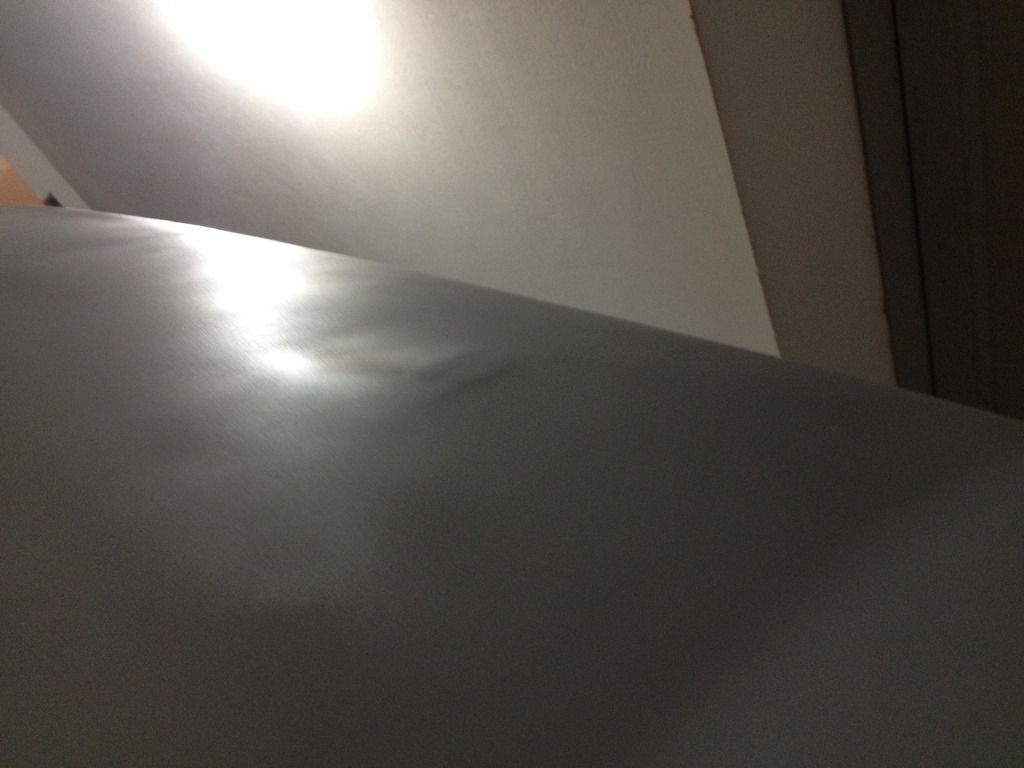
I noticed three small dents
1A5394BD-450C-46A5-B7FF-E490F15A44A6_zps
505512BD-70BE-4505-A153-E09C2777E445_zps
2A4622EC-FB01-4F76-8D8F-0583B98CF274_zps

Sorry not the best quality photos, but you can see the lumps from the roll cage.

#28 Chappers

Chappers

    Mini Mad

  • Noobies
  • PipPipPipPip
  • 129 posts
  • Location: Columbus, IN

Posted 31 October 2015 - 07:24 PM

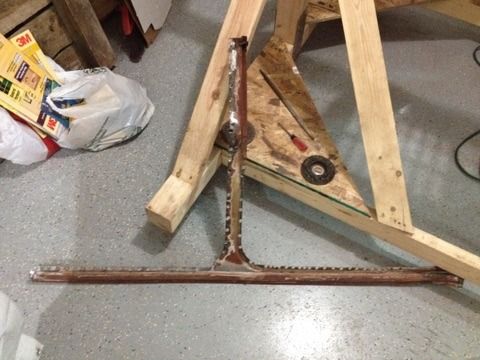
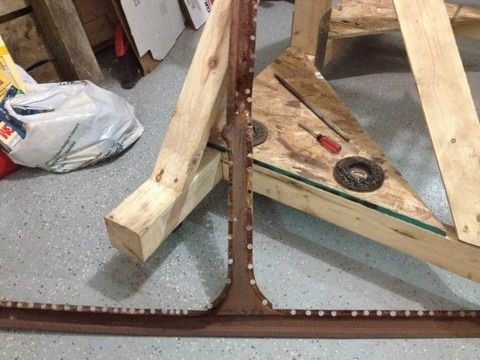
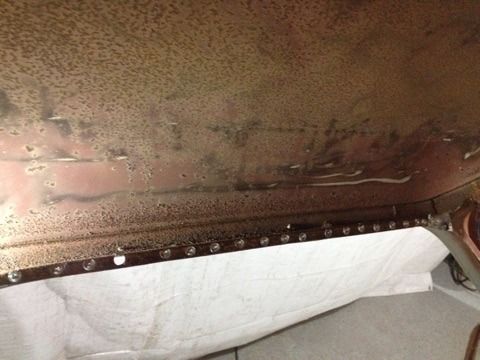
I'm starting on the underside on the roof, its rather furry with surface rust, nothing rotten. I can feel the rust under the the cant rails but can't cant get to it.

I bought a rather nice spot weld cutter from Blair (model No 11096) - http://www.amazon.co...t/dp/B002XML5HK

It absolutely eats through metal and I'm rather impressed.


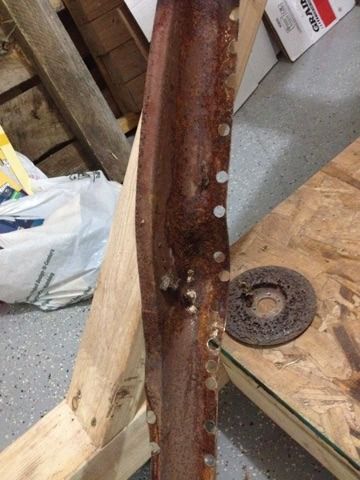
I got the corner piece of cant rail off and you can see from the photos whats itss like behind it, and down inside the A pillar. So i'll have to take that off too.


084A8C1C-F0EC-4FB7-ACBE-FC5983386387_zps


5D9159FB-357B-4D3E-9519-42A1E1A7FDD7_zps


A44C123A-2415-48A9-97E6-F4944FBBD8BE_zps


F5E7558A-6FD3-48FD-816C-7670CDD39FC5_zps


DD938C6C-CA64-4958-B883-ADF88D75C2DF_zps


#29 Chappers

Chappers

    Mini Mad

  • Noobies
  • PipPipPipPip
  • 129 posts
  • Location: Columbus, IN

Posted 31 October 2015 - 07:26 PM

C76B63F3-38CC-4891-951D-BD73029AF628_zps


2C3E5DC8-3CC1-45C7-8017-D30D0C50F9CA_zps


74C9CA61-6F36-4381-A7C7-F903297A570E_zps


Inside the A pillar

4C54F1DA-048C-4818-8187-E892365AD667_zps


46071694-B2A5-4160-BFAE-01F30484CBEE_zps

6583C41D-247E-47B5-867E-0AB03E5F68C3_zps


#30 Chappers

Chappers

    Mini Mad

  • Noobies
  • PipPipPipPip
  • 129 posts
  • Location: Columbus, IN

Posted 02 November 2015 - 04:44 AM
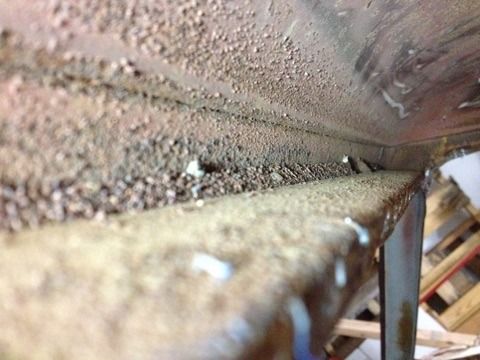
Well I got the whole cant rail and inner B pillar off in 1 piece, with the way they were layered.
It looks very furry behind, and lots of loose rust, but should hopefully clean up.

I'm using a 3/8" spot weld cutter and I think it may be a tad too big, I should have gone for a 1/4" or 5/16". What are others using?
18F5B50A-243B-41BC-9A91-0D1C2E9200E1_zps

D3FB08BB-D9DF-4332-9254-0661E0AB9CCB_zps
1FC86931-6571-441D-903B-73D2DC4F3BB5_zps
9BE5115E-78EE-4D71-928A-85642D74992C_zps
951C327F-C26D-4365-BBD5-4A328806FF50_zps


0 user(s) are reading this topic

0 members, 0 guests, 0 anonymous users