Jump to content


Photo

New To The Forum But An Old Dog With Minis


  • Please log in to reply
37 replies to this topic

#16 Itsjustanestate

Itsjustanestate

    On The Road

  • Noobies
  • PipPip
  • 43 posts
  • Location: Hull

Posted 11 October 2015 - 09:03 PM

Time to add a few more pictures of progress. Rear o/s corner repair panel tacked in place.

IMG_2737.jpg


Welded up.

IMG_2739.jpg

 
IMG_2740.jpg
 
IMG_2744.jpg
 
IMG_2746.jpg
 
IMG_2747.jpg
 
Time to turn it round and did it a bit of air!
 
IMG_2751.jpg
 
IMG_2753.jpg
 
IMG_2755.jpg
 
IMG_2758.jpg
 
IMG_2759.jpg
 
More cutting to come!


#17 Itsjustanestate

Itsjustanestate

    On The Road

  • Noobies
  • PipPip
  • 43 posts
  • Location: Hull

Posted 14 October 2015 - 10:24 PM

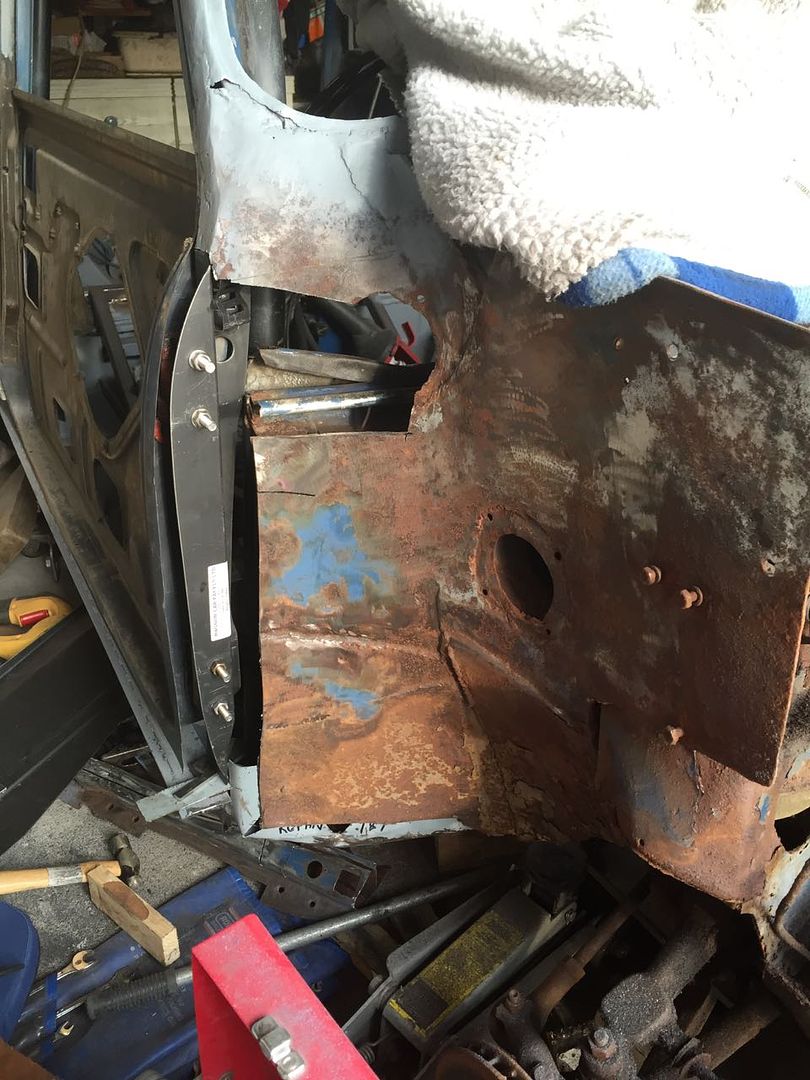
Here is another hole or two! made with the aid of the grinder and sabre saw! The question is what to leave intact.


IMG_2760.jpg


More to follow


#18 Itsjustanestate

Itsjustanestate

    On The Road

  • Noobies
  • PipPip
  • 43 posts
  • Location: Hull

Posted 15 October 2015 - 08:25 PM

Even more cutting. 


IMG_2769.jpg

 
This took me 2 days to cut out. Cutting through MIG welds is no joke!
 

Next up in goes the 50mm x50mm x 6mm angle sill strengthening that carries the roll cage feet plates front rear subframe mount and eventually the seat frames.
 
IMG_2771.jpg


Here is the front roll cage mounting plate. welded to the sill strengthening.
 
IMG_2779.jpg
 
And here is the rear roll cage mounting plate also in place.
 
IMG_2781.jpg


#19 Itsjustanestate

Itsjustanestate

    On The Road

  • Noobies
  • PipPip
  • 43 posts
  • Location: Hull

Posted 18 October 2015 - 08:13 PM

Next job fit the sill strengthening to the car.


IMG_2784.jpg


IMG_2786.jpg
 
Then start to weld in the front rear subframe strengthening. The piece of 50mm x 50mm x 6mm angle welded into the panels  will give me something to attach other bracing to later in the build. The other side is the same.
 
IMG_2830.jpg
 
My son wanted to help so he freed up and cleaned up the adjuster rides then gave them a fresh coat of undercoat and gloss. These allow the height and corner loads to be adjusted.
 
IMG_2831.jpg
 
Time to sort out the o/s rear window frame. A few pin holes welded up and then a coat of rust cure. Then a light layer of filler and some elbow grease and it is starting to look ready for the ledge panel to go in. Sanding this gave me chance to get my head around the second rear wheel arch.
 
IMG_2829.jpg


It is that wheel arch next!


#20 The Clubby Hubby

The Clubby Hubby

    Super Mini Mad

  • Members
  • PipPipPipPipPipPip
  • 555 posts
  • Location: south bucks
  • Local Club: Friends with minibitz

Posted 18 October 2015 - 08:42 PM

Good job always good to see another estate

#21 Itsjustanestate

Itsjustanestate

    On The Road

  • Noobies
  • PipPip
  • 43 posts
  • Location: Hull

Posted 22 October 2015 - 08:38 PM

Next up on the job list is the rear subframe. The subframe is brand new but painted in hammerite but got covered in wax oil so has picked up dirt and has been built up with stainless steel nuts and bolts and even titanium brake adjusters (stainless not available). Here it is with my sons restored adjustarides installed, new adjustable camber/tow plates, minifin brake drums and braided hoses. All ready to put back on the shell to allow the o/s mounting points to be positioned.


IMG_2859.jpg


#22 Rocket.

Rocket.

    One Carb Or Two?

  • Members
  • PipPipPipPipPipPipPip
  • 1,441 posts
  • Location: UK

Posted 22 October 2015 - 09:14 PM

Nice work !


Wouldn't mind an estate one day


#23 Itsjustanestate

Itsjustanestate

    On The Road

  • Noobies
  • PipPip
  • 43 posts
  • Location: Hull

Posted 28 October 2015 - 07:53 PM

On with the fabrication of the o/s/r wheel arch. I hadn't been looking forward to this as the n/s was a swine to fit but at least I had an idea of how to make it. First up cut a piece of metal and bend it to fit.


IMG_2832.jpg

 
IMG_2836.jpg
 
And then notch it out and weld to my cantilever turret. 
 
IMG_2837.jpg
 
Next job was to fit and tack the closing panel in place. At this point in time the whole unit can be put in and out of the car.
 
IMG_2842.jpg
 
IMG_2843.jpg
 
Then simply weld it up!
 
IMG_2845.jpg
 
IMG_2846.jpg
 
I bit of time with the grinder/flappy disc and a quick spray with etch primer and it looks like this.
 
IMG_2902.jpg
 
Now all I have to do is position it, drill the hole for the shock absorber and weld it in place. More on that in my next post.


#24 Itsjustanestate

Itsjustanestate

    On The Road

  • Noobies
  • PipPip
  • 43 posts
  • Location: Hull

Posted 05 November 2015 - 10:35 PM

Next installment. Finishing off the o/s/r wheel arch.


Starting with tacking to the body side.


IMG_3929.jpg


IMG_3930.jpg

 
A bit of a patch on the body side.
 
IMG_3931.jpg
 
Tacked in place.
thumb_IMG_3953_1024.jpg
 
And fully seam welded.
thumb_IMG_3955_1024.jpg
 
And after a bit of linishing.
thumb_IMG_3957_1024.jpg
 
thumb_IMG_3958_1024.jpg
 
Done on the outside.
thumb_IMG_3959_1024.jpg
 
The inside just needing a panel to close the floor.
thumb_IMG_3961_1024.jpg
 
Floor patch tacked in place.
thumb_IMG_3962_1024.jpg
 
And fully seam welded.
thumb_IMG_3980_1024.jpg
 
And finally with a coat of etch primer.
thumb_IMG_3981_1024.jpg


#25 Magnetagz

Magnetagz

    Formally know as MagnetizedMINI

  • Members
  • PipPipPipPip
  • 151 posts
  • Location: Coventry

Posted 09 November 2015 - 04:09 PM

great to see your bringing her back to life.  :proud:


#26 Itsjustanestate

Itsjustanestate

    On The Road

  • Noobies
  • PipPip
  • 43 posts
  • Location: Hull

Posted 23 November 2015 - 10:51 PM

Time for a quick update. Been putting this off for a while. Fitting of the o/s floor.


jteNeX.jpg


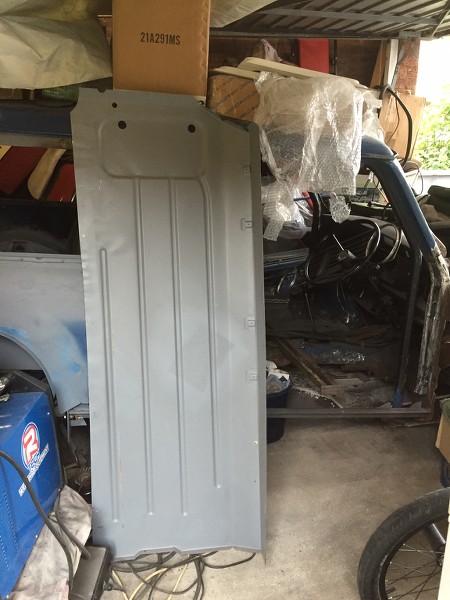
After a day of fitting, removing, trimming, refitting, removing, trimming and so on it finally fitted.


fFvNIu.jpg


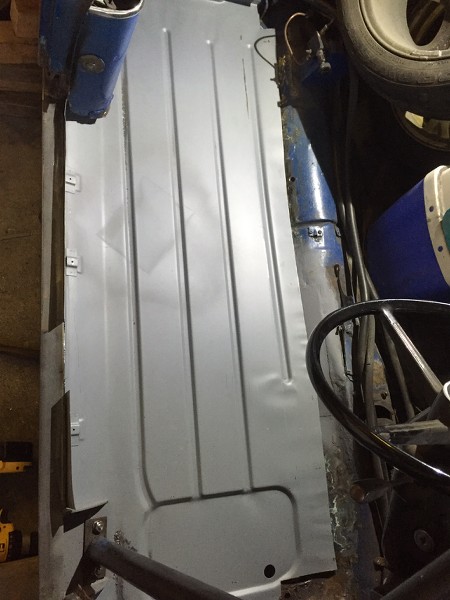
Next job to start designing and fabricating the floor cross member. The original was more weld and patches than original metal as it has the seats bolted to it and was constantly cracking under the pounding of rallies. That in mind a plan was hatched which needed a small mod to the transmission tunnel.

nO2Opi.jpg


And here is the plated hole.

QZhpvr.jpg


And with a spot of etch primer and starting to weld the floor in.

9NQBs6.jpg


#27 Gadgets

Gadgets

    Speeding Along Now

  • Members
  • PipPipPipPipPip
  • 471 posts
  • Location: Somerset

Posted 27 November 2015 - 09:39 AM

Coming along nicely.


#28 Itsjustanestate

Itsjustanestate

    On The Road

  • Noobies
  • PipPip
  • 43 posts
  • Location: Hull

Posted 30 January 2016 - 01:12 PM

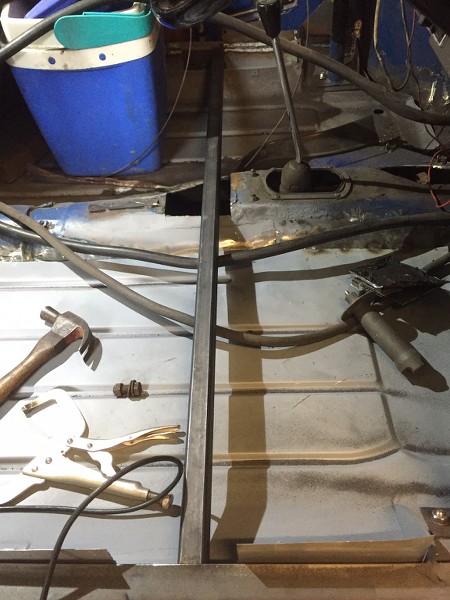
Been a while since I posted as I haven't had much time on the car recently.

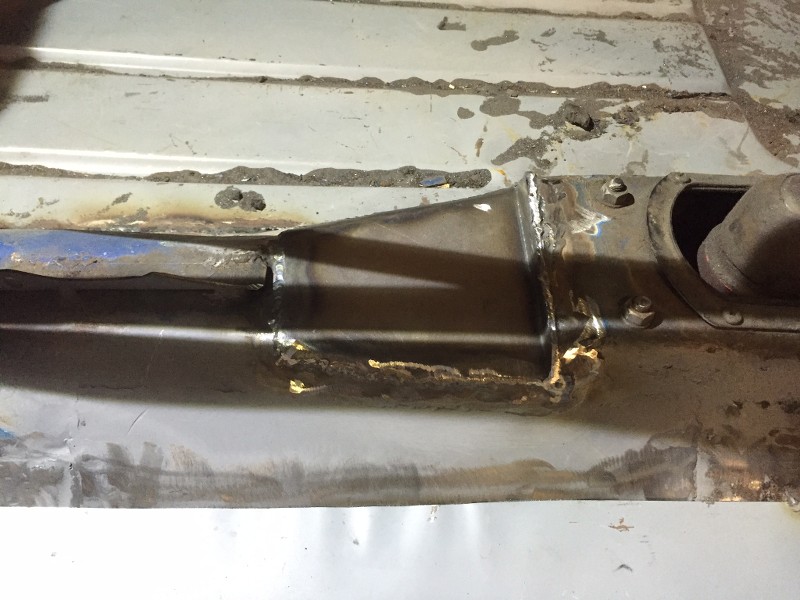
Started on the floor cross member.

Attached File  IMG_0163.jpg   53.06K   1 downloads


Attached File  IMG_0164.jpg   47.43K   4 downloads


Attached File  IMG_0170.jpg   69.71K   0 downloads


Attached File  IMG_0173.jpg   58.73K   8 downloads


Edited by Itsjustanestate, 30 January 2016 - 01:33 PM.


#29 Itsjustanestate

Itsjustanestate

    On The Road

  • Noobies
  • PipPip
  • 43 posts
  • Location: Hull

Posted 26 March 2016 - 11:35 AM

Managed to get back on the car over the last month after the winter lay up. 


I upgraded the door hinges to have 8mm stainless steel studs. No more seized nuts, these should last the test of time!


IMG_4056_zps6levfnvt.jpg


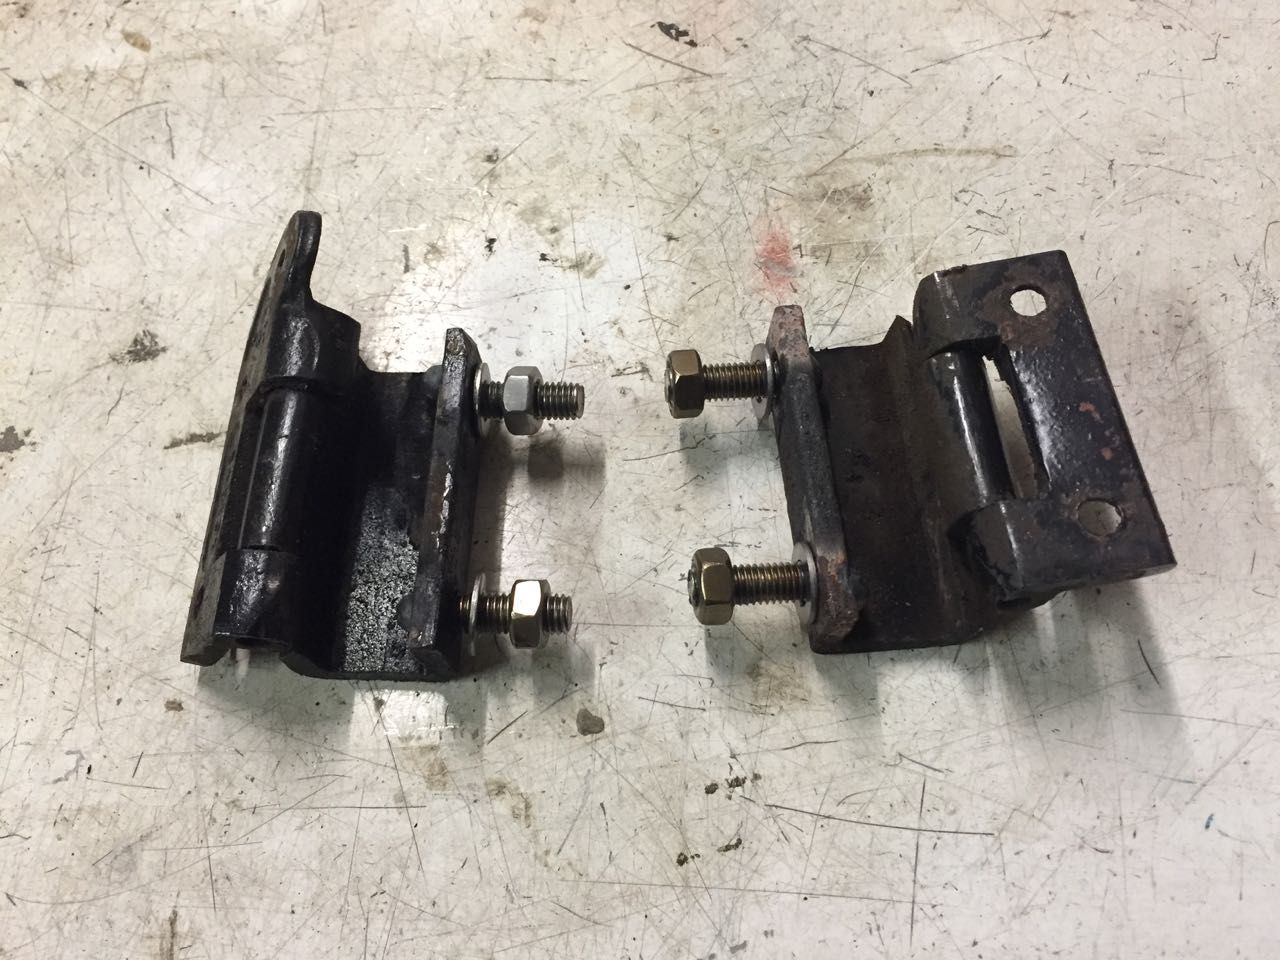
Needed to get these done so that I can get the old door pillar cut out and ready to take the new door pillar. 


IMG_4149_zps8rwsh6fv.jpg


But before I weld it all up I had another job to do.  


Make one of these!


IMG_4179_zpsk5ghvlrm.jpg


It fits here.


IMG_4182_zpsiasgbkyu.jpg


IMG_4180_zpsojaps4y8.jpg


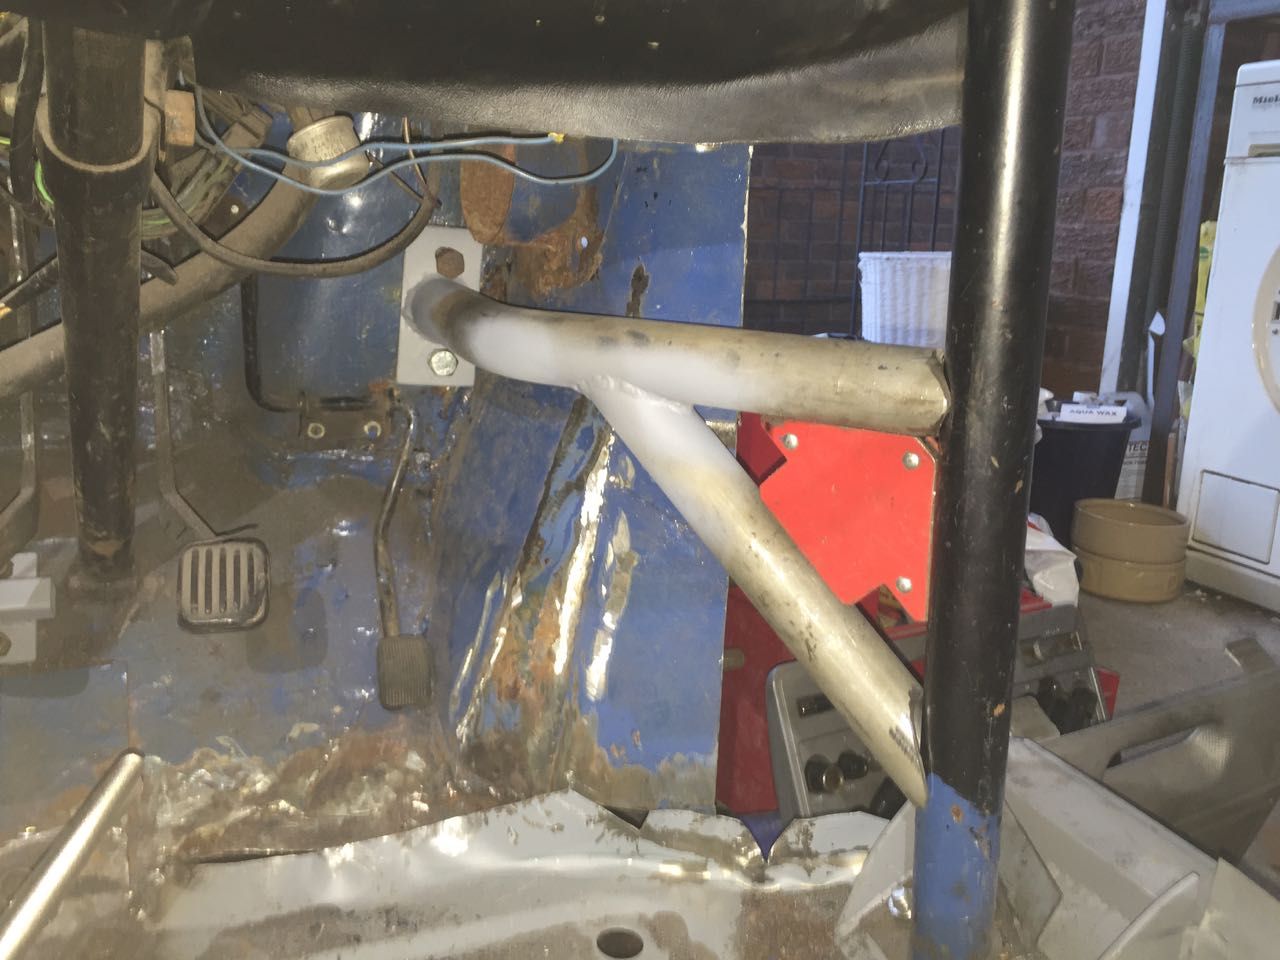
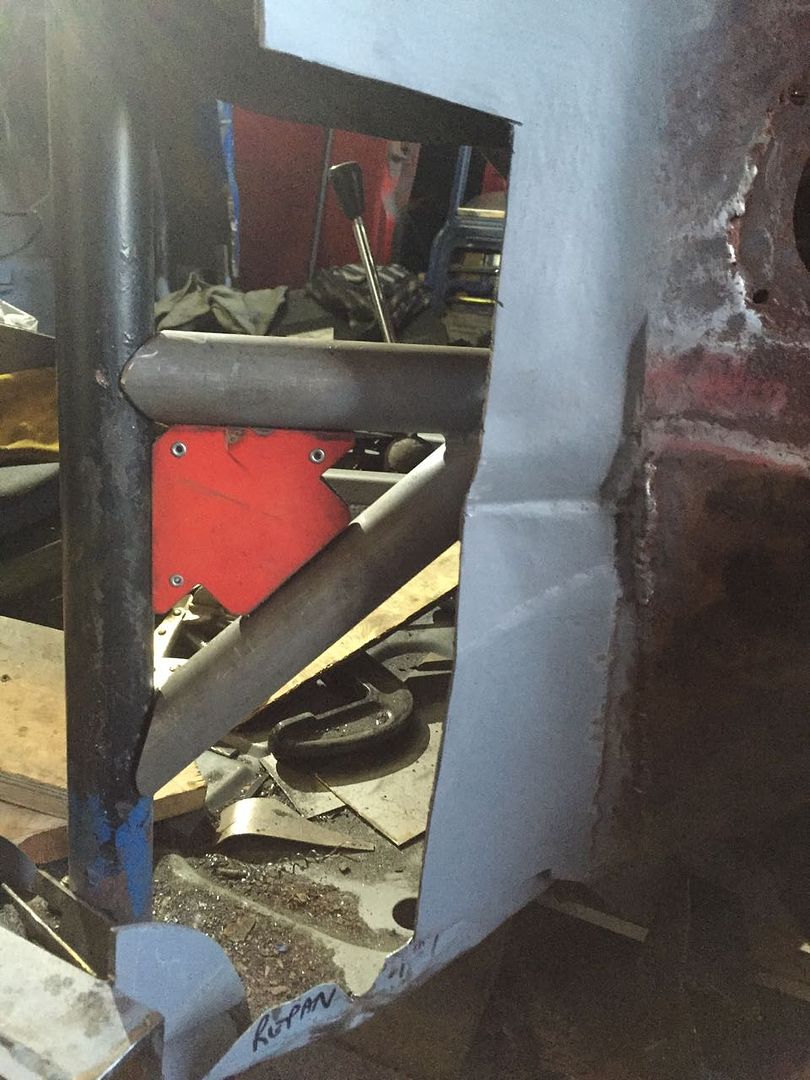
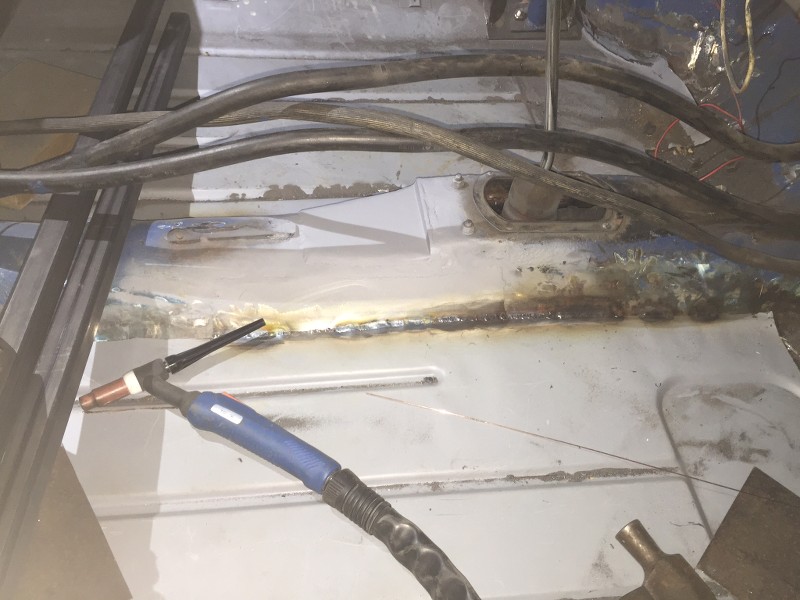
Just need weld it on to the cage now and I can get back to the door pillar and fabricating a jacking point in the sill.


Edited by Itsjustanestate, 26 March 2016 - 11:35 AM.


#30 Itsjustanestate

Itsjustanestate

    On The Road

  • Noobies
  • PipPip
  • 43 posts
  • Location: Hull

Posted 08 April 2016 - 05:37 PM
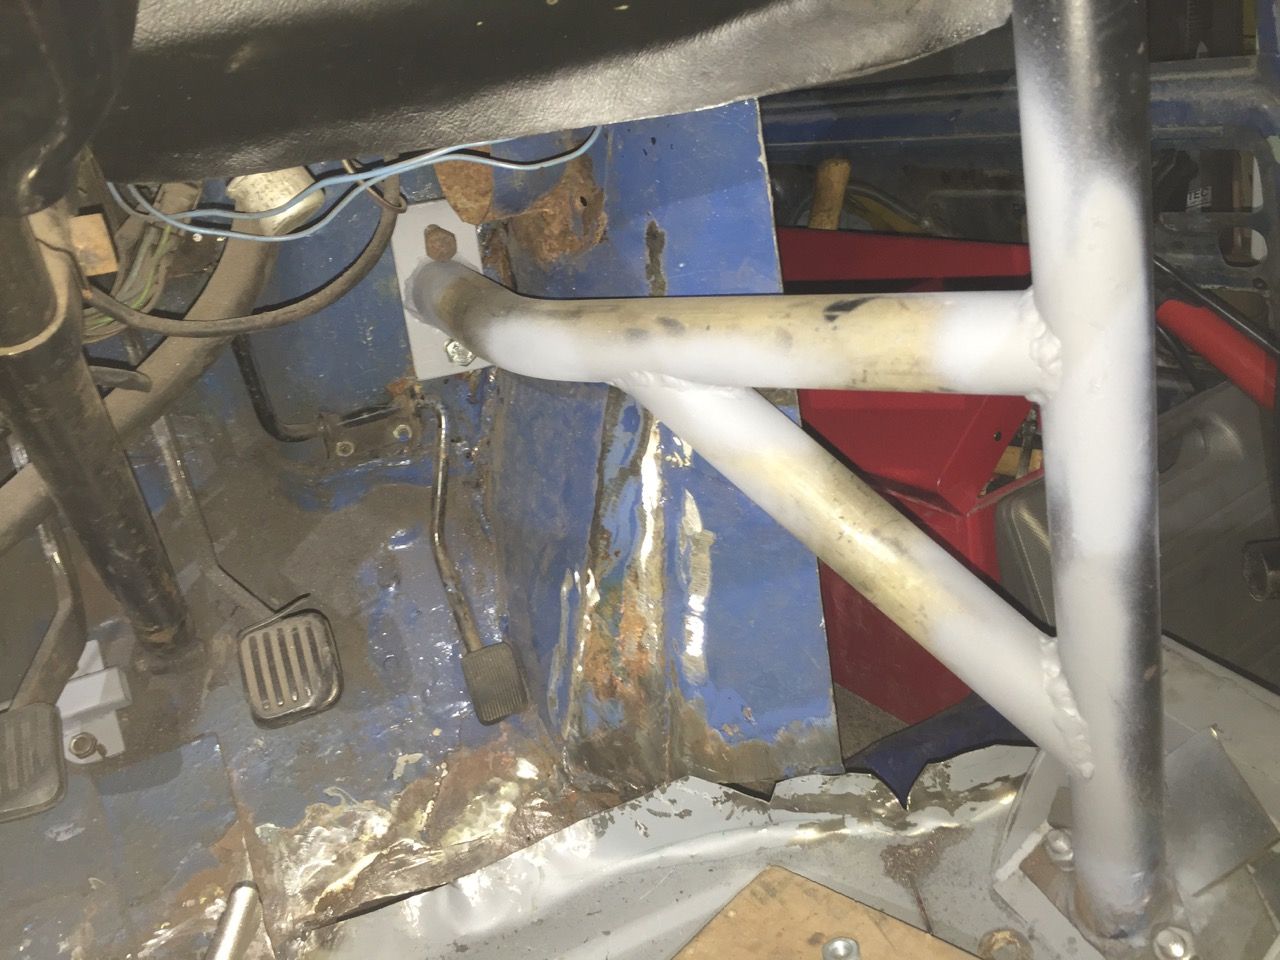
All welded up now!

IMG_4183_zpsn4nddpea.jpg


0 user(s) are reading this topic

0 members, 0 guests, 0 anonymous users