Jump to content


Photo

New To The Forum But An Old Dog With Minis


  • Please log in to reply
37 replies to this topic

#31 Itsjustanestate

Itsjustanestate

    On The Road

  • Noobies
  • PipPip
  • 43 posts
  • Location: Hull

Posted 09 May 2016 - 10:02 PM

A bit more progress on the project after a being away and a couple of weekends of decorating.


The new door welded in place with a bit of strengthening in the bottom..

IMG_4279_zpsgdundlfo.jpg


Next up I tacked in place the inner wing repair panel. 


IMG_4284_zpspmlxkzhf.jpg

This may come off again to put a mounting in for the door pillar to cage.


Next up was to cut and fit the door step and side repair panel.


IMG_4291_zpspzkhobdx.jpgIMG_4292_zpszscjxsvu.jpg


More to follow when I get chance to upload the pictures.


#32 Itsjustanestate

Itsjustanestate

    On The Road

  • Noobies
  • PipPip
  • 43 posts
  • Location: Hull

Posted 31 August 2016 - 04:47 PM

Time for a quick update.


Finished off the doorstep and rear side. This picture shows clear how much bigger my new wheel arches are.


IMG_4300_zpsp0pbtxnr.jpgIMG_4304_zpspkx7vmvk.jpg


Made a stainless steel bracket for the fibreglass A-panel.

IMG_4303_zps87ajosnj.jpgIMG_4301_zpsuor6jk2g.jpg

This will also serve a a mount for the Aero latch pins for the fibreglass bonnet.


Replaced the heater pipe mounting point in the inner wing.IMG_4333_zps6yiiy4iv.jpgIMG_4338_zpstdjiug5h.jpg

More to follow.


#33 Itsjustanestate

Itsjustanestate

    On The Road

  • Noobies
  • PipPip
  • 43 posts
  • Location: Hull

Posted 12 October 2016 - 10:25 PM

Time for a quick update and no welding!

The fibreglass from needed a bit of tic. My lad fancied a go at it. So I let him loose on it grinding out the cracks and gel coating the repair. 


IMG_0205_zps56sakjga.jpgIMG_4290_zpssxjfakon.jpg

The grill always sat proud on the fibreglass front so my lad decided he was going to put it right. This involved cutting head light mounts and centre out and setting them back an inch.


IMG_0148_zpsbc2xyvxp.jpgIMG_0149_zpslnu5u1lo.jpg

We also took the opportunity to add some stainless steel strengthening for the hinges.


IMG_0157_zpsvs6zu8aj.jpg

All fibreglassed in with new stainless hinge in place.


IMG_0222_zpslc1zhfnq.jpg

A quick trial fit

IMG_0241_zpsgmqxhjrp.jpg


The lad has done a good job. Not bad for 15 and a first experience.


Back to welding!


#34 CharlieNZ

CharlieNZ

    Stage One Kit Fitted

  • Noobies
  • PipPipPip
  • 69 posts
  • Location: Auckland

Posted 14 October 2016 - 10:15 AM

Looks like a strong, fast little mini. Nice work!


#35 Itsjustanestate

Itsjustanestate

    On The Road

  • Noobies
  • PipPip
  • 43 posts
  • Location: Hull

Posted 26 October 2016 - 07:50 PM

Back again. I seem to have done nothing but TIG weld recently.


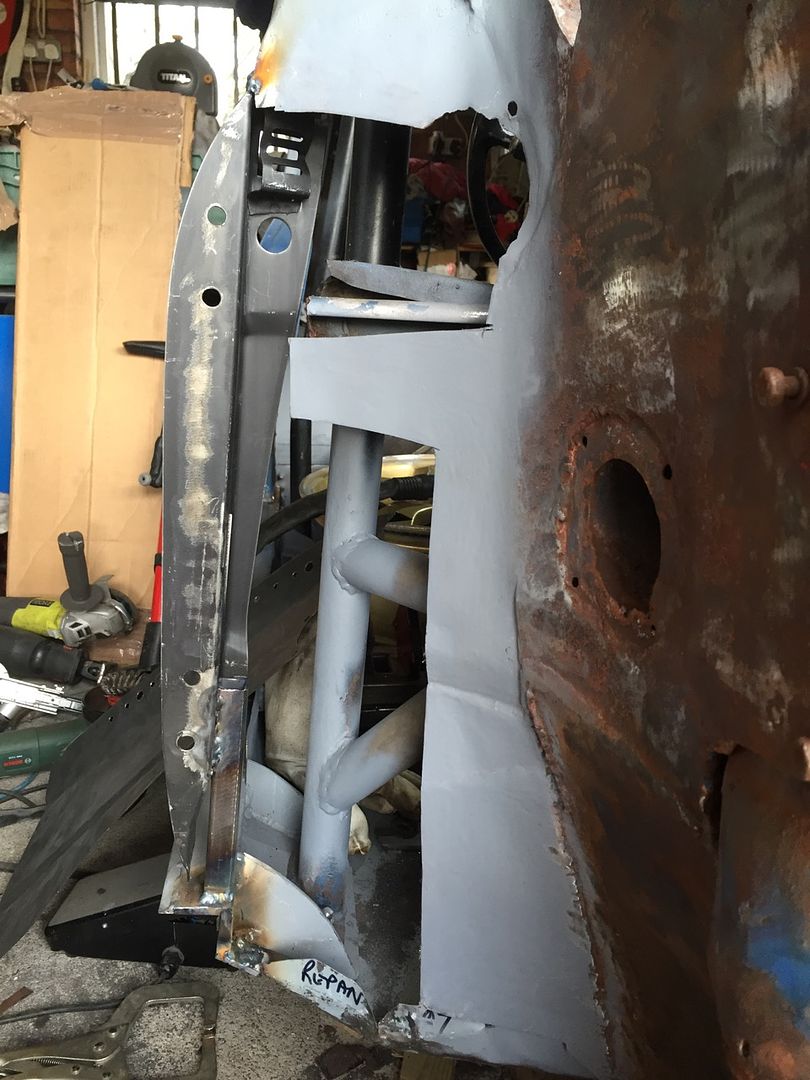
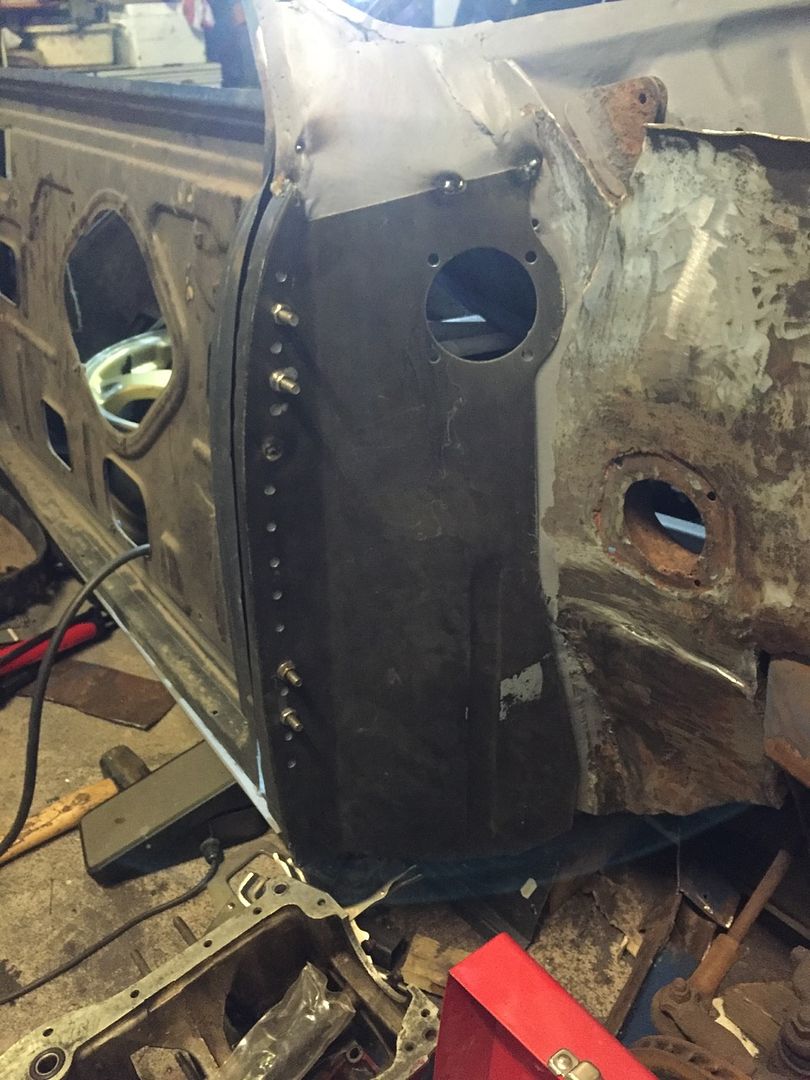
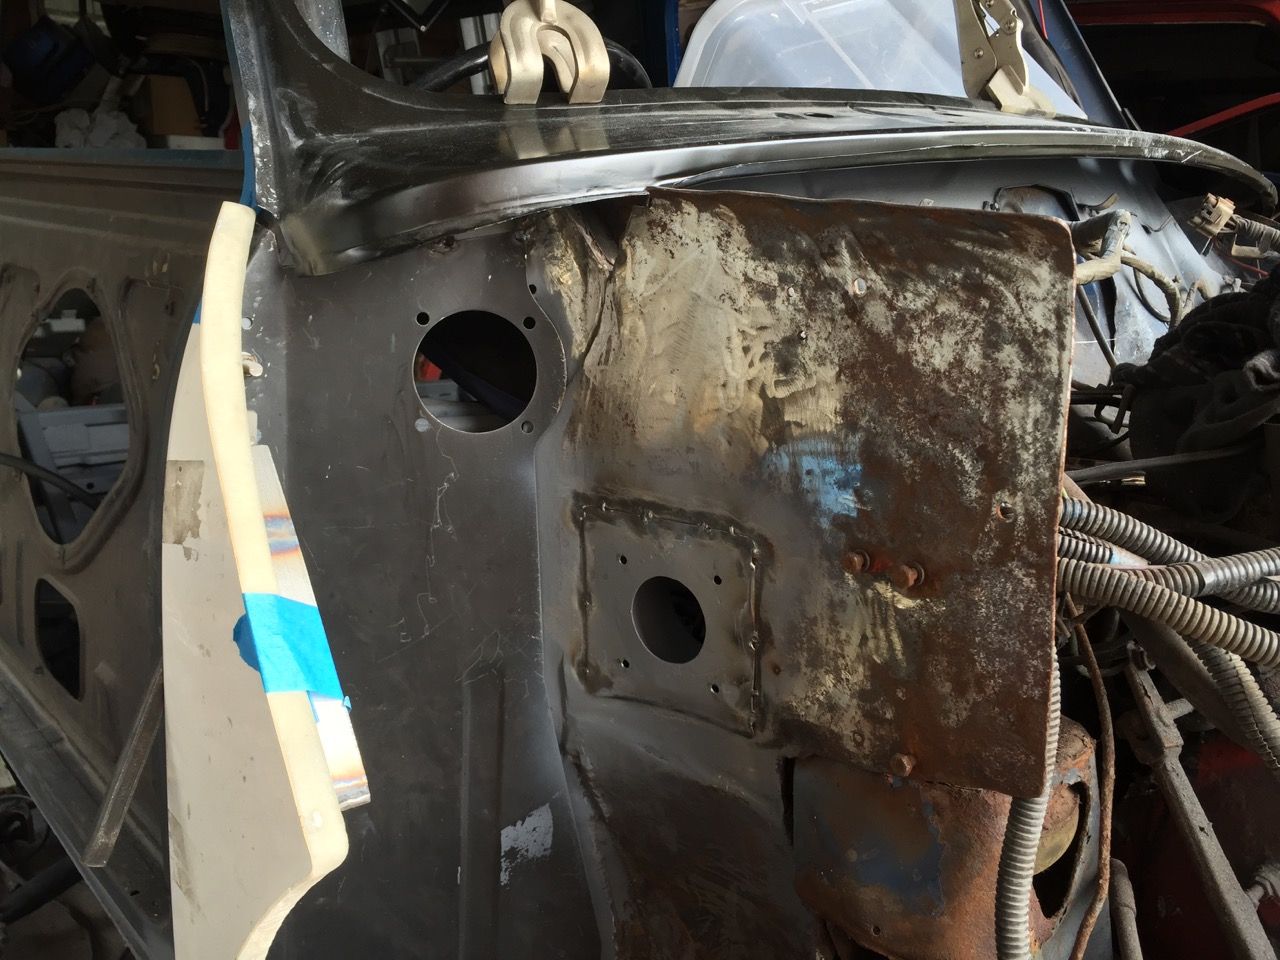
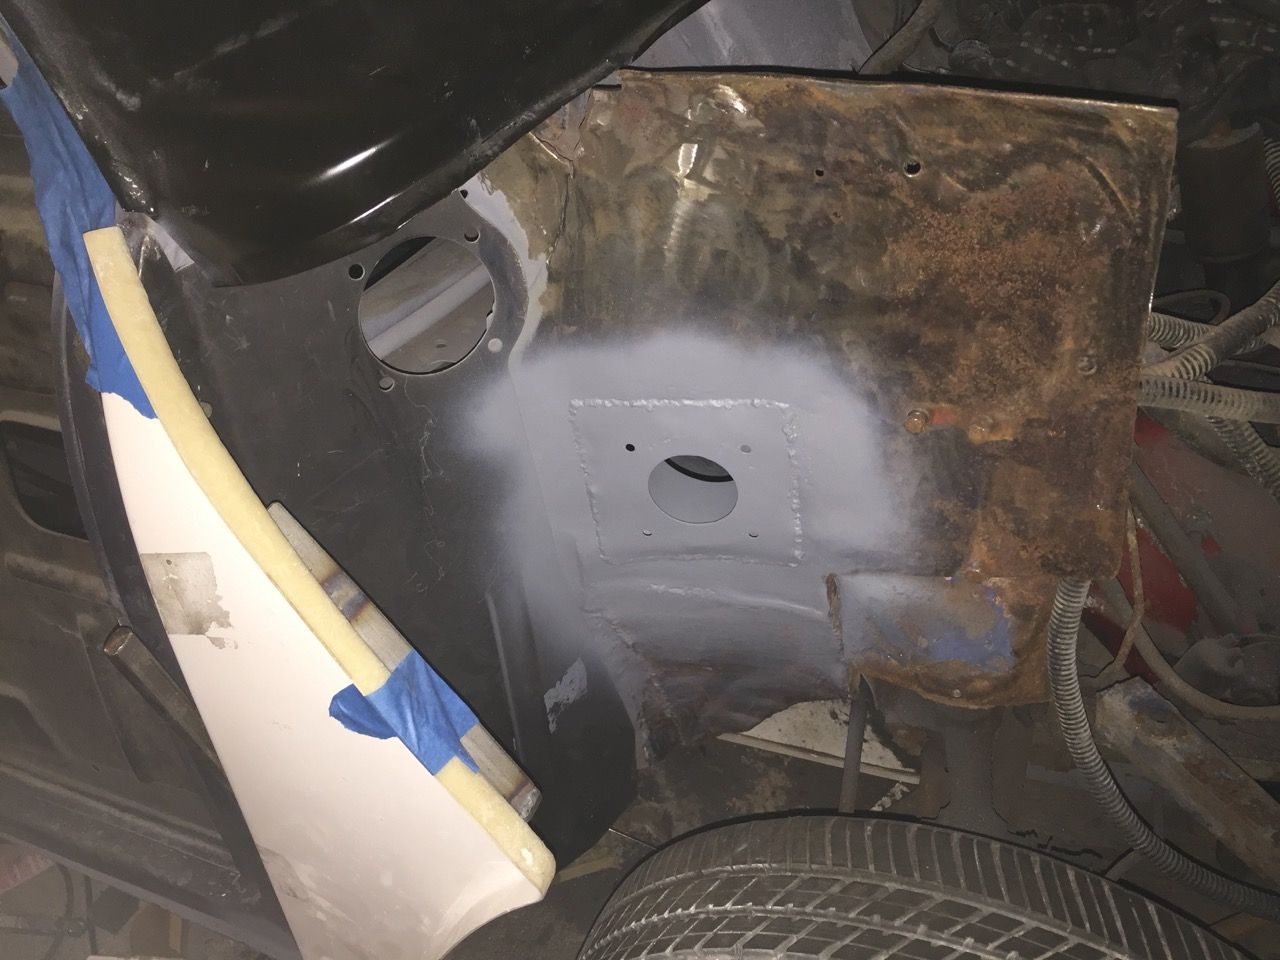
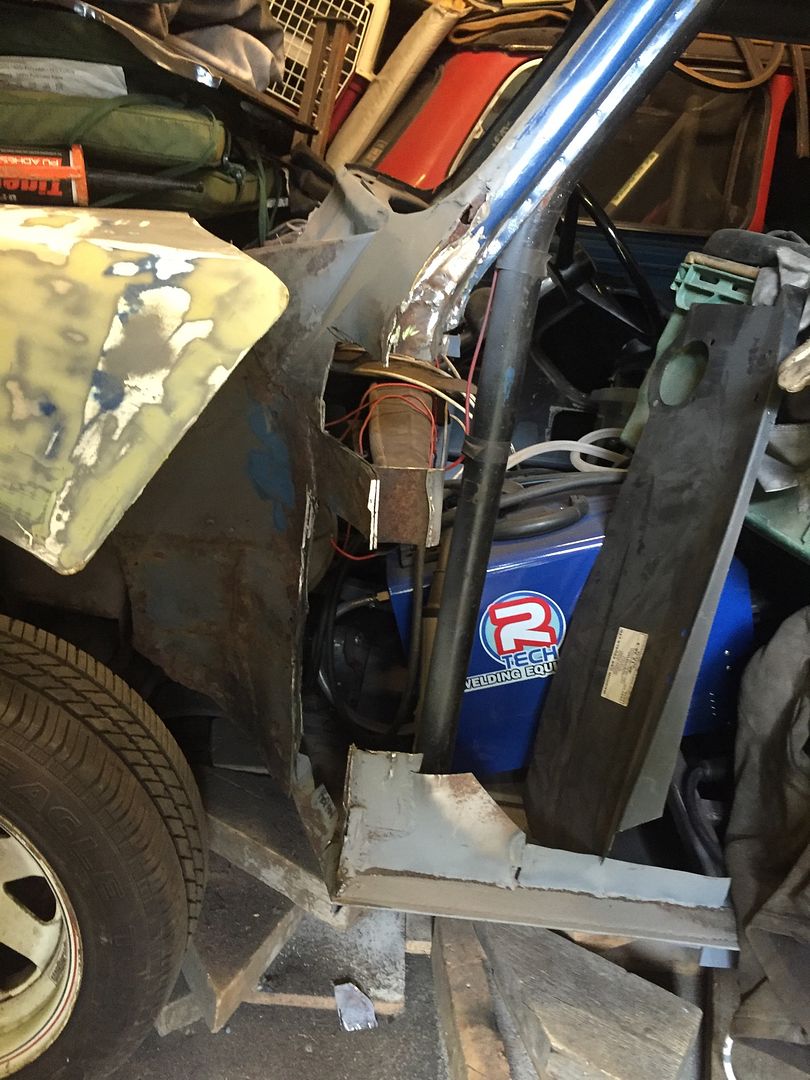
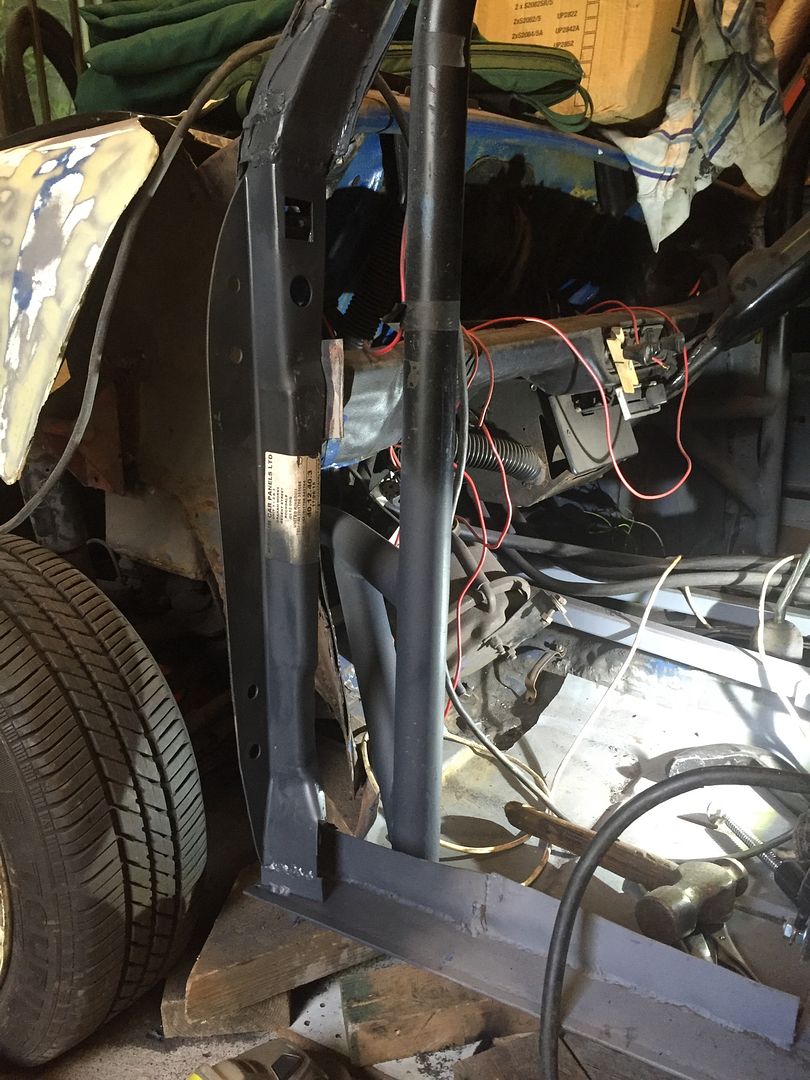
O/S is now all welded up and only needs a sill and jacking mounts to complete.


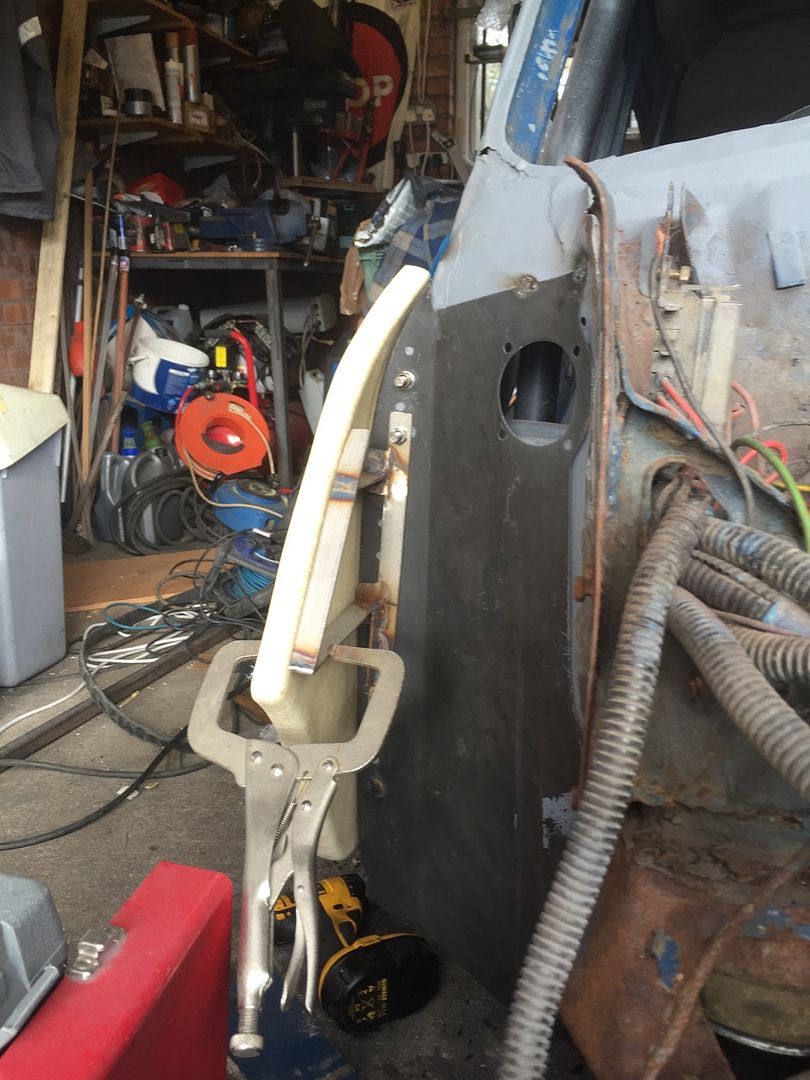
Here is the O/S all welded up and just needing a sill as the last panel and some jacking mounts. I have also fitted the fibreglass A-panel into its 304 stainless steel frame.

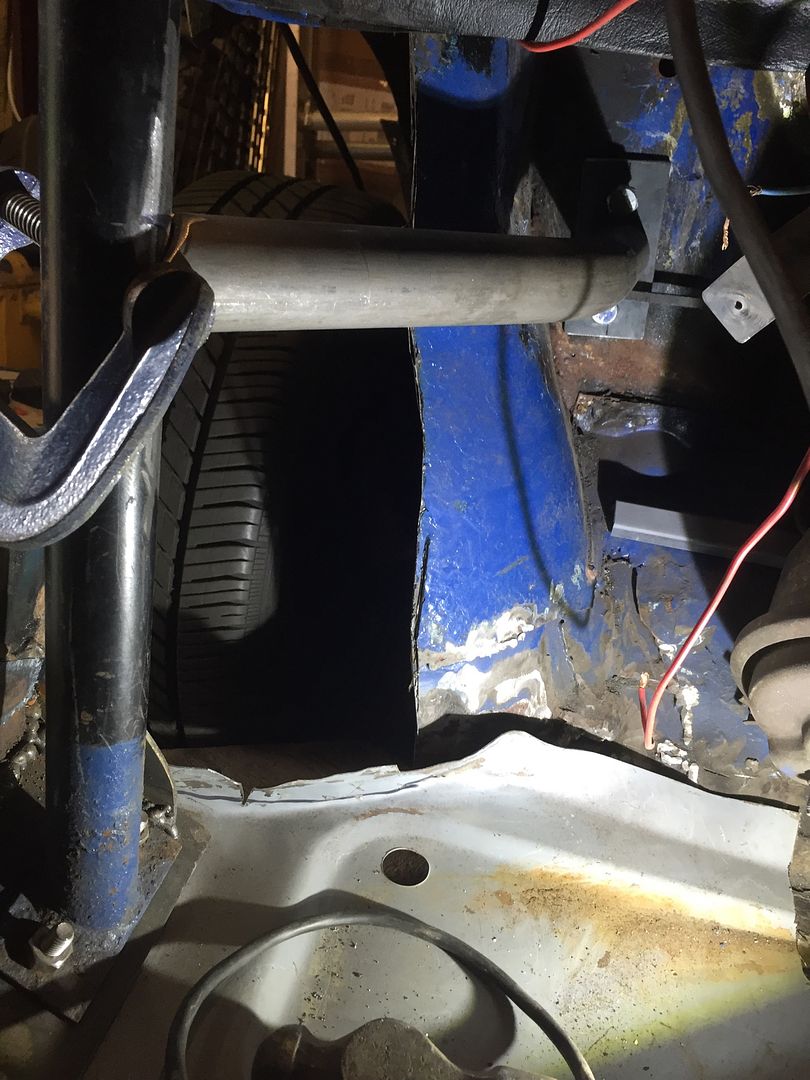
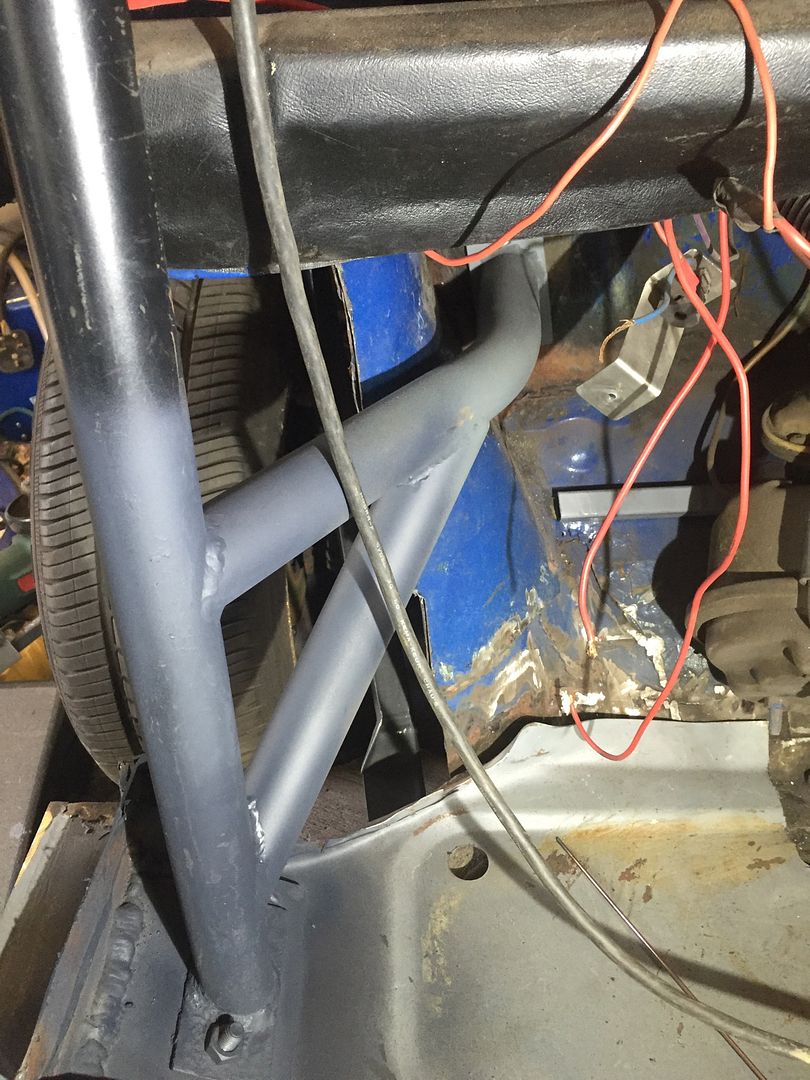
I an still designing my front shack mounting as I think I will make it integral with the front subframe mount support. More to follow on that at a later date.


IMG_0246_zps1jgyr6ht.jpg


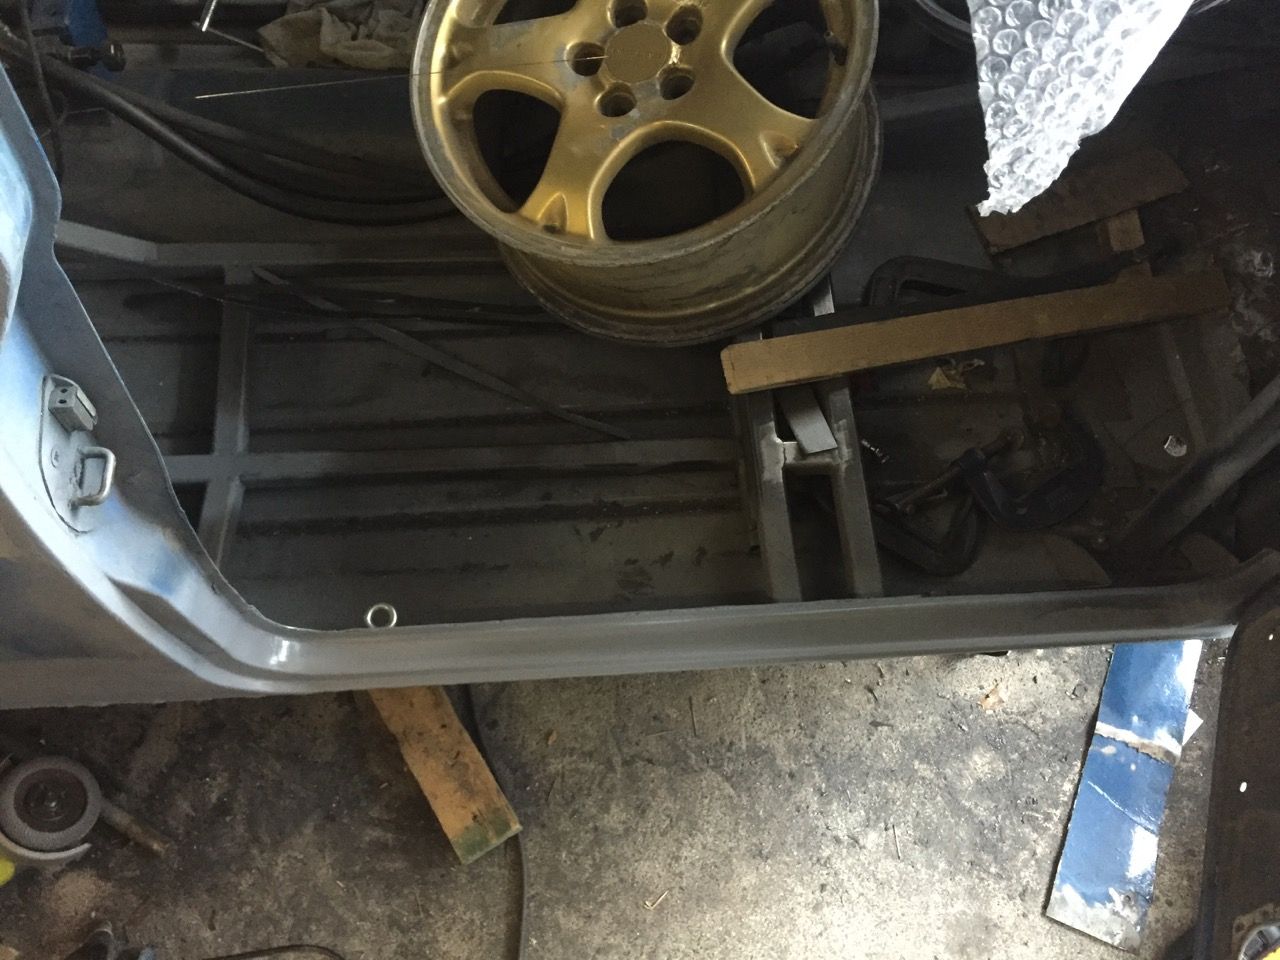
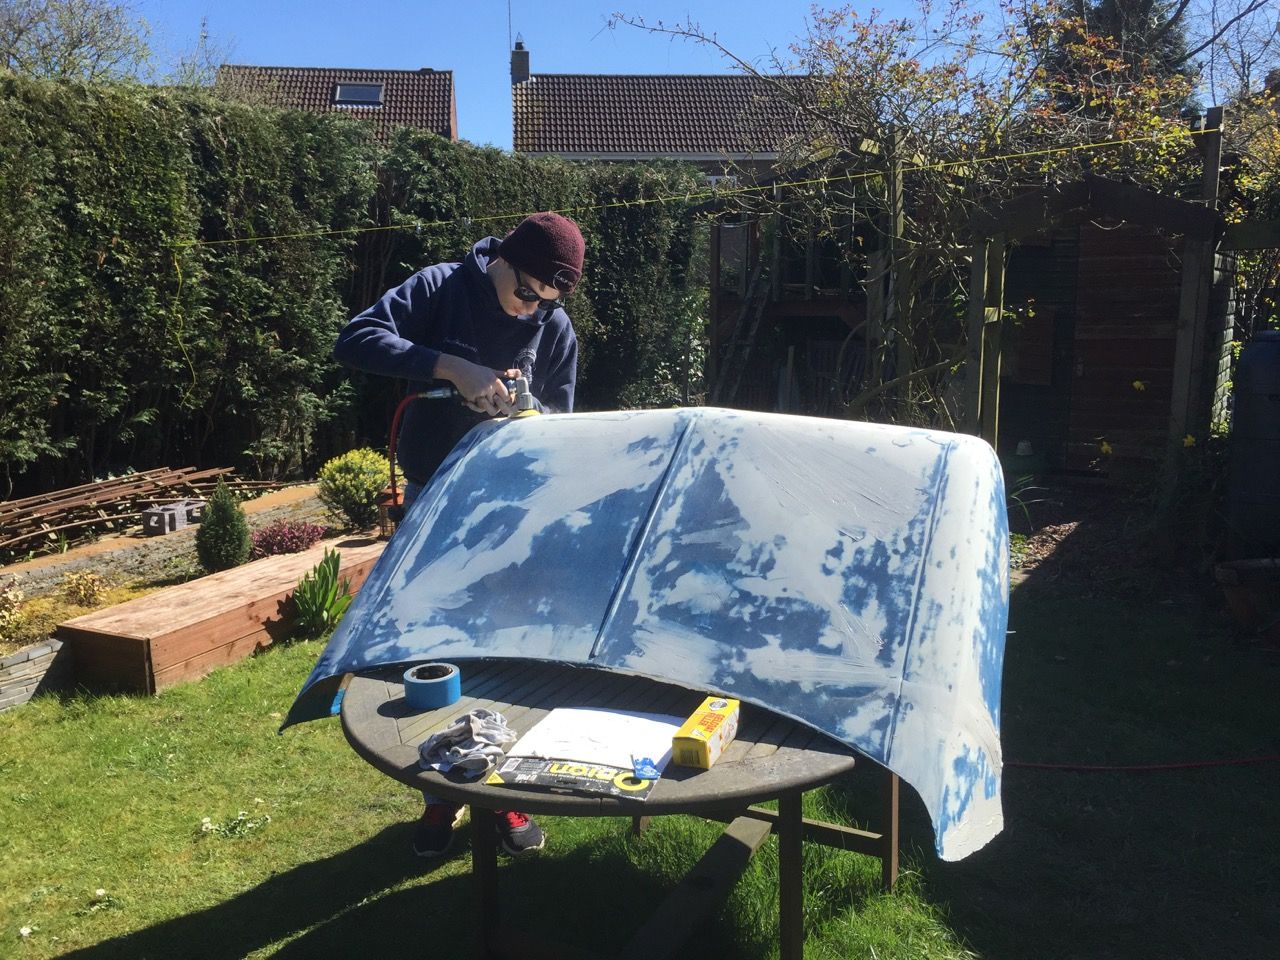
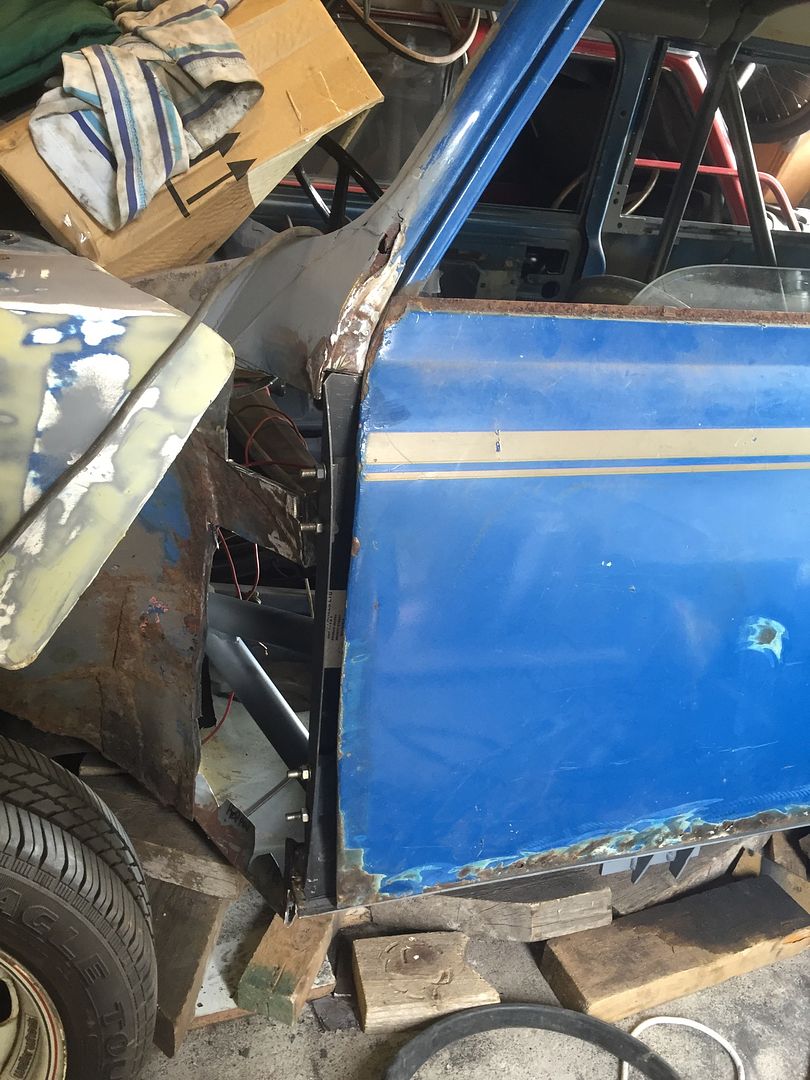
While I was turning the car around I also did a first fit on the fibreglass rear doors. They are not the easiest thing to fit. Here they are just needing a bit of squaring up.

IMG_0245_zpsjvv1bt0e.jpg


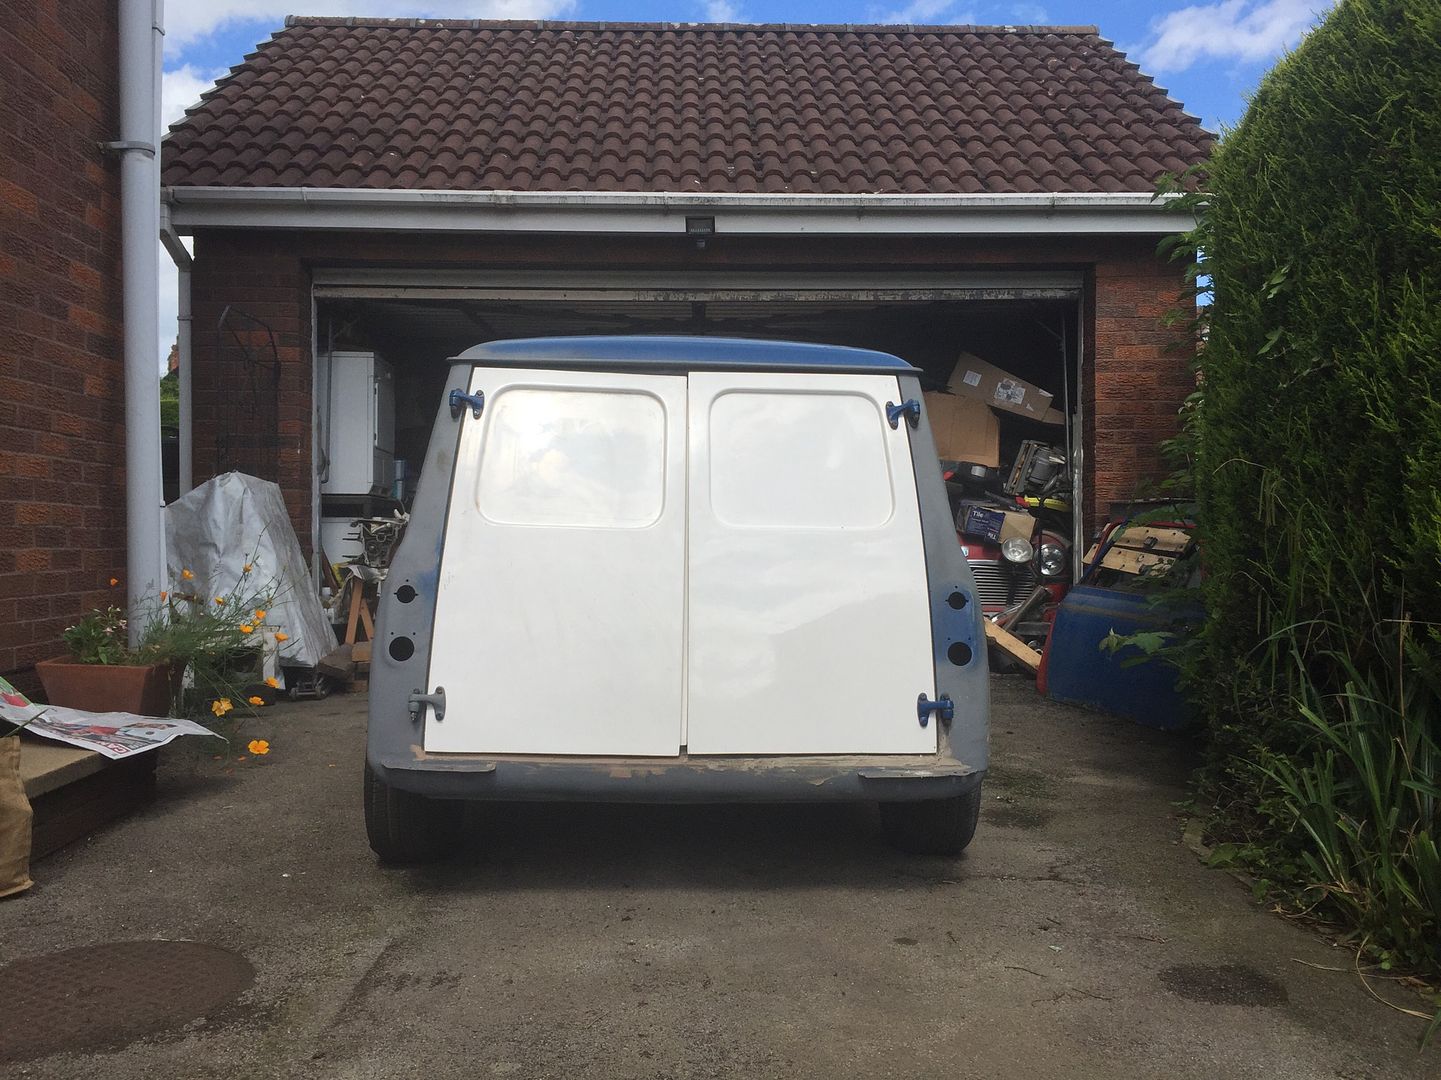
So that is 2 doors down 2 to go. 

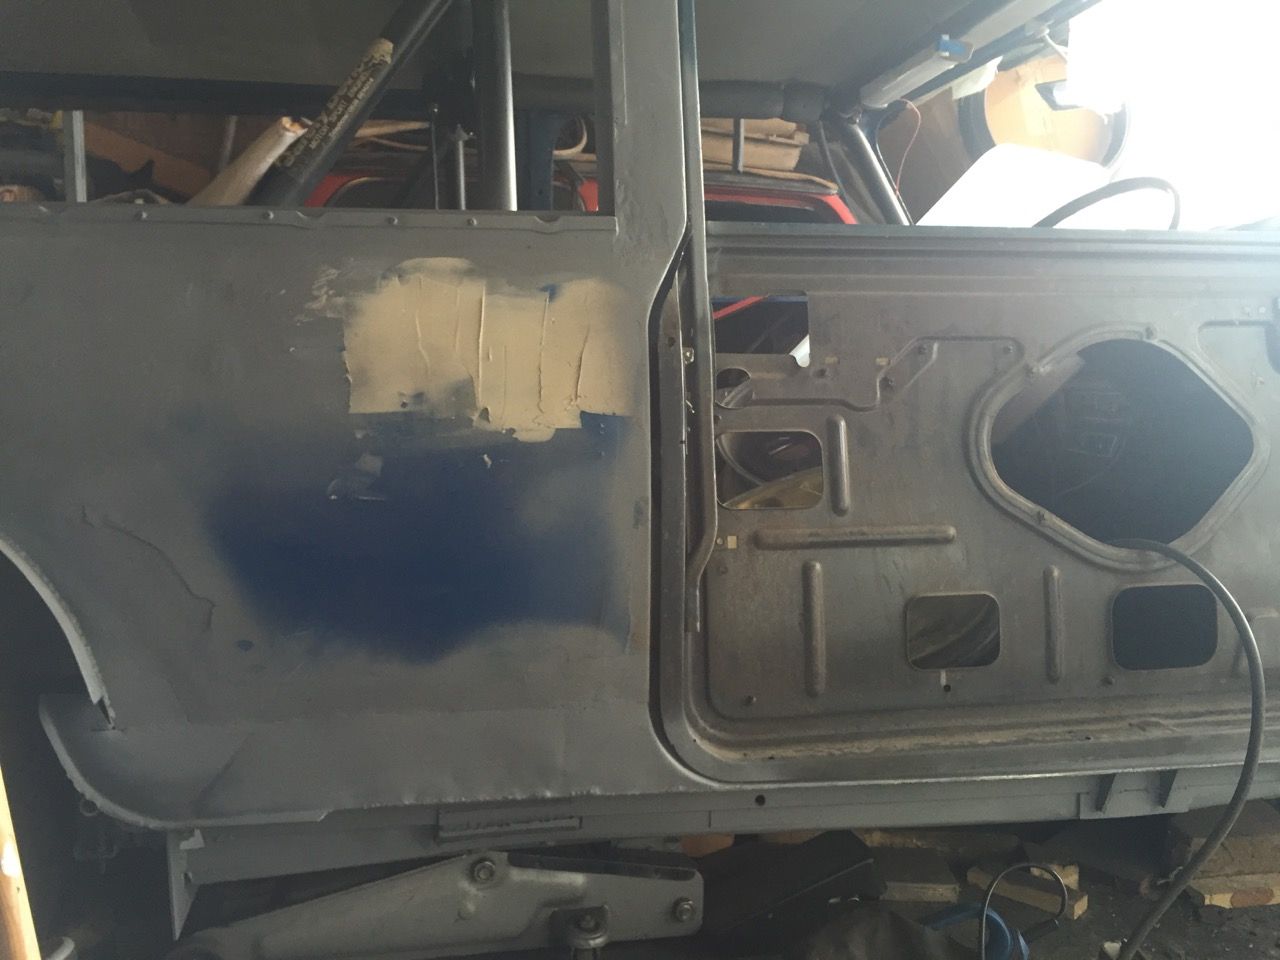
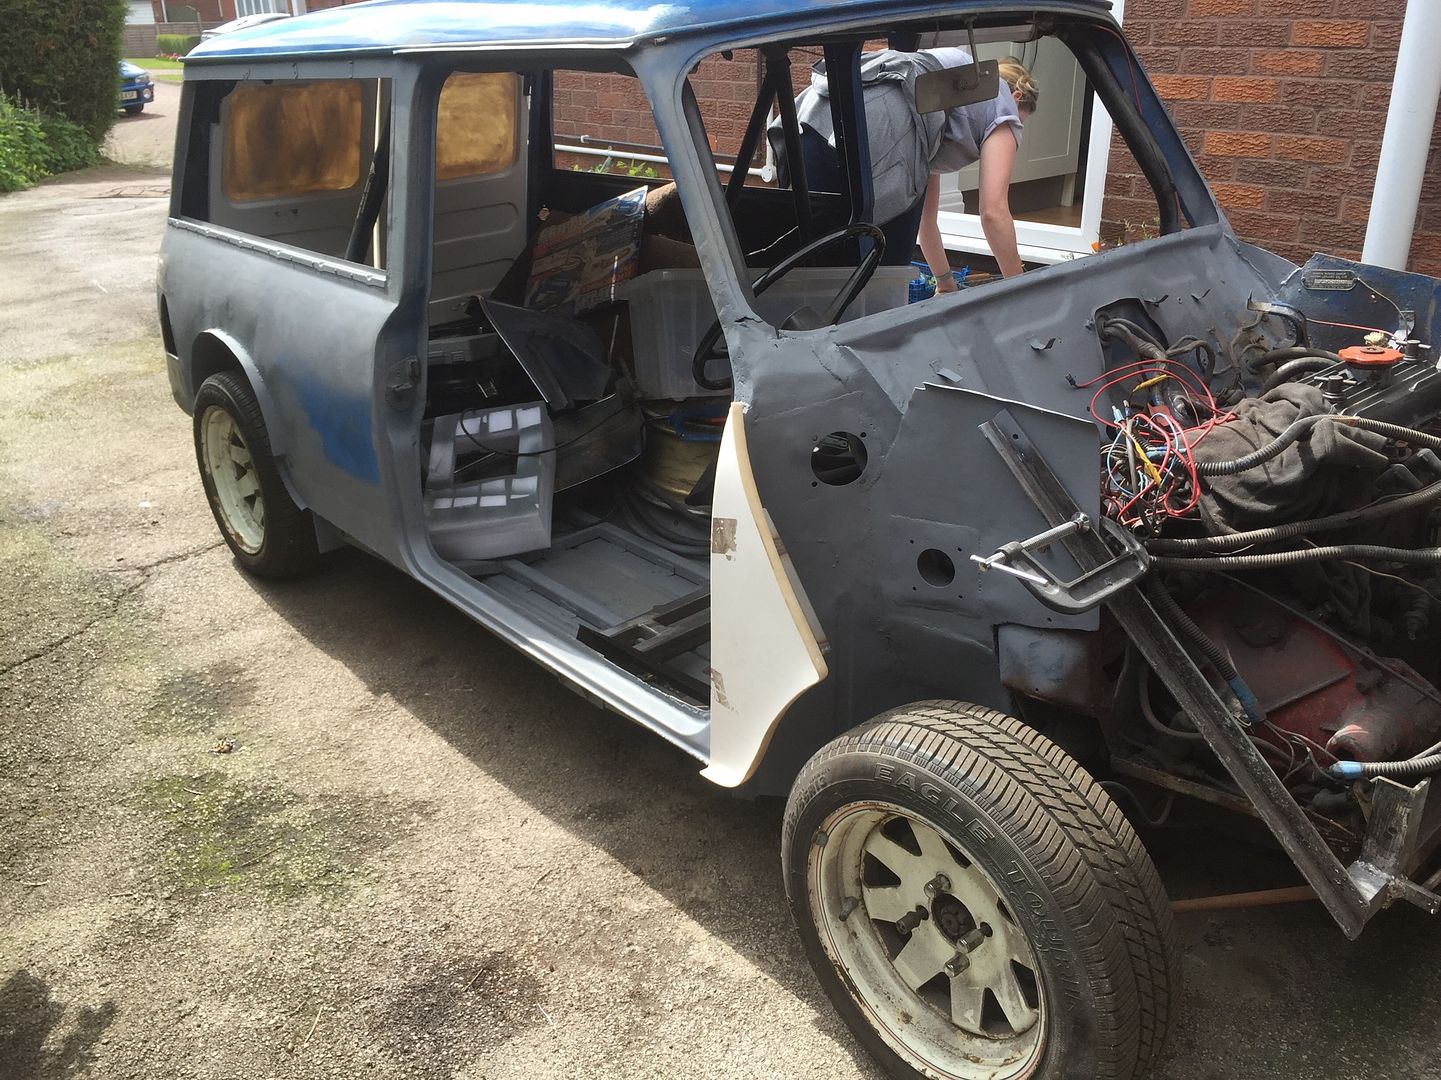
Here is my reskinned O/S door using a genuine heritage part. I have to say it was far easier to fit than I had imagined. I put the skin on with plenty of panel sealant so that as I crimped the flange it all oozed out nicely. No chance of water getting in that joint.

IMG_0244_zpso9bdtopq.jpgIMG_0243_zpsbikdafqg.jpg

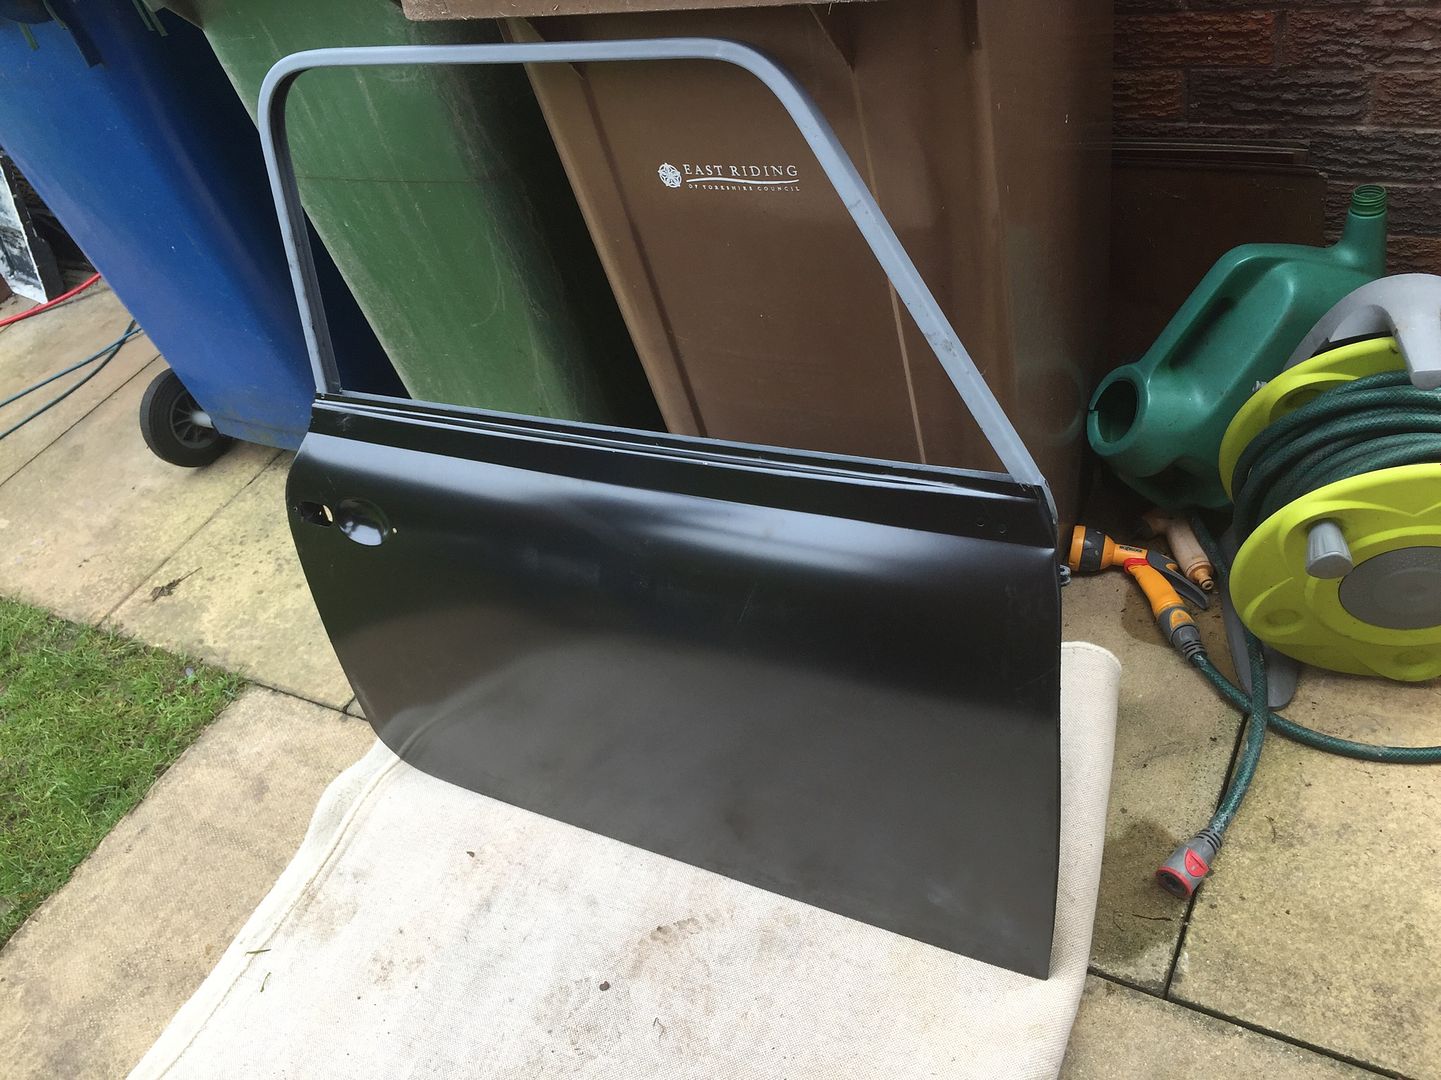
The N/S door needs a repair to the bottom. It looks like someone reskinned it in the past and did a poor job of protecting the metal so the tin worm won.


So car turned around again and only the N/S door pillar, inner wheel arch and floor to fit; oh and a roll cage mount and a windscreen scuttle and an A-panel and a door skin and close the rear side,.......................and door bars and harness bar and cage diagonal....................and the shell is finished!

Time for a stiff drink!


Edited by Itsjustanestate, 26 October 2016 - 07:52 PM.


#36 minimissions

minimissions

    Up Into Fourth

  • Members
  • PipPipPipPipPipPipPipPipPip
  • 3,427 posts
  • Location: North West
  • Local Club: M.M.O.C

Posted 27 October 2016 - 05:44 AM

Nice work this is really coming along now :)


#37 Itsjustanestate

Itsjustanestate

    On The Road

  • Noobies
  • PipPip
  • 43 posts
  • Location: Hull

Posted 13 November 2016 - 09:11 PM

Back to cutting and welding. I wasn't happy with the N/S door pillar so I decided to surgically remove it and weld another in. 30mins with some power tools and this is what you end up with.

IMG_0247_zps4z9atdba.jpg


Sick of cutting with the angle grinder the next job was to notch some seamless CDS tube to fabricate a bulkhead mount point for the roll cage.


IMG_0248_zpsdpveisaq.jpg


Then weld a foot on to the tube end.

IMG_0250_zps2k9ke8au.jpg


It fits here.

IMG_0249_zps2me6r4ll.jpg


And after an hour working upside down. All welded in.

IMG_0252_zpseoqfobl9.jpg

IMG_0253_zps3yyori2m.jpg


Next job fit a door pillar!


#38 Itsjustanestate

Itsjustanestate

    On The Road

  • Noobies
  • PipPip
  • 43 posts
  • Location: Hull

Posted 05 February 2017 - 04:05 PM

Time for the next installment of welding!

Next job give the old girl a n/s door pillar after I got over zealous with the cutting discs.


IMG_0255_zpsezh7xs2r.jpg

Fts like a glove!


A few minutes with the TIG torch and the door pillar lives again.

IMG_0258_zpsr23isvel.jpg


Well at least half the door pillar lives as it still needs the inner wing and inner closing panel but what you don't see is the 20mm box section running inside it.


Next on my list of awkward welding positions was to fit a door step and lower rear side.


IMG_0260_zpsqvclmzbq.jpg


IMG_0259_zpsryiub9hn.jpg


All tacked to the panel. Just need seam welding up! But before I got too excited about about 8ft of TIG welding I trial fitted the inner wing.


IMG_0263_zpsh1cilimd.jpg

Seems to fit nicely so on to some welding!


IMG_0264_zpsebbq4mvn.jpg

An hour or two later and it is TIG welded at the rear. Just about 6ft of TIG welding to go.


Finish this off in the next post when I have managed to straighten up the back after all the welding sat on the floor.


0 user(s) are reading this topic

0 members, 0 guests, 0 anonymous users