Jump to content


Photo
- - - - -

1989 White Mayfair - Amateur Turbo Build


  • Please log in to reply
96 replies to this topic

#1 MaxDempsey

MaxDempsey

    Mini Mad

  • Noobies
  • PipPipPipPip
  • 136 posts
  • Location: Essex

Posted 28 May 2016 - 05:18 PM

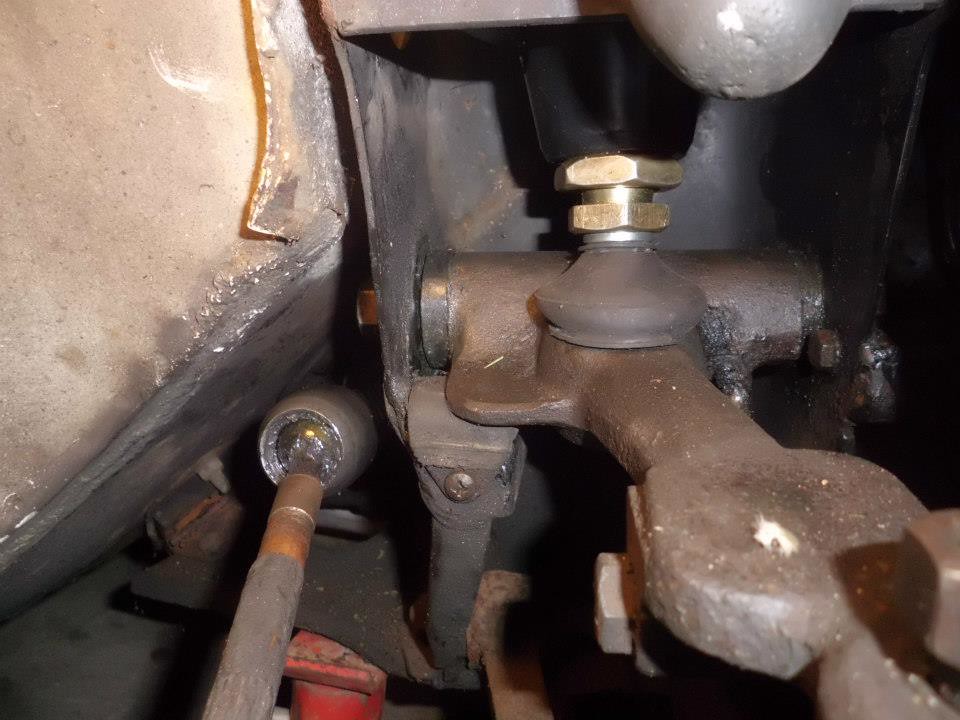
Since I finished my final sixth form exams last week I decided it was time for me to make a thread showing my work on my Mini. I bought it (with the help of my parents who have since been paid back and after years of saving) in 2010 when I was 12 as a road worthy slightly tatty Mayfair which had started as an auto but had at some point been converted to manual. The plan was to keep the car road worthy for me learn in. First job though was to fit Italian Job Style lights! It failed the first MOT under my ownership with two pages so slowly we fixed everything, which included new front cones and HiLos, various gaiters and having the steering rack spline re cut. It eventually passed the MOT but soon after wouldn't start. After messing around for ages with new distributor parts it was discovered that the dizzy itself was worn so that solved the issue.


Bodywork wise I have rubbed down some areas of surface rust and painted them and as a temporary fix until I can weld used filler between the front panel and wing where it had dropped and rusted away to keep it looking okay. I hope to learn to weld in my apprenticeship I'm started this year and an engine builders and general engineering workshop. 


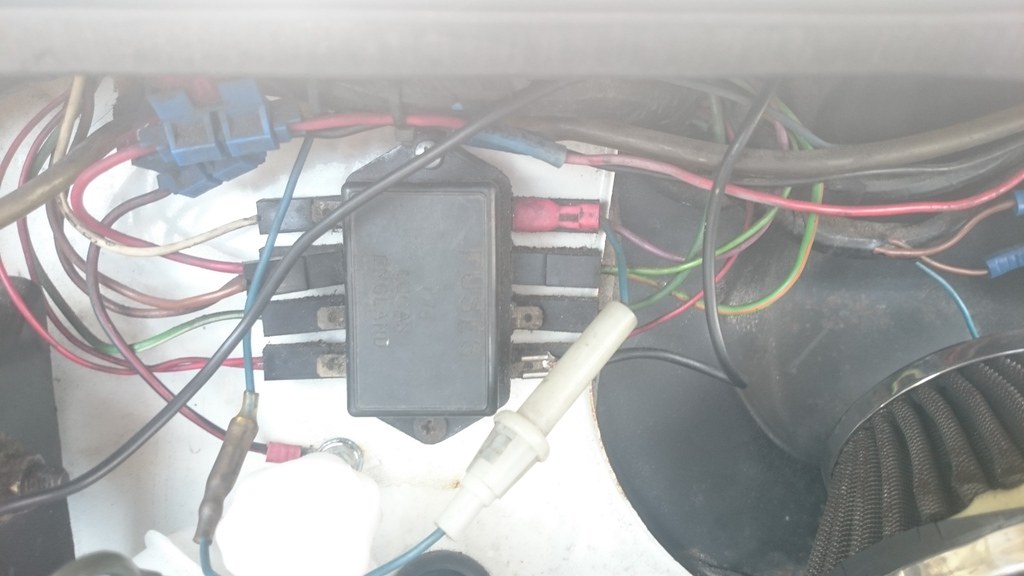
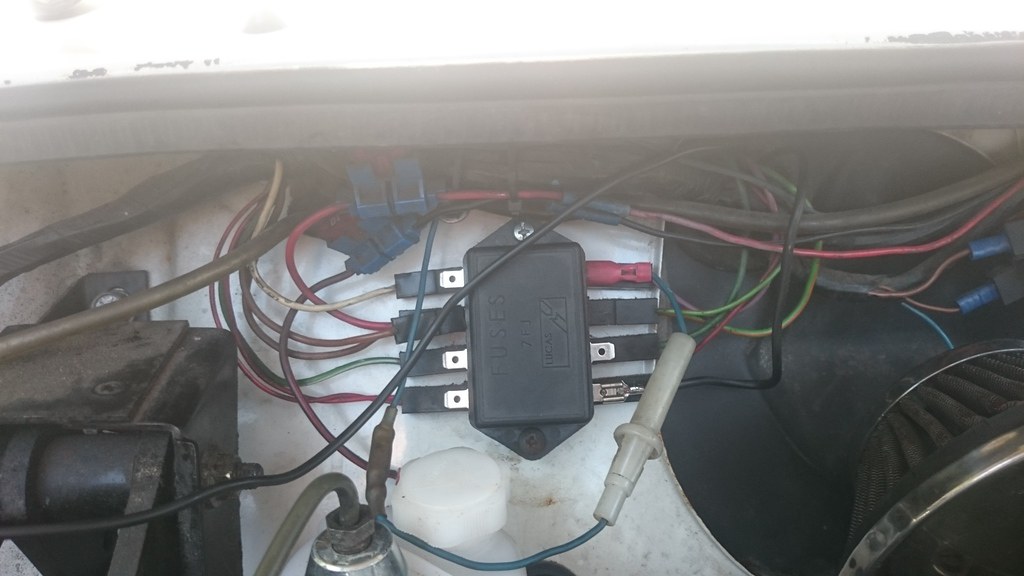
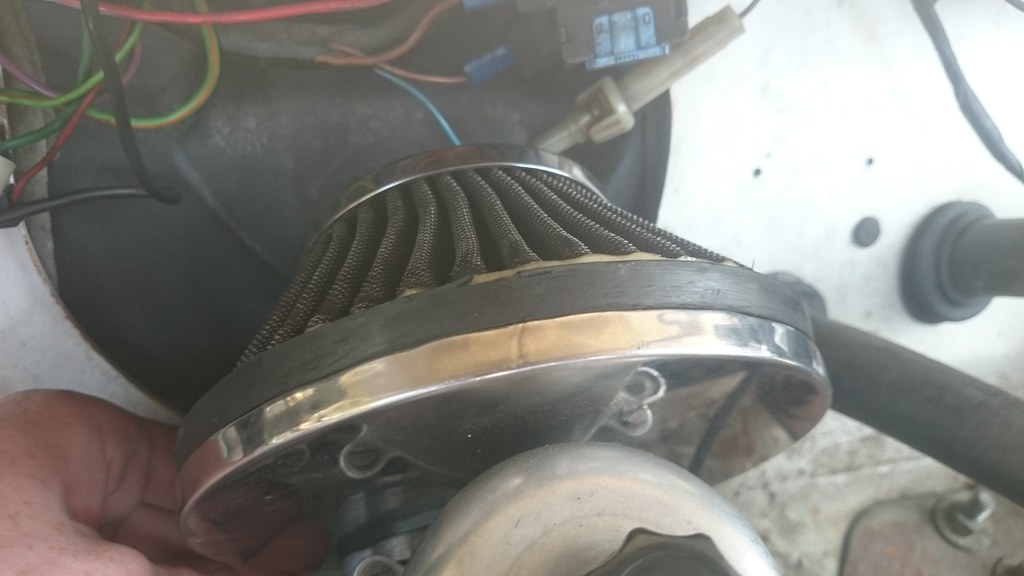
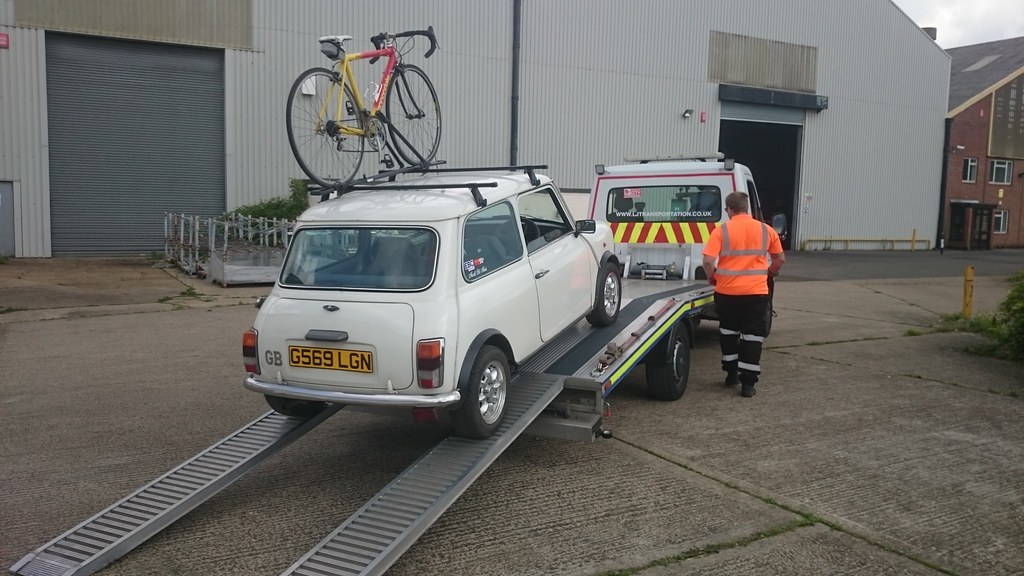
In the last couple of years or so I have got to the point where I have gained enough understanding and confidence to work on the car myself which has helped speed up the rate at which jobs are done. I learnt to drive in the Mini mid way through last year and drove it school daily for a couple of months before facing issues. Whenever I stopped it cut out and then my headlight dim dip relay failed so I took it off the road for what I planned to be a short amount of time. Due to exams it ended up being 6 months! In that time I rebuilt the carb, did the head gasket and reconditioned the head, fitted a new clutch master cylinder and bypassed the head light relay. I then took it for an MOT and it failed on brakes so I decided since I wanted to do it eventually to do the cooper s conversion. This was 3 days before L2B. I did the conversion and got the MOT at 3pm on the Friday before L2B and the Mini made in to London, and then to Brighton and back without any issues.


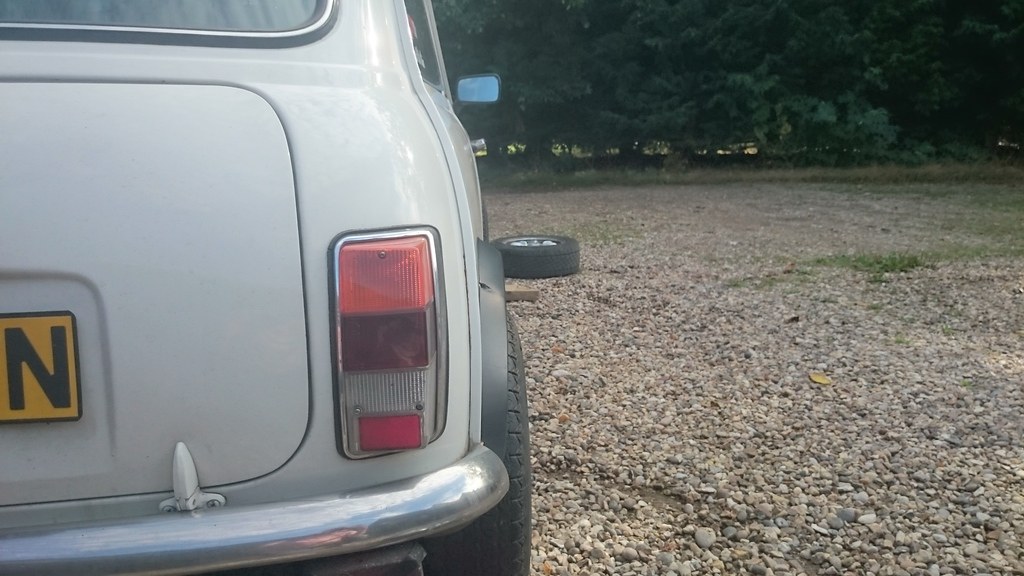
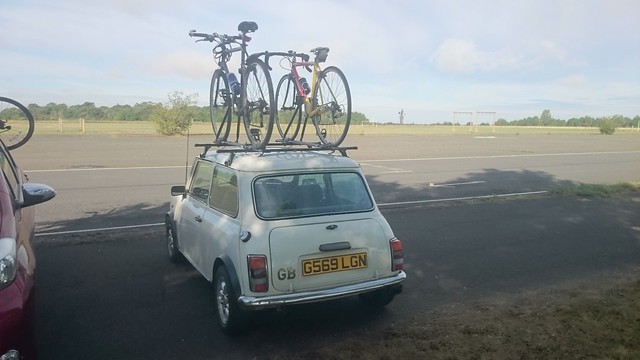
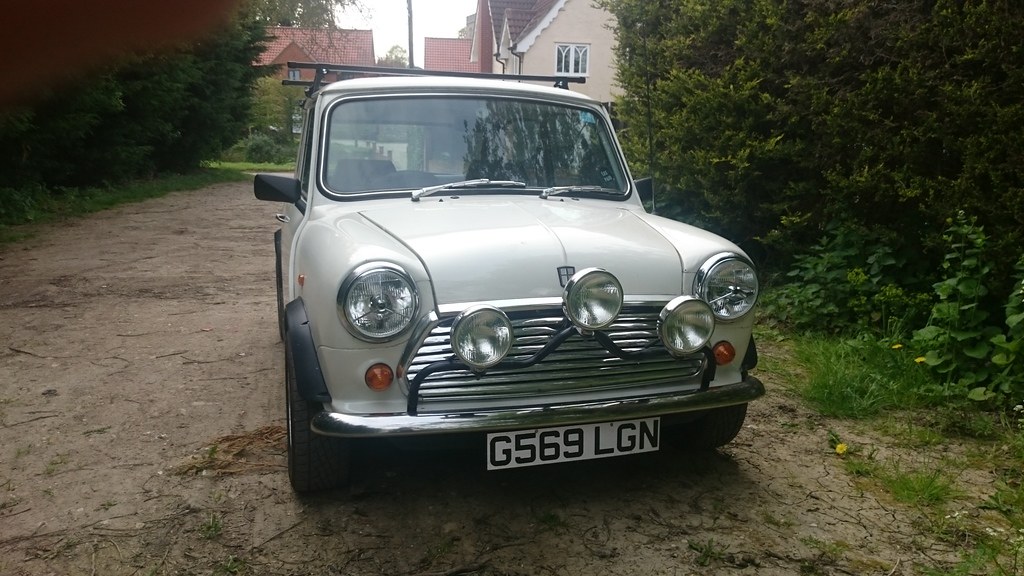
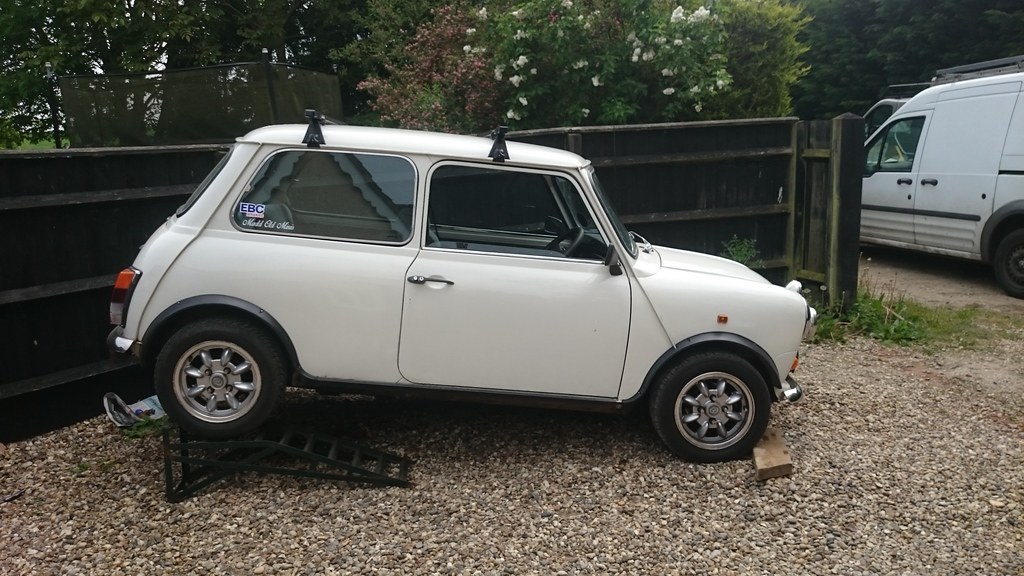
As the Mini stands now


35407213554_b60be04898_b.jpgMini by Max Dempsey, on Flickr


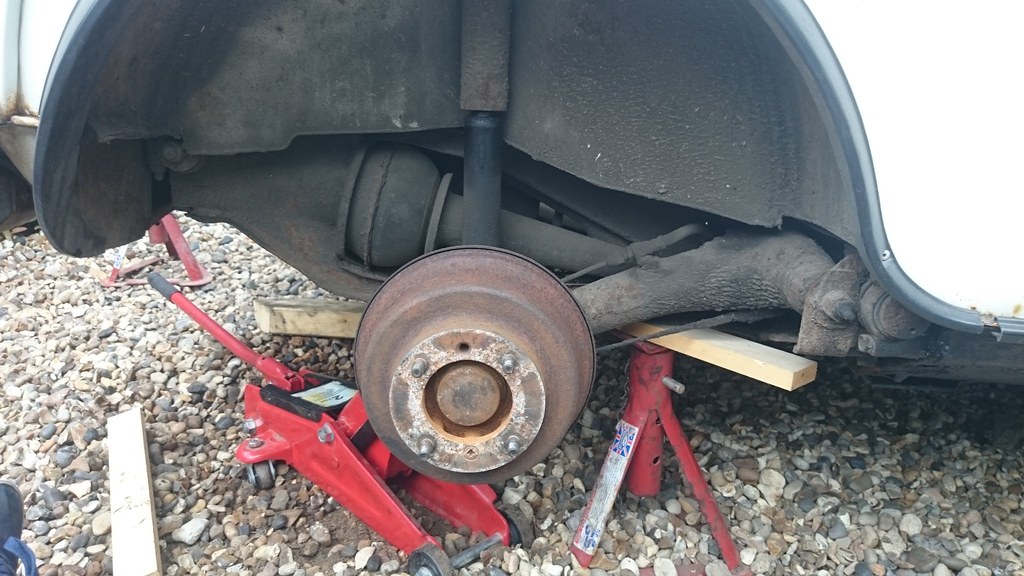
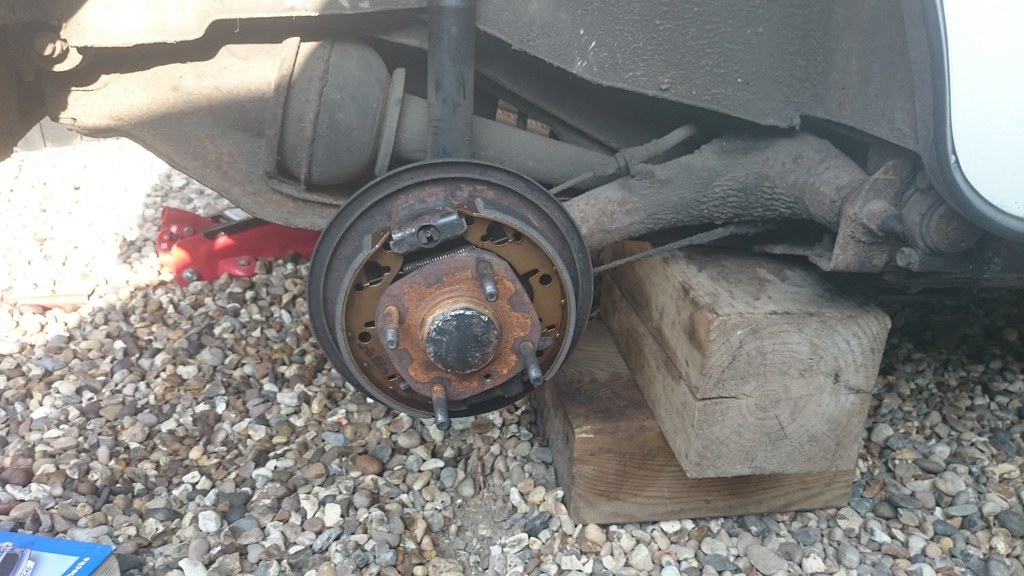
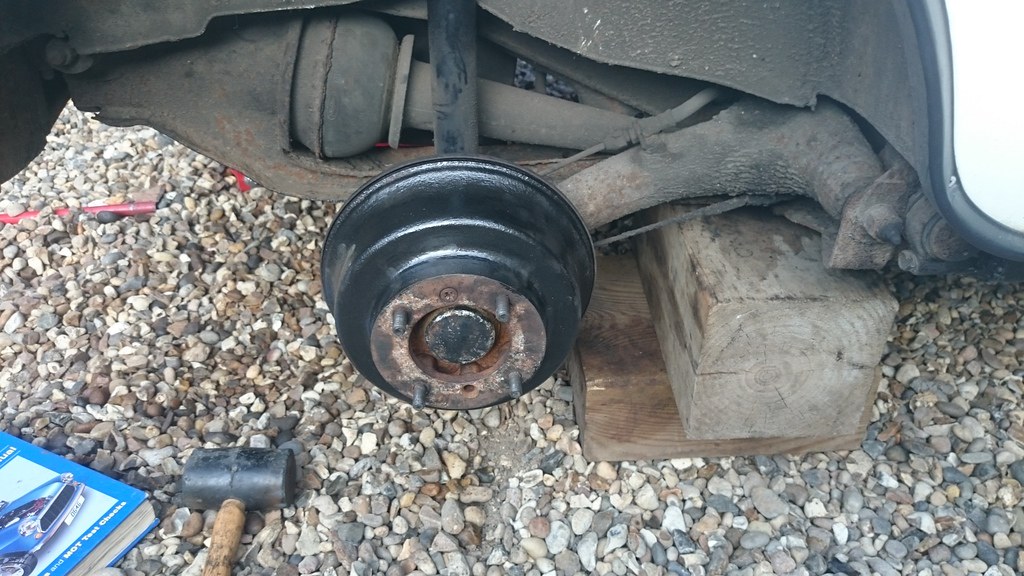
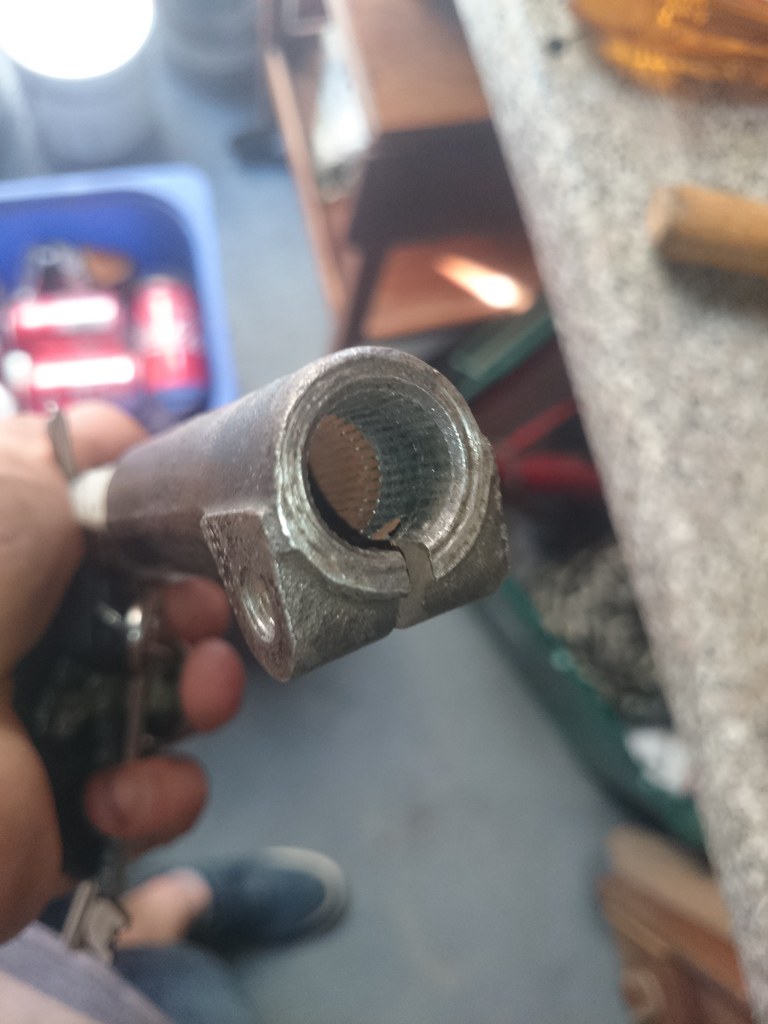
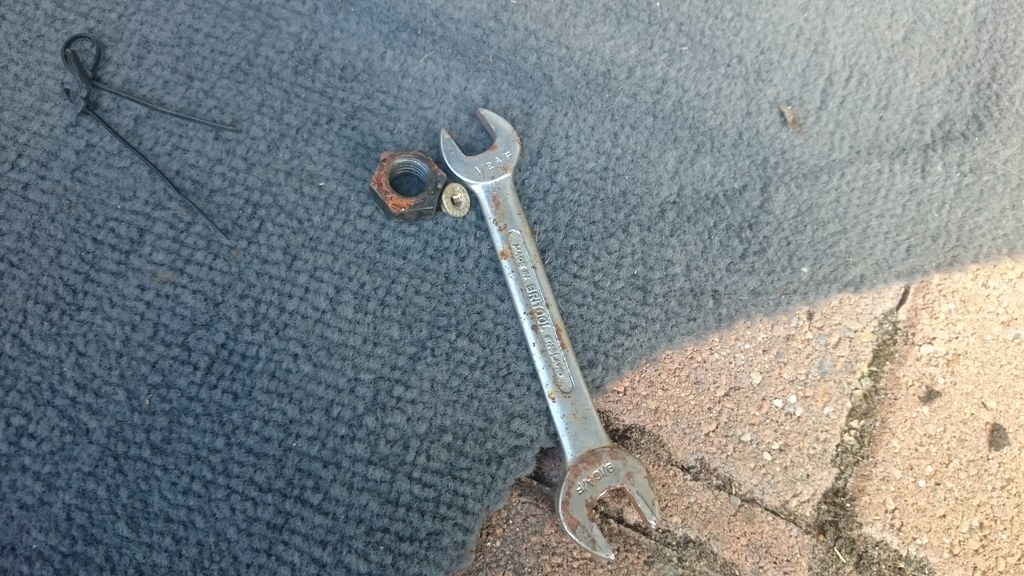
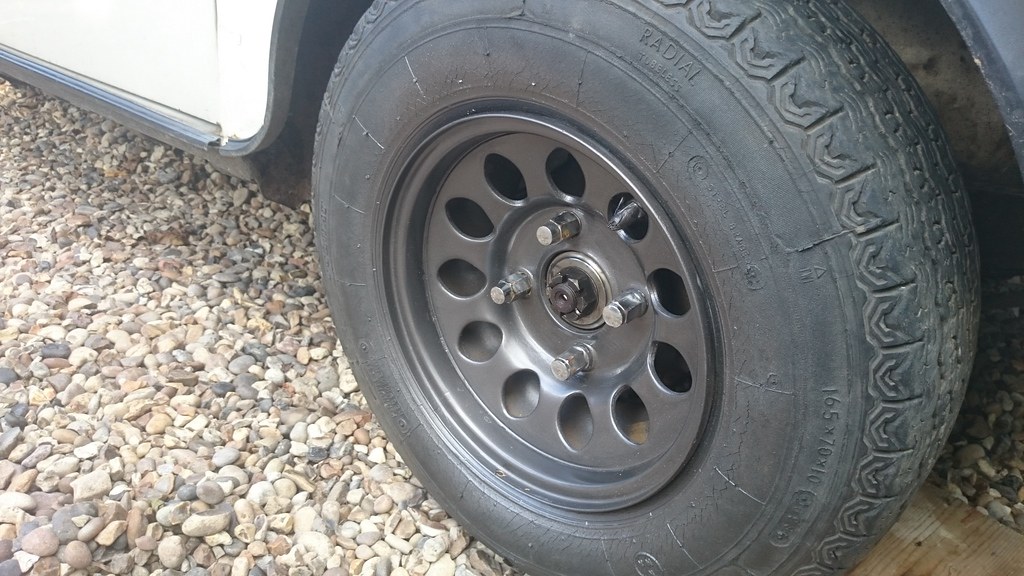
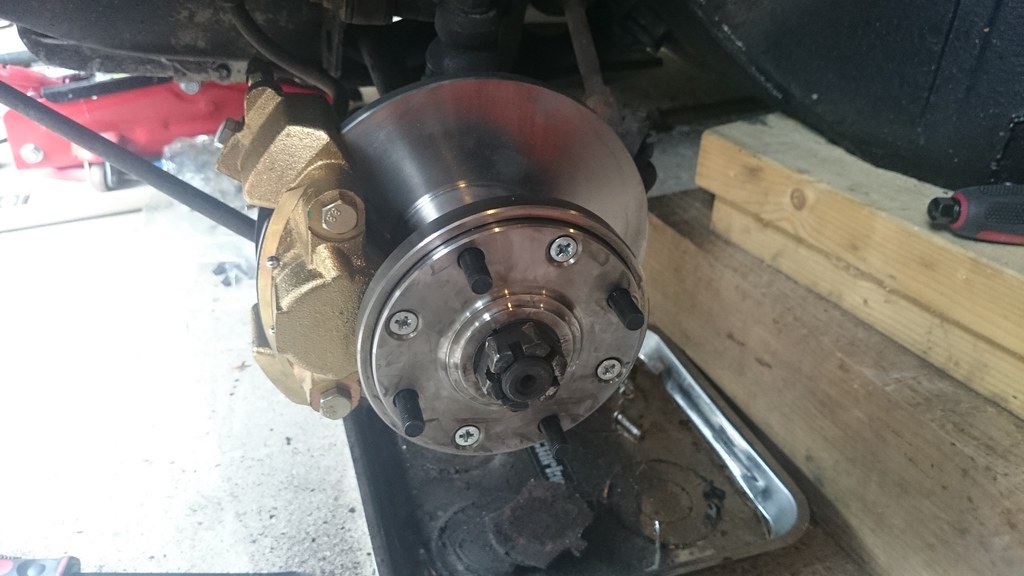
The new brakes - (I have fitted the split pin)


36074203552_e0fab4b195_b.jpgMini by Max Dempsey, on Flickr


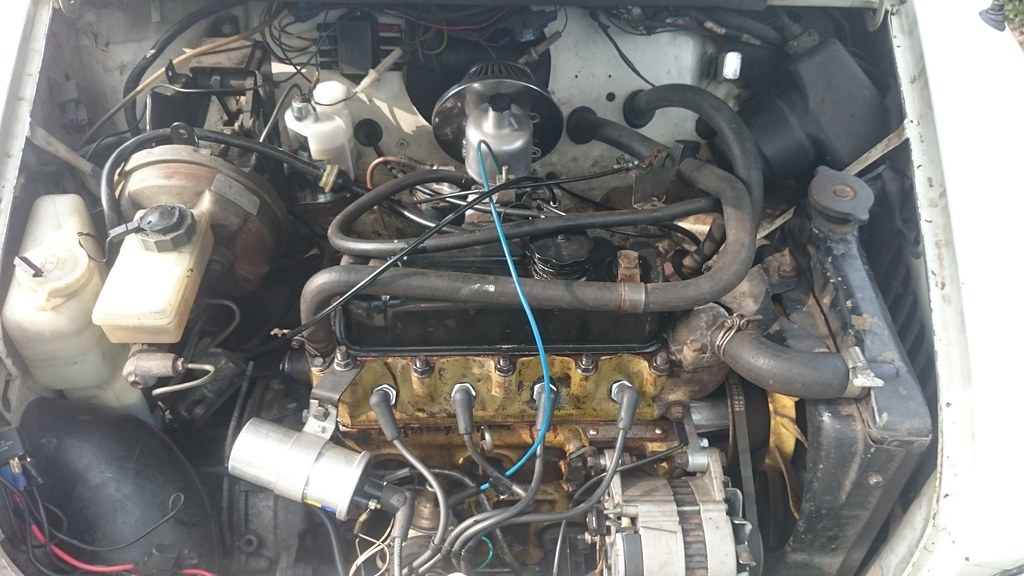
Tatty but functioning engine


35435746923_0065fe983e_b.jpgMini by Max Dempsey, on Flickr


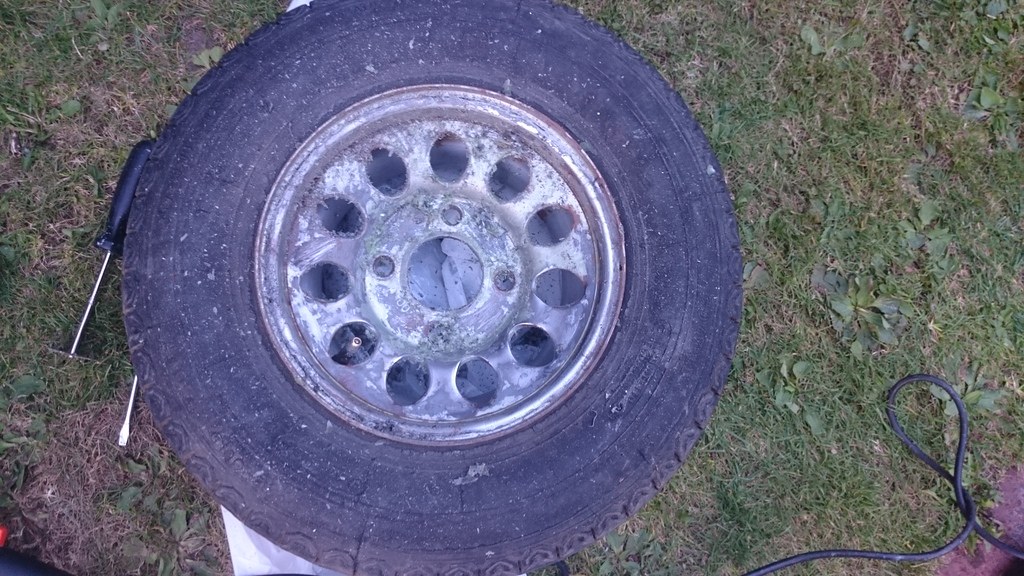
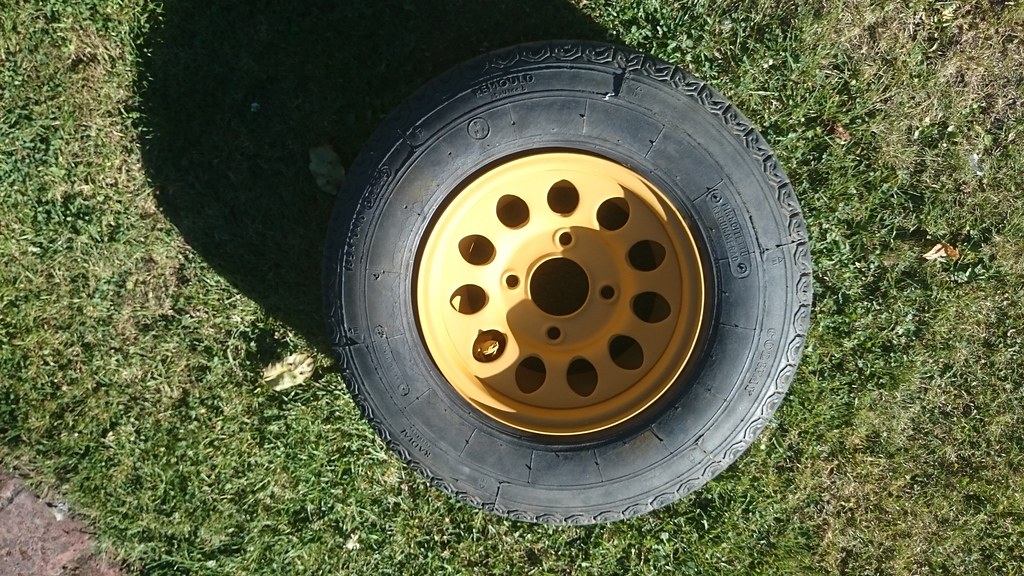
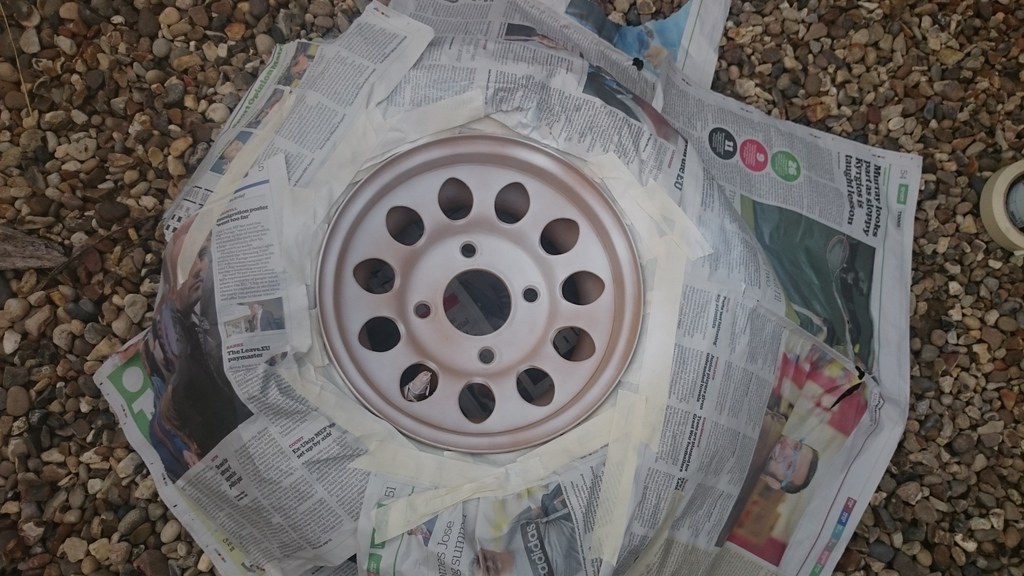
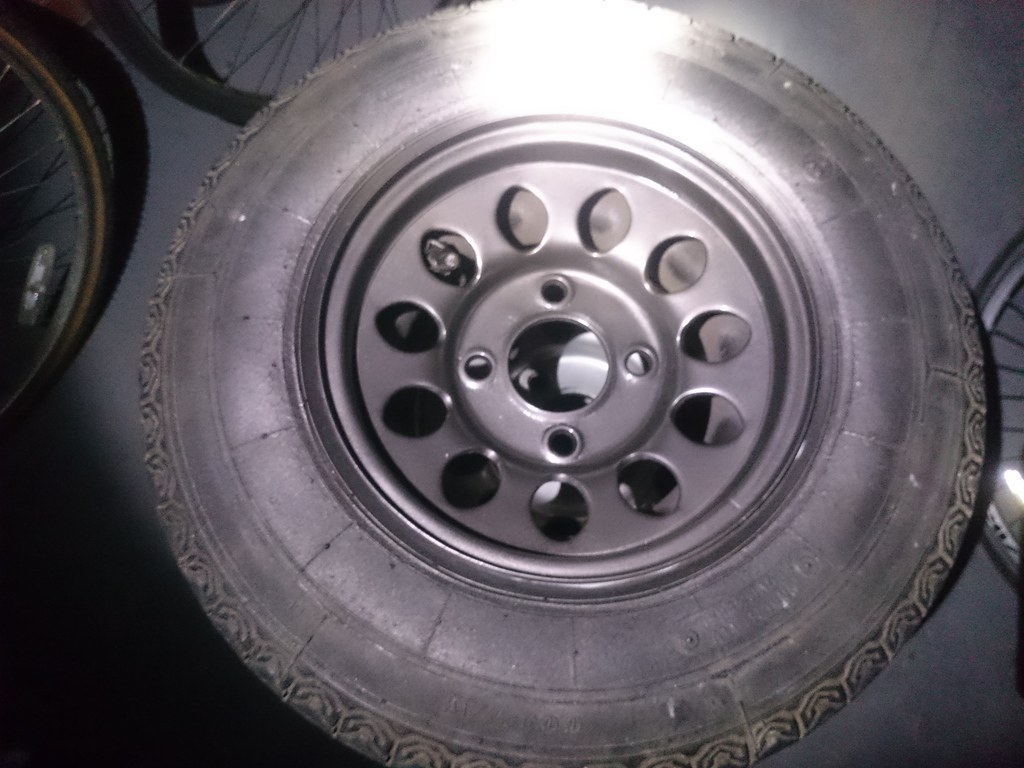
My future plans are to have it rolling roaded (booking for end of next month), fit ten inch wheels and it really could do with one new sill, one wing, both A panels and a new front end quarter as well as various patches.


Edited by MaxDempsey, 27 August 2017 - 05:51 PM.


#2 MaxDempsey

MaxDempsey

    Mini Mad

  • Noobies
  • PipPipPipPip
  • 136 posts
  • Location: Essex

Posted 28 May 2016 - 05:29 PM

In order to keep the rust under control today I have been rubbing down and painting the rear subframe and both out sills ideally the O/S sill could do with replacing but until I can weld and afford it I have just tidied it up.


36241095675_cb018dce72_b.jpgMini by Max Dempsey, on Flickr


35848372640_f30bef3792_b.jpgMini by Max Dempsey, on Flickr


36074200942_6918021098_b.jpgMini by Max Dempsey, on Flickr


Edited by MaxDempsey, 27 August 2017 - 05:54 PM.


#3 Zeemax Adventure

Zeemax Adventure

    Speeding Along Now

  • TMF+ Member
  • PipPipPipPipPip
  • 301 posts
  • Location: Llandudno

Posted 29 May 2016 - 06:32 AM

Nice mini you have there :) Ahhh the joys of mini ownership, you fix one thing then something else goes wrong :(


#4 slidehammer

slidehammer

    One Carb Or Two?

  • Members
  • PipPipPipPipPipPipPip
  • 1,081 posts
  • Location: Surrey
  • Local Club: LSMOC

Posted 29 May 2016 - 07:39 AM

Nice looking Mini, looks like the basis of a nice daily driver that can tidied up as a when. Mai thing it is on the road being enjoyed.


#5 MaxDempsey

MaxDempsey

    Mini Mad

  • Noobies
  • PipPipPipPip
  • 136 posts
  • Location: Essex

Posted 29 May 2016 - 08:48 AM

Nice mini you have there :) Ahhh the joys of mini ownership, you fix one thing then something else goes wrong :(


Thanks  :D 
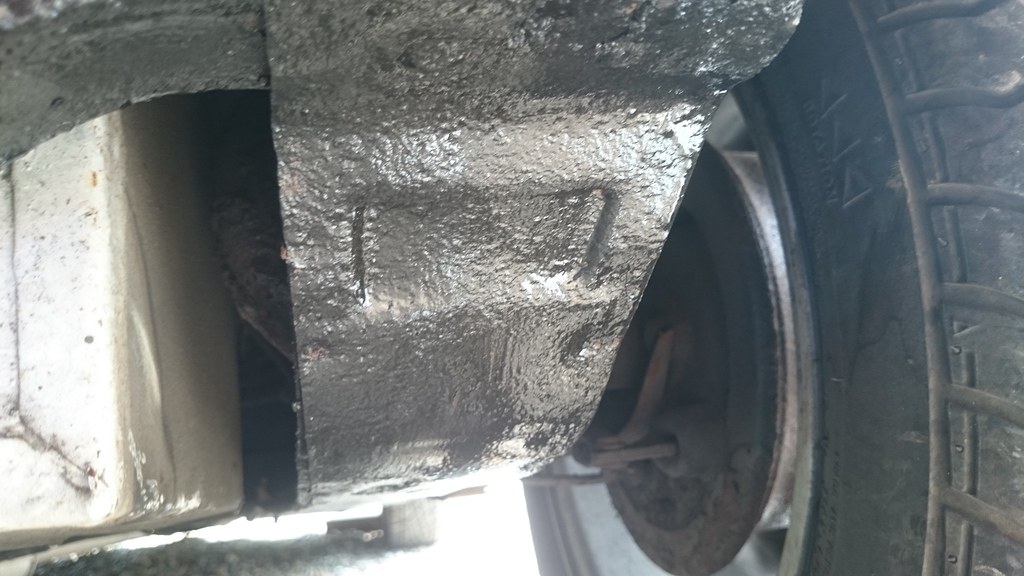
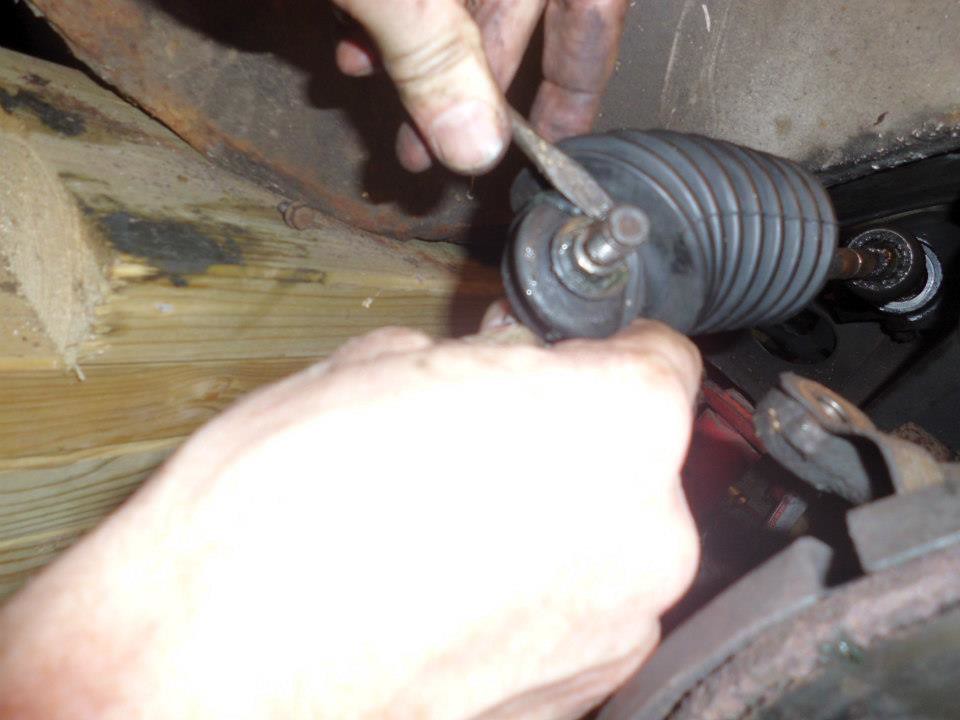
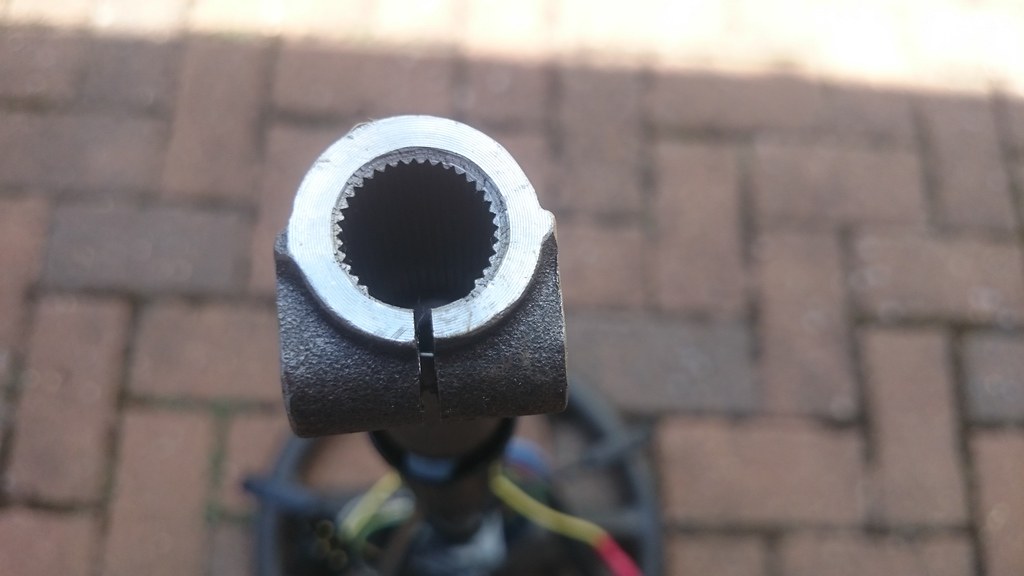
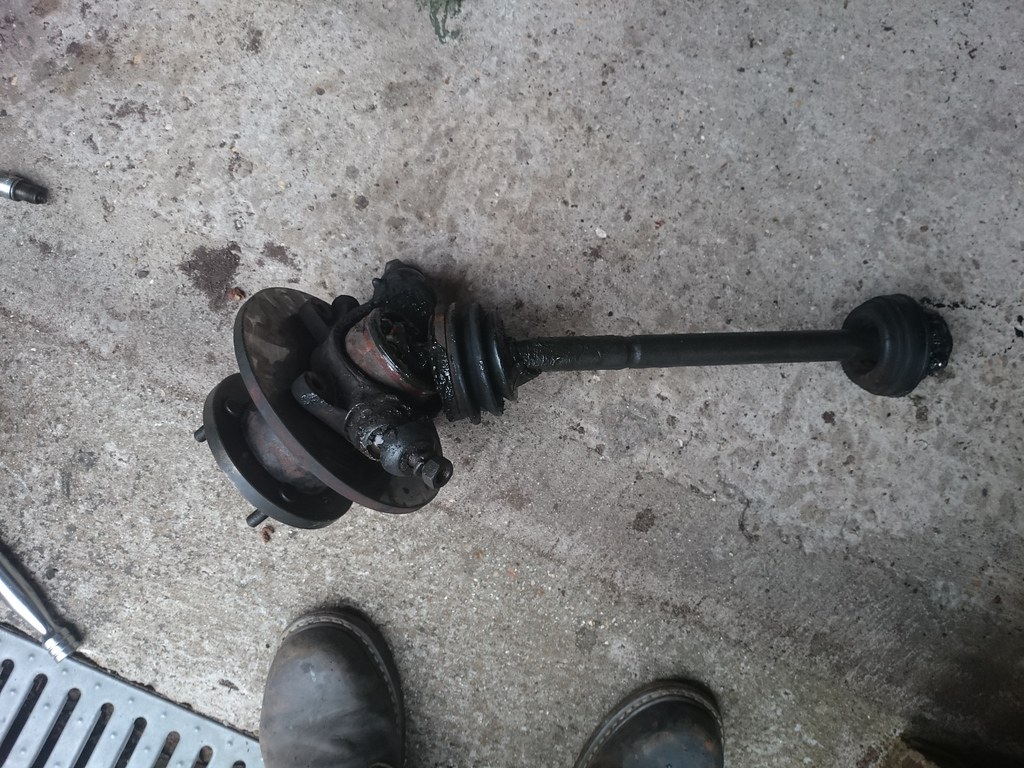
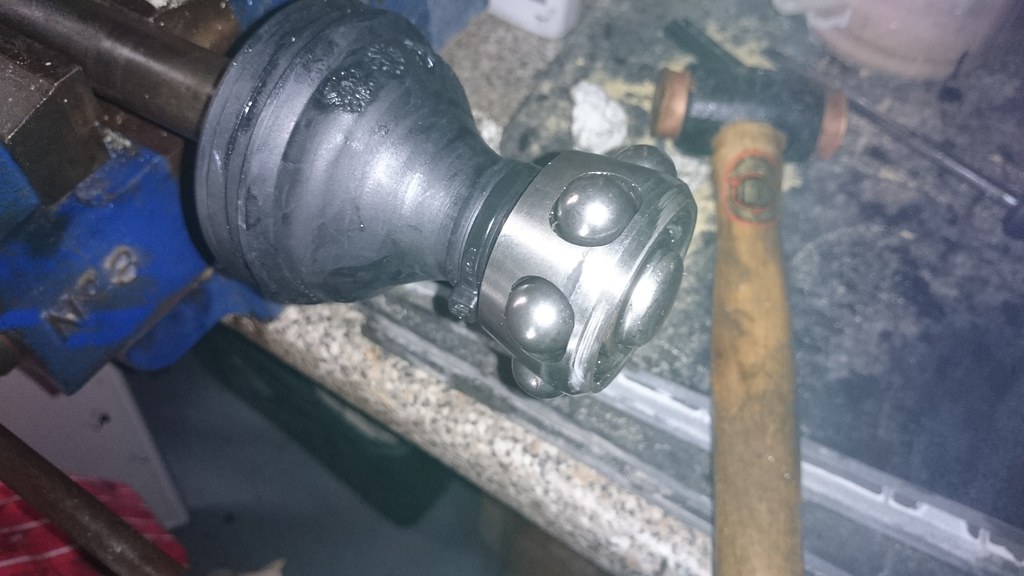
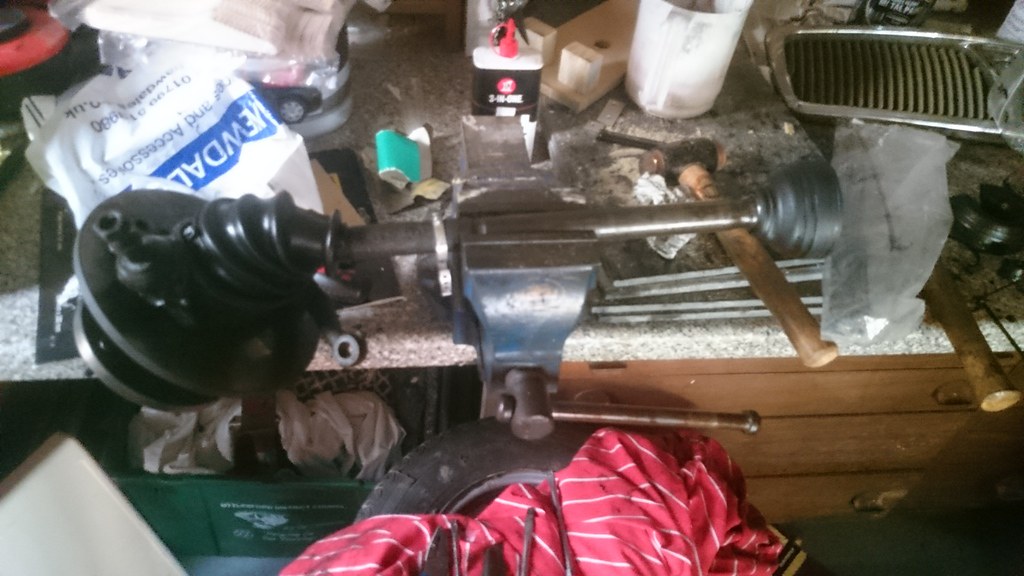
on that note I have just discovered that one of the outer CV gaiters has split so that's a job for after the bank holiday when I can get the part.

Nice looking Mini, looks like the basis of a nice daily driver that can tidied up as a when. Mai thing it is on the road being enjoyed.

Thank you, fundamentally it is solid and reliable just needs tidying up as you say.


#6 MaxDempsey

MaxDempsey

    Mini Mad

  • Noobies
  • PipPipPipPip
  • 136 posts
  • Location: Essex

Posted 29 May 2016 - 05:57 PM

Today's job was to replace the rear brake shoes. Since the fronts are all new I thought it would be good to renew the rears as well so they are all done. It took hours to do one side but then twenty minutes to do the other as I had learnt the technique to removing the drums and shoes. I did however notice that the old shoes did have a fair amount of meat left on them but since I had it apart no reason not to change them.


Drum before I started


35848392900_f8f6524a11_b.jpgMini by Max Dempsey, on Flickr


New shoes fitted


35435734833_b7e1b3983e_b.jpgMini by Max Dempsey, on Flickr


Finally I gave the drums a quick coat of paint which I've been meaning to do for ages as they looked rubbish through the wheels.


35435741903_bf15c674a8_b.jpgMini by Max Dempsey, on Flickr


I then did the other side  :proud:


Edited by MaxDempsey, 28 August 2017 - 08:22 PM.


#7 Vinay-RS

Vinay-RS

    Put's foolish ideas in peoples heads

  • Members
  • PipPipPipPipPipPipPipPipPip
  • 2,093 posts
  • Location: Cape Town

Posted 30 May 2016 - 07:53 AM

Really nice car and a good set of upgrades that you're doing to it. I think the learning process when doing jobs on a mini is part of the fun  :-)


#8 MaxDempsey

MaxDempsey

    Mini Mad

  • Noobies
  • PipPipPipPip
  • 136 posts
  • Location: Essex

Posted 30 May 2016 - 03:43 PM

Really nice car and a good set of upgrades that you're doing to it. I think the learning process when doing jobs on a mini is part of the fun  :-)


Thanks, one big thing I learnt which was quite embarrassing was realising that as well as being a sort of square cam the drum brake adjuster also goes in and out for further adjustment. Took a lot of effort to take the drum off and fit the new one before I realised that  :lol:


#9 slidehammer

slidehammer

    One Carb Or Two?

  • Members
  • PipPipPipPipPipPipPip
  • 1,081 posts
  • Location: Surrey
  • Local Club: LSMOC

Posted 30 May 2016 - 04:52 PM


Really nice car and a good set of upgrades that you're doing to it. I think the learning process when doing jobs on a mini is part of the fun  :-)


Thanks, one big thing I learnt which was quite embarrassing was realising that as well as being a sort of square cam the drum brake adjuster also goes in and out for further adjustment. Took a lot of effort to take the drum off and fit the new one before I realised that  :lol:


He who never made a mistake never made anything, we are all learning all the time, however many years we have been playing with these little beasts.


#10 MaxDempsey

MaxDempsey

    Mini Mad

  • Noobies
  • PipPipPipPip
  • 136 posts
  • Location: Essex

Posted 05 June 2016 - 01:40 PM

Since it's been on the road I've had small electrical issues such as my horn, lights flash and radio all going off. I saw that they were on fuse two, took the fuse out and attempted to clean up the contacts. Put the fuse back in and it worked. Then yesterday my indicators stopped working so did the same to fuse 1 and it worked again until the next junction. The old fuse box was pretty crudded up and a mess so I decided to fit  a new one. My indicators were also pretty slow and although a new flasher unit sped them up it had been suggested on the forum that a new fuse box could speed them up as well.


It was a pretty simple job and I tried to tidy up the wires a little and made sure each connection was going to the right terminal as per a list I found on the forum.


Firstly I covered the back of the box in vaseline to protect it from corrosion


36199601836_1c86cb1daa_b.jpgMini by Max Dempsey, on Flickr


The old fuse box


35848368480_648b9abf6d_b.jpgMini by Max Dempsey, on Flickr


The new one in place with slightly tidied wires


36199604756_3690d25f07_b.jpgMini by Max Dempsey, on Flickr


While doing this I noticed my air filter had come apart which I think is caused by it previously knocking on the bulkhead, I have since machined down the spacer at a local workshop but I think I will need to fit an adjustable engine steady to wind it forward more. Means I can't really drive it until I get a new air filter. I'm just worried how long its been like that 


35407209674_29dc1953b3_b.jpgMini by Max Dempsey, on Flickr


The plate has bent so it's not just a case of popping it back in, the rubber has also come away from the outside. The nut had worked its way off.


Edited by MaxDempsey, 28 August 2017 - 08:25 PM.


#11 MaxDempsey

MaxDempsey

    Mini Mad

  • Noobies
  • PipPipPipPip
  • 136 posts
  • Location: Essex

Posted 05 June 2016 - 01:48 PM

I've also found a couple of photos of the suspension work my Dad and I did a few years ago.


Old cone it failed the MOT on


36480593010_60ddffebf4_b.jpg384693_451274038228553_240350599_n_zpszl0ebnok by Max Dempsey, on Flickr


We fitted HiLos at the same time


36042693684_bb06776528_b.jpg430973_498005846888705_1844198073_n_zpsxatoiz7g by Max Dempsey, on Flickr


The track rod end was seized and with only access to a paint heat gun we couldn't get enough heat into it to separate the two nuts. In the end we used a slightly unorthodox method and eased the gaiters over being careful not to split them.


36068407773_86d2eaf422_b.jpg182367_498004423555514_2001002951_n_zpssfulxzvw by Max Dempsey, on Flickr


Sure this isn't approved of but it worked so can't see an issue and has passed various MOT's since  :proud:


Edited by MaxDempsey, 28 August 2017 - 08:28 PM.


#12 MaxDempsey

MaxDempsey

    Mini Mad

  • Noobies
  • PipPipPipPip
  • 136 posts
  • Location: Essex

Posted 06 August 2016 - 04:07 PM

So this was how the Mini made it back from my holiday...


36199591036_bcf534fbe8_b.jpgMini by Max Dempsey, on Flickr


The steering column splines had worn and I didn't want to risk driving it home as I'd heard stories of people loosing steering completely so after the play in my steering increased rapidly I decided to have it towed home. I got home and took the column off and saw, as expected, that the spline had smooth spots on it. Also on removing the inner column from the outer the bushes fell out and were fairly chewed up so I decided for the price it was worth replacing them.


36240912955_a6e49760ed_b.jpgMini by Max Dempsey, on Flickr


A quick trip to Mini Spares and I bought a new inner column, pinch bolt and bushes. The new spline.


36106942301_7c8d9c69b9_b.jpgMini by Max Dempsey, on Flickr


To fit it I loosend the U bolts on the rack and used a drill bit to align the rack as stated in haynes. I also left the U bolts loose while lining up the column to avoided ruining the splines after a few miles.


35435739423_3fa52e5419_b.jpgMini by Max Dempsey, on Flickr


Once the job was done I went to reconnect the battery and foolishly left my 10mm on the boot lid and it slipped between the two skins. I whipped off the bootlid and while tipping it up found another free spanner and various nuts and cable ties which was a nice suprise.


35407208094_25bcc5ebc0_b.jpgMini by Max Dempsey, on Flickr


The steering now has no play and lined up the column so the indicators actually self correct now which is a luxury I'm not used to when driving the Mini. The steering is heavier with the new bushes but I've read it'll lighten up and I don't think it is the splines meshing badly as I was careful to make sure I aligned it all properly.


Edited by MaxDempsey, 28 August 2017 - 08:32 PM.


#13 blueovalcraig

blueovalcraig

    Mini Mad

  • Members
  • PipPipPipPip
  • 193 posts
  • Location: Rothesay, Isle of Bute

Posted 08 August 2016 - 09:13 AM

  • Looks a great wee car


#14 MaxDempsey

MaxDempsey

    Mini Mad

  • Noobies
  • PipPipPipPip
  • 136 posts
  • Location: Essex

Posted 24 September 2016 - 08:22 PM

A few weeks back I bought some wheels, I had never seen any like them before. From looking on the wheel dictionary I think they are weller motorsports although 5x10. When I bought them the tyres were shot and the wheels were tatty but in usable condition. I thought I'd give them a lick of paint and stick them on the car but since I can't afford tyres for the moment I thought I'd spend a bit more time and take them to bare metal before painting.


Wheels as I bought them.


36199607156_4297e51d7e_b.jpgMini by Max Dempsey, on Flickr


Took them back to bare metal, tried nitromors but wouldn't get through the powder coat so in the end I spent hours with a wire wheel on a drill.


35435737543_2223d282a6_b.jpgMini by Max Dempsey, on Flickr


Then a coat of filler primer.


35435735163_6edddaa261_b.jpgMini by Max Dempsey, on Flickr


Then white primer.


36199697236_034eef9061_b.jpgMini by Max Dempsey, on Flickr


Then finally many coats of anthracite.


35848387270_45165ff78c_b.jpgMini by Max Dempsey, on Flickr


Although the tyres are knackered they held air long enough to test fit them.


35435582093_722b336757_b.jpgMini by Max Dempsey, on Flickr


Nice bit of poke.


36074204912_413561a4aa_b.jpgMini by Max Dempsey, on Flickr


I'm happy with the result and plan to stick red and blue weller stripes on them at some point. 

While fitting the wheels I was reminded that my outer CV gaiter was split so replaced that as well.


Removed the Driveshaft with the ripped gaiter.


36199584876_b61f292877_b.jpgMini by Max Dempsey, on Flickr


Couldn't knock the CV off the shaft so put the gaiter on the other end and also replaced the inner gaiter at the same time.


36106941821_3f13924257_b.jpgMini by Max Dempsey, on Flickr


36199692586_17de76c415_b.jpgMini by Max Dempsey, on Flickr


I took my younger brother on a charity bike ride which meant an excuse to stick two bikes on my roof :)


36199578516_0139467e6a_z.jpgMini by Max Dempsey, on Flickr


Thanks for reading.


Edited by MaxDempsey, 15 April 2018 - 06:57 PM.


#15 MaxDempsey

MaxDempsey

    Mini Mad

  • Noobies
  • PipPipPipPip
  • 136 posts
  • Location: Essex

Posted 24 September 2016 - 08:25 PM


  • Looks a great wee car


Thanks :) Just don't look too closely


0 user(s) are reading this topic

0 members, 0 guests, 0 anonymous users