Jump to content


Photo
- - - - -

Newbie Project - 'kubby'


  • Please log in to reply
38 replies to this topic

#1 jonlad

jonlad

    Speeding Along Now

  • TMF+ Member
  • PipPipPipPipPip
  • 313 posts
  • Location: Cheshire

Posted 25 June 2016 - 08:13 PM

Hi folks

I'm completely new to minis (other than friends owning them a few years back at college) but I've recently bought a project off a friend and I wanted to share the fun and also seek your advice as my build progresses! I've had plenty of fun playing with other cars and have always wanted a mini.


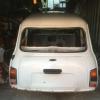
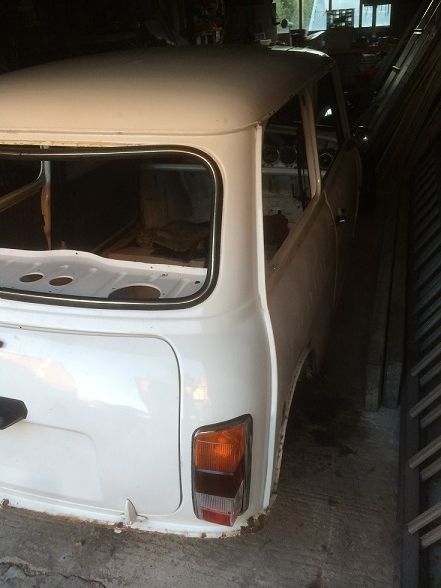
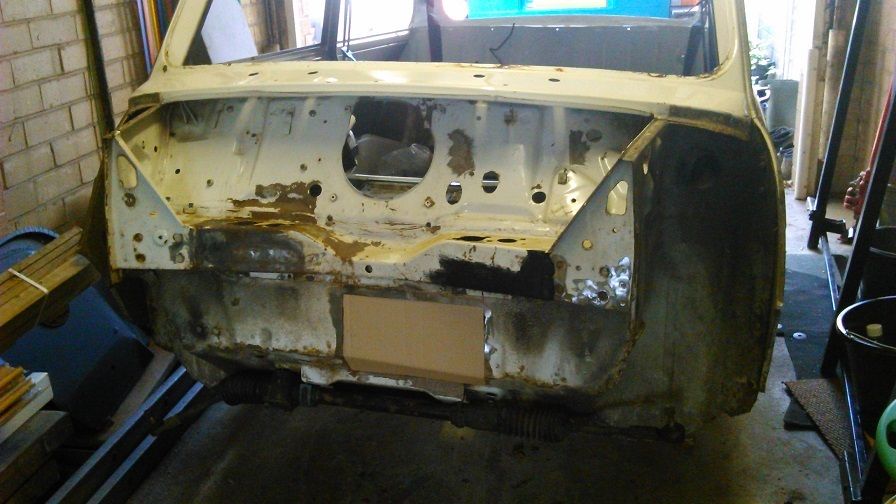
So I've bought a 1992 K reg Sprite - well a shell and some boxes of bits anyway. The friend I bought it off had planned to fit a vauxhall engine but I have more traditional plans. He had cut a big hole in the bulkhead for the new engine and had cut away inner and outer wings as he was planning a flip front.  I'm planning to get the body back in standard form and find a normal mini engine of some kind. I really like the 10" wheels and archless look so will hopefully be working towards that...  

IMG_2234_zps4p0mucko.jpg


d63741f1-5b19-4479-92f5-57528965c04d_zps


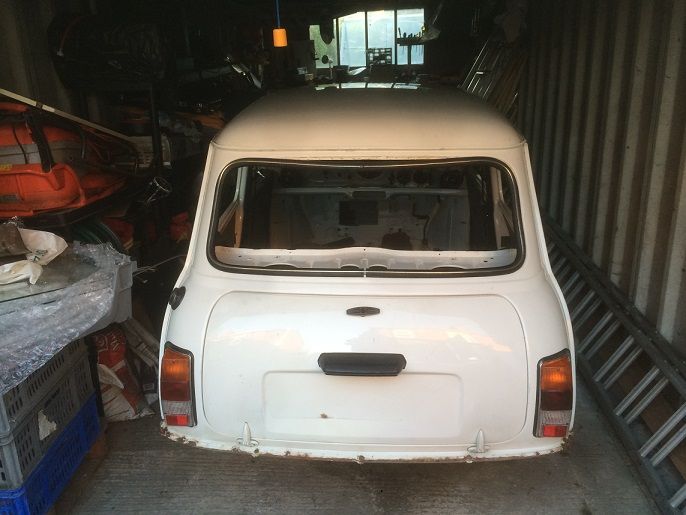
The shell seems very good generally - at first glance it needs the following:

  • small repair to rear valance
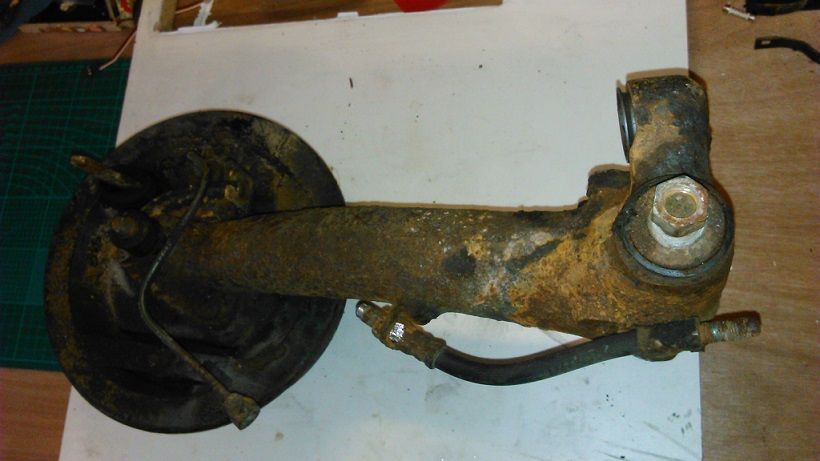
  • small patch in heel board (I think thats what its called, the panel that the rear subframe mounts)
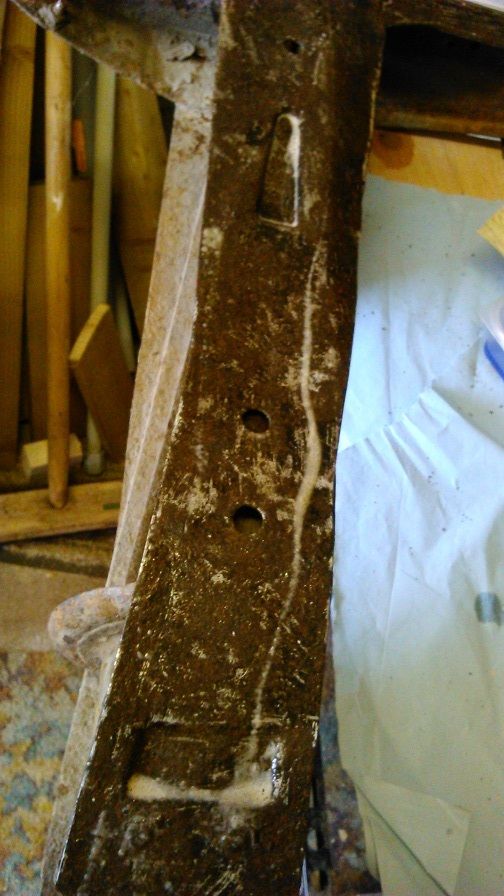
  • inner wing repair panels (theres rusty holes behind the front upper shock mounts and front halves of inner wings removed previously)
  • new front wings & front panel & grille
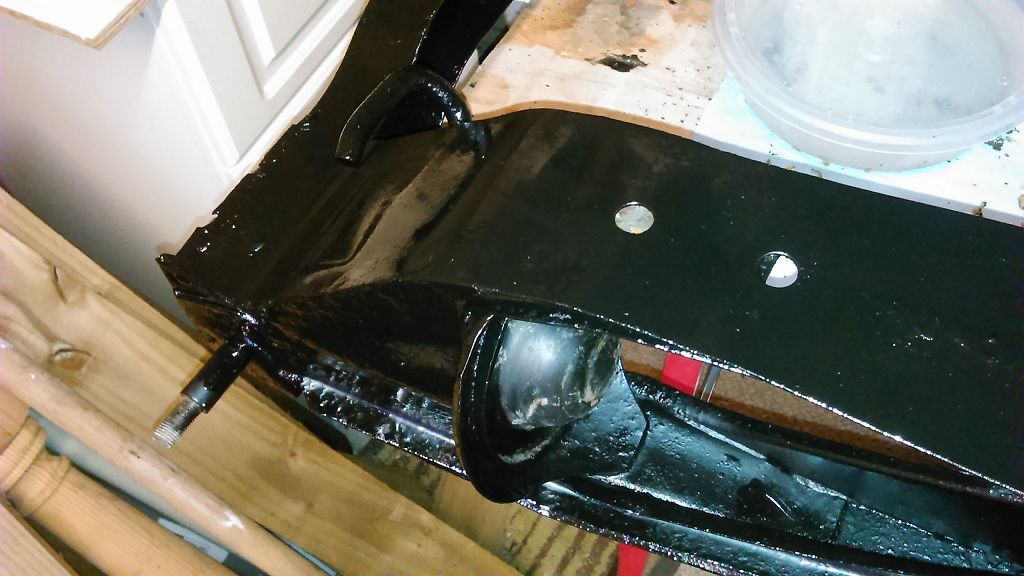
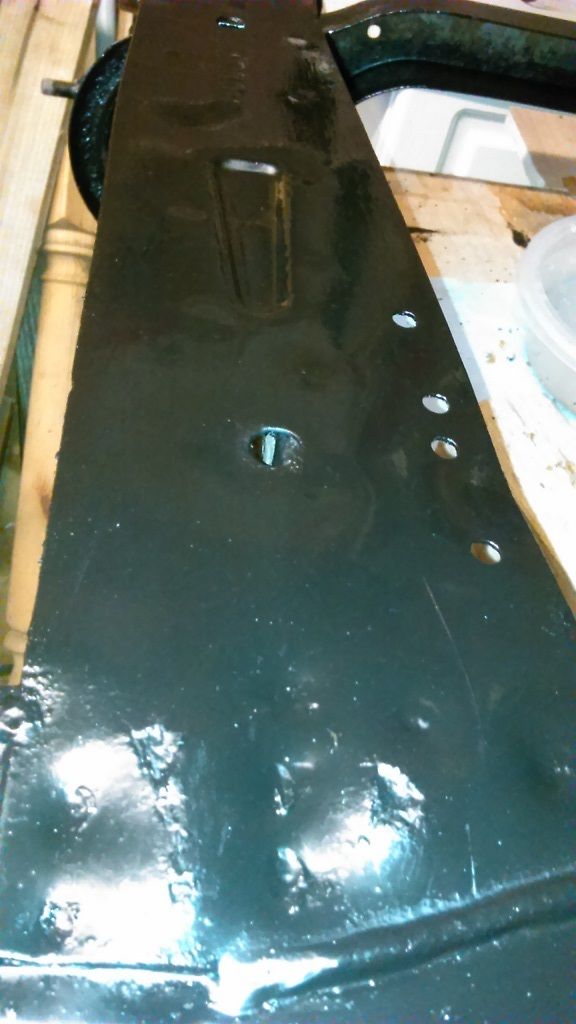
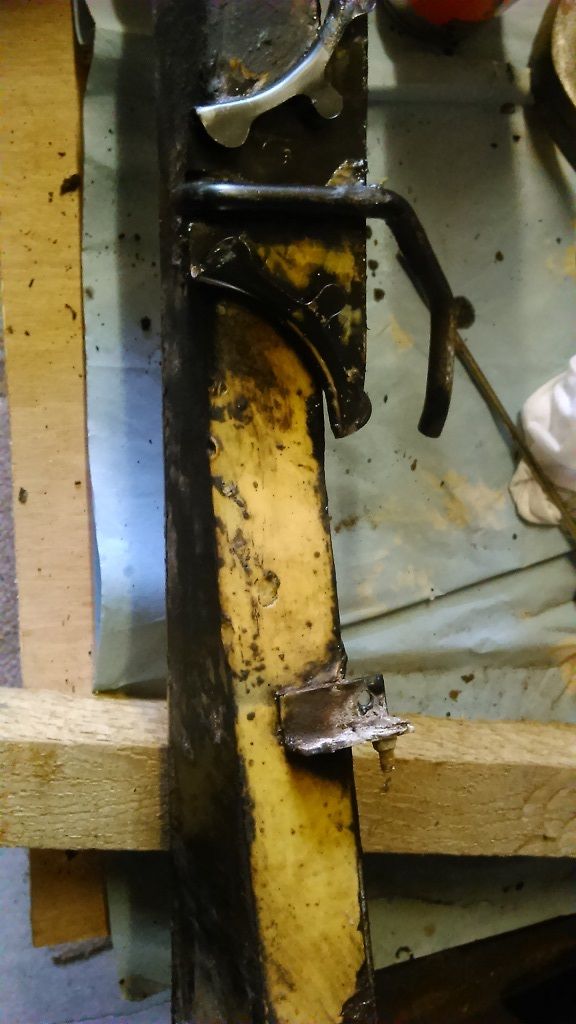
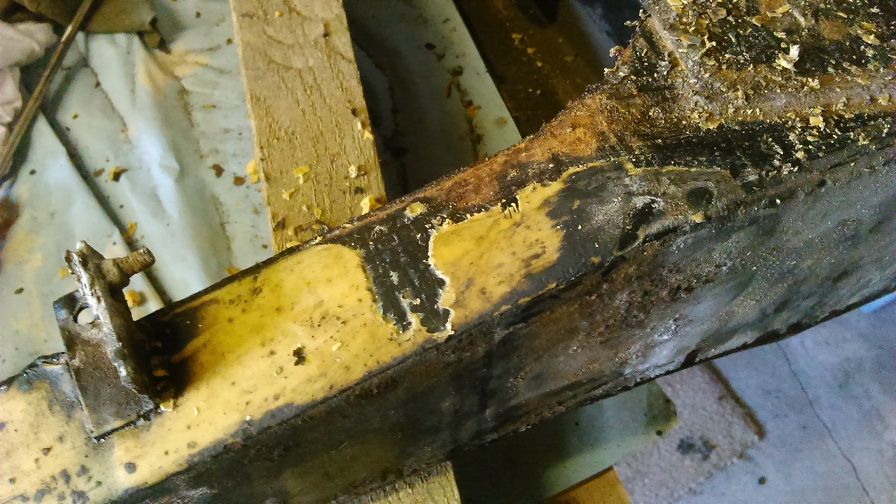
  • replacement of brackets on the bulkhead that have been removed, engine steady bracket etc etc?
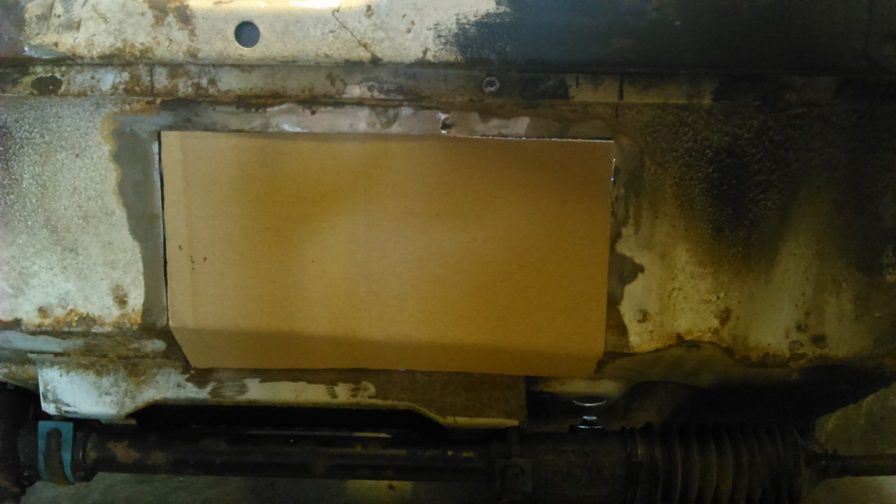
  • fill the hole that's been cut in the bulkhead to clear the vauxhall engine (my card template made it into the photo below!)

DSC_0005_zpsl7zzcbpv.jpg

DSC_0007_zpsbm6s74ie.jpg


#2 jonlad

jonlad

    Speeding Along Now

  • TMF+ Member
  • PipPipPipPipPip
  • 313 posts
  • Location: Cheshire

Posted 25 June 2016 - 08:26 PM

So today I have been cleaning up the rear subframe. 


There were 4 sheared rusty screws left in it, all but one of which I managed to remove. I'm not sure what this particular one is for yet (any advice?) but its in a really awkward spot. I've had loads of WD40 and loads of blowtorch on it and tried filing flats for mole grips etc etc but its just not moving... (sorry for poor photo!)

DSC_0003_zpsvxylzfdy.jpg


It will just have to wait for another day when I have more patience!


As for the rest of the subframe, its just got a bit of surface rust, so I filed/sanded most of this off...


DSC_0135_zpsavxbrwwm.jpg


before applying plenty of POR15 rust remover. Its phosphoric acid by another name...


DSC_0140_zpsfyfj5seh.jpg


I'm putting POR15 black paint over it once the rust has been treated, but whats best to go over that? does anyone put stonechip stuff on subframes? This kind of leads me on to the next photo...  On the underside of the subframe there is this toffee-like substance that needs chipping off. Its kind of yellow brown and I'm not really sure what it is. Any ideas, and do i need to replace it?  It only seems to be on the horizontal surfaces which is kind of weird!


DSC_0001_zps2olls1hz.jpg


DSC_0004_zpslpzcbso2.jpg


I'll be doing most of the work myself and as I'm on a tight budget I will be trying to re-use as many of the parts that came with the shell as possible. At first glance I am missing 


Engine/gearbox

seats

wheels

windscreen

exhaust

radiator

etc etc so I will definitely have a look through the for sale section :)


more updates as I progress!

thanks for reading

Jon


#3 Rocket.

Rocket.

    One Carb Or Two?

  • Members
  • PipPipPipPipPipPipPip
  • 1,441 posts
  • Location: UK

Posted 25 June 2016 - 09:01 PM

Welcome to TMF !


Nice base for a project you've got there


Good luck


Also the snapped bolt that your trying to remove is one of the bolts that hold the rear trunnion in (that holds the rear radius arm in place) 


#4 blueovalcraig

blueovalcraig

    Mini Mad

  • Members
  • PipPipPipPip
  • 193 posts
  • Location: Rothesay, Isle of Bute

Posted 25 June 2016 - 09:02 PM

Good luck with the project. I'll be watching with interest

#5 SecretSugar

SecretSugar

    Sweet!

  • Members
  • PipPipPipPipPipPip
  • 508 posts
  • Location: Yorkshire

Posted 25 June 2016 - 09:18 PM

Hi Jon and welcome to TMF! Looks like you've got it all planned out. I'll be watching for updates :) Good luck.


#6 jonlad

jonlad

    Speeding Along Now

  • TMF+ Member
  • PipPipPipPipPip
  • 313 posts
  • Location: Cheshire

Posted 26 June 2016 - 06:38 AM

 ​hi folks, thanks for the warm welcome!


trunnion bolt sounds rather important, ha! i better have another go at that today O_O


#7 ryomini

ryomini

    Super Mini Mad

  • Members
  • PipPipPipPipPipPip
  • 583 posts
  • Location: Hiroshima

Posted 26 June 2016 - 07:43 AM

Hi

looks like you are well set up to move ahead

each to his own, I did mine like this

I used a cheap electrolysis tank to strip the rust - nice thing is it gets to the hard to reach parts kind of like Heineken I guess


but you can soak it in white vinegar if you can find bulk cheap

then a good anti rust undercoat and then I used anti rust paint or a 2 pack (the 2 pack is health hazard)

you need to be careful not to damage any threaded areas and not to loose the rubber pads

also bolts and washers and so on can get mixed up if you don't store everything in a methodical way

look forward to seeing what you can do


#8 Steve220

Steve220

    Up Into Fourth

  • Members
  • PipPipPipPipPipPipPipPipPip
  • 4,883 posts
  • Location: Shropshire
  • Local Club: RAF Mini Club

Posted 26 June 2016 - 08:27 AM

Rather than wasting your time trying to manually get the rust off, take it to a blasters. I got charged £20 and it was utterly bare when I got it back! Perfect for your next coat.

#9 jonlad

jonlad

    Speeding Along Now

  • TMF+ Member
  • PipPipPipPipPip
  • 313 posts
  • Location: Cheshire

Posted 26 June 2016 - 02:08 PM

Hi, all good advice thanks! I like the tank idea, i have a plastic barrel i could use to dip one side in at a time maybe. I saw somebody had dipped a head in vinegar on here with good results, so will definitely use that idea as its a bit cheaper than this por15 stuff!


I'll also look into blasting, thanks for the input!


I totally hear what you are saying about labelling or bagging parts, there must be 4 plastic tubs full of screws and bushes and things that came with the shell that I am going to have to figure out like a jigsaw :ohno: i just can't afford to buy everything new so will take my time and have fun doing it!


#10 Steve220

Steve220

    Up Into Fourth

  • Members
  • PipPipPipPipPipPipPipPipPip
  • 4,883 posts
  • Location: Shropshire
  • Local Club: RAF Mini Club

Posted 26 June 2016 - 02:42 PM

I know that feeling. I've got a shed full of large plastic containers of mini parts now. Amazed how much stuff is on a mini lol

#11 iToNiiCz

iToNiiCz

    Super Mini Mad

  • Members
  • PipPipPipPipPipPip
  • 683 posts
  • Location: Somerset

Posted 30 June 2016 - 12:46 PM

Good luck with the project

:proud:


#12 jonlad

jonlad

    Speeding Along Now

  • TMF+ Member
  • PipPipPipPipPip
  • 313 posts
  • Location: Cheshire

Posted 01 July 2016 - 11:47 AM

Thanks for the good wishes :-)


I'm still struggling with that trunnion bolt that sheared off, though my next plan is to weld a nut onto it and try winding that out. its a bit of a last resort as after that it looks like I will have to cut into the subframe itself to grind the captive nut off and weld a new one on. I really dont want to go there!

To give me a bit of a boost I got some shiny new POR15 onto the subframe

DSC_0012_zpsbzlozpzx.jpg

DSC_0013_zpsdslt38i7.jpg


So I thought I would get started on the bits that bolt onto the subframe, first of all the radius arms. These looked pretty bad at first glance but I was keen to at least try and save them as new ones are a bit expensive. So... I got a couple of rebuild kits on order from minispares and thought I'd have a go at stripping and re-working them. First to come off was the old rubber hose. New ones needed methinks! I hate brake hose fittings, they always seem to rust really badly. Why cant they be made of something a bit more corrosion resistant? stainless?

DSC_0009_zps1zvhljsz.jpg

DSC_0011_zps8bvs4vde.jpg


I was really hoping a 1992 mini would be better than this!! oh well get the WD40 and the elbow grease out! :shifty:

DSC_0014_zpsqibolluy.jpg


After a small fight with the brake hose fittings it was on to the pivot shaft...  at this point I start thinking 'oh god, what have I let myself in for'...


DSC_0020_zpsrrocwjbf.jpg


but with a few taps of 'gentle persuasion' out it came!  The bearings look a bit gnarly in there so will definitely need a rebuild kit and to find or make a reamer somehow...

DSC_0021_zpsjvwhcfzk.jpg


that pretty much concluded my evening's entertainment, though I gave the minging split pin for the handbrake quadrant and the pre-rounded nut for the shock absorber a good coat of WD ready for the weekend...


DSC_0022_zpscjvqb1rm.jpg


DSC_0018_zpspfu7ad4l.jpg


shouldnt there be a big washer behond the shock absorber nut... ??  dont know where that's gone!

DSC_0019_zpst4yghoal.jpg


#13 GraemeC

GraemeC

    Crazy About Mini's

  • TMF+ Member
  • PipPipPipPipPipPipPipPipPipPip
  • 7,309 posts
  • Location: Carnforth

Posted 01 July 2016 - 01:42 PM

There should, but it looks like its been butchered to get the shock off as the plain section you can see is the centre of the bottom shock bush (probably seized) on the pin.  

The pin is roughly the same diameter as the threaded section along its whole length.


#14 Deathrow

Deathrow

    Have you tried turning it off and on again?

  • TMF IT Specialist
  • PipPipPipPipPipPipPipPipPipPip
  • 5,734 posts
  • Name: Adam
  • Location: Manchester, UK

Posted 01 July 2016 - 02:13 PM

As Graham said, definitely looks butchered.


You can see the pin at the rear of this radius arm for reference: http://www.minispare...|Back to search


#15 Steve220

Steve220

    Up Into Fourth

  • Members
  • PipPipPipPipPipPipPipPipPip
  • 4,883 posts
  • Location: Shropshire
  • Local Club: RAF Mini Club

Posted 01 July 2016 - 02:28 PM

I'd personally cut your losses as you'll need to ream the arm to fit the new bearing. Get it exchanged for a reconditioned unit at minispares, works out at £55 per arm.


0 user(s) are reading this topic

0 members, 0 guests, 0 anonymous users