Jump to content


Photo

Project Jupiter (Joopey)


  • Please log in to reply
7 replies to this topic

#1 MiniCook

MiniCook

    Learner Driver

  • Noobies
  • PipPip
  • 11 posts
  • Location: North Yorkshire

Posted 06 July 2016 - 06:12 PM

Hello!

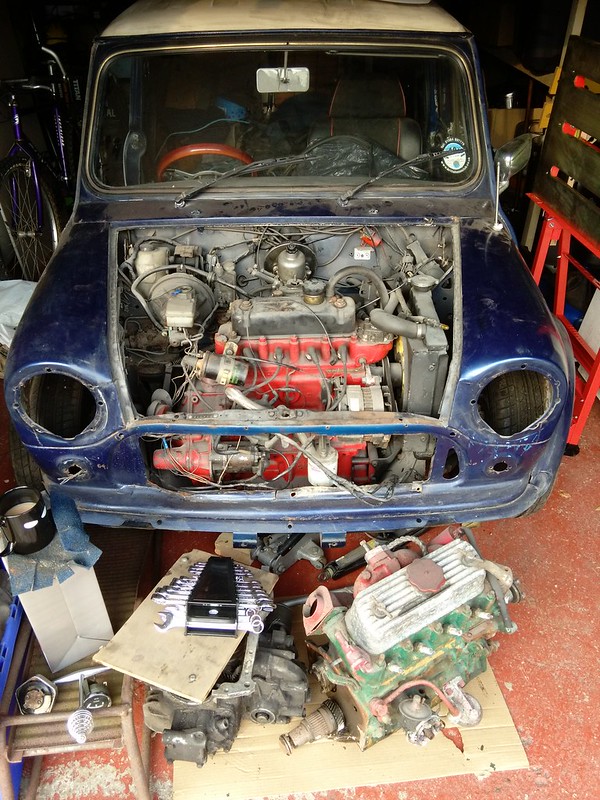
This is my build thread for Joopey, my 1972 Mini Van.


I'll apologise now, I have to make multiple posts when one long post would have done because my home Wi-Fi is crap and has a tendency to go for a wander or go for dinner or something and forget what its meant to be doing when I try and upload lots of pictures to forums in one go. Please bear with me :)


28133474655_bb4423cd19_c.jpg


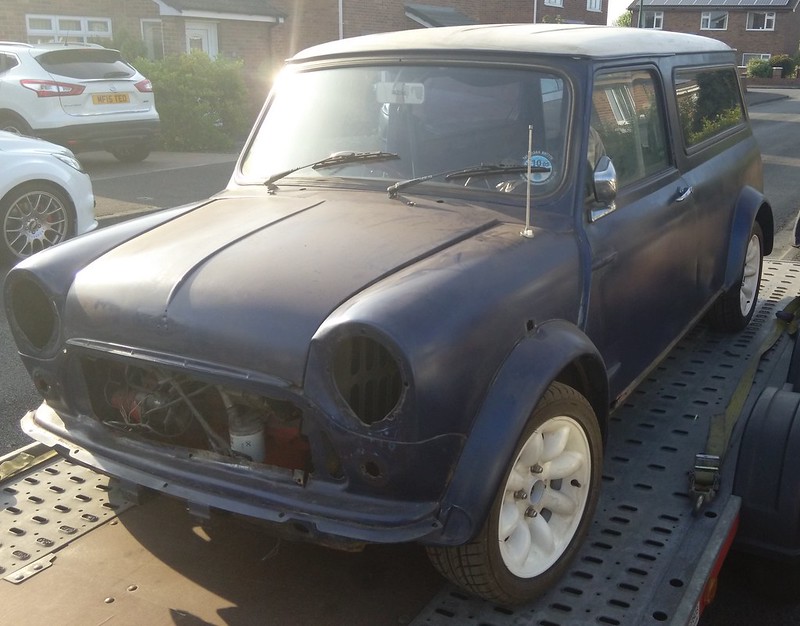
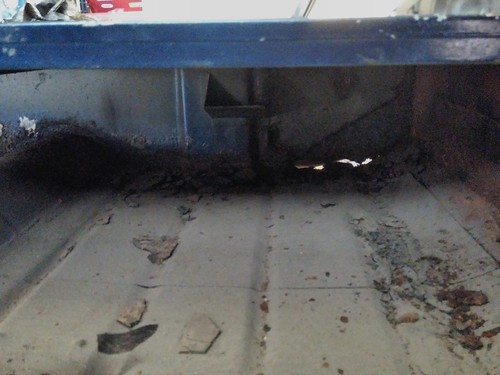
On the whole, does not appear to be in too bad condition. The alloys have been refurbed and not used, the tyres are new with the little rubbery bits on them. 


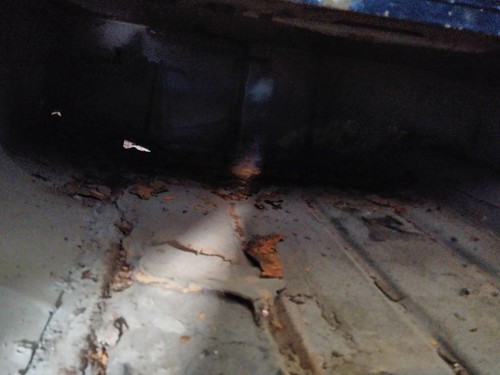
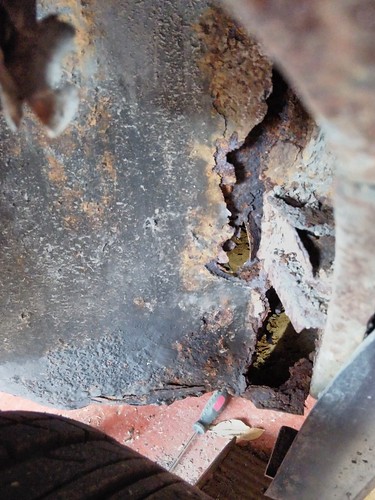
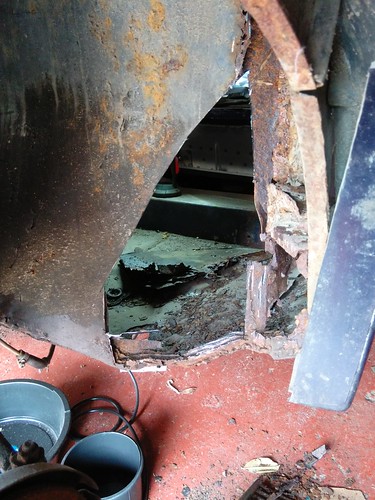
On the whole, this is very much a project that someone has taken on then just given in. Still, if it were easy, every man and his dog would be at it ;)

Cheers,
Cooky


Edited by MiniCook, 06 July 2016 - 06:28 PM.


#2 MiniCook

MiniCook

    Learner Driver

  • Noobies
  • PipPip
  • 11 posts
  • Location: North Yorkshire

Posted 06 July 2016 - 06:21 PM

Guess we'll see whats under the Bonnet, I did have a look when I bought her but now is time for a more serious inspection

27566151305_f8cb8135ed_c.jpg

What a rats nest. Thumbing through the old MOT certificates and service history and theres even a note from the MOT examiner "Wiring loom is terrible state, recommend new loom." And he's not wrong.

The photo doesn't do it justice but it isn't great.

On the whole though, its all there (as expected) but the state of repair for some items does strike me as a massive bodge job. I've had it turned over a few times but can't get it started, and being honest, I'm not too sure I want to, not sure what oil is in it, or coolant or well anything and undoubtedly it's all sludge. The last owner had it with the intent of restoring it but never did and it sat undisturbed in a garage for 6 years! It was the chap before him who started the refurb and threw in the towel.


#3 MiniCook

MiniCook

    Learner Driver

  • Noobies
  • PipPip
  • 11 posts
  • Location: North Yorkshire

Posted 06 July 2016 - 06:24 PM

Well I've got the carb out.

27549670496_8e36d62855_c.jpg


And the reason for not starting could well be in that, the needle was semi-corroded. and the inside is full or crap and sludge, I'm no expert, but I don't think it lives in there!


27852648760_c867f2cd59_c.jpg

(mid drain / wipe clean) - Carb cleaner on order along with a rebuild kit from MiniSpares.


Edited by MiniCook, 06 July 2016 - 06:26 PM.


#4 MiniCook

MiniCook

    Learner Driver

  • Noobies
  • PipPip
  • 11 posts
  • Location: North Yorkshire

Posted 06 July 2016 - 06:32 PM

28109997055_dc23215faf.jpg

Apologies, the light makes this photo difficult to see clearly as I couldn't get the focus. Quite a bit of rust but on the whole it seems ok, but it isn't and a closer inspection reveals more sins.


#5 MiniCook

MiniCook

    Learner Driver

  • Noobies
  • PipPip
  • 11 posts
  • Location: North Yorkshire

Posted 06 July 2016 - 06:35 PM

27495579514_d610e6e3ba.jpg


28007537442_eb351f05f1.jpg


I missed this when I bought it,under the load bay is a whole load of rust. on the back plate and juts out of shot is a plate which has been welded on to the inner driverside sill. Tack welded I suppose you could call it at best and I dread to think whats under there when the grinder eventually comes out. I might save myself a job and just buy a floor rather than try and salvage whats there


#6 MiniCook

MiniCook

    Learner Driver

  • Noobies
  • PipPip
  • 11 posts
  • Location: North Yorkshire

Posted 06 July 2016 - 06:39 PM

28097900416_dd61ca44e0.jpg


I've had the hammer out and whilst the sill was in a slightly better condition, something a bit of tapping did uncover which was hiding in plain sight.


28132672025_d6171c3a7e.jpg


That was all a dull black colour when I started but with no effeort at all its all come away to be powdery rust. Oh well, thats a patch job to add to the list.


#7 MiniCook

MiniCook

    Learner Driver

  • Noobies
  • PipPip
  • 11 posts
  • Location: North Yorkshire

Posted 10 July 2016 - 02:13 PM

Today I'm going to have a go at tackling the passenger side wheel arch, it doesn't look great but we'll have to see how it goes

28132672025_d6171c3a7e.jpg


In the event, it was much worse than I expected. It had been patched about 4 times, one over the other, over the other and the final patch was with body filler (partly to make it smooth) which absolutely stank as I started cutting through it. Never mind though, I haven't quite finished but its hot out so I've paused for a brew and to right this. I had just wanted to cut the section I have out.

27934742170_a6955a355f.jpg


But if you look at the bottom, theres still all that patch metal in there. I have to replace the passenger side floor anyway, so I guess I'll cut it right to the bottom before making a template up and repairing this part, I don't need to attach it to the floor pan, but I do need it to meet the side panel (yet to be tidied) and be quite a snug fit. Once I get this repair done, I'll be replacing the inner sill and potentially the heel board before I start the floor to give me the space I need it to fit in to. This should also keep the car fairly rigid as even though the bottom corner of the chassis is out, the floor should stop it shifting, I'll likely add extra bracing inside before doing the sill anyway. Open to any suggestions anyones got!

Cheers,
Cooky


Edited by MiniCook, 10 July 2016 - 02:28 PM.


#8 MiniCook

MiniCook

    Learner Driver

  • Noobies
  • PipPip
  • 11 posts
  • Location: North Yorkshire

Posted 11 July 2016 - 09:10 AM

Not for a bit of CAD

28185429246_4d22090a56.jpg


Mocking up the design like this doesn't have make things easier.

27939446220_870c129469.jpg


Hasn't turned out too badly on the first attempt, the little ears are so I can plug weld it to whats there before seam welding the rest, should keep it nice and strudy. I hav a front half floor pan to sit in the passenger side to give me a good idea of where it needs to attach to and how much I need to fettle it to fit.


27604583213_817000a3bd.jpg


Only flaw here i think, is i haven't worked out how im going to put a "step" in the steel so that the main panel sits flush with the hole I've made.... I might take the lugs off and plug weld both parts instead.


On a side note, if you are thinking of getting a jack (a proper jack, not a little bottle jack or something), I cannot reccomend this highly enough by SGS engineering. Can lift either end up by 2 feet in a single lift, makes getting in there so much easier!


28186312836_76fb44fe28.jpg


0 user(s) are reading this topic

0 members, 0 guests, 0 anonymous users