Jump to content


Photo
- - - - -

1973 B18C4 Clubman Weekender


  • Please log in to reply
73 replies to this topic

#1 jamus

jamus

    On The Road

  • Noobies
  • PipPip
  • 44 posts
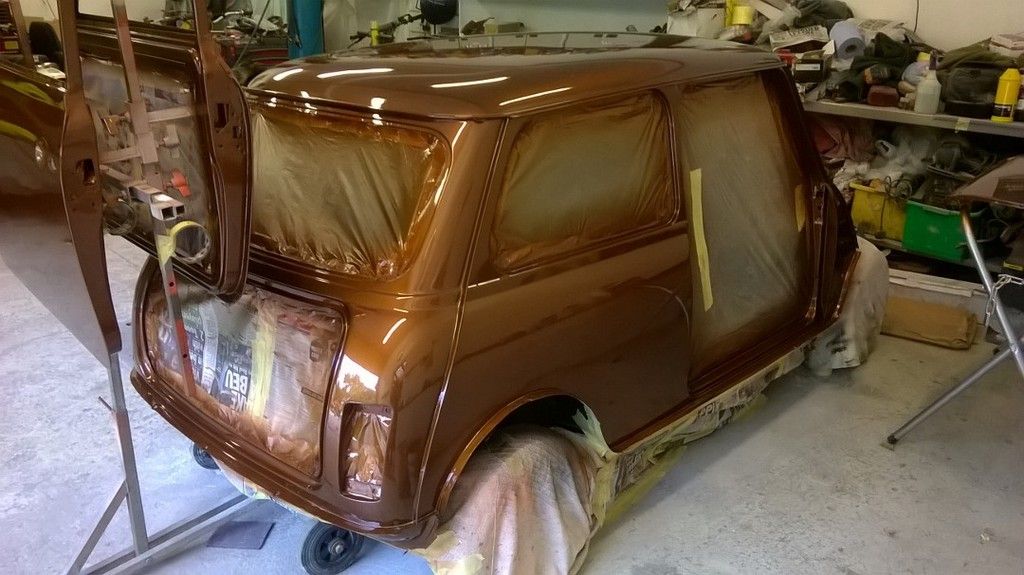
  • Location: Telford

Posted 13 July 2016 - 09:49 PM

Right, finally taking the time to sit down and start my build thread.

I've been working on my project now for around 10 months. The idea was to build a stripped out weekend weapon which could cope with the odd track day. Wasn't to bothered about having an immaculate car as long as it did the job, I did like the idea of the sleeper look. Oh how things have changed!!
It's now turned into a nut and bolt resto which is currently out for its shiny new paint.

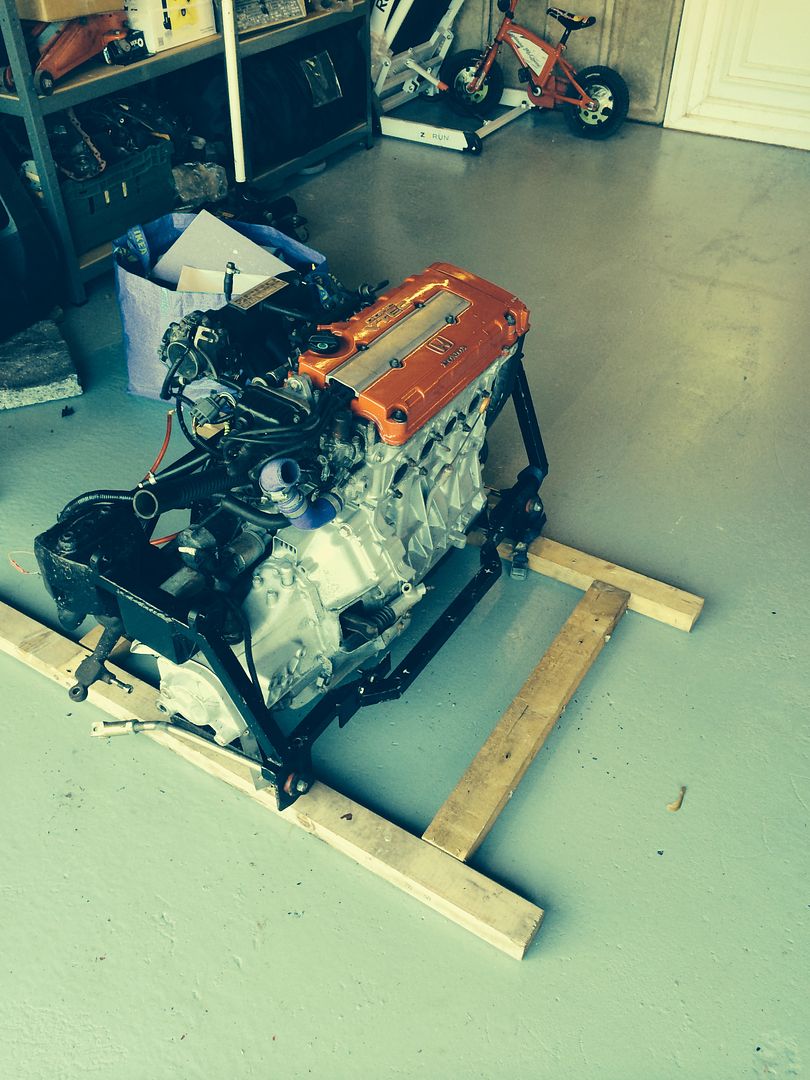
From owning an ep3 type r for a long while the choice of engine was simple. I managed to drop on a b18c4 near full kit from a member who abandoned their project so close to the end. They were unable to get the thing to spark, so I took on the task.

Current spec so far.
B18c4 engine.
New exedy clutch
New genuine timing belt
Skunk2 inlet.
AEM fuel rail.
AEM fpr.
Kjb front subframe.
10" Minisport 4 pots.
Rebuilt front and rear suspension all Fully adjustable.
KAD rear camber brackets.
Gaz adjustable lowered shocks.
DSN alloy rear subframe mounts and front shock mounts.
6 point roll cage.
Removable steel front end.
10x6 weller wheels with AR032 tyres.
Omp silverstone classic bucket seats.

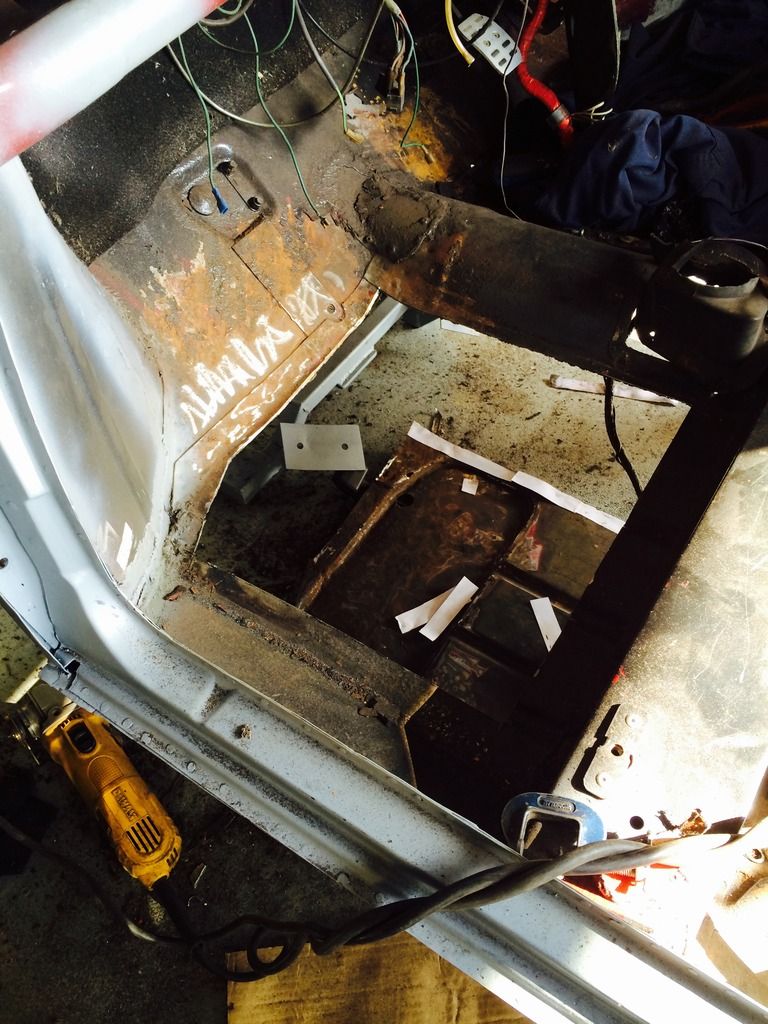
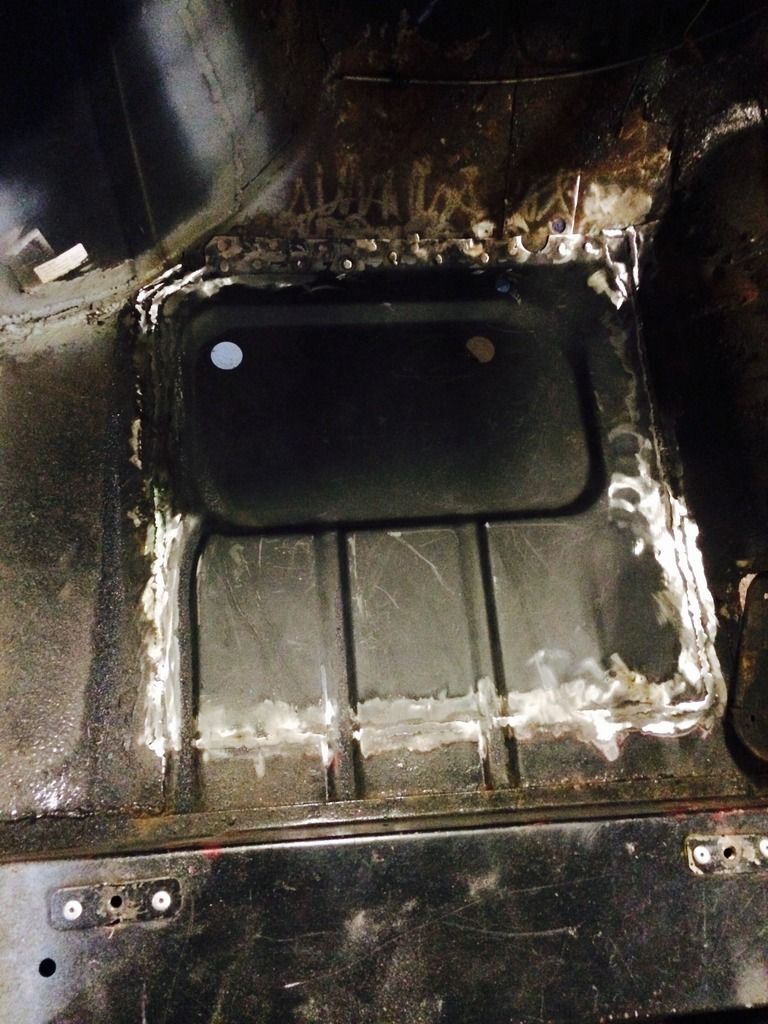
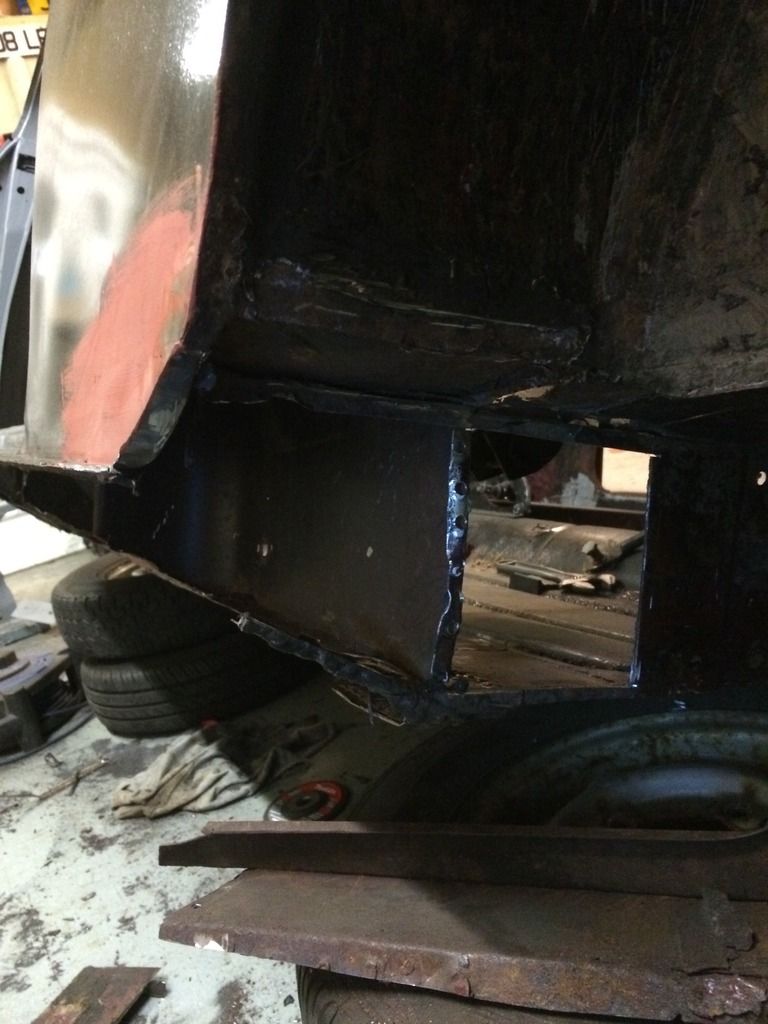
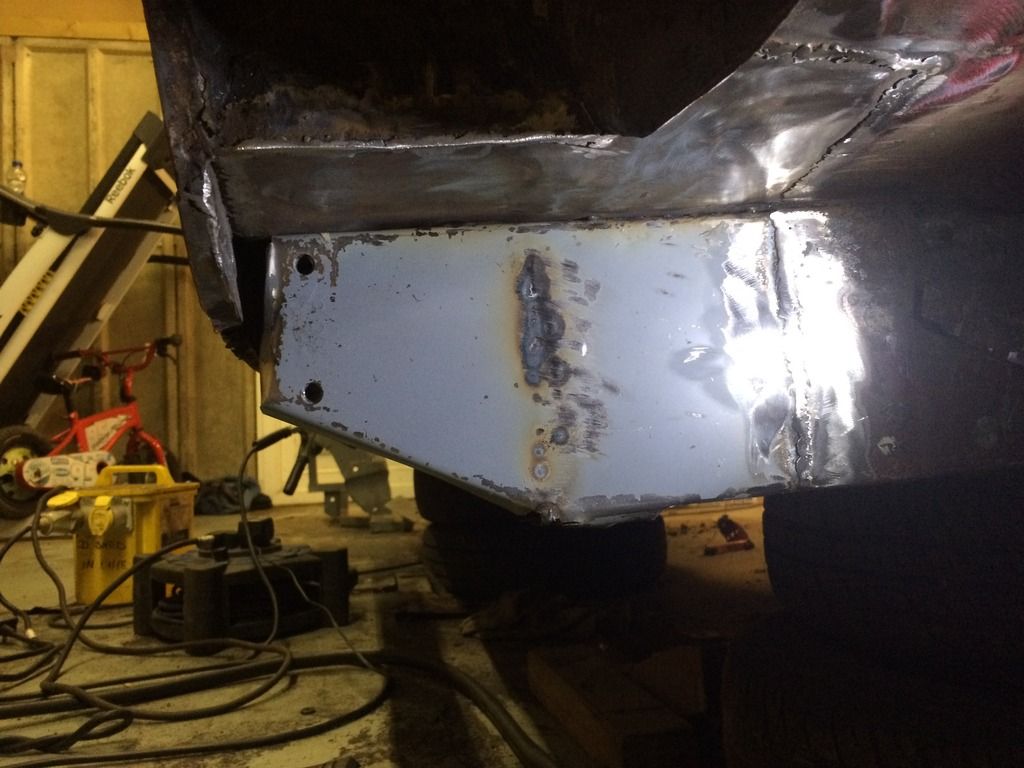
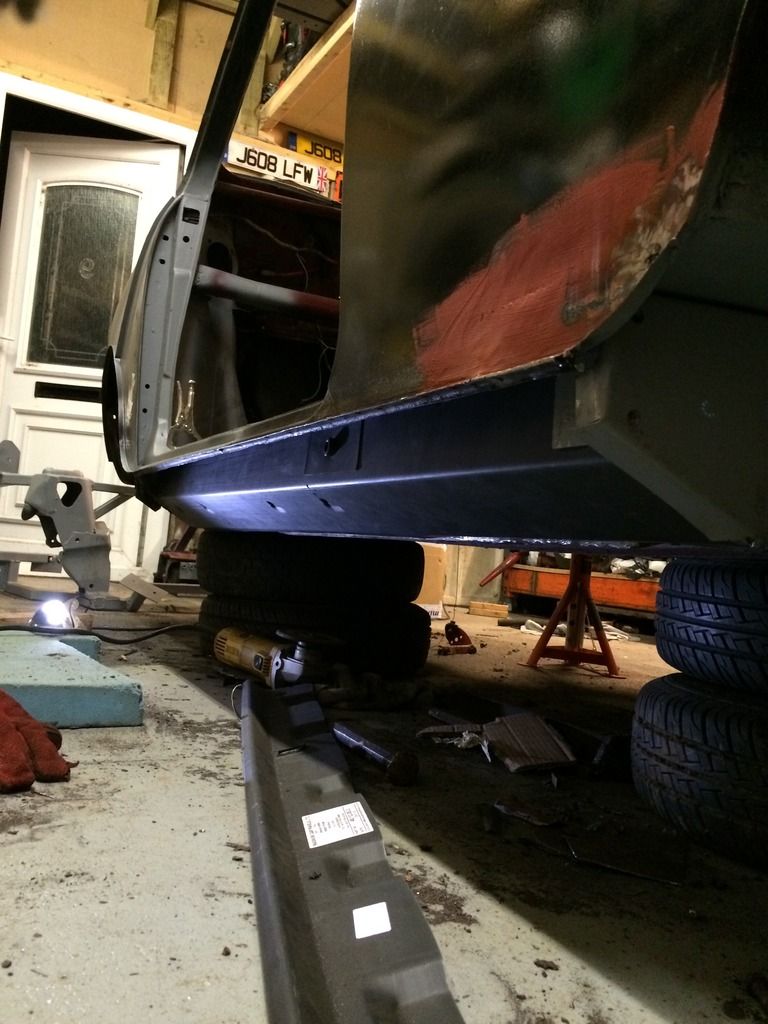
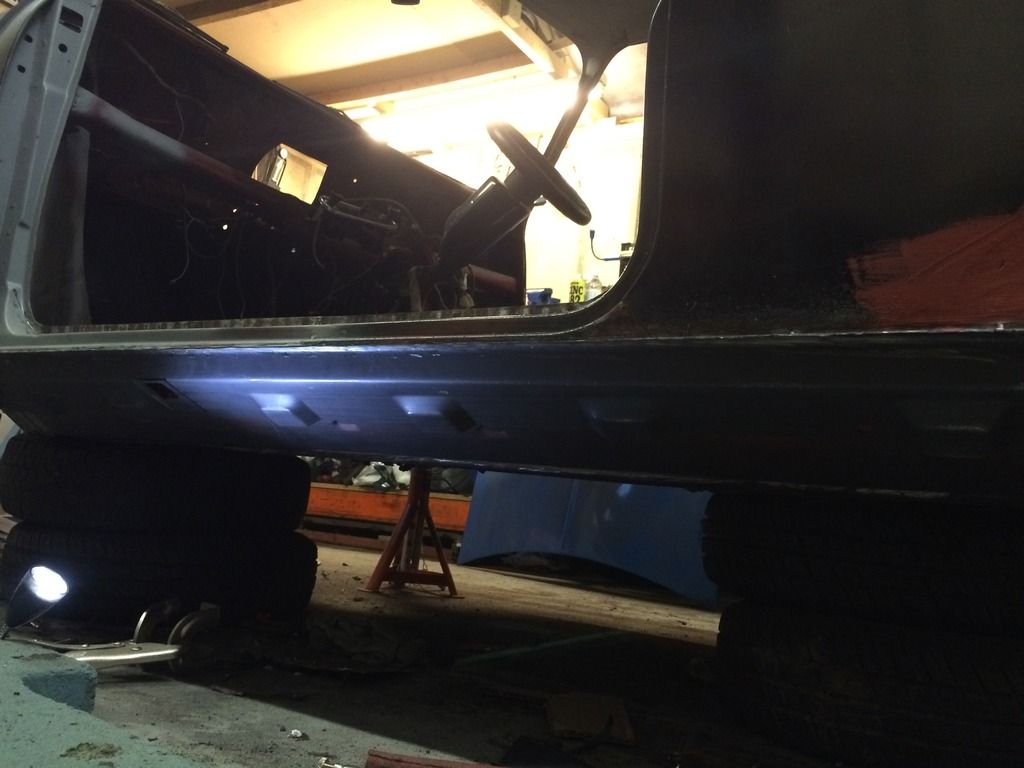
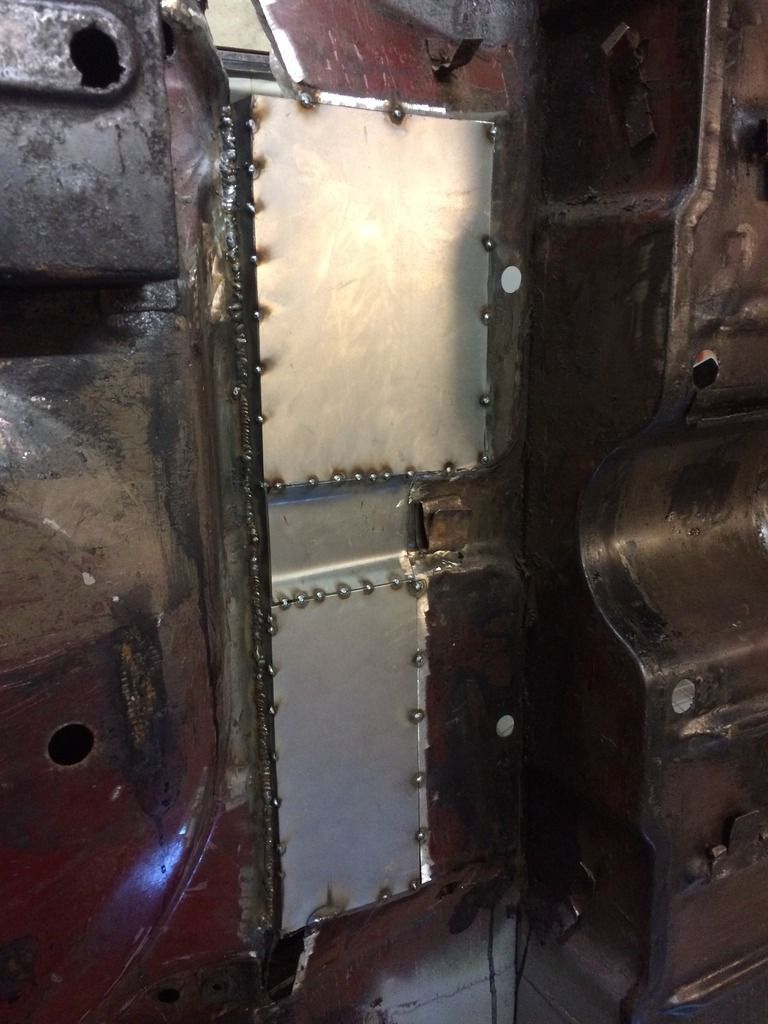
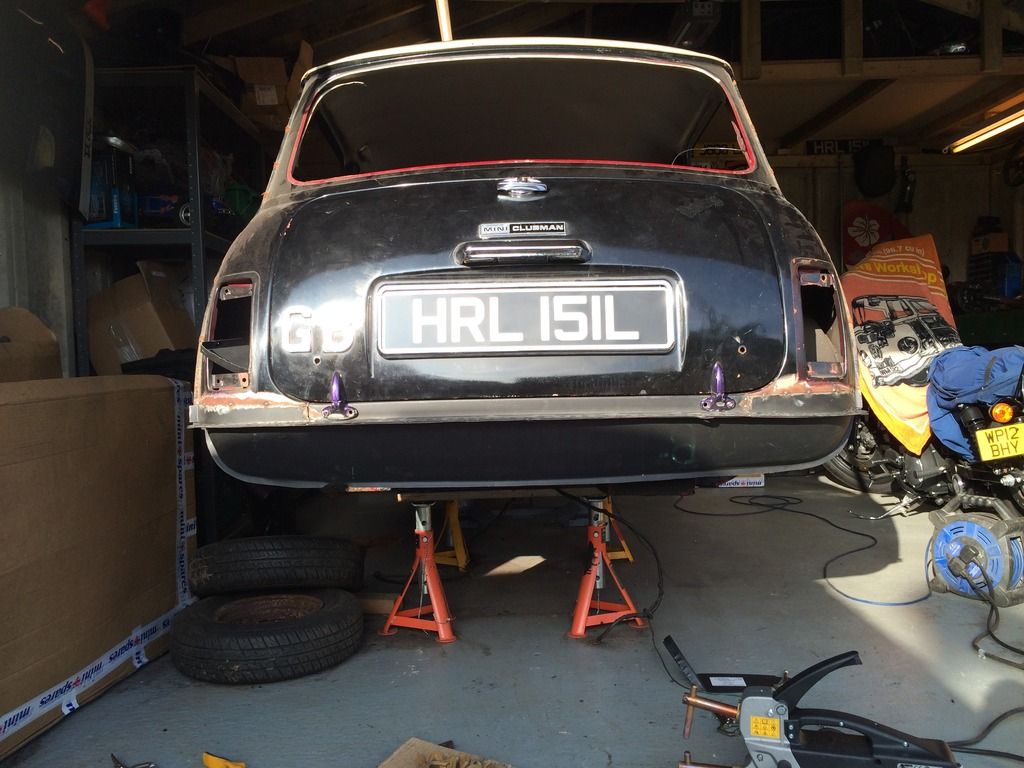
After many panels later and hours of welding, finally got the shell ready for paint. This included new passenger inner wing, a post, a panel,door step, inner and outer sill, both rear subframe heel board mounting points, boot floor, corners and hinge panel, rear valance, door skins.

Well, save boring you all with the rest of the details I'll let the pictures say the rest.
Please let me know what you think.
C340DF08-ABD2-4375-8D0E-824CF1625369.jpg

1F0DBCCB-FBE4-4AF4-94D7-0745266B8FE2_1.j

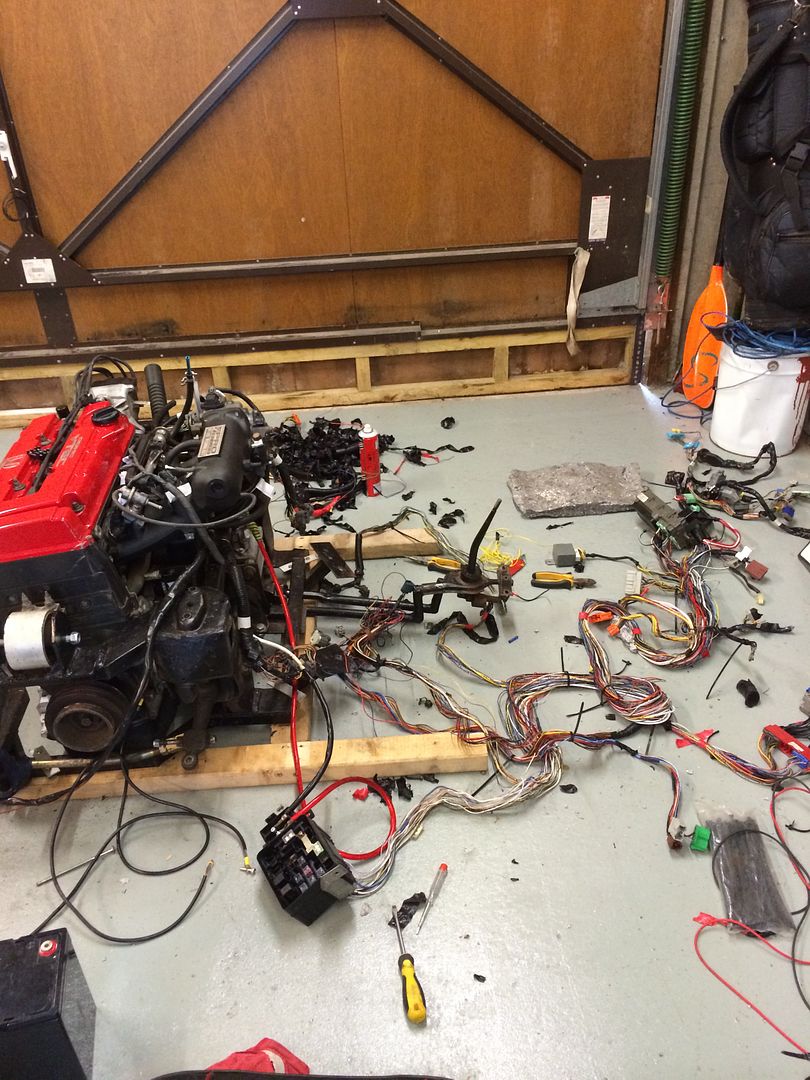
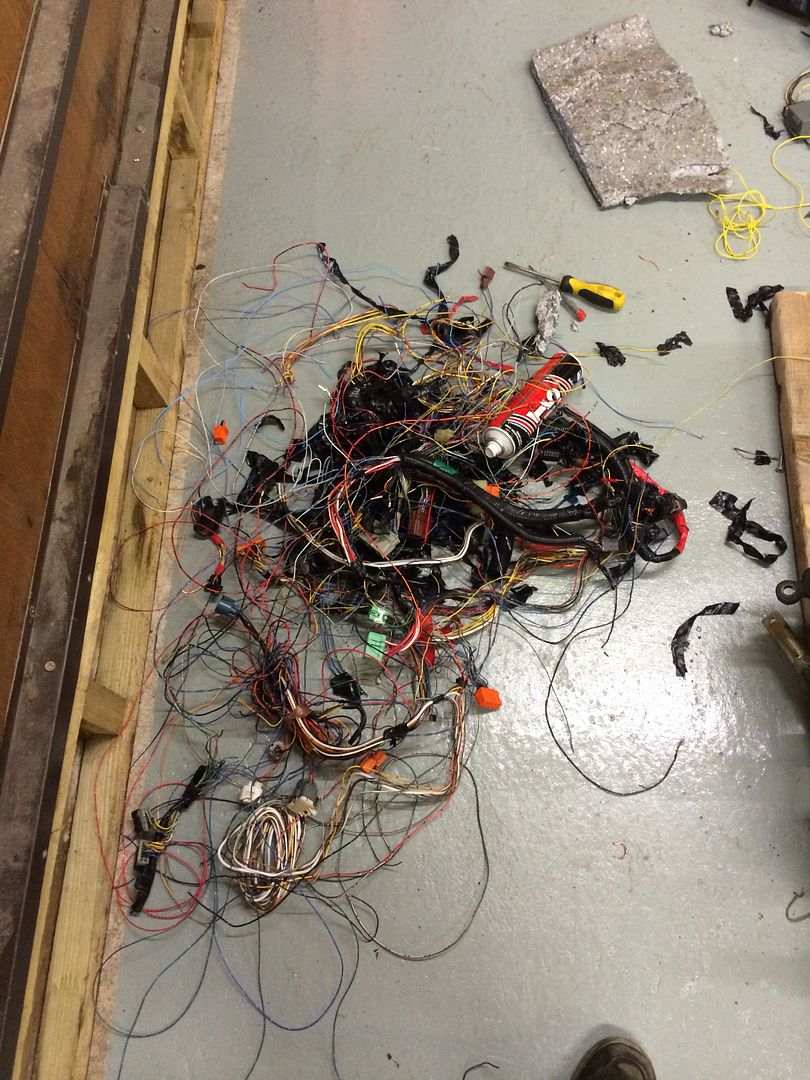
Removed all unneeded wires from the loom.
57586B2B-16CA-4017-8B2A-06571F5182E4_1.j

Removed and labelled engine loom

image_3.jpeg

So after hours and hours of tracing wires, removing un wanted bits and checking and double checking connections finally found the problem. A wire was in the wrong terminal on the ecu plug. Changed it over and .............


http://i177.photobuc...B55C9FB2ABB.mp4

So with that done I now began the search for a car. Which didn't take long. I needed some room in the garage so decided to get rid of some seats I had lying around. So put them up for sale. A chap turns up, got to talking and turned out he had the exact car I was looking for. Tax exempt, 1973 clubman in black.
Clearly needed some work but emotions got the better of me and we did the deal. Turned out to be shifty off of this forum.
They turned out to be an expensive pair of seats for me!!!!!!

So the build really began....

image_8.jpeg

New inner wing, A post, A panel, door step.
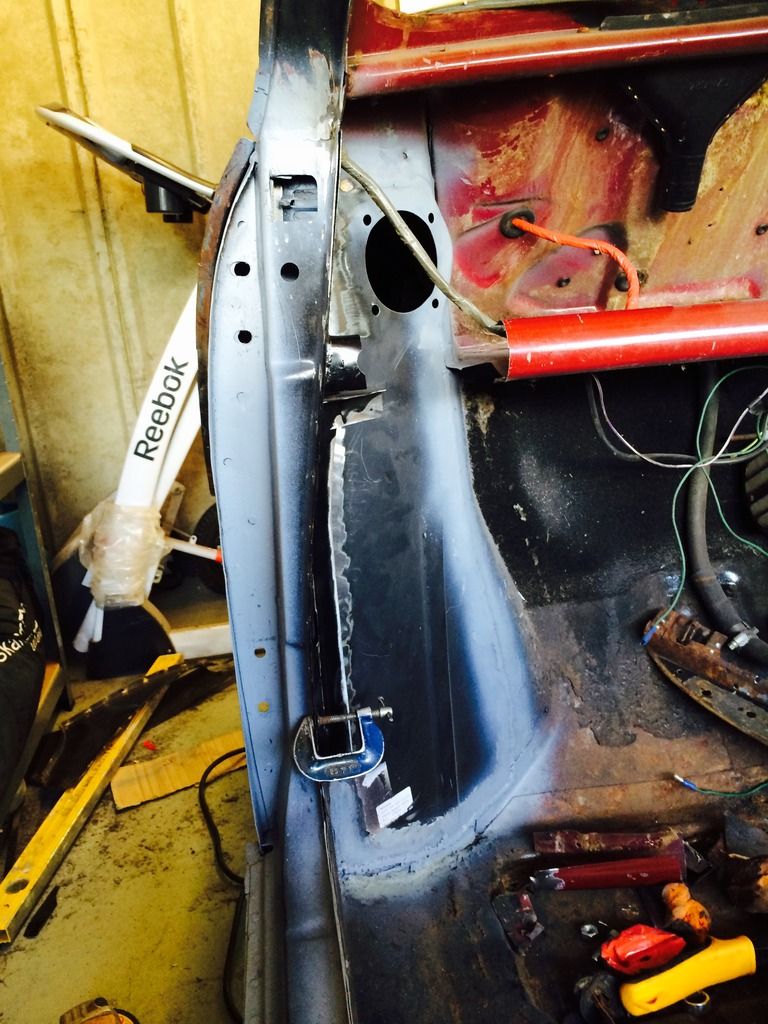
image_10.jpeg

image_12.jpeg

Passenger floor pan.
image_13.jpeg

Inner and outer sills going on along with heel board subframe mounting points.
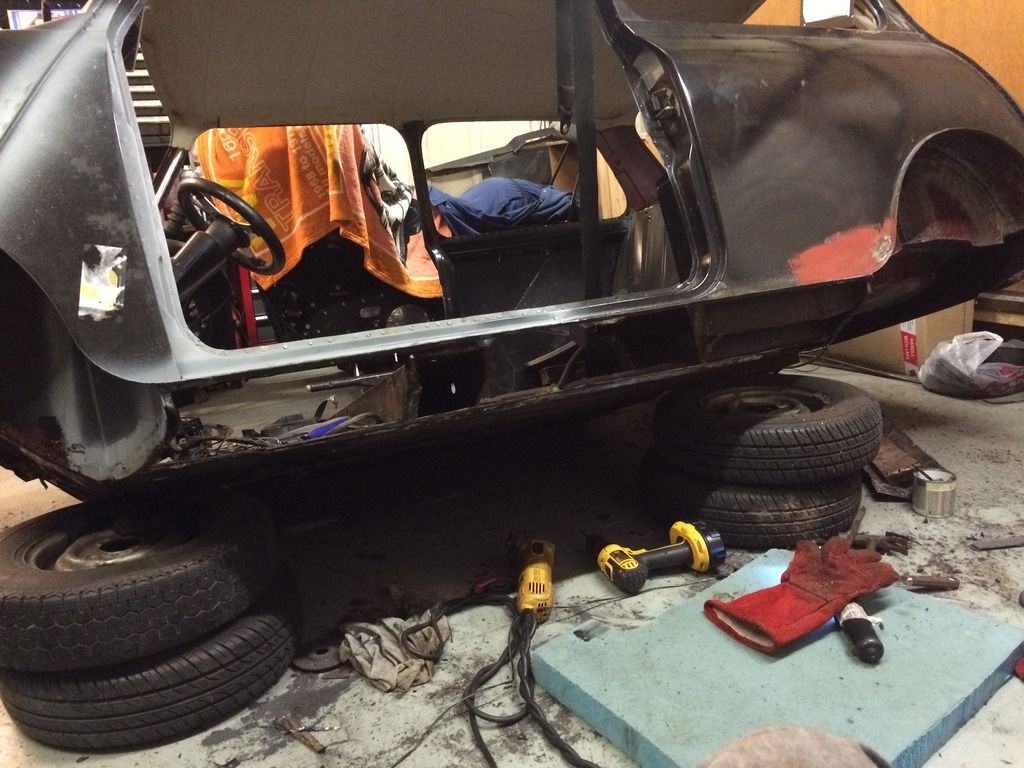
image_20.jpeg

image_22.jpeg

image_24.jpeg

image_25.jpeg

image_26.jpeg

image_27.jpeg

image_29.jpeg

image_31.jpeg

Moved on to the boot floor. Including both rear corners, hinge panel and valance.
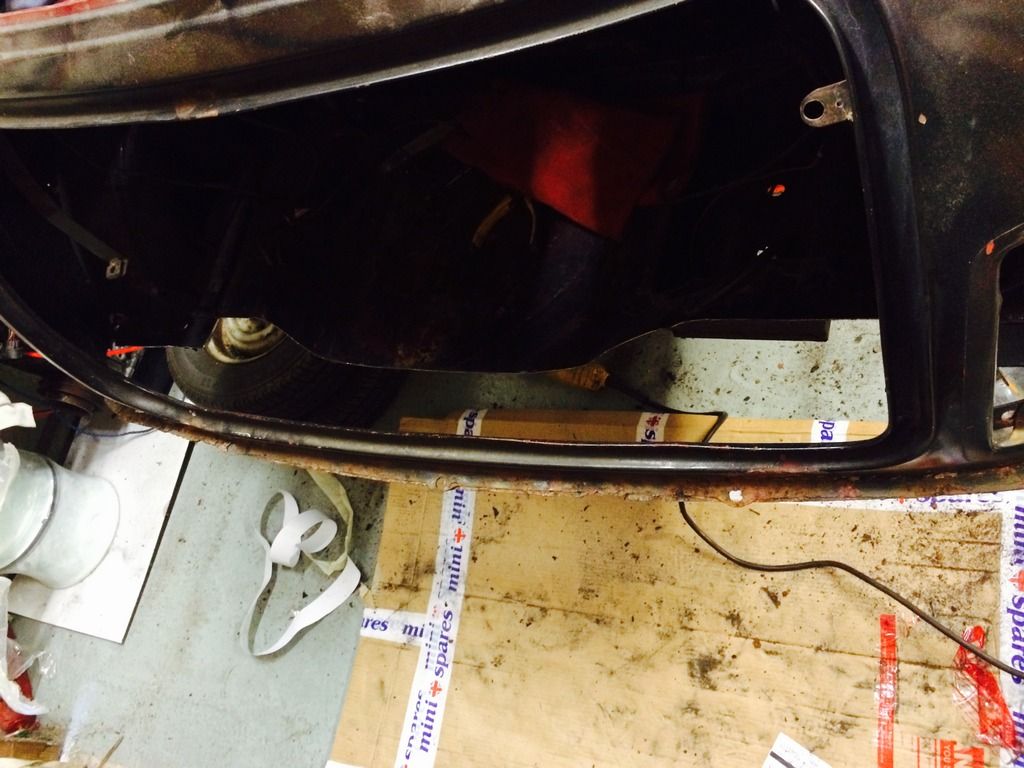
image_14.jpeg

image_18.jpeg

Red oxide, Seam sealant ready for the stone chip.
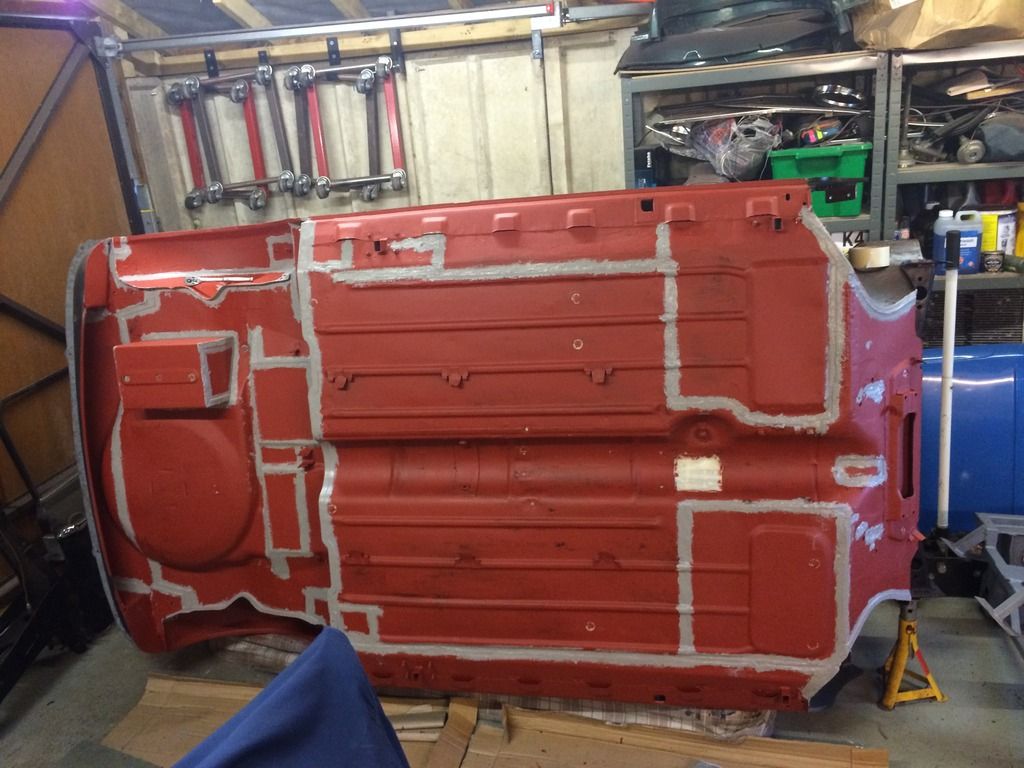
image_33.jpeg

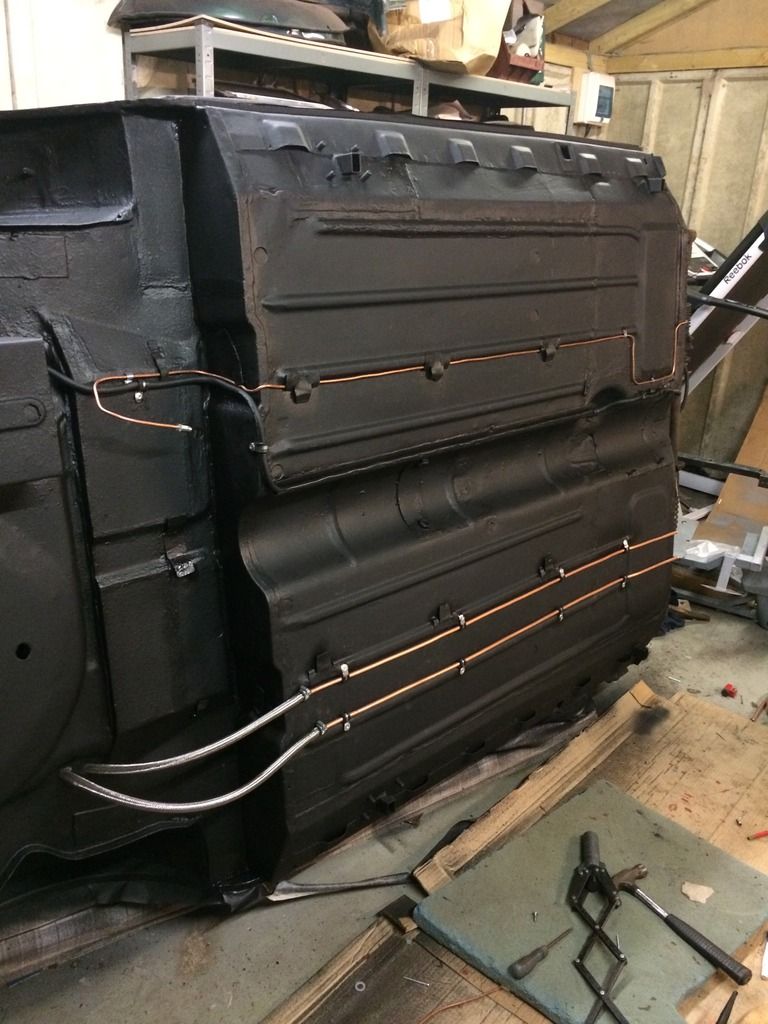
Then ran brake and fuel lines.
image_36.jpeg

Thought it was easier to get the subframe on while it was on its side. Going on with the DSN classics alloy subframe mounts.
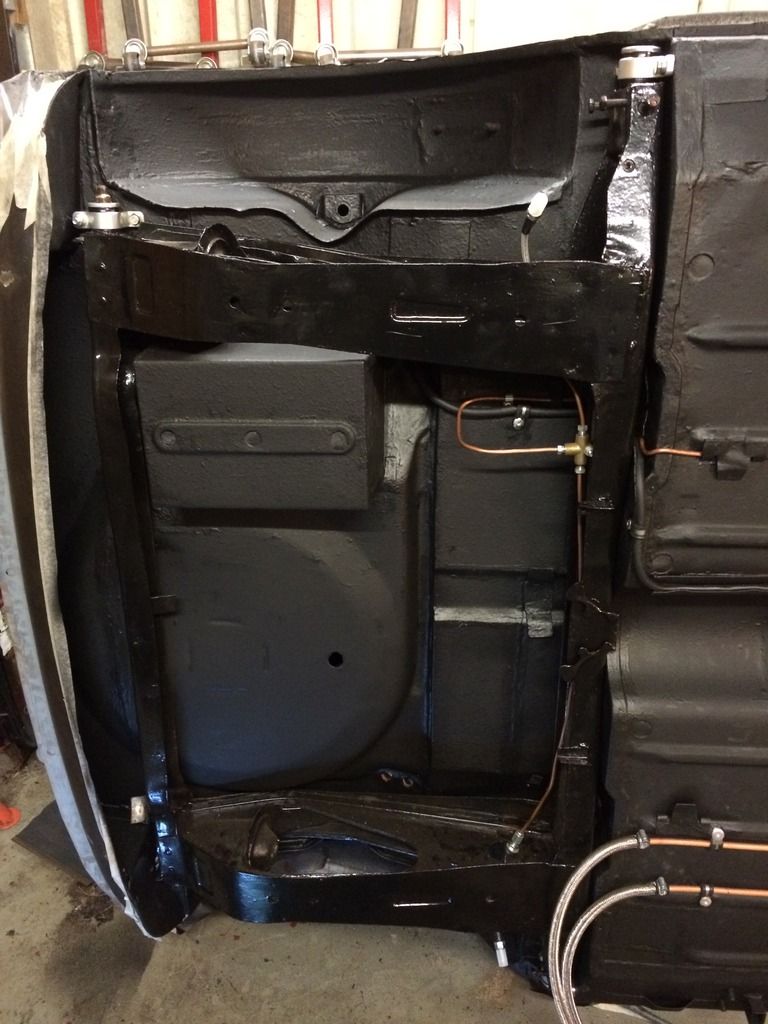
image_37.jpeg

Refurbish the suspension parts. New shafts, bearings,ball joints. And a lick of paint.
image_1.jpeg

image_2.jpeg


Radius arm in. Fitted with KAD adjustable brackets.
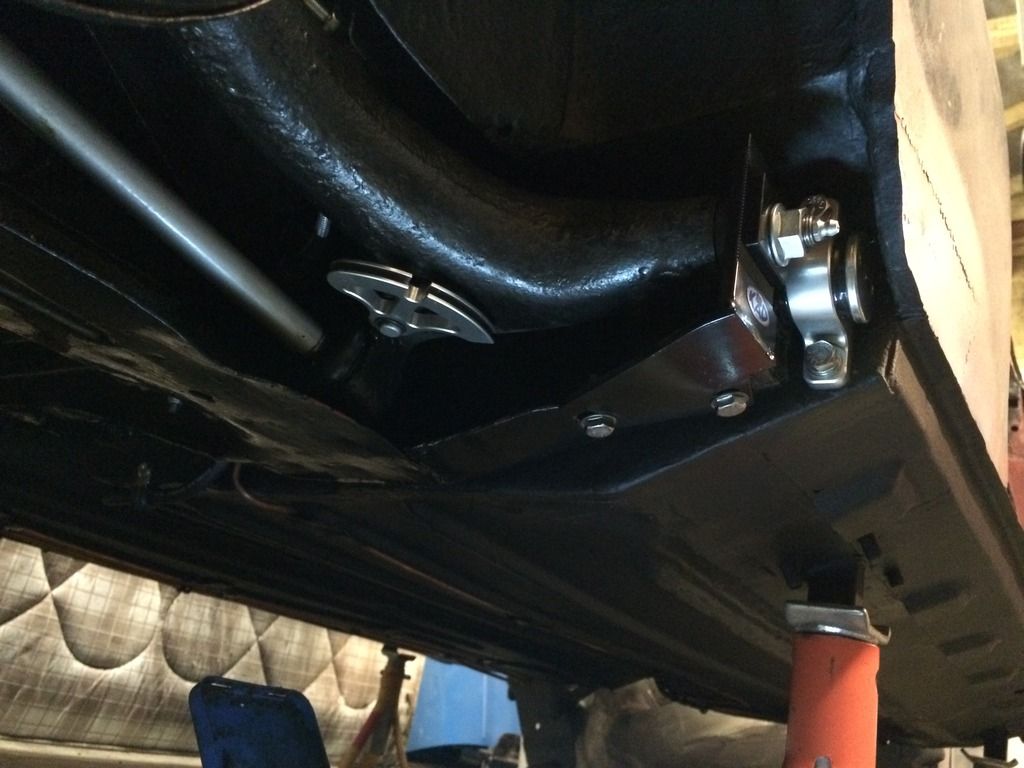
image_38.jpeg

I decided that to aid getting the engine in and out id make the front removable. Also wanted to keep it steel. So this happened.
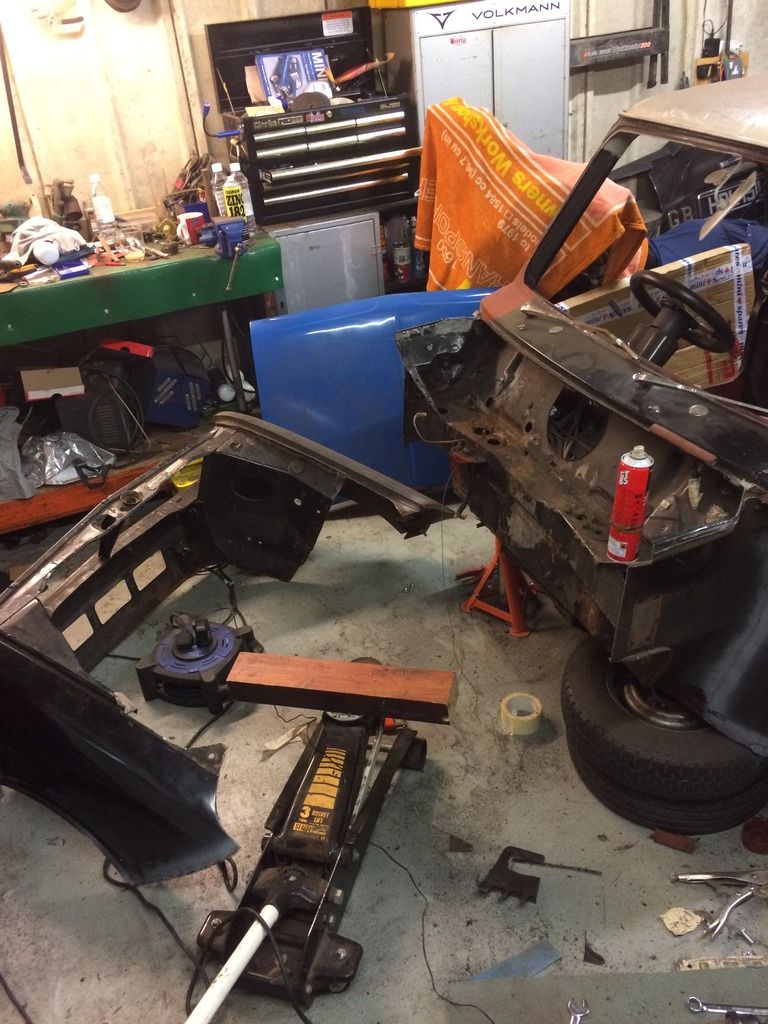
image_41.jpeg
Made up some Brackets for under wings.
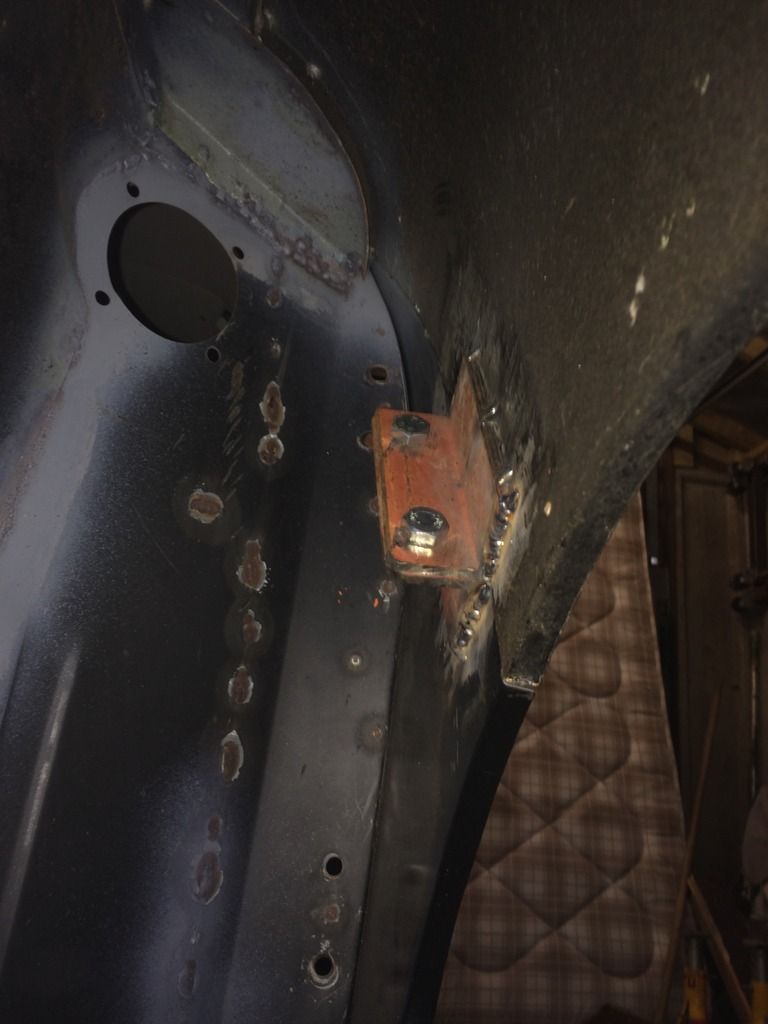
image_42.jpeg

And welded a piece of box to the front panel that connects to the front cross member on the frame.
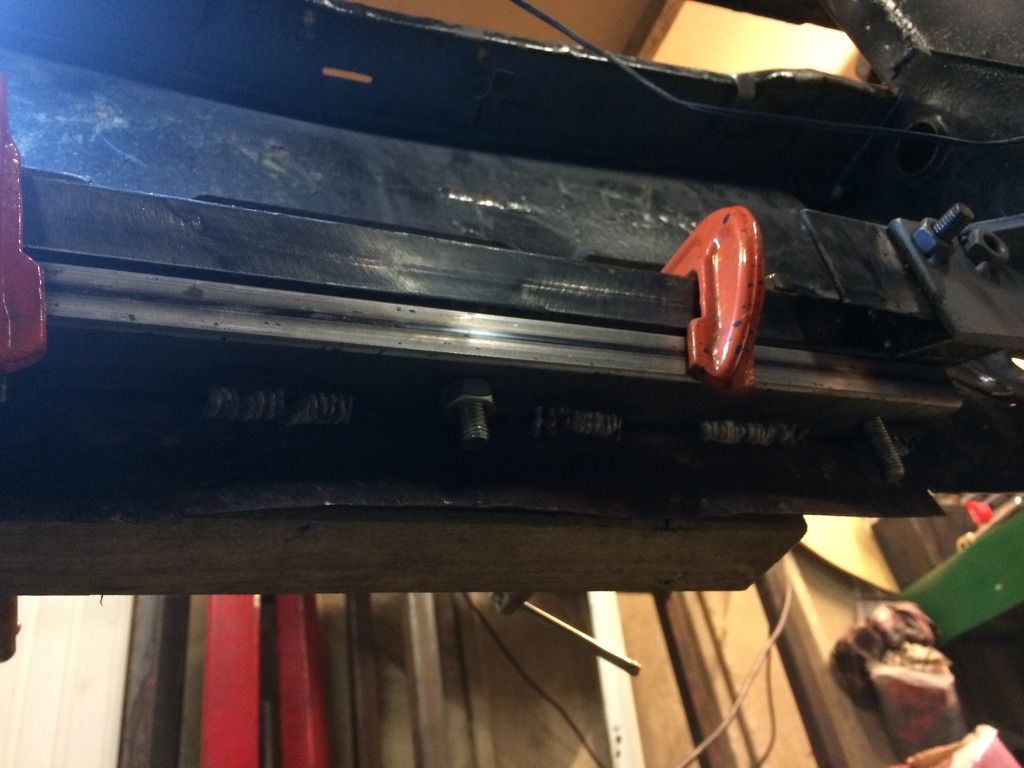
image_43.jpeg

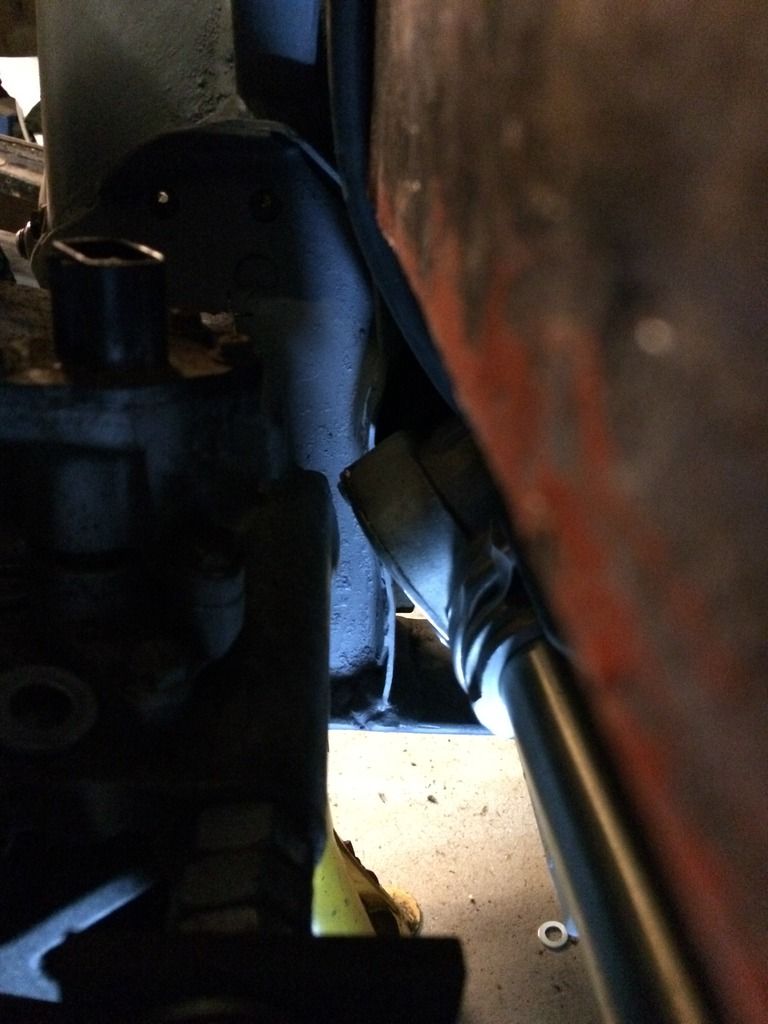
I found that when the exhaust manifold was on, clearance on the front cross member was an issue. So made some spacers to pack that out. I then had to mod the front panel so the frame was not protruding through. This meant cutting and adding some small fillet pieces in to allow clearance. I'll then move the number plate down over this so won't be too obvious what's going on underneath.
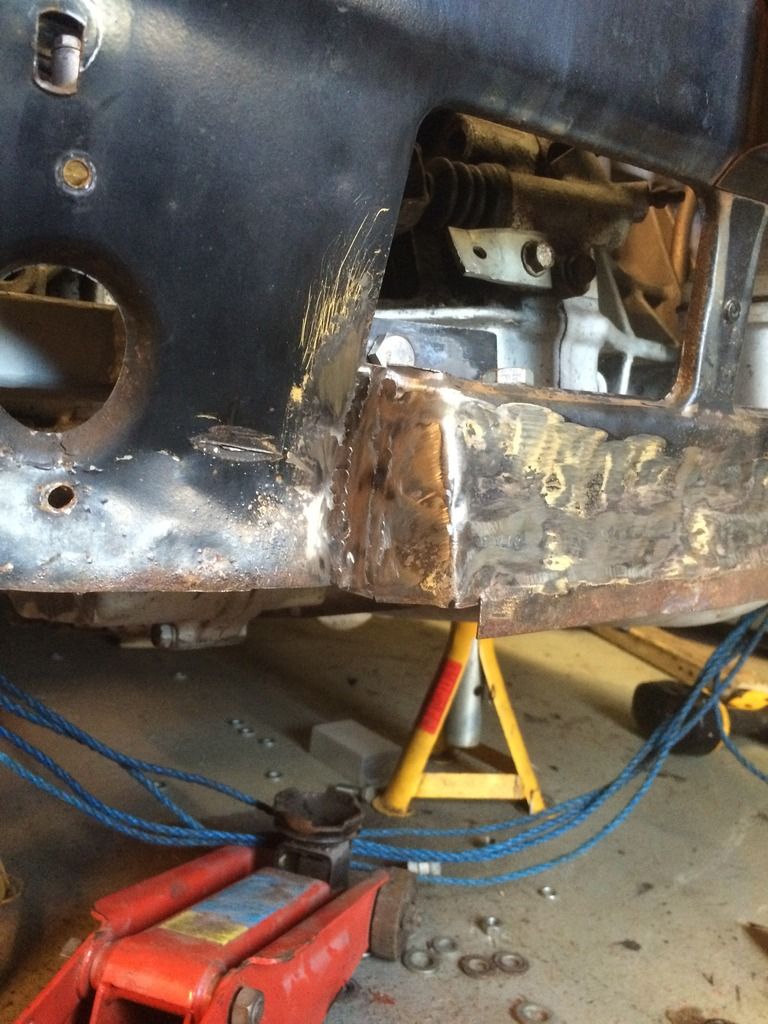
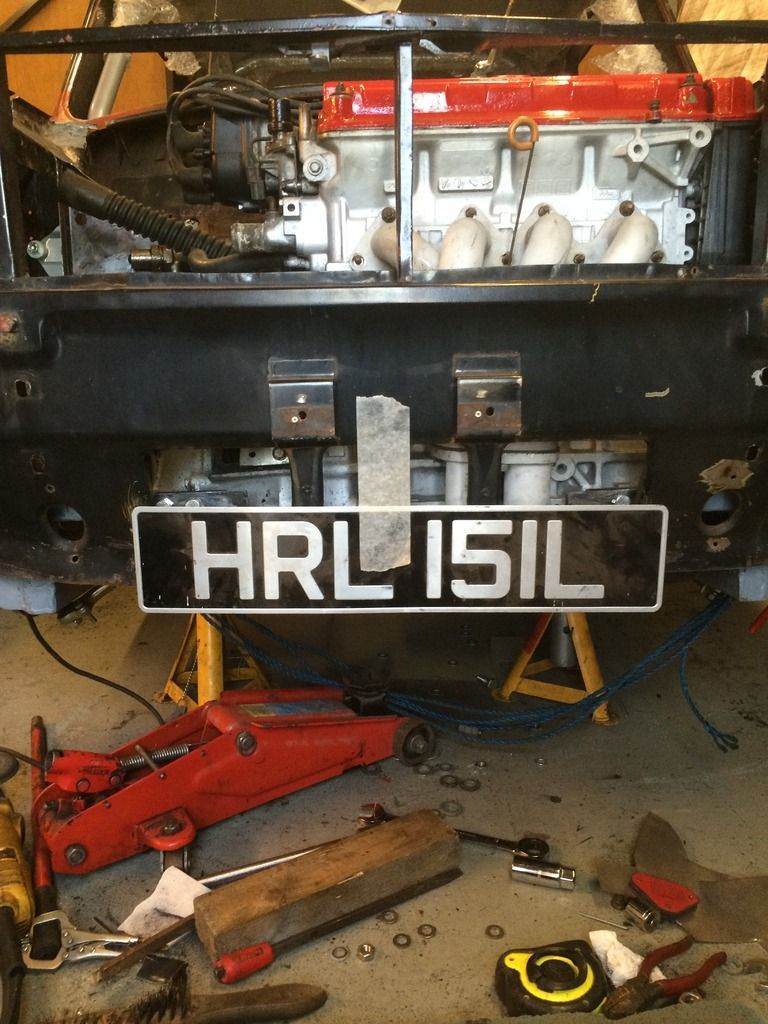
image_44.jpeg

image_45.jpeg

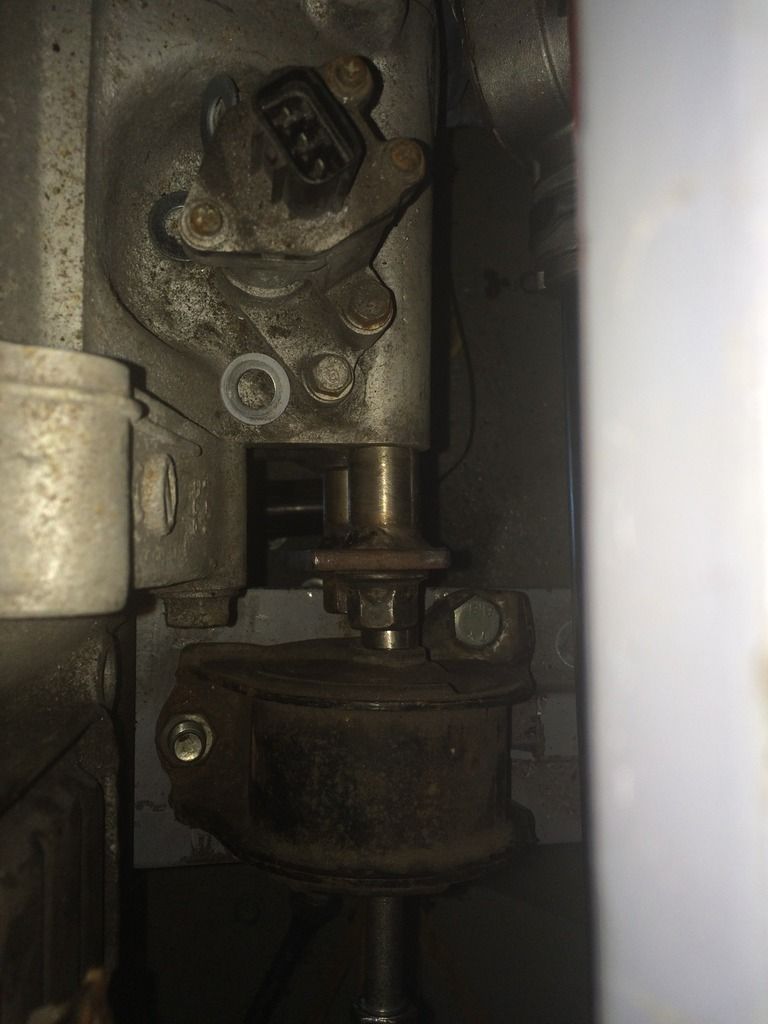
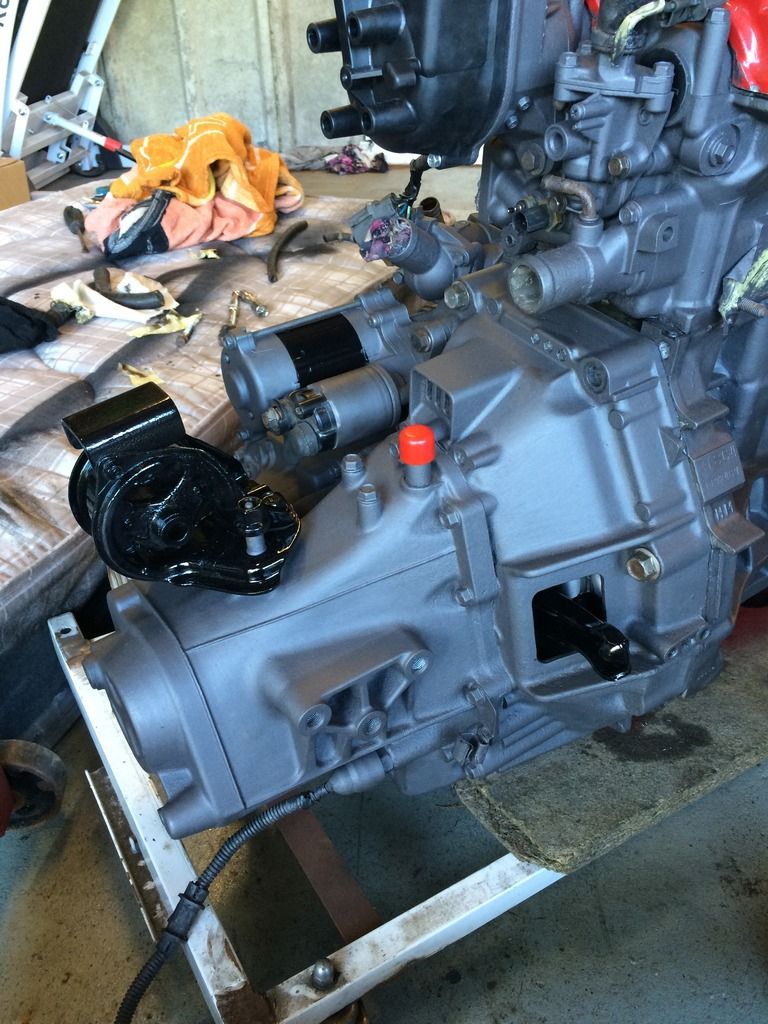
Engine in, with front end all bolted on to check clearances. Good all round apart from the rack. Solved this by making a new rear mount bracket that enabled to engine to tilt enough to clear the rack and also take some of the strain off the mounts.
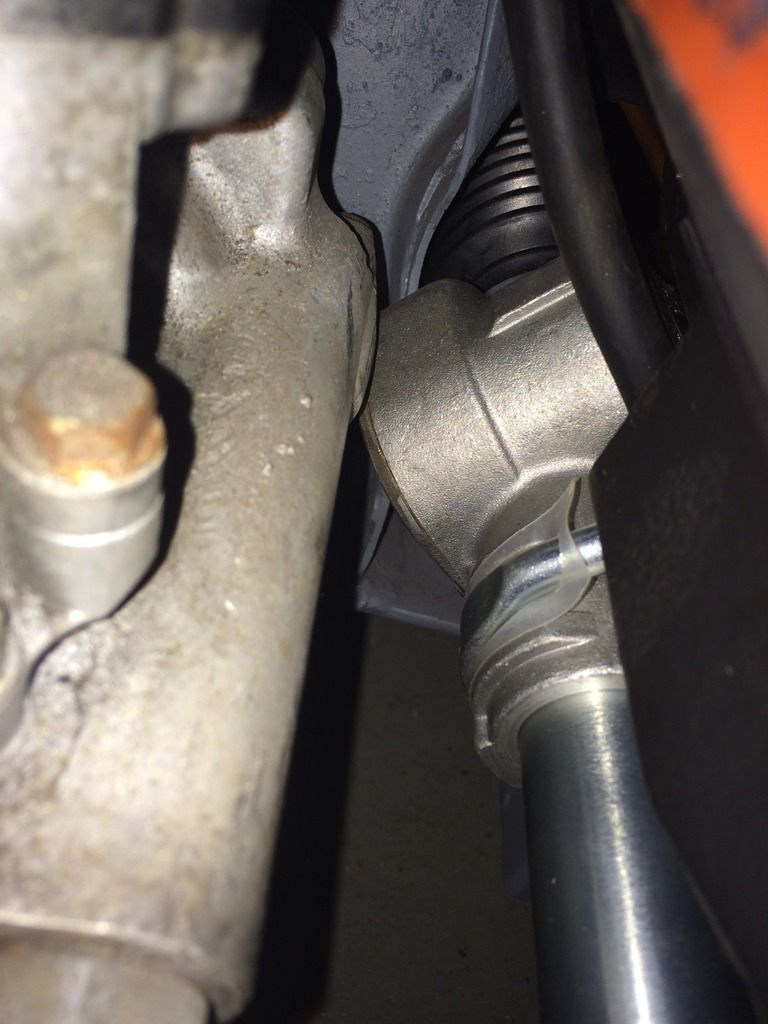
image_50.jpeg

New mount bracket.
image_51.jpeg

image_52.jpeg

Quick mock up of front suspension and brakes.
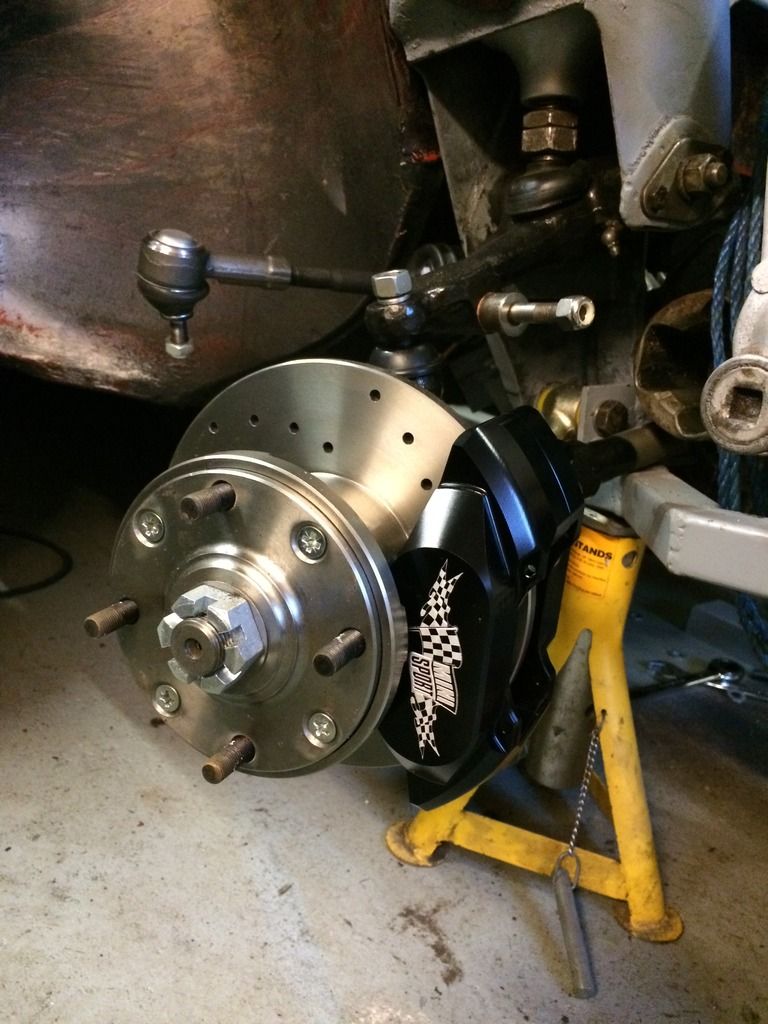
image_53.jpeg

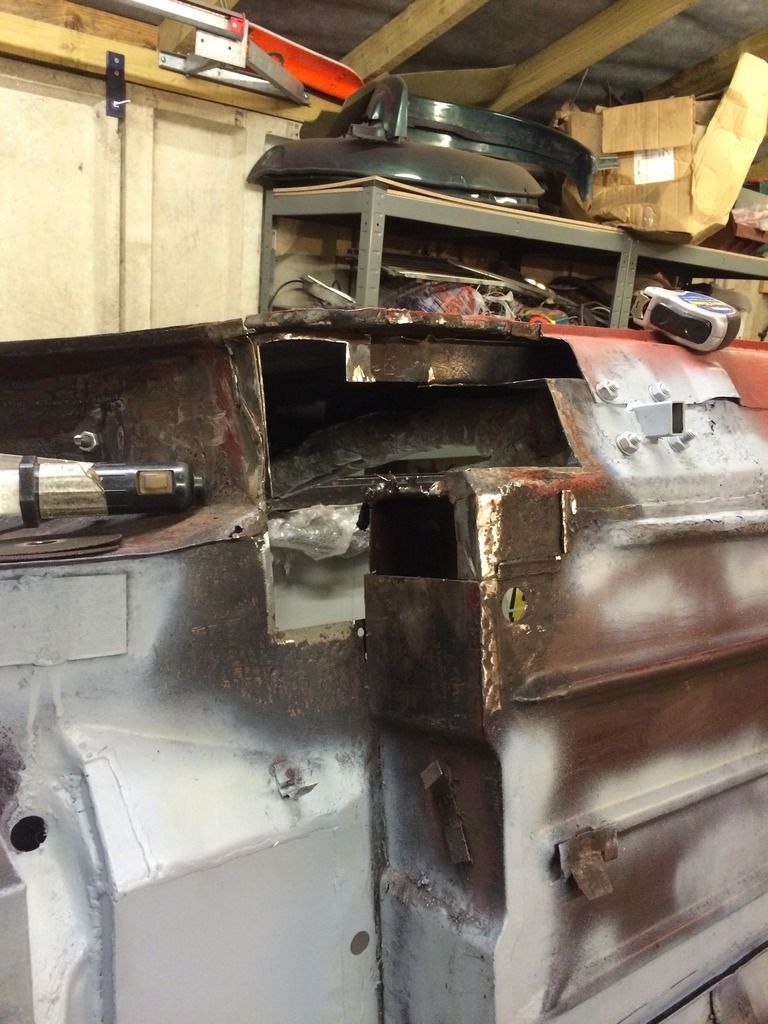
As the lip on the scuttle was rusted out and a repair already put in I decided to change the full scuttle panel for a genuine one. Also gave me good access for doing the bulkhead box. Which is needed to clear my inlet.
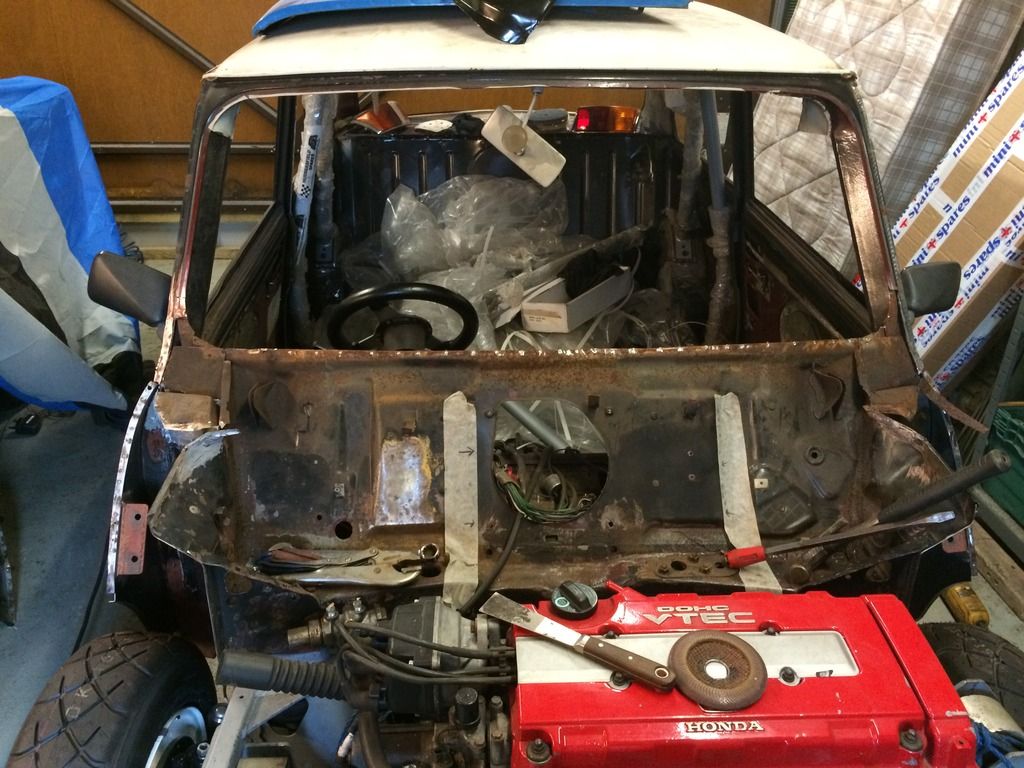

image_54.jpeg

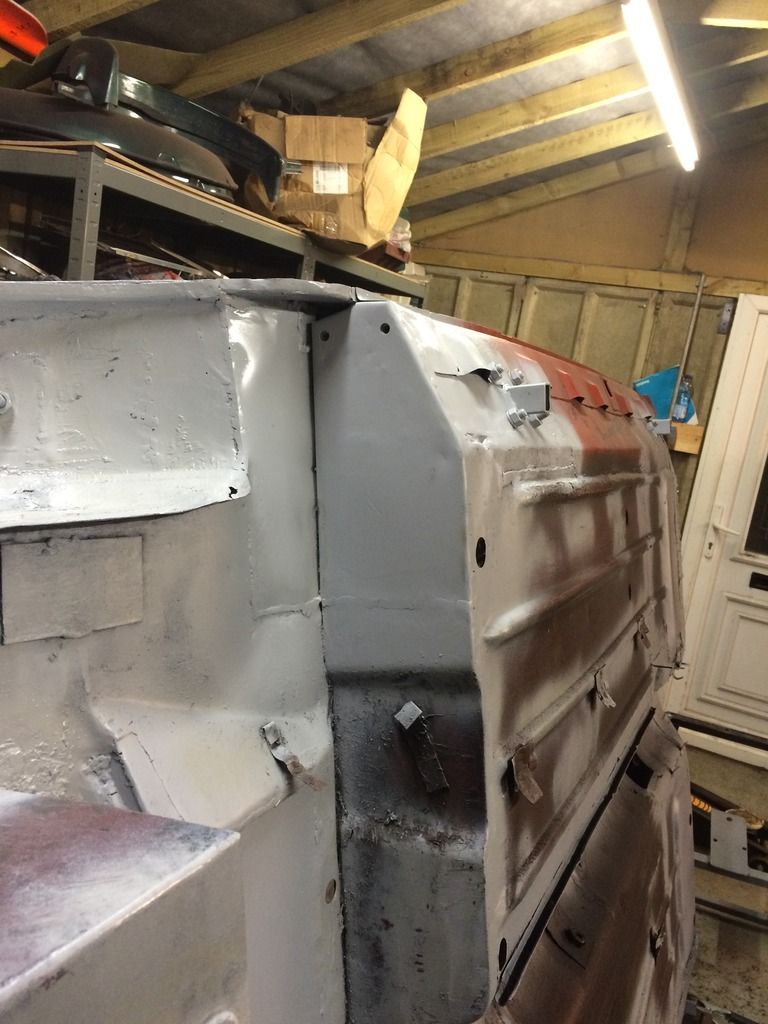
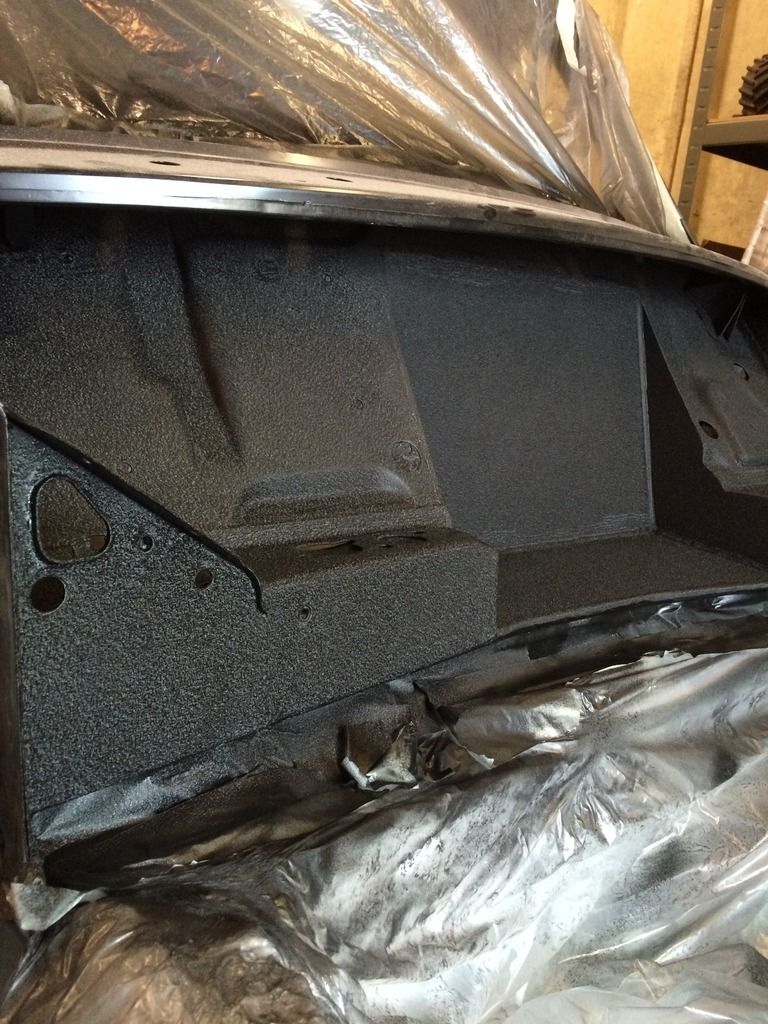
Box in place and bulk head stripped, Seam sealed and primed.
Also note the small square cut outs under the cross member. These are for the wiring harness to come through so keeps the engine bay clean from too many wires.
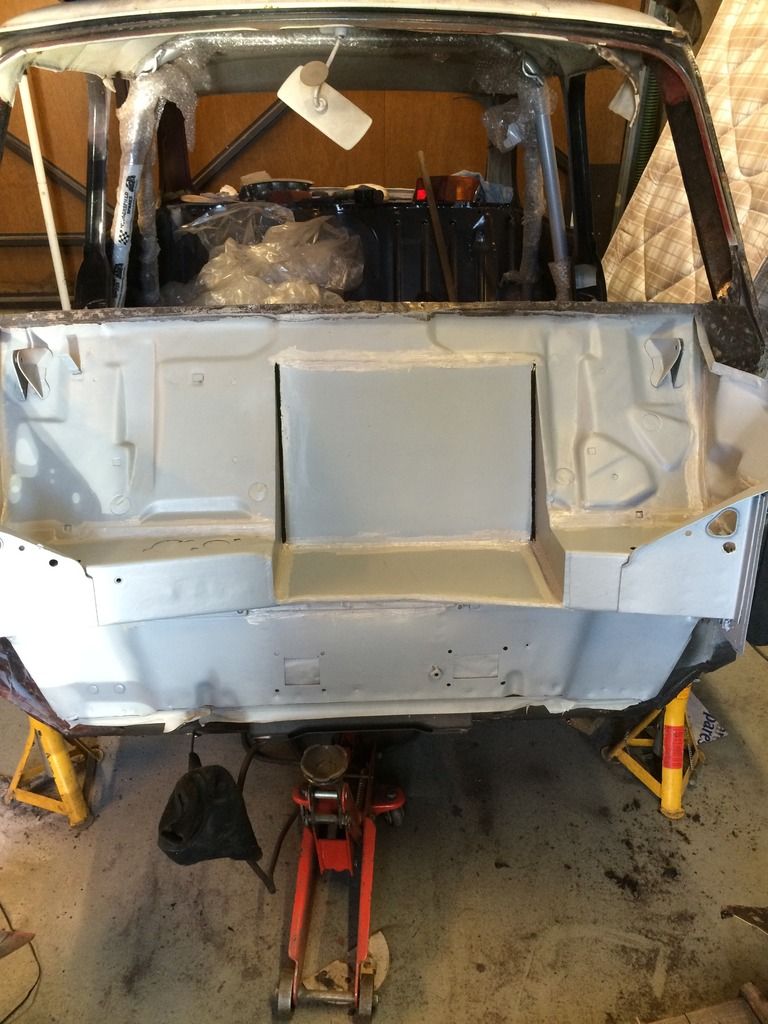
image_65.jpeg

Plates I made for the harness to go through. These will be cut into 2 halves, which clamp over the loom along with a grommet and gasket.
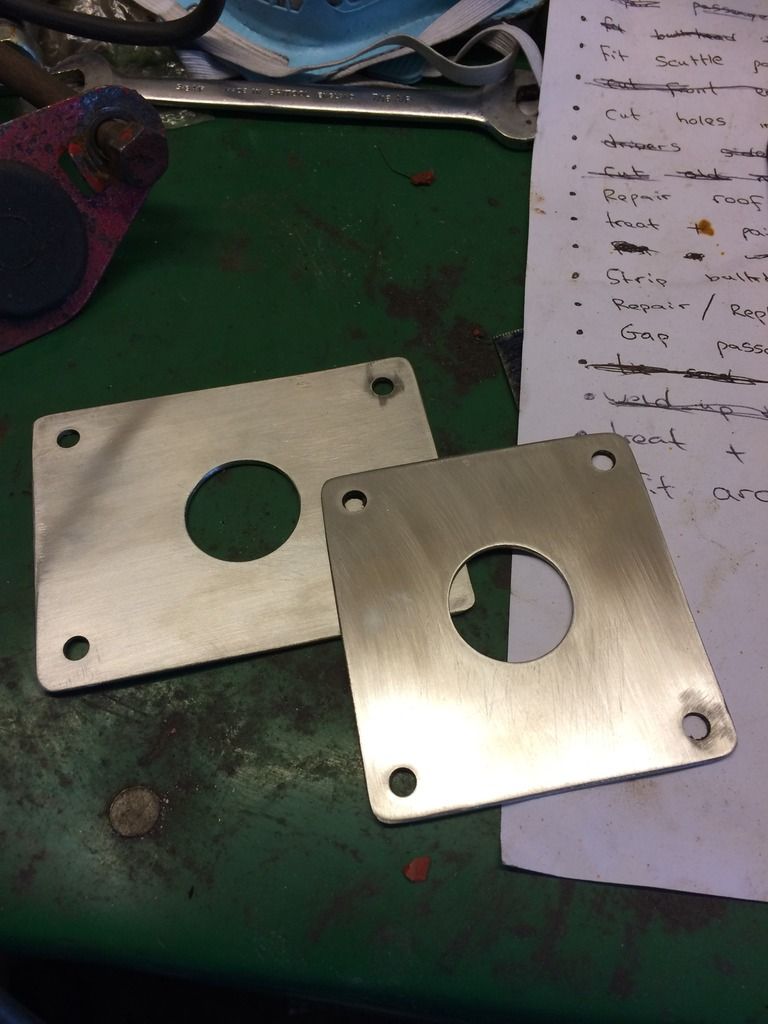
image_67.jpeg

New scuttle on. And also had a go at a little something different for the engine bay. Bit a homage to Honda. I've used a wrinkle finish paint that Honda's historically use on their rocker covers. Was a right ******* to get right but worth it I think.
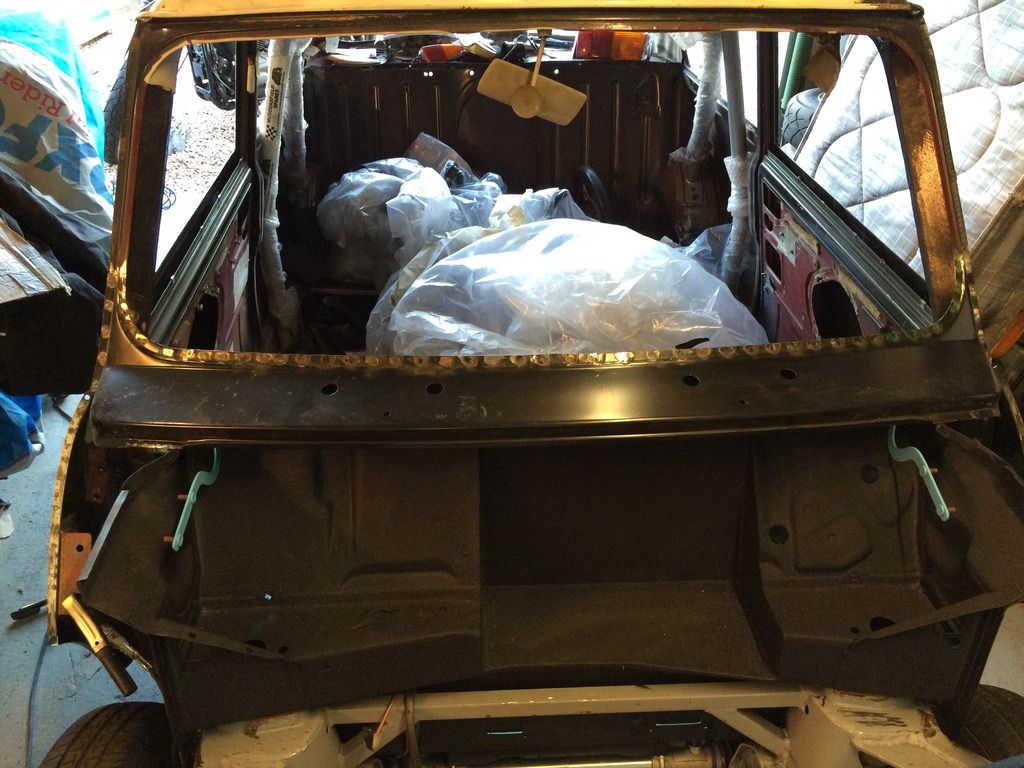
image_70.jpeg
image_68.jpeg

Had to make some fillet pieces to finish off the corners. These will also be extra fixing points for the front end.
http://i177.photobuc...s/image_79.jpeg

http://i177.photobuc...s/image_56.jpeg

Alternator bracket.
http://i177.photobuc...s/image_57.jpeg

http://i177.photobuc...s/image_59.jpeg

http://i177.photobuc...s/image_60.jpeg

http://i177.photobuc...s/image_61.jpeg

Test fitting the arches.

http://i177.photobuc...s/image_71.jpeg

And off to paint he went.


http://i177.photobuc...s/image_73.jpeg

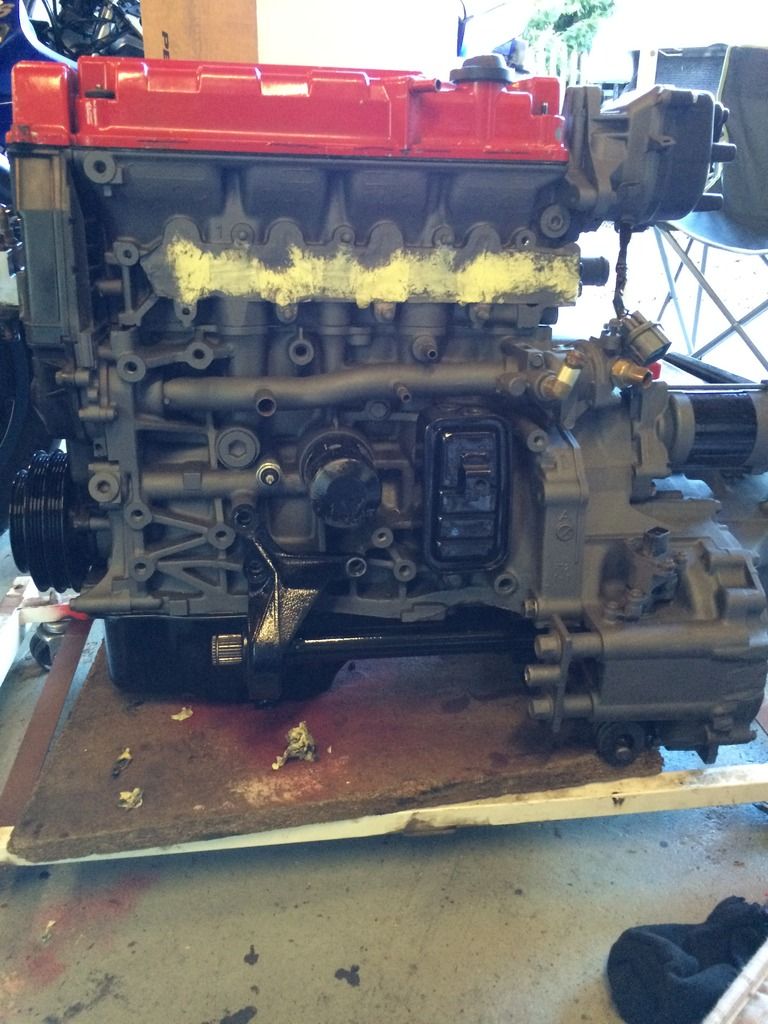
So with the car gone, turned my attention to the engine. Cam belt, clutch and a tidy.

http://i177.photobuc...s/image_74.jpeg


http://i177.photobuc...s/image_84.jpeg

http://i177.photobuc...s/image_83.jpeg

http://i177.photobuc...s/image_76.jpeg

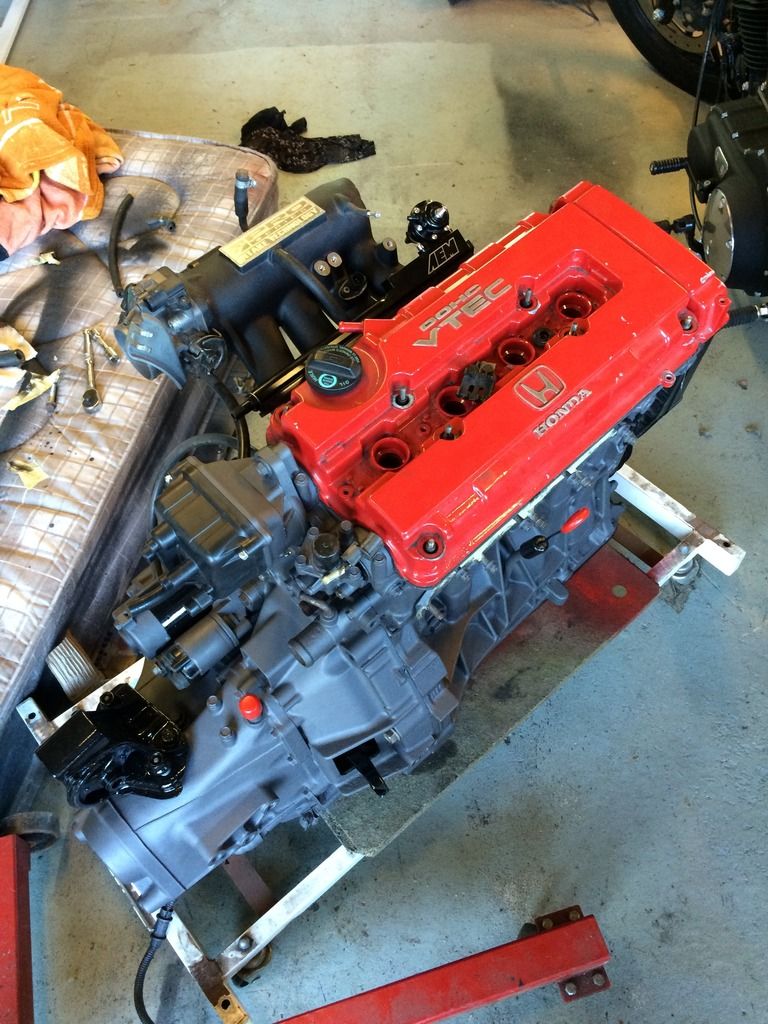
Built up inlet manifold. Aem high flow fuel rail and pressure reg.
http://i177.photobuc...s/image_78.jpeg

And as it stands now.
http://i177.photobuc...s/image_85.jpeg

Finished the clutch tonight and finished painting little bits and bobs.
Need to get the front frame off the car and away to the powder coaters now along with the rollcage. Hopefully have the car back next week. Fingers crossed.

Edited by jamus, 13 July 2016 - 09:54 PM.


#2 Shifty

Shifty

    Sponsored by Fosters (tm)

  • Admin
  • PipPipPipPipPipPipPipPipPipPipPip
  • 13,128 posts
  • Name: Sean
  • Location: Shropshire(sunny)
  • Local Club: TMF

Posted 14 July 2016 - 08:15 PM

I've not even fitted the seats yet either!!!


#3 bluemini17

bluemini17

    Mini Mad

  • Members
  • PipPipPipPip
  • 158 posts
  • Location: Bangor

Posted 14 July 2016 - 09:59 PM

Amazing, following with great anticipation. I finished my restoration 3 months ago. Went out the next day, bought a full Honda with B18c4, drove it home, bought another mini and have just finished extending my garage. I will be starting the amalgamation of the two cars soon, I will be popping in a lot to ask you lots of questions!


Nice mounting points for the axle stands! very smart.


That was a fair whack you took from the bulkhead, does the skunk2 not give you a bit more clearance opposed to the standard inlet mani?


Cant wait to see this completed.


Thanks, Dave


#4 bluemini17

bluemini17

    Mini Mad

  • Members
  • PipPipPipPip
  • 158 posts
  • Location: Bangor

Posted 14 July 2016 - 10:04 PM

oh yes, one more thing to watch for,


I have read a lot of folk having issues with blowing their clutches. The trow distance on a honda clutch is very small compared to the mini. Folk were over pushing (I think i just made that word up) and forcing the spring fingers to break. They limited the clutch pedal movement on the mini to solve the issue.


Thought I best share. If you like i can measure the pedal travel on my honda as it is still in one piece and running.


Thanks, Dave


#5 jamus

jamus

    On The Road

  • Noobies
  • PipPip
  • 44 posts
  • Location: Telford

Posted 15 July 2016 - 06:06 AM

Thanks for the comments dave.

I'm glad I fitted the axle stand blocks as didn't fancy jacking against my nice new floors. They are welded where the spreader plates are for the roll cage so a lot more strength there too.

I think you can get away with cutting less out of the bulkhead, but I looked at it from a maintenance point of view. The more room the better. This way I have easy access to all the components on the manifold with having to remove the whole thing.

Thanks for the heads up on the clutch. Haven't really thought about that side of it yet. I do have a modified Honda master cylinder, looks like they have shortened the push rod, not the best of job so will look at this more when the time comes.
Would be interesting to see the amount of movement on the standard pedal though.

Jamie.

#6 jamus

jamus

    On The Road

  • Noobies
  • PipPip
  • 44 posts
  • Location: Telford

Posted 18 July 2016 - 07:07 PM

Bit more done today.
Mainly wire brushing, cleaning and painting parts. Also fitted some of the parts I've done previously to the engine.
Need to decide on a colour for the cam cover still though. ???

image_87.jpeg

image_88.jpeg

Alternator bracket welded up and painted.

image_90.jpeg

Then threw the inlet on just to give me an idea what the overall look will be. Quite happy with it so far.

image_89.jpeg

Edited by jamus, 18 July 2016 - 07:08 PM.


#7 jamus

jamus

    On The Road

  • Noobies
  • PipPip
  • 44 posts
  • Location: Telford

Posted 21 July 2016 - 08:50 PM

Trying to keep busy and on top of things while the cars still away. Might be getting a bit carried away though.

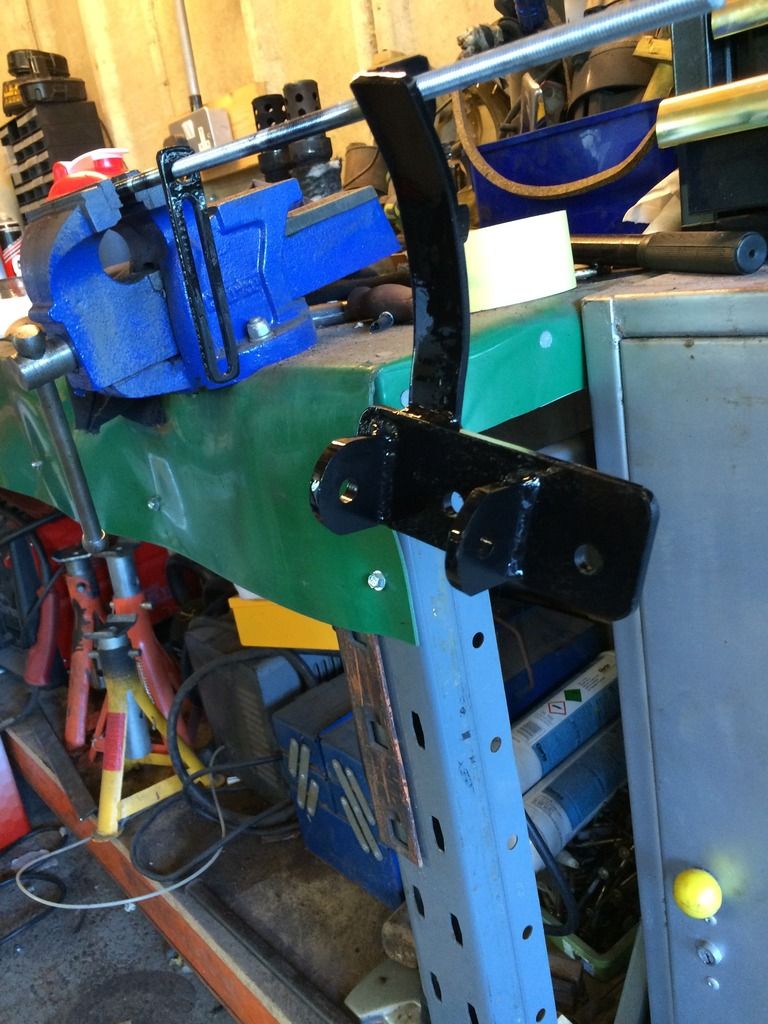
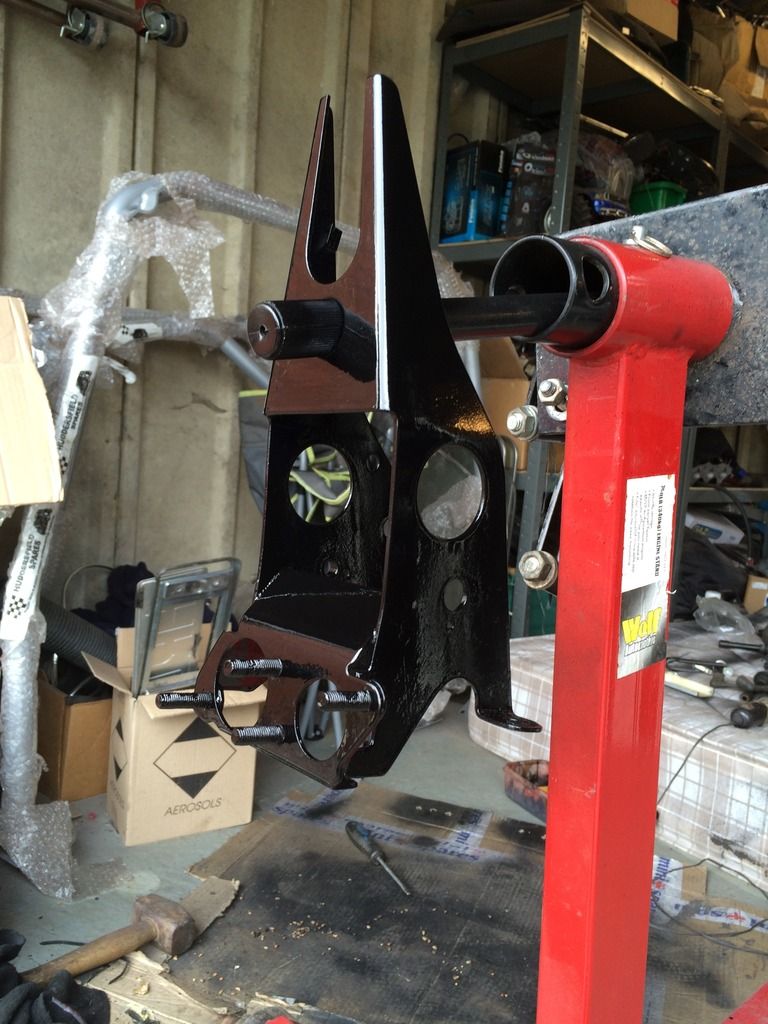
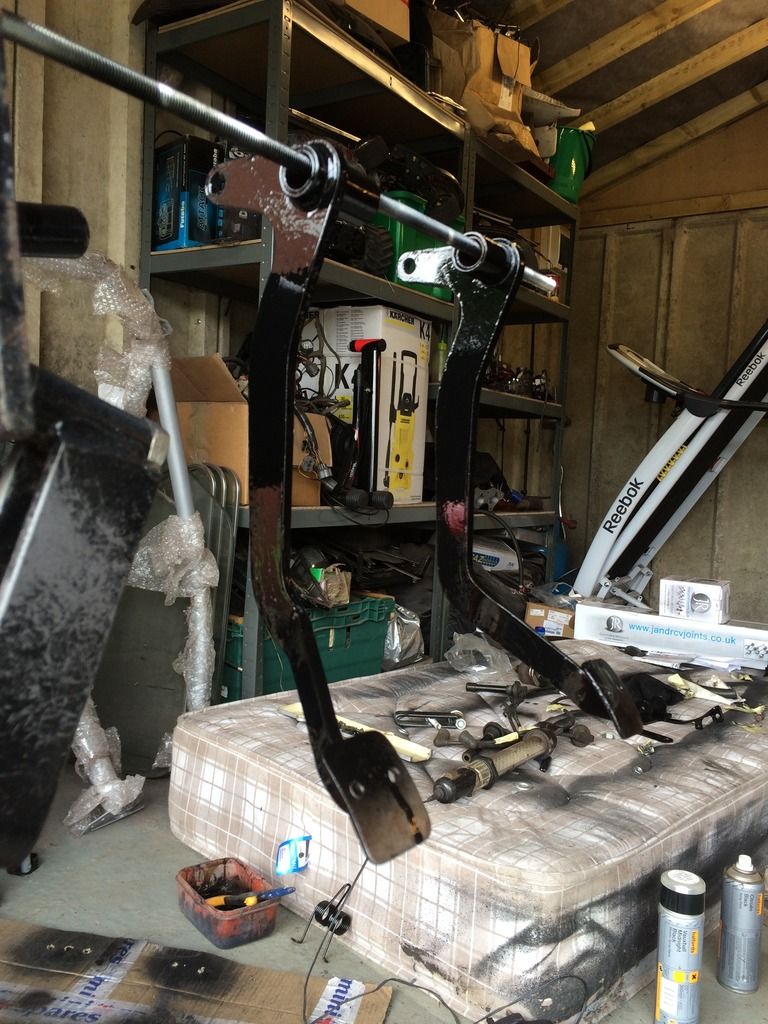
Stripped and painted the pedal box.

image_91.jpeg

image_93.jpeg

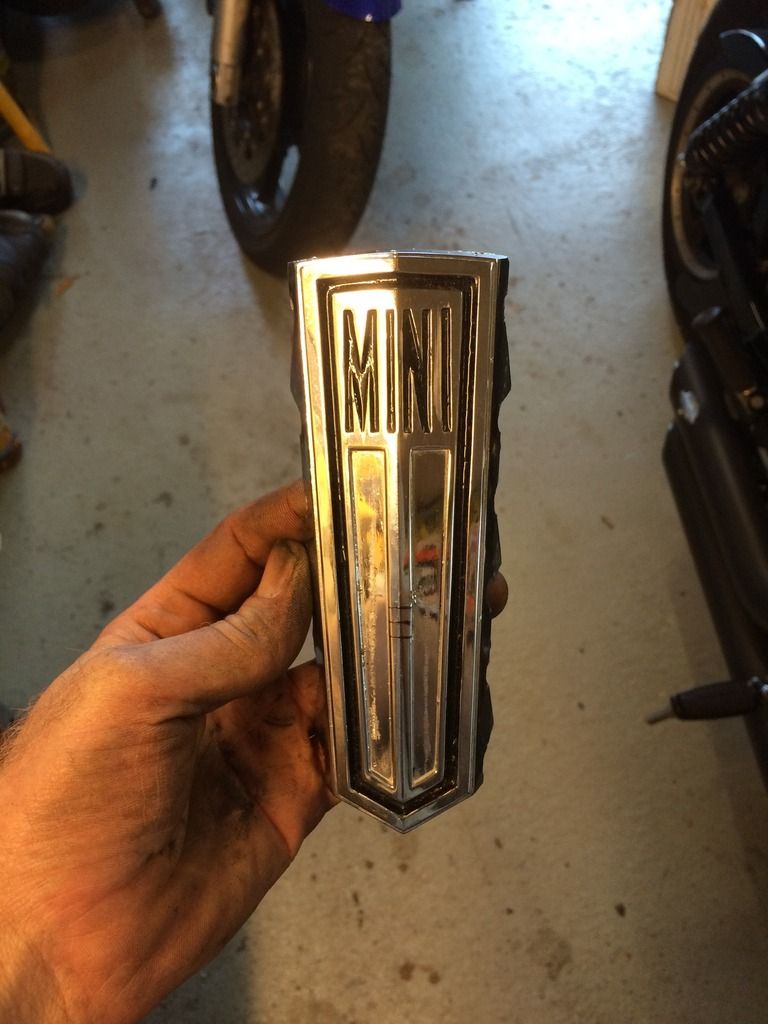
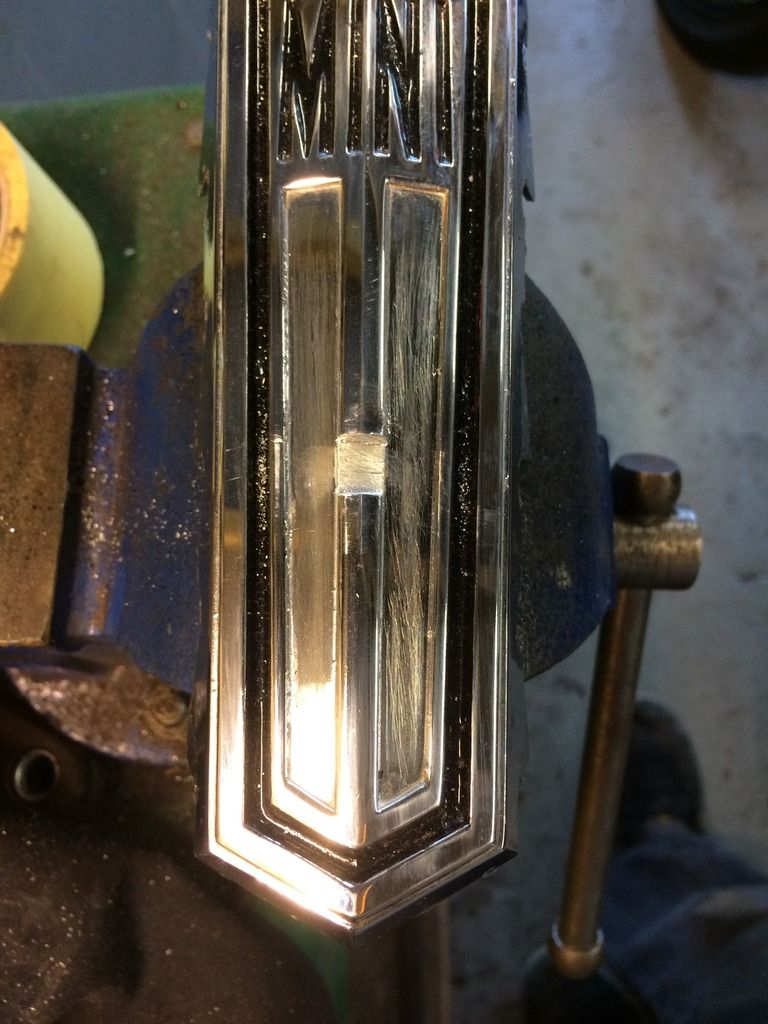
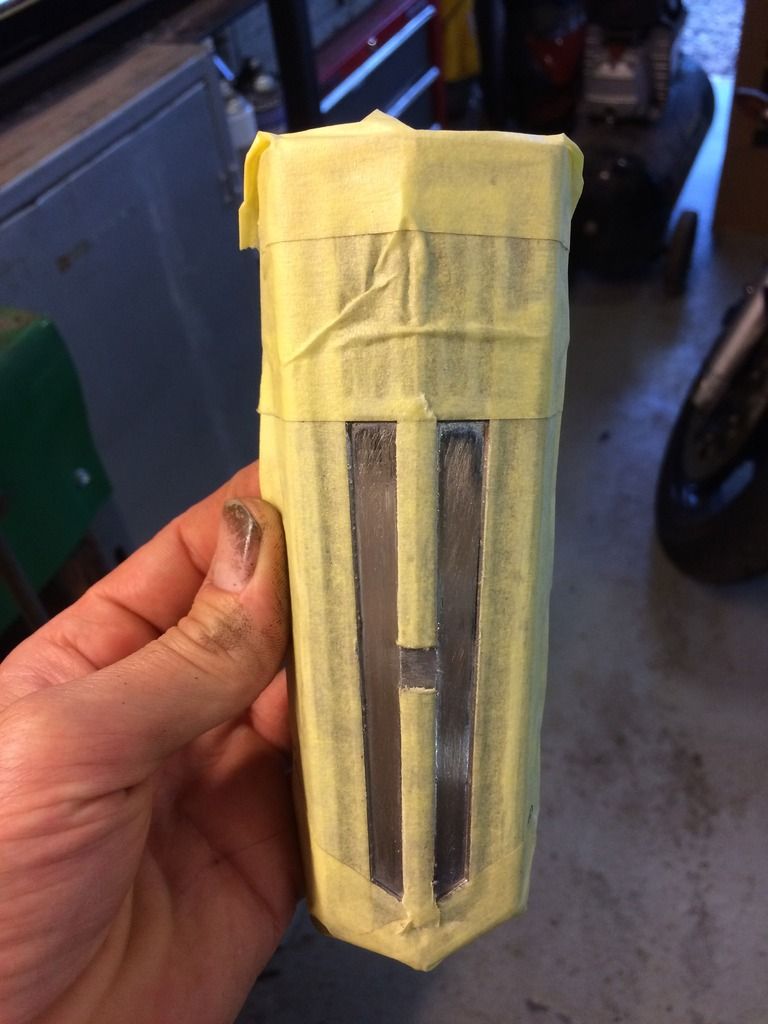
Also started on an old badge I found amongst my boxes of tat. I will eventually tie it into what ever colour I have my wheels.

image_94.jpeg

image_96.jpeg

image_98.jpeg

#8 skoughi

skoughi

    One Carb Or Two?

  • Members
  • PipPipPipPipPipPipPip
  • 1,199 posts
  • Location: Lerwick
  • Local Club: Shetland classic car club

Posted 21 July 2016 - 09:54 PM

Fantastic job! Love the crinkly paint finish. That's a lot of the bulkhead crossmember that's been removed, I guess it's a mod that's been done plenty of times but I was wondering how much strength it removes from the bulkhead? Or is there other work done on the inside to make up for the missing metal? I was out for a wee tootle in my 1973 clubman this evening about town and was thinking how much better the driving experience an engine swap from my 1330 A series to something such as a vtec or redtop would be? The performance must take some jump?!!


#9 jamus

jamus

    On The Road

  • Noobies
  • PipPip
  • 44 posts
  • Location: Telford

Posted 22 July 2016 - 01:42 PM

Thanks man. The wrinkle paint was a nightmare to get right. As it cures and wrinkles with heat, I ended up balancing my 3 panel gas fire on some timber so it would wrinkle. Did the job nicely and something I haven't seen before.

Yeah I did have my reservations about cutting the bulkhead, but went for it anyway. As I see it, I've fully Seam welded the box in which is made from 3mm plate. Also on my frame there is a the rear crossmember that links the towers together so some strength is also added there.
Many people have cut their bulkheads and I am yet to hear of any structural failures due to this. So I just thought bugger it! Ha

I'm guessing it will be a handful to drive compared to an A series, which I love. Just hope it doesn't change the handling characteristics of the car too much with the extra lump in the front. But time will tell I guess, I'm damn sure it's Gona put a smile on my face though!!

#10 skoughi

skoughi

    One Carb Or Two?

  • Members
  • PipPipPipPipPipPipPip
  • 1,199 posts
  • Location: Lerwick
  • Local Club: Shetland classic car club

Posted 22 July 2016 - 09:15 PM

The box will certainly help seeing as you've made it from 3mm, my clubman is only the second mini I've ever owned so have nothing really to compare it to. I've never driven a fully sorted A series powered one never mind what you're building. My thoughts echo what you said at the end regarding the handling and general feel when driving, will you need to upgrade suspension dramatically along with brakes and maybe some sort of bodyshell bracing/rollcage? Or just say bugger it, lets get it fired up and see what happens when we drive it down the road?!!


#11 jamus

jamus

    On The Road

  • Noobies
  • PipPip
  • 44 posts
  • Location: Telford

Posted 24 July 2016 - 06:16 PM

Suspension in the main is standard. Still on the rubber cones, but with hi lo's and gaz adjustable dampers. As for brakes, ally four pots up front with drilled discs and standard drums in the rear.

Will have to see how these shape up as I'm only going to be running the 7.5" discs up front.

#12 jamus

jamus

    On The Road

  • Noobies
  • PipPip
  • 44 posts
  • Location: Telford

Posted 31 July 2016 - 06:48 PM

Had an eagerly awaited message from my painter yesterday to let me know how she's doing.
So here's a sneak preview of colour.
Really stoked with it, can't wait to see it in person and in the sun.
Colour is ipanema brown.

image_99.jpeg

#13 yeti21586

yeti21586

    He's A Lumberjack And He's OK

  • TMF+ Member
  • PipPipPipPipPipPipPipPipPip
  • 3,714 posts
  • Name: Chris
  • Location: Hampshire
  • Local Club: None

Posted 31 July 2016 - 07:42 PM

looking good buddy, that colour is gorgeous!!! i will be watching this thread


YetI


#14 jamus

jamus

    On The Road

  • Noobies
  • PipPip
  • 44 posts
  • Location: Telford

Posted 01 August 2016 - 05:28 PM

Thanks dude. I wanted to go for something different and that I hadn't seen before.

Should be collecting it Thursday if I can sort a trailer out. Fingers crossed!!
Then the painful task of assembling it with marking the body work. Plenty of masking tape and patience will be needed I think.

Edited by jamus, 01 August 2016 - 05:29 PM.


#15 Shifty

Shifty

    Sponsored by Fosters (tm)

  • Admin
  • PipPipPipPipPipPipPipPipPipPipPip
  • 13,128 posts
  • Name: Sean
  • Location: Shropshire(sunny)
  • Local Club: TMF

Posted 01 August 2016 - 08:57 PM

That looks awesome!!


You need to get some slot mags on it!!


1 user(s) are reading this topic

0 members, 1 guests, 0 anonymous users