try
Alan Britton
SPECIALIST ENGINEERING
HUNTINGDON
CAMBS
PE26 2SY
[email protected]

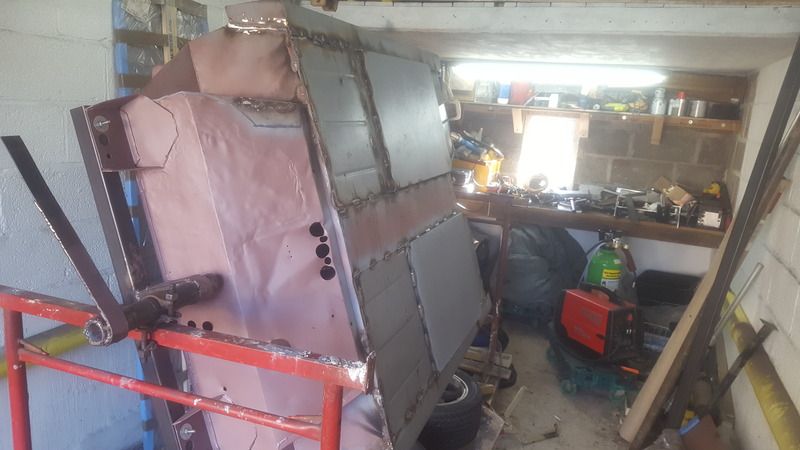
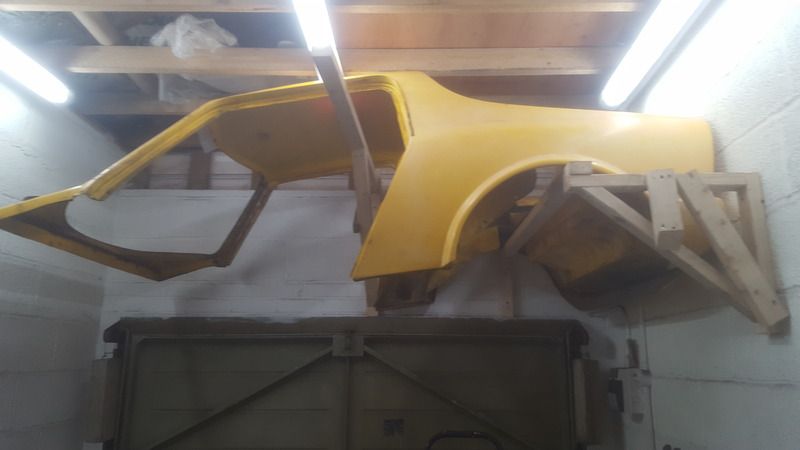
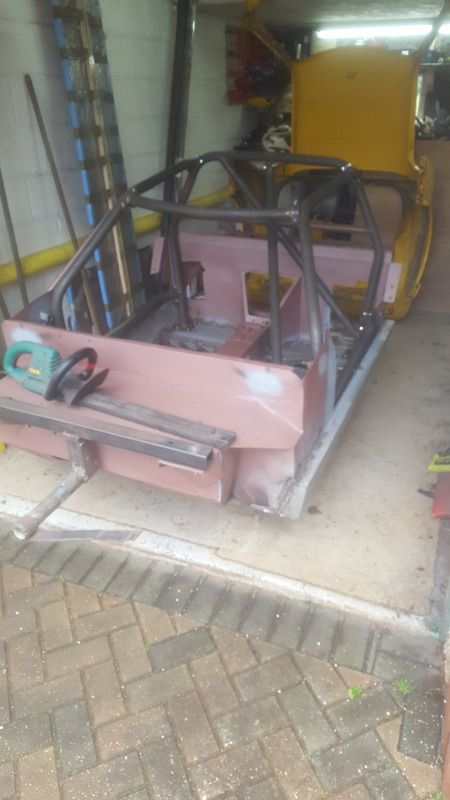
Moved Into The Garage


Posted 26 August 2016 - 11:16 AM
One Carb Or Two?
Posted 26 August 2016 - 05:03 PM

One Carb Or Two?
Posted 01 September 2016 - 08:36 PM
Well working on the gtm didn't happen over the weekend.
Worlds first i think... the weather was actually decent for a bank holiday!
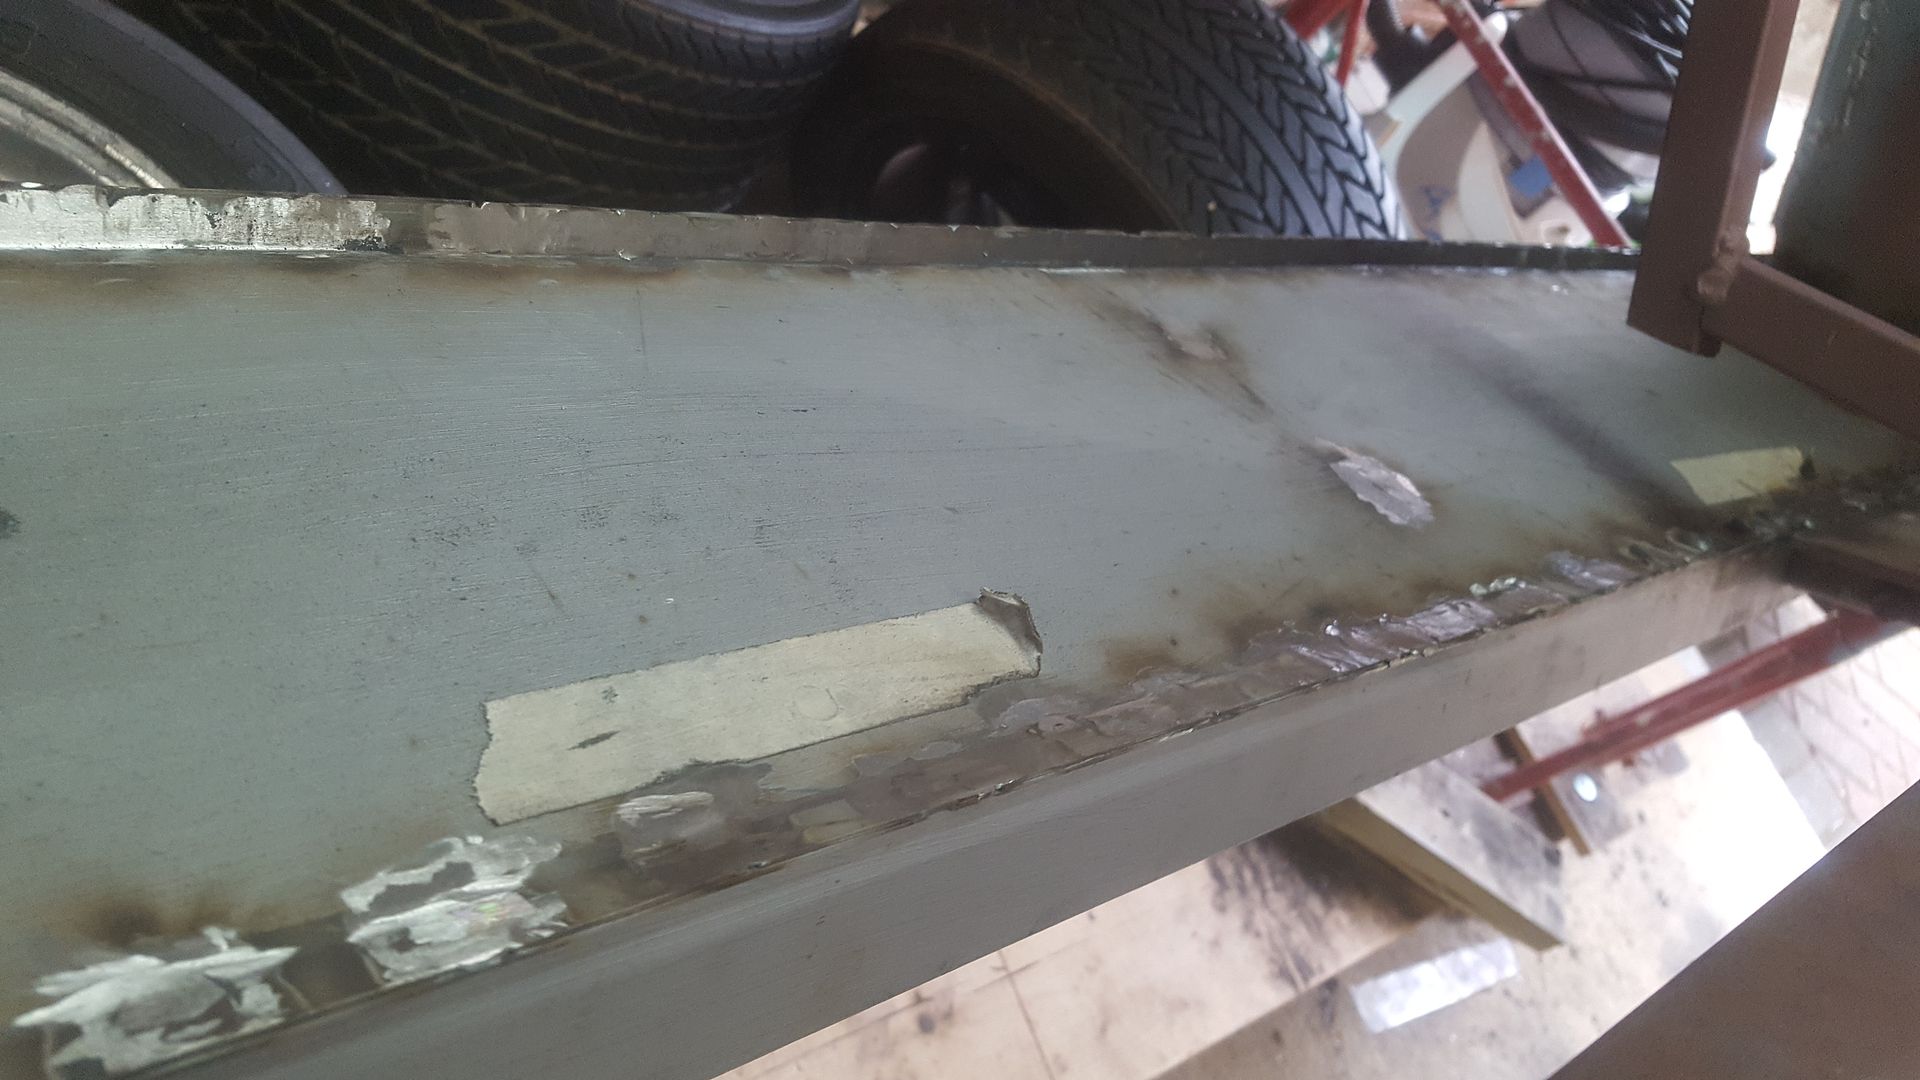
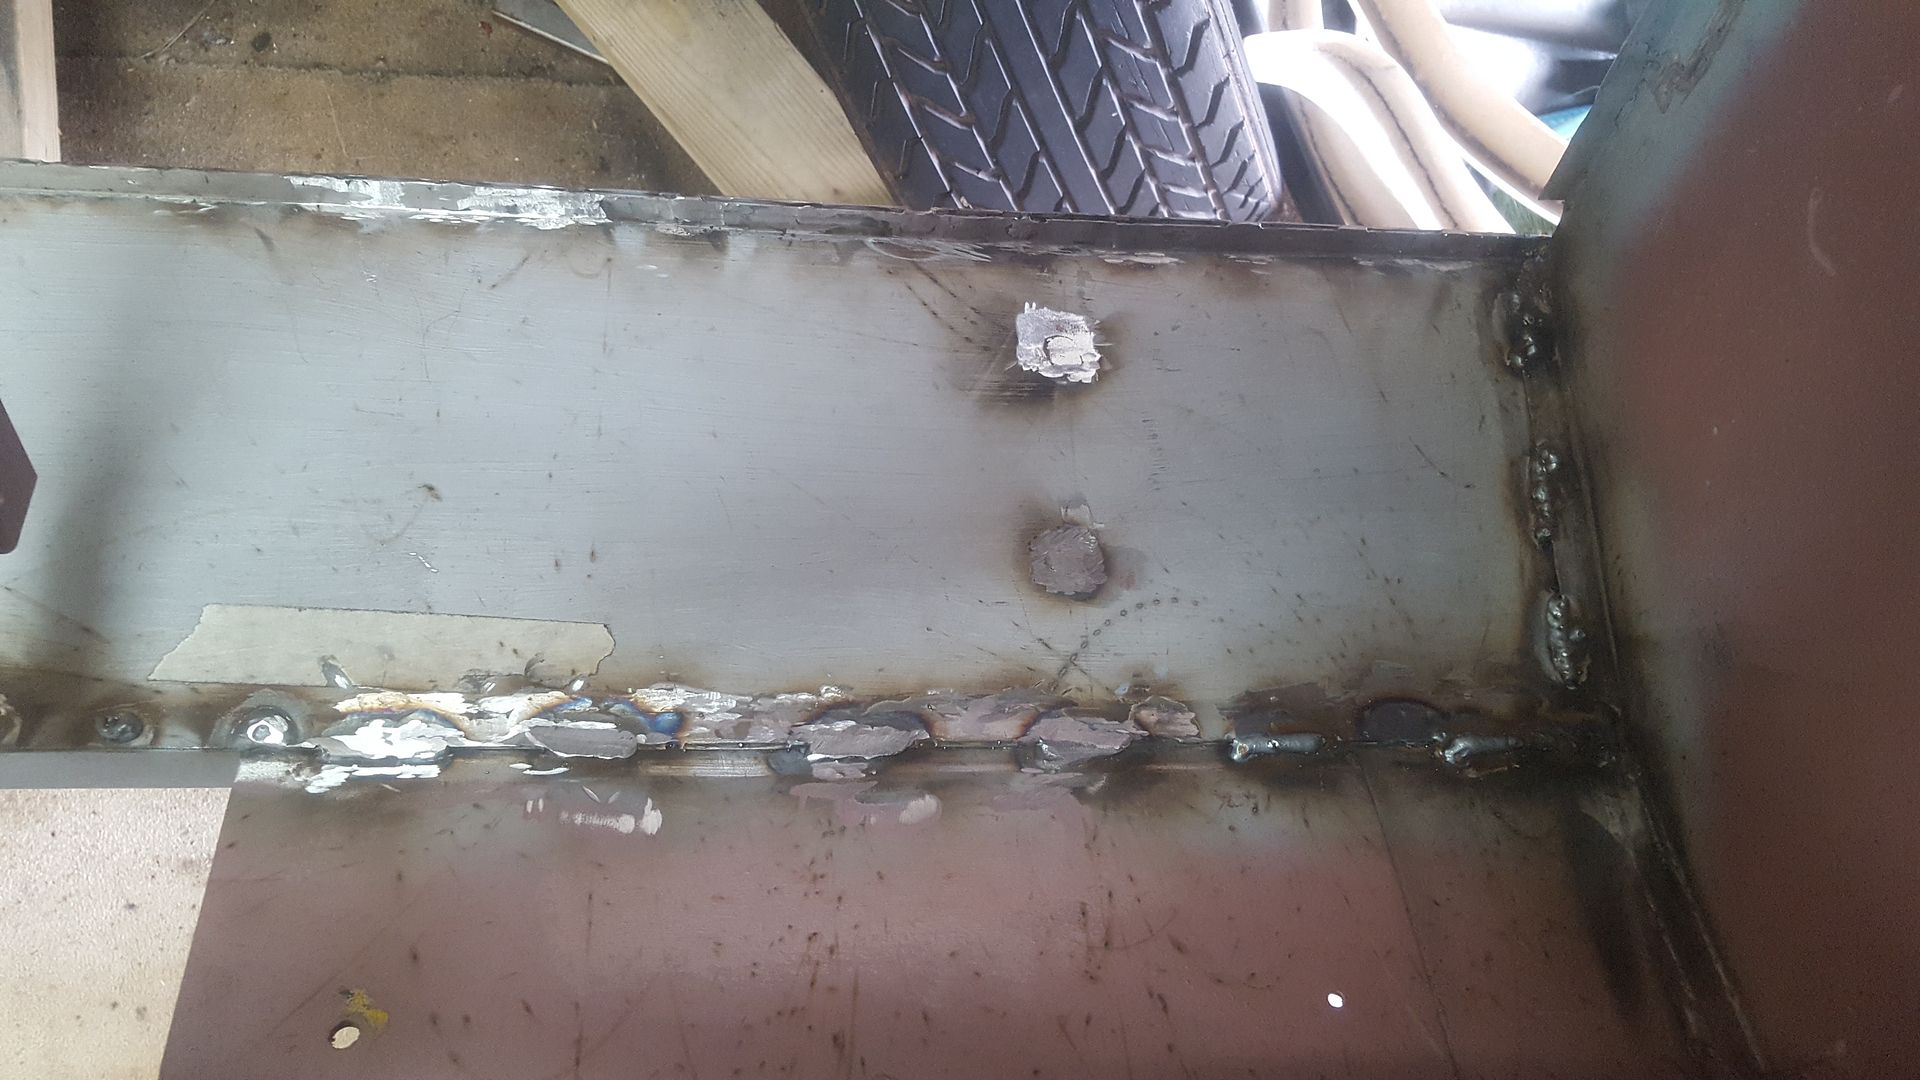
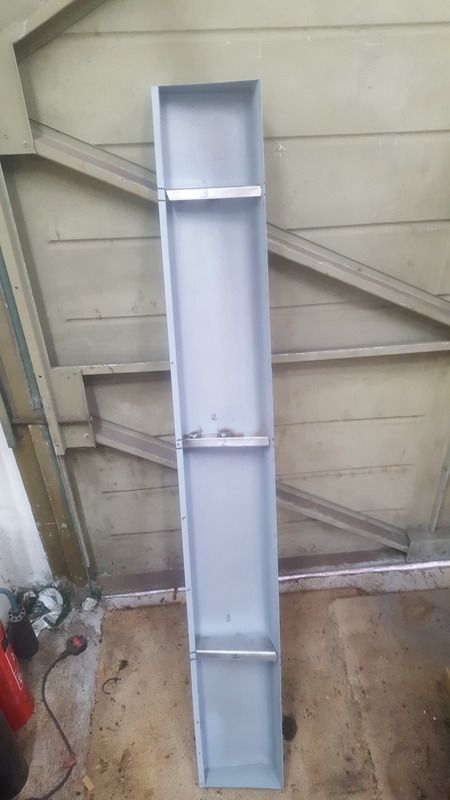
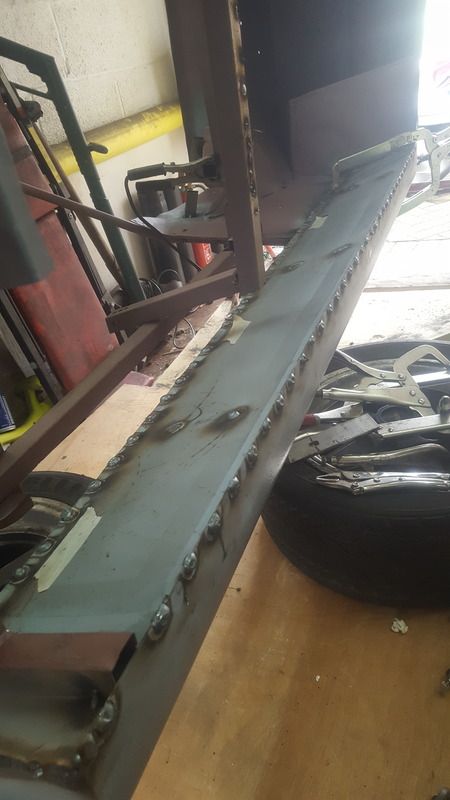
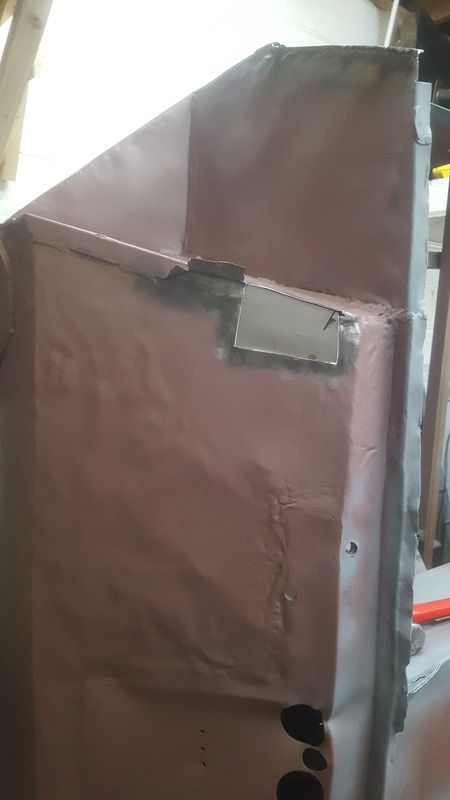
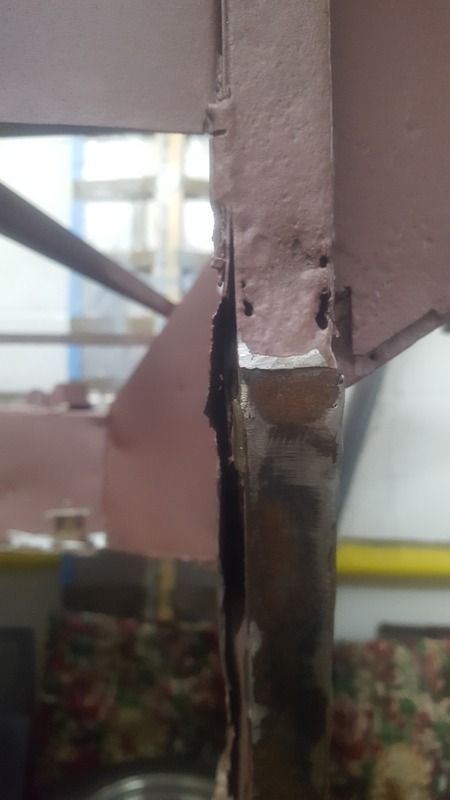
Managed to get the sills completely plug welded together and attached to the tub, no pictures unfortunantly nut'll grab them next time i'm in the garage.
The next thing to happen is to get the plug welds ground down and then it's stitch welded in a few places
One Carb Or Two?
Posted 24 September 2016 - 05:56 PM
Managed to get some time in the garage, only limited to weekends at the moment as it's too noisy for the evenings after work.
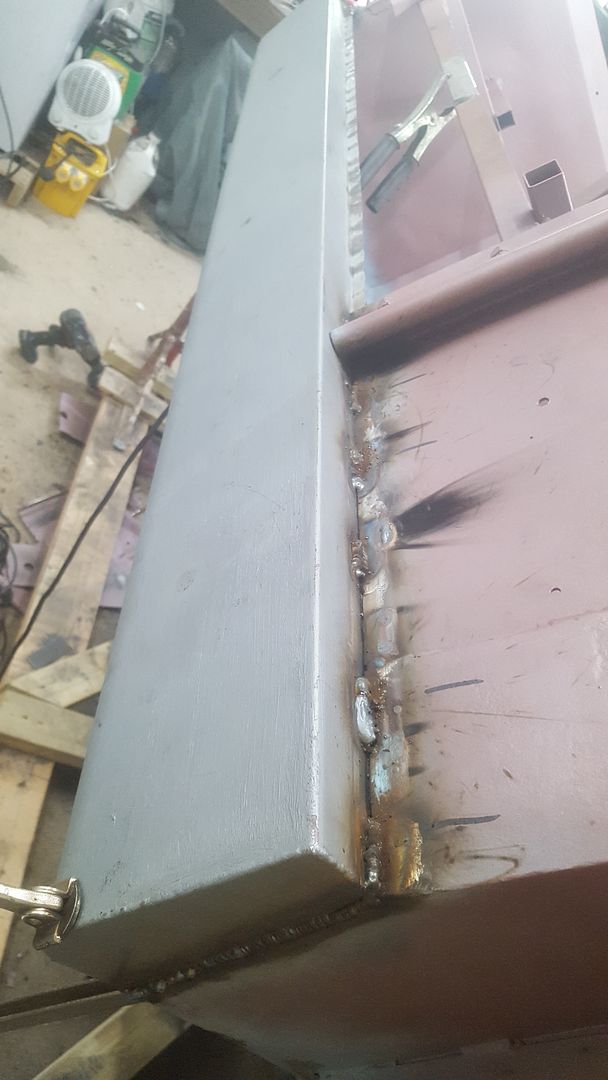
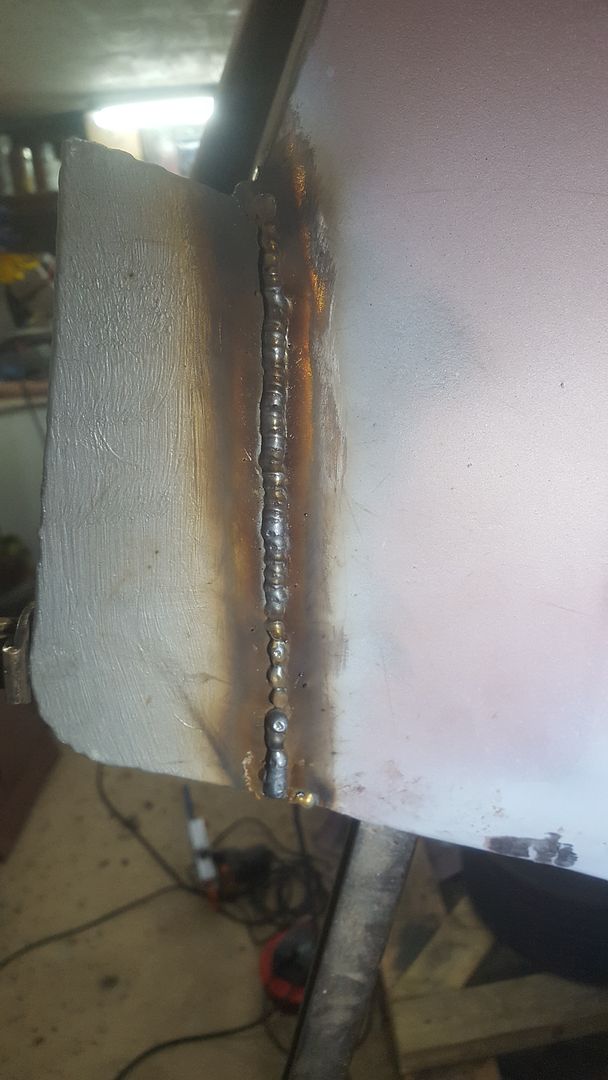
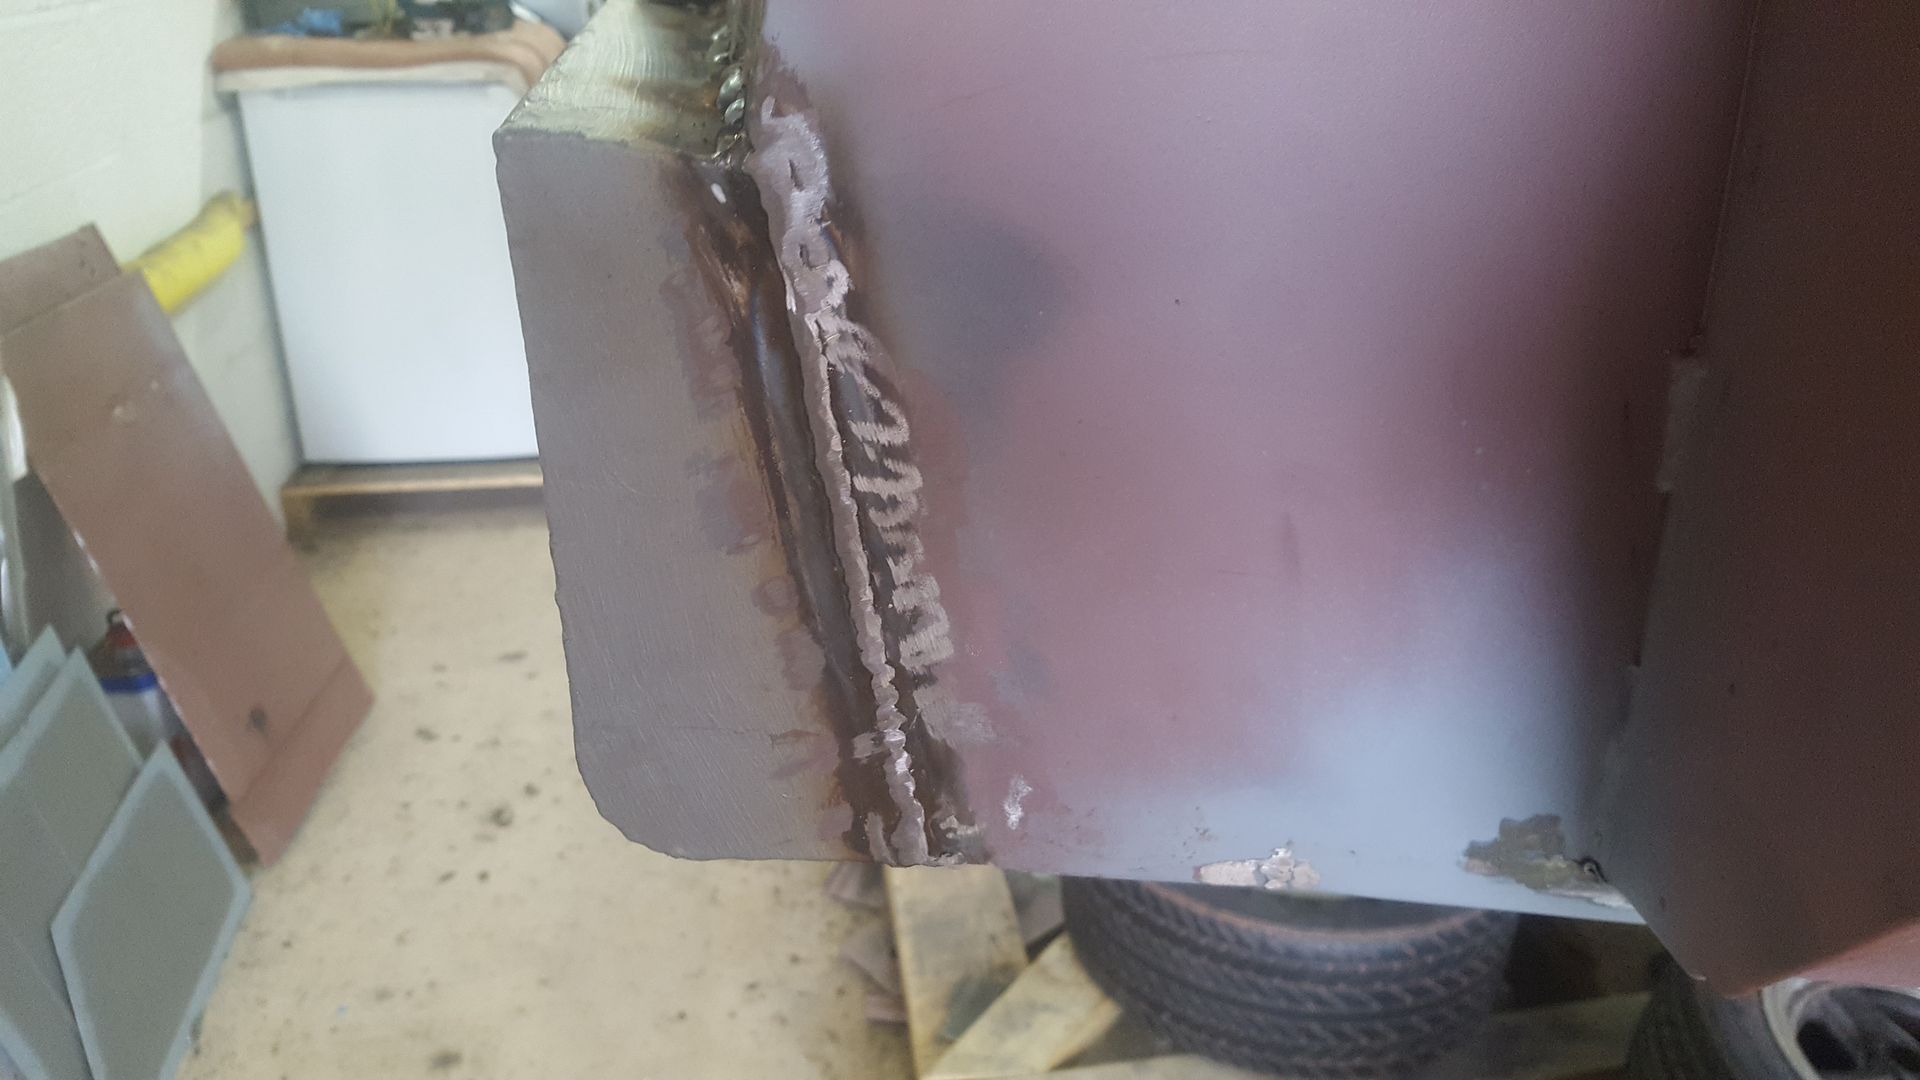
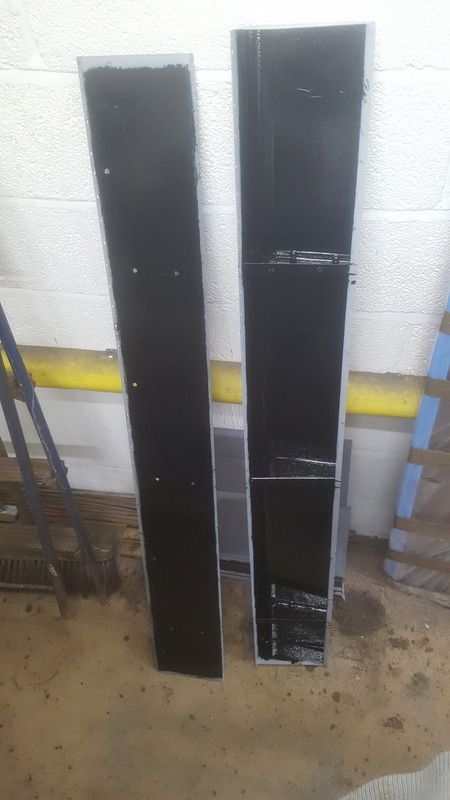
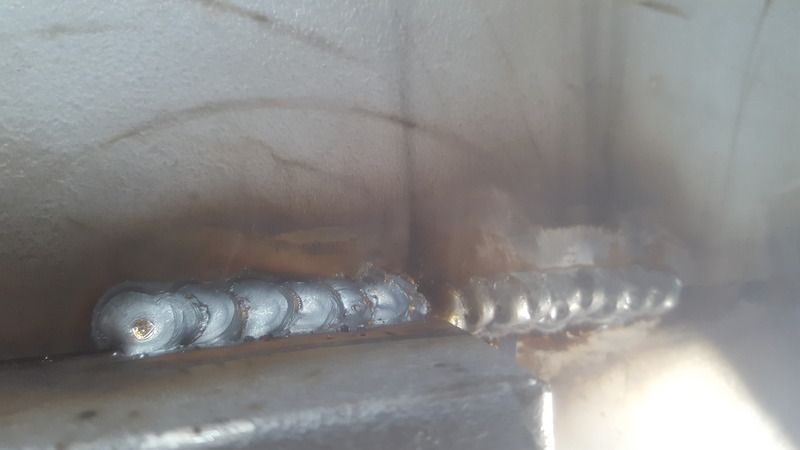
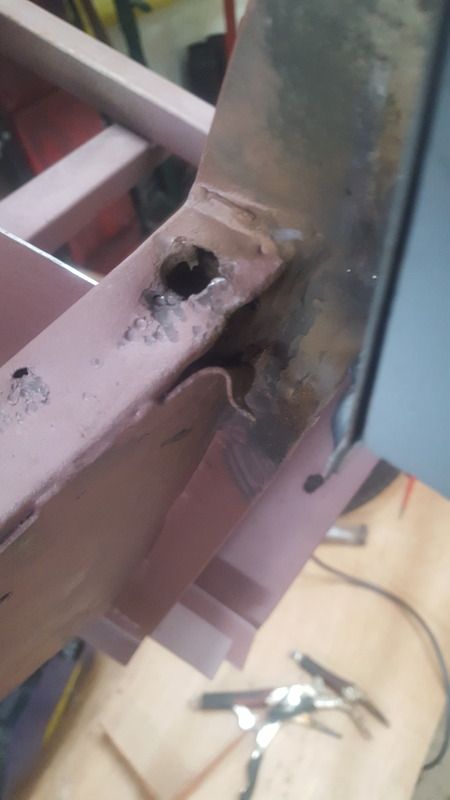
Got all of the plug welds ground down, apart from a couple which i can't get to because of the bracing. I'm definitely considering trying to borrow a spot welder for when i do the other side, it will save so much time!!
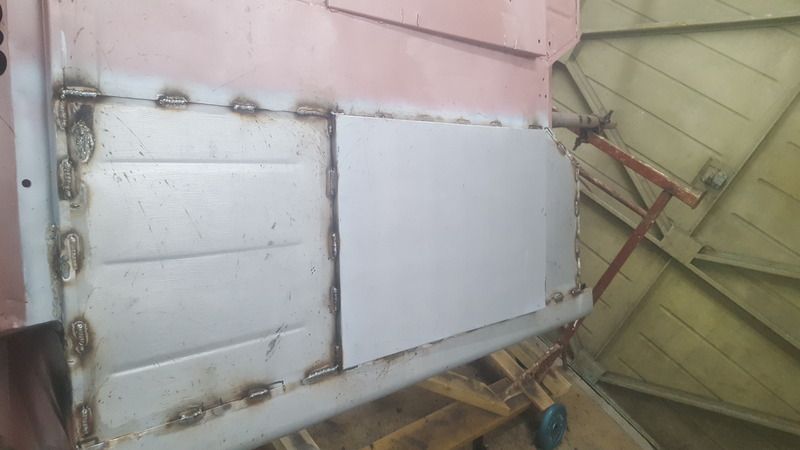
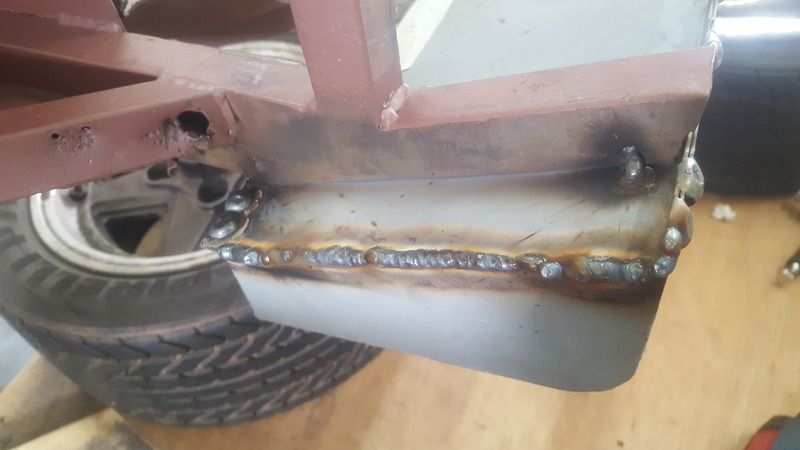
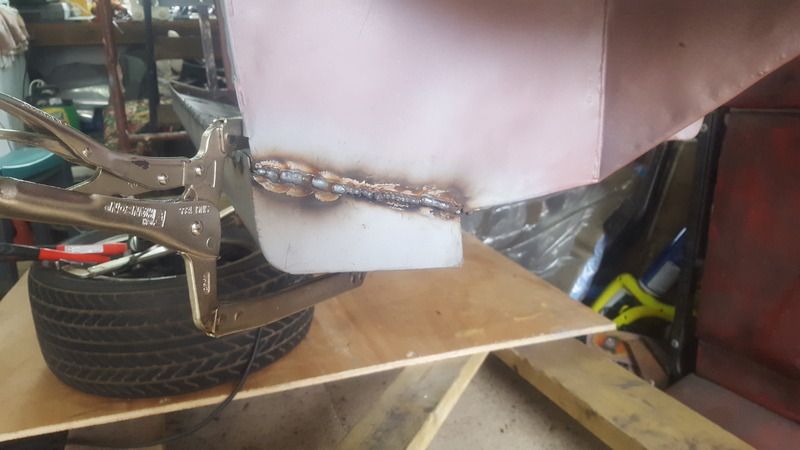
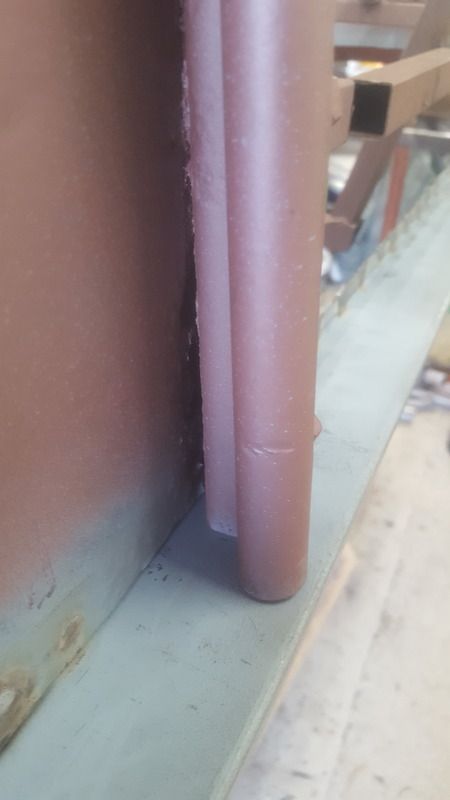
Also got the stitch welds down and the ends of the sills welded together. Just gotta grind down some of the welds to tidy them up then it'll be on to getting the floor pans in. I had originally wanted to get all the welding completed by Christmas, i'm going to try my best but i can't see it happening, i always find something new that needs welding whenever i look at the car haha!

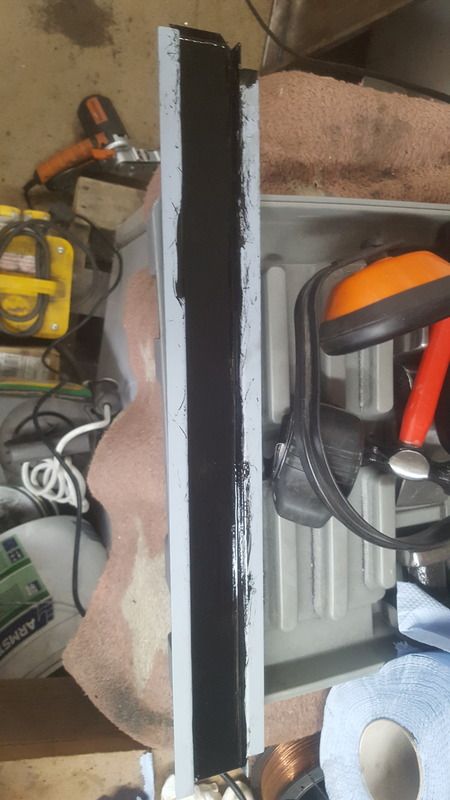
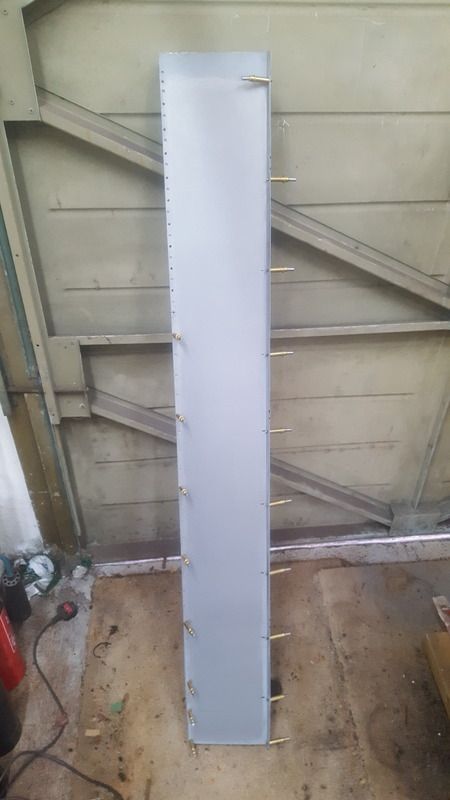
With the floorpans the edges need joggling, i have a joggler but it's not man enough, the steel is 1.2mm is there such thing as a heavy duty joggler or can anyoone recommend a way of joggling the edge in some other way?
One Carb Or Two?
Posted 16 October 2016 - 08:43 PM


Moved Into The Garage
Posted 16 October 2016 - 08:51 PM
One Carb Or Two?
Posted 19 October 2016 - 12:20 PM
I suggest some drain plugs in the lower parts.
One Carb Or Two?
Posted 22 October 2016 - 07:36 PM
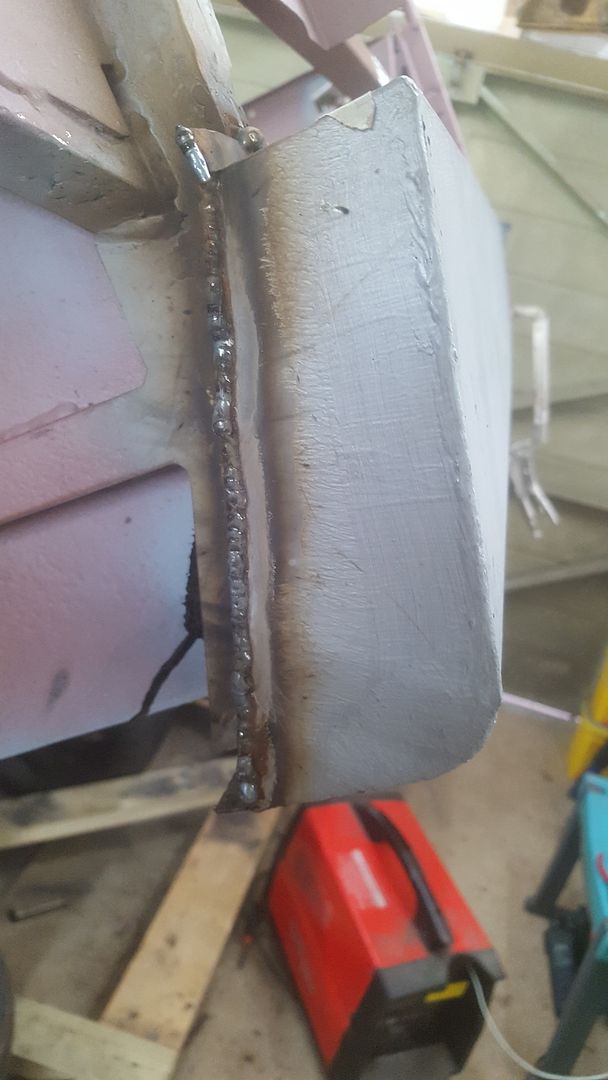
Well play ended it a bit early today, worn down my grinding discs grinding down the welds. Ordered a couple which should be here sometime next week.
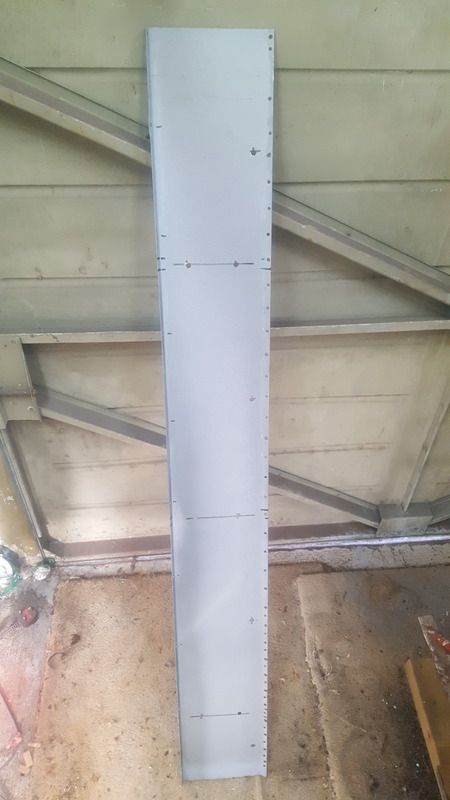
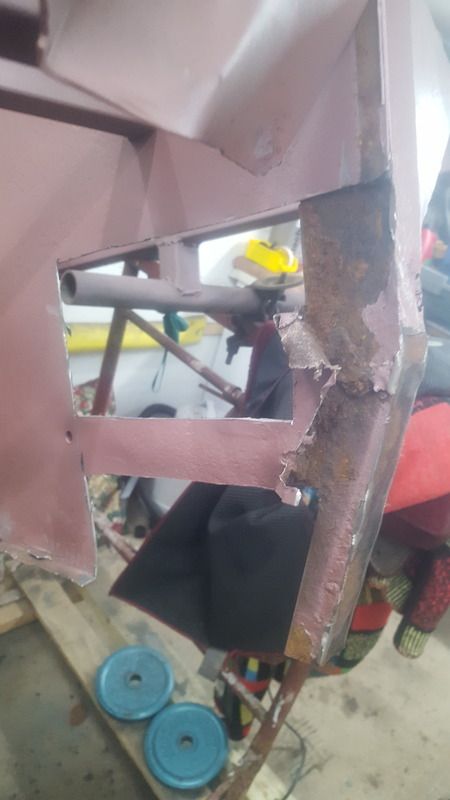
Cut out some of the bracing which wasn't needed on the drivers side now that the new floor is in and also got rid of the passenger side floor, so it gives me better access for grinding down the welds. Should be a lot quicker doing the other side!
One Carb Or Two?
Posted 13 May 2017 - 08:22 PM


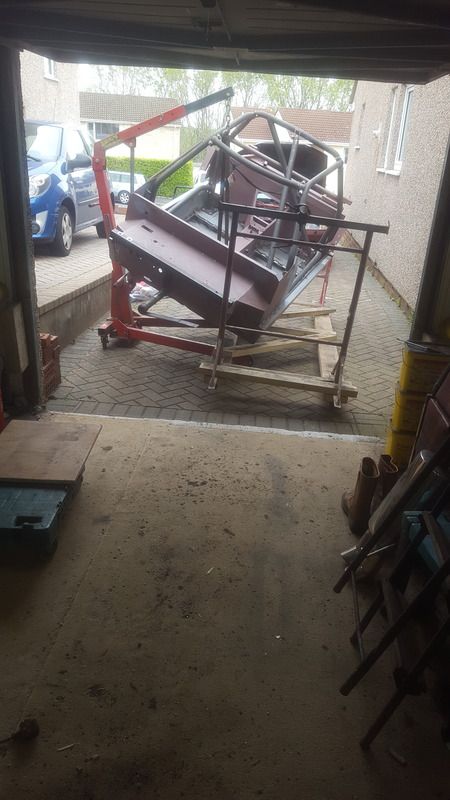
Speeding Along Now

Posted 13 May 2017 - 09:42 PM
Just a note there has been a very good upper arm and steering lockout done for the rear that you should consider as it does improve things. Ask on the GTM Facebook group.
And before you start anything find out about replacement windscreens,
Crazy About Mini's

Posted 15 May 2017 - 09:59 PM
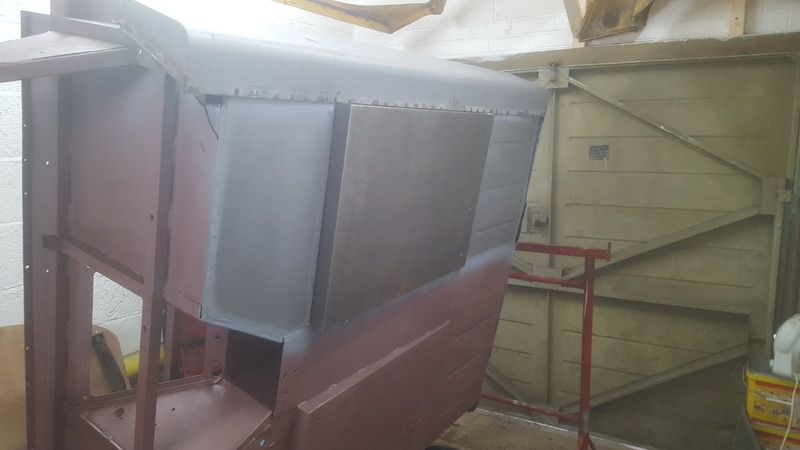
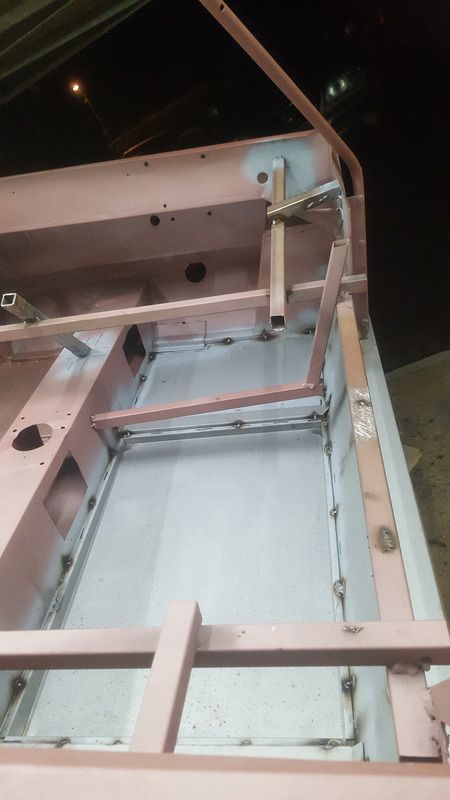
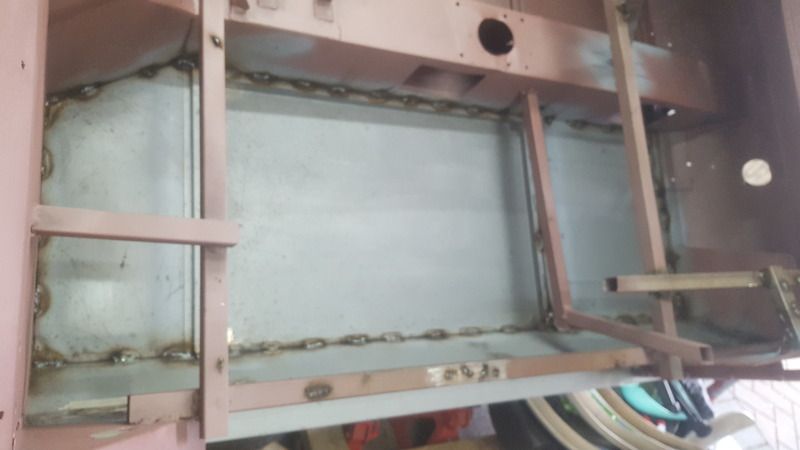
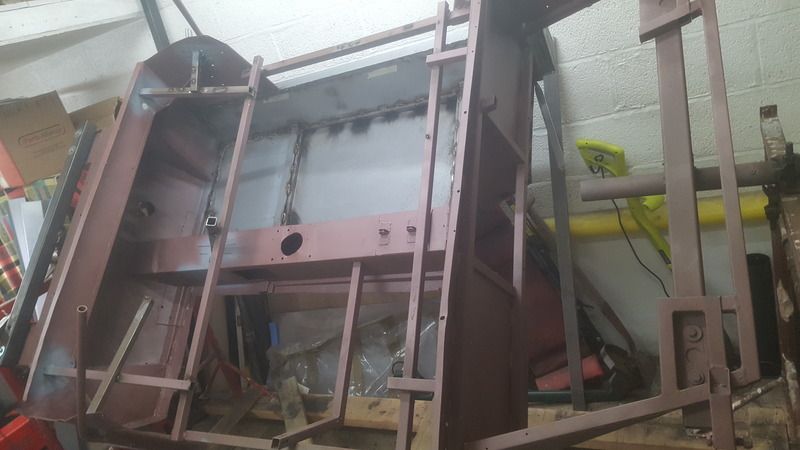
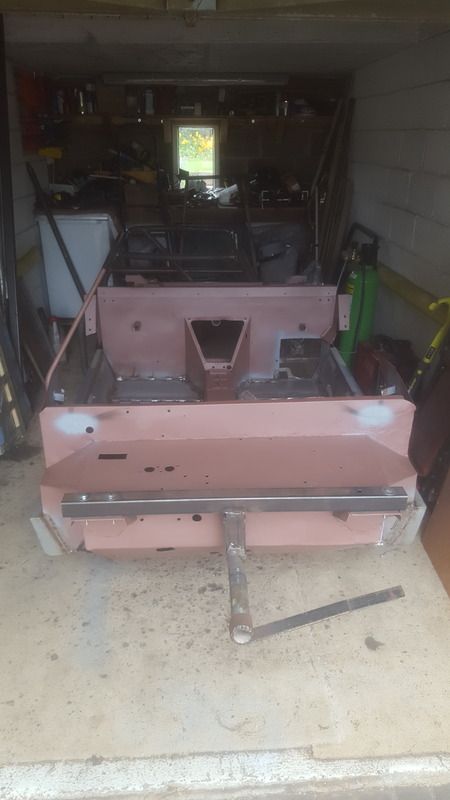
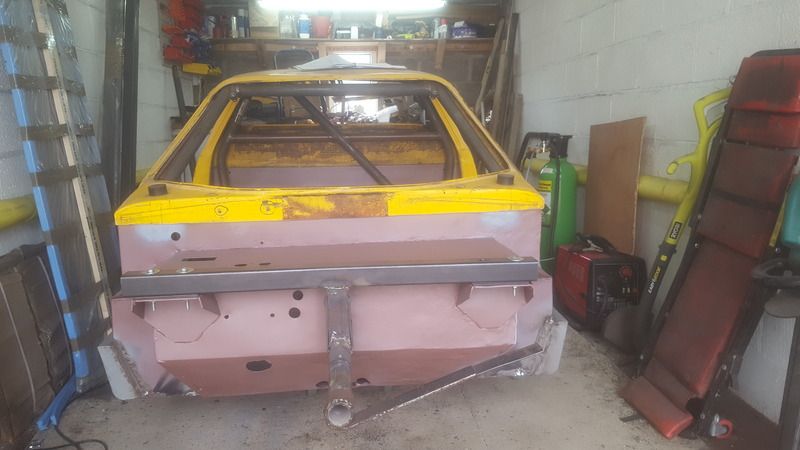
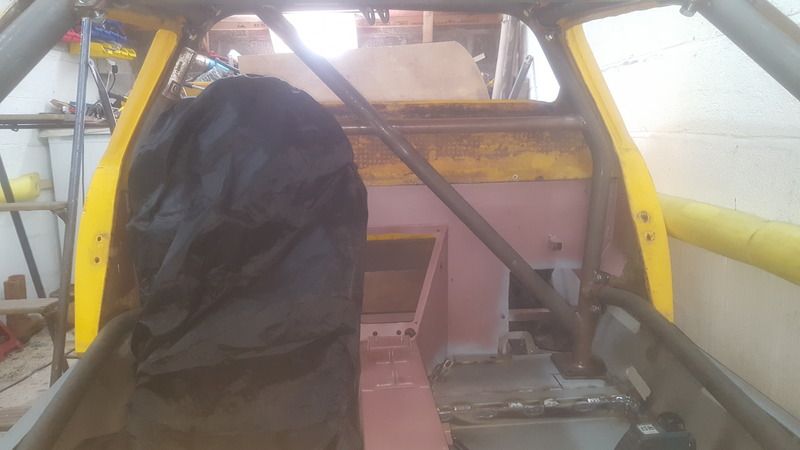
I knew that the GTM had a monocoque structure lurking beneath the GRP, with a sort of space frame at the rear, but until reading through this thread I had never managed to actually see one, and had no idea just how it was structured. But looking at the pictures, it is certainly more than adequate, or will be, once fully restored. There also seems to be a decent amount of engine room. Altogether very interesting!
Have fun, once you get back to it!
Moved Into The Garage
Posted 15 May 2017 - 10:04 PM
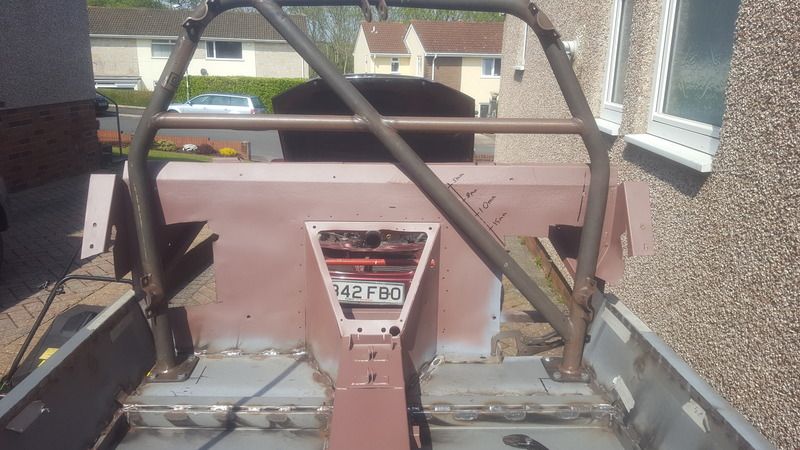
early were monocoque rear as well, two pontoons for the top of the subframe to mount onto.
one had a hole in it to allow the starter to fit. front mounted rad.
Crazy About Mini's
Posted 18 May 2017 - 12:09 PM
Moved Into The Garage
Posted 18 May 2017 - 01:39 PM
Just curious. I know that historically there were issues with the steering lockout, but why was a simple track rod, as at the front of a Mini with the rack centred (albeit with a rose joint at the chassis end for simplicity), not adequate? Why so many variants?
it was fitted as standard to some cars but I don't think it worked to well with too much flex.
more load going into it on the rear.
the latest designs that people are doing with a proper adjustable top wishbone that does way with the top ball joint are much better.
Mr. 7-Port

Posted 18 May 2017 - 01:46 PM
the latest designs that people are doing with a proper adjustable top wishbone that does way with the top ball joint are much better.
Nick, have you got an example or listing for this?


0 members, 0 guests, 0 anonymous users


