Jump to content


Photo
- - - - -

'94 Spi Flying Dutchman


  • Please log in to reply
10 replies to this topic

#1 Someonefromholland

Someonefromholland

    Just On Tickover

  • Noobies
  • Pip
  • 7 posts
  • Location: Somewhere cold

Posted 29 August 2016 - 07:49 PM

So I just bought my first Mini, A 1.3 SPI from 1994. Has done a total of 85.000 Kilometers (allegedly). I'm the eight owner, and probably the worst. I bought the car and once it survived the 200 kilometers home, I put it in the garage and the car met Mr. Grinder and Mr Sander. I was told it's a "hard" (in Dutch) Mini, as in; it doesn't have any big rust issues. I should have known better.... It's a Mini.


The first night I owned the mini, we decided we should try and fit four people in the car. So we did.... And I can now confirm it's a Mini. The already lowered mini was defnitely not liking it's four person payload. The rear shocks are shot ( or at least not working as they should), and all 12 inches of rear wheels were rubbing up into my arches. Slow and steady through the corners, and we made it safely to our destination (apart from the malfunctioning seatbelts). Driving back, we hit some rain, well.. A lot. Which was a good time to figure out if the mini was really the "hard"  mini the previous owner told me it was. I shoved my hand below the carpets, and the wet-ness of my hand told a different story. The mini is a sieve. Way worse than I hoped. 


Together with the rain, the plans of doing a rolling restoration drained away. I parked the mini in the garage, and then the fun started. 


From now on my plan:

  1. Remove rust, make mini solid again
  2. repaint inside
  3. repaint outside (yes, I'm attempting a diy respray, bear with me)
  4. fit proper sound deadening and refit interior
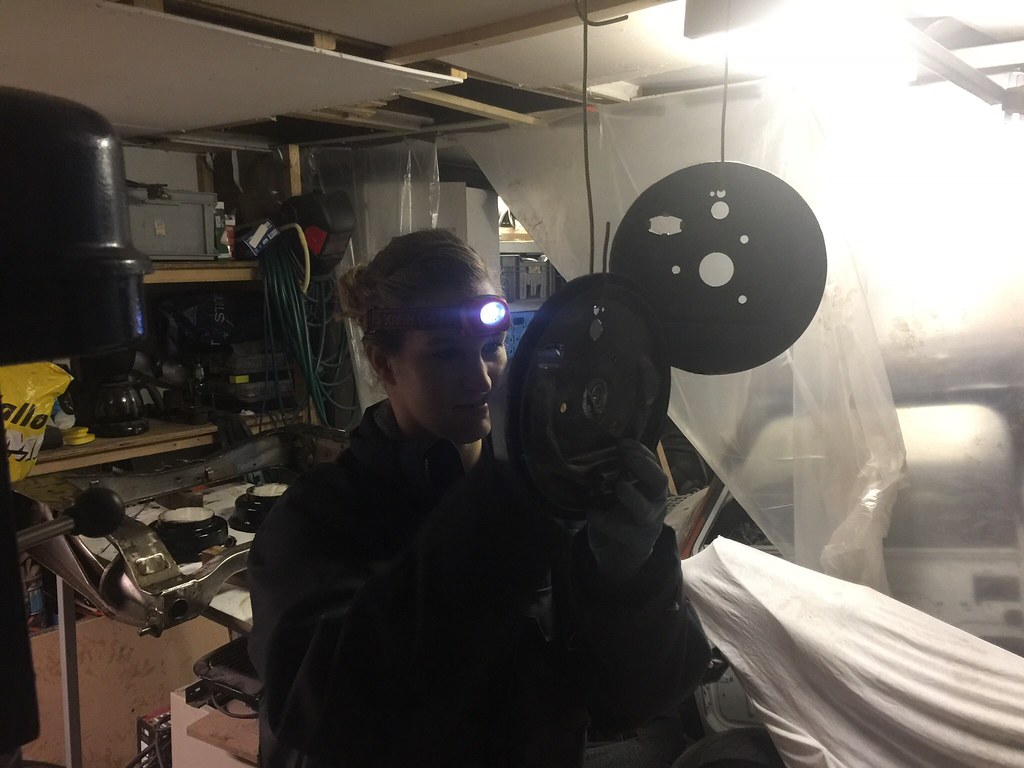
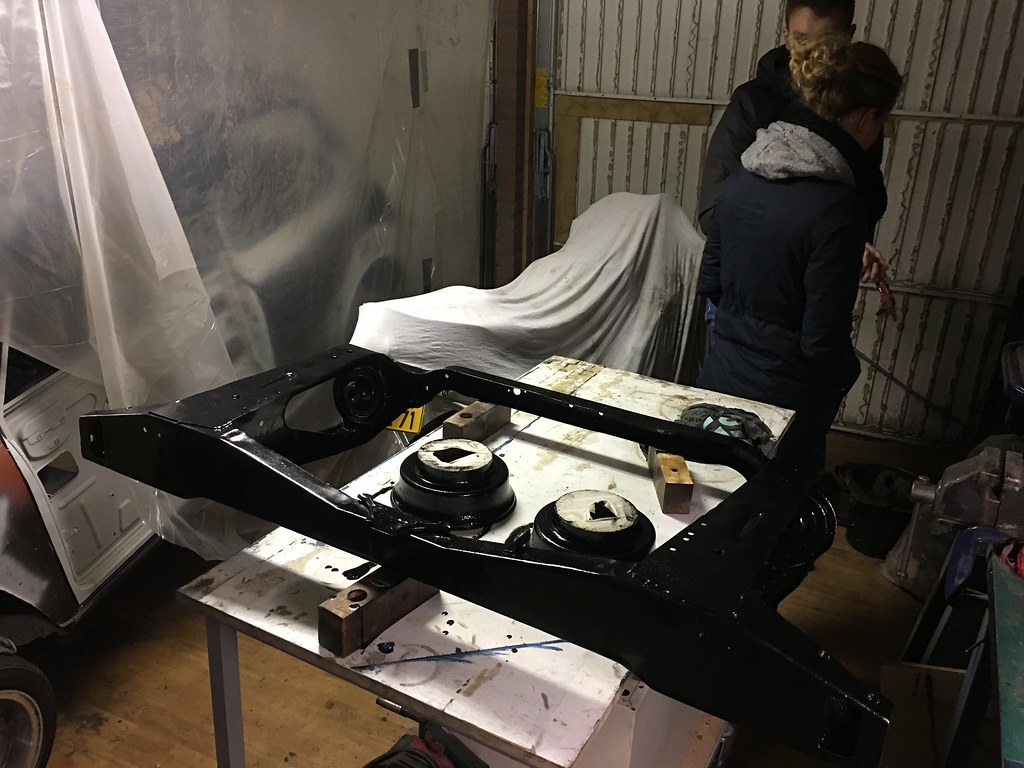
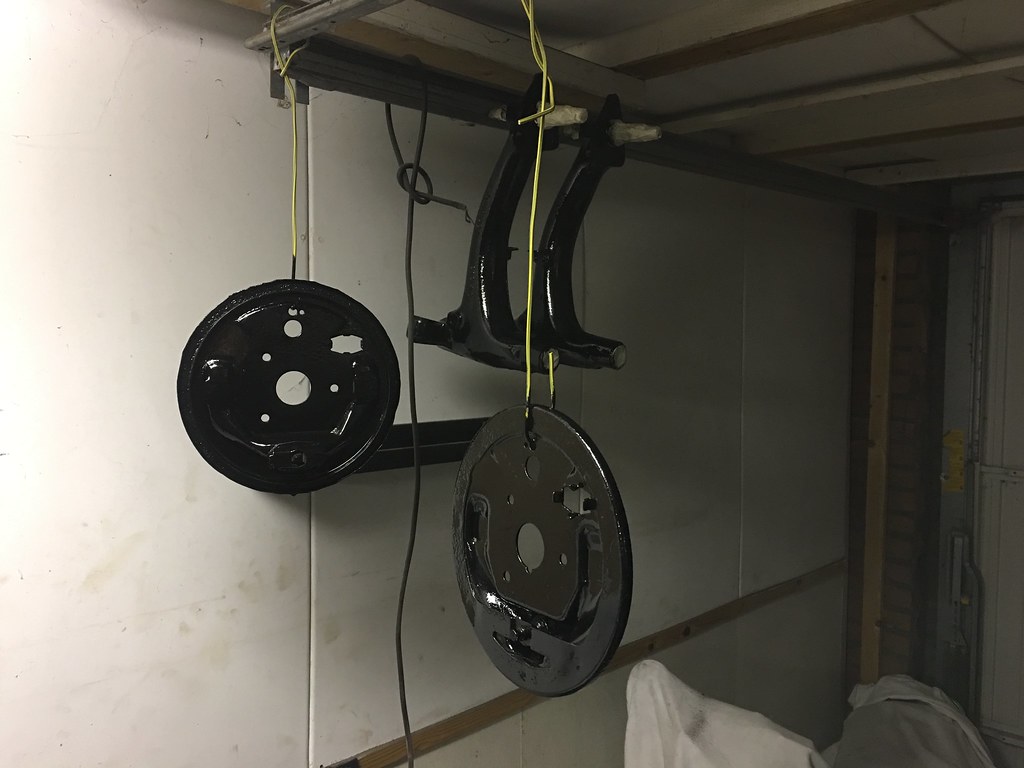
  5. Mechanical workings cleanup
  6. Drive it for a while
  7. TURBO

Now let the pictures do the talking.


29034250540_0e7ef75a03_b.jpg


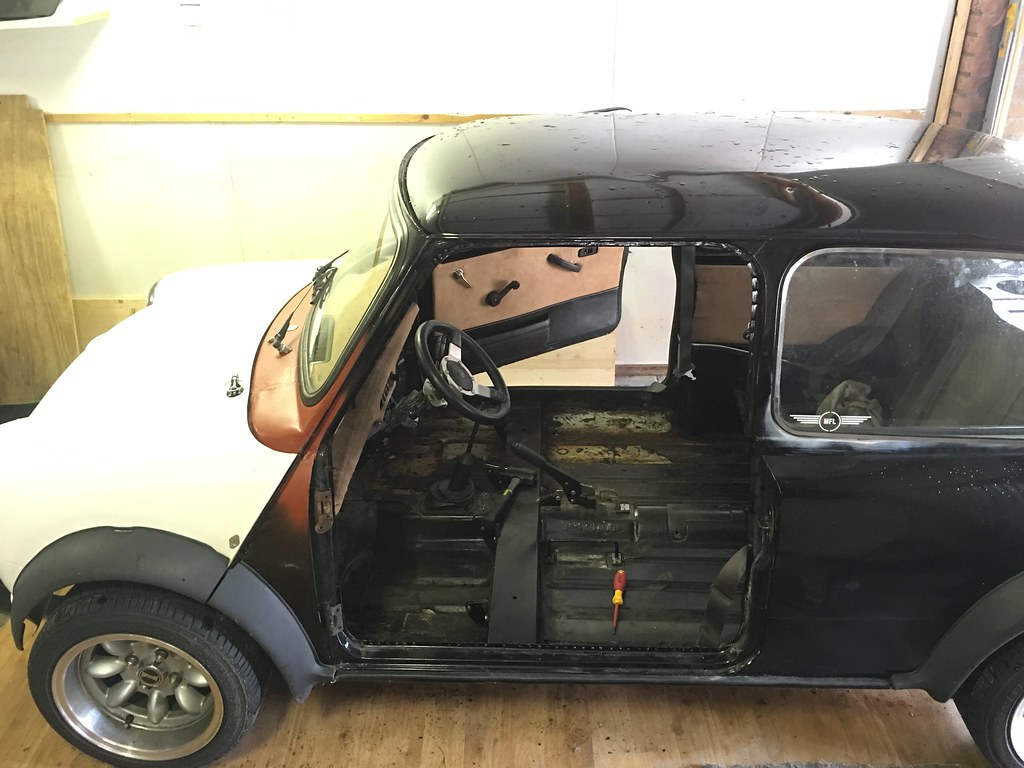
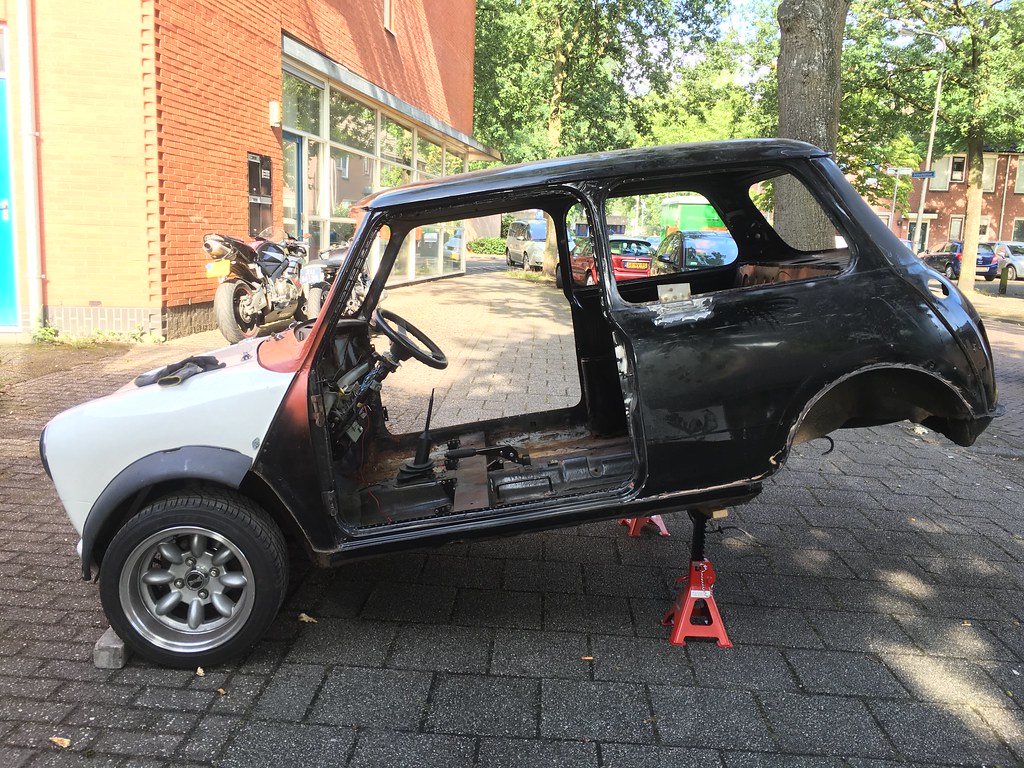
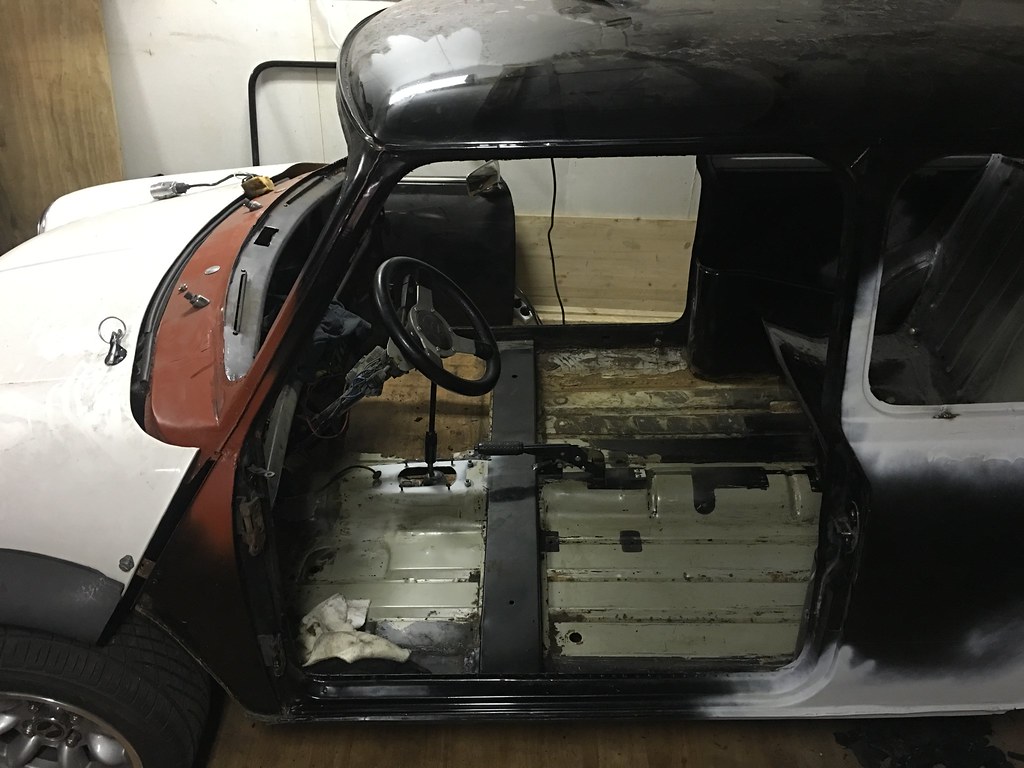
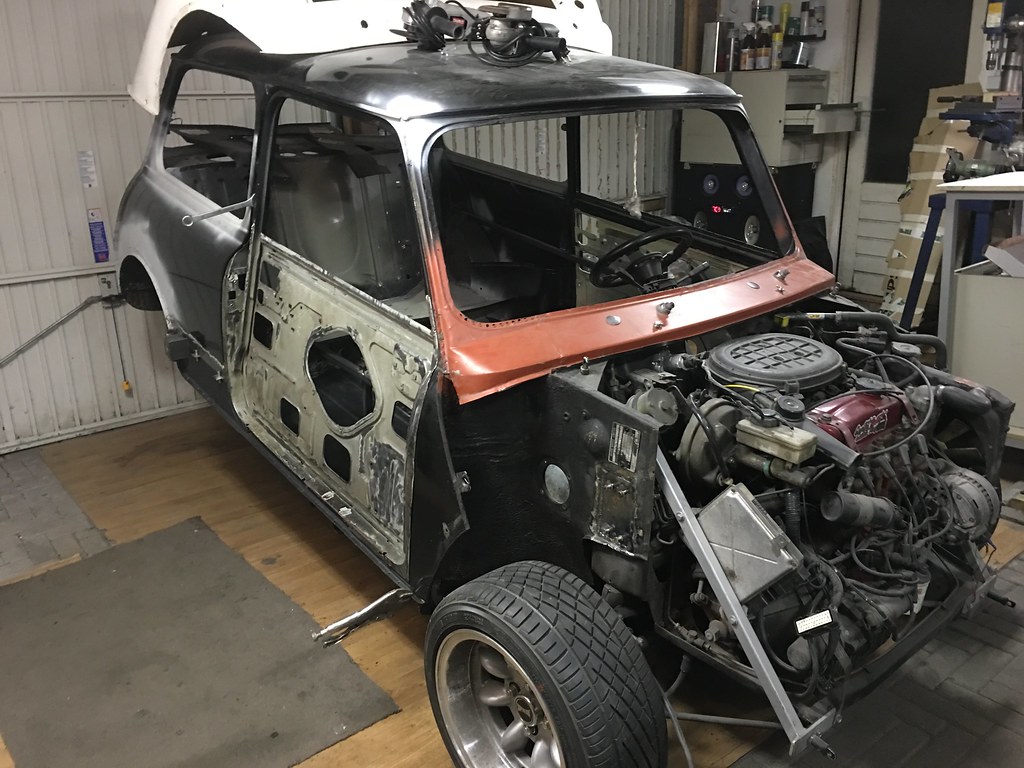
This is what and how I bought it. (including Dutch numberplate and unpainted polyester front)


29033597200_56a86f293e_b.jpg


28700451163_2bc1121e57_b.jpg


28700443123_095cc774c4_b.jpg


28701115403_e9c264c049_b.jpg


29321334275_ef1161a507_b.jpg

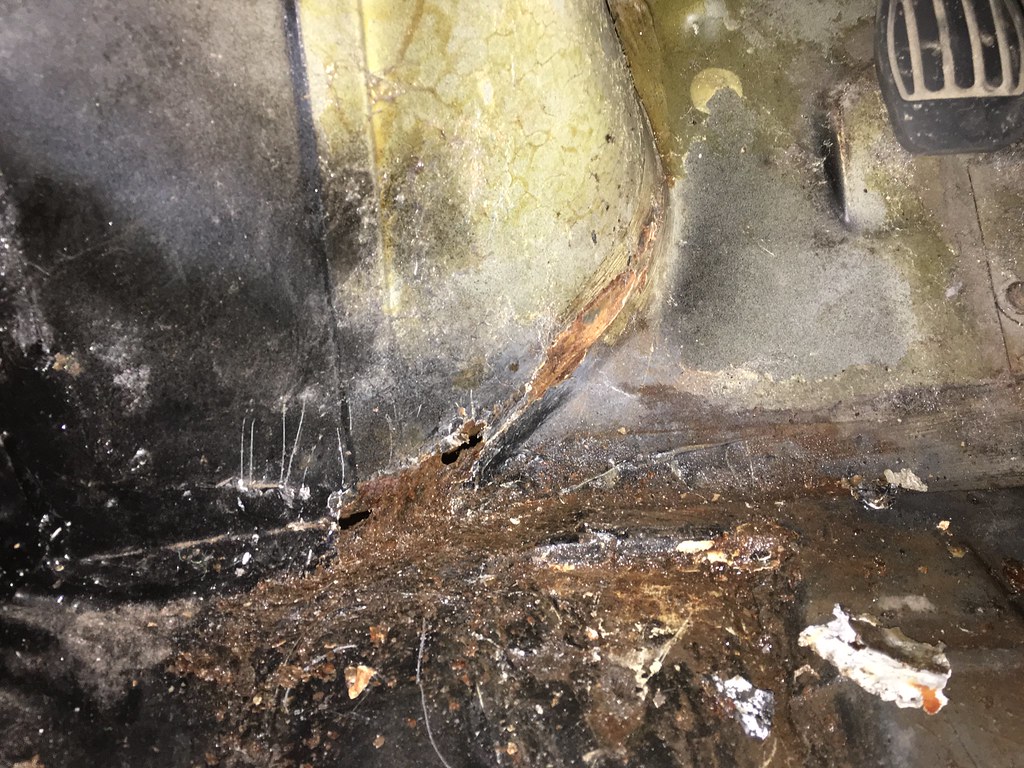
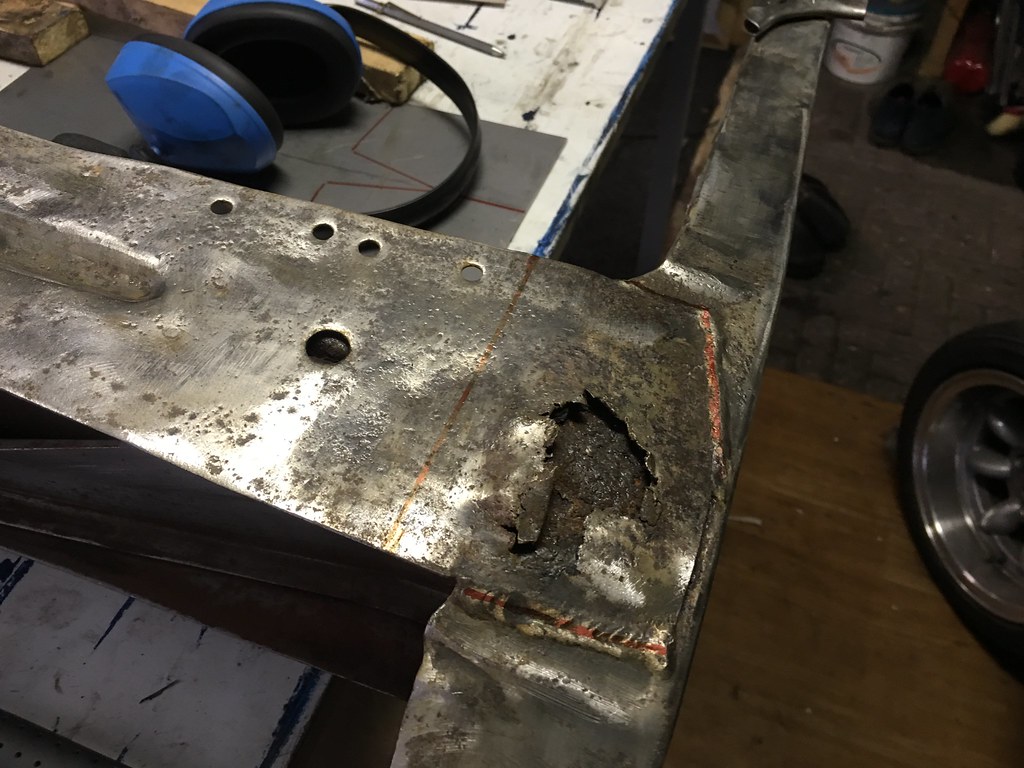
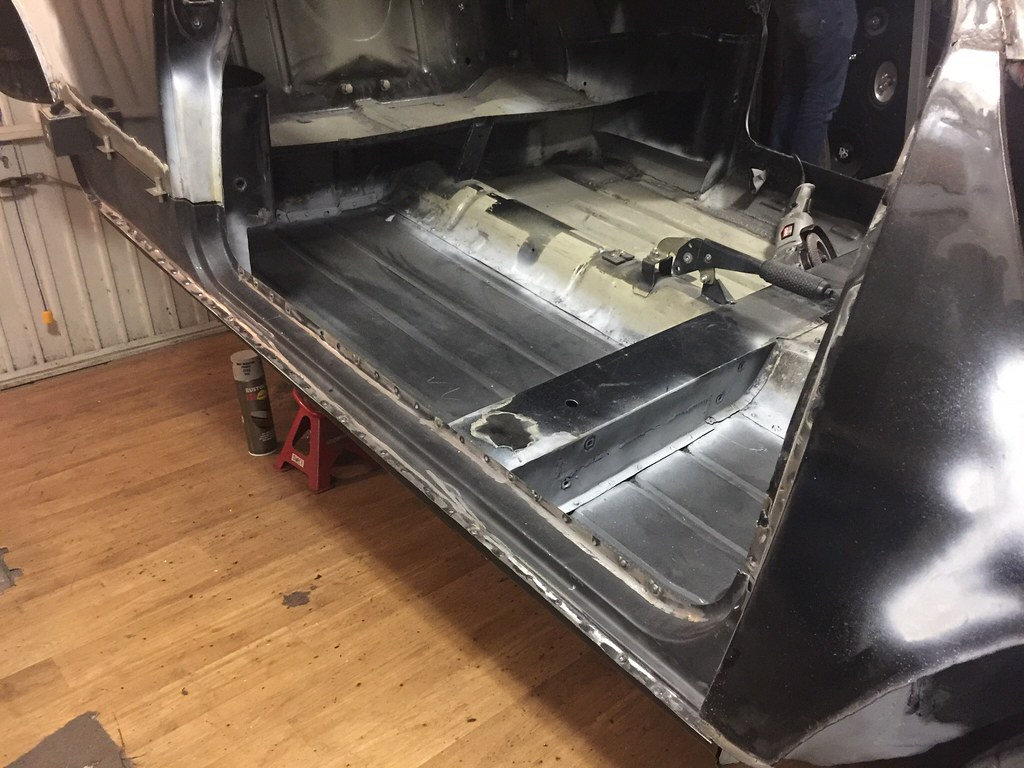
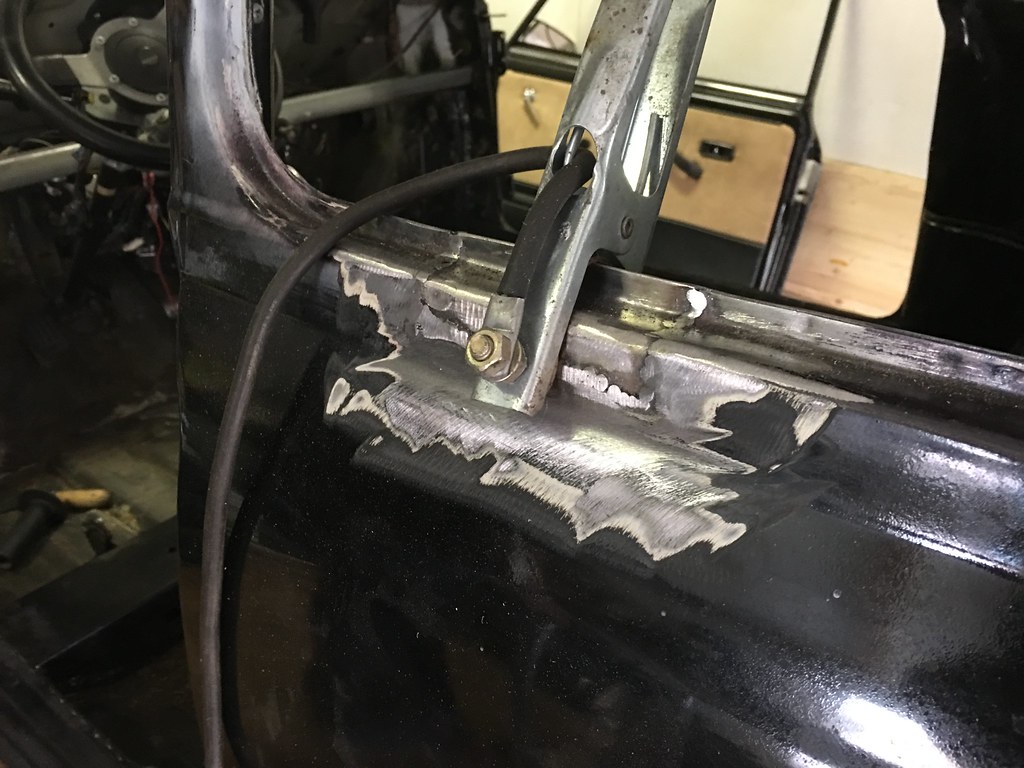
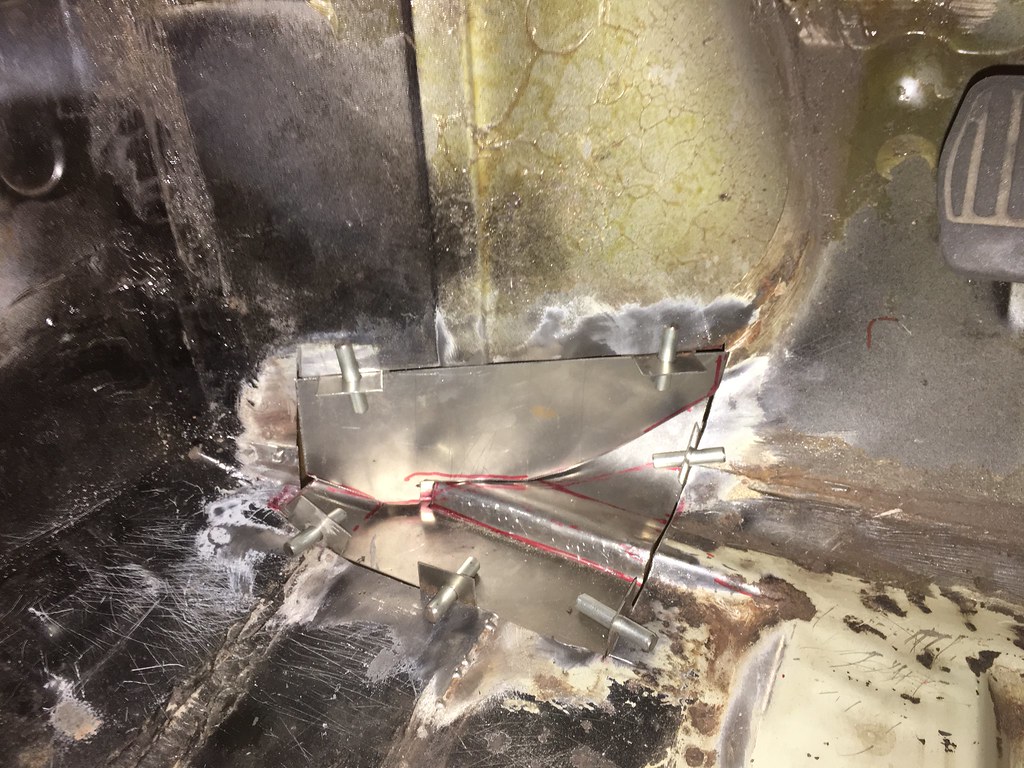
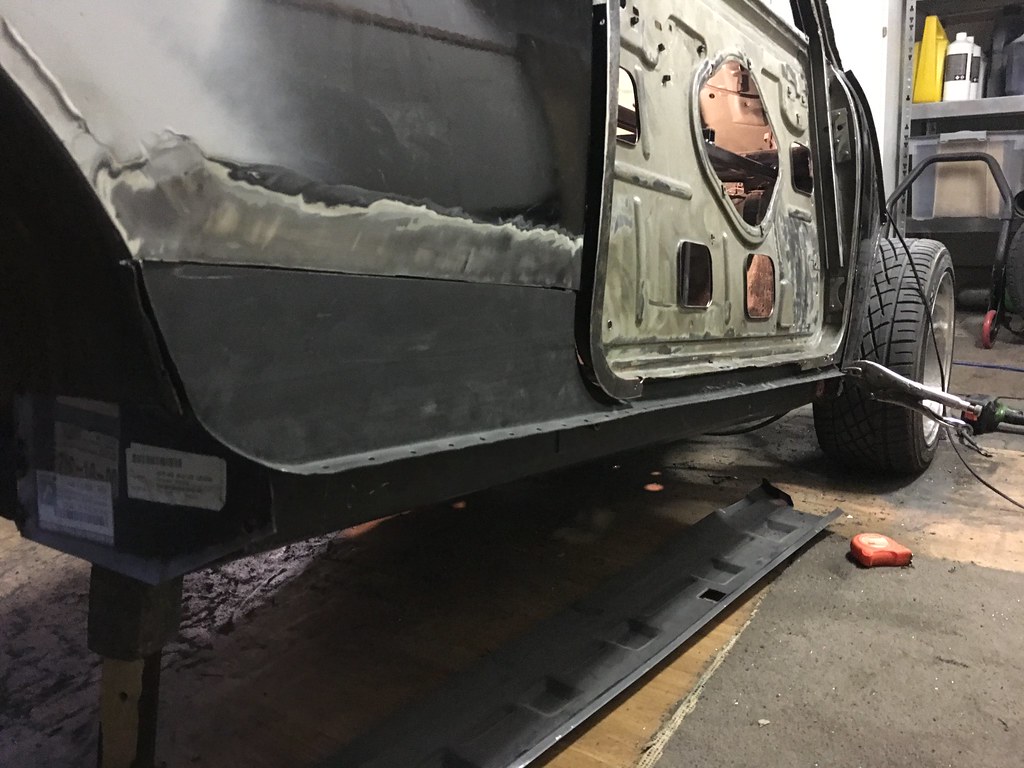
drivers side rust (english passenger side)


28700411763_f4e17cc4fa_b.jpg

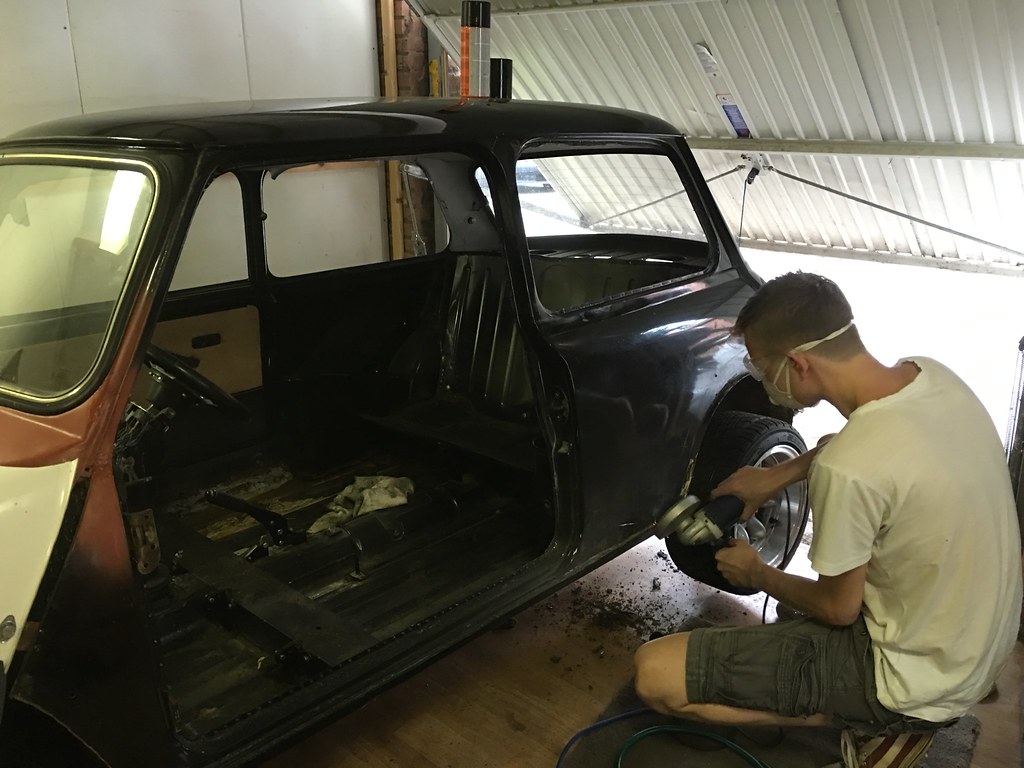
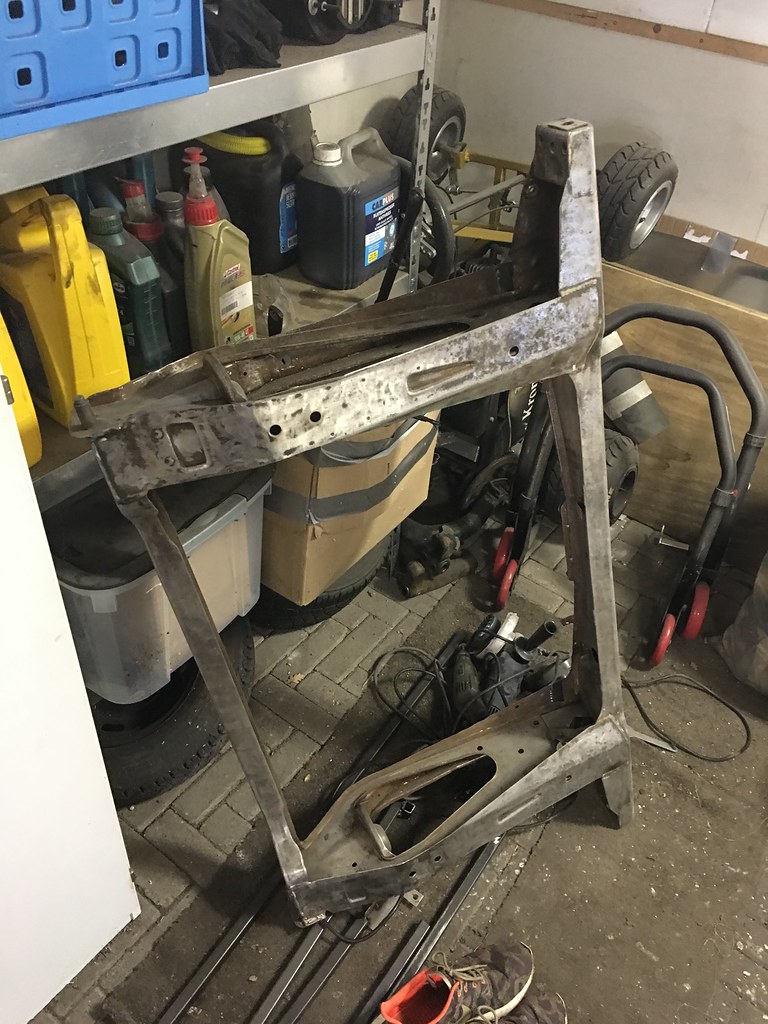
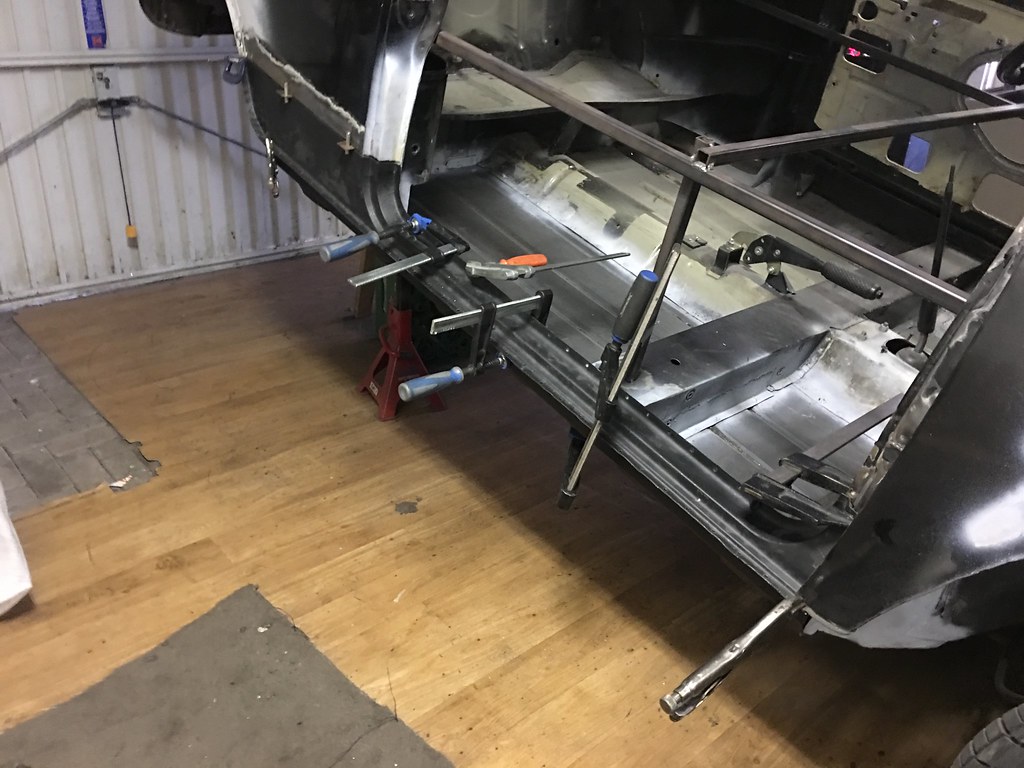
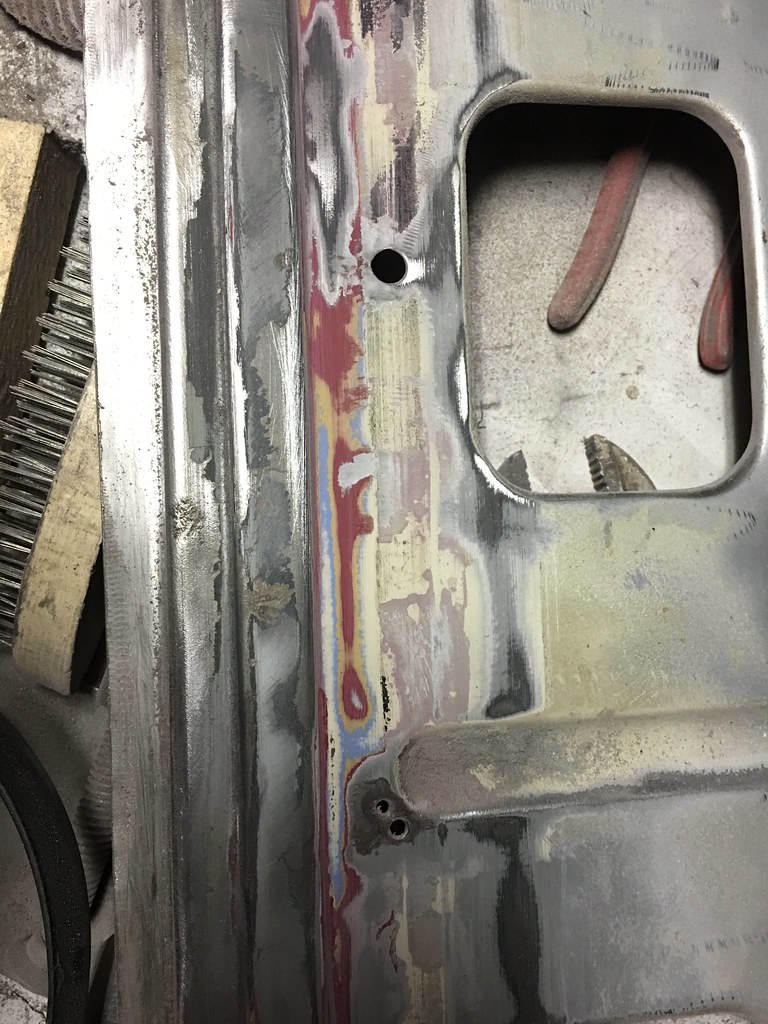
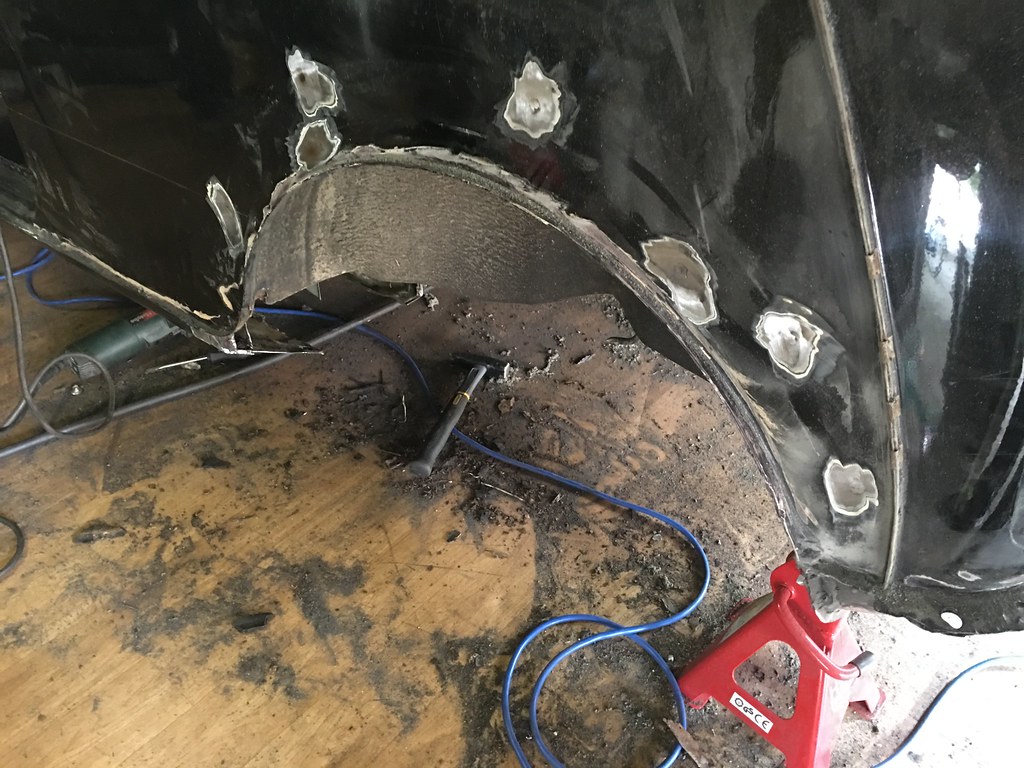
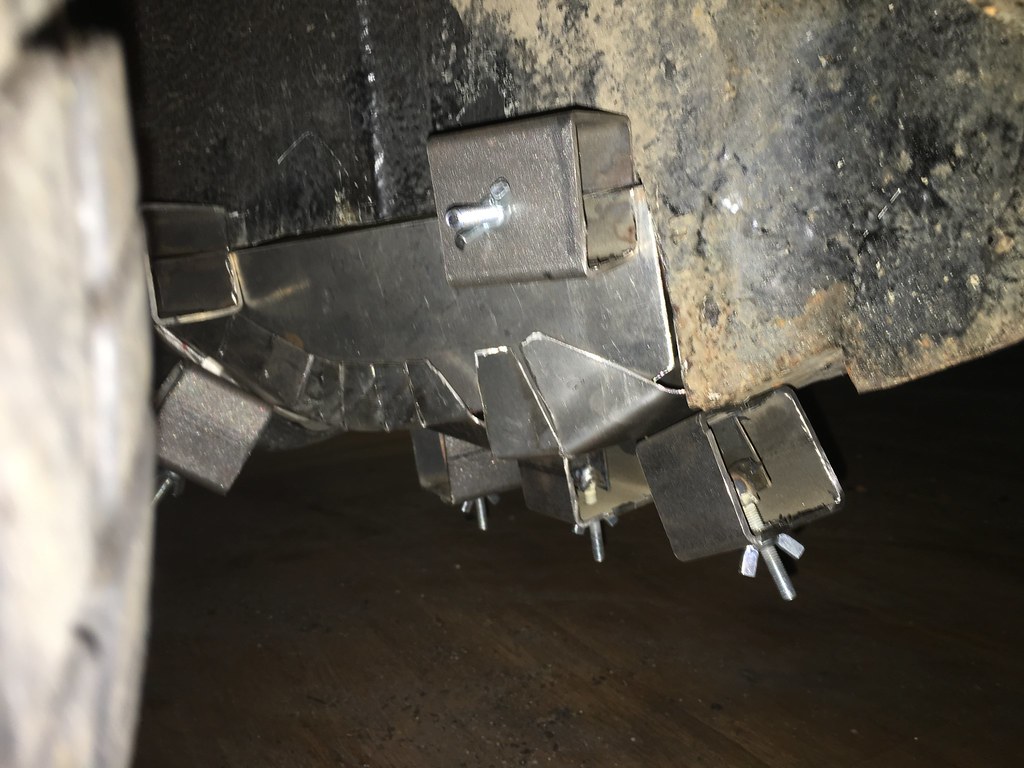
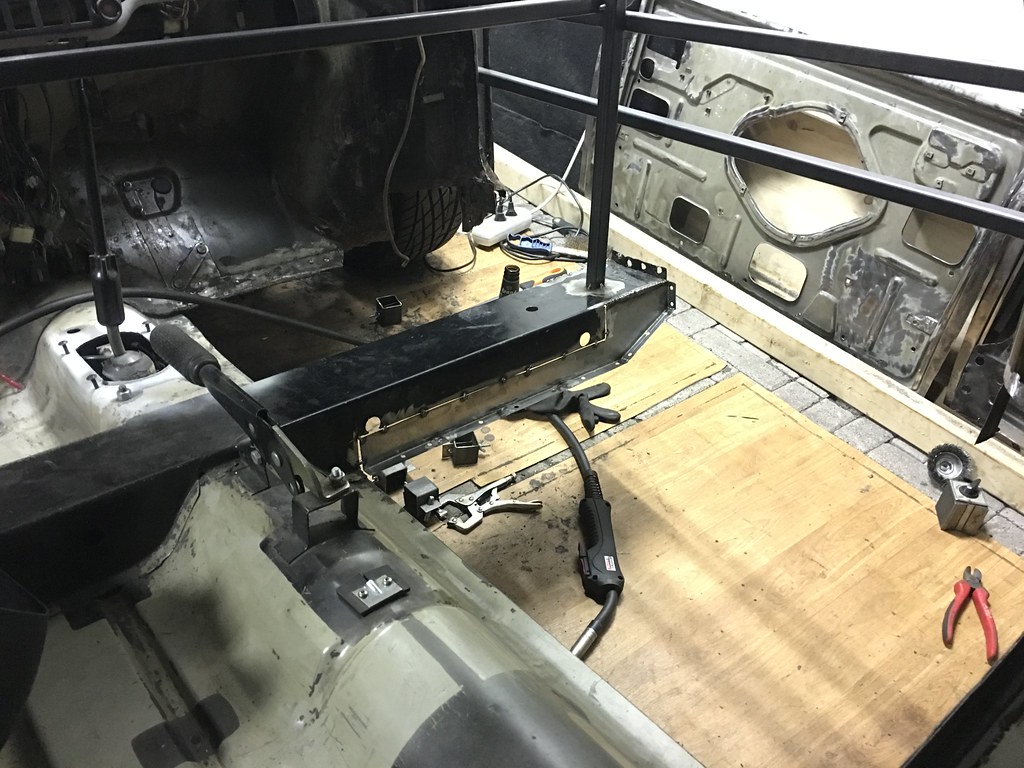
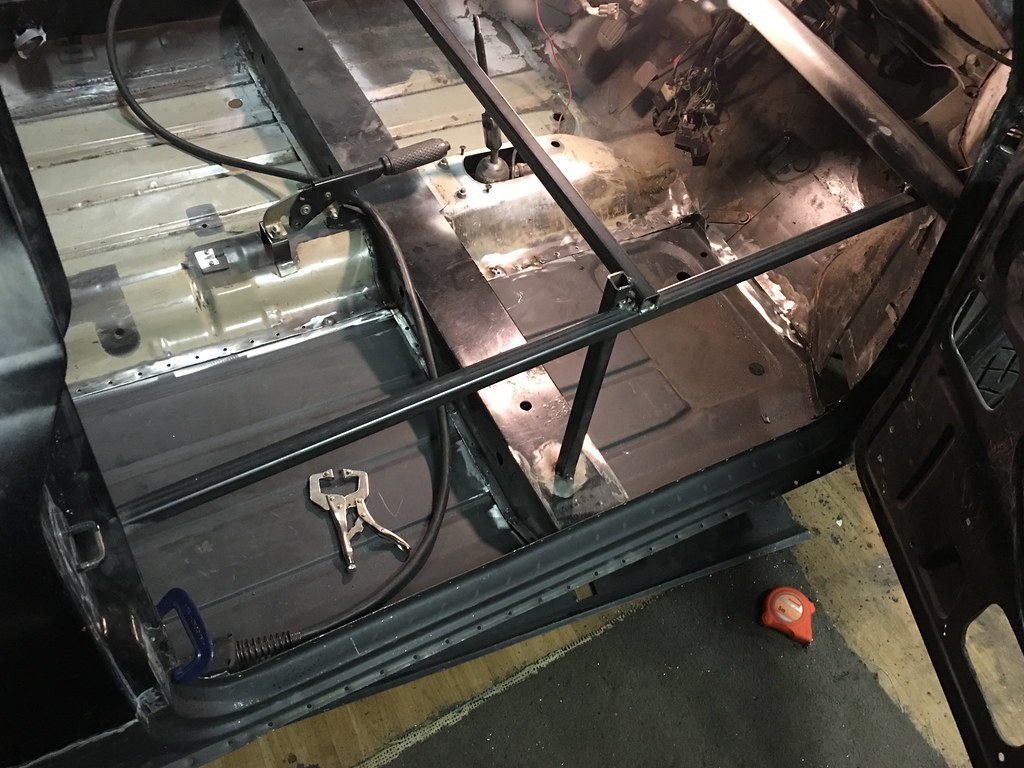
removing rust below previously fitted wheel arches


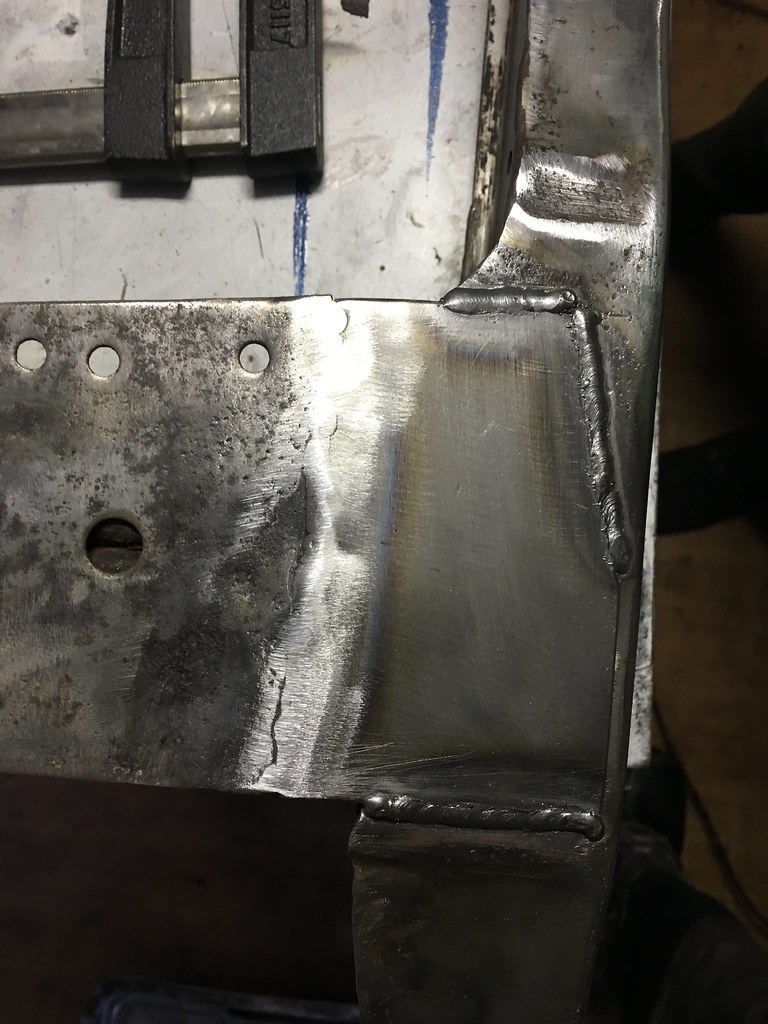
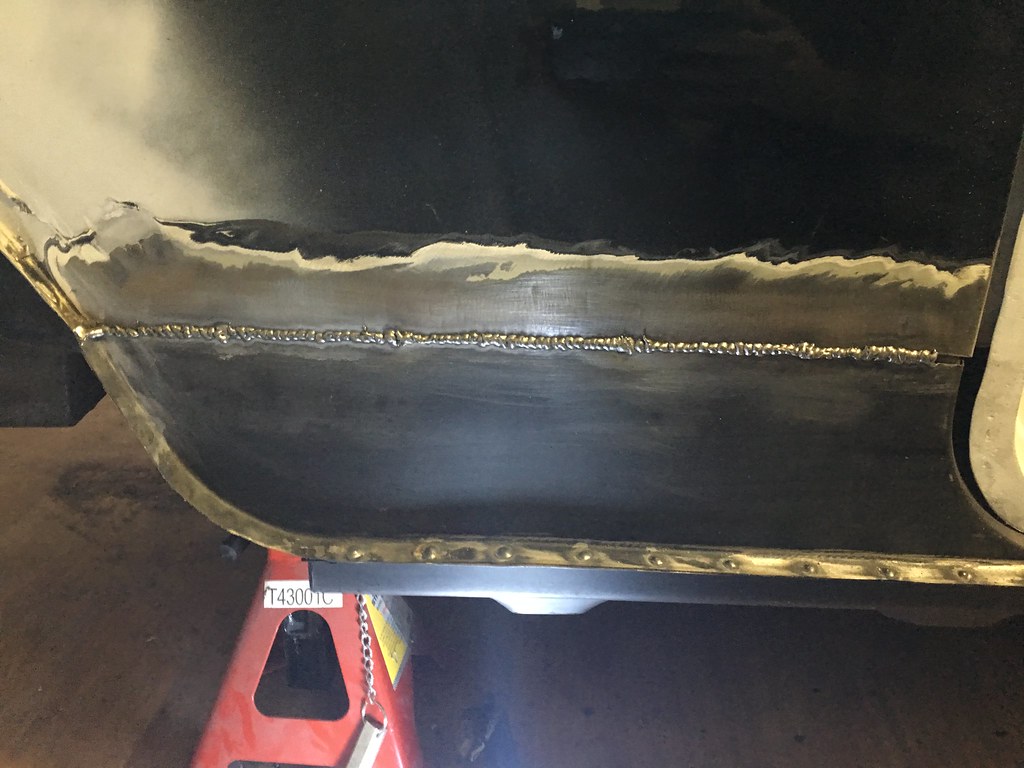
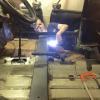
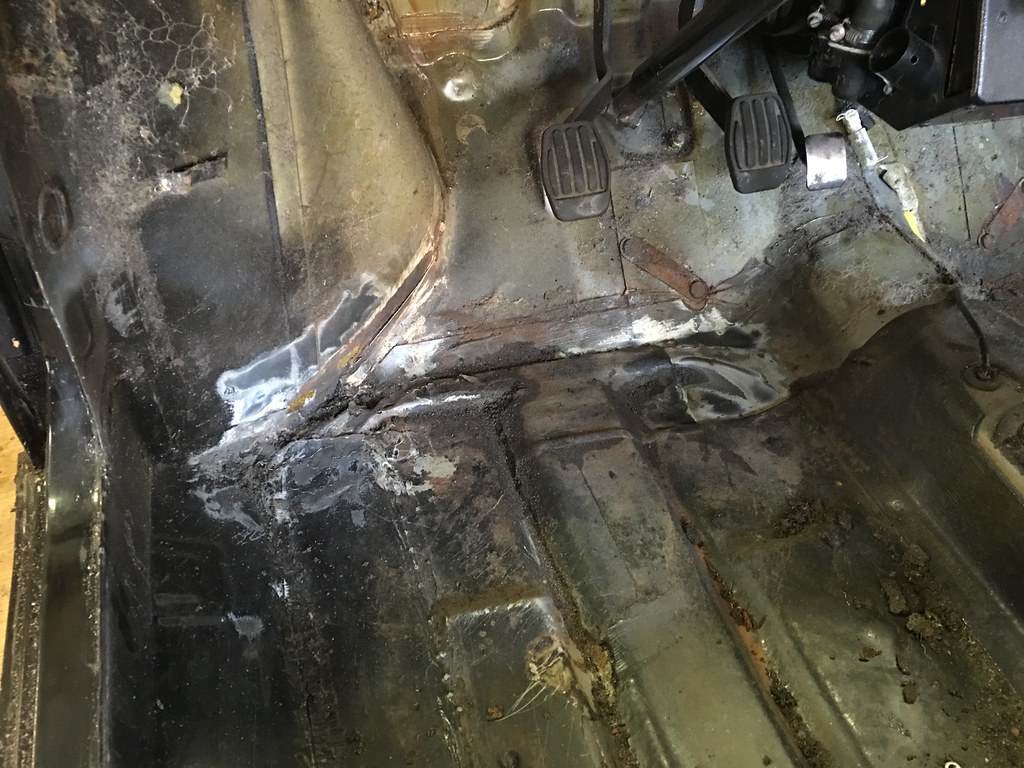
now time for a welder, heaps of time and a truck full of money..


#2 Someonefromholland

Someonefromholland

    Just On Tickover

  • Noobies
  • Pip
  • 7 posts
  • Location: Somewhere cold

Posted 08 September 2016 - 10:28 AM

So, some work has been done in the last 1.5 weeks. Luckily I have the help of my brother, which speeds up the process big time. Summation of what has been done:

  • Rust left side window patched
  • Rear subframe mounting replaced
  • Rear subframe cleaned, and treated rust
  • all roof corners that contained rust patched
  • Rear window rust removed
  • Old wheel arch wheels welded shut
  • Removed all bitumen like sound deadening mess inside the car
  • Started working on the (for the Englishman) the passenger side footwell rust
  • Removed the footwell at the (English) driverside.

Now for the pictures


29399218706_b6e510aab6_b.jpg

Rear subframe removed, started working on the side window rust.


28809379764_8217738cce_b.jpg

Window rust removed and new piece welded in


29433248765_bc85c05e2c_b.jpg

Wheel arch holes plugged


29194791260_919f9524e0_b.jpg

Blank metal primed (I think I'm leaving the front seats out...)


29248926490_e91b50264d_b.jpg

Sound deadening removed.


29248924990_3f46836a7b_b.jpg

New passenger side footwell piece made (worked out quite well)


29538531905_7d31dcc195_b.jpg

Outside of passenger side footwell


Next steps: Fix right side subframe mounting, replace complete right side floorpan, fix rust in boot, replace right inner sill, replace right outer sill and fix small bit of rust on the rear subframe.


Enough to do!


#3 Someonefromholland

Someonefromholland

    Just On Tickover

  • Noobies
  • Pip
  • 7 posts
  • Location: Somewhere cold

Posted 03 October 2016 - 09:06 PM

It's been a few weeks, and we've done some.


Main results of the last few weeks:

  • Left side car rust almost completely removed
  • Right side floor fitted
  • Front shock absorber mounts fixed
  • Started on door rust 
  • cross beam rust fixed
  • Rear valance lip removed (sorry purists) 
  • right side door step fitted
  • Plugged all holes in arches, scuttle panel and dash. 

Main things on the list still:

  • Finish right side door step
  • fit right side outer sill 
  • fit boot floor replacement panels
  • Remove subframe rust, and paint

29125662844_7d68b8cd1d_b.jpg

Bracing: yes, Floor: no


29769834372_33fb84a35d_b.jpg

cross beam fixed


29822909141_ba15a26f1f_b.jpg

Right side floor fitted


29822906701_9b0e7f20e5_b.jpg

New doorstep fitted


29906227305_dbfece0765_b.jpg

Quite pleased with doorstep fitment before welding


I will upload some more pics after coming weekend. Progressing slowly.


#4 ryomini

ryomini

    Super Mini Mad

  • Members
  • PipPipPipPipPipPip
  • 583 posts
  • Location: Hiroshima

Posted 05 October 2016 - 05:12 AM

Looks great, you seem to be at home welding

I painted mine myself using a 2 pack urethane and an Iwata paint gun - that was the best part for me

keep up the good work


#5 Someonefromholland

Someonefromholland

    Just On Tickover

  • Noobies
  • Pip
  • 7 posts
  • Location: Somewhere cold

Posted 09 October 2016 - 04:46 PM

Looks great, you seem to be at home welding

I painted mine myself using a 2 pack urethane and an Iwata paint gun - that was the best part for me

keep up the good work


Thanks! Well... I've done some welding before, but welding thin sheet metal is a whole different ball game. But we are managing I think  :shifty:
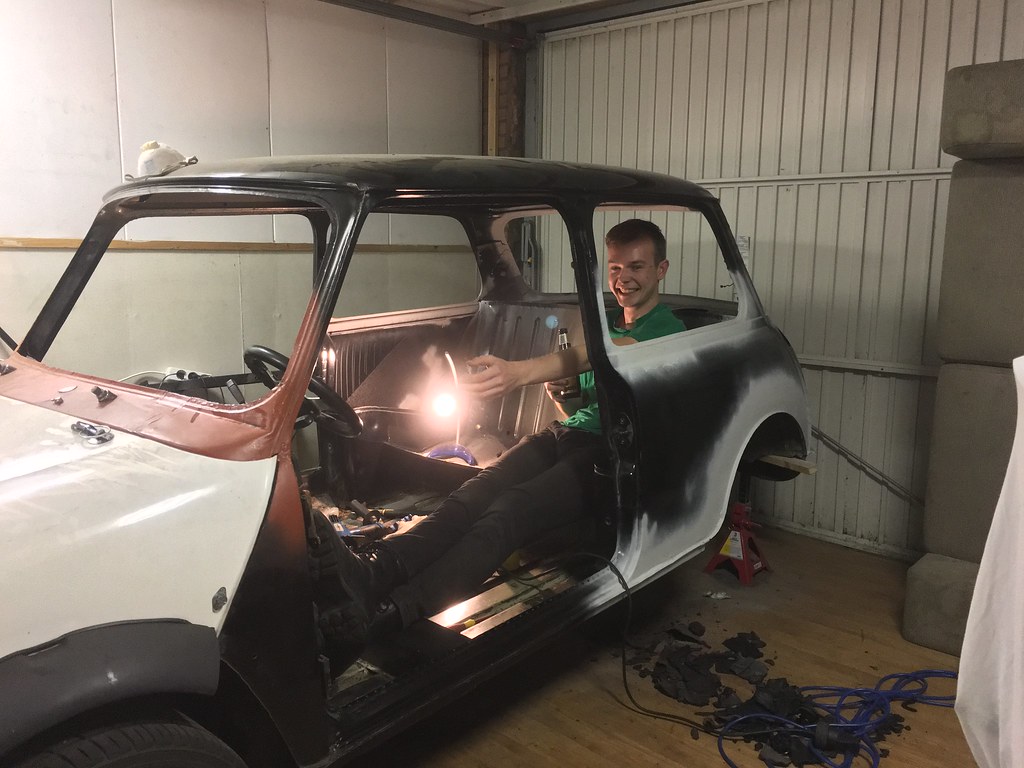
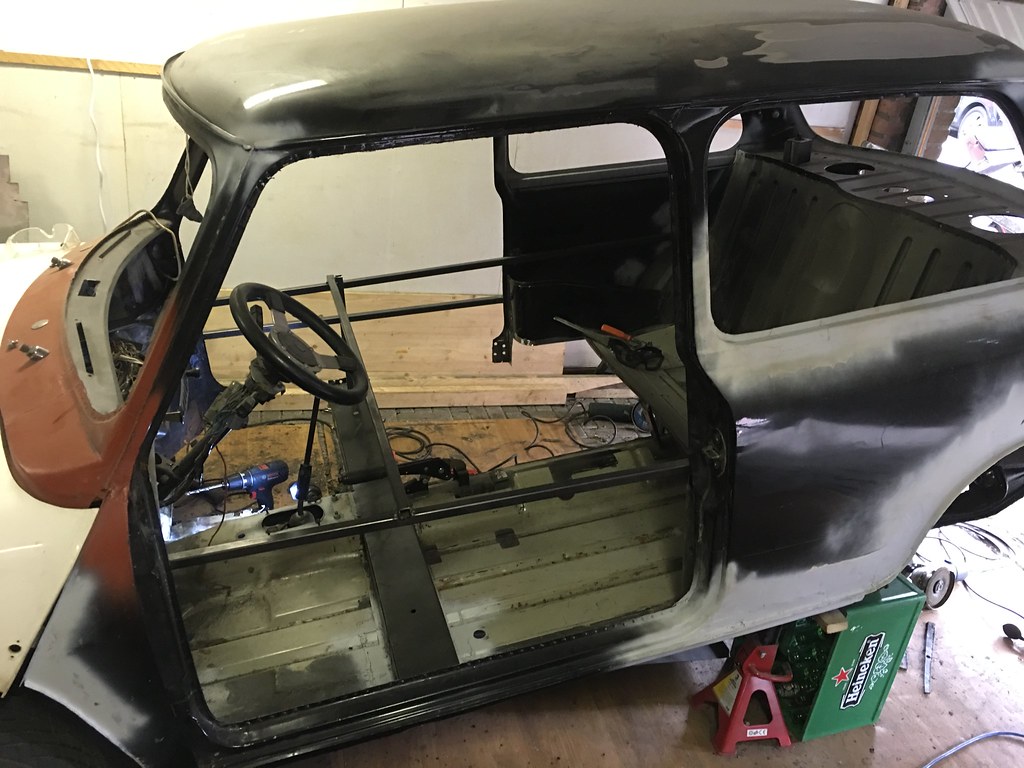
. Could be worse I guess


#6 Someonefromholland

Someonefromholland

    Just On Tickover

  • Noobies
  • Pip
  • 7 posts
  • Location: Somewhere cold

Posted 09 October 2016 - 06:29 PM

Weekend almost over, done heaps! Friday I worked on my BMW R60/7 custom café, but got a few friends to work on the subframe and the doors. Saturday got me time to finish the right doorstep and outer sill. And with that, the biggest step in rebuilding the mini has been made thus far. After this we were able to remove all bracing as the right floor, sill and doorstep were in again. I hoped to receive the paint for my subframe this weekend, but that plan didn't catch. Guess I will be painting the subframe in the coming week in the evening hours. Finally we stripped the doorframes and painted those in 2 pack. Good progress if you ask me. 


Now time for pictures. 


29586662383_2892cb9a80_b.jpg

stripped subframe


29920261440_a7a97725fe_b.jpg

Awful bit of rust on bottom of subframe ( on both sides)


30216102205_a2c7382e81_b.jpg

Repaired subframe ( quite properly welded if I say so..)


29586697713_fdcc87a0ba_b.jpg

Doorstep fitted


29588843243_82f7981e68_b.jpg

Doorstep plug welded


29586663503_cd2609fa72_b.jpg

Quarter panel welded (will need some body filler...)


29586675943_8be01e98c4_b.jpg

Carcheology... This door has been Black, orange red and and blue.


30103508112_0603401e07_b.jpg


And finally we removed the bracing, and put the car back on a normal level. Whoa this thing is low. We temporarily placed a rear wheel in the wheel well, just to get the feel. 


That's all for this week. Stay tuned.


Edited by Someonefromholland, 09 October 2016 - 09:01 PM.


#7 ryomini

ryomini

    Super Mini Mad

  • Members
  • PipPipPipPipPipPip
  • 583 posts
  • Location: Hiroshima

Posted 11 October 2016 - 02:47 AM

Your welding looks tidy - coming along nicely


#8 minimissions

minimissions

    Up Into Fourth

  • Members
  • PipPipPipPipPipPipPipPipPip
  • 3,427 posts
  • Location: North West
  • Local Club: M.M.O.C

Posted 11 October 2016 - 05:41 AM

wow nice fast work there, looks like she will be a great little car at the end


#9 Someonefromholland

Someonefromholland

    Just On Tickover

  • Noobies
  • Pip
  • 7 posts
  • Location: Somewhere cold

Posted 11 October 2016 - 12:05 PM

Thanks guys! Appreciate it.


#10 Someonefromholland

Someonefromholland

    Just On Tickover

  • Noobies
  • Pip
  • 7 posts
  • Location: Somewhere cold

Posted 13 October 2016 - 10:30 AM

Milestone subframe pained. Subframe is now completely clean and neat, and is drying as I'm typing this. Very pleased with the end result, looks the part.


30179875332_24d7238360_b.jpg

Sealed the metal with a rust sealer to prevent rust for a few more years (yes, nothing is permanent...)


30000699260_a048904e59_b.jpg

After I did the sealilng, I got my girlfriend to work. She likes painting, and I like her help. :proud:


30179875302_84b7c79959_b.jpg

All painted up. She also did the brake drums, and radius arms. Those look like new! Very pleased.


29664825373_4e13235c54_b.jpg

The end result.


#11 midridge2

midridge2

    Camshaft & Stage Two Head

  • Members
  • PipPipPipPipPipPipPipPip
  • 1,794 posts
  • Location: north east england

Posted 06 November 2016 - 08:50 AM

Looking good and the welding is very good.


0 user(s) are reading this topic

0 members, 0 guests, 0 anonymous users