Jump to content


Photo
- - - - -

Project Noo


  • Please log in to reply
32 replies to this topic

#16 Psycho-biker

Psycho-biker

    Stage One Kit Fitted

  • TMF+ Member
  • PipPipPip
  • 90 posts

Posted 25 March 2018 - 07:06 PM

In other news but related to Noo...


I got these a while ago at a good price  :D  


and tissues at the ready..


IMG_3631.jpg


they need finishing with colour and im not decided on colour yet so will wait on them.


And also picked up a set of banded 10" steelies with yoko tyres dirt cheap, these will be going on initially for mot because they have legal tyres


#17 Psycho-biker

Psycho-biker

    Stage One Kit Fitted

  • TMF+ Member
  • PipPipPip
  • 90 posts

Posted 25 March 2018 - 07:15 PM

along side doing the shell for the last year or so I have been building the engine/box up and is soon to be dropped into the subframe ready for reassembly.


talking of subframes...


tissues gents...


e3KAkczlRHOsA3Ycre1aA.jpg


heZMbSKIReLOcPPN4ZNqg.jpg


IMG_4302.jpg


which then transformed into these...

IMG_4305.jpg


89243E8C-A322-4EC7-B12B-BFA67D91CFDF.jpg


61978A2B-CC44-4FD3-9CDC-A5F56E0B8CFC.jpg


NO58Wd3T4myNCDWB0LiPg.jpg


rJW8IIWZQjeNcqilCLUE8g.jpg


Ay433ZlJRAgPVyzxjL40Q.jpg


and the rear arms with new pins and bushes/bearings, new brake components and some secondhand superfins


cHmb6WdQ8CEB1UoLpEoaw.jpg


More to come soon and will try to keep it up to date now.


#18 Marco1972

Marco1972

    One Carb Or Two?

  • Members
  • PipPipPipPipPipPipPip
  • 822 posts
  • Location: Birmingham

Posted 25 March 2018 - 07:27 PM


Nice project
Quite like the white Powder coating something different

#19 Steve220

Steve220

    Up Into Fourth

  • Members
  • PipPipPipPipPipPipPipPipPip
  • 4,894 posts
  • Location: Shropshire
  • Local Club: BMC

Posted 27 March 2018 - 11:10 AM

White?! You're a brave, brave man! lol. Looks great though!!


#20 Psycho-biker

Psycho-biker

    Stage One Kit Fitted

  • TMF+ Member
  • PipPipPip
  • 90 posts

Posted 29 March 2018 - 09:30 PM

Thanks for the comments on the white subframes, yeah brave im not so sure, more idiotic or lunatic.  :lol:


about 2 weeks ago i managed to find a good secondhand mk3 ignition barrel on fleabay with a key for acceptable money fo the first time since owning the car.


Alongside this with the helps of  local chap i know and Will16 on here i managaed to free up my indicator stalk, this was seized solid and i was puzzled how the indicators worked because of it, but some penetrating spray(bath) later and some gentle force it freed up and works fine.


and lastly managed to get it all fitted along with the cowling.


tJp0jpRJRwucRUsWWgzFfQ.jpg


8UD2GfH3Spiz3xAvAnq3Nw.jpg


Another job taken care of.


#21 Psycho-biker

Psycho-biker

    Stage One Kit Fitted

  • TMF+ Member
  • PipPipPip
  • 90 posts

Posted 29 March 2018 - 09:43 PM

Today due to finishing work some work a day and half early I had a skilled labourer at my disposal for the day paid for also he has a passion for cars and is a qualified welder, so I deli-gated stripping the crap off of the floor with a knot wheel and flap discs and flatting some welds off, a drop of rust converter here and there, then gave it a coat of weld-thru primer for its zincy goodness...


vtz912LfS6qmtkgtAzv9A.jpg


mMWWtFmmTMygbdbzKX3zw.jpg


wd53SUxjQRGmRzqUi00kCw.jpg


q4w8yJ44QI63Qtx1w3j6VQ.jpg


While James(the skilled labourer) was doing that i fabricated some load spreading plates for my roll cage, using some 5mm plate drilled holes to match the cage, and welded nuts to one side so that I can weld these to the underside, seal them and paint them in and bolt the cage to these for easier removal of the cage for what ever purpose. I will try get a picture of these.


And lastly I should have some time on some patches being welded up over easter weekend.


Edited by Psycho-biker, 29 March 2018 - 09:45 PM.


#22 Psycho-biker

Psycho-biker

    Stage One Kit Fitted

  • TMF+ Member
  • PipPipPip
  • 90 posts

Posted 30 March 2018 - 04:18 PM

Well had a shortened afternoon on the mini today  :(   managed to run out of gas and the shop it shut til tuesday :angry:


but still got some patches mostly welded into place and then used the rest of my time to flat off welds and strip back the toe board up to the bulkhead crossmember and treat, then zinc prime.


RdTlY5TWS7uxtR8Yrc5MA.jpg


SXedNw0bQCWdyPJ12mxYA.jpg


And this bit I just tacked in without gas just so I dont loose it mainly. but then also I can template for a cross member repair piece in the evenings.


Gx3L9MZPS6Wh8lU95su3WQ.jpg


Then was cleaning up the front panel a bit to see how many patches I can get a way with    hmmmmm....     :unsure:


#23 Psycho-biker

Psycho-biker

    Stage One Kit Fitted

  • TMF+ Member
  • PipPipPip
  • 90 posts

Posted 24 June 2018 - 11:56 AM

Update time...  get comfy.....


thought i would test fit the rear subby before got too far into final welding...


IMG_0399.jpg


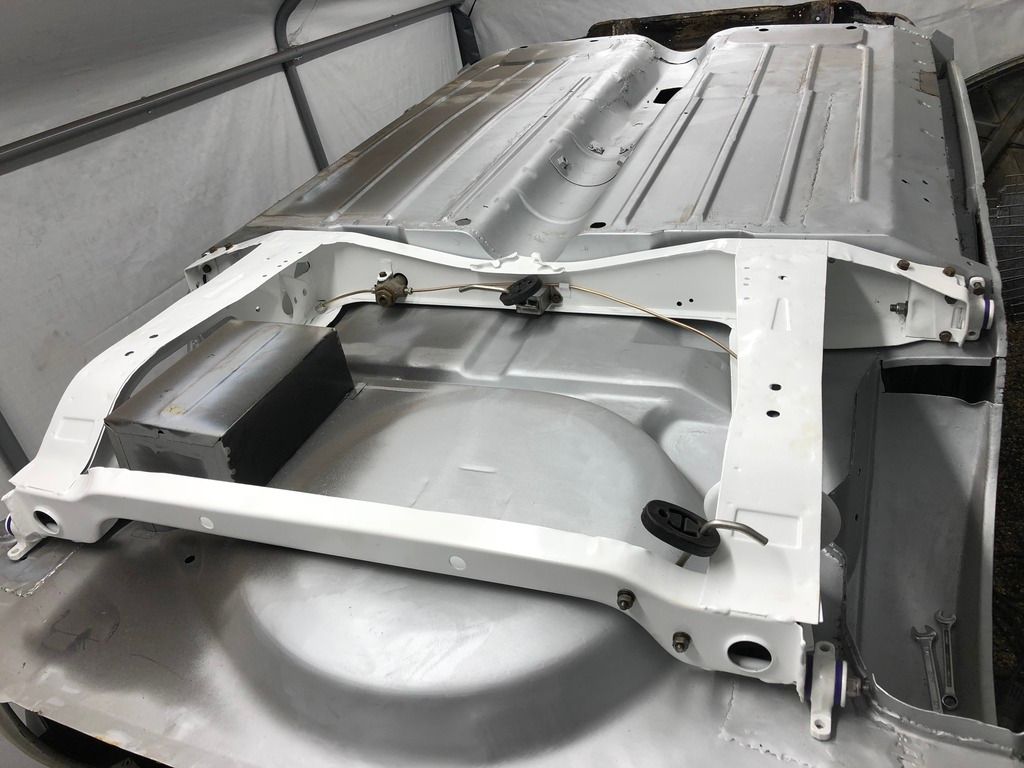
this showed up a small hurdle of new poly bushes on the original subframe onto a genuine heelboard...


IMG_0397.jpg


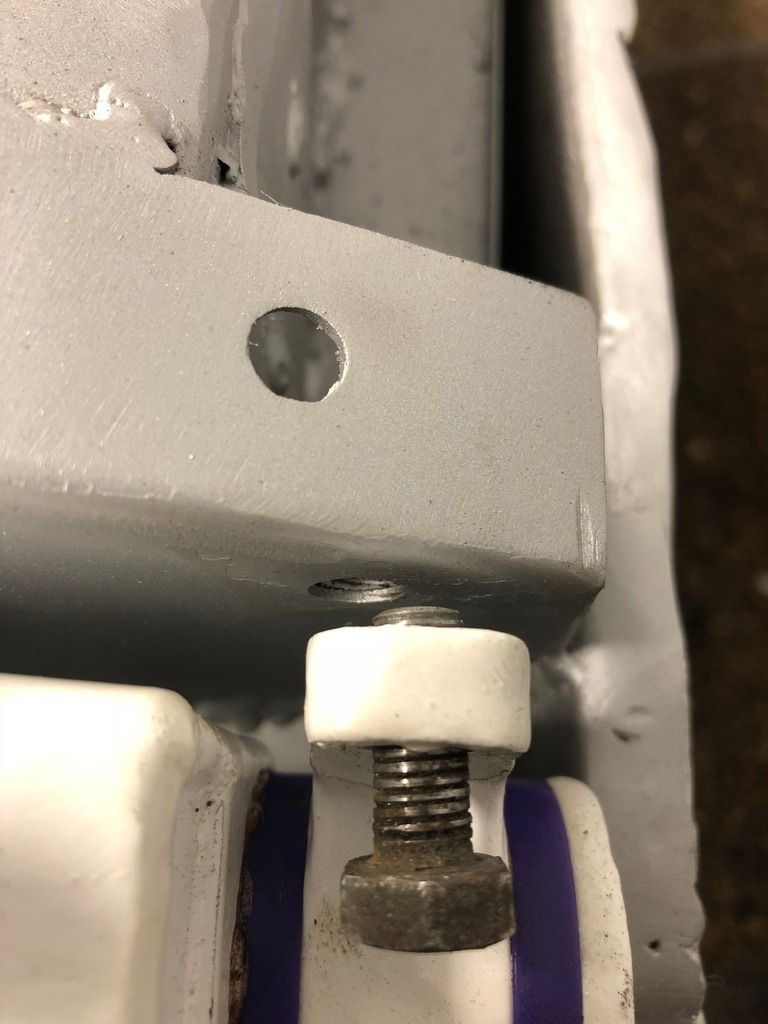
This was solved by the use of 2 large penny washers on the outboard of the bushes then shaving off the depth of the washers from the inner half bush of both sides, thus leaving still tension on the bushes but locating with a slight pry to locate the bolts with liberal use of copper grease on final assembly.


Following up with final little bits and pieces...


IMG_0461.jpg


IMG_0462.jpg


IMG_0463.jpg


IMG_0464.jpg


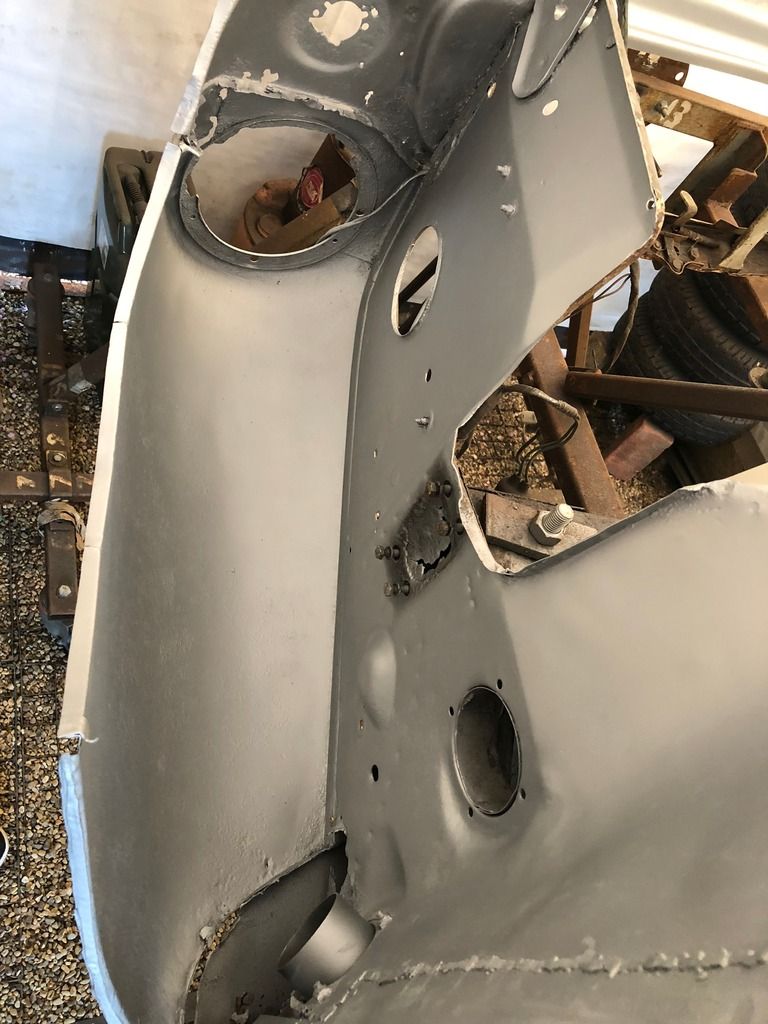
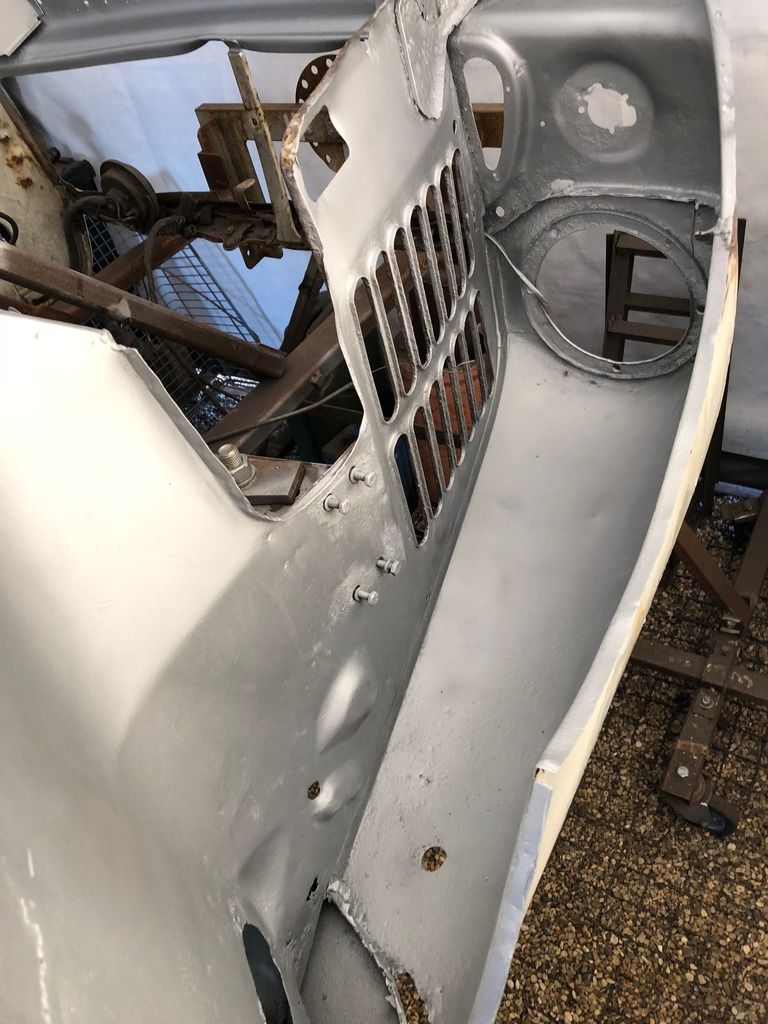
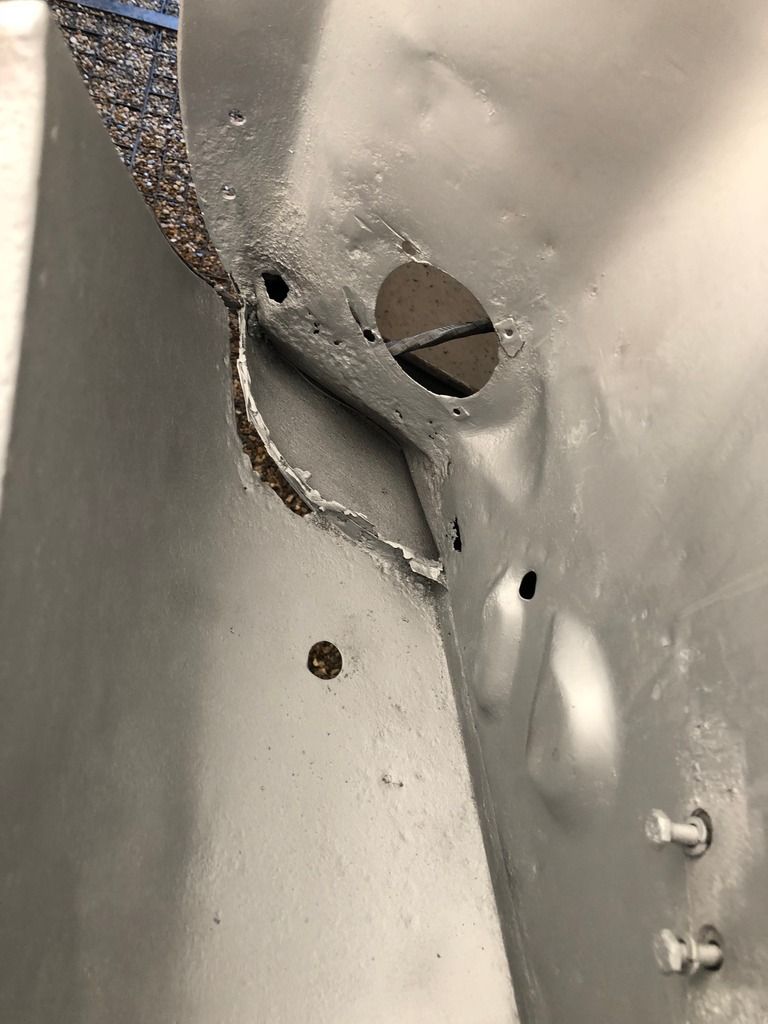
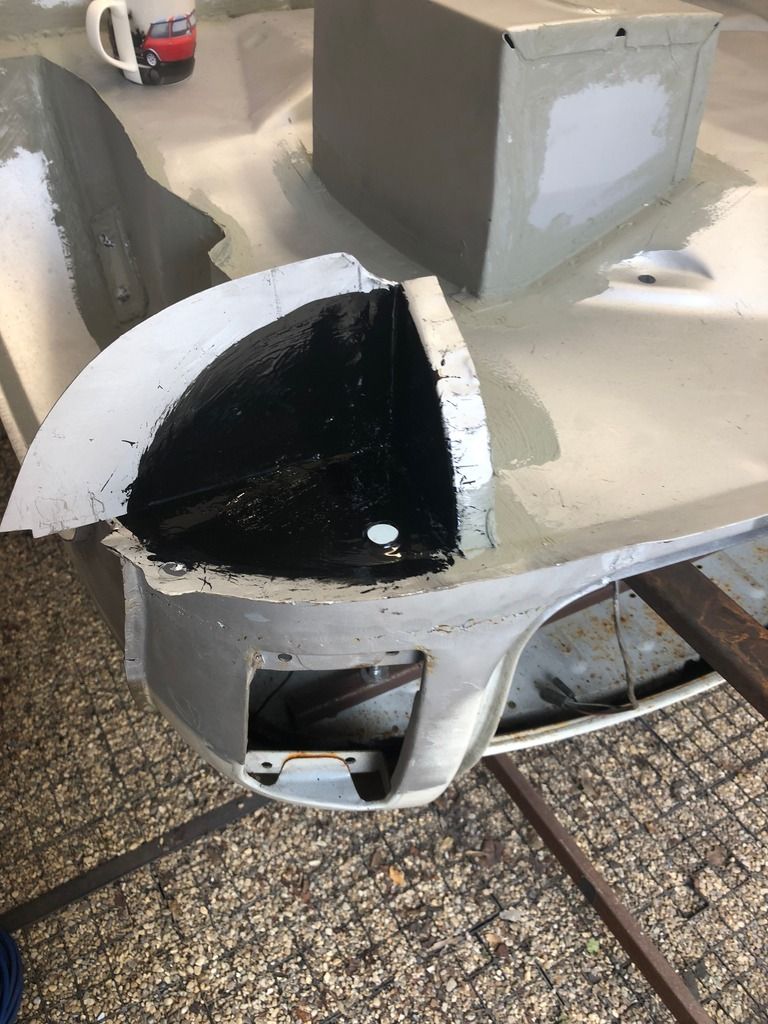
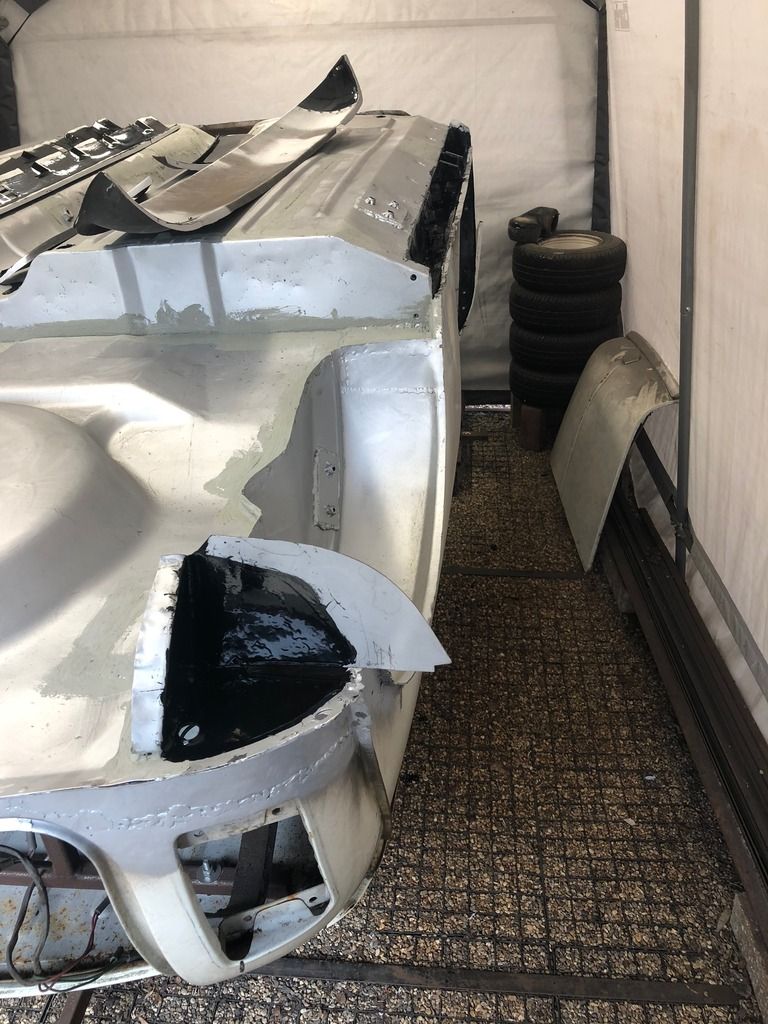
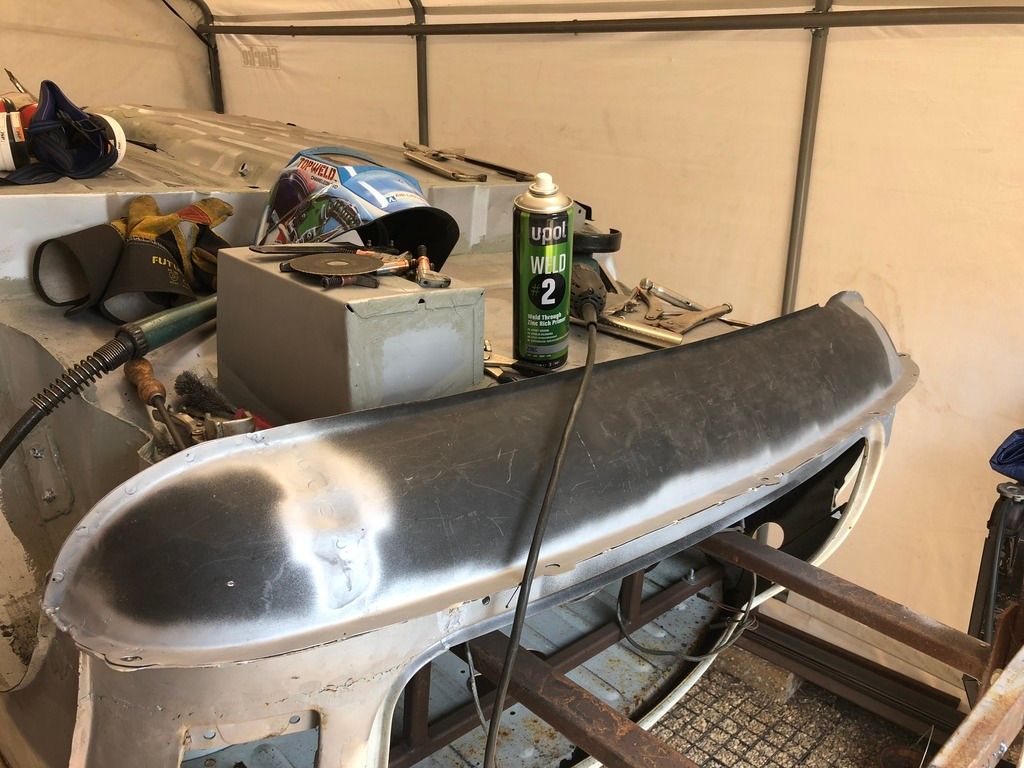
As you can see there were lots of pinholes where if it was anything but this build i would replace all the panels. however due to the ratty appearance im after plan b came in to play....    Im not a fan of this at all but long term plan is to do a steel flip front so in time these panes at the front will either be replaced of chopped off fro scrap so out came the fibreglass kit.  and pretty much created a inner skin of fibreglass around the lower end of the front panel and behind the front lights to reduce the wind drag  :D


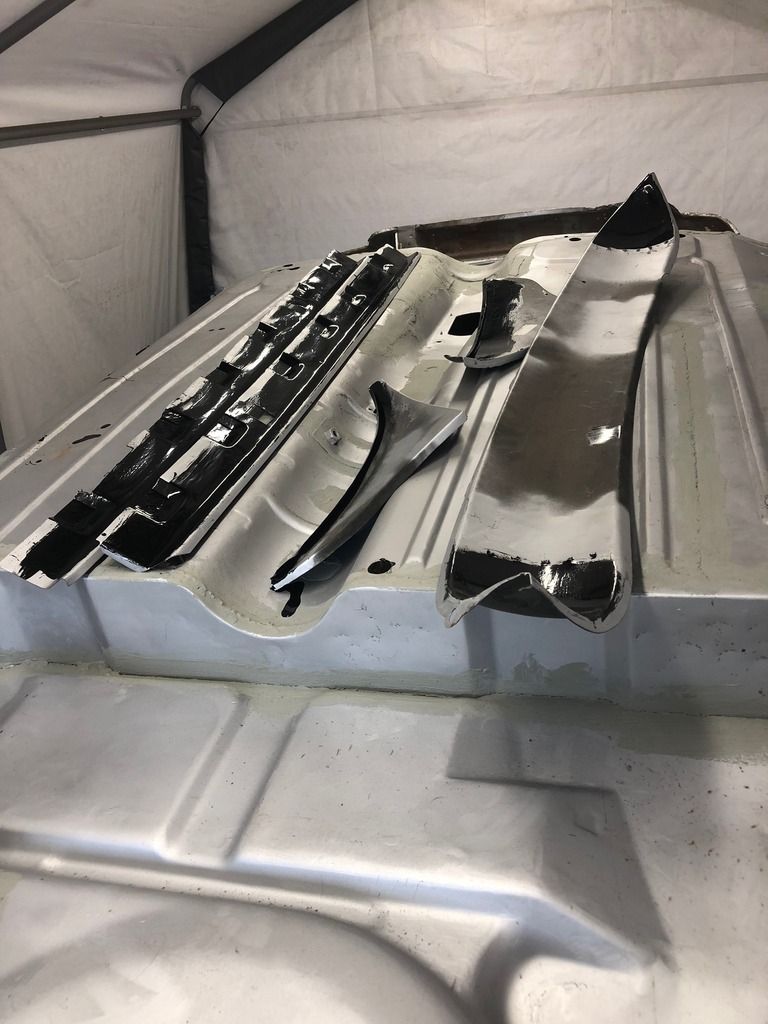
Some painting of cavities next, at this point my excitement levels are through the roof after cutting grind and welding for nigh on 18months on this beastie the end is in sight...


Inner sills...

IMG_0619.jpg


Valance closers...

IMG_0620.jpg


IMG_0621.jpg


And A panel flanges and back of outer sills and rear valance closed areas..

IMG_0623.jpg


And the next morning came where my excitement levels reached a new high where i could hang up my welding torch for a few months until i continue with the special restoration....

OUTER SILLS!!!!!


IMG_0624.jpg


and went to start the rear valance, got 5 plugs into it and,   :mmkay: hmm these welds are looking very cavasious, oh bottoms, ran out of gas..  so up the welding shop for another refill and 


shazam rear valance.

IMG_0625.jpg


After that I spent an hour or so just dressing back some edges and welds ready for the next days toil of RAPTOR!!!  :gimme:


#24 Psycho-biker

Psycho-biker

    Stage One Kit Fitted

  • TMF+ Member
  • PipPipPip
  • 90 posts

Posted 24 June 2018 - 12:06 PM

The Next morning dropped the kids off at school, then at the pool  ;D  and broke out the last of the seam sealer then panel wipe after a quick once over with some 180 grit paper.


fired up my compressor and proceeded mixing up the first bottle or Upol Raptor. 


After reading reviews on coverage thinned and un thinned, I estimated 4 litres should doo inside and out with 2 good coats..


I have done bits and pieces of painting before so know how time consuming the mixing of paint can be at times. upol make this very very easy. take lid off big bottle and small bottle tip small bottle into big bottle, put lid on big bottle and Violently shake for some minutes(cant remember how many maybe 2 or 3) take lid off and put into Shultz gun and shoot.


IMG_0639.jpg


IMG_0637.jpg


IMG_0636.jpg


IMG_0635.jpg


that was 3litres shot and 1st coat externally, hadnt touched the inside boot and inside floor

Estimations were a smidge out  O_O


I had to get to a funeral, so cleaned up, had lunch and on the way picked up another 4 litres of raptor.


#25 Psycho-biker

Psycho-biker

    Stage One Kit Fitted

  • TMF+ Member
  • PipPipPip
  • 90 posts

Posted 24 June 2018 - 12:11 PM

The next day after a bit of work i spun the jig round 90 degrees to do the inside and 2nd coat of the outside.


the inside floor coats i thinned down 15% to reduce the texture a bit...

IMG_0643.jpg


IMG_0642.jpg


IMG_0641.jpg


then got a good 2nd coat on the outside at 10% thinning to increase coverage as supplies where running low again  :ohno:


IMG_0639.jpg


Overall very impressed with the product in prep, application and coverage. My estimations were a smidge off but got it done and done right i feel. if this was going to be anything more than it is (looks wise) I would have probably thinned it all 15% and used more product inside (another 4 litres), I only got 1 very good coat on, but im pleased with it


#26 Psycho-biker

Psycho-biker

    Stage One Kit Fitted

  • TMF+ Member
  • PipPipPip
  • 90 posts

Posted 24 June 2018 - 12:21 PM

I left it to dry for a week before bolting bits back on.


then every night for a week i was bolting bits on at my leisure prepping for the following saturday,


IMG_0675.jpg


and this accidentally sort of happened....

IMG_0644.jpg


B18C1555-97CD-4074-ABA7-480B9FB2BC03.jpg


also despite knowing the ******* quality of rubber components still disappointed to find this... (dont know if you can make it out)...

the BRAND NEW in march boot that has been assembled in my dry garage has began to perish. these and the dust seals on the radius arm pins.


IMG_0667.jpg


the following saturday I managed to get a mate and the father inlaw to help man handle the body off the jig onto wheels and front subframe. Much excitement!!


IMG_0677.jpg


whilst using the engine crane on the body whip the front subby fully assemble undeneath...


IMG_0679.jpg


IMG_0680.jpg


and wang some bolts in...


IMG_0681.jpg


IMG_0682.jpg


and all supports removed it sits on its own wheels for the first time in just over 18 months!!

IMG_0686.jpg


My eldest came out for a nose and got first ride in it, up the drive...

IMG_0689.jpg


then noticed the lovely stance.....     

IMG_0687.jpg


IMG_0690.jpg


IMG_0691.jpg


a very enjoyable and productive day!!


Edited by Psycho-biker, 24 June 2018 - 12:23 PM.


#27 Psycho-biker

Psycho-biker

    Stage One Kit Fitted

  • TMF+ Member
  • PipPipPip
  • 90 posts

Posted 24 June 2018 - 12:25 PM

in the following evenings was bolting on more and more and cam e the time to rebuild the master cylinders....  this caused a headache. only because i could find a cross section diagram of a assemble unit. but got it sorted in the end.


IMG_0726.jpg


turns out the left hand seal pictured need to go on the piston shaft about quarter way up on the raised ridge.

learn something new everyday!


#28 Psycho-biker

Psycho-biker

    Stage One Kit Fitted

  • TMF+ Member
  • PipPipPip
  • 90 posts

Posted 24 June 2018 - 02:18 PM

Most recently amongst reassembly I hung and fitted the exhaust, a maniflow centre pipe and used fletcher back box. a shaved Battery for a 306TD peugeot, battery isolator. 

Front and rear screens in with new seals, bled the brakes and clutch the other night with a mate. then tst fired it on friday and gave it a bit of adjustment, its still over fuelling a bit but it runs nice and starts nicely.


IMG_0771.jpg


IMG_0764.jpg


IMG_0763.jpg


this week should be lots of little bits and putting the last bits in and on, doors boot bonnet, interior and torquing hubs etc. 


If it gets MOTed this week bingo, but I think it may be next week realistically or the weekend after due to work.


Cant wait to drive it!!


#29 blueovalcraig

blueovalcraig

    Mini Mad

  • Members
  • PipPipPipPip
  • 193 posts
  • Location: Rothesay, Isle of Bute

Posted 24 June 2018 - 02:32 PM

Looking good mate.


#30 Jgguinness

Jgguinness

    Mini Mad

  • Noobies
  • PipPipPipPip
  • 120 posts
  • Location: UK

Posted 25 June 2018 - 03:56 PM

Looking good, keep the updates coming


Edited by Jgguinness, 25 June 2018 - 03:57 PM.


0 user(s) are reading this topic

0 members, 0 guests, 0 anonymous users