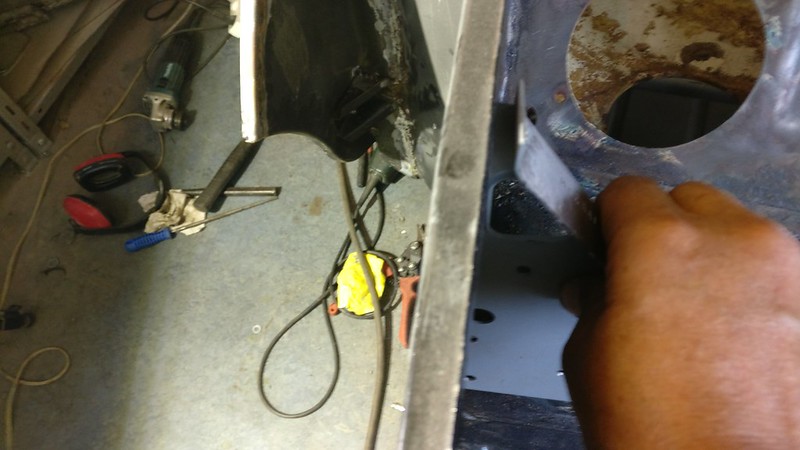
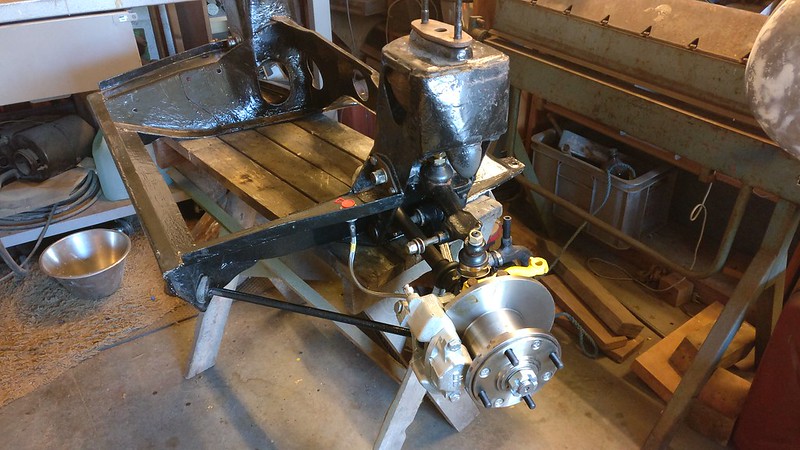
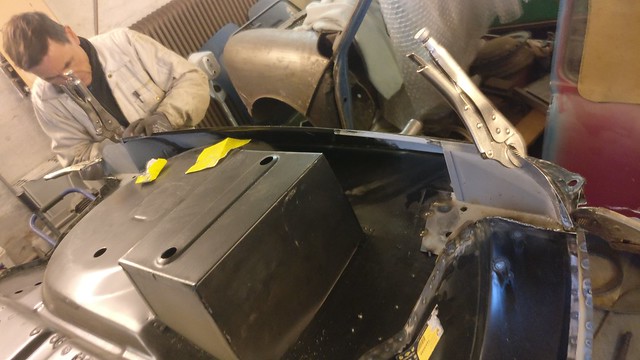
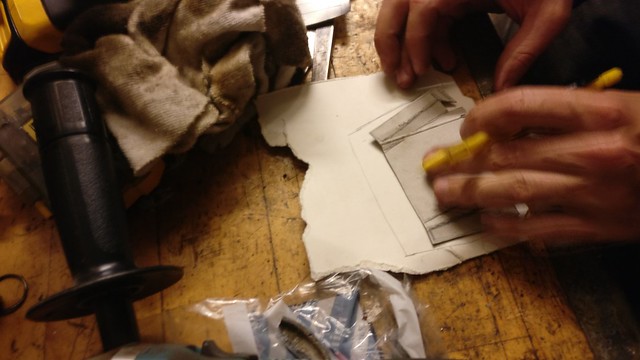
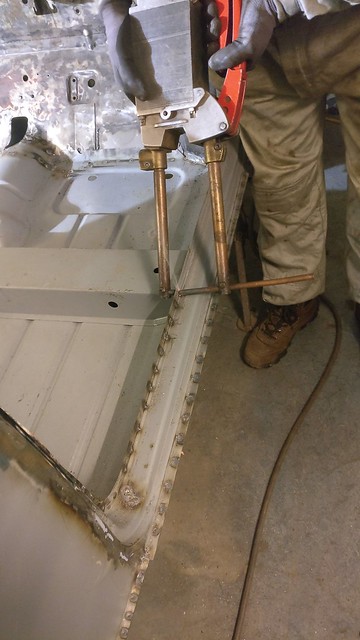
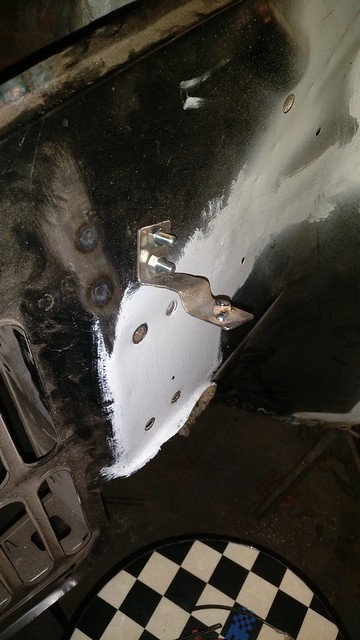
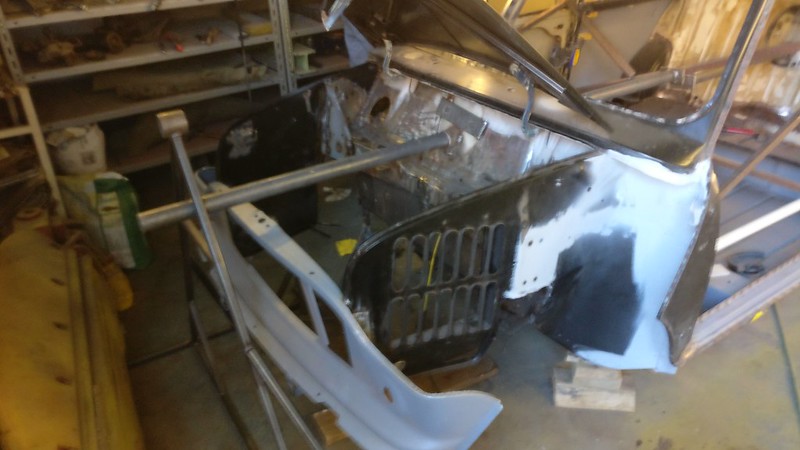
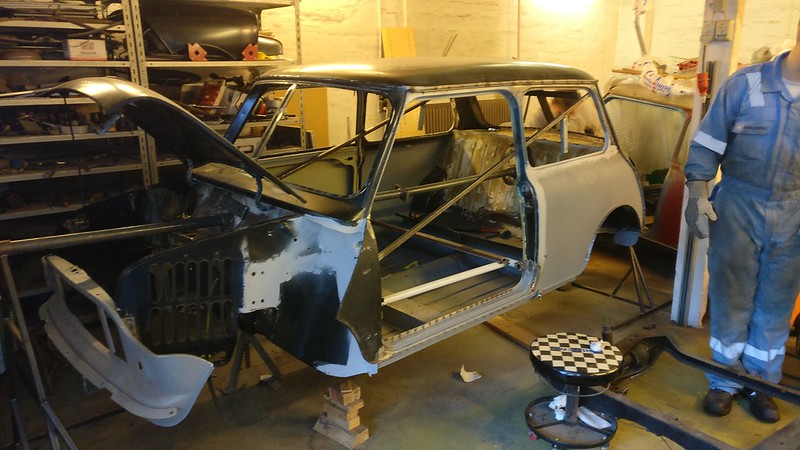
Last night (again Tuesday) while one of us removed the front and rear subframes and fitted the spyd,
 IMG_20170822_192650
 by %5Bemail protected%5D<script data-cfhash='f9e31' type="text/javascript">/* */</script>/]frogeye61[/url], on Flickr
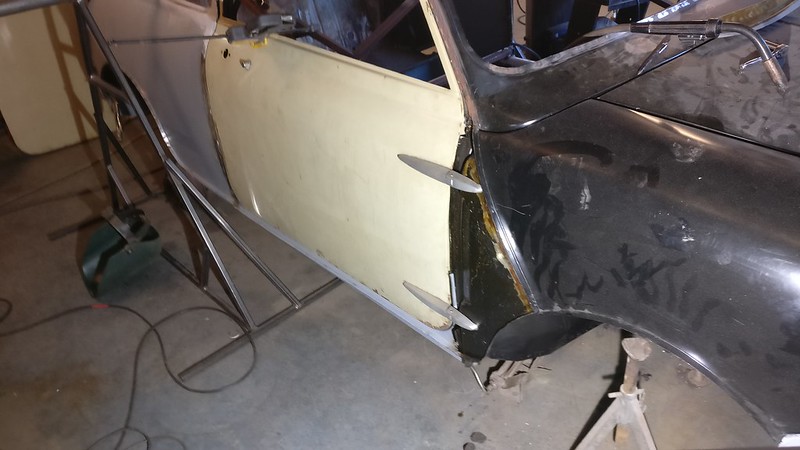
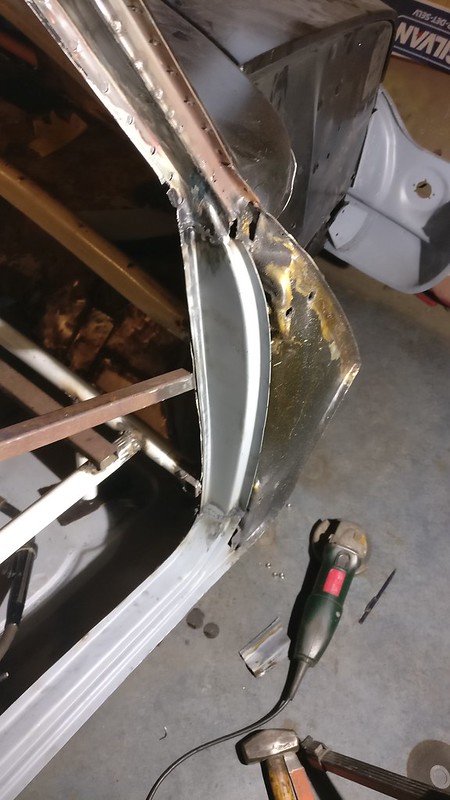
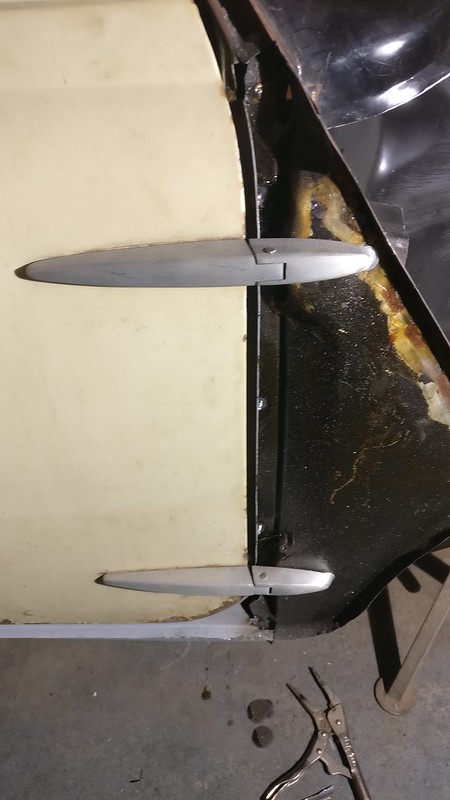
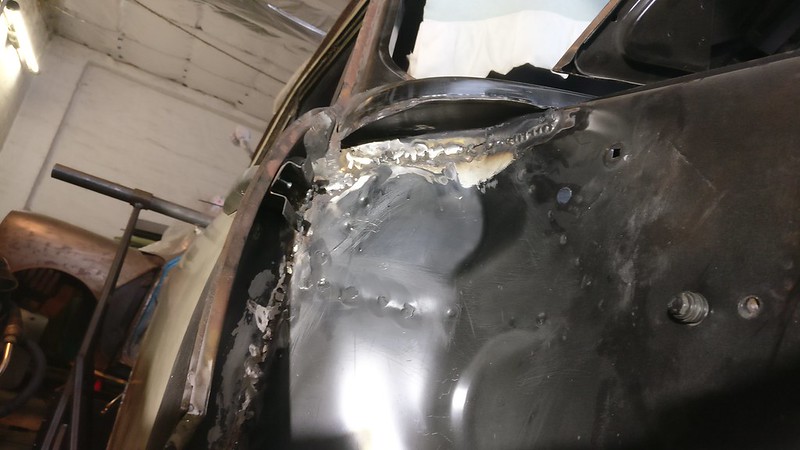
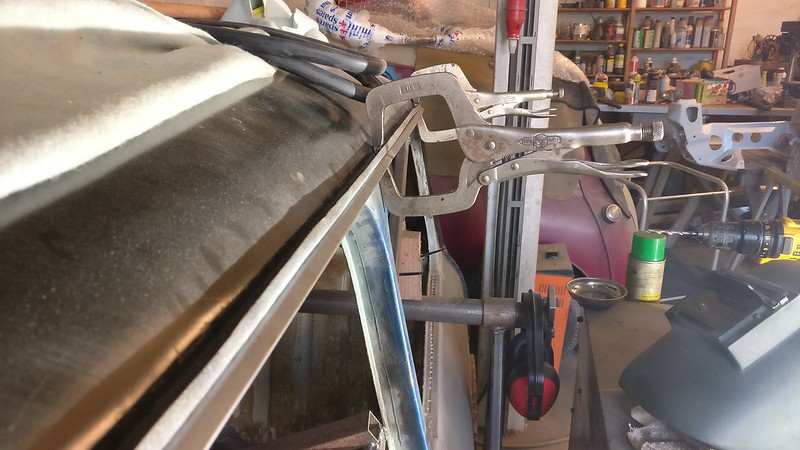
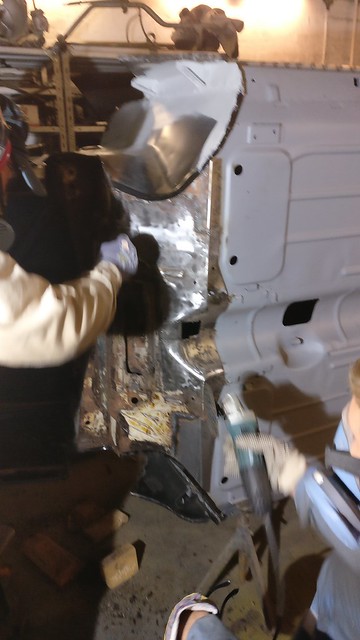
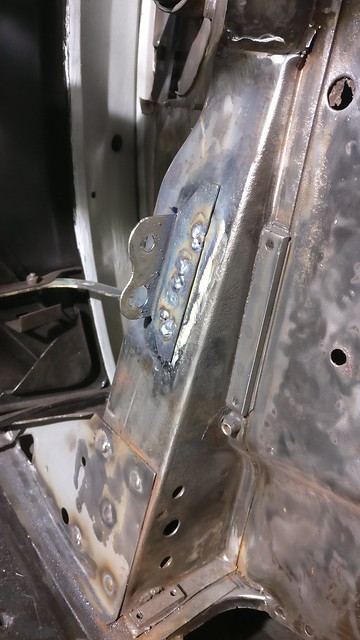
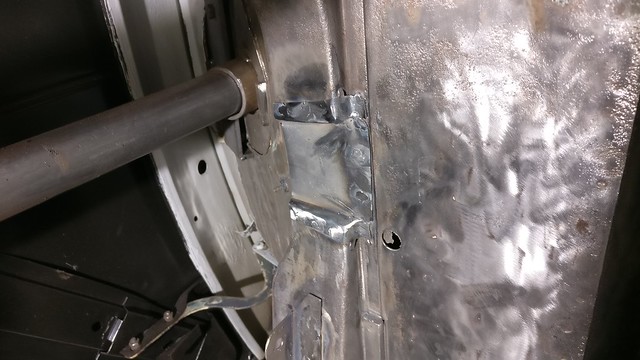
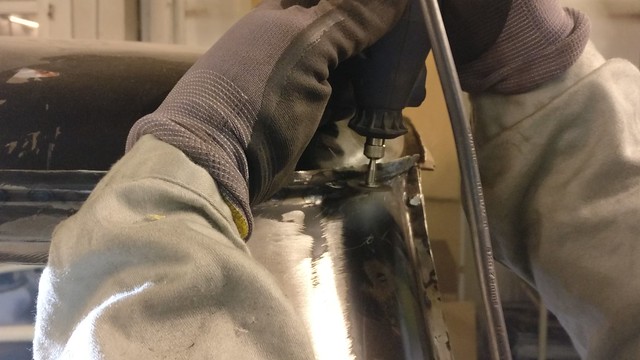
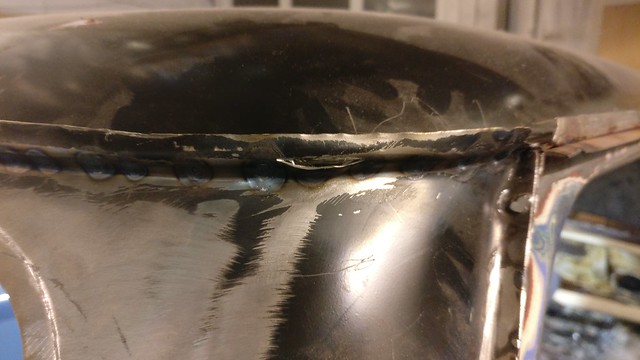
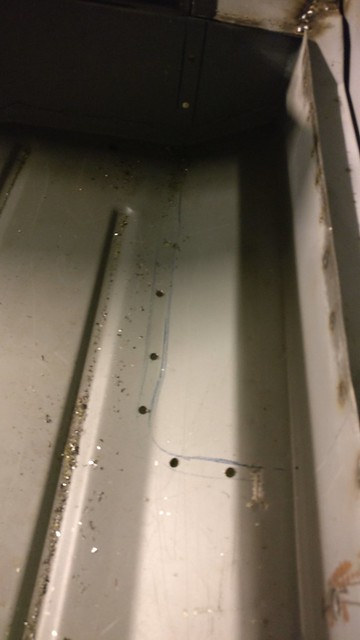
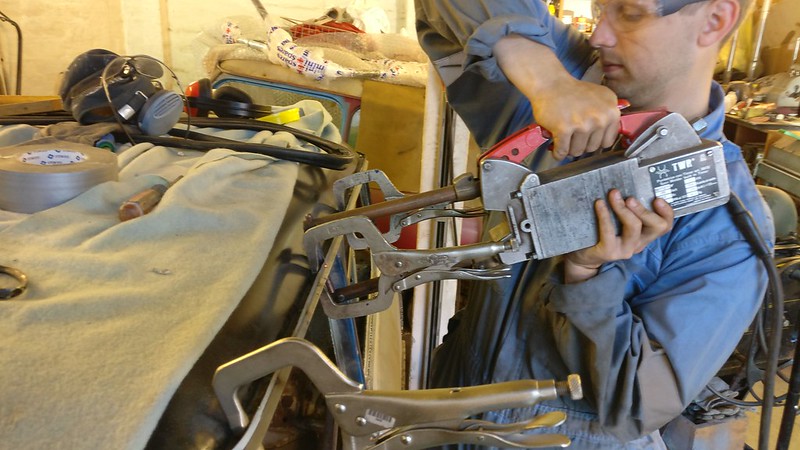
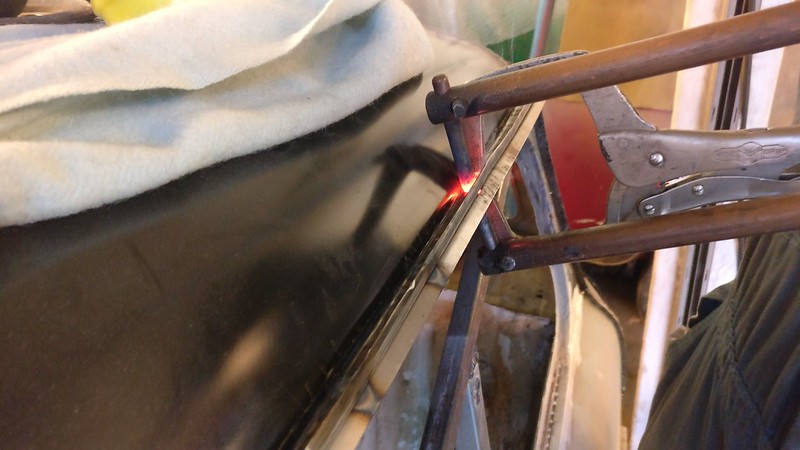
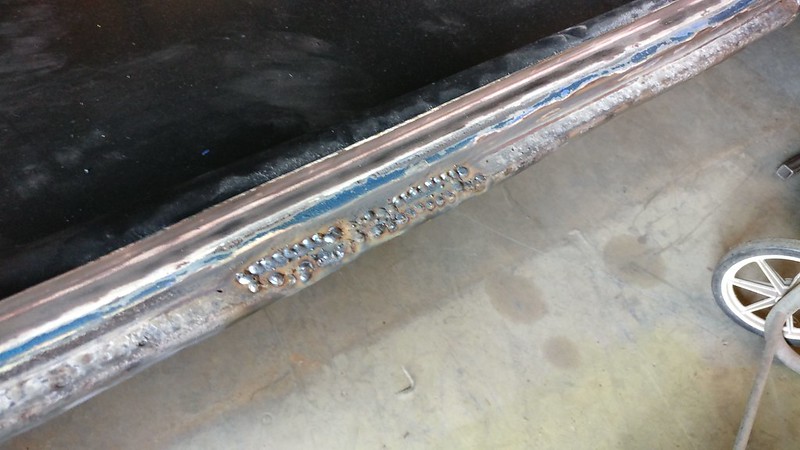
Tim and I welded on the drip rails.
 IMG_20170822_194655
 by %5Bemail protected%5D/]frogeye61[/url], on Flickr
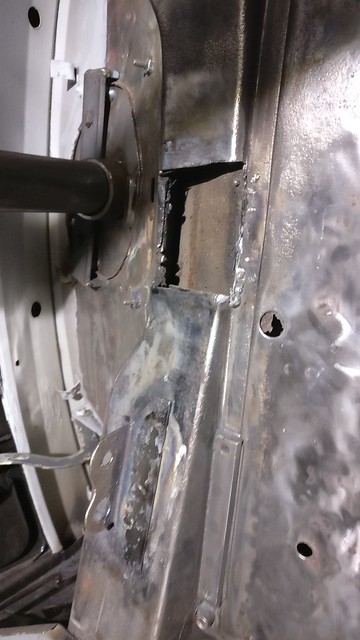
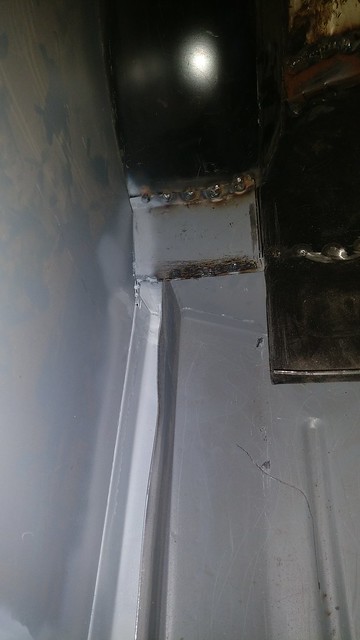
 IMG_20170822_195027_01
 by %5Bemail protected%5D/]frogeye61[/url], on Flickr
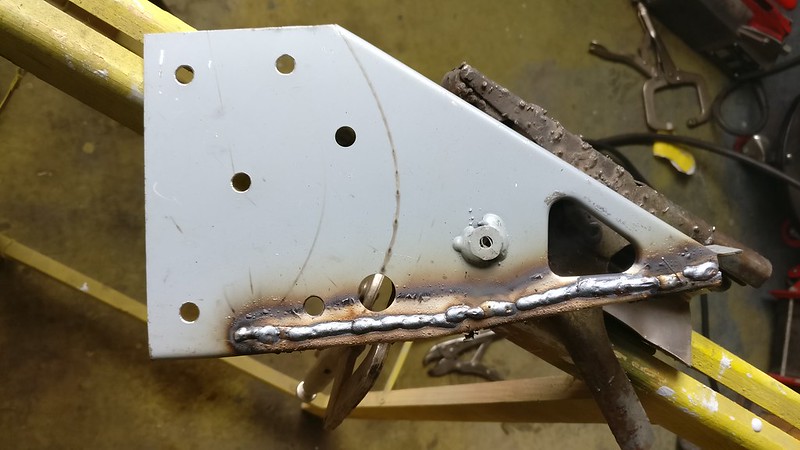
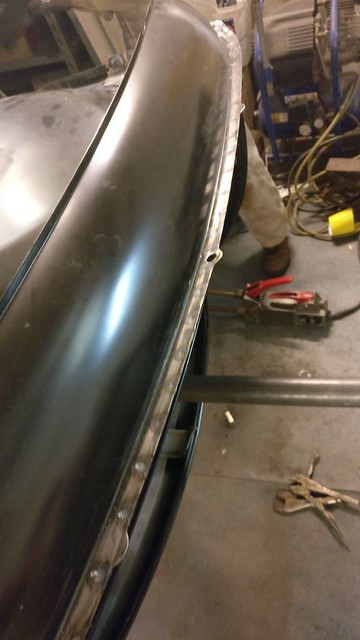
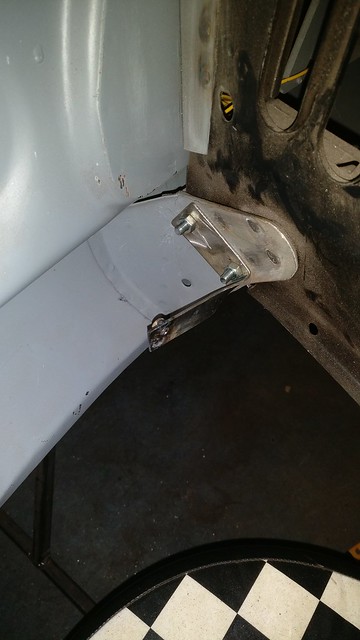
The metal is quite thick 1+1+1.5 mm and took three hits with the spot welder to obtain the heat necessary to hold the drip rail on. The original drip rail was about half the 1.5 mm but also folded over at the edge. This would make it easier to weld but more prone to rust. I cheated using a piece of 1.5 mm sheet for the drip rail at the cost of being more difficult to weld, but it looks the same and is more robust. Good trade-off for me.
 VID_20170822_195101
 by %5Bemail protected%5D/]frogeye61[/url], on Flickr
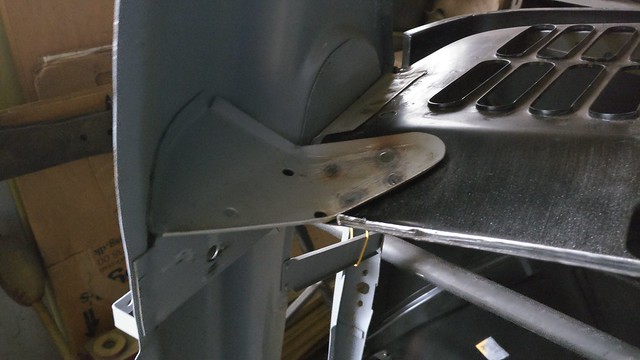
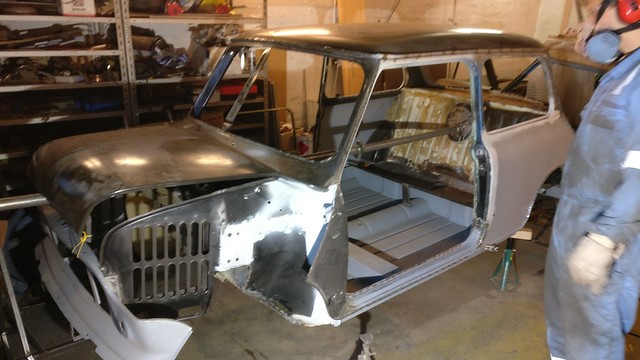
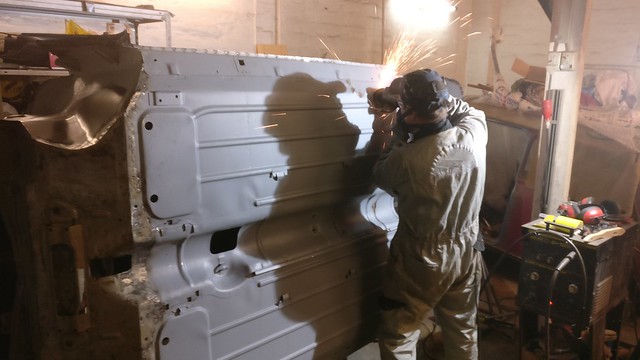
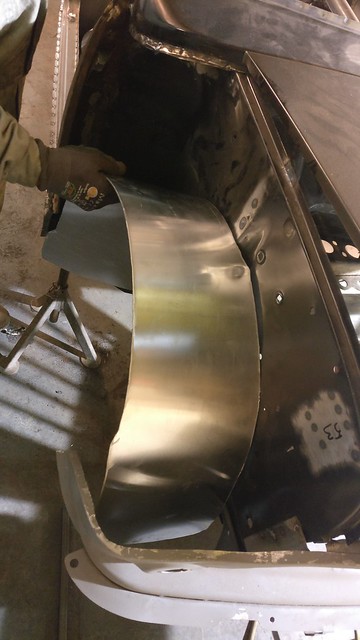
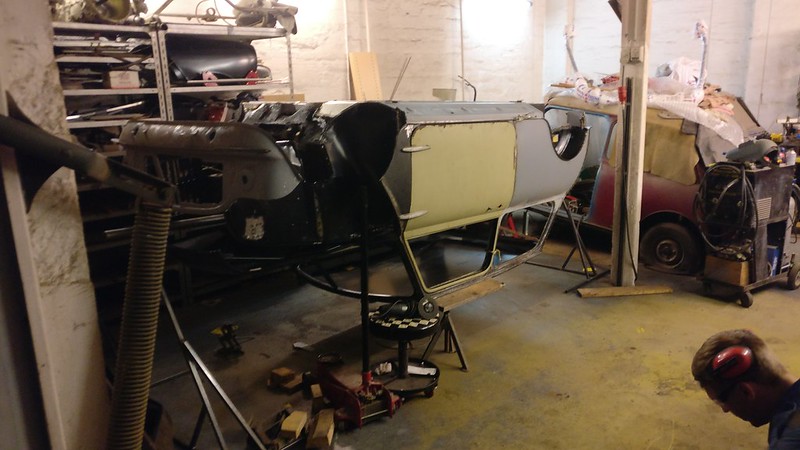
Once the body was raised onto the spyd...
 IMG_20170822_200817
 by %5Bemail protected%5D/]frogeye61[/url], on Flickr
we could roll it over...
 IMG_20170822_213129
 by %5Bemail protected%5D/]frogeye61[/url], on Flickr
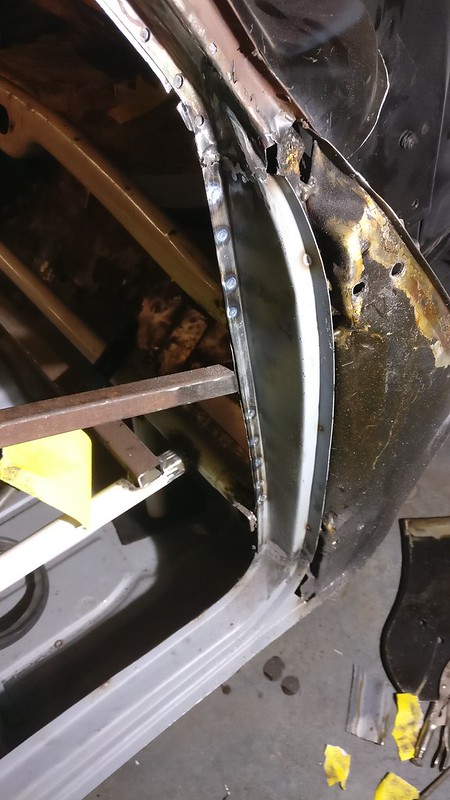
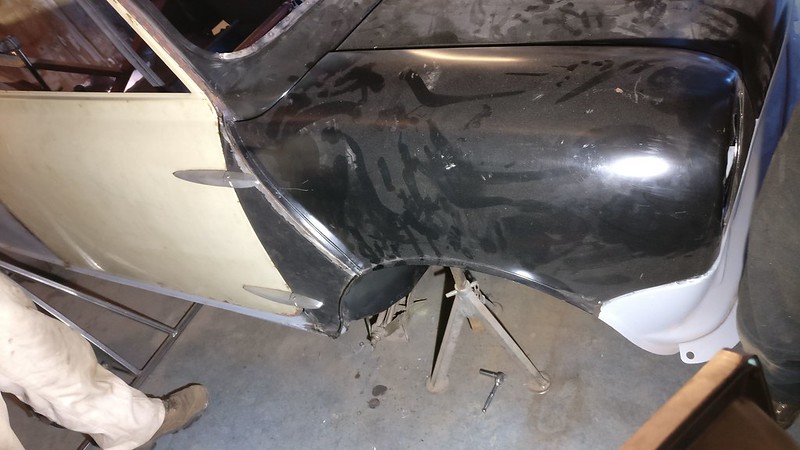
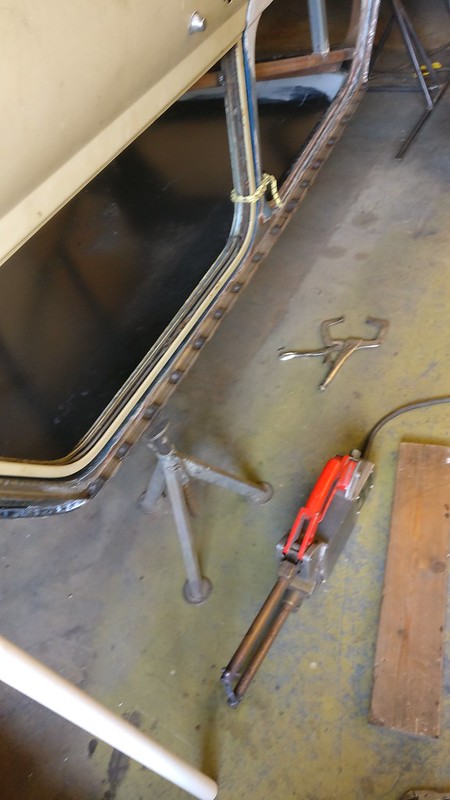
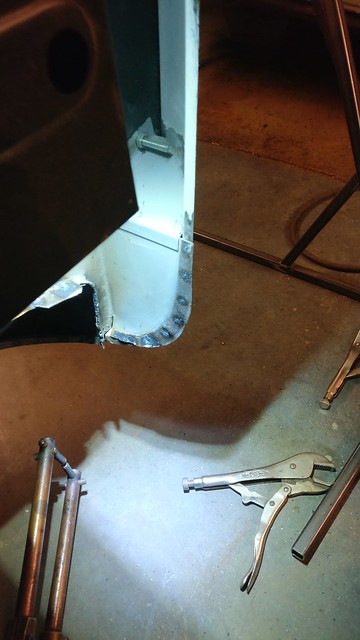
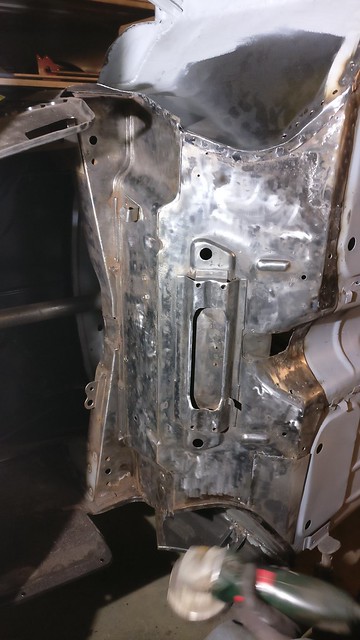
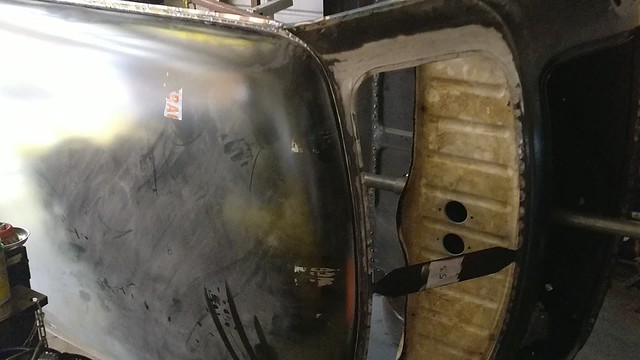
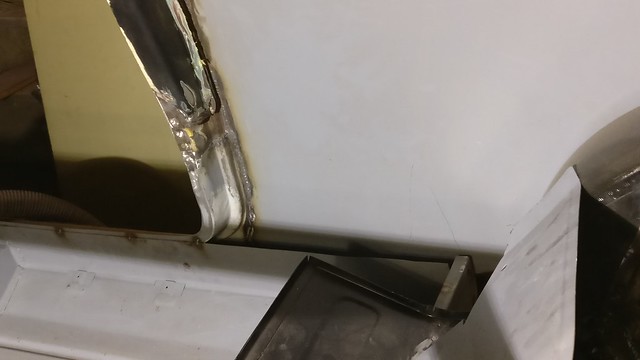
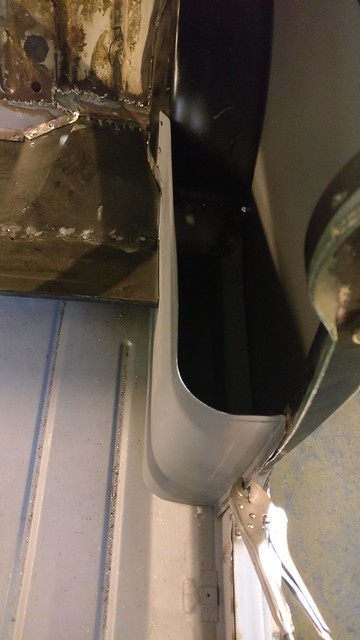
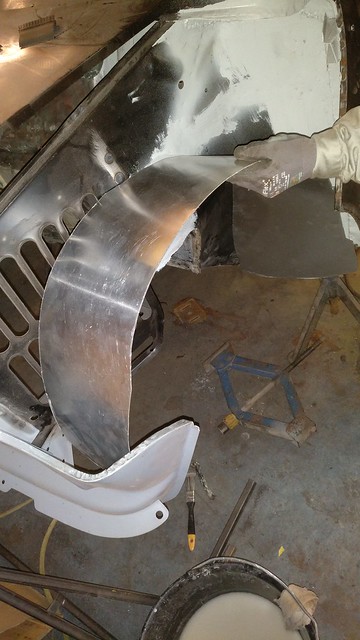
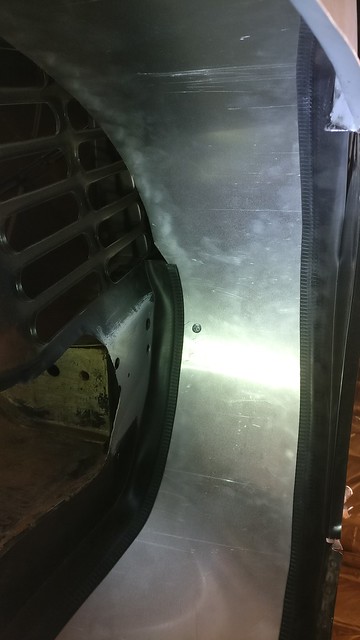
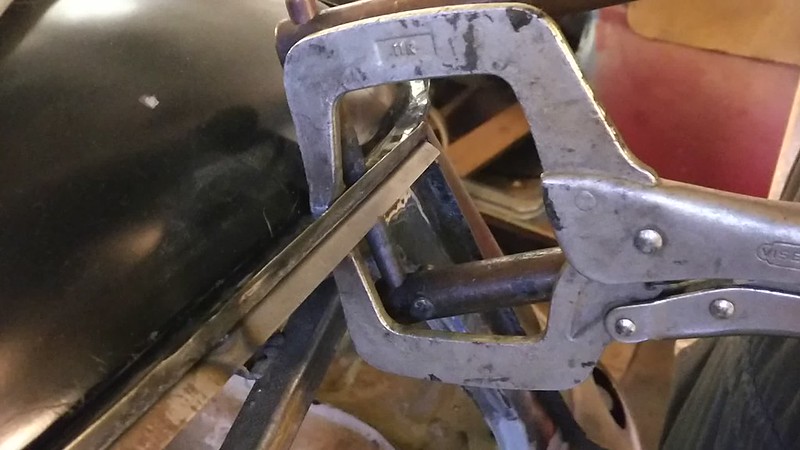
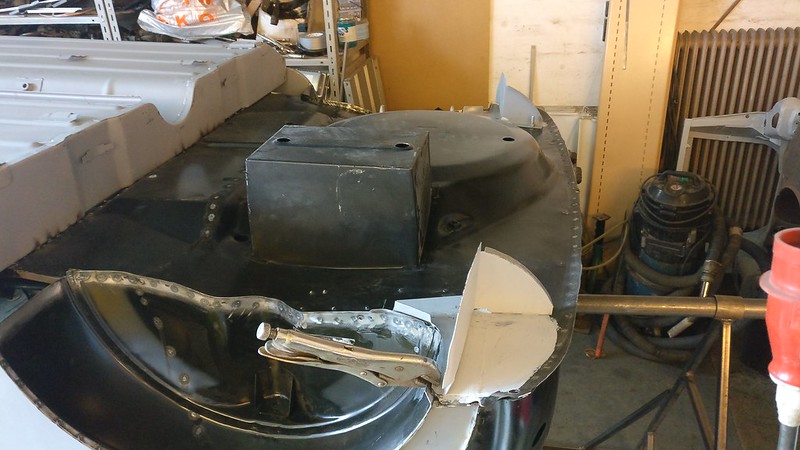
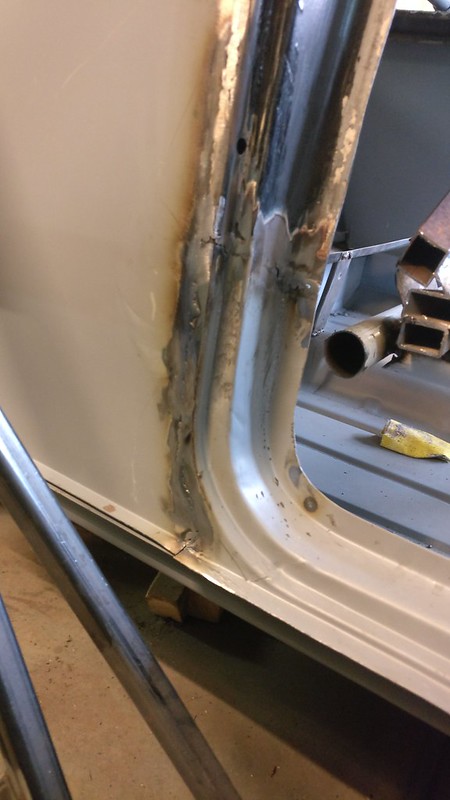
and the first thing is to weld the bottom of the right side rain gutter.
 IMG_20170823_075538
 by %5Bemail protected%5D/]frogeye61[/url], on Flickr
Just try doing that while the car is upright.
 IMG_20170823_075530
 by %5Bemail protected%5D/]frogeye61[/url], on Flickr
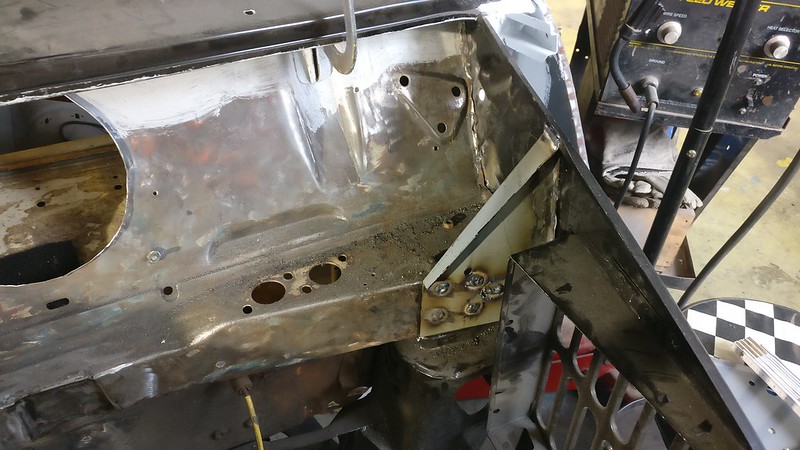
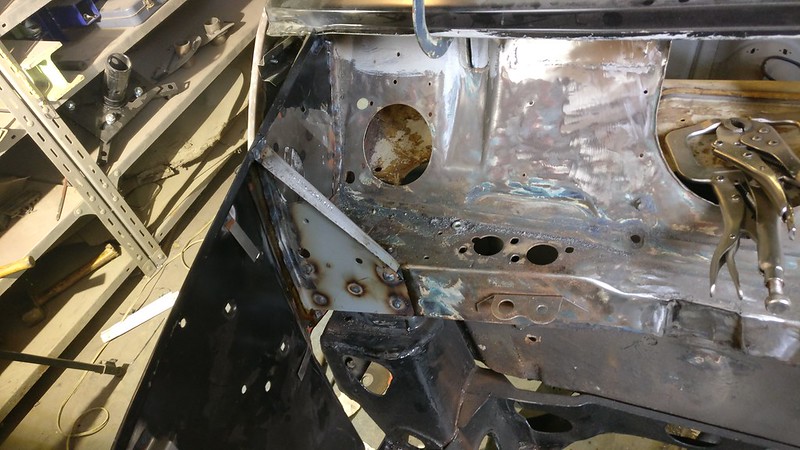
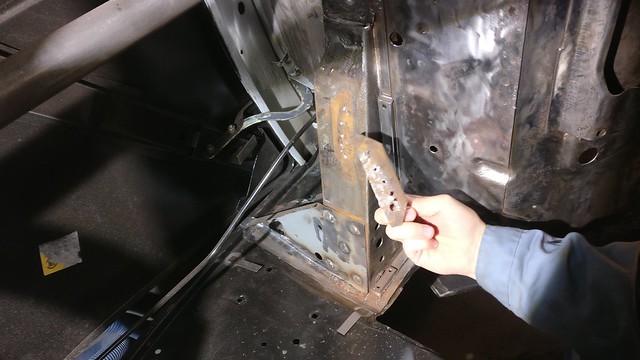
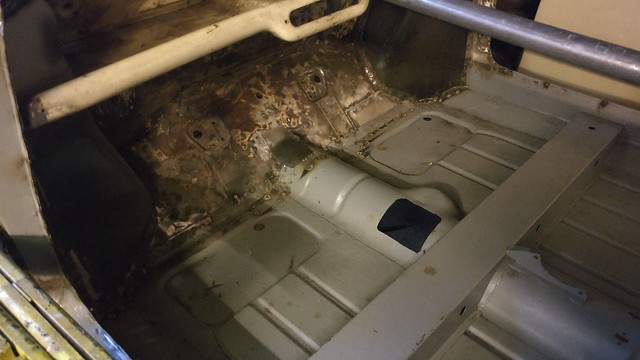
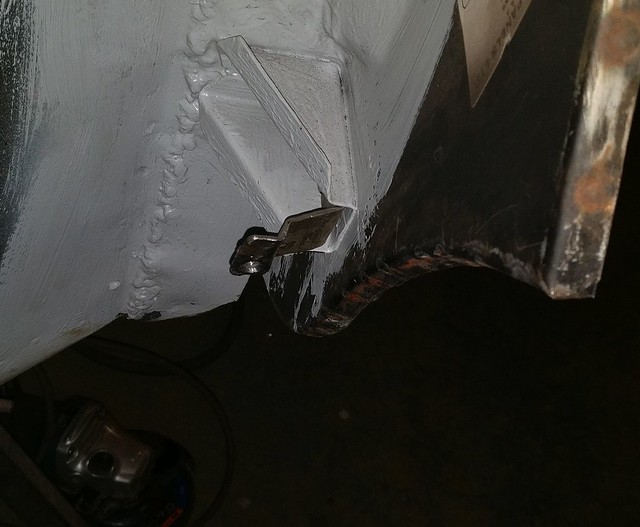
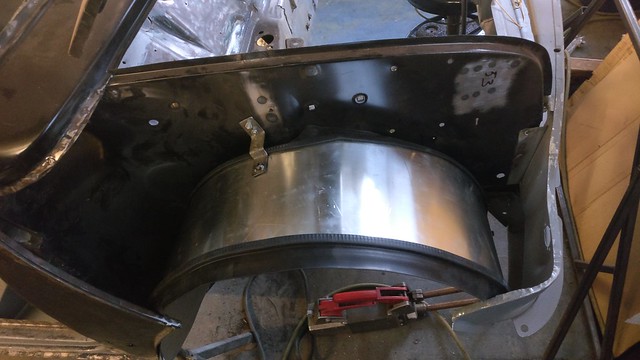
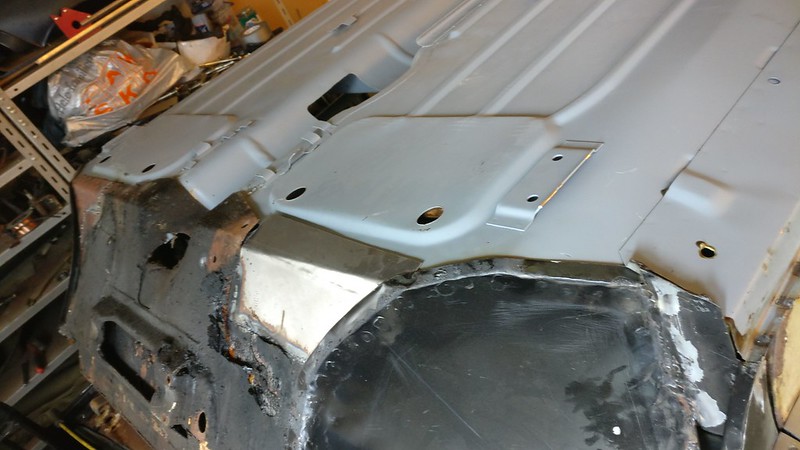
We can now easily access the rear valance and front floor welds.
 IMG_20170823_075517
 by %5Bemail protected%5D/]frogeye61[/url], on Flickr
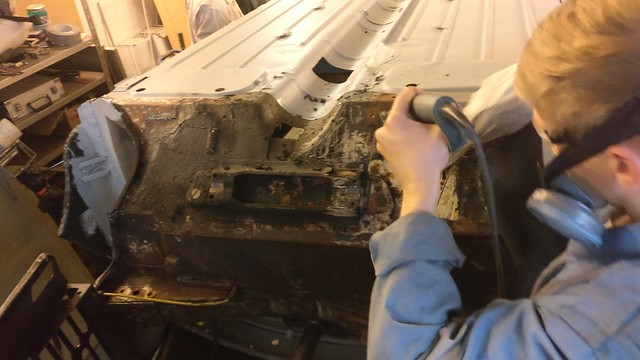
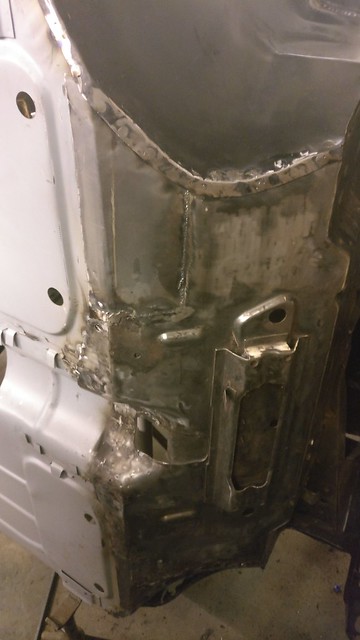
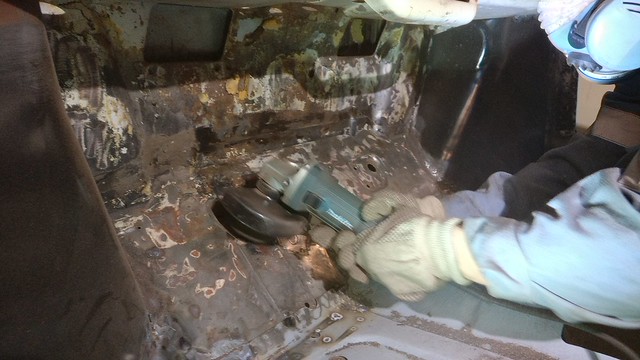
Also we need to clean the firewall and ready for painting
 IMG_20170823_075547
 by %5Bemail protected%5D/]frogeye61[/url], on Flickr
Edited by racingenglishcars, 24 August 2017 - 06:31 AM.


 IMG_20170812_173456 by frogeye61, on Flickr