Jump to content


Photo
- - - - -

1982 Mini City E


  • Please log in to reply
45 replies to this topic

#1 stuenutter

stuenutter

    Mini Mad

  • Noobies
  • PipPipPipPip
  • 133 posts

Posted 22 December 2016 - 09:56 PM

31663503192_a474c1ded6_z.jpg20161217_134017 by Stuart gaylor, on Flickr


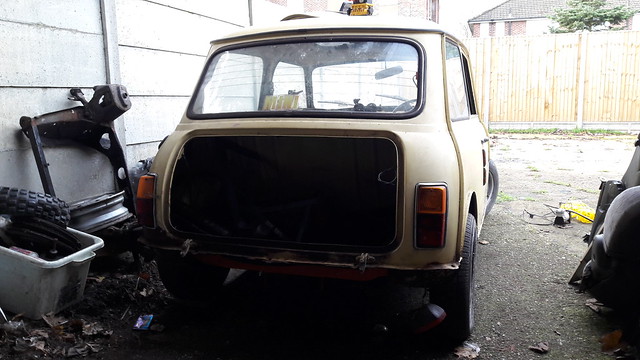
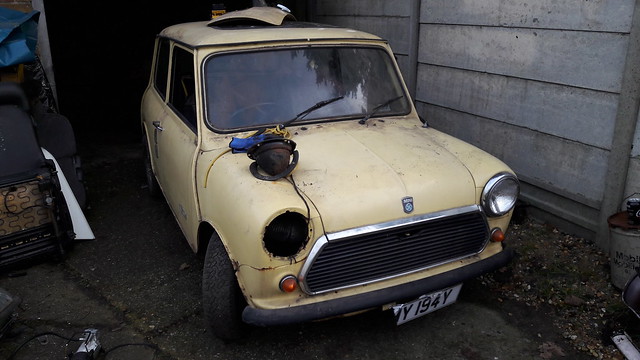
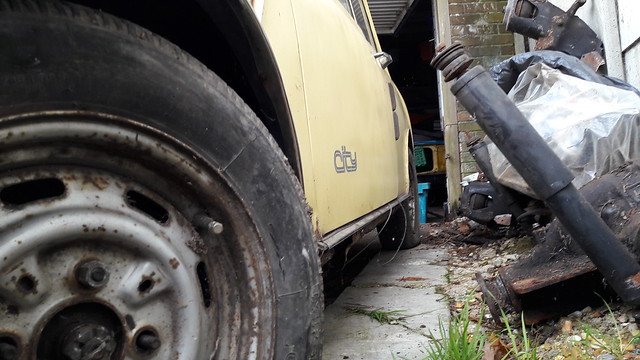
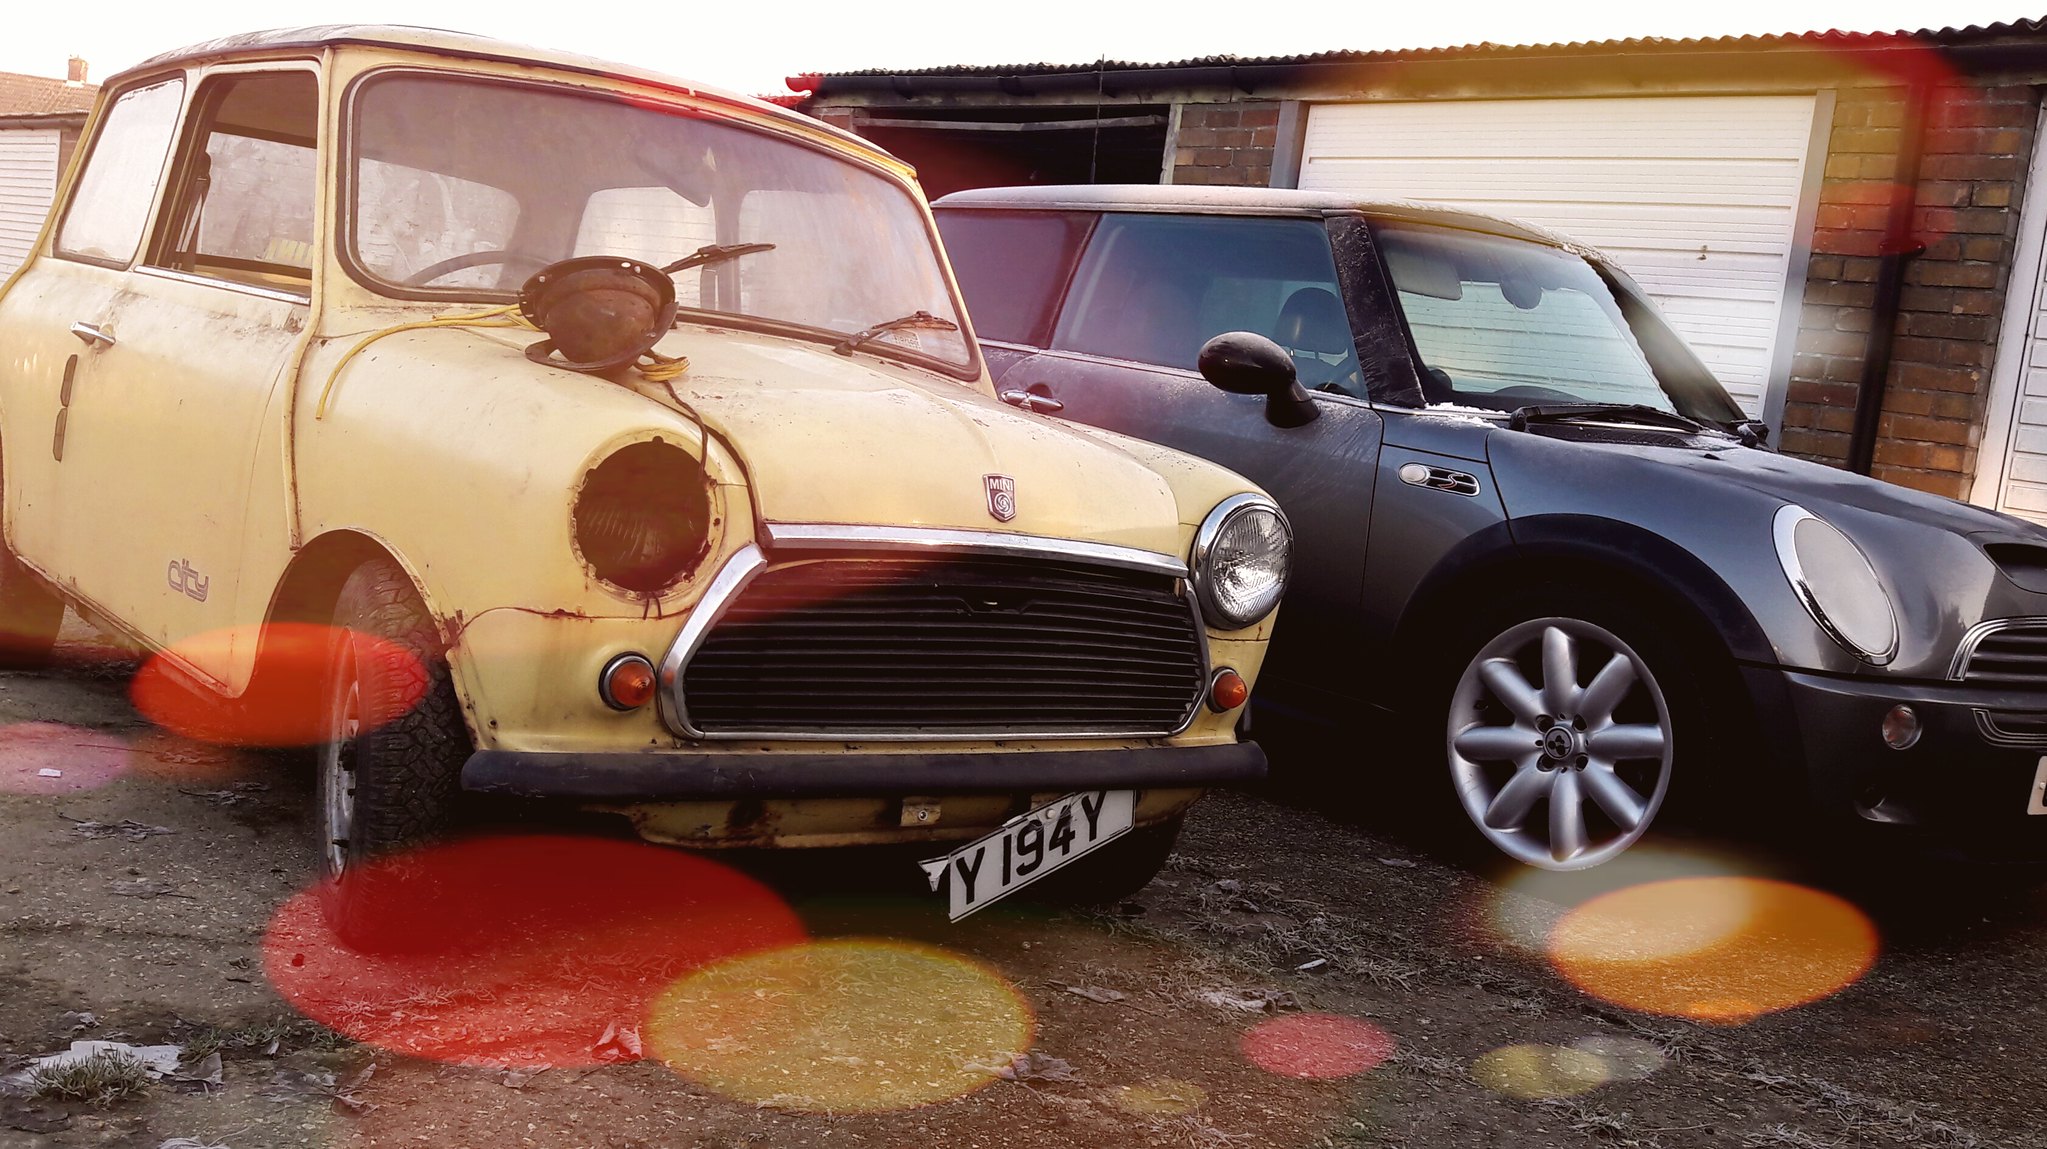
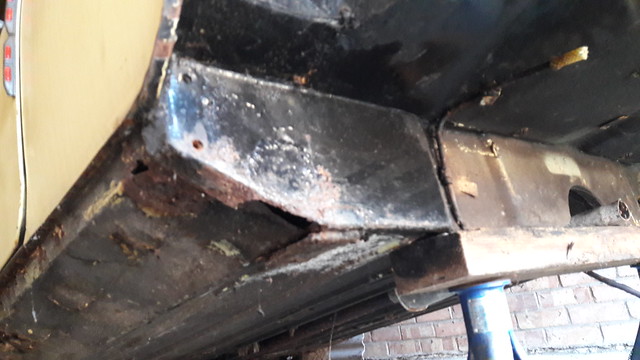
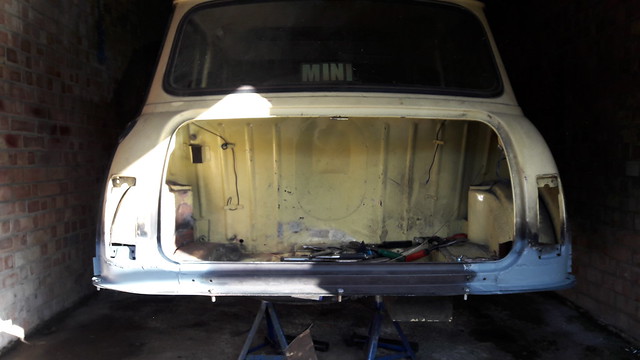
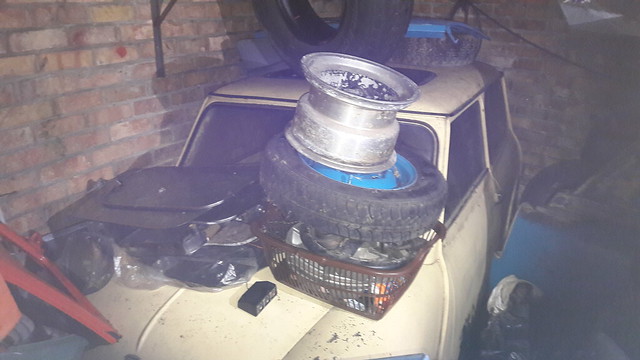
Just bought this 82 mini city e off a good friend of mine and hopefully remove it from his garage to mine over Christmas.


Little bit of history about how I came by it.

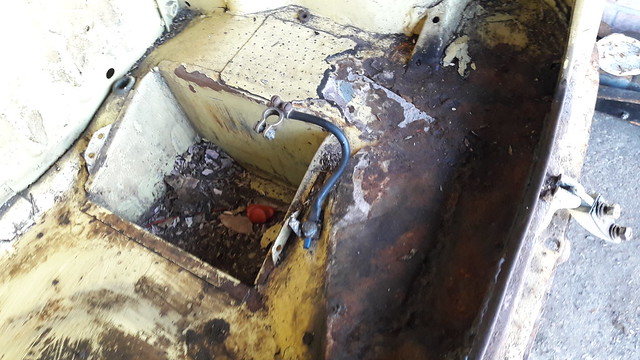
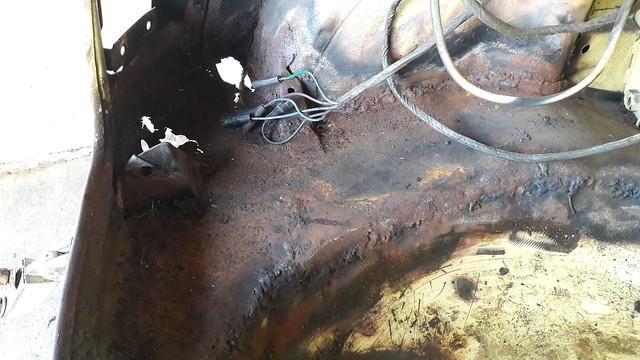
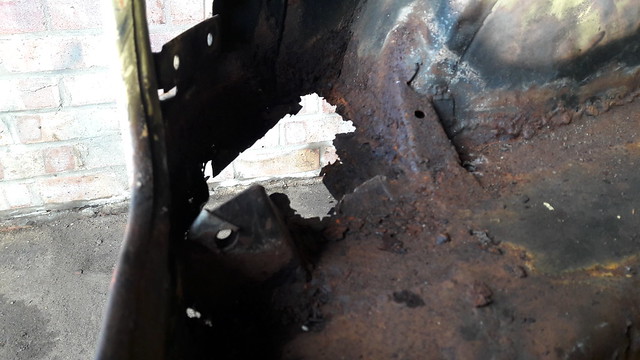
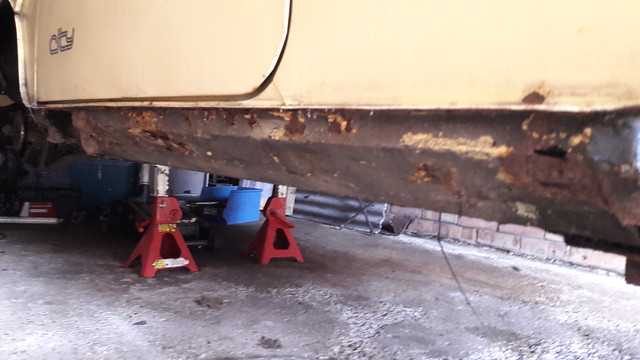
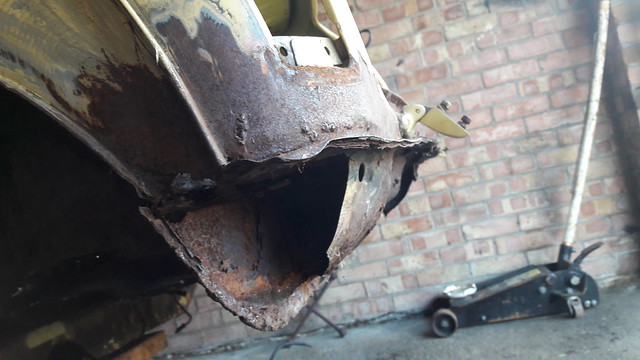
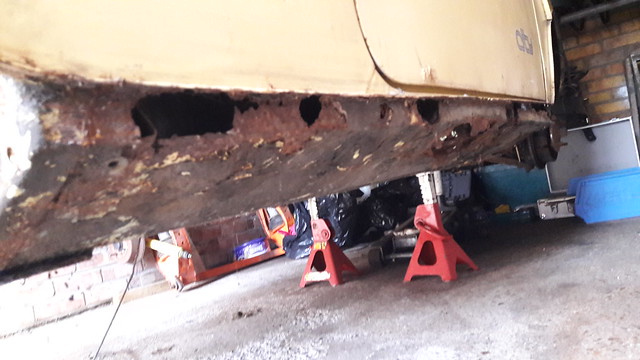
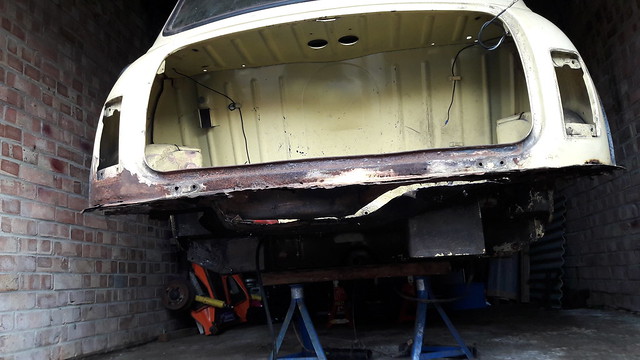
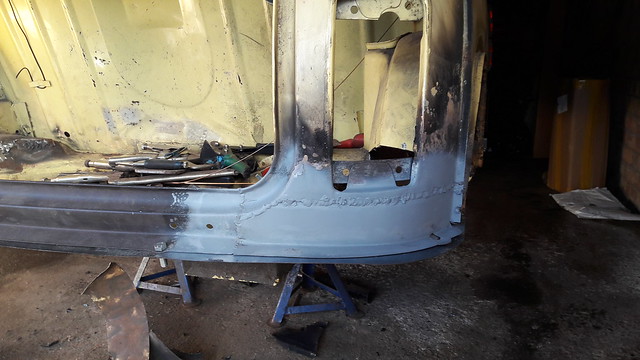
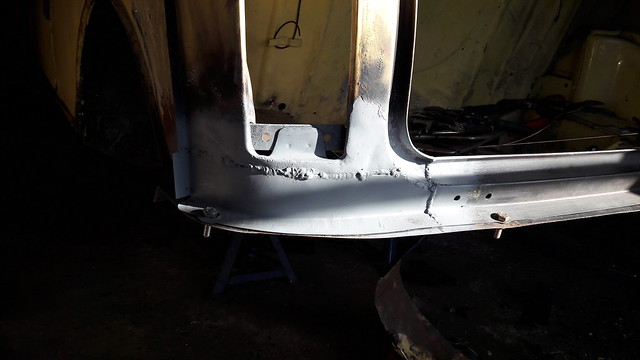
My Friend bought it back in 2009 and was and does still appear to be in good shape.(but we will see when I get it out)

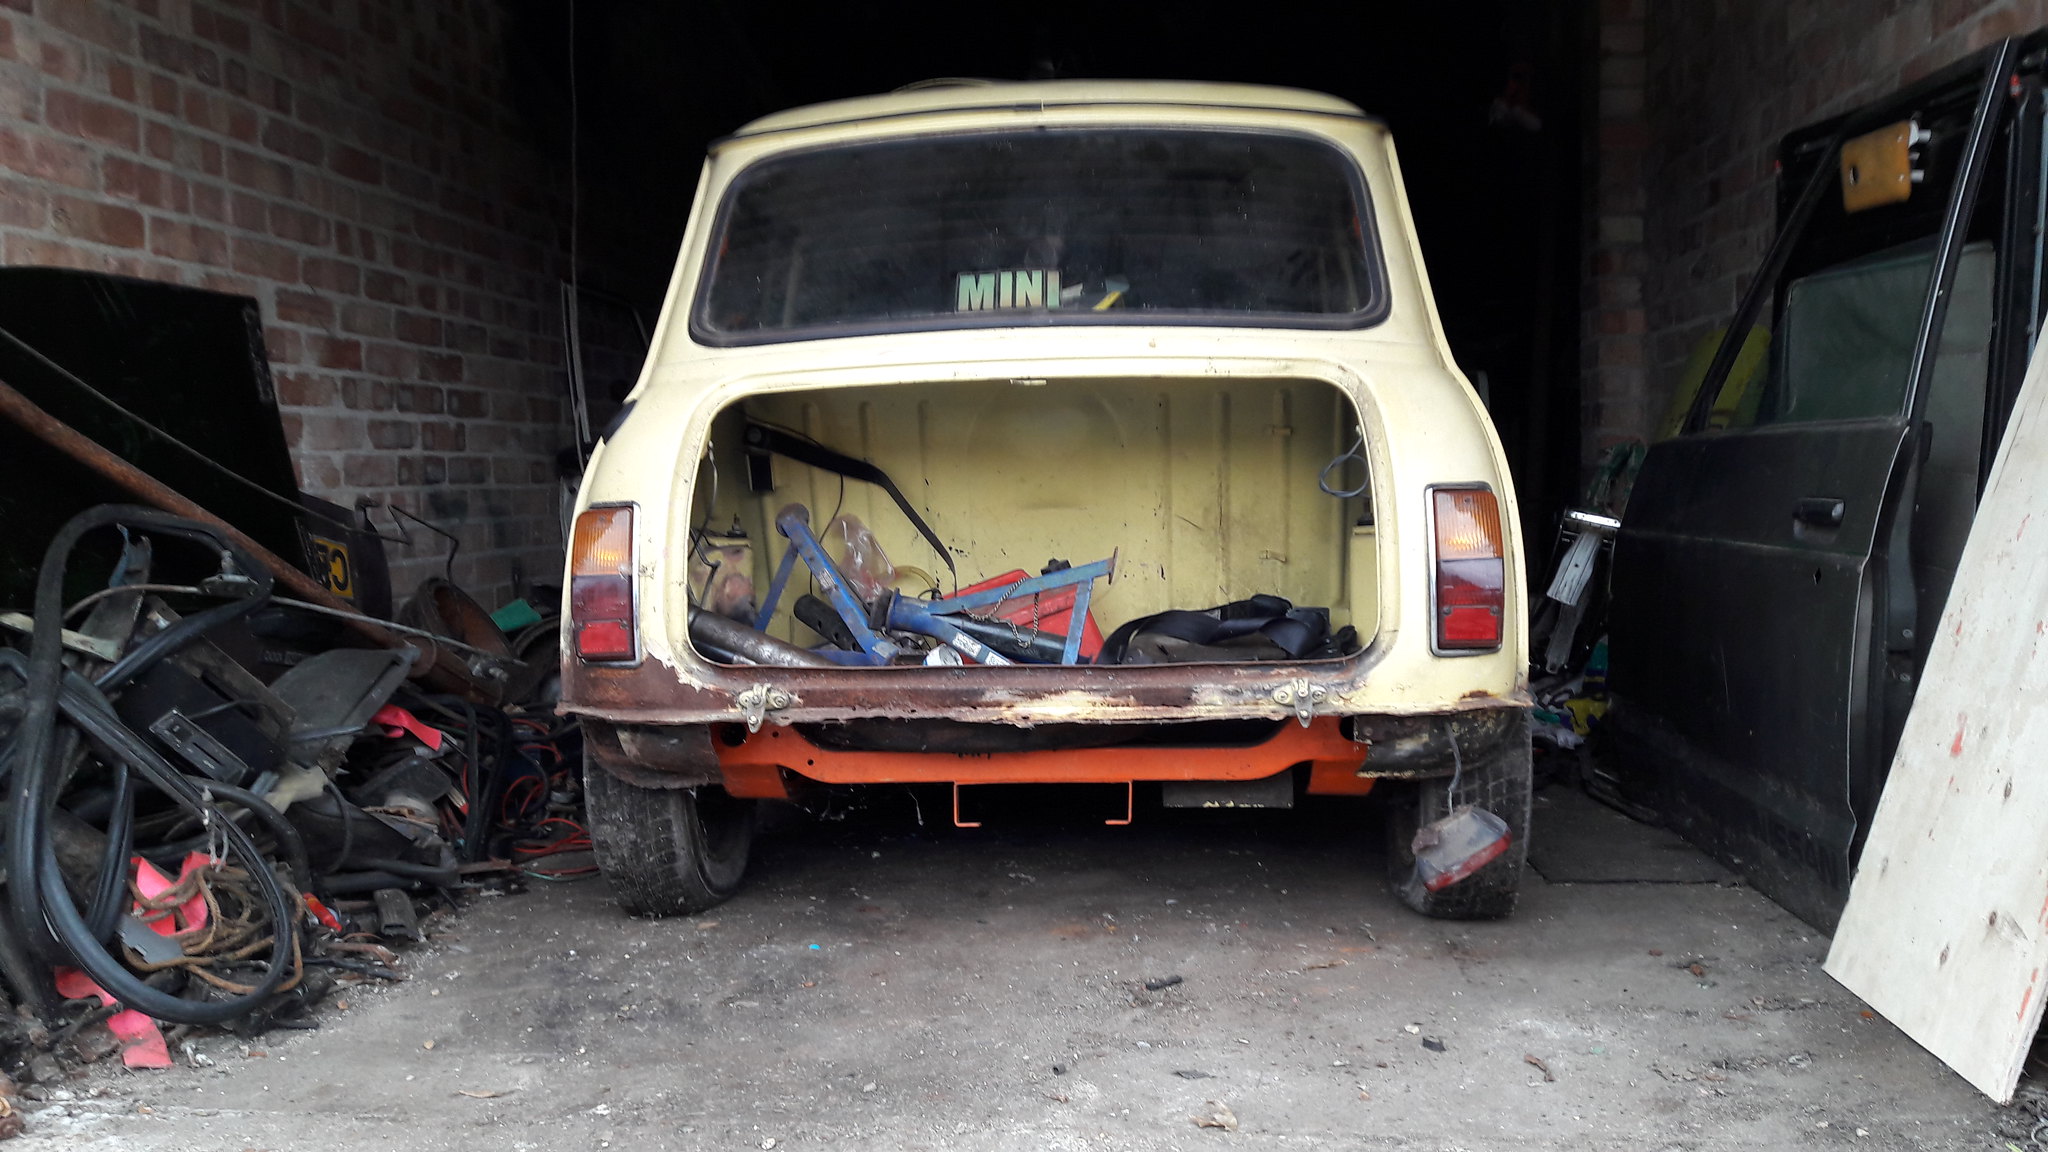
Basically he has too many projects on the go and so never actually done anything to it other than moving it from lockup to lockup.

I did try and buy it shortly after he bought it but he kept telling me he paid to much but now its value is what he did pay and to cut a long story short managed to strike a deal.


Not sure what my plans for it are yet. part of me says original and another put modify.

Anyway will add some more photos and an update hopefully in the next couple of weeks


#2 stuenutter

stuenutter

    Mini Mad

  • Noobies
  • PipPipPipPip
  • 133 posts

Posted 07 January 2017 - 05:18 AM

Didn't manage to get the mini out of storage over Xmas but yesterday had a day off so its now out.


32154814645_9fe2b5b166_z.jpg20170106_130053 by Stuart gaylor, on Flickr


31344480373_3841914454_z.jpg20170106_130118 by Stuart gaylor, on Flickr


32154813295_592eb09d5c_z.jpg20170106_130109 by Stuart gaylor, on Flickr


32116392396_de6d61b1c6_z.jpg20170106_130126 by Stuart gaylor, on Flickr


32006096772_0dc68437a3_z.jpg20170106_130135 by Stuart gaylor, on Flickr


32006095492_7e121bb625_z.jpg20170106_130149 by Stuart gaylor, on Flickr


31344474643_69feaf99cd_z.jpg20170106_130155 by Stuart gaylor, on Flickr


31313244694_4fcb75f847_z.jpg20170106_142412 by Stuart gaylor, on Flickr


#3 stuenutter

stuenutter

    Mini Mad

  • Noobies
  • PipPipPipPip
  • 133 posts

Posted 07 January 2017 - 05:26 AM

As you can see it does require a fair amount of work but have seen much worse


Also picked up a 1275 but the head seems to have dropped the valve seat out which is a new one to me. but it was cheap so no complaints really


32036347391_cb7b196fa2_z.jpg20170106_130029 by Stuart gaylor, on Flickr


32154816725_a925be14dc_z.jpg20170106_130037 by Stuart gaylor, on Flickr


31344483933_013c1b9ee3_z.jpg20170106_130045 by Stuart gaylor, on Flickr


31344473093_dbe93f372f_z.jpg20170106_132908 by Stuart gaylor, on Flickr


32116381316_45cf444a42_z.jpg20170106_132923 by Stuart gaylor, on Flickr


From what I can make out from the engine tag its an a + block and pistons but the head does have a bypass hose so not sure if the heads older as I no it was out of a 1275gt


#4 stuenutter

stuenutter

    Mini Mad

  • Noobies
  • PipPipPipPip
  • 133 posts

Posted 07 January 2017 - 05:37 AM

On the shell welding wise as far as I can see is as follows


Boot floor repair panel (to replace previous bodge)

Boot closing panel lip

rear valance and closing panels

l/h rear  arch panel

l/h outer sill and repair inner (possibly replace)

r/h outer sill and repair inner (not as bad as l/h)

both a panels

repair front floors (small amount of rust around bung holes)

r/h wing

r/h outer door skin


I'm sure i'll find more on the way as it is a mini.

will get some more photos when I have striped out the interior for a better look


#5 Van13

Van13

    Speeding Along Now

  • Members
  • PipPipPipPipPip
  • 314 posts
  • Location: England
  • Local Club: Unknown

Posted 07 January 2017 - 07:21 AM

To be honest that looks like a nice starting point good luck

#6 jamesquintin

jamesquintin

    One Carb Or Two?

  • TMF+ Member
  • PipPipPipPipPipPipPip
  • 1,016 posts
  • Location: Harlow

Posted 07 January 2017 - 07:32 AM

Ahhhhh man, exactly the same as my second mini, and the one I had most of my life experience's in 😀 Would loved to have kept mine but it went to the big carpark in the Sky.

What I always wanted to do with it was to have it look completely factory standard, but supercharge the 998... Would be fun off the lights!

#7 jamesquintin

jamesquintin

    One Carb Or Two?

  • TMF+ Member
  • PipPipPipPipPipPipPip
  • 1,016 posts
  • Location: Harlow

Posted 07 January 2017 - 02:39 PM

I also used to get 60MPG out of mine doing 55mph on the motorway...


#8 stuenutter

stuenutter

    Mini Mad

  • Noobies
  • PipPipPipPip
  • 133 posts

Posted 07 January 2017 - 04:25 PM

I also used to get 60MPG out of mine doing 55mph on the motorway...

Blimey that's good.

Will be using the engine that's in it to start with which I believe is the original


#9 Rocket.

Rocket.

    One Carb Or Two?

  • Members
  • PipPipPipPipPipPipPip
  • 1,441 posts
  • Location: UK

Posted 07 January 2017 - 04:27 PM

Nice project !


I have a city "E" that's basically the same as this all standard it's so much fun to drive  


Good luck :D


#10 blueovalcraig

blueovalcraig

    Mini Mad

  • Members
  • PipPipPipPip
  • 193 posts
  • Location: Rothesay, Isle of Bute

Posted 09 January 2017 - 12:59 PM

Looks a nice wee project.  My family had a 1984 City in the same colour when I was just a lad


#11 stuenutter

stuenutter

    Mini Mad

  • Noobies
  • PipPipPipPip
  • 133 posts

Posted 17 May 2017 - 07:21 PM

Thought it is about time I posted some of my progress on the mini.

Been putting it off after leaving it and now I need to do loads but anyway here we go


First off couldn't resist letting her meet her big daily brother

34720637485_38d4142e96_k.jpg20170127_125839 by Stuart gaylor, on Flickr


Before being put away and letting the work commence


34559044192_103533343a_k.jpg20170106_142416 by Stuart gaylor, on Flickr


#12 stuenutter

stuenutter

    Mini Mad

  • Noobies
  • PipPipPipPip
  • 133 posts

Posted 17 May 2017 - 07:27 PM

Next was to check the rust situation

34559047422_9aef0125a8_z.jpg20170122_104917 by Stuart gaylor, on Flickr


Yuck


33911493983_2ec84d51b2_z.jpg20170122_104900 by Stuart gaylor, on Flickr


34589812531_c6f1470124_z.jpg20170122_104936 by Stuart gaylor, on Flickr


34559031412_6a969e72d4_z.jpg20170128_122229 by Stuart gaylor, on Flickr

33911483763_71b575decf_z.jpg20170128_122328 1 by Stuart gaylor, on Flickr


33878451024_746954cef2_z.jpg20170122_104951 by Stuart gaylor, on Flickr


33878685894_2412b1c90b_z.jpg20170128_122312 by Stuart gaylor, on Flickr


#13 stuenutter

stuenutter

    Mini Mad

  • Noobies
  • PipPipPipPip
  • 133 posts

Posted 17 May 2017 - 07:42 PM

So the next problem I have is my lockup garage has no electric so after some contemplation of mig and a genny which would also be expensive and noisey decided some old school oxy acetylene welding would be the way to go.


Time to start cutting


34559123202_2186795a34_k.jpg20170128_122235 by Stuart gaylor, on Flickr


To make things worse it had a bad bit of bodged welding all over the back of the boot (even covering the hinge bolts) Luckily I could get a spanner in underneath where it was so rotten33911486473_d4b0d4e6d6_z.jpg20170128_122247 by Stuart gaylor, on Flickr


#14 stuenutter

stuenutter

    Mini Mad

  • Noobies
  • PipPipPipPip
  • 133 posts

Posted 17 May 2017 - 07:48 PM

After lots more cutting and fettling we eventually ended with it starting to look like a mini again

34720733865_851b073b81_z.jpg20170204_135533 by Stuart gaylor, on Flickr


And the realisation when you discover your gas welding skills are a bit rusty

34336305140_7fc6aa6a44_z.jpg20170204_135541 by Stuart gaylor, on Flickr


33911501583_7468670bda_z.jpg20170204_135528 by Stuart gaylor, on Flickr


But all fitted nicely in the end


#15 stuenutter

stuenutter

    Mini Mad

  • Noobies
  • PipPipPipPip
  • 133 posts

Posted 17 May 2017 - 07:55 PM

Lined up the boot floor repair section

34720736985_6f7edf6342_z.jpg20170204_135549 by Stuart gaylor, on Flickr

33878568614_eefa403e90_k.jpg20170204_135556 1 by Stuart gaylor, on Flickr


Lots of gaps to fill


 after lining it up temporary I removed the repair section and welded the rear valance and fillers at work with the mig (no pictures though i'm afraid)

  but this is what it looks like hanging back on the min

34680597826_2c17905e65_k.jpg20170218_123851 by Stuart gaylor, on Flickr


0 user(s) are reading this topic

0 members, 0 guests, 0 anonymous users