Jump to content


Photo

Front (Windscreen) Panel Replacement Part 1


  • Please log in to reply
1 reply to this topic

#1 MiniAida

MiniAida

    Stage One Kit Fitted

  • Noobies
  • PipPipPip
  • 75 posts
  • Local Club: None

Posted 31 December 2016 - 02:25 PM

Dear All

I finally got round to replacing my front end this summer and thought it might be useful to share the experience, as there was nothing on here. I've taken lots of pictures, so hopefully they'll show properly, Feel free to message me if you want bigger pics / other angles.


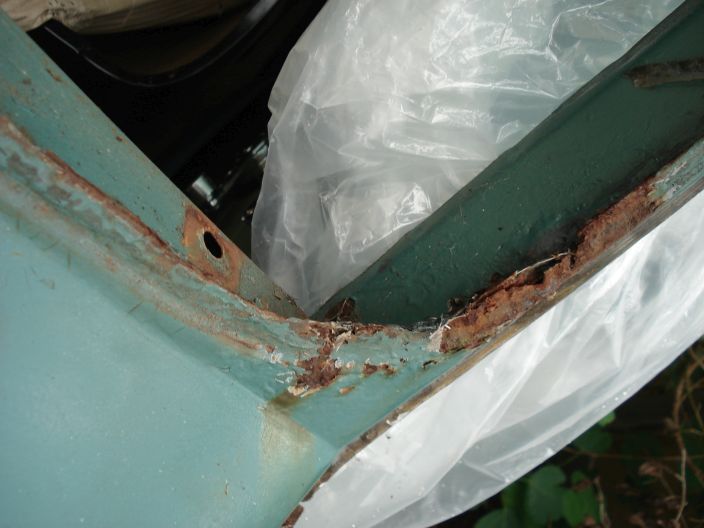
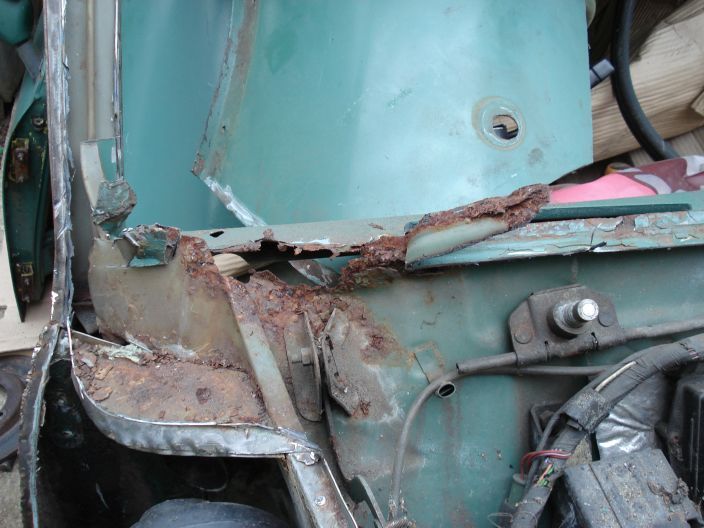
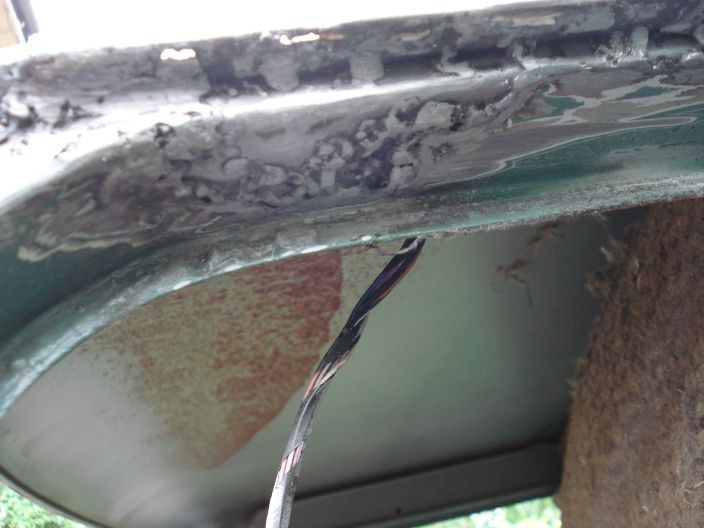
The later models seem to rust more easily than the early ones I've owned - in ridiculous places.....


DSC00019_zpsyrygntik.jpg


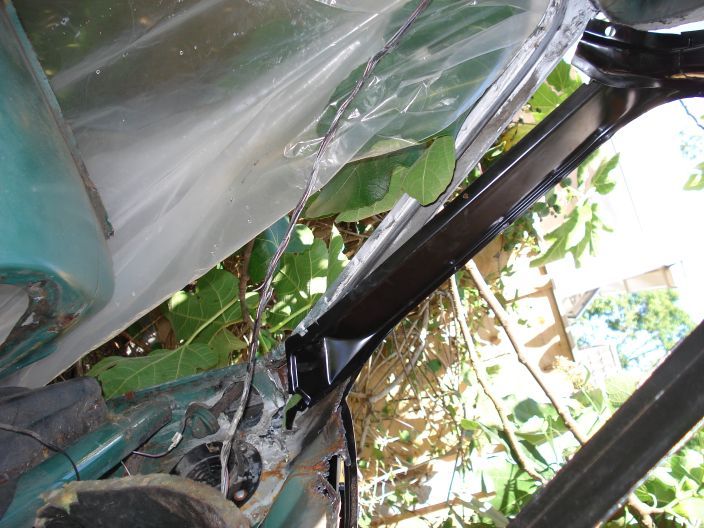
Fortunately, the Heritage replacement panel comes with the inner section of the A post, so it is possible to make a very strong repair.

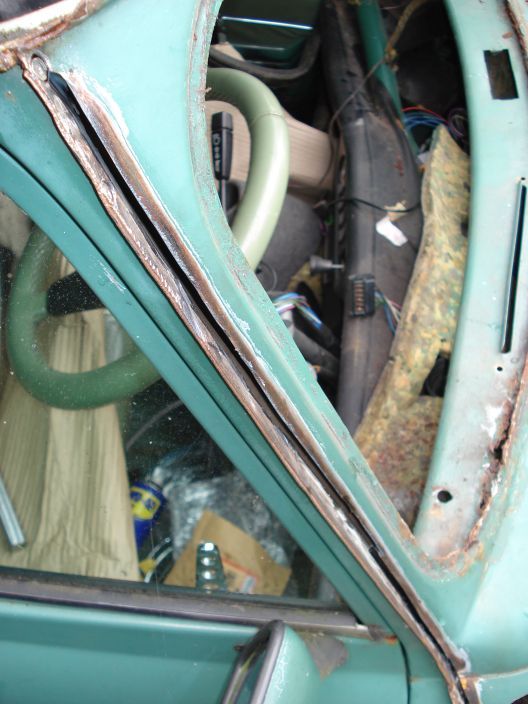
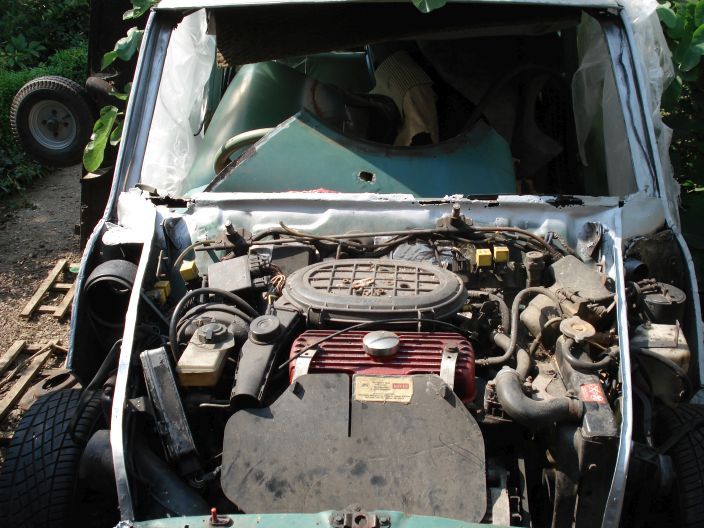
Because of damage to the firewall behind the windscreen, as well as the top rail, I cut the panel out rather than release the spot welds. I figured this would add a little strength as well as limit distortion during the replacement.


DSC00025_zpstagvdnan.jpg


As you may notice, the wings were cut off first, which was a shame as they were probably the least rusty of all panels here :-/

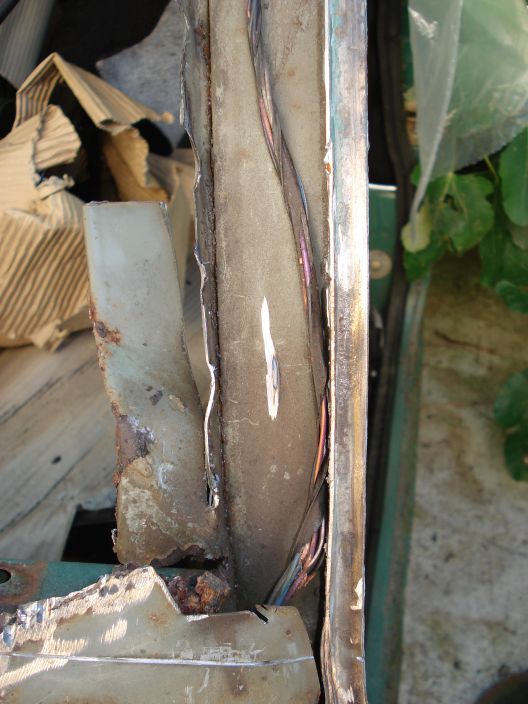
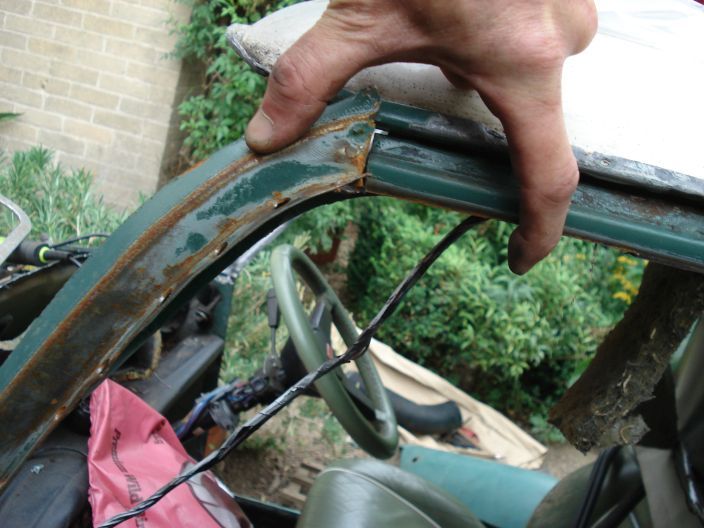
Do take care on the passenger / near side as there is a part of the loom inside the A post triangle....


DSC00043_zpswvaphxnj.jpg


And yes, I did manage to cut through it.

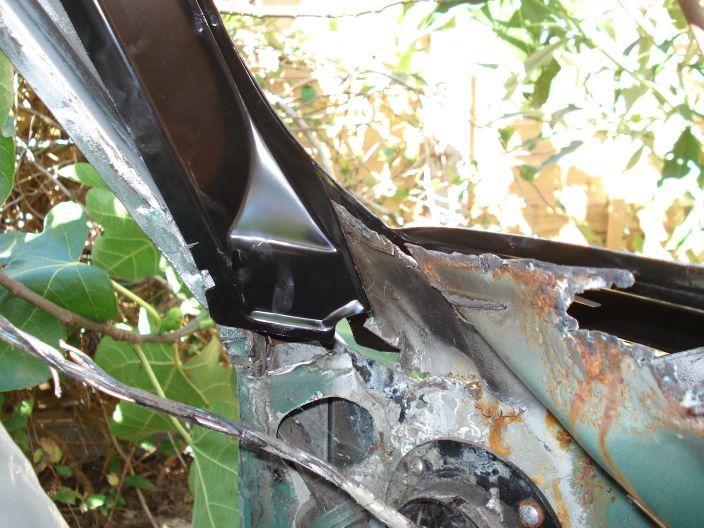
At this stage, I just cut the front panel off and folded back the inner A post filler. The only hidden welds to deal with were on the scuttle panel filler, the bottom of the windscreen was cut along the scuttle to lift it away.


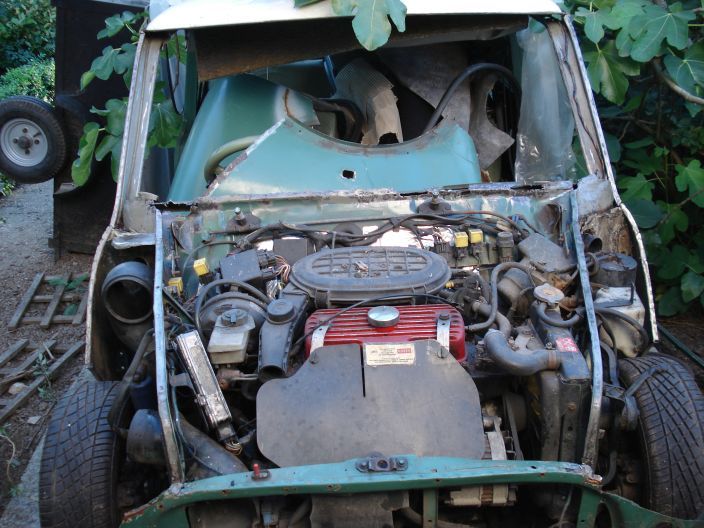
DSC00036_zpskydytfsi.jpg


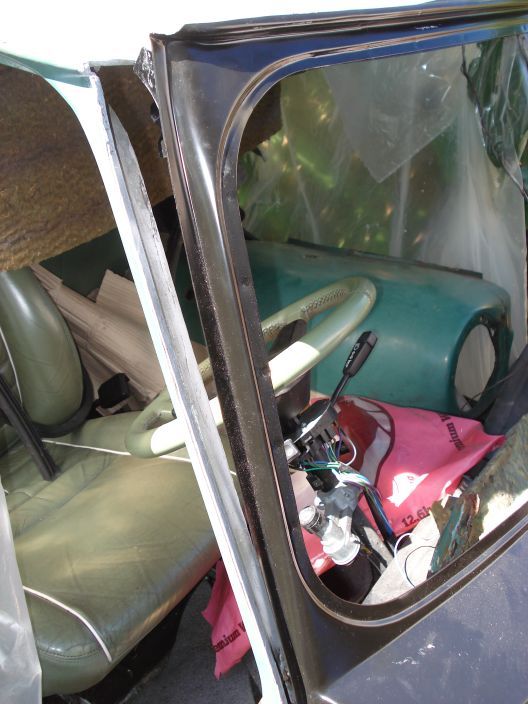
Note; I left the front (grille) panel in place to help line everything up before the welding it all back together. The damage was a lot worse than it looks in this picture, so a lot of cutting back was necessary before rebuilding. The top rail panel is still in place at this stage - I know some will be rolling their eyes to see no bracing struts, but the roof is relatively light, so I crossed my fingers and pressed on.


DSC00046_zpsusykukvy.jpg


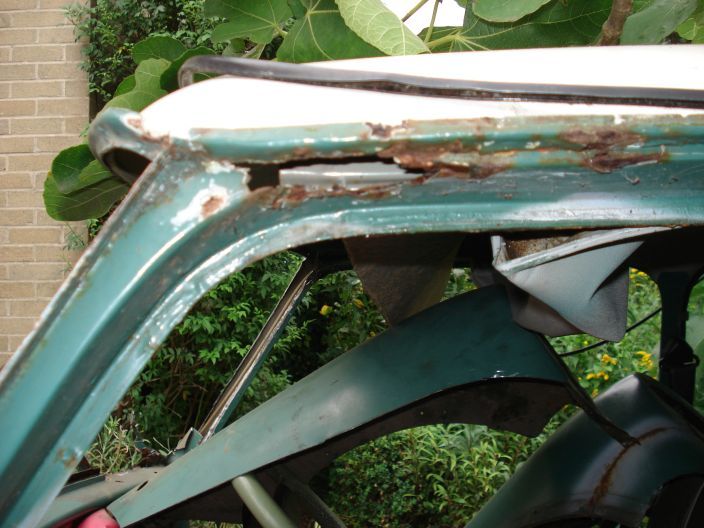
It made sense to fix a hole that had developed over the passenger door as part of this project and a nice piece was cut from the original windscreen panel to match the curve, hence the old panels being kept in the car til everything was done.


DSC00040_zpstlcnbo0r.jpg


They also gave a nice bit of protection from the molten metal that would be flying around shortly.....


So, just needed to grind back everything to bare metal before having a cup of tea & working out the best way forward.

As I've said, the seams were left in place if they were rust free to add / keep strength, which didn't cause a problem with the final fitting (fortunately).


DSC00049_zpsrcj6yw0t.jpg


I cleaned everything down (twice) with a Phosphoric acid based rust remover, then covered all bare metal with a Zinc weld through primer.


DSC00054_zps3blte7oj.jpg


Part 2 to follow..... (not sure how big this post is allowed to be!)


#2 MiniAida

MiniAida

    Stage One Kit Fitted

  • Noobies
  • PipPipPip
  • 75 posts
  • Local Club: None

Posted 31 December 2016 - 03:39 PM

OK so on to Part 2........


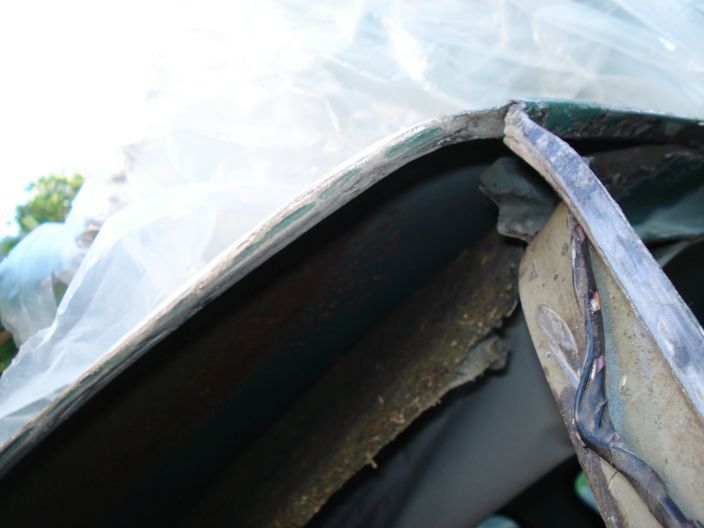
As I've said, the old panels were used to fabricate filler bits - these came from the sun visor panel (new panel has new one already in place).


DSC00062_zpswbozwlru.jpg


This arch was strengthened by placing the new metal inside, then welding it on to the remaining metal. In other words, it would not be flush, but strength was my concern here. A bit of filler will make it cosmetically smooth.


DSC00069_zpshwe5llmf.jpg


Now the front panel could go back in, which can be managed on your own - much easier with 2 however. The top rail had been removed at this stage - just a few welds where it meets the A post - you can see the damage to the fire wall, which will be repaired after the windscreen panel is in place.


DSC00074_zpsabxeawva.jpg


The sun screen / mirror rail is spring like and needs to be worked under the roof panel to (eventually) line up with the corresponding inner rails.


DSC00077_zpsriptojwc.jpg


Once these are squeezed in, everything starts to look more positive - make sure you refit loom (off) and windscreen washer pipe (near side) before welding! Take your time to ensure all parts slide into place, a flat bladed screwdriver helps.


DSC00078_zps82dsz5ul.jpg


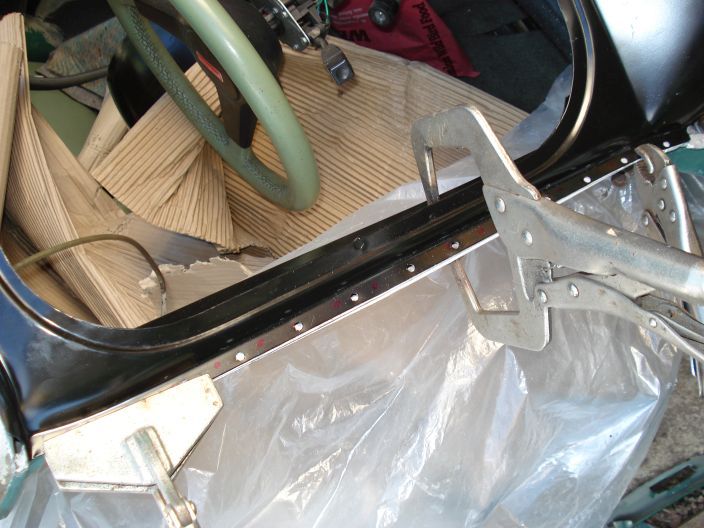
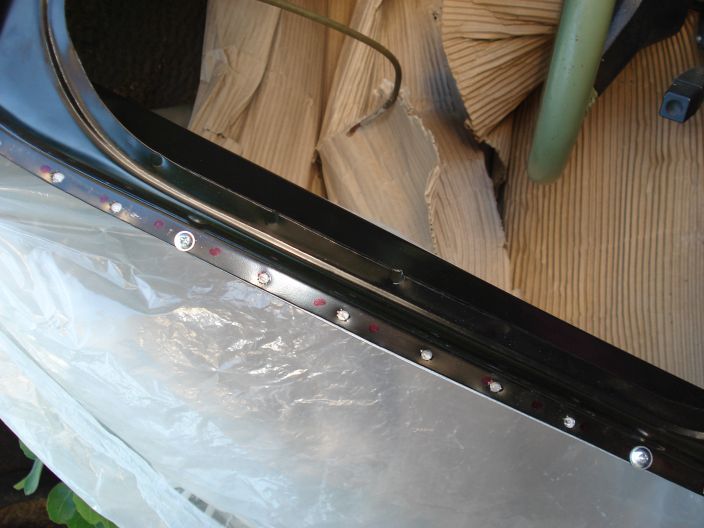
I don't have a spot welder, so holes were cut for plug welds before the next stage. The panels were lined up with a variety of claps and a panel beating hammer - patience is best here rather than brute force....


DSC00082_zpsnmagk3dx.jpg


Tip* hold the panel in place with a couple of self tapping screws, before moving to the other side. The whole front panel was secured with 2 each side, which meant I could check the fitment of wings & bonnet before committing myself with welding.


DSC00083_zpsm33neknj.jpg


Once I was happy with its position, the job was fairly straightforward, as the seams were clean and thick to weld on to. Next came the patching....

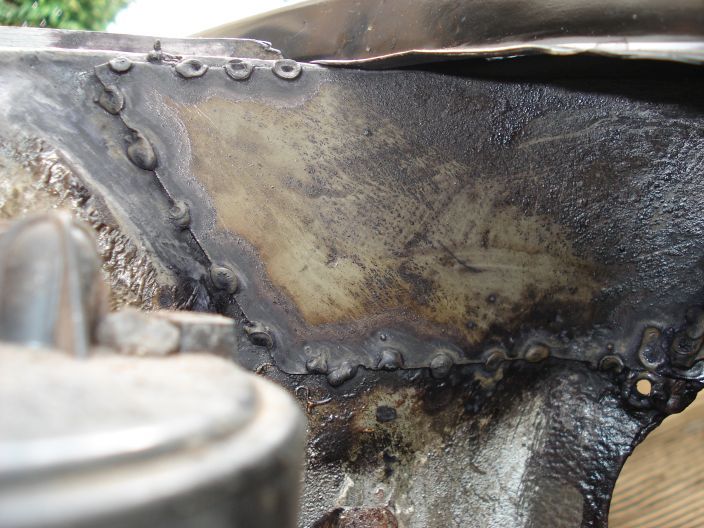
This is a bit of the old wing to repair the inner wing area. All along the top of the firewall was repaired in this way too, welding on to the new windscreen panel and remaining original panel. A bit of work with a panel hammer was necessary as the fire wall / bulkhead panel is not flat, but it got easier with each weld. I left the welds as spots rather than trying a whole seam. We could discuss pros and cons, but the panels stayed put with a lot of test hammering and I managed to get them all flush so the (new) top rail could then be welded in to further strengthen the area.


DSC00085_zpspitwwcor.jpg


The rest was fairly straight forward, just took a lot of time to fill all recesses with seam sealer / schutz and replace near side gusset closing panel. 

All in all, it took me about 8 days, but most of this was spent either carefully cutting & grinding back or fabricating new panels to fill the gaps in the bulkhead. I couldn't believe how badly that area had corroded - I've made a mental note to make sure the windscreen is fully watertight once the paint's done.

But that's another story.....


1 user(s) are reading this topic

0 members, 1 guests, 0 anonymous users