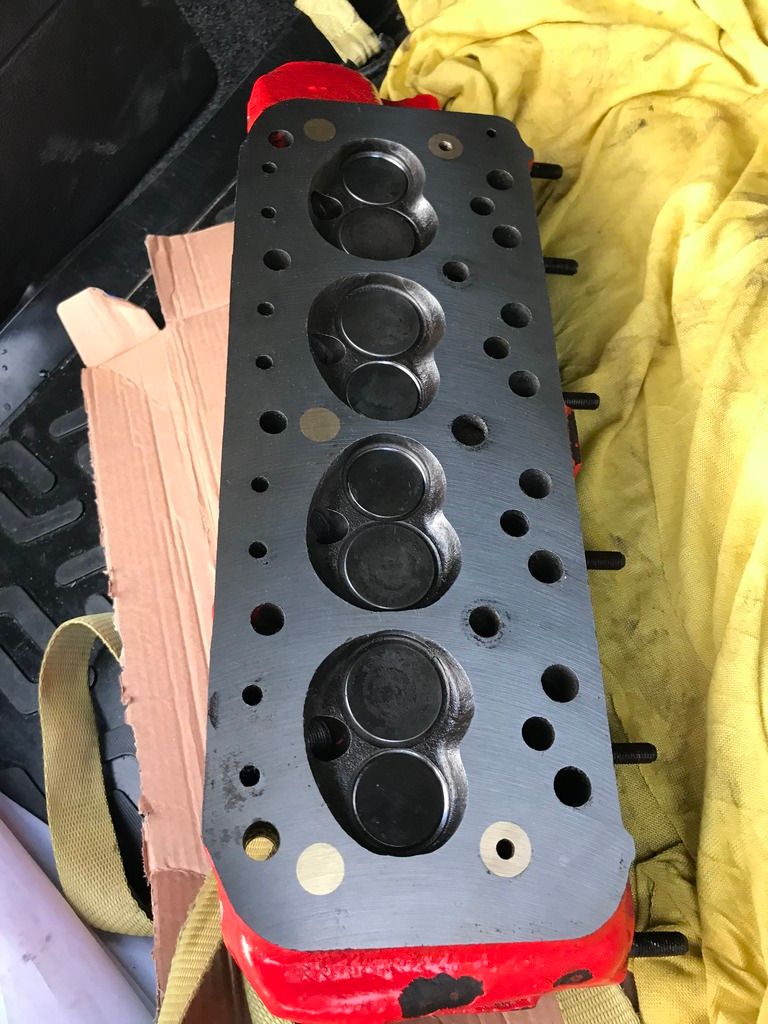
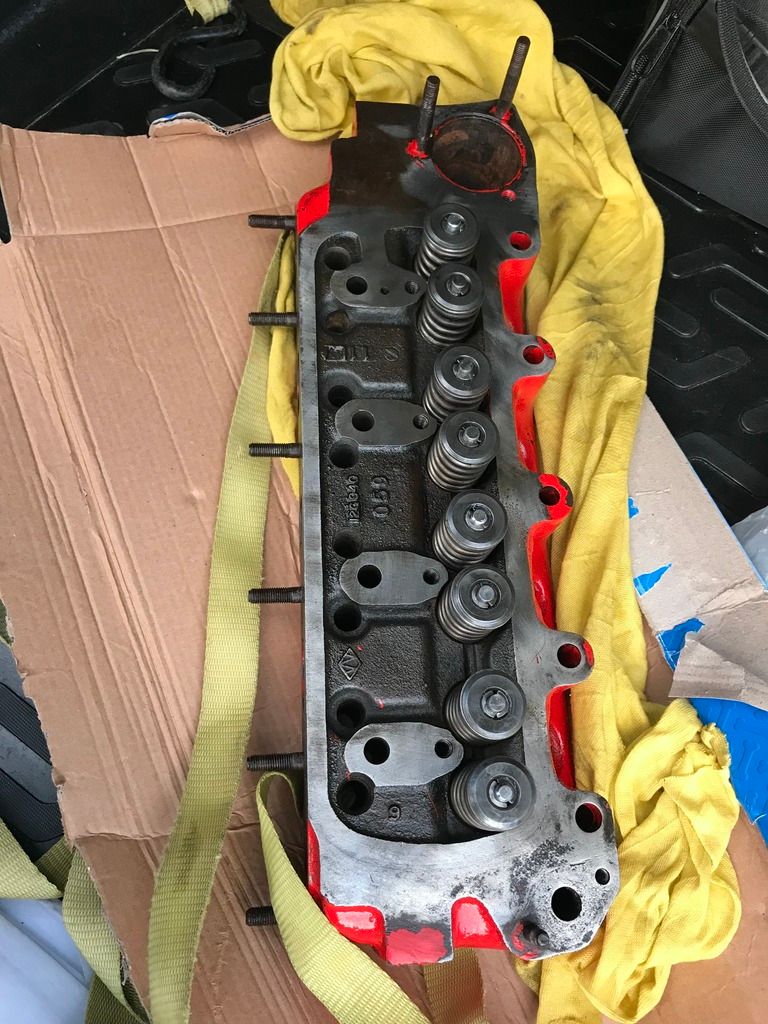
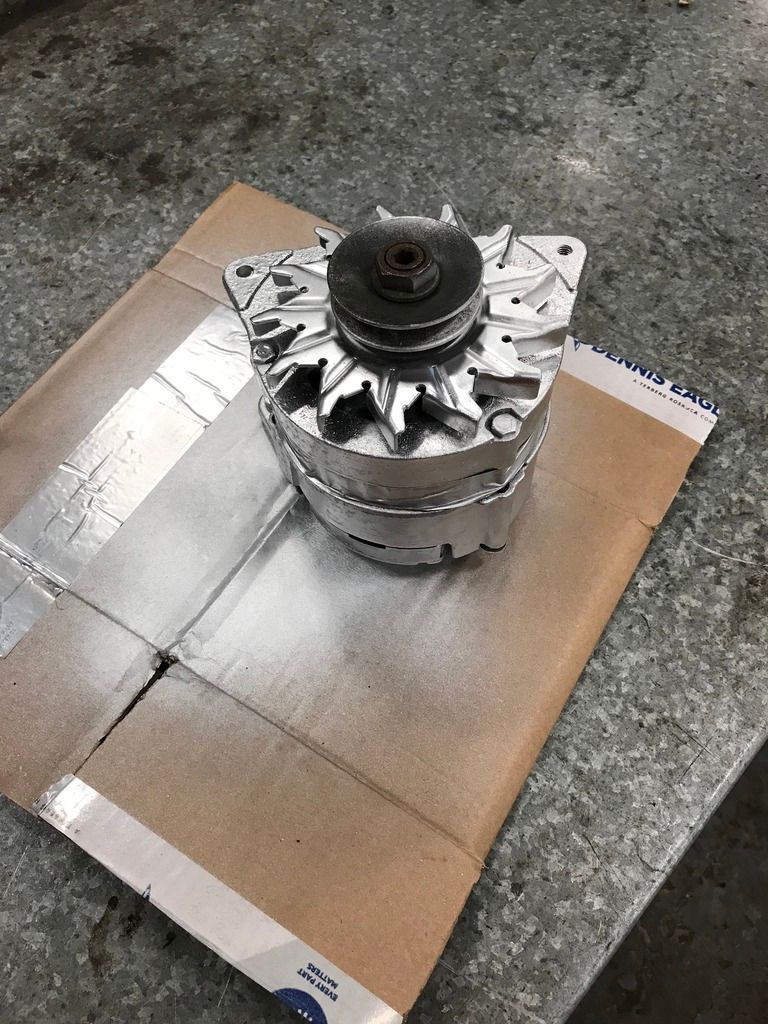
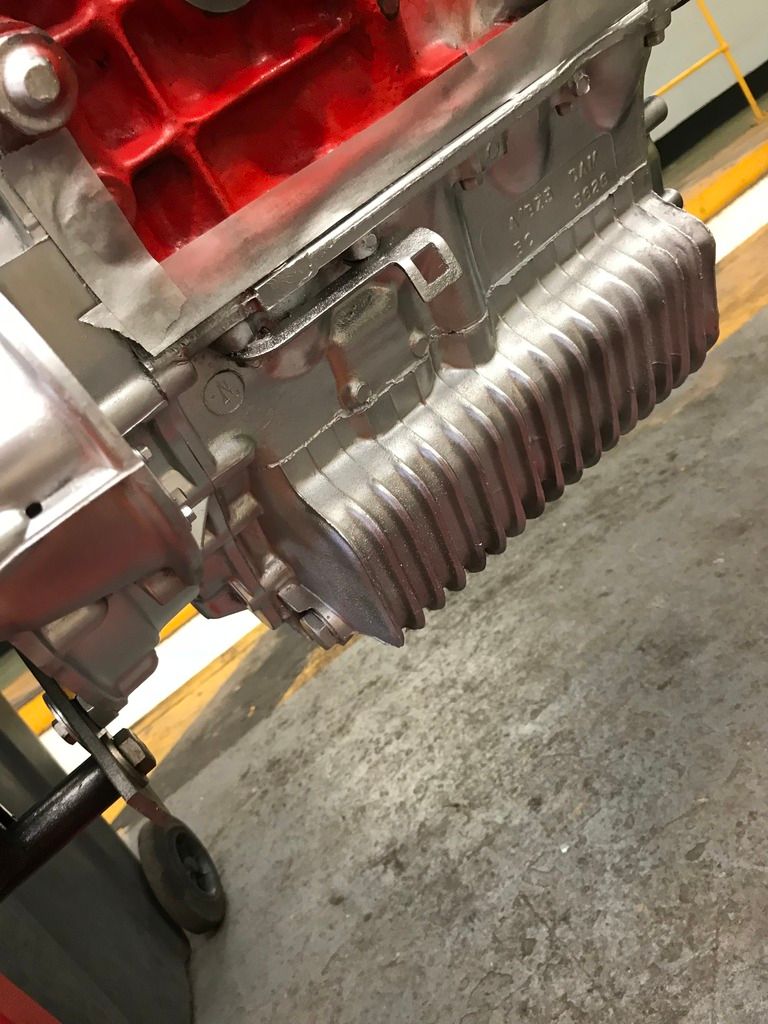
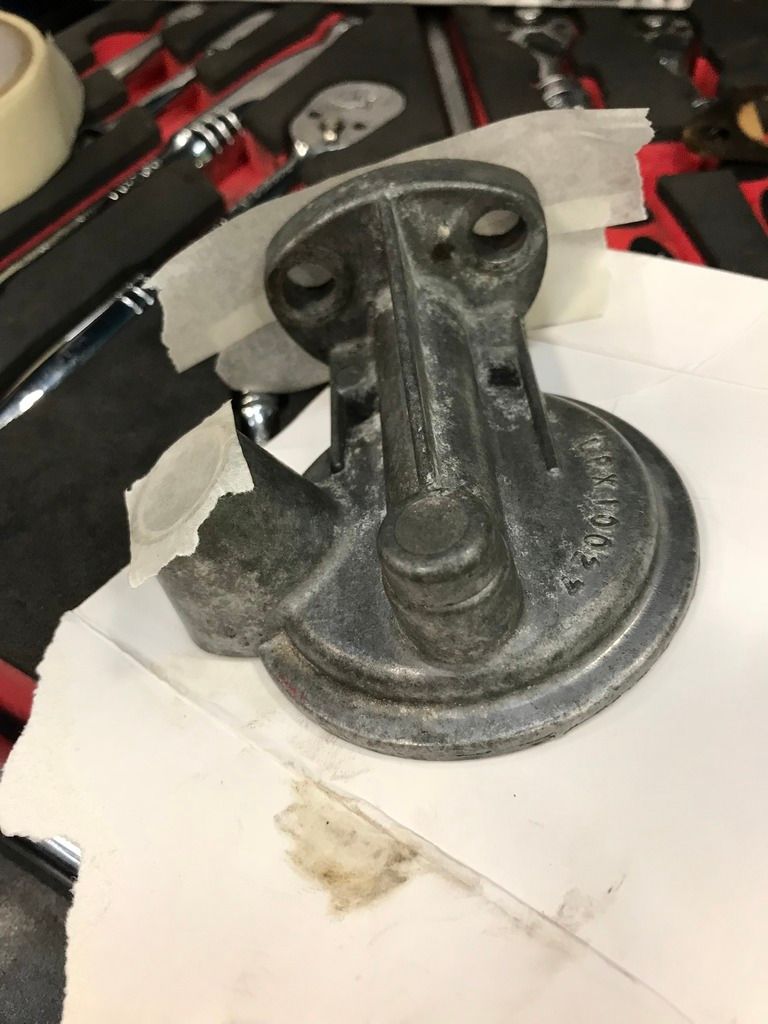
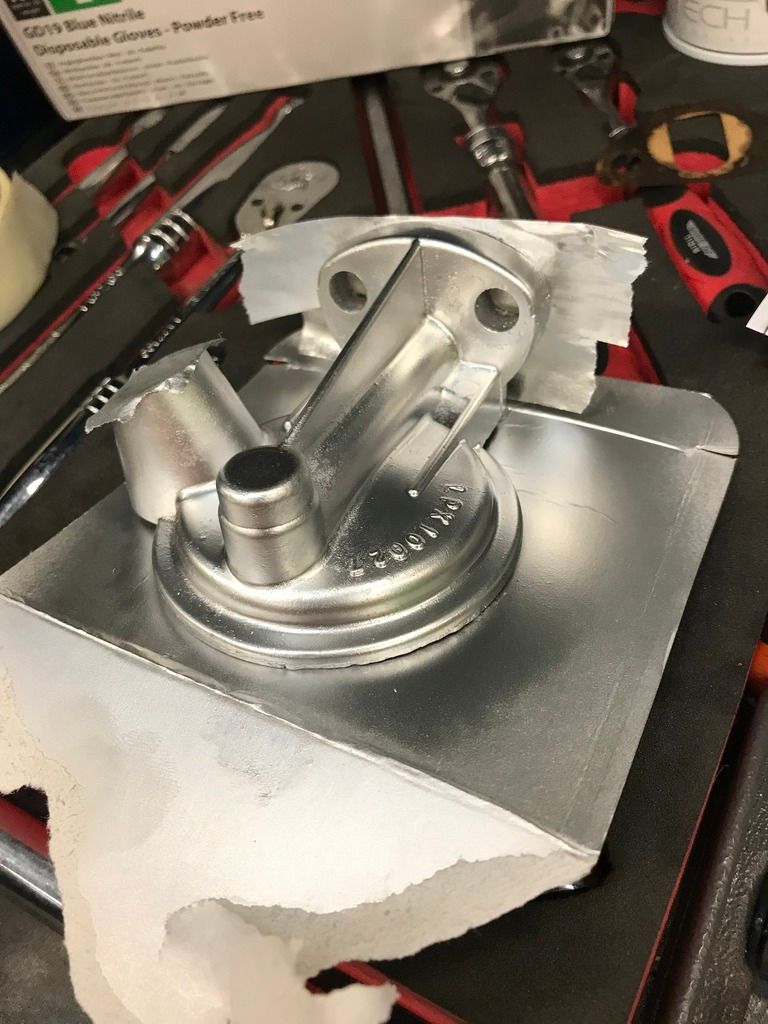
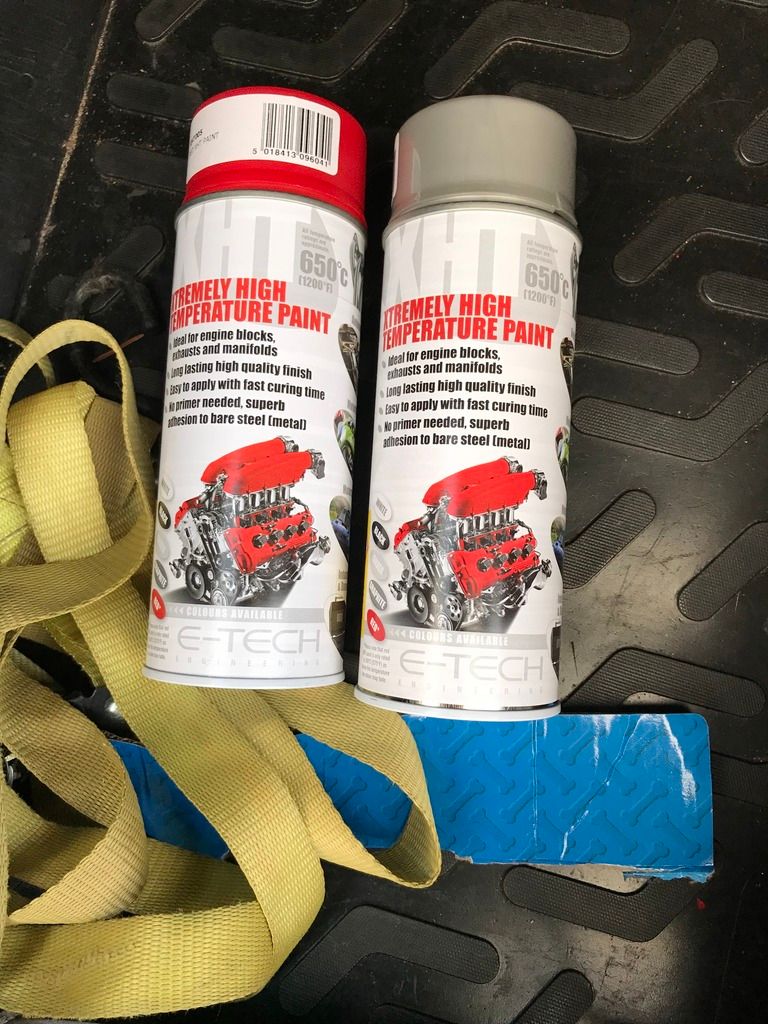
Well today I started back on my project, the first real bit of progress this year. I took the engine to work seen as we have been quiet and got it on a roll over stand. I removed the loosely fitted head and got that down to my local engine machine shop to be skimmed, pressure tested, valves checked, refinished and new valve seats cut, they also replaced the copper bungs in the head. the new gaskets, studs and paint arrived too. so I got cracking on removing the ancillaries cleaning and painting.
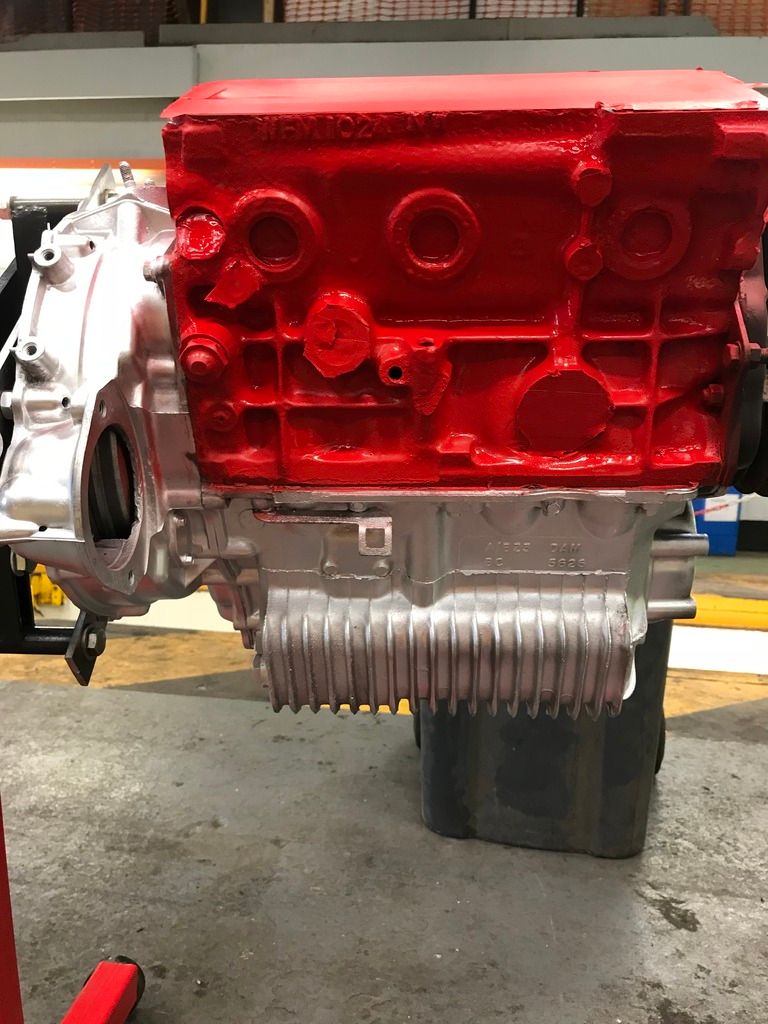
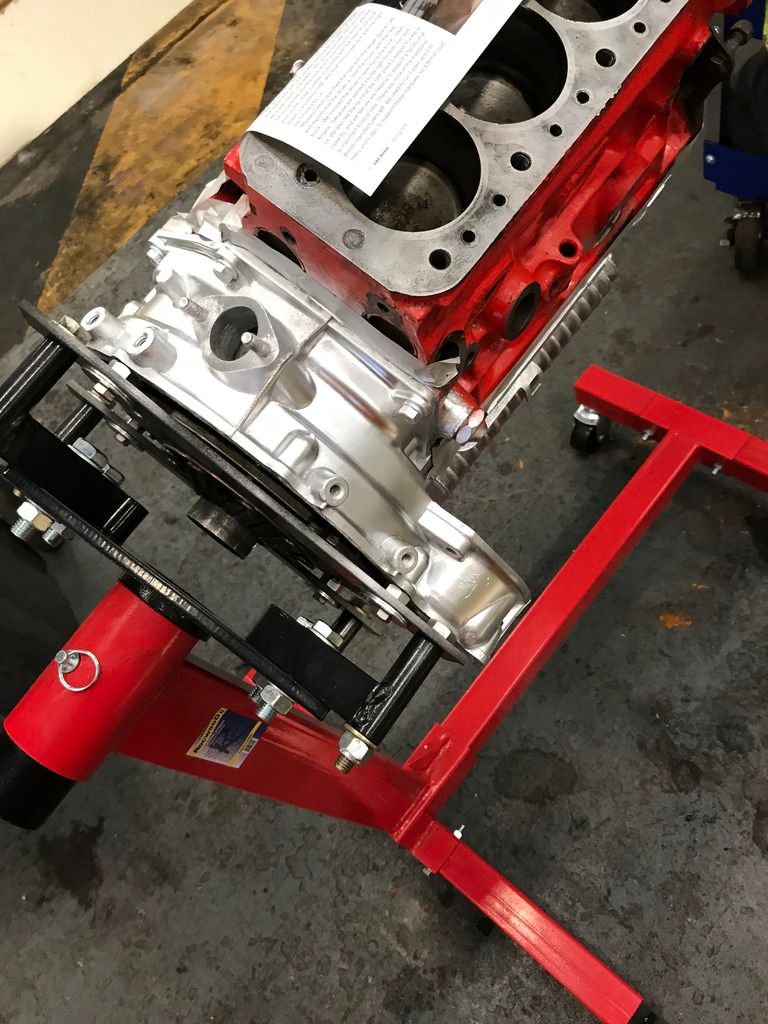
The plan is to try get the engine built on the stand and then return to the body work once that is done or the good weather returns, I am also in need of a new welder!!
Edited by Jc1991, 30 March 2018 - 11:20 AM.
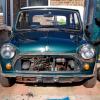


 image.jpeg 104.61K
22 downloads
image.jpeg 104.61K
22 downloads


