The thing I've realized about having this "project" is that things usually don't go exactly as you imagine they will. When I first put it up on stands to work on the suspension....that was all I was going to do. But ended up removing the radiator to get to the suspension on the passenger side, luckily have a new radiator to install. That lead to new radiator hoses, since I'm doing that I might as well rebuild the carb...since I am doing the carb, I might as well install my stage 1 kit. And on and on. Now the car is taken apart much further than I had imagined this going. I've set a new timeline to get it back together and up and running by mid summer so I can drive it the rest of summer and fall. So much for having it on the road for spring. LOL!


1975 Leyland Mini
#17

-
- Just Joined
-

- 125 posts
Mini Mad
- Location: Kent, United Kingdom
- Local Club: Mini Cooper Register
Posted 06 May 2017 - 08:30 AM
The thing I've realized about having this "project" is that things usually don't go exactly as you imagine they will. When I first put it up on stands to work on the suspension....that was all I was going to do. But ended up removing the radiator to get to the suspension on the passenger side, luckily have a new radiator to install. That lead to new radiator hoses, since I'm doing that I might as well rebuild the carb...since I am doing the carb, I might as well install my stage 1 kit. And on and on. Now the car is taken apart much further than I had imagined this going. I've set a new timeline to get it back together and up and running by mid summer so I can drive it the rest of summer and fall. So much for having it on the road for spring. LOL!
Totally agree with this! Haha, one job always leads to another. I'm dreading the day I start to strip my car down, I can only imagine all the nasties I'm going to find.
Edited by JamesC, 06 May 2017 - 08:31 AM.
#18
-

- TMF+ Member
-
- 1,017 posts
One Carb Or Two?
- Location: Harlow
Posted 06 May 2017 - 08:45 AM
Q
#19
-
- Noobies
-
- 125 posts
Mini Mad
- Location: Utah
Posted 07 May 2017 - 03:49 AM
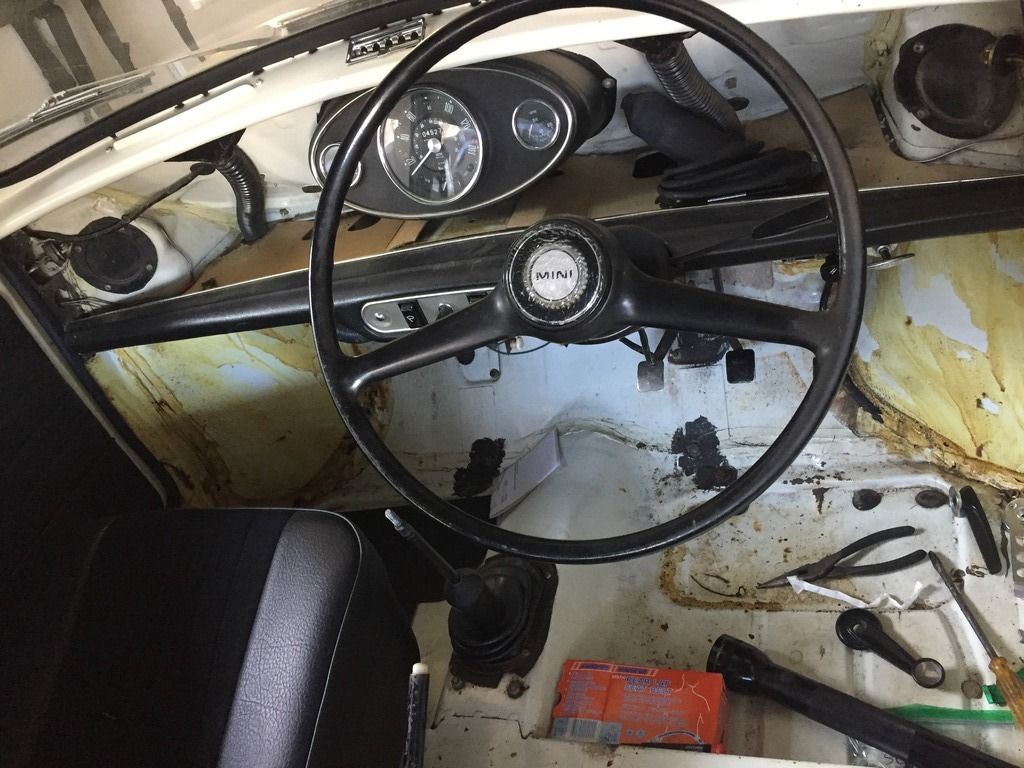
So I was able to get out and wrench a little bit today. Finished mounting the front sections of my exhaust, and took out the master cylinders to replace with new units. Also started installing some fun little goodies. Here are a few pics of the progress.

My arm looking nice and clean. 
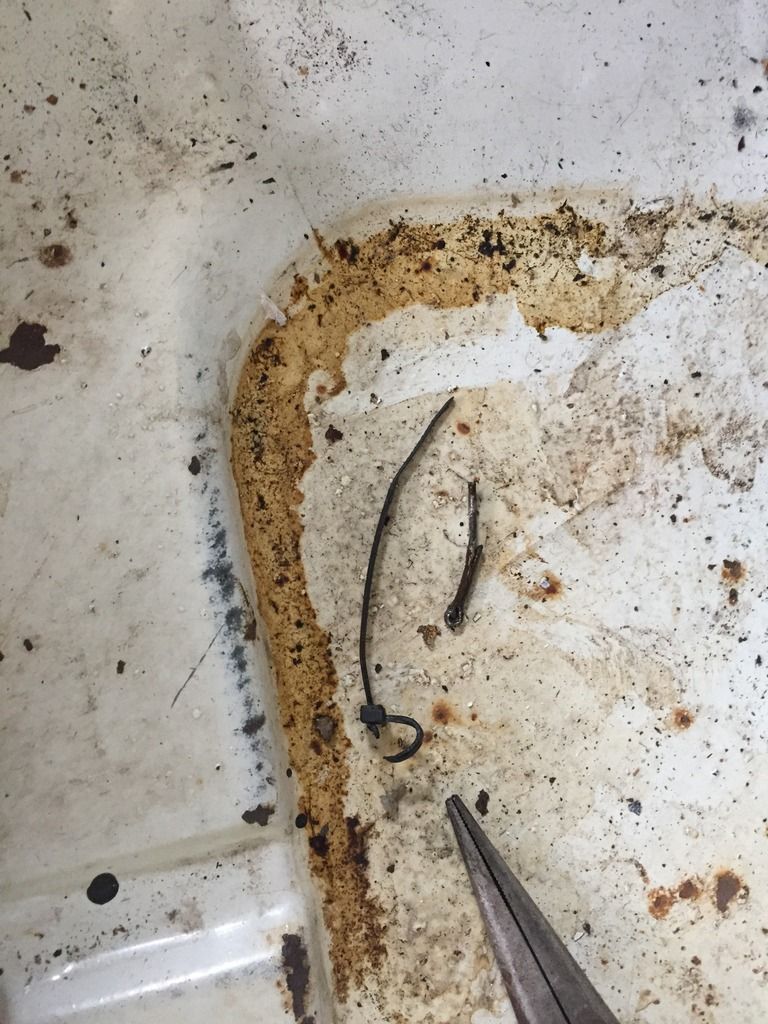
Anyone notice anything that isn't like the other? The brake clevis pin had a split pin, but the clutch clevis pin had.....a zip tie holding it in. 
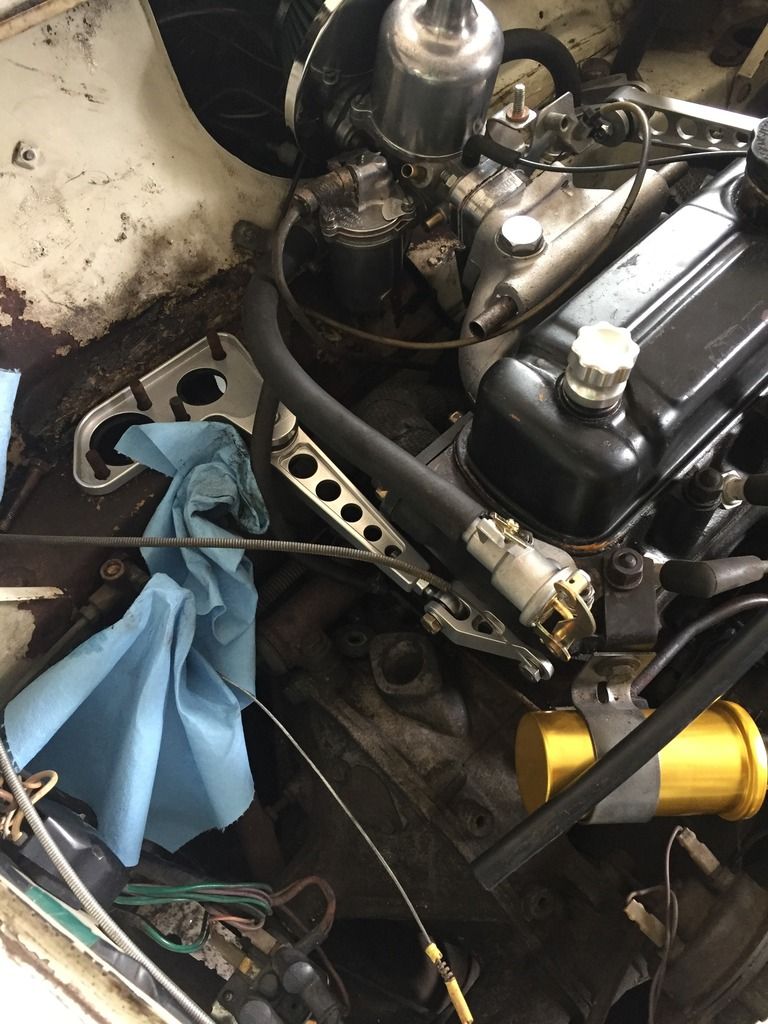
Some of the goodies in view. Also, any tips for removing the throttle cable? I've got a new replacement, but this old one is
being a bugger to get out. I'm looking forward to getting the car painted eventually to really tidy up the engine bay.
#20
-

- Members
-
- 2,093 posts
Put's foolish ideas in peoples heads
- Location: Cape Town
Posted 07 May 2017 - 07:57 AM
Those engine steadies looks fantastic!
#21
-

- TMF+ Member
-
- 1,027 posts
One Carb Or Two?
- Location: Fribourg
Posted 07 May 2017 - 11:23 AM
The cable pulls in to the cabin if that's what you mean. There is a clip holding it to the pedal to stop it jumping off. You might want do do some stretching before squeezing yourself under the pedals, it's quite a twisty job to do. 😀
Ben
#22
-
- Noobies
-
- 125 posts
Mini Mad
- Location: Utah
Posted 07 May 2017 - 11:01 PM
#23
-
- Noobies
-
- 125 posts
Mini Mad
- Location: Utah
Posted 11 May 2017 - 07:42 PM
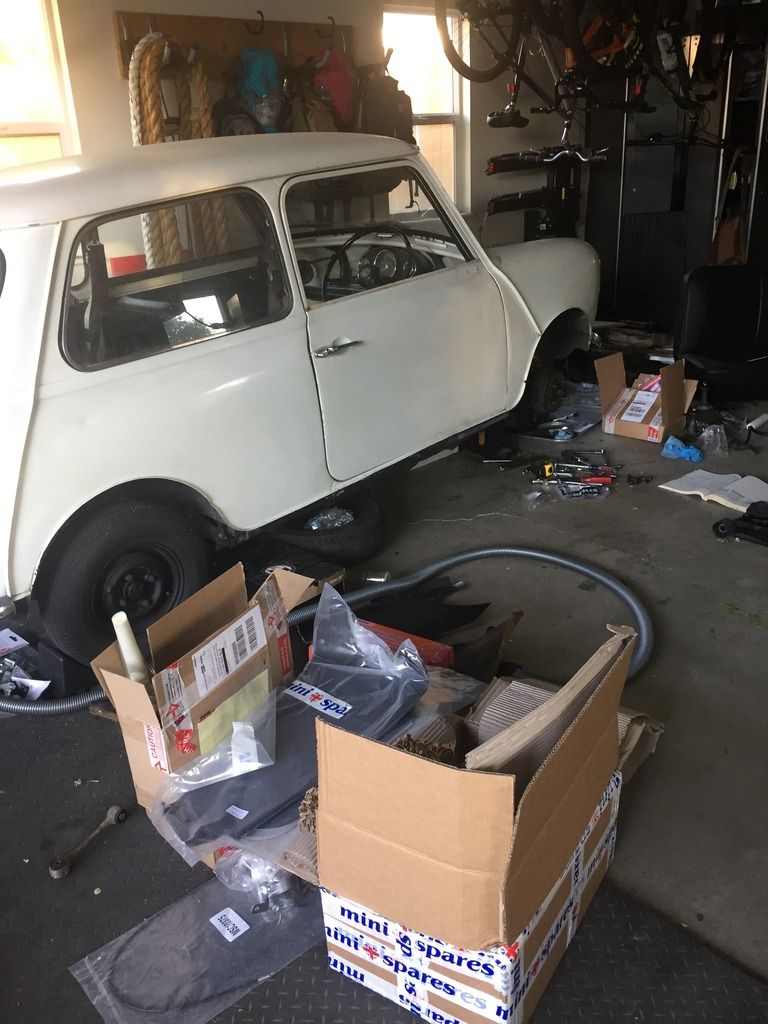
Just a few pics. I have a pretty large garage and this project is slowly taking over the space. 
#24
-
- Members
-
- 411 posts
Speeding Along Now
- Location: Bay Area San Fransico
Posted 11 May 2017 - 08:00 PM
you just need to lube and wiggle on the cable to get it out the Ferrell gets stuck in the bulkhead.
#25
-
- Noobies
-
- 125 posts
Mini Mad
- Location: Utah
Posted 11 May 2017 - 09:44 PM
you just need to lube and wiggle on the cable to get it out the Ferrell gets stuck in the bulkhead.
Perfect! I'll go and give it a whirl when I have a second. Thanks!
#26
-
- Noobies
-
- 125 posts
Mini Mad
- Location: Utah
Posted 18 May 2017 - 08:36 PM
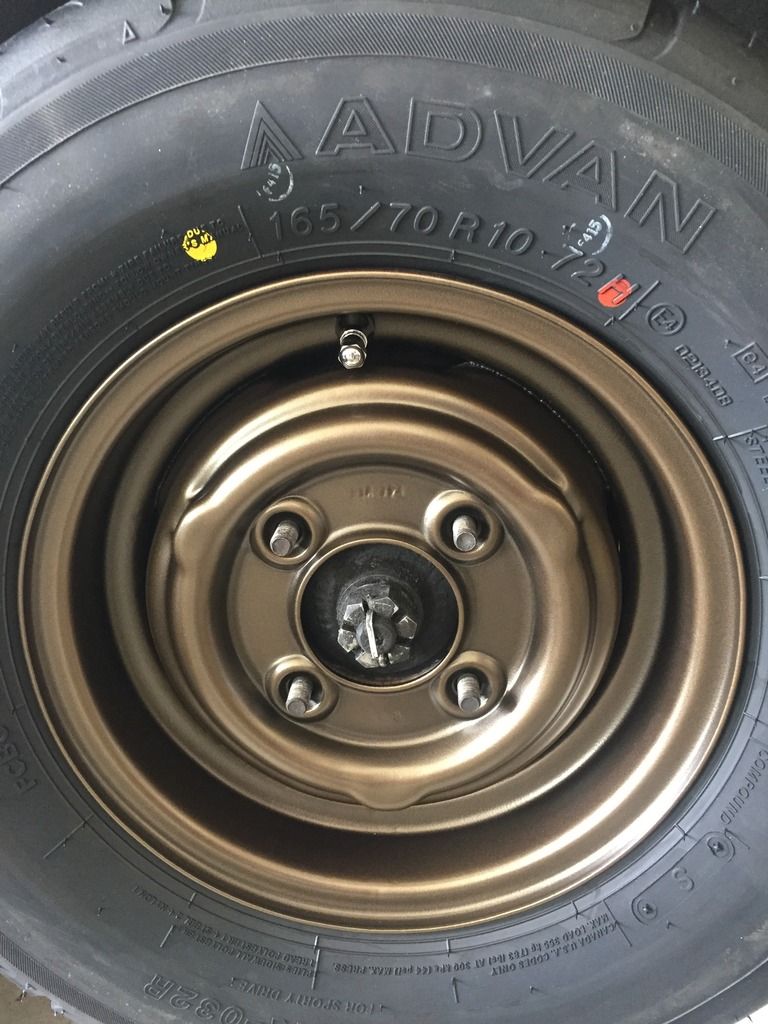
Wheels are powder coated and tires are mounted and balanced. I'll try and get some good pics this evening. It will be a little bit before they are on the car, but I believe they are going to look fantastic!
#27
-
- Noobies
-
- 125 posts
Mini Mad
- Location: Utah
Posted 19 May 2017 - 07:01 PM
Heres a test fit teaser! I'll get more photos possibly today. Can't wait to see these mounted up with the car on the ground!
#28
-
- Members
-
- 2,093 posts
Put's foolish ideas in peoples heads
- Location: Cape Town
Posted 20 May 2017 - 10:21 AM
Love that colour, looks very similar to the gold used on Cooper S wheels in SA.
#29
-
- Noobies
-
- 125 posts
Mini Mad
- Location: Utah
Posted 25 May 2017 - 07:50 PM
Here are two more shots of the wheels. Other than this, I haven't had a chance to work on the car for a little bit. Not going to lie, it is depressing. Life gets in the way!

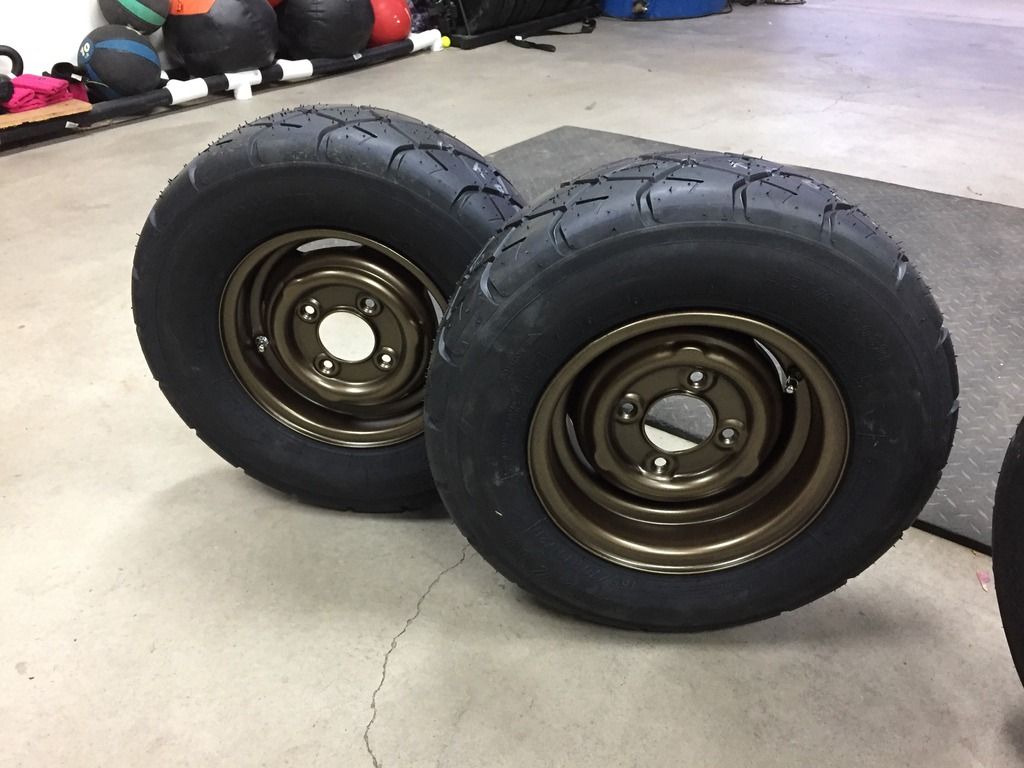
As you can see from the post before this, the lighting is going to really change the way these look.
Edited by MasterD78, 25 May 2017 - 07:51 PM.
#30
-
- Noobies
-
- 125 posts
Mini Mad
- Location: Utah
Posted 09 June 2017 - 05:31 PM
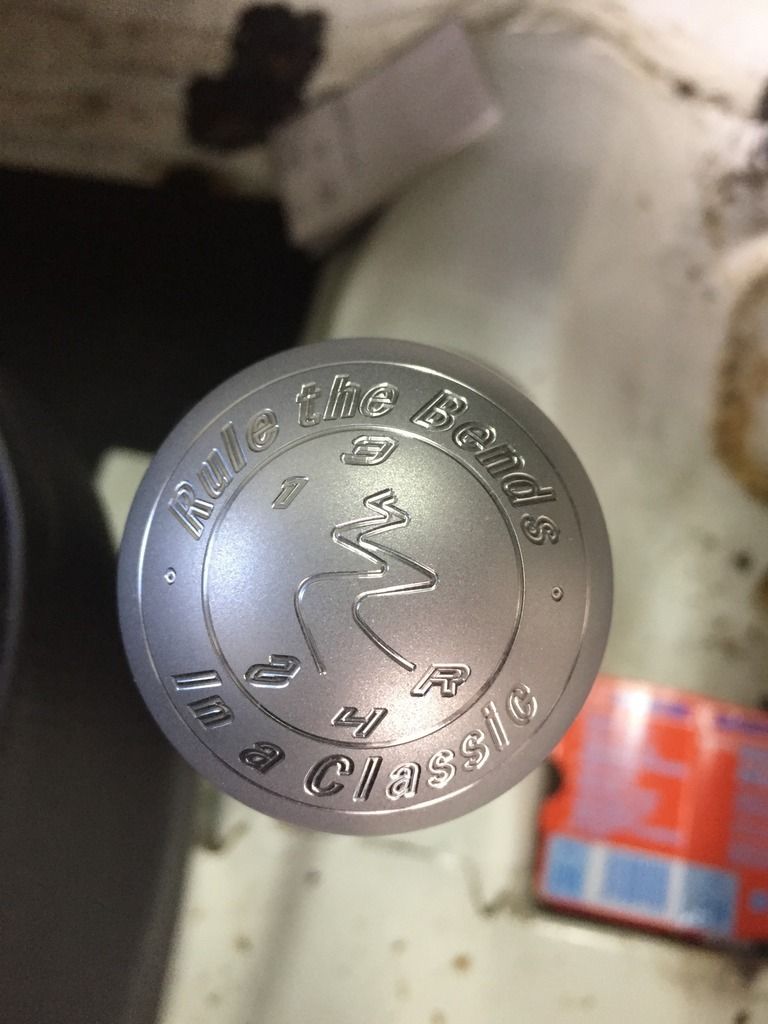
Not much new happening yet, haven't had much time....but I did finally get this custom knob in. I had a very similar one made for my R56 MCS when I owned it. It is a very heavy weighted knob and should make the shifting even more enjoyable.
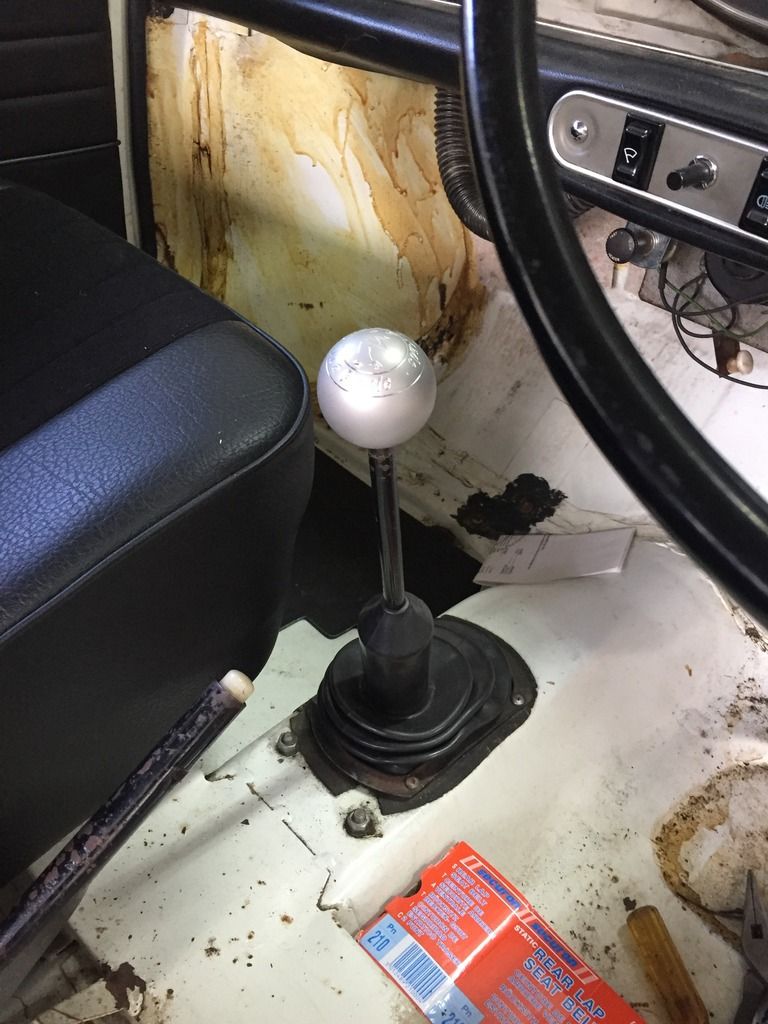
Looking to get to work on the car tomorrow. I still am having a beast of a time removing the old throttle cable and housing. There is a small metal piece that pushes into the firewall to keep the cable housing tight. I can not seem to get the old one to come out. I have tried everything I can think of. If anyone has tips on how to remove that piece from the firewall please let me know. Thanks in advance.


0 user(s) are reading this topic
0 members, 0 guests, 0 anonymous users


