put the fuel tank mount in, and it took a while to get the tank out of the loft, and sort a fwe other bits out.
Where do the tabs go exactly please?
thanks


One Carb Or Two?

Posted 25 January 2019 - 07:15 PM
put the fuel tank mount in, and it took a while to get the tank out of the loft, and sort a fwe other bits out.
Where do the tabs go exactly please?
thanks
One Carb Or Two?

Posted 25 January 2019 - 09:29 PM
Mill Road Garage

Posted 25 January 2019 - 09:31 PM

One Carb Or Two?
Posted 26 January 2019 - 12:28 PM
Mill Road Garage
Posted 26 January 2019 - 01:00 PM
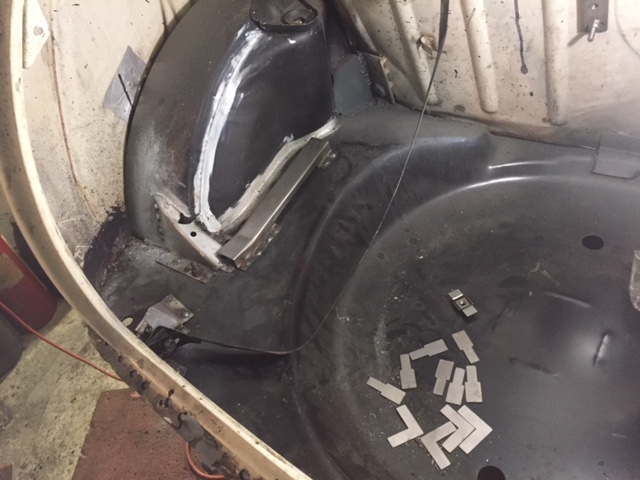
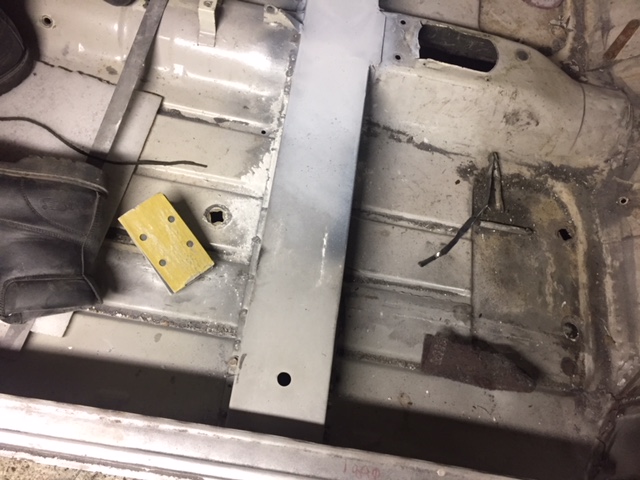
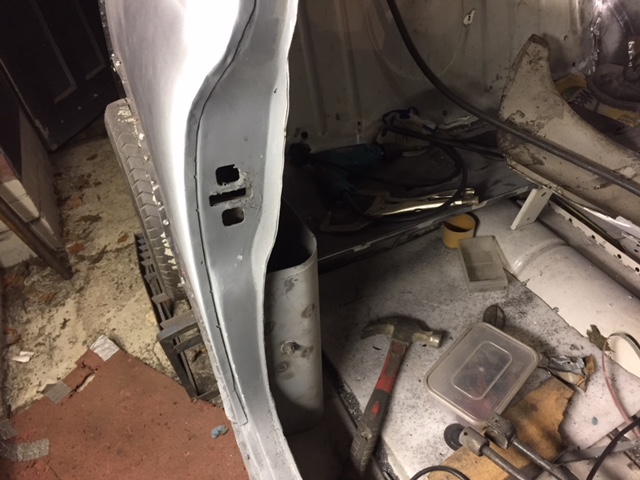
The shaped ones are for the corners of the battery box I believe
One Carb Or Two?
Posted 26 January 2019 - 08:15 PM
thanks again ben!!
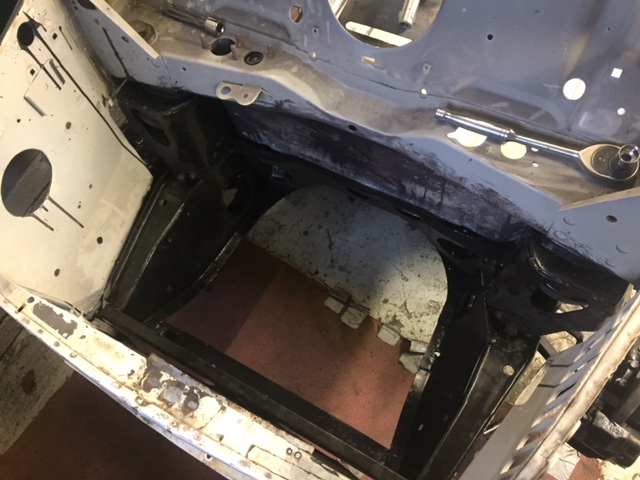
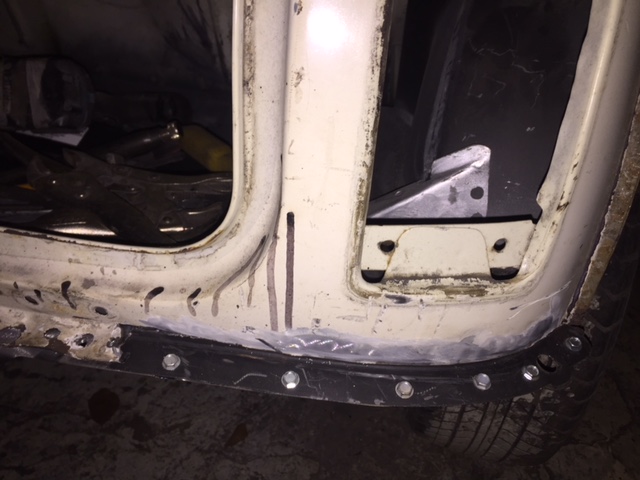
got them welded on and the battery box in too
I had dented the crossmember when fitting it so i put some filler in it today and will sort that tomorrow.
Going to get teh car rolling again, turn it around and weld the other arch on, and a few bits, its not that far off now, just a bit worried when it comes to the front end as its been apart so much and also ive not done one on my own before!
Mill Road Garage
Posted 26 January 2019 - 08:52 PM
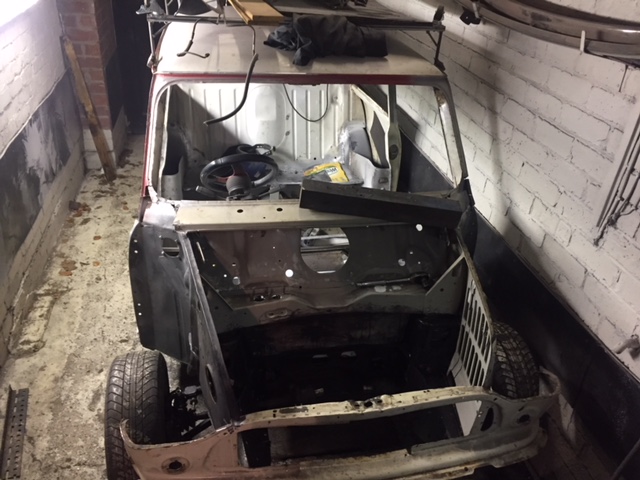
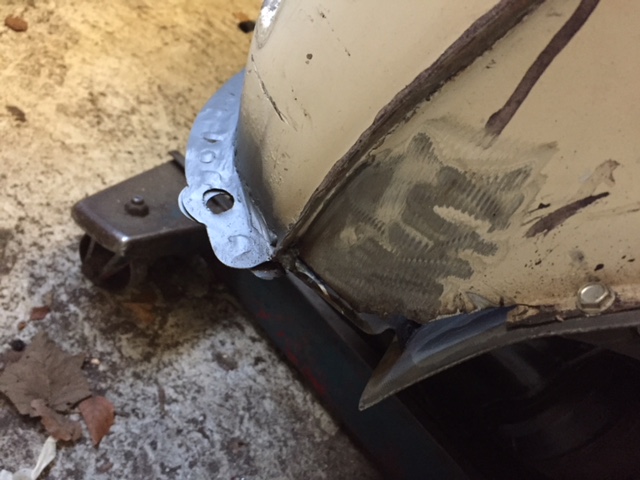
For the front end, bolt on the front panel to the subframe using the teardrop mounts and then clamp on the scuttle (if you are replacing?) and bolt on the bonnet.
get the bonnet centralized to the scuttle and the front panel and then you can't go far wrong.
Then you can try the wings on
One Carb Or Two?
Posted 27 January 2019 - 07:44 PM
right ok ,, thats really useful info, ill do ti that way. Ive just ordered a genuine scuttle from minisport.
I did a bit more today, was going to go in early as i had made and eaten a proper curry, but didnt, just a few visits in during the afternoon sufficed.
I rubbed the filler on the cross member, 2 more skims and it was not far off.

Sprayed it white with cheep spray and i have to say my filling is getting better. I can see where im going wrong now,a nd using a hacksaw blade too for finishing off the filler when applying, and also to check levels when sanding makes life a lot easier.
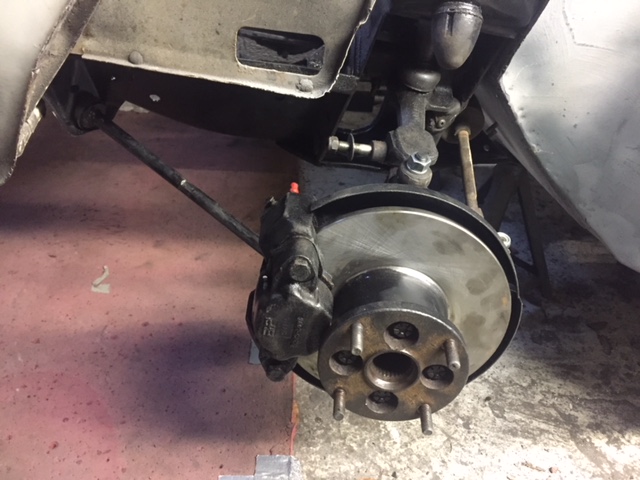
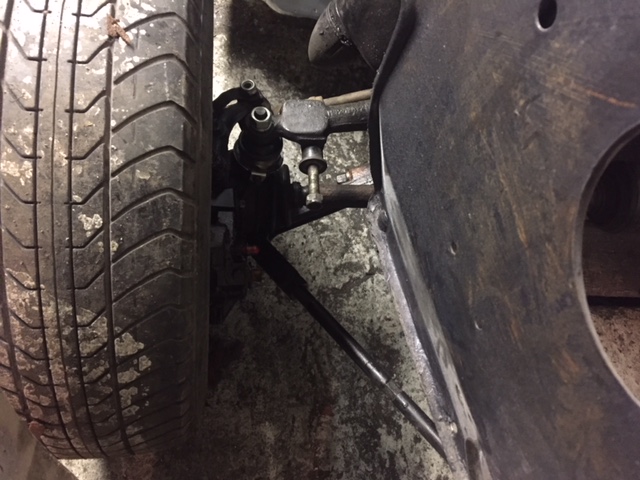
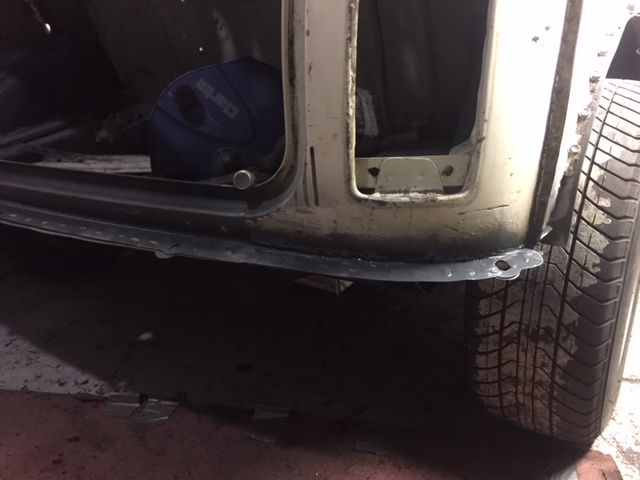
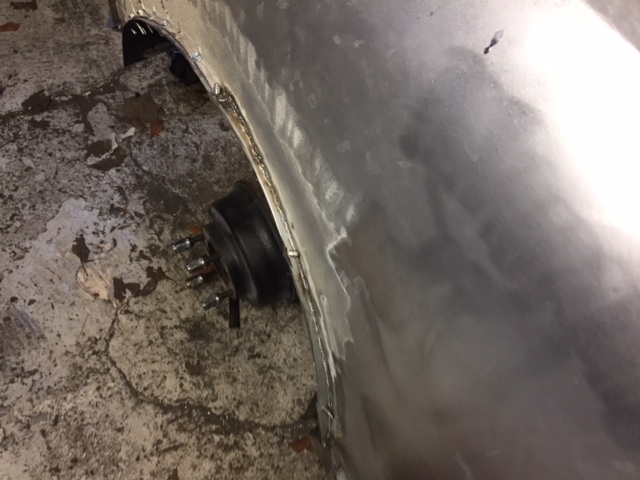
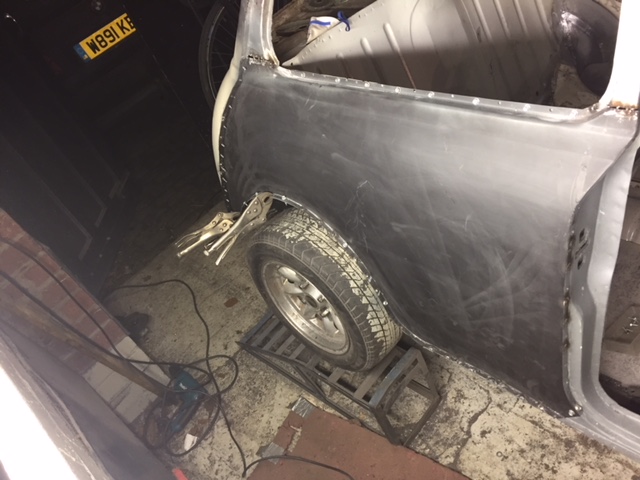
SO front subframe on and hubs etc...
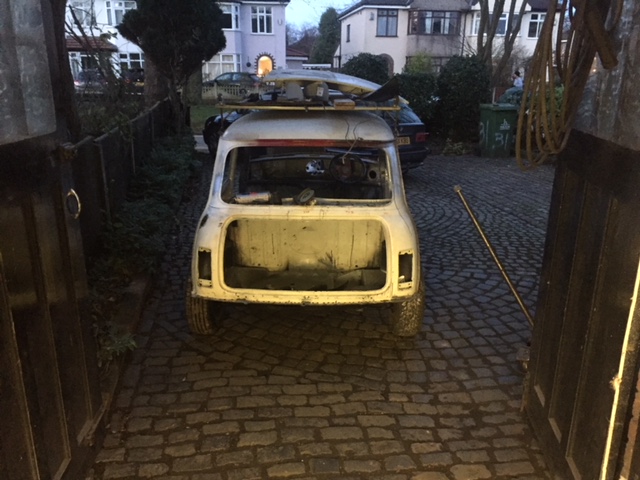
So back on its wheels i turned the car around
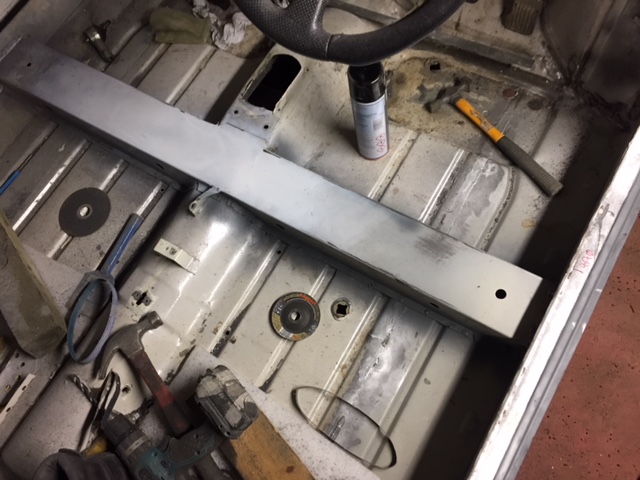
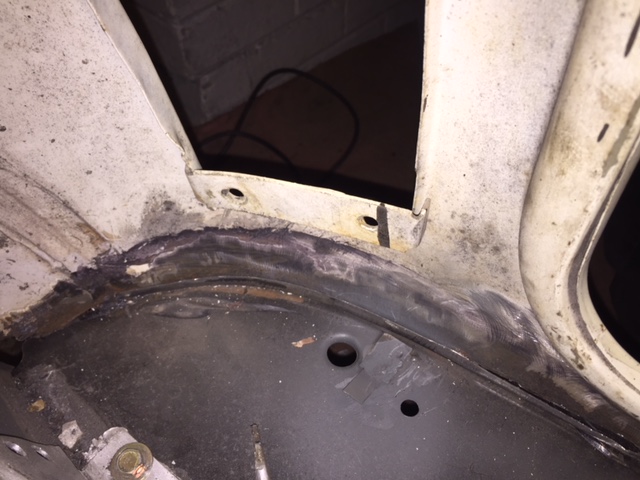
Need to finish welding in the cross member
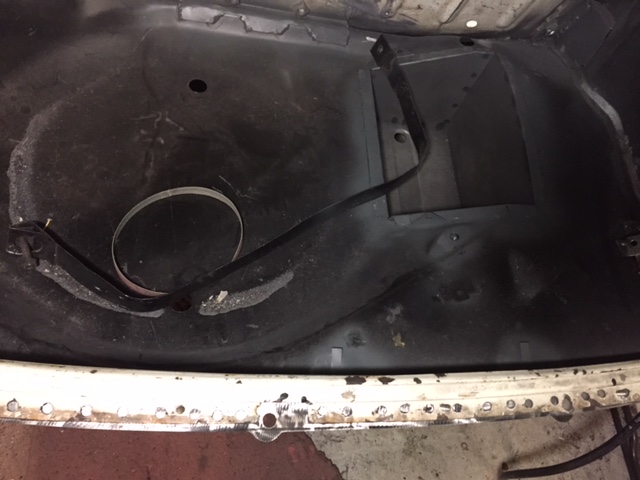
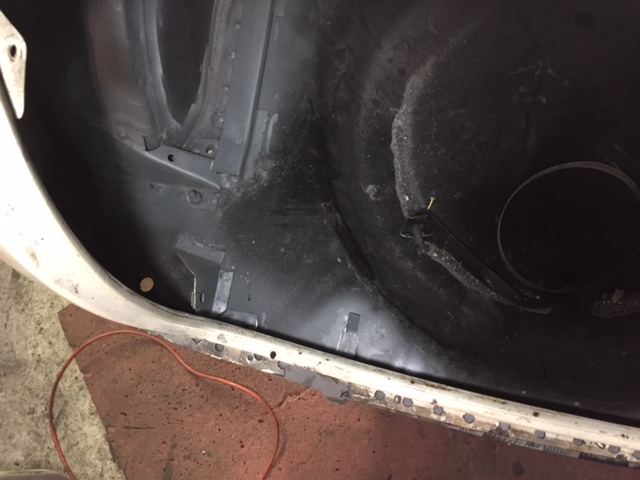
And also sort around the botton of the rear panel
Not "that much " left to do, guy inw ork will paint the car inside and out for next to nothing, so that is sorted, just need to get the car to him which is easy enough.
Engine will be the standard 998 i have for it defo, will tune it a bit, as in light head porting, and maybe, a set of twin carbs... not sure. may have a standard exhaust too but special one with no restrictions in it.
One Carb Or Two?
Posted 29 January 2019 - 06:20 PM
Scuttle and back panel repair parts here
I welded in the cross member yesterday too
Only going to put part of the repair bits in
there will only be a little bit of overlap that i can seal over and no one will notice that..
Up Into Fourth

Posted 01 February 2019 - 11:51 AM
Not been on here for a little while, this is coming along so nice mate its a cracking looking shell now isnt it. bet you cant wait to get it in paint now :)
One Carb Or Two?
Posted 01 February 2019 - 06:15 PM
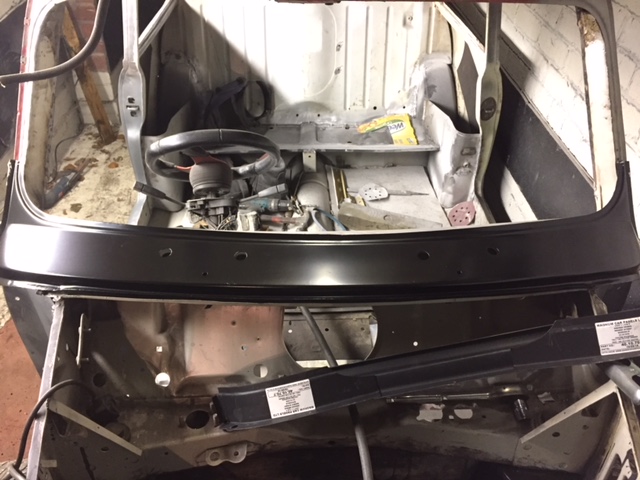
thanks mate! Stilla fair bit to do first, can needs going on its roof again, and there is more welding to be done under there. o/s rear arch needs sorting out, need still to do a door skin and put a front on it. I think the paint side of things will be a big learning curve for me, as ill try to prep the car as best as i can so Terry can just paint it in as little time as possible.
Today, i welded in the side of the back panel and decided to weld in the full middle piece in the middle too.

hopefully get a fair bit done this weekend.
One Carb Or Two?
Posted 10 February 2019 - 06:47 PM
Not much progress until today, have been busy with the rally car and also fitting cctv! So that done for now, got a bit of progress..
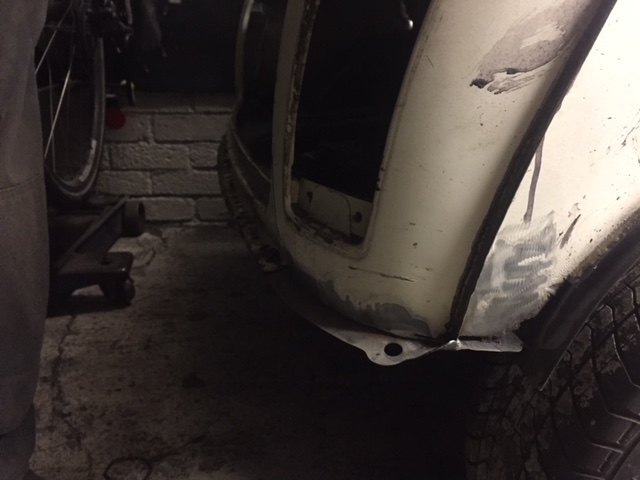
The quarter panel didnt seen to be right, i mean, rot at the bottom rear, on the top which i repaired, and the lip wasnt right when i ground threw it.
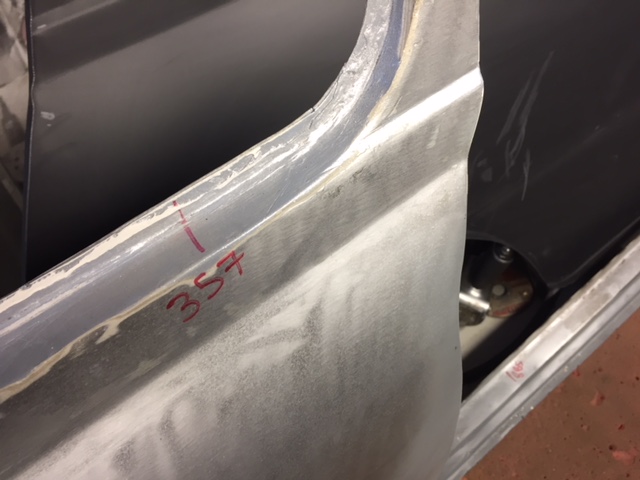
So, i bought a new panel, its a magnum one and ive heard lots of scare stories. cut the old one off

Inside of the car, the strenghener, and also the bin could not be ground up better...
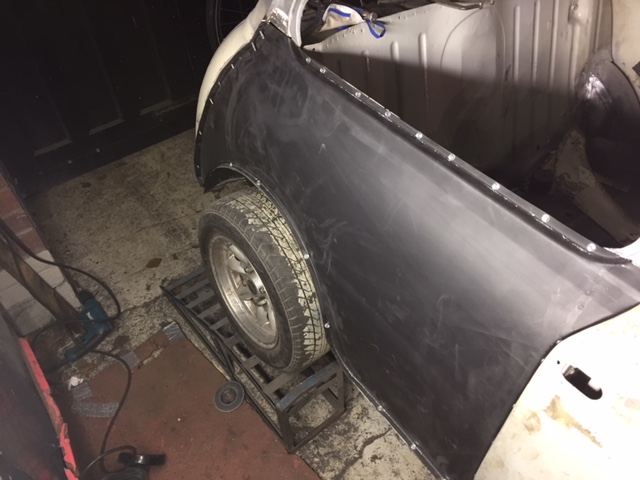
with the door on, its a bit tight at the top, but its not the best fit there, so i can sort that out.
thats as far as i got today. will do more in teh evenings maybe. What i will say is at first the panel look bad fit but after trial fit with drills screws, its actually really good. I wish i had fitted it long before now and hadnt done the repairs to the old one.
Up Into Fourth
Posted 14 February 2019 - 06:58 AM
How do those magnum quarters fit? that doesn't look to bad at all.
Nice work I need to get back in the garage life is taking over again haha
One Carb Or Two?
Posted 14 February 2019 - 07:07 PM
that quarter when i held it up tot he car i thought it was terrable, but once i started drills crewing it in, and it was taking shape, only really the front at the top seems to be out on the pillar, ist not quite folded right, but i think itll make a good panel once ive finished knocking it about a bit. It was a lot cheaper than the heratage one, ive heard all bad stories, but so far so good.
Not sure ill be getting into the garage much this weekend, got a lot of reading and soldering to do, fitting microsquirt on the bmw, it looks easy if you read all of the manual!!!
One Carb Or Two?
Posted 17 February 2019 - 06:50 PM
Got the micro squirt wired for testing, then had a go of the tuner studio today and just couldnt be bothered with it and went in the garage!
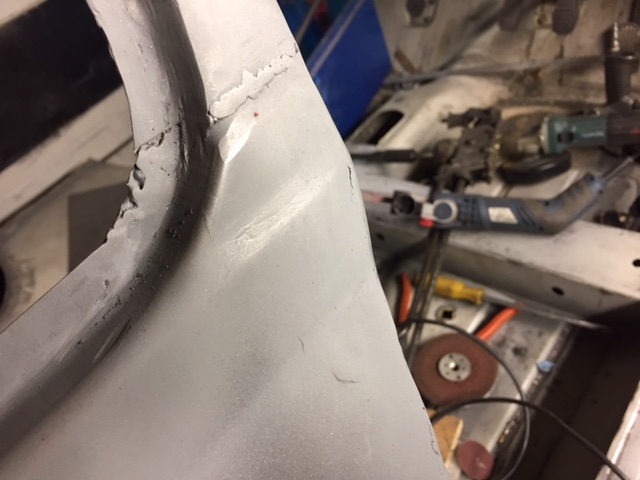
So quarter nearly done,
Go to finish off this area, had to cut the top edge by the door as it was miles out, and now i find where there is like a bump in the top, hard to expain maybe you can see here
Back lines up quite well
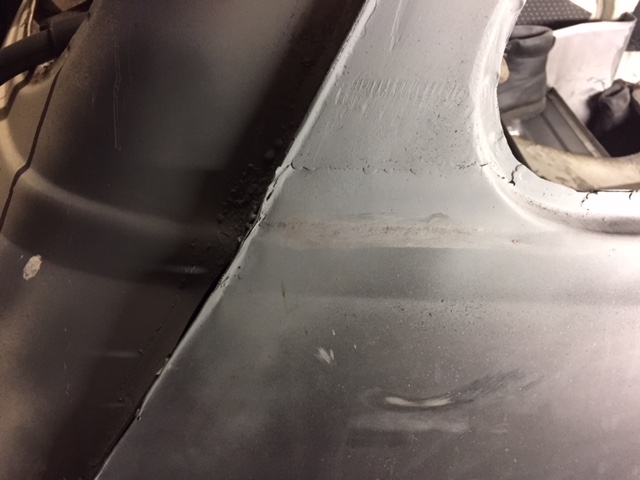
Bottom welded on

Just need to do down the back now. I have found that when ive been grinding ive got the metal too hot, and when i come to get the final shape into it, its so hard it dosnt want to grind in the way i want. I didnt realize this until today!
Not much progress but its something for now.


0 members, 0 guests, 0 anonymous users


