Update Hip operation was a success so able to work on ERA in December weather permitting as its under a Tarp lol
nice work mate, take it easy on that hip though ,December aint fun for working outside under a tarp , thank god ive got a garage now


Speeding Along Now

Posted 12 November 2019 - 10:48 PM
Update Hip operation was a success so able to work on ERA in December weather permitting as its under a Tarp lol
nice work mate, take it easy on that hip though ,December aint fun for working outside under a tarp , thank god ive got a garage now
Speeding Along Now
Posted 18 November 2019 - 03:10 PM
Is that a Matty manifold?
Up Into Fourth

Posted 18 November 2019 - 07:04 PM
Super Mini Mad

Posted 18 November 2019 - 08:26 PM
I don’t think Marty has done any in years.
It’s probably a Fusion Fabrications manifold.
Crazy About Mini's
Posted 03 December 2019 - 09:36 PM
Hi..peeps here is the latest photo of my motor before it goes to the bench for a dyno set up and run-in all pipes connected

also back at work after hip replacement so I will be restarting the restoration
Crazy About Mini's
Posted 03 December 2019 - 09:46 PM
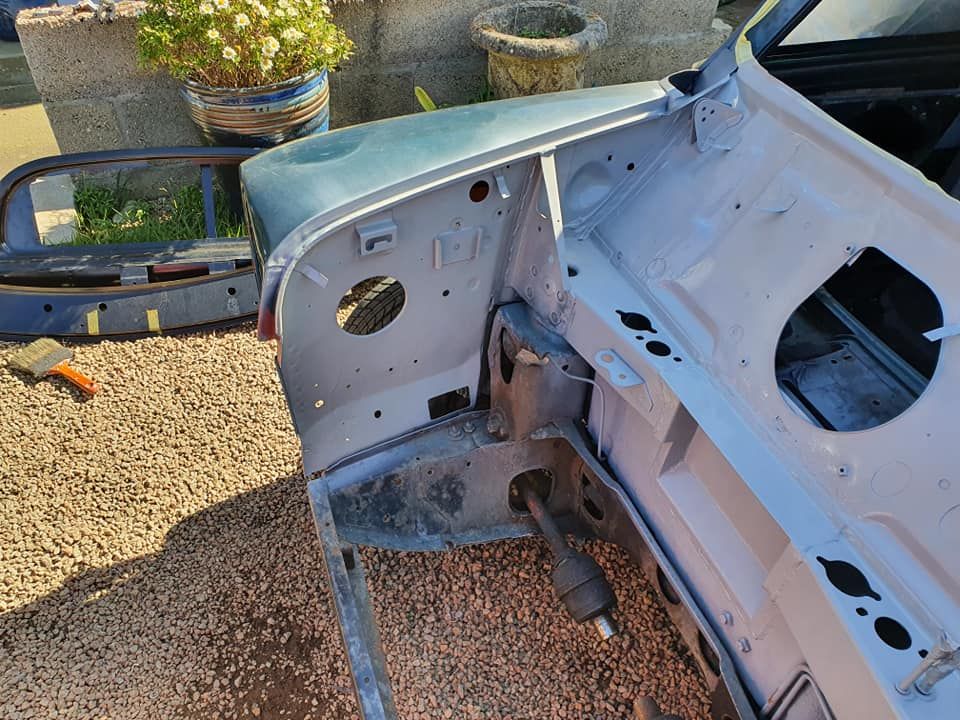
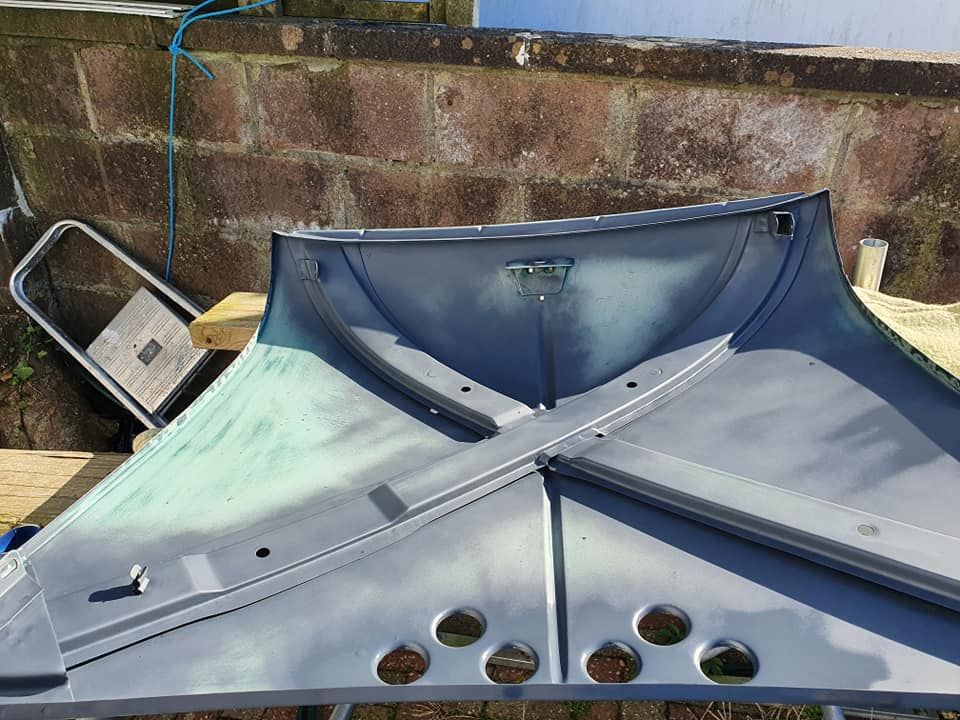
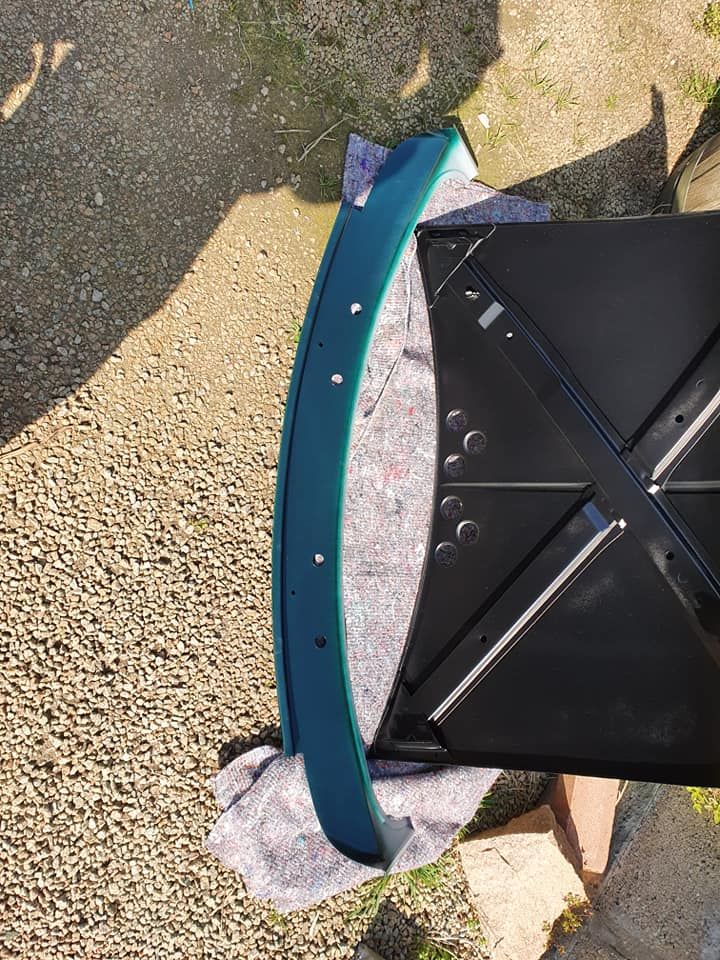
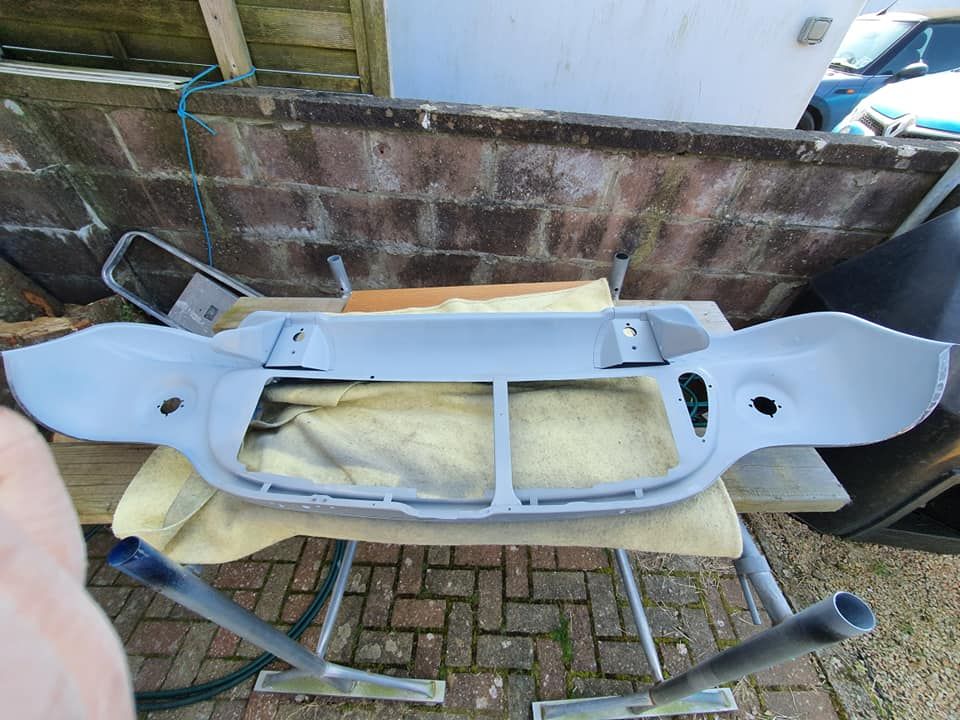
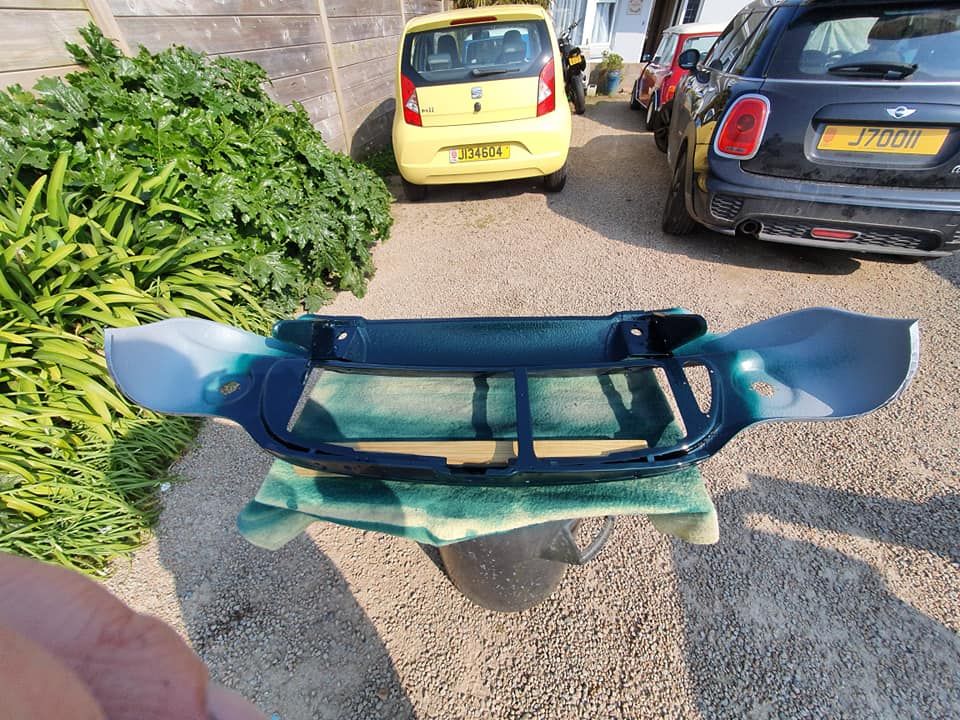
A change of plan on the front scuttle I decided to fit a full heritage scuttle after first attempt


a fair bit more work but I think it will be better

decided to leave wings on so I hope this works....lol


Edited by mk1leg, 03 December 2019 - 10:03 PM.
Learner Driver
Posted 04 December 2019 - 07:49 AM
Crazy About Mini's
Posted 04 December 2019 - 04:20 PM
Looks good and nice to see some progress
A bit hard to see in the pics but the gap between the panels looks pretty tight.
I’m by no means an expert on the subject so maybe somebody like Ben-o can comment on this but I always leave a little bit bigger gap when doing a but weld.
I'm Sure My welder will inform me of this when he makes a start
Crazy About Mini's
Posted 24 March 2020 - 08:56 PM
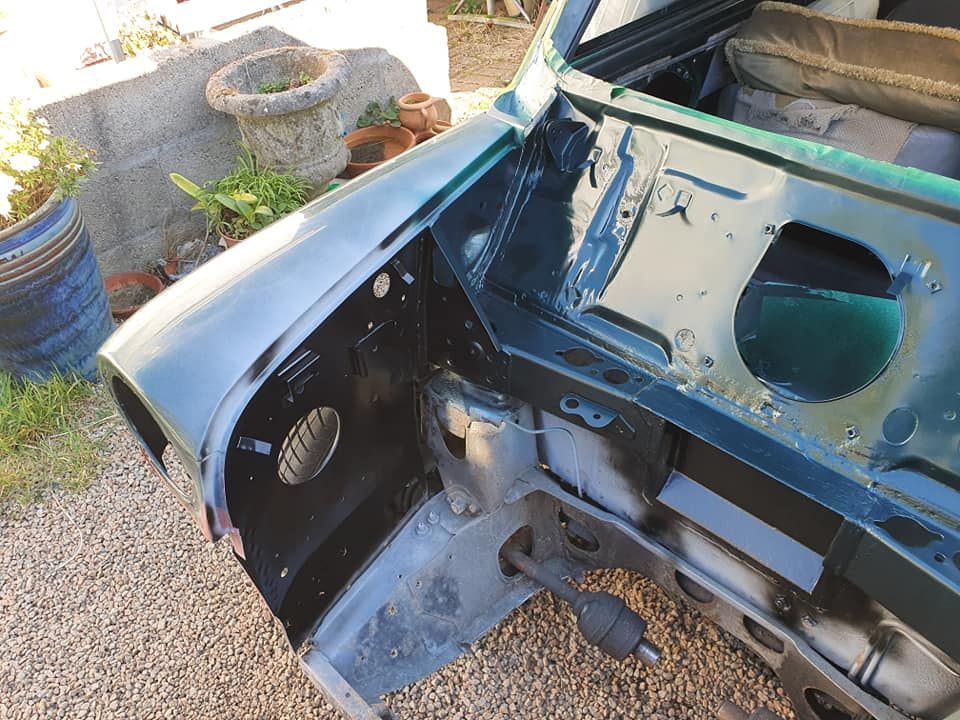
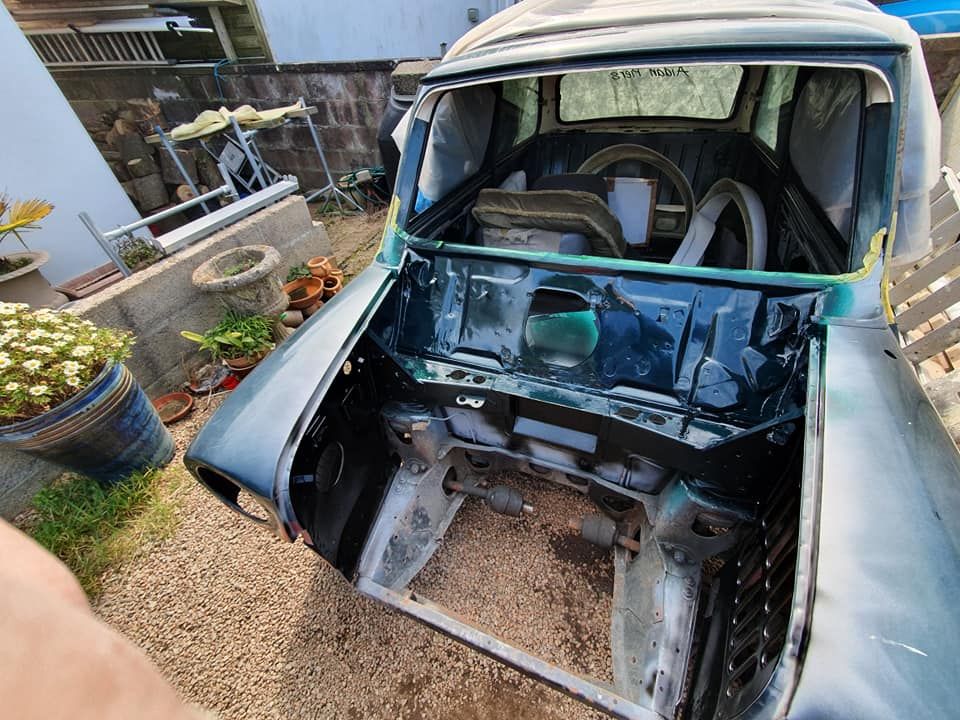
Hi..Peeps sorry for the long wait for an update this is due to very bad weather since December but Now due to the Corona Virus I'm house locked for the next 12 days for now....lol so the weather is very warm and dry so decided to do some work on the ERA first job yesterday was to rub down the bulkhead and inner wings and give them a prime
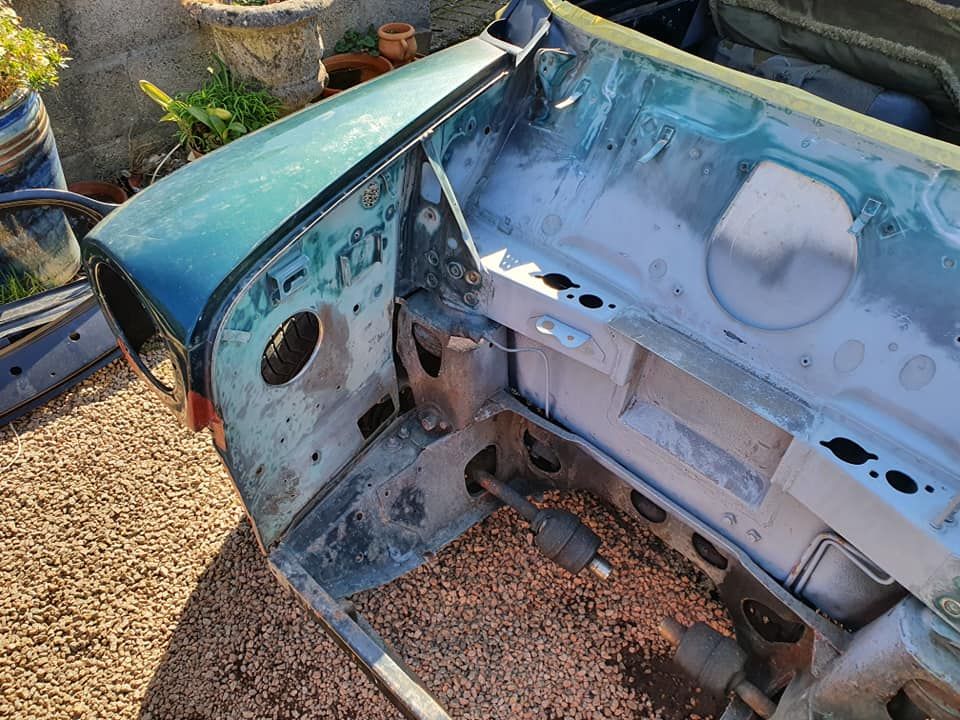
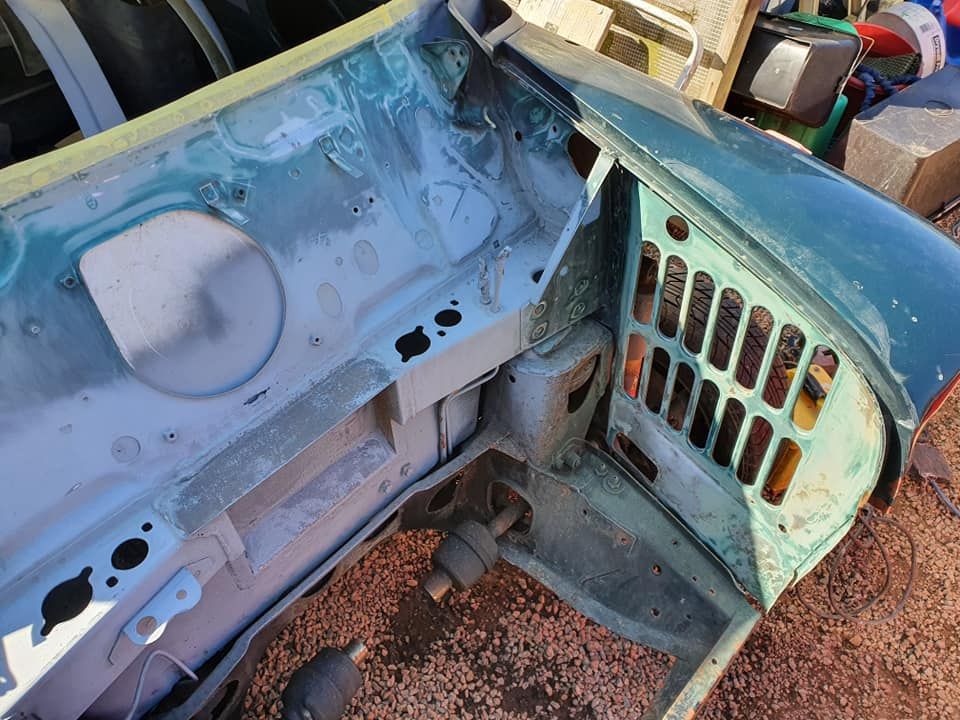
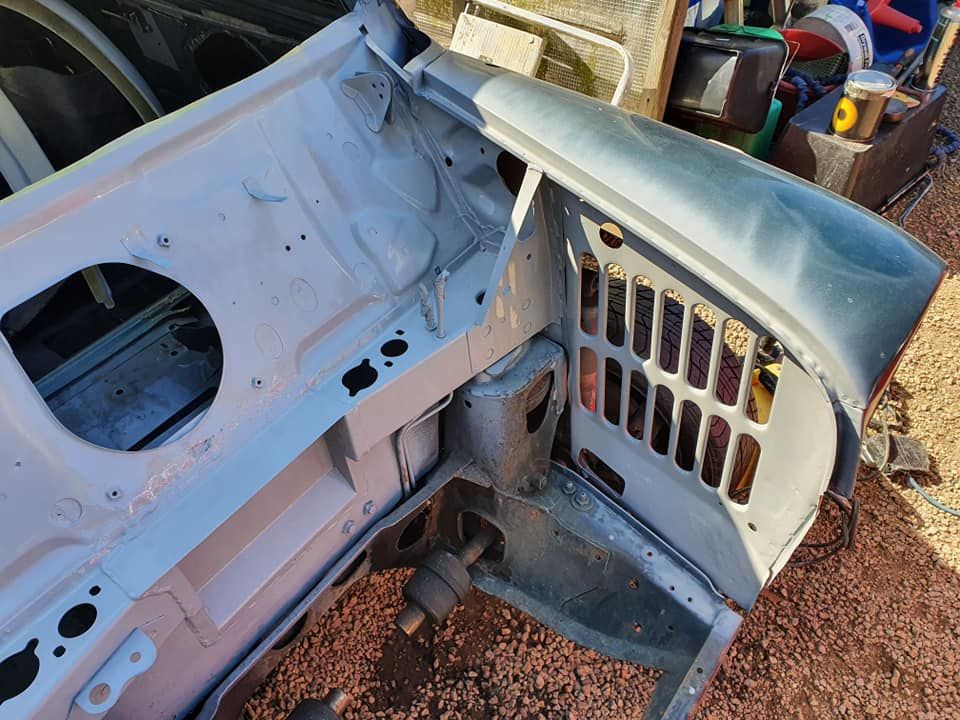
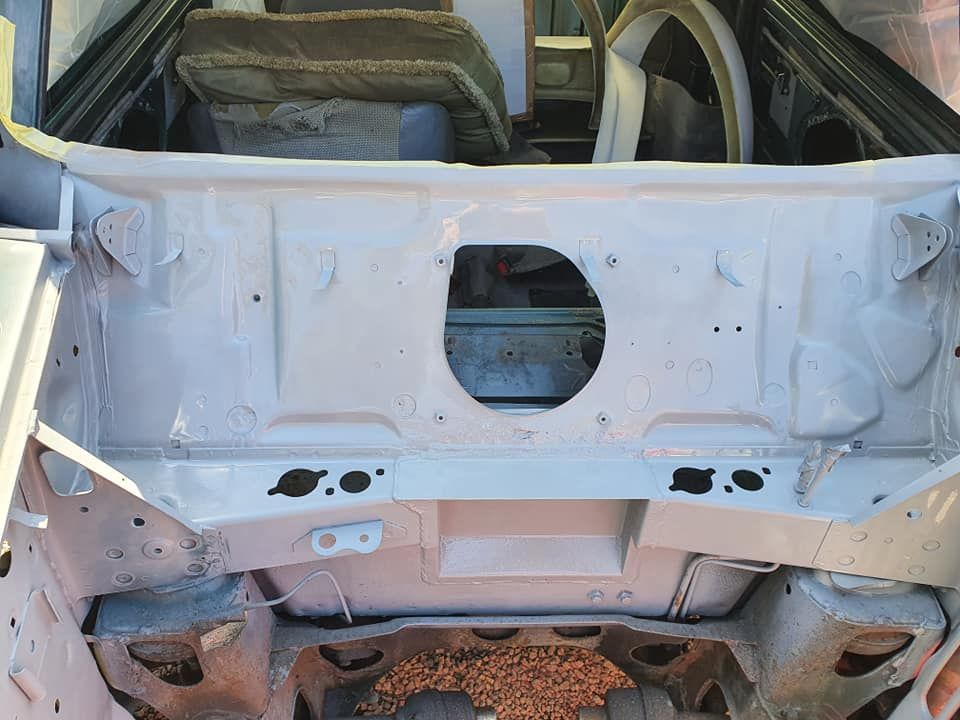
today I rubbed down the inside of the bonnet very painstaking finger tips very sore lol etch primed bare surfaces
primed
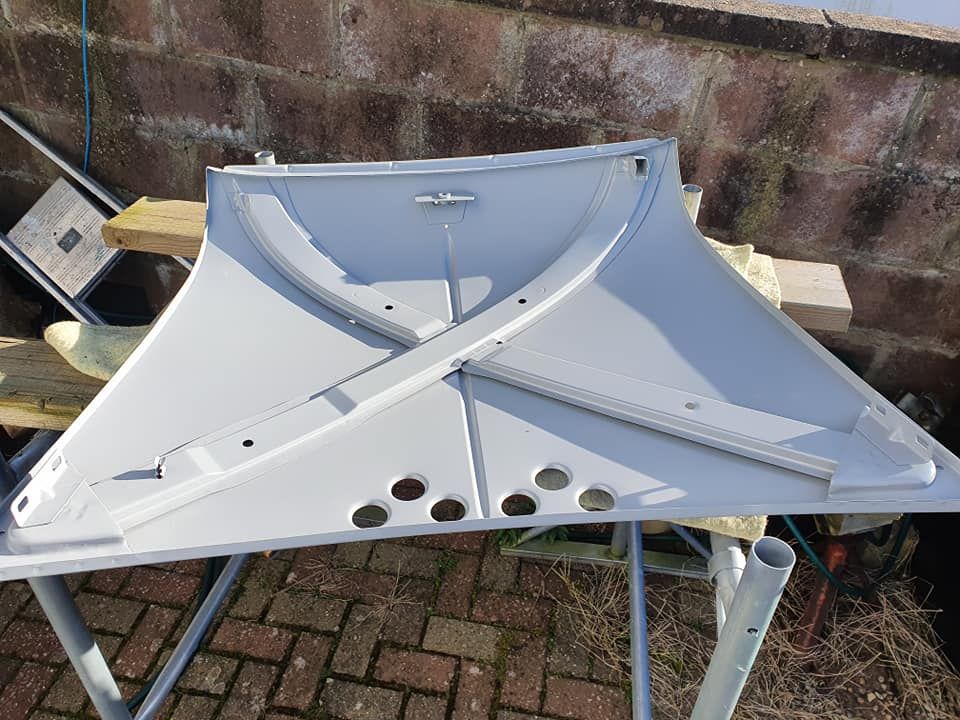
applied seam sealse to places
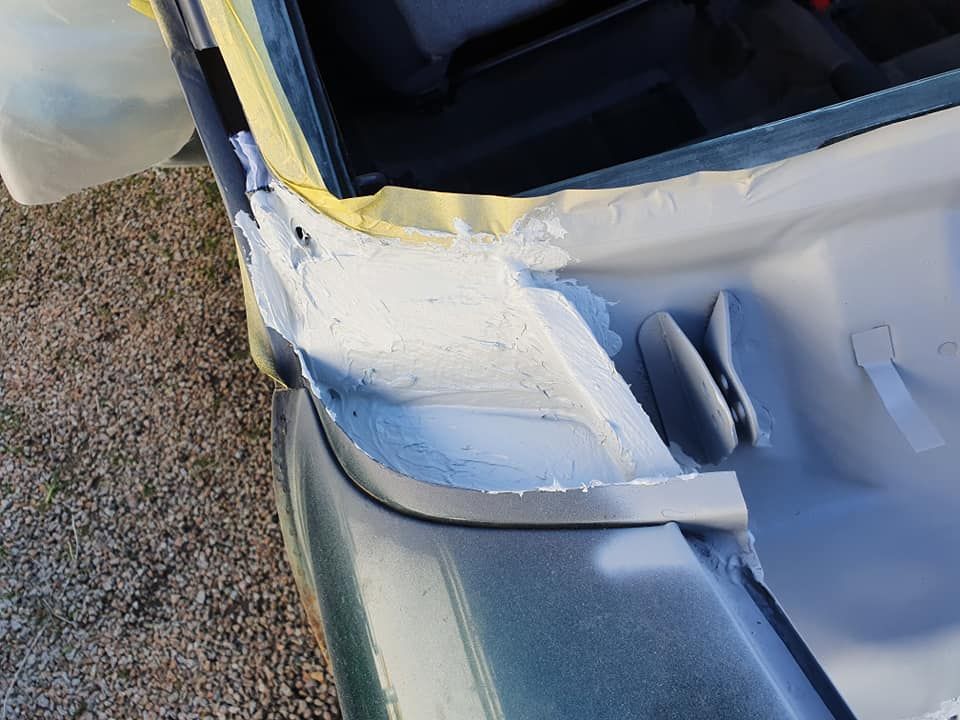
tomorrow hopefully if weather is nice will apply 2nd coat primer and a black topcoat for protection as primer absorbes moisture so I found out lol
Crazy About Mini's
Posted 25 March 2020 - 05:53 PM
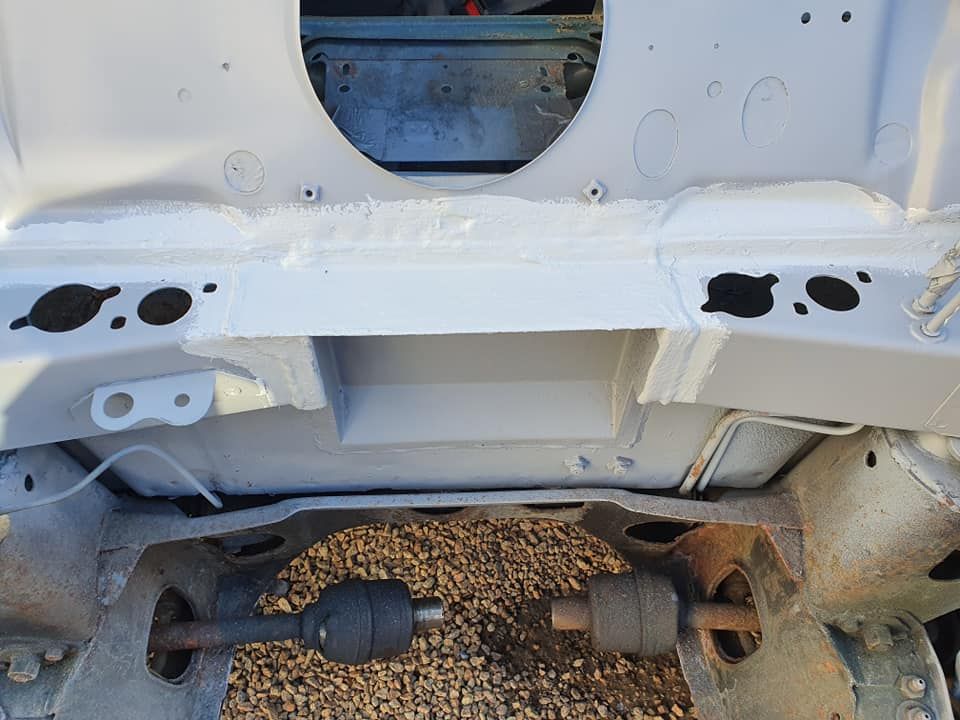
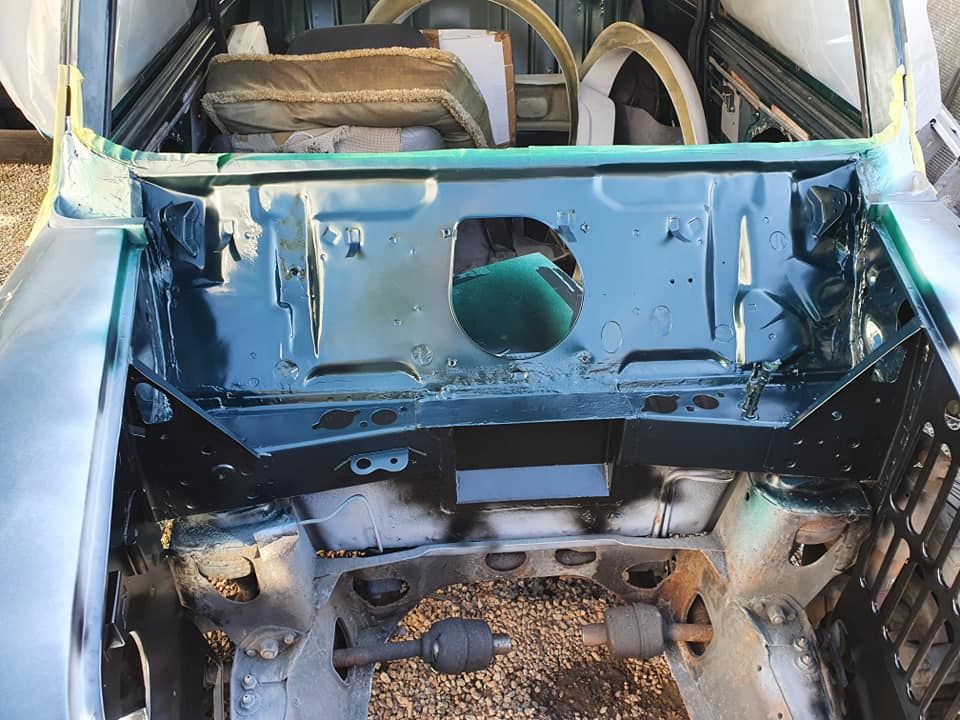
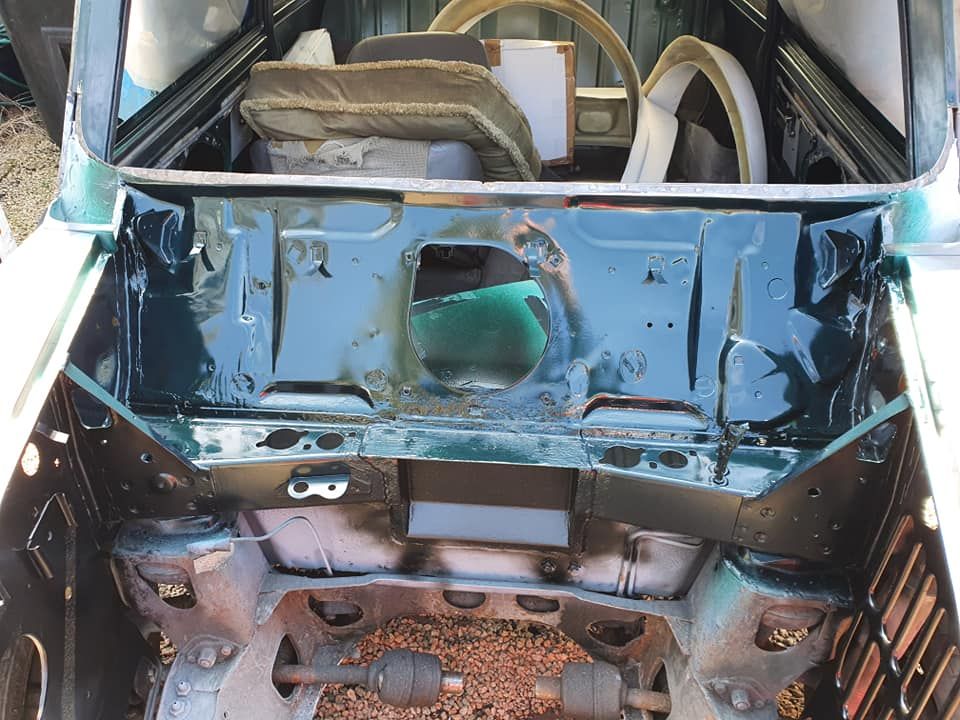
day 3 of isolation and another fine day so uncover the ERA and lightly rub down primer and give engine bay another coat of primer
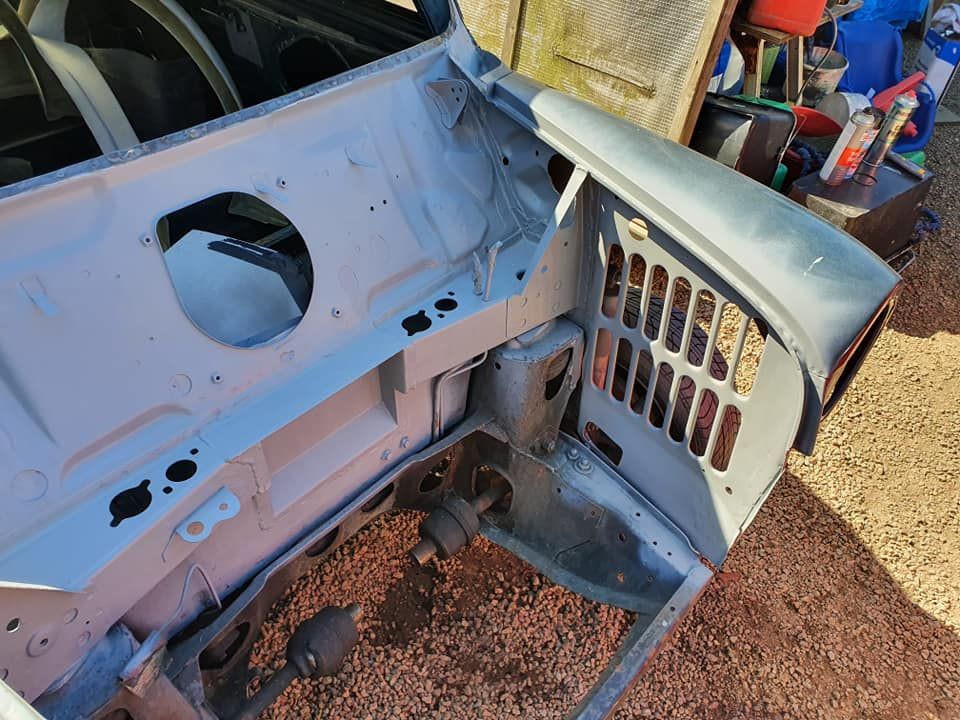
lightly rub down underside of bonnet and reprime
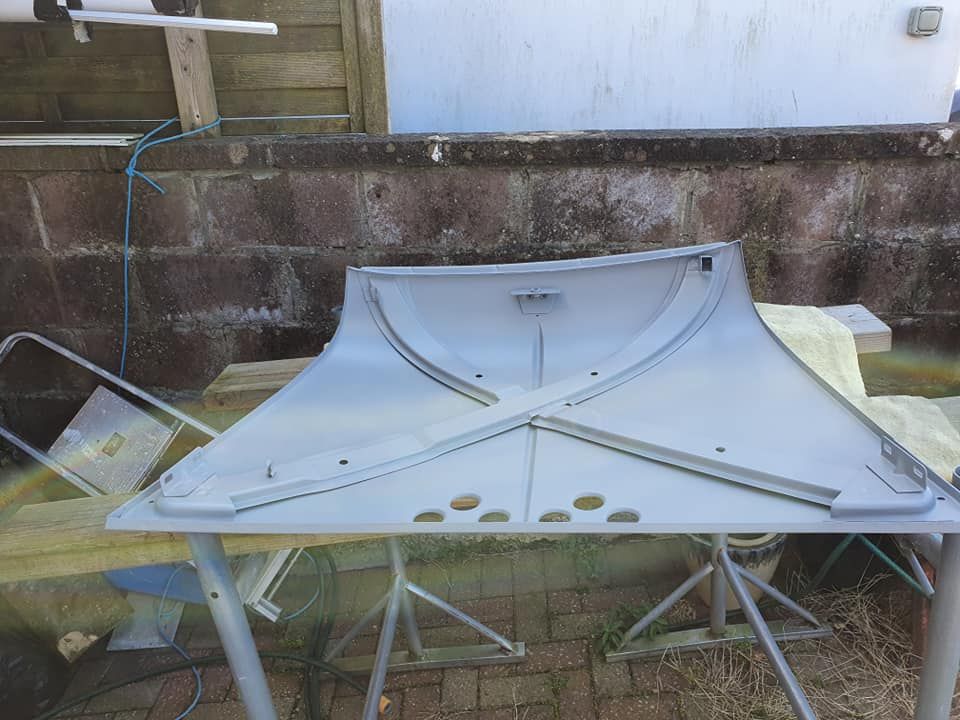
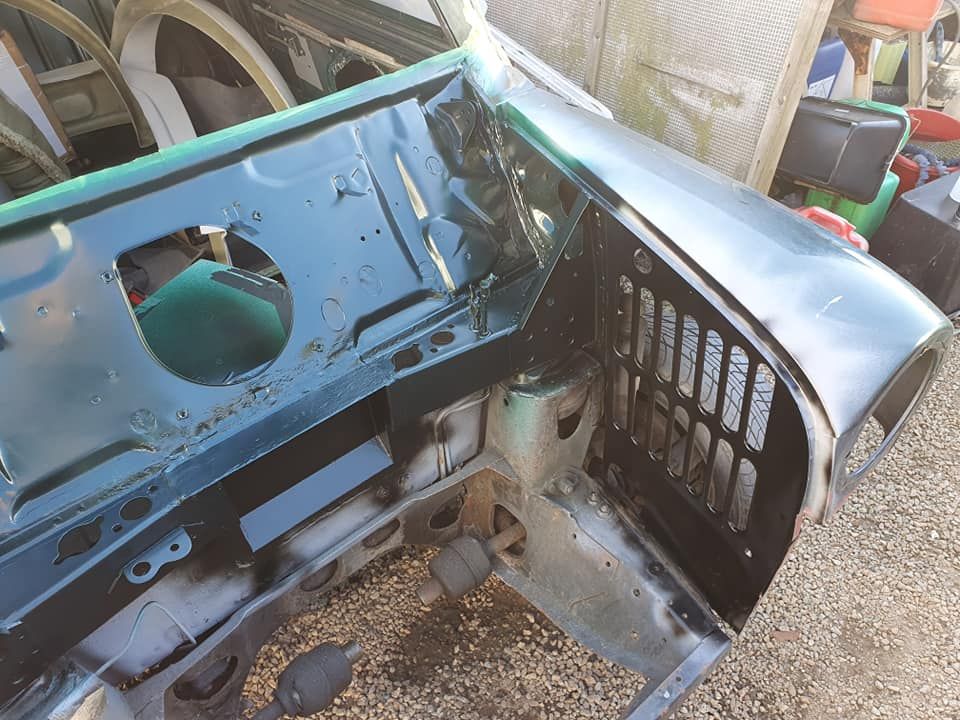
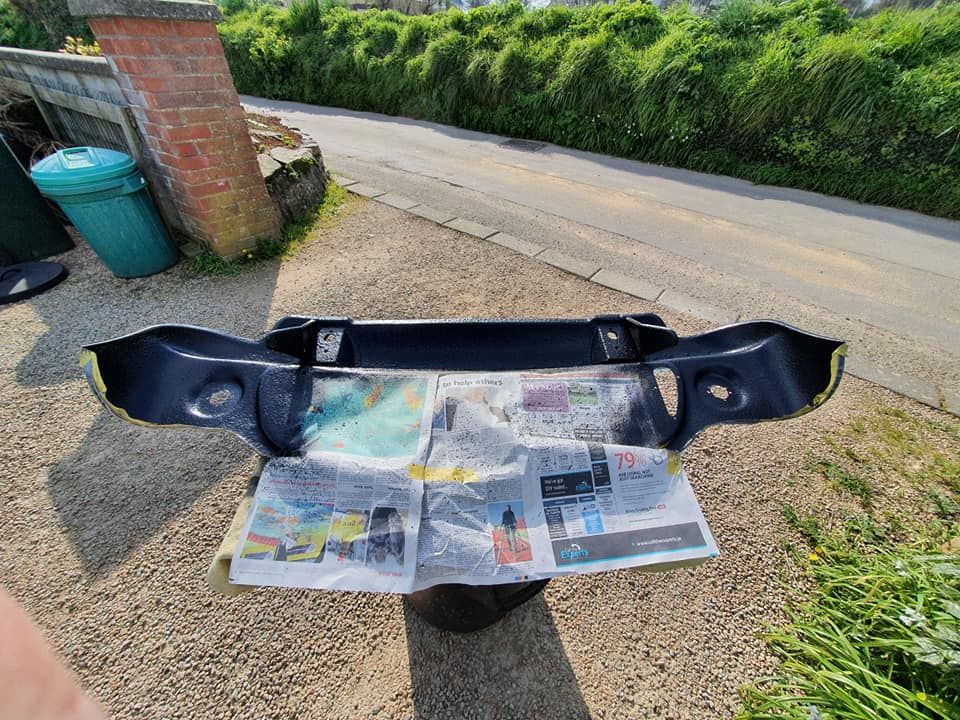
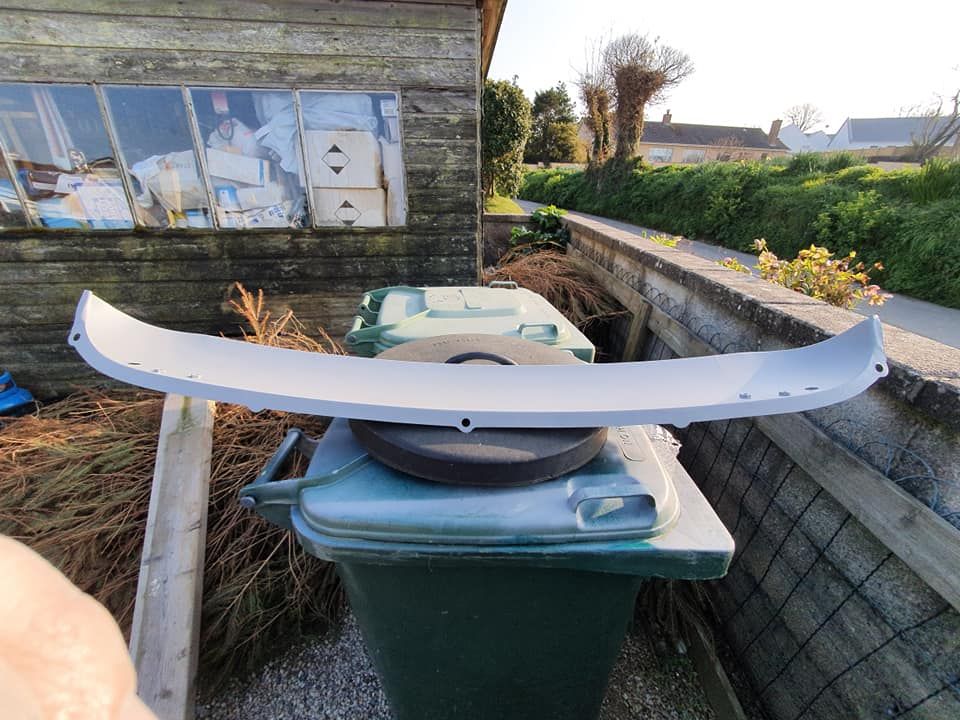
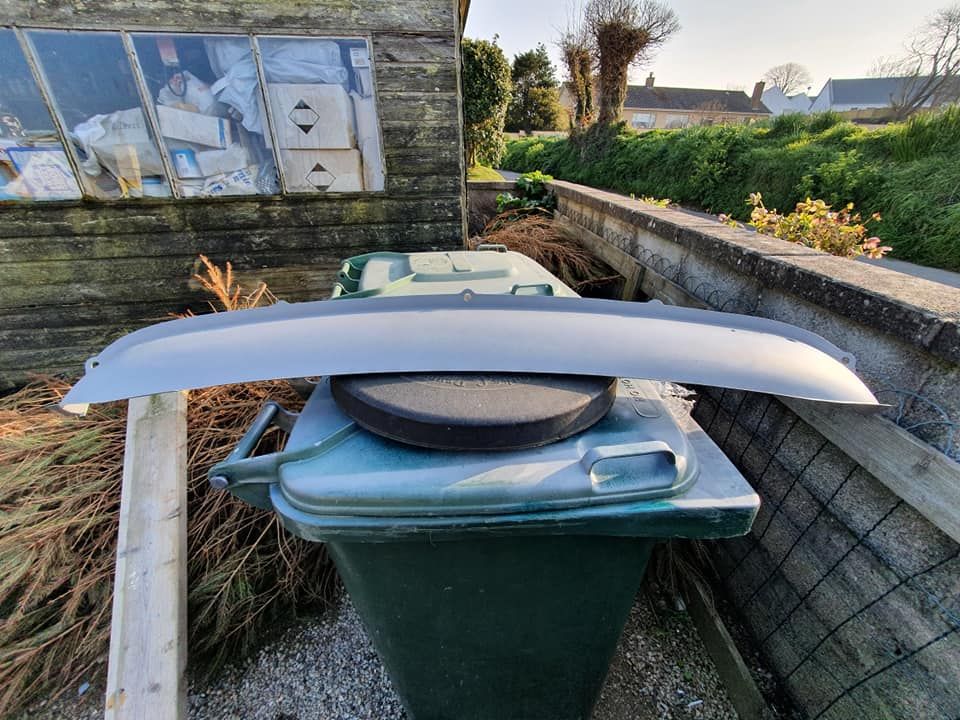
degrease new scuttle and rub down underside and apply a zinc weld through primer to weld edges and grey primer to rest
refix chassis no: to scuttle
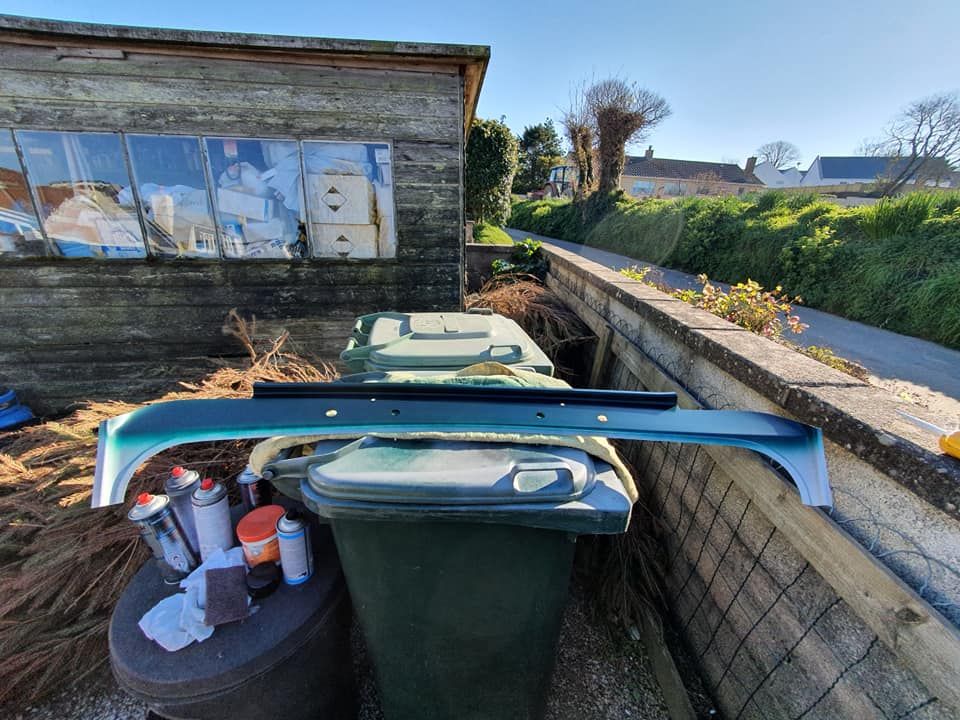
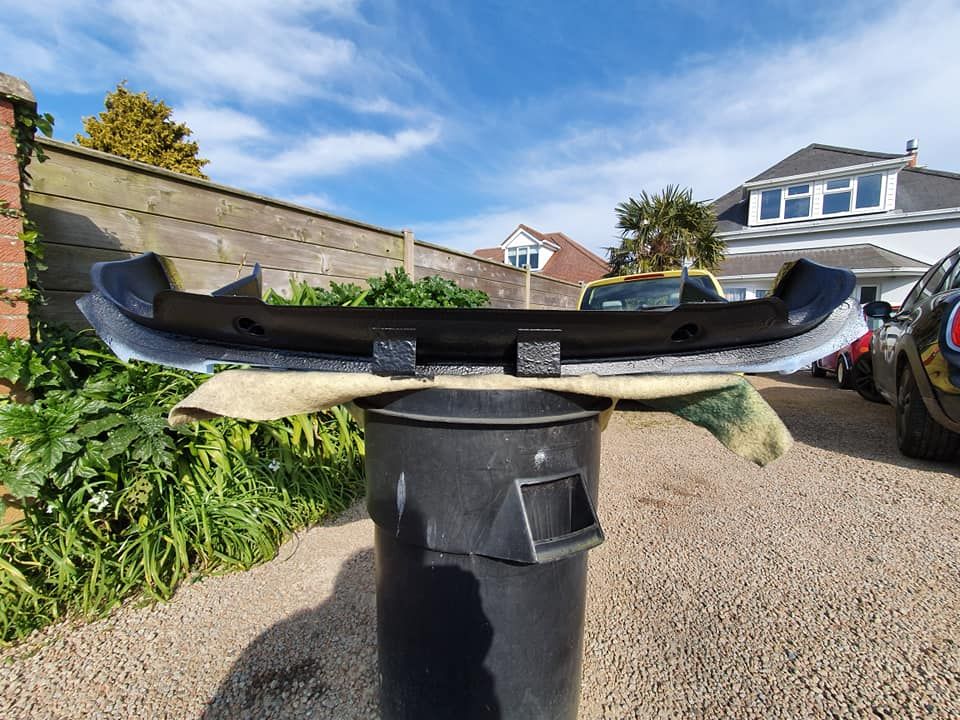
lightly scotch scuttle and apply 2 coats of body colour
clean down hinges and prime and paint
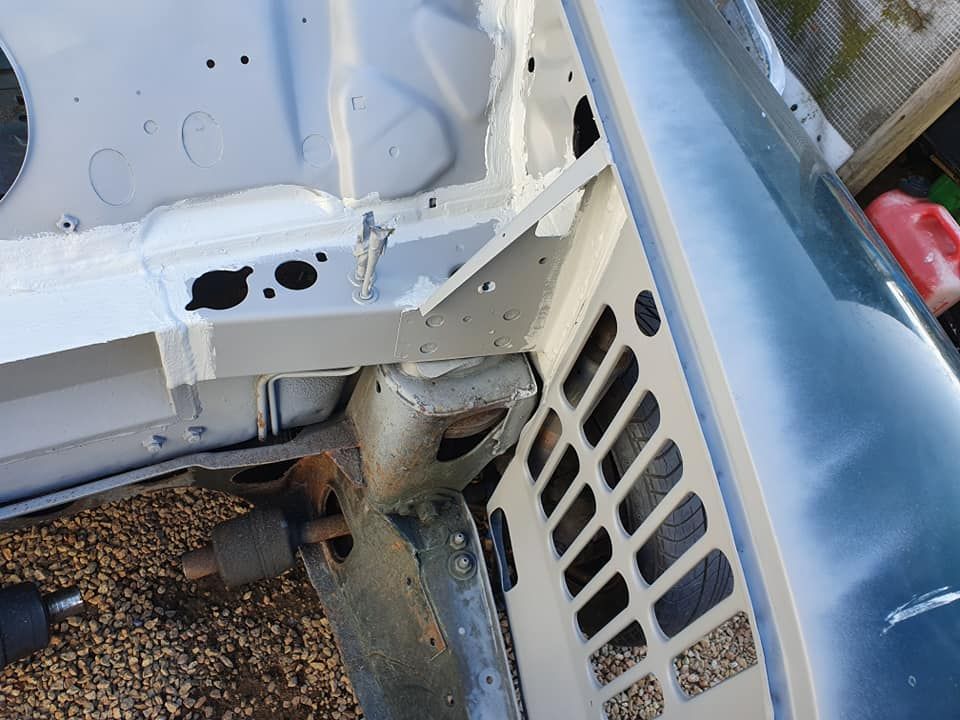
lightly rub down primer in bay and use some black for inner wings and body colour for bulkhead
scotch underside of bonnet and apply some black to reduce moisture ingress( learnt this by default)
tomorrow I will lacquer painted parts
Crazy About Mini's
Posted 26 March 2020 - 07:33 PM
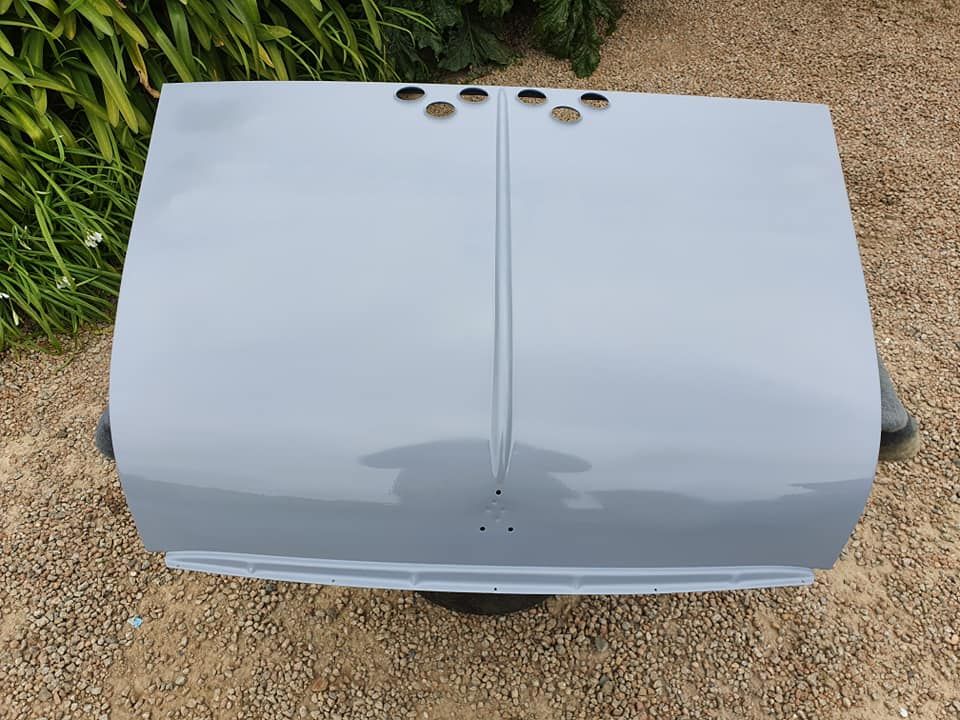
Hi..Peeps day 4 of isolation and i applied 2 coats lacquer to parts that are body colour
2nd coat applied
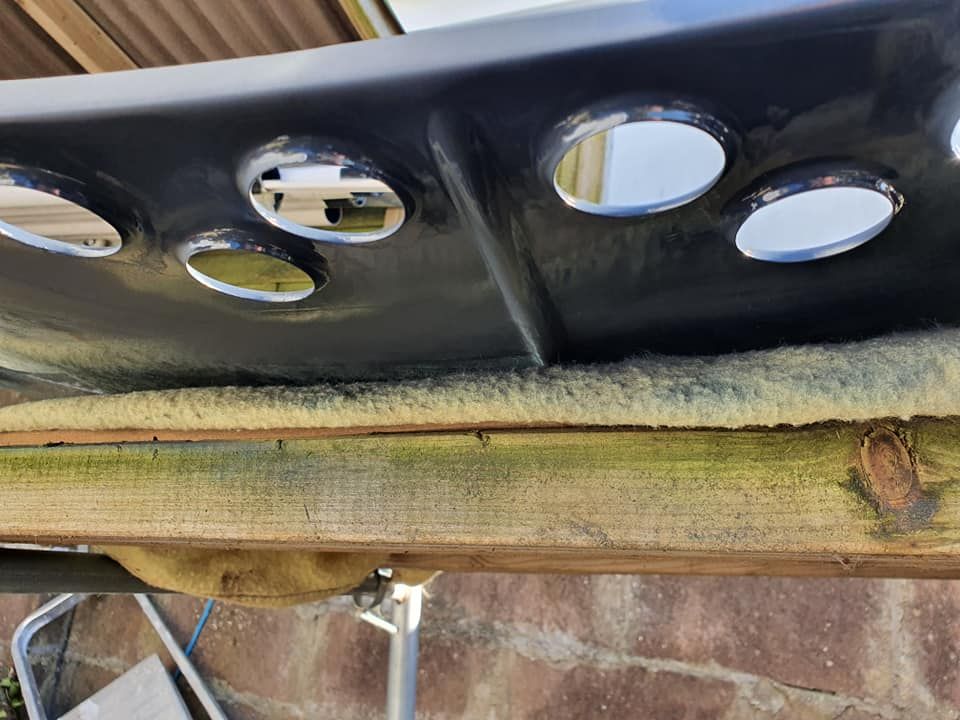
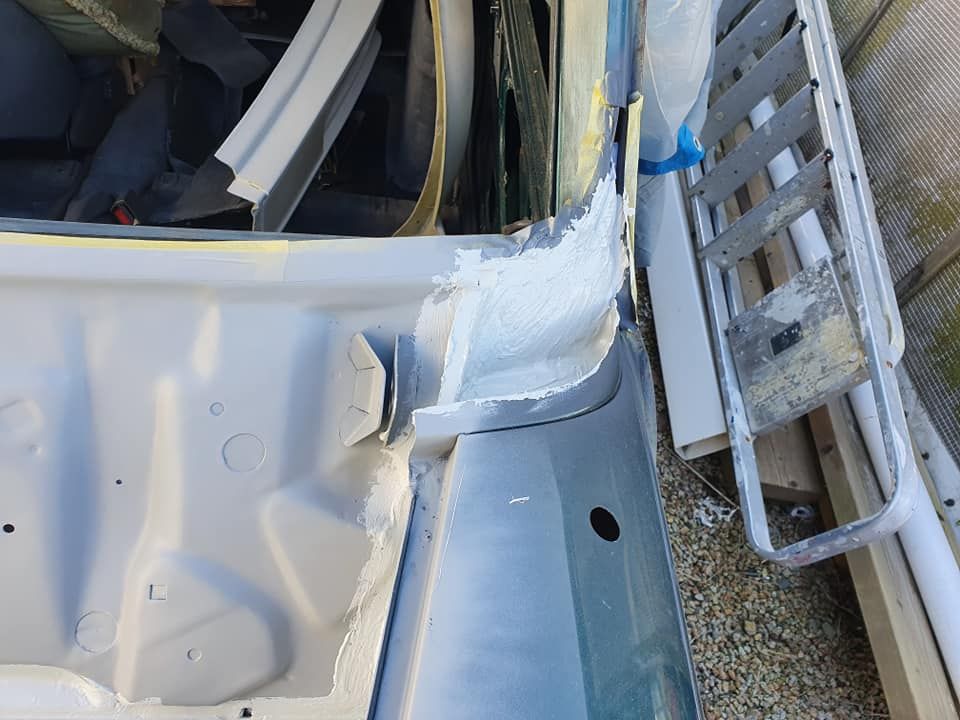
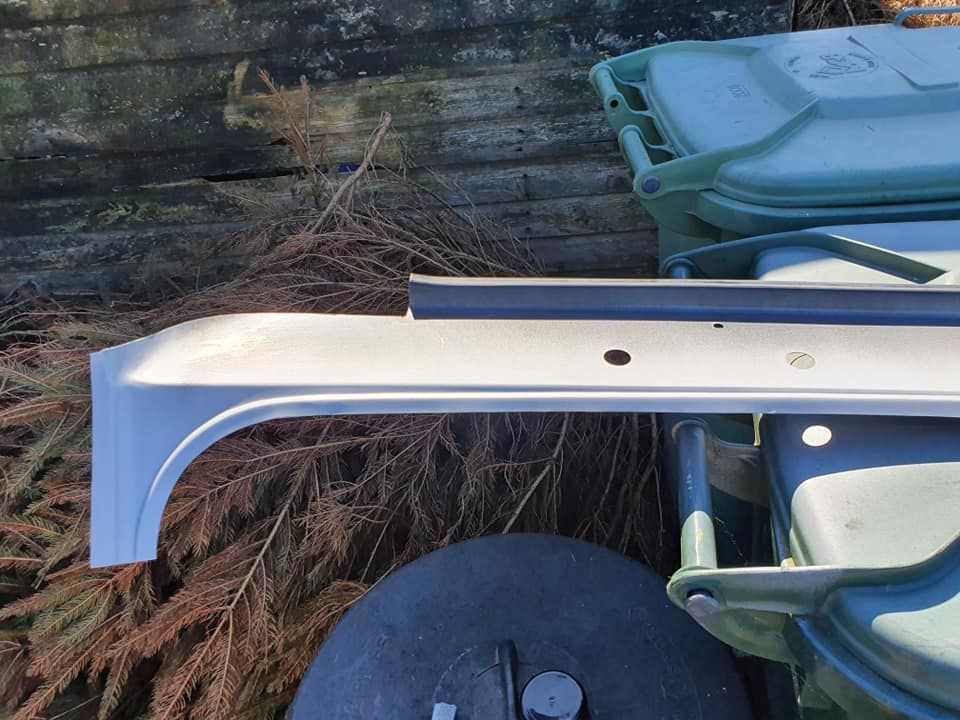
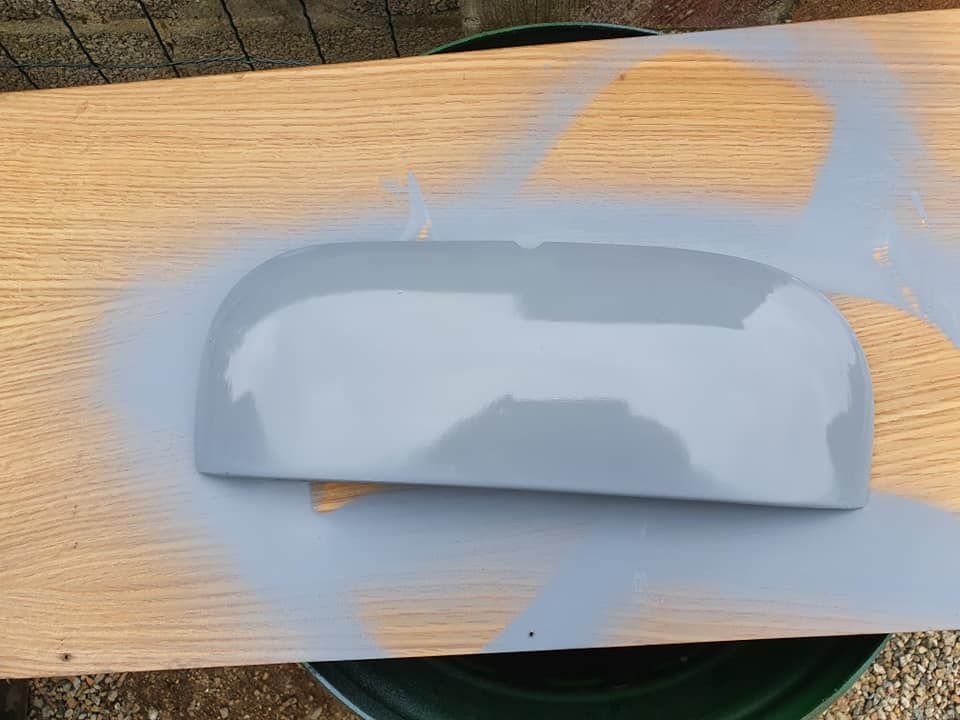
next was the front panel scotch rub and prime
then light scotch and apply Raptol this is not the easiest of stuff to use lol
hopefully if weather is fine tomorrow I will apply body colour to slampanel and prepare rear valance
Stage One Kit Fitted

Posted 26 March 2020 - 08:06 PM
Crazy About Mini's
Posted 27 March 2020 - 06:04 PM
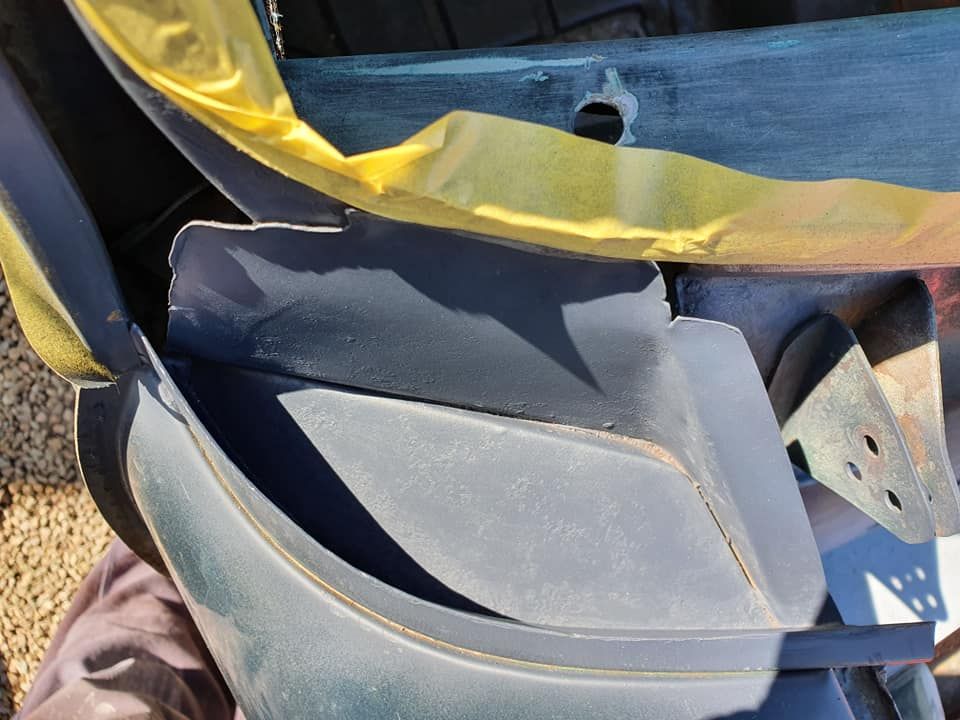
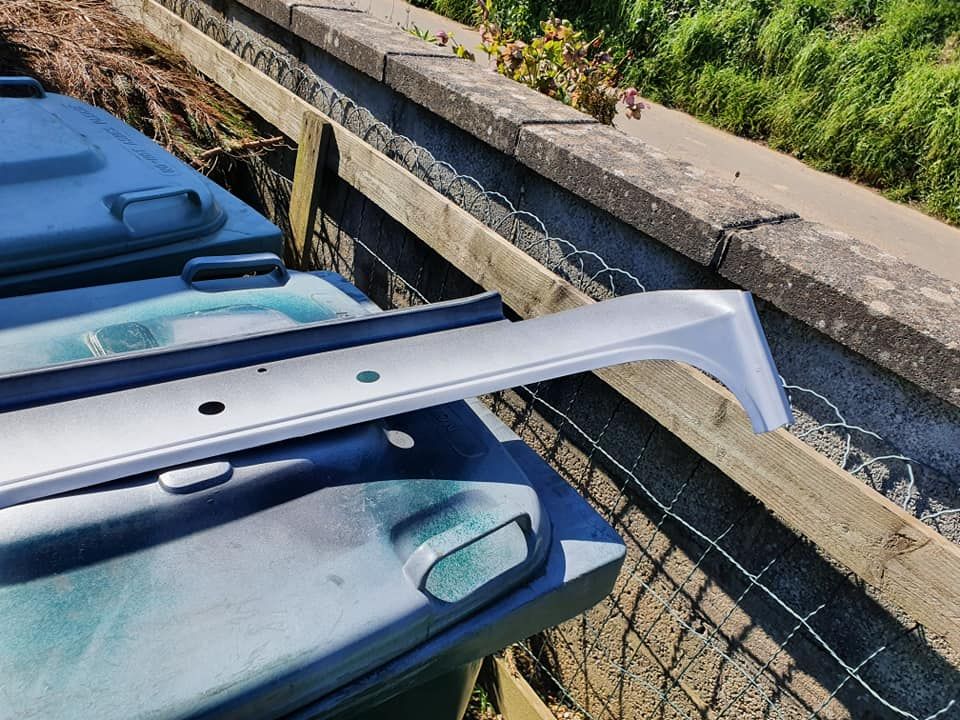
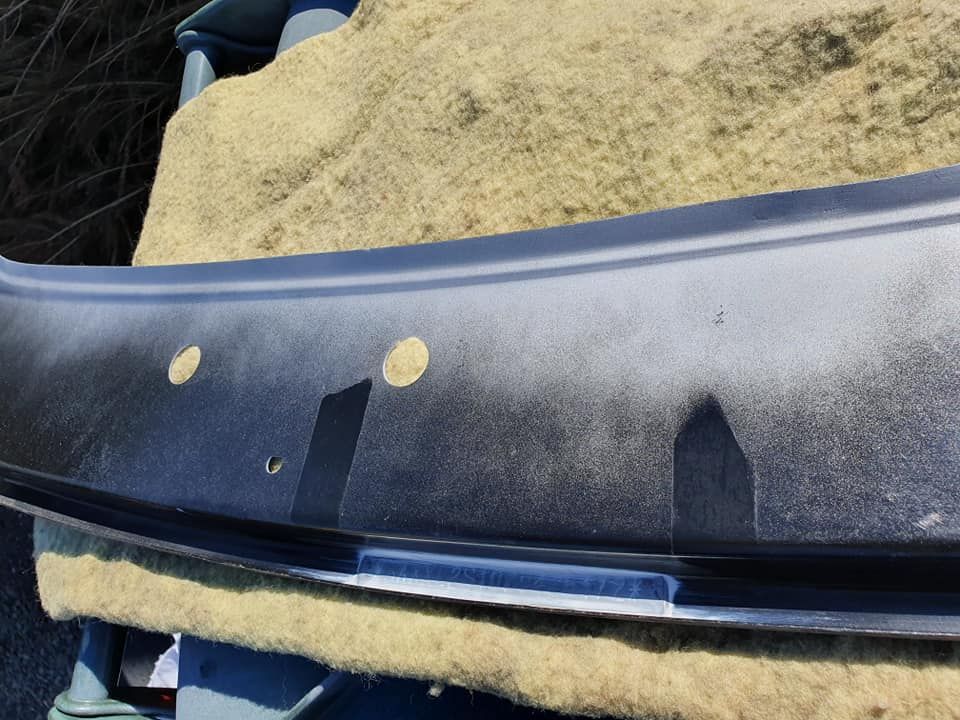
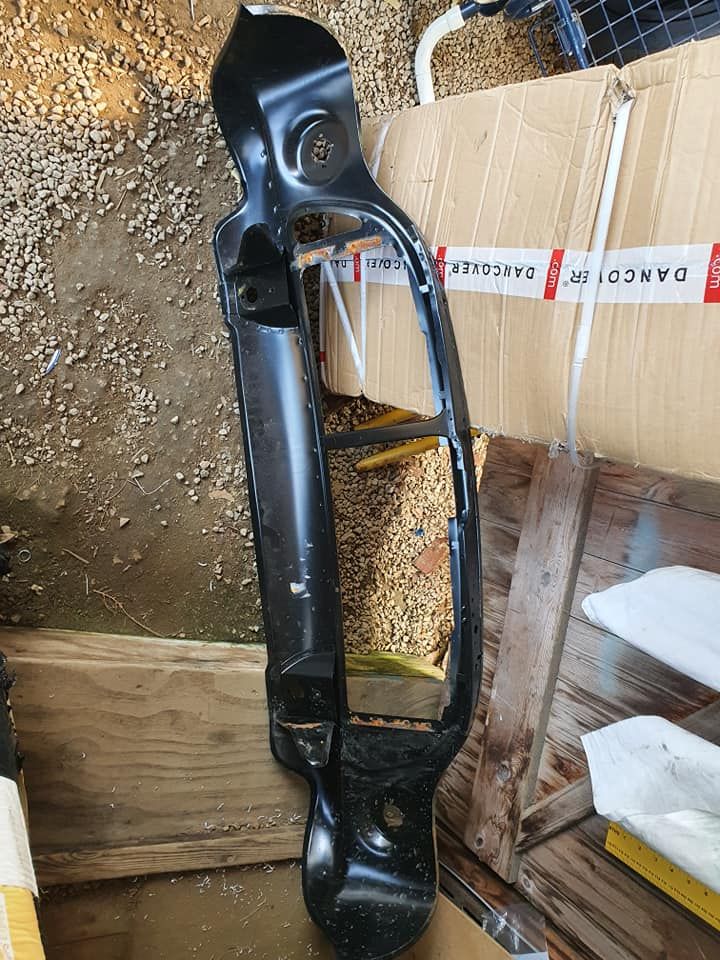
day 5 of isolation another fine day and moved onto the rear valance I took the valance off way back April last year lol and was not able to touch it due to having a hip replacement lol and the very wet winter lol it was open to all that damp wet weather
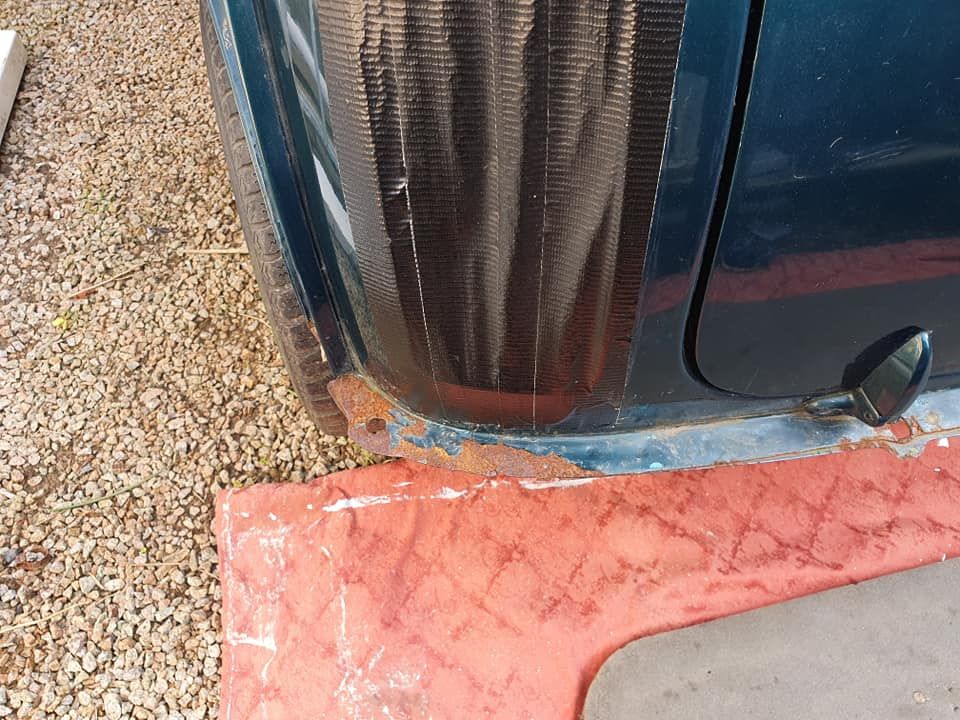
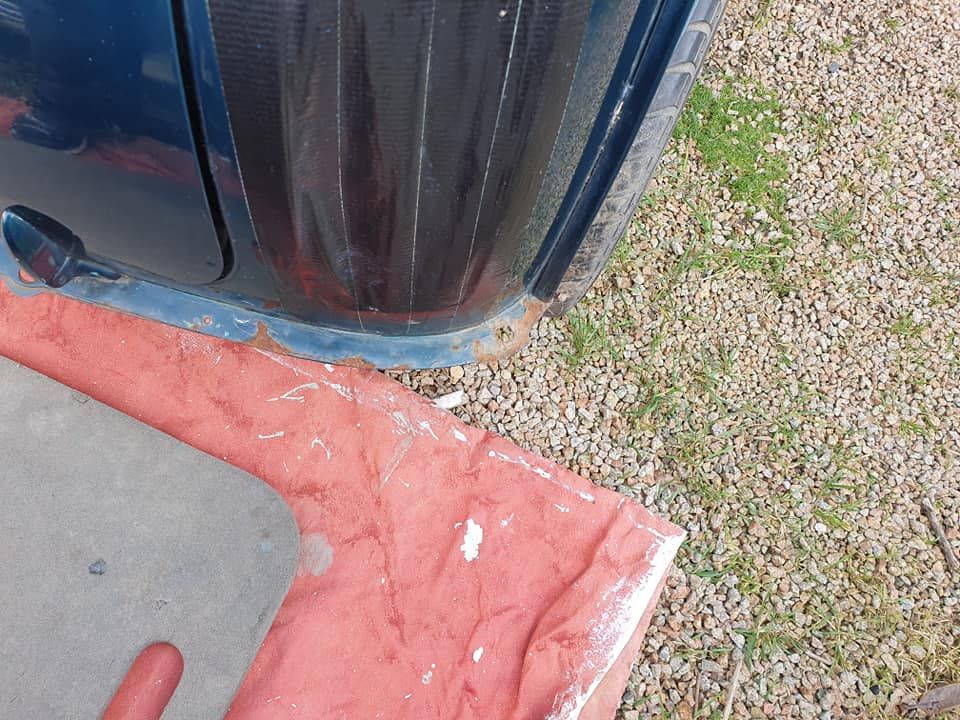
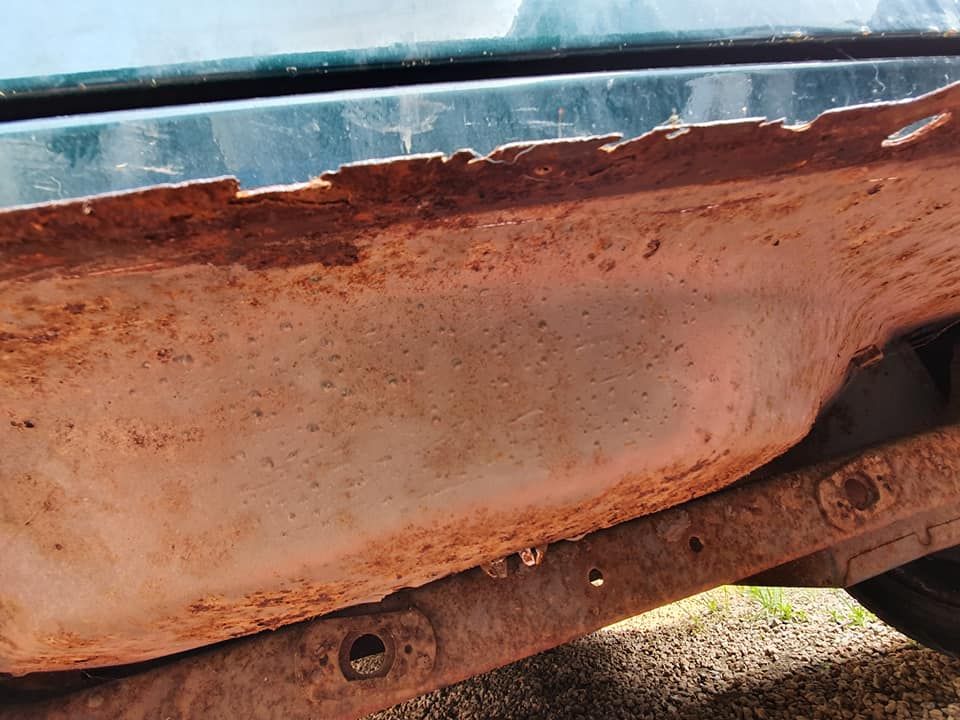

a good going over with a electric wire brush reveals a holes
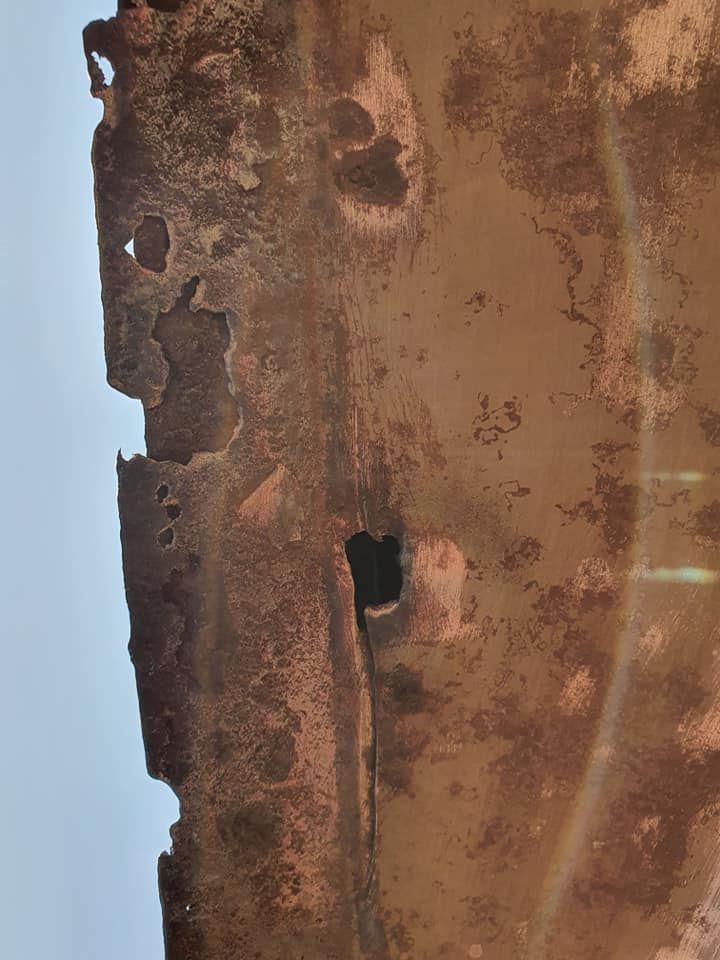
so I have had to order a full length hinge repair panel since I'm doing a full resto so moved onto the front panel lightly scotched Raptol and applied 2 coats primer 3 coats body colour and 3 lacquer

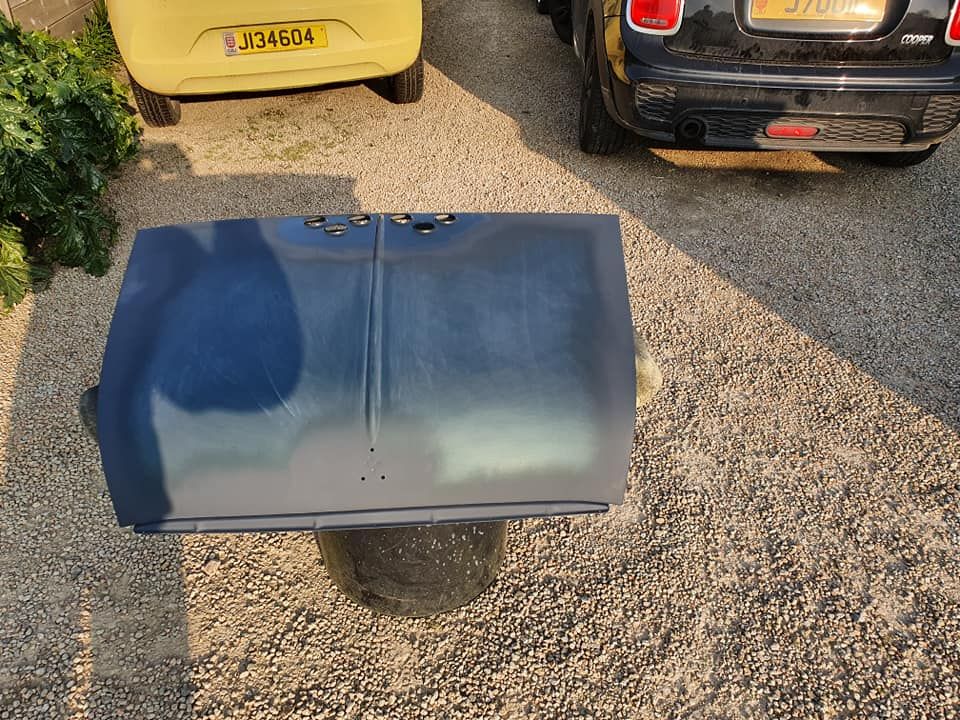
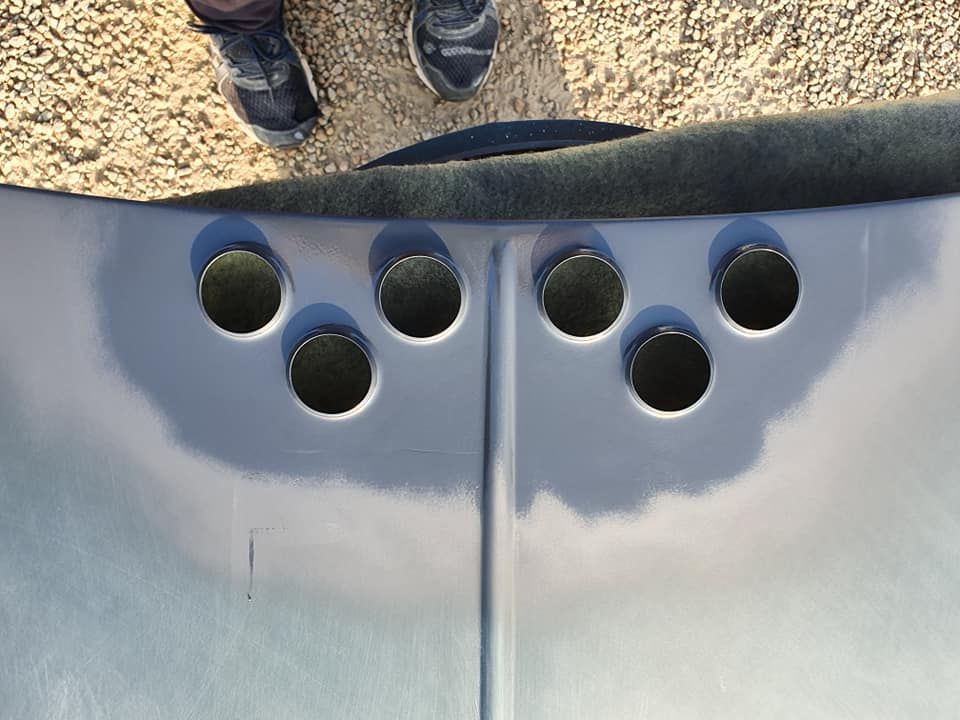
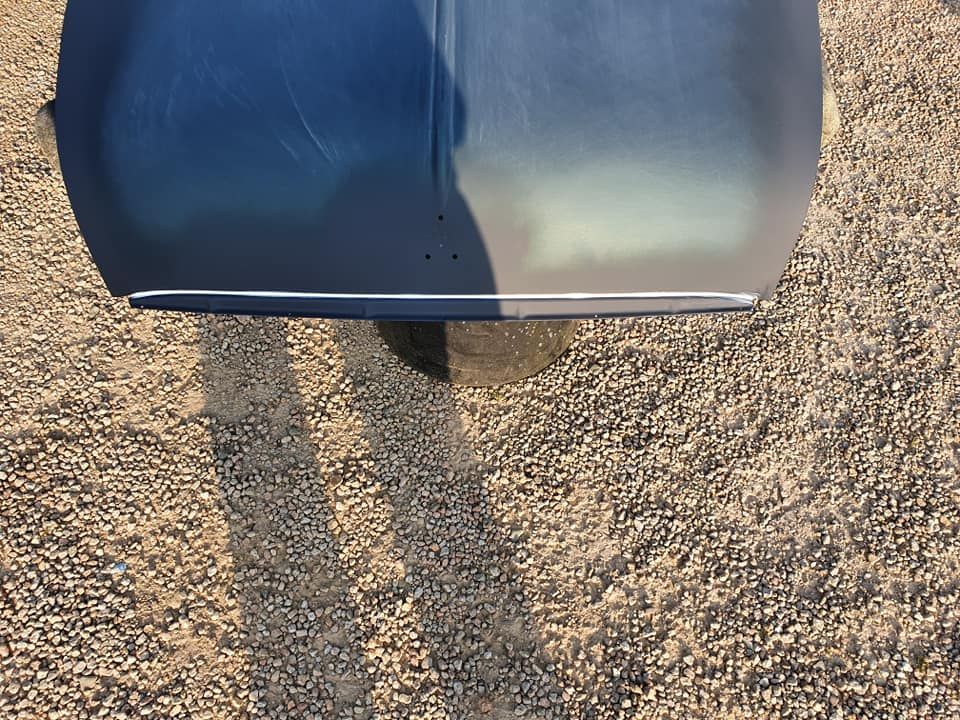
then back onto the front of bonnet and rubbed down back to bare around vent holes and etch primed and applied a sealer to front lip
Crazy About Mini's
Posted 28 March 2020 - 05:09 PM
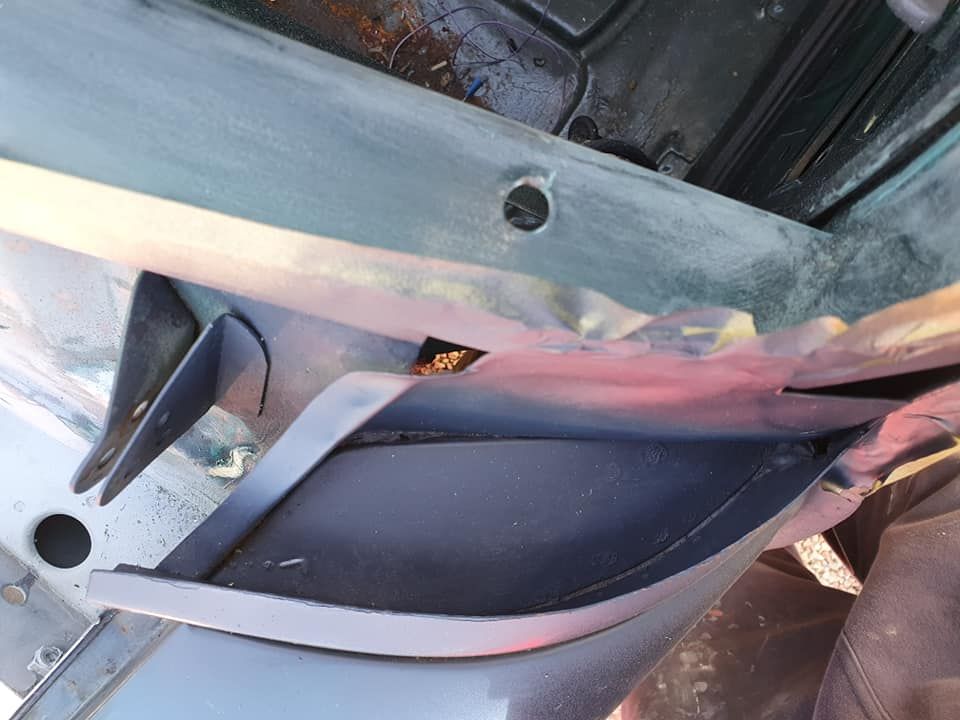
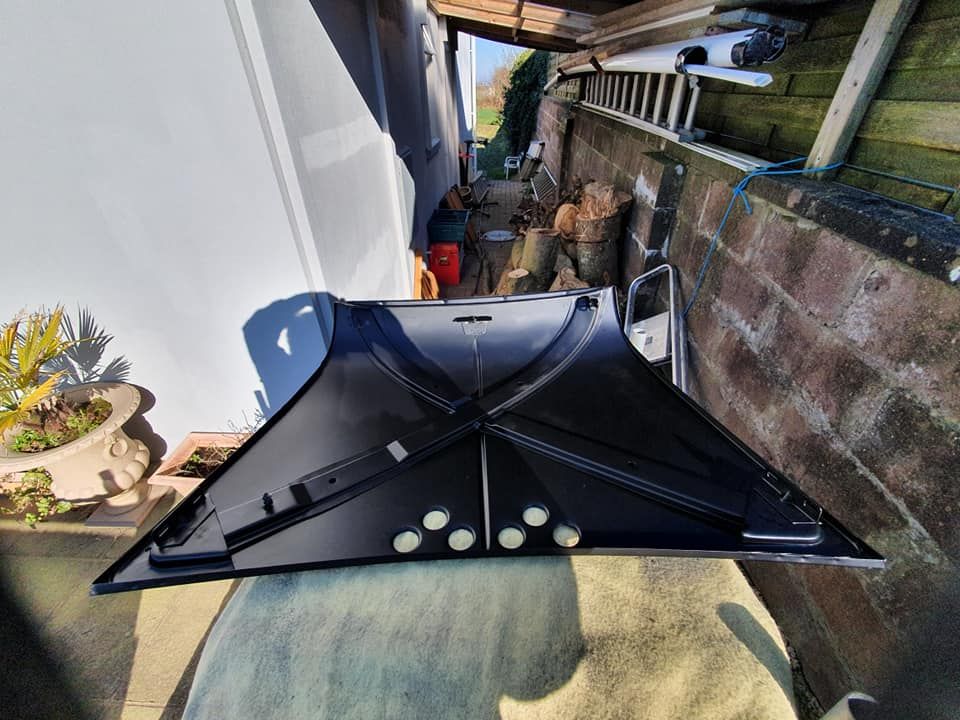
day 6 of isolation when removing scoop from bonnet I chipped the front edge so I regelcoated it

and rubbed it down and primed it

lightly rubbed down bonnet after etch priming and spot primed
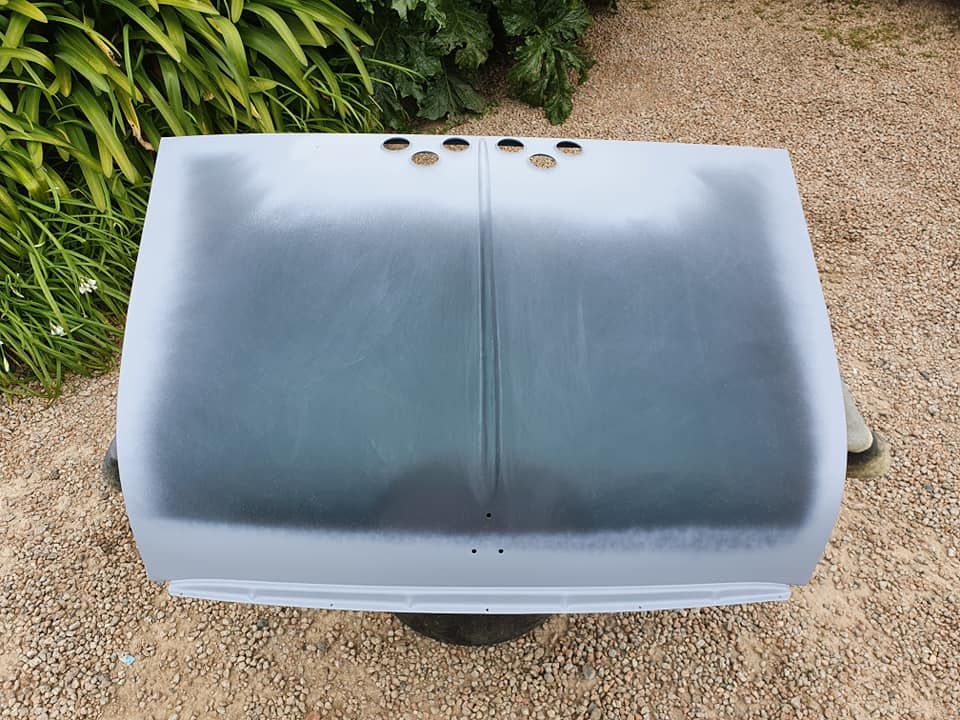
and applied 2 coats grey primer
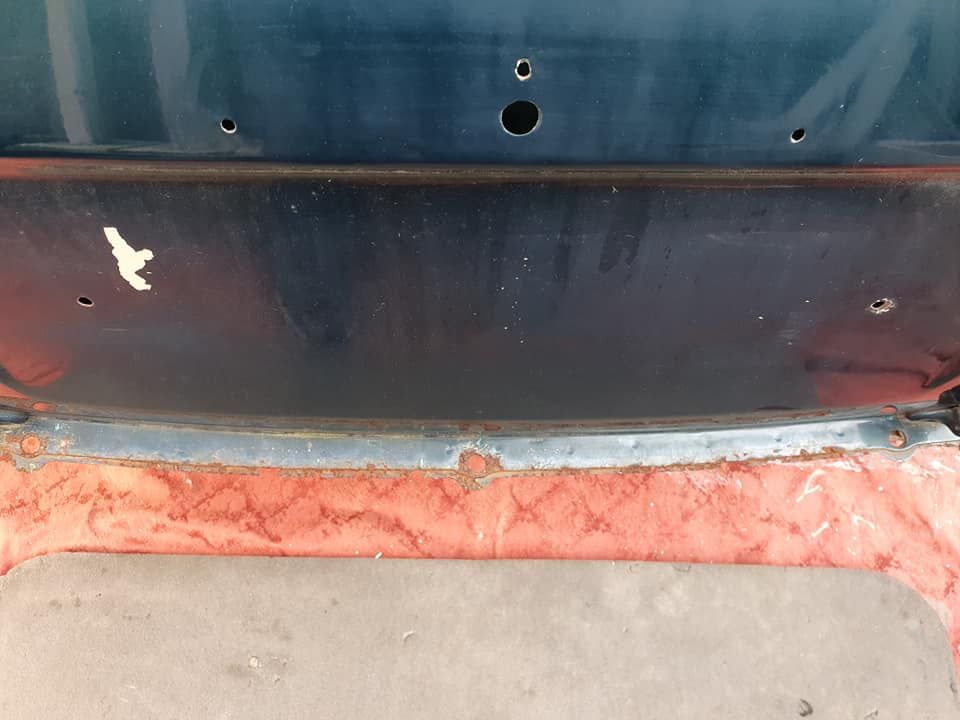
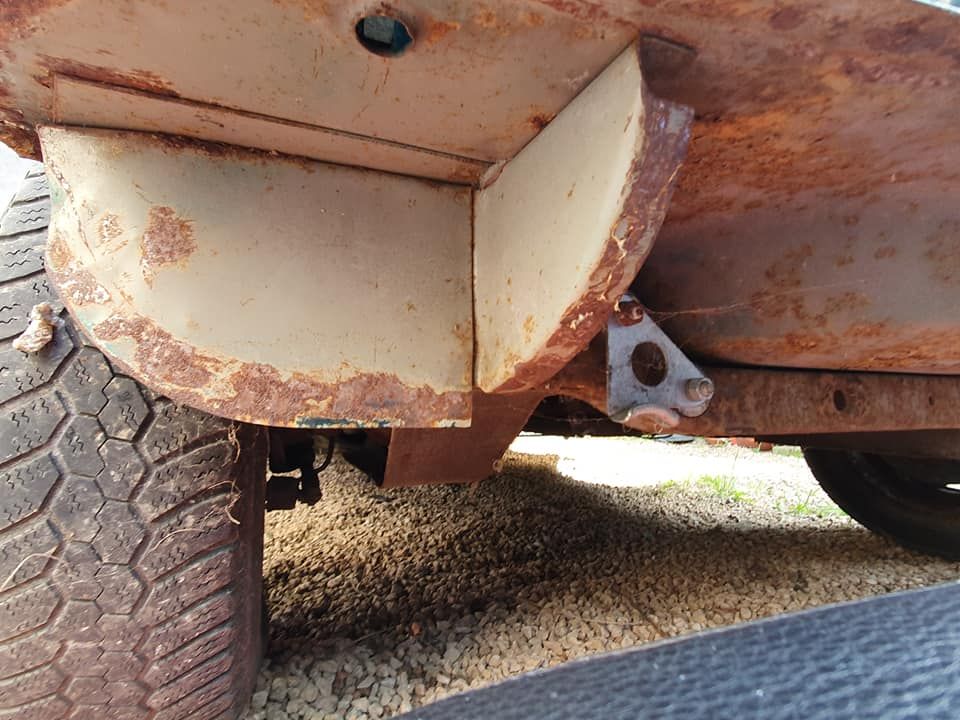
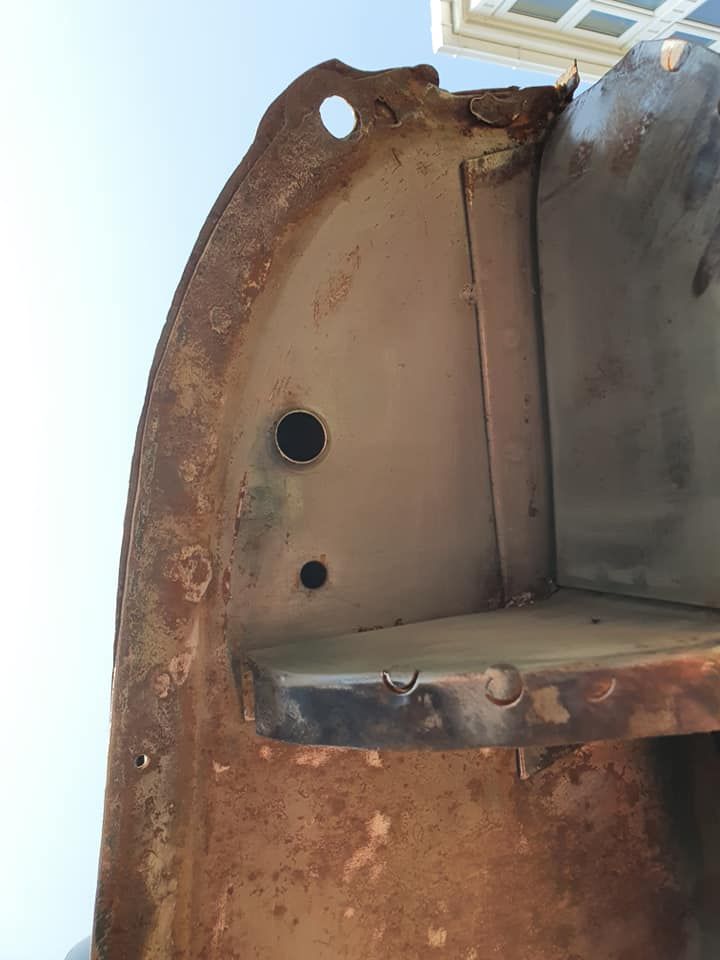
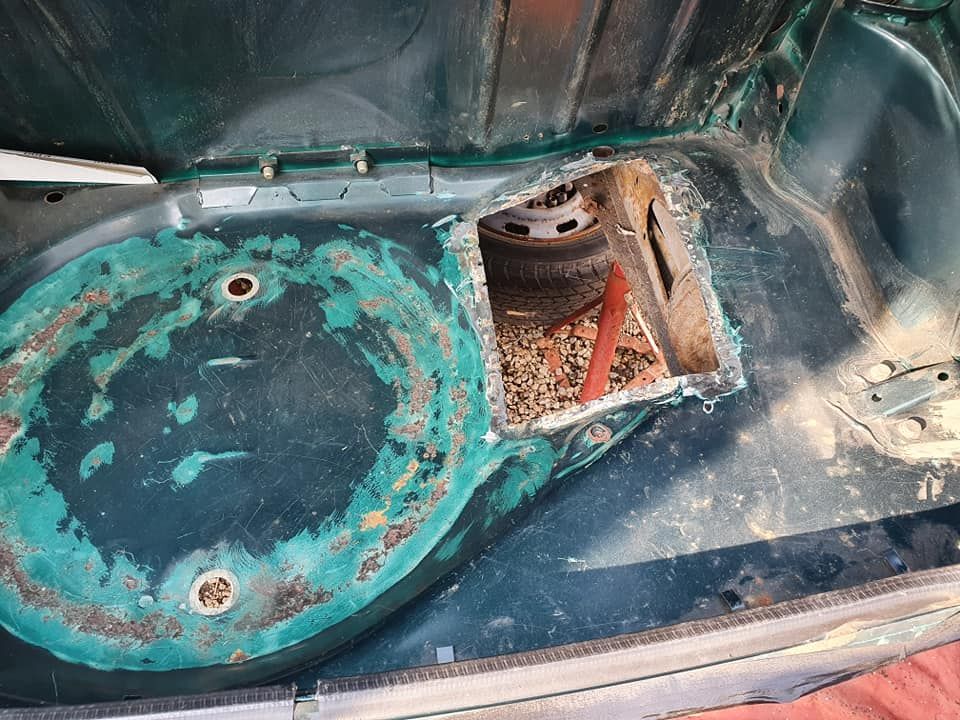
then I moved on to the boot and removed boot lid and attacked the boot floor with a electric wire brush and oh dear tiny pin holes in wheel well and large hole in battery box so I removed it
One Carb Or Two?
Posted 29 March 2020 - 08:19 AM


0 members, 0 guests, 0 anonymous users


