I was allowed out into the garage this afternoon so I got stuck in on the boot floor repair where it joins the heelboard.
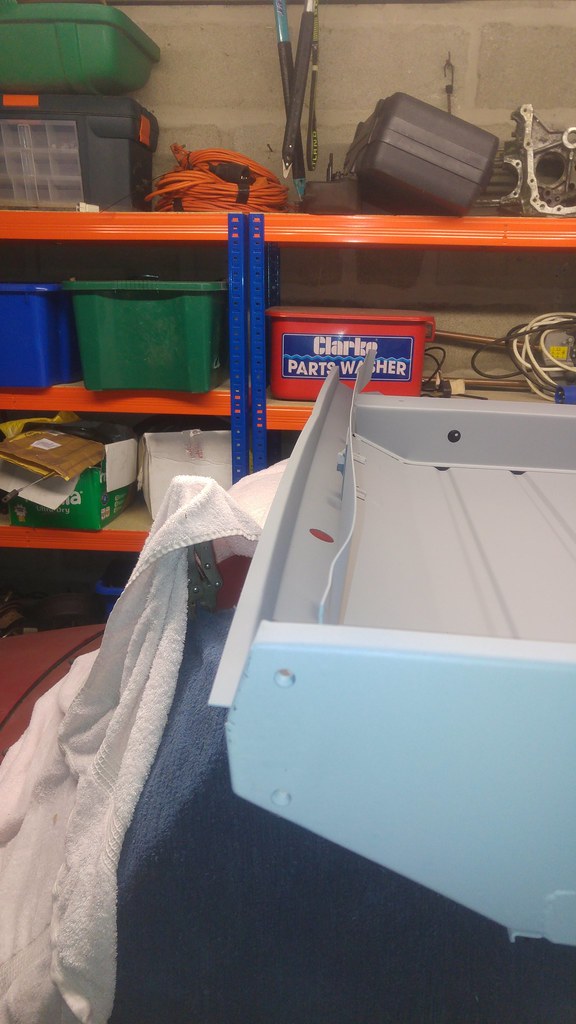
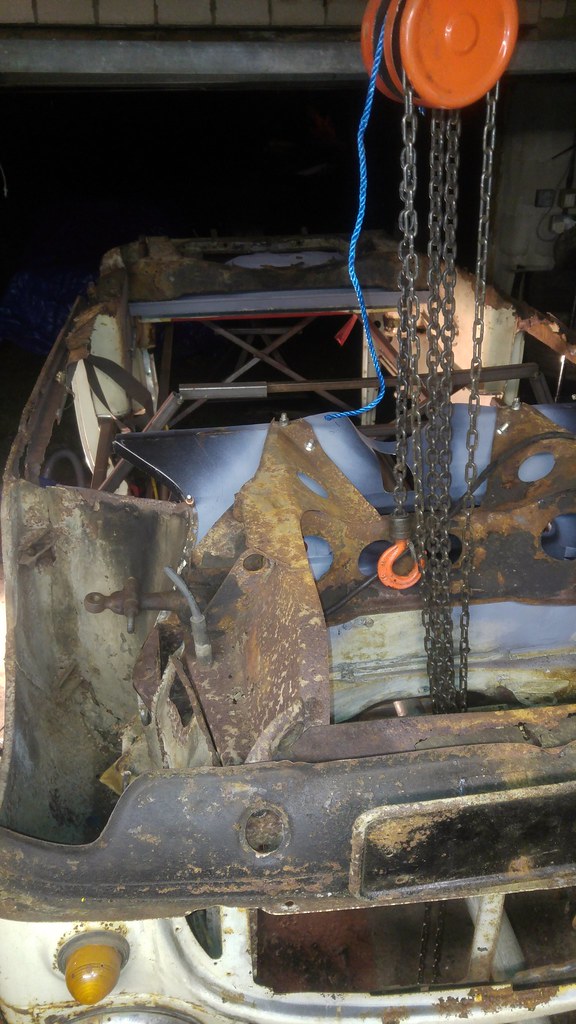
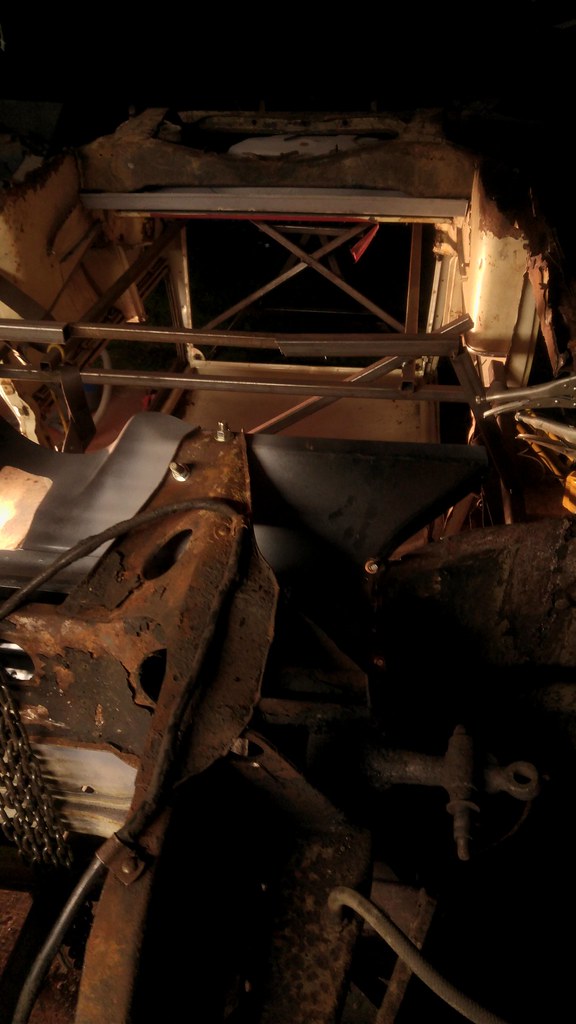
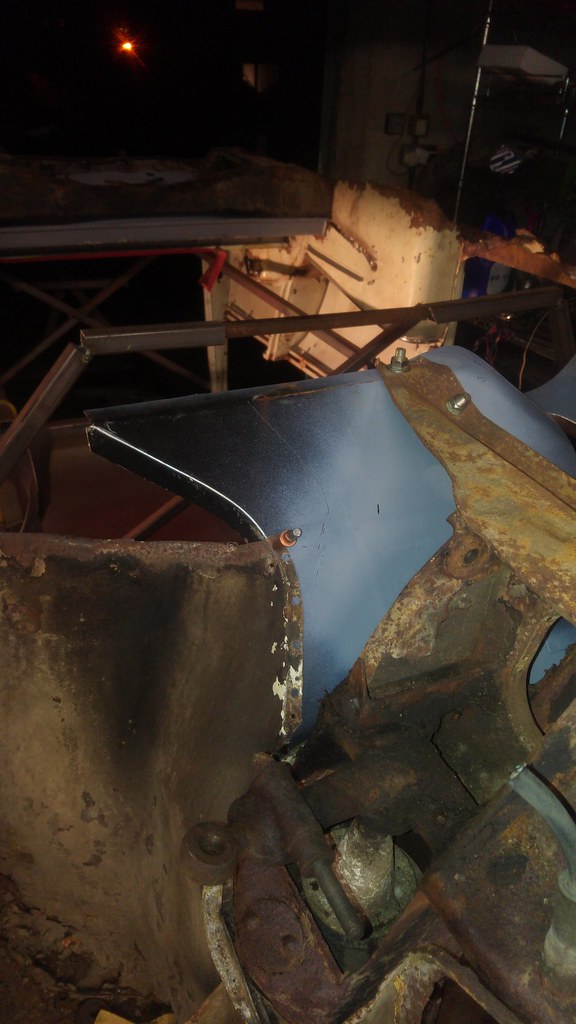
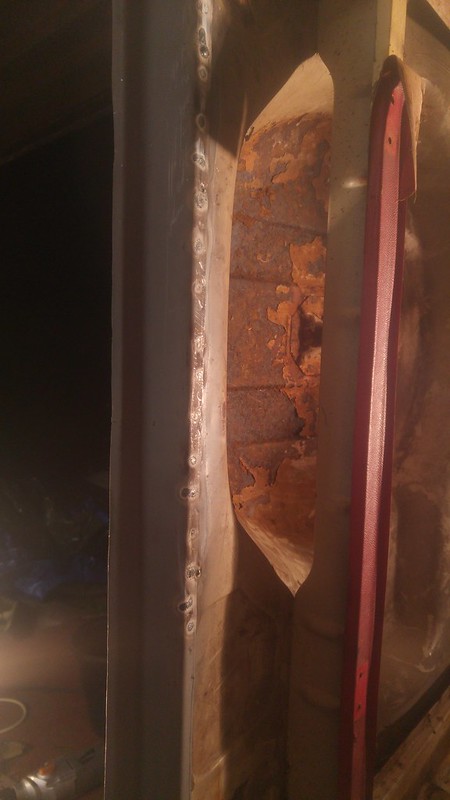
I had to take out the rear seat flanges on the rear bins which I was hoping not to have to do, but the bins were more rotten than I had thought so I'll have to replace or repair them anyway.
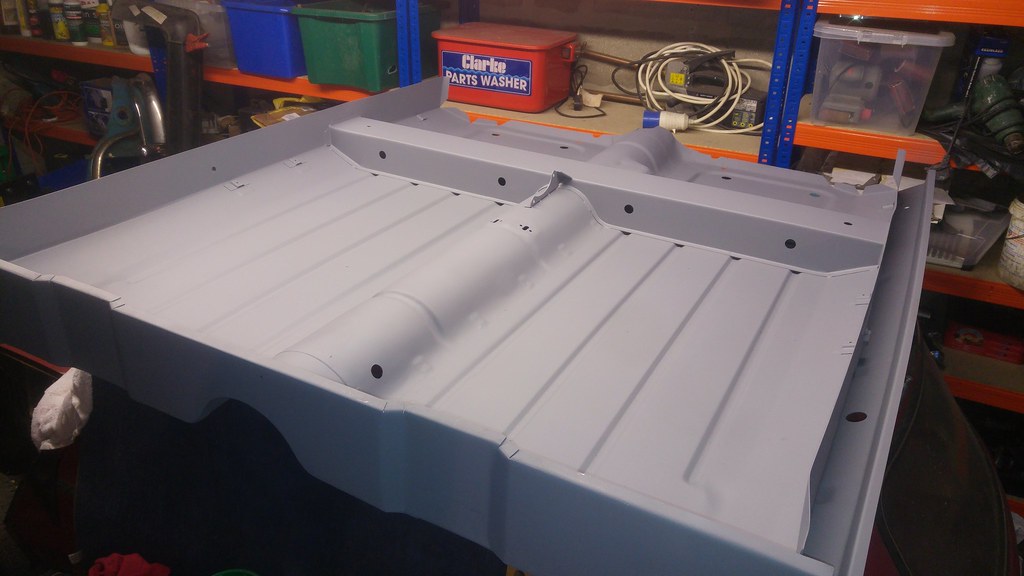
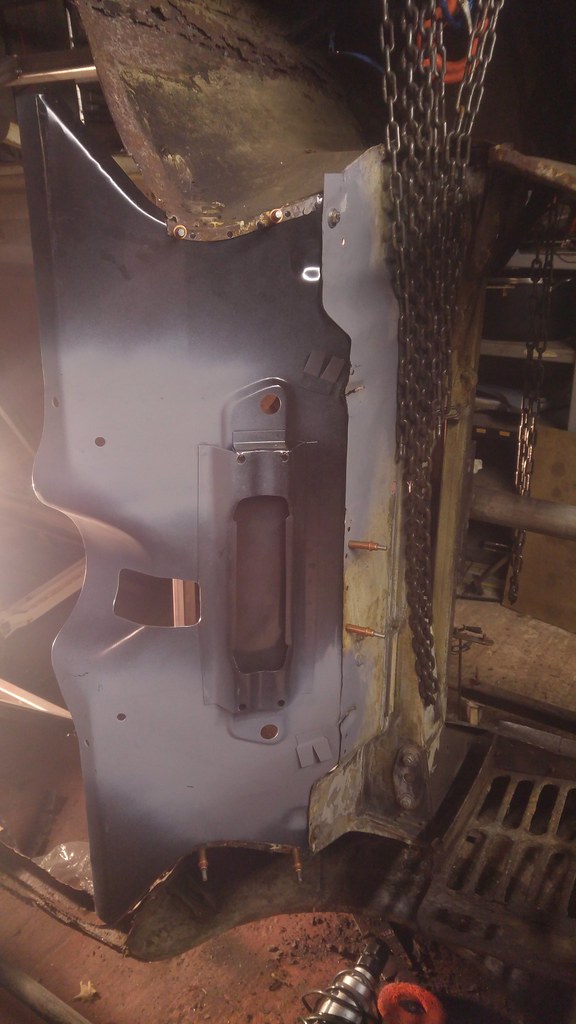
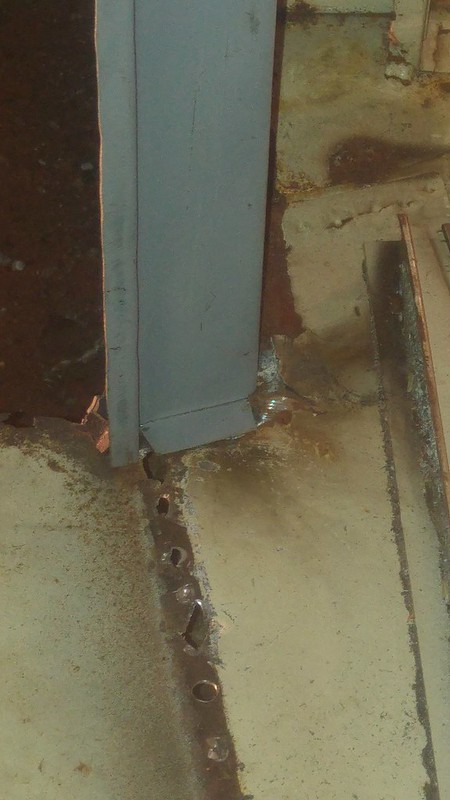
I cut along the front edge of the boot floor, used the joggler to create a step, and plug welded the repair through the original boot floor. I may decide to run a seam weld from side to side from underneath but can do that later.
 2019-01-03_06-07-11 by Mike Jackson, on Flickr
 2019-01-03_06-06-59 by Mike Jackson, on Flickr
It wasn't easy getting the rear bench supports off the bin panel because you can't get a drill and spot weld cutter in after half way because of the triangular shape of the support.
 2019-01-03_06-06-37 by Mike Jackson, on Flickr
And just then I got a call from Doreen at M-Machine telling me my panel order is ready for delivery which was great news. That's a full quarter of a year to build the floor panel! If I had known it would have taken so long I would have gone for the new Magnum mk1 Traveller full floor pressing which looks really nice and built up a full floor myself. But I'm happy that things are moving again.
I didn't plug all the way to the sides of the car because I've got repair panels to let into the boot floor corners, or at least I will have when the order arrives.
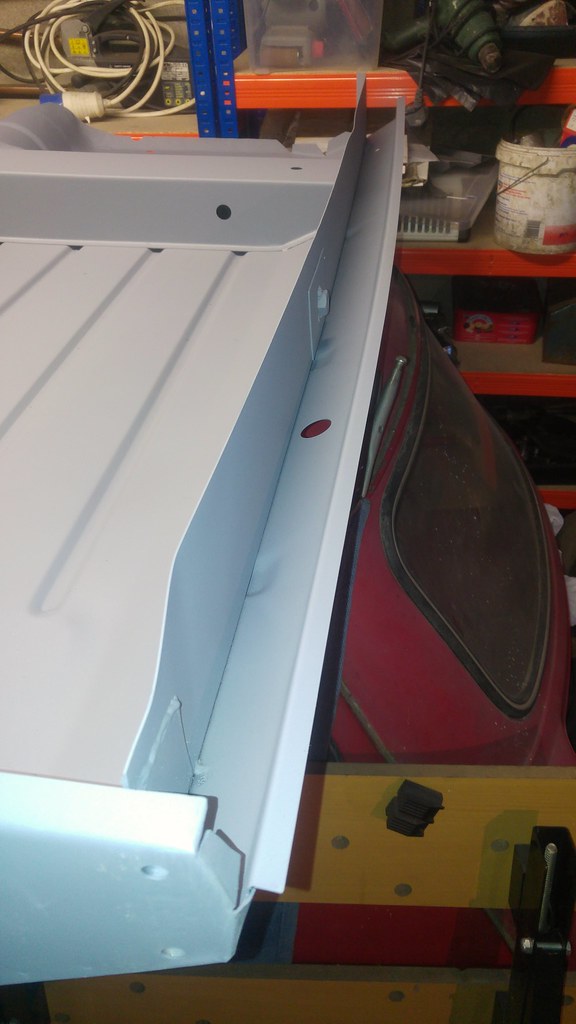
It's also not easy getting an angle grinder between the spare wheel well and the front edge of the boot floor so I couldn't clean the plug welds up as much as I'd have liked. Might have to invest in one of those narrow belt sanders.
When the order arrives I'll fit the new toe-board after having refitted the front subframe, and then get the new floor dropped into place. I'll have to secure it with clamps and self tappers for now because everything along each side and doorstep will need to be chopped out and replaced.
Edited by minimikej, 03 January 2019 - 06:35 PM.


 2018-11-11_08-09-36 by Mike Jackson, on Flickr
 2018-11-25_12-28-35 by Mike Jackson, on Flickr
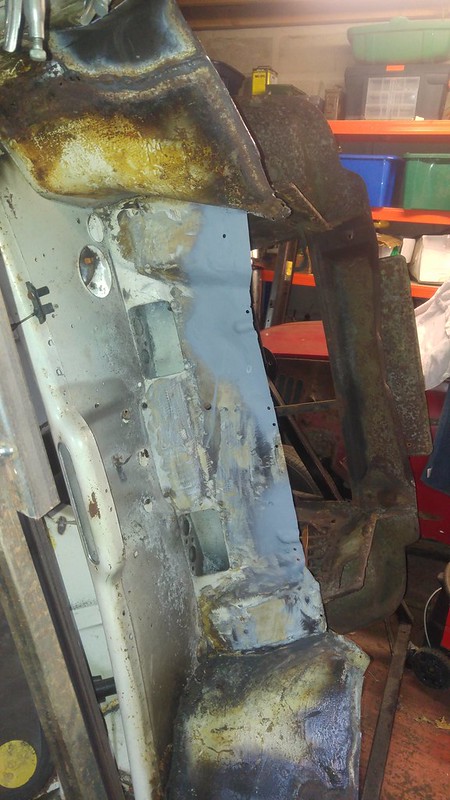 2018-11-25_12-28-51 by Mike Jackson, on Flickr