Jump to content


Photo
- - - - -

Kws's Mini 1000

roundnose

  • Please log in to reply
88 replies to this topic

#1 kws

kws

    Stage One Kit Fitted

  • Noobies
  • PipPipPip
  • 63 posts
  • Location: Wellington, New Zealand

Posted 14 June 2018 - 08:51 AM

It's somewhat amazing that its taken me this long, but I finally added a classic Mini to the stable.

Its funny. I'm kinda impulsive, but not.... I know what I want, when I see it.


I have been keeping an eye on Trademe for a new project, since I'm basically wrapping the Vitesse up as it's about as good as it needs to be now. Trademe is a dangerous place to hang out, the people are generally horrible, and the prices are the worst, but sometimes something even worse happens.... I see a car and it "clicks", and I know that's what I want.


That happened the other day, when I spotted a nice little '76 MK3 Mini 1000 on there. It had current Rego and WOF, and apparently it drove well and the rust was "nothing that would affect warrants, yet". It also had an interior that was "showing signs of age but is original and complete". For a road legal classic Mini, it was decently priced too.


Naturally I arranged to view the car, and had a look the other day. Well... I didn't end up taking it home. It looked OK in photos. A bit patchy, with obvious paint differences, but no glaringly obvious rust holes. The interior was worn out with a mismatched drivers seat, but didn't look bad.
808294289.jpg 808294366.jpg 808295013.jpg

I get there to view the car, and "oh, the battery is dead so it needs a jump". Well ok, not the first time I have seen this, and not a deal breaker. He jumps the car, starts it up and it idles rough as anything, but is idling. No big plumes of smoke or anything, so its promising. One thing I noticed when I was checking out the car before he started it, was that the radiator and engine were hot, so obviously it had been running already that day. We'll come back to this fact.


Whilst he was faffing about jump starting the car I had a good look around, and wow, she was rough! The reason you can't see any rust in the photos? It had been quickly and badly painted over. Every single panel had bubbling paint/rust to some degree. The interior was falling to bits, with missing trim, no carpets, mismatched and torn seats, and a general sense of decay and neglect.


Since I was there, and I was looking for a project, I thought I may as well take it for a drive and see how it goes. Who knows, if it runs like a mighty stallion, I might just take the project on anyway. Having a stuffed battery, I was told I could test drive it, but only up and down the road within eyeshot of the seller just in case I stall it and it needs to be jump started again. So I jump in the hot seat, click it into gear and off I go.


"Hows it running" the guy said when I returned. "Like a bag of Sh*t" I quickly whipped back. And it was. It was bucking, surging, backfiring and misfiring badly. "oh, it must need warming up with the choke. Jump in the passenger's seat and I'll take it for a drive". Needless to say the choke made no difference since the engine was already well and truly up to temperature, and even with his magical abilities, it ran like rubbish. "Must be the flat battery then", so he hooks up the jumper leads again, but even with this amazing technology, it ran badly. Nope. Even if I wanted to drive it home, the suburb it was in had one road in and out, which was over a steep hill. There was no way this car would make it over that hill.


I told him to let me know if he gets it running properly, and wished him a good day. Good luck to him.


So with that disappointment, I headed home. Later that evening I checked Trademe, and low and behold another round nose classic Mini had just been listed locally. This time it was advertised as "rust free, runs and drives well". The photos looked good, showing decent paint (in green too!) and interior. It had some massive 13x7 alloys on it, but no flares. The downside? It was deregistered due to the previous owner forgetting to put the rego on hold a few years ago.
810664701.jpg 810664657.jpg

This isn't a huge issue on older cars, so I teed up a time to view the car anyway.


I get there and once again the car isn't ready. "It just needs the brakes bled, it was meant to be done" the seller states. Ok, no worries. I have a look around the car anyway. For once the seller was right, the body was damn tidy with minimal rust, and no obvious bubbling. Compared to the red one, this car was factory fresh. The one thing that was pointed out was that the wide wheels don't clear the standard arches, and you can't turn full lock.


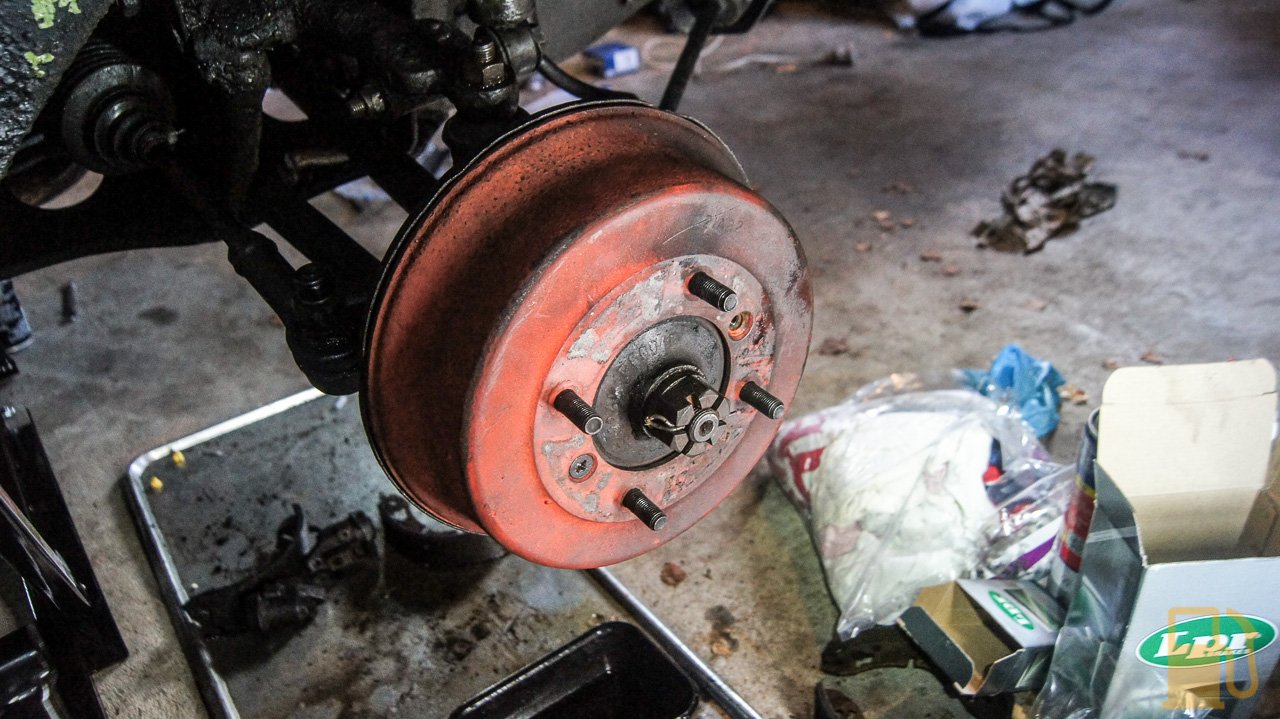
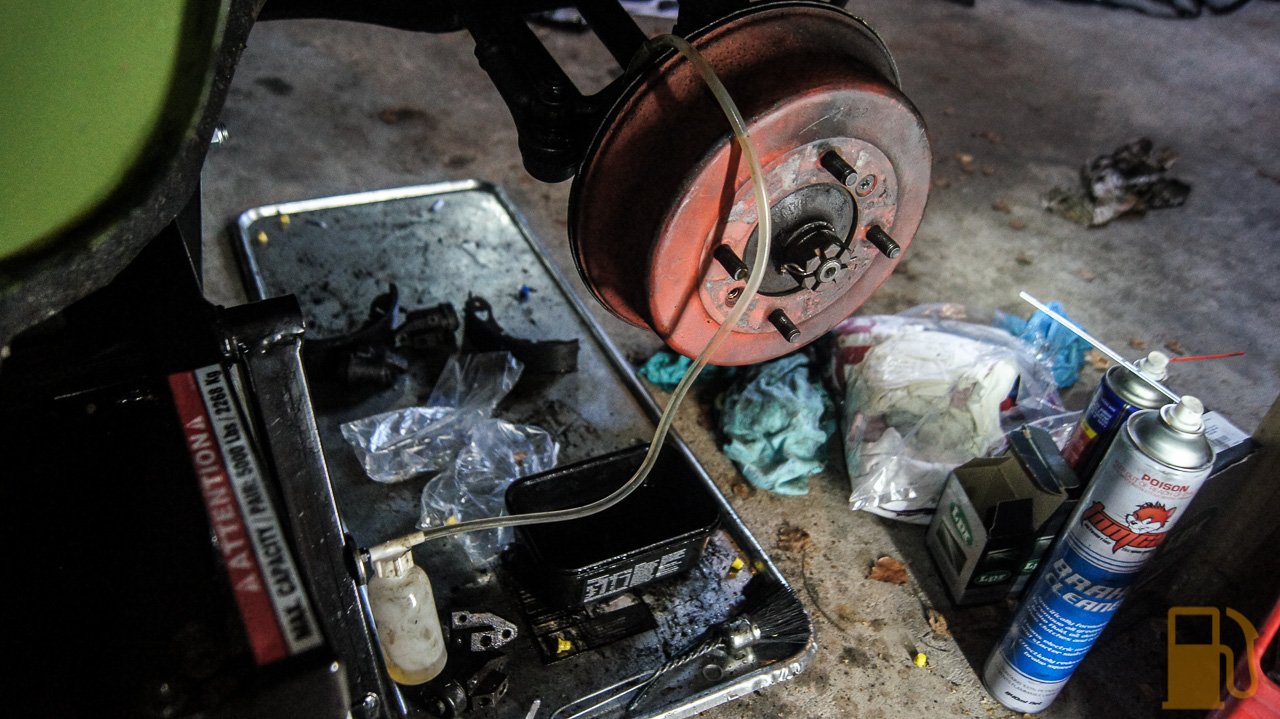
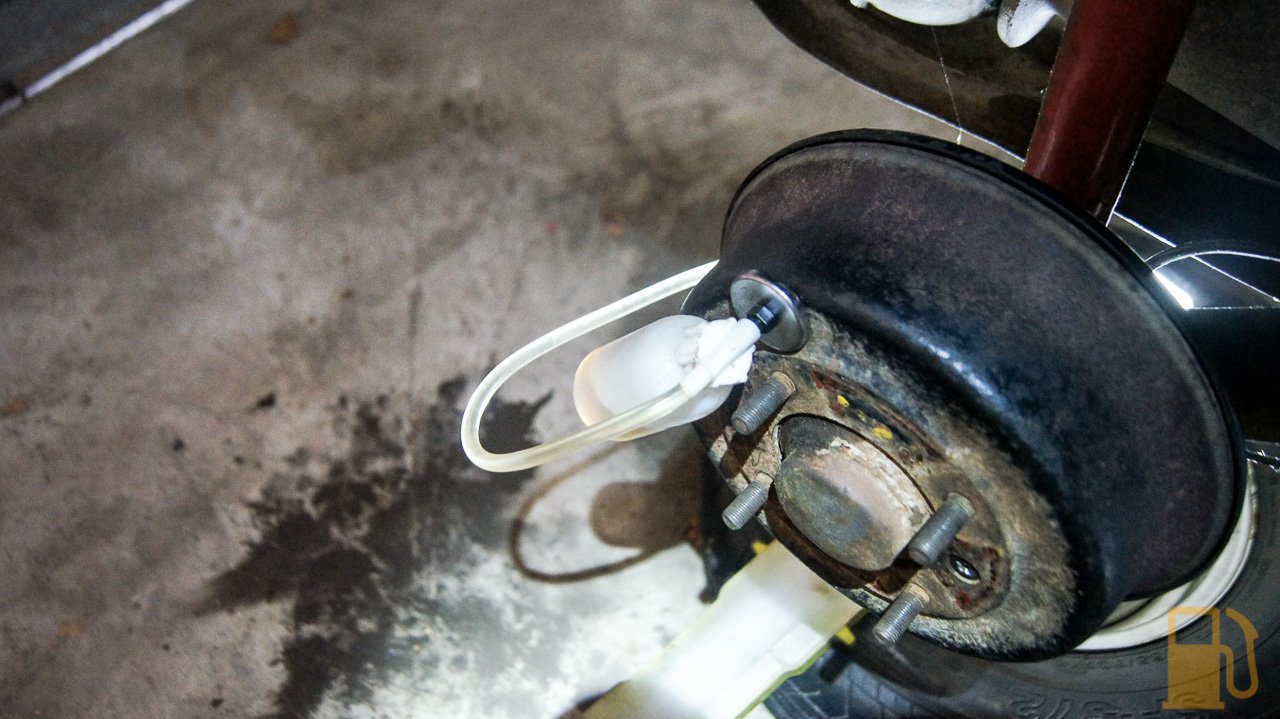
The seller attempted to bleed the brakes for over an hour, but they just couldn't get a good pedal. We gave up for the day, and I left them to trying to bleed it more.


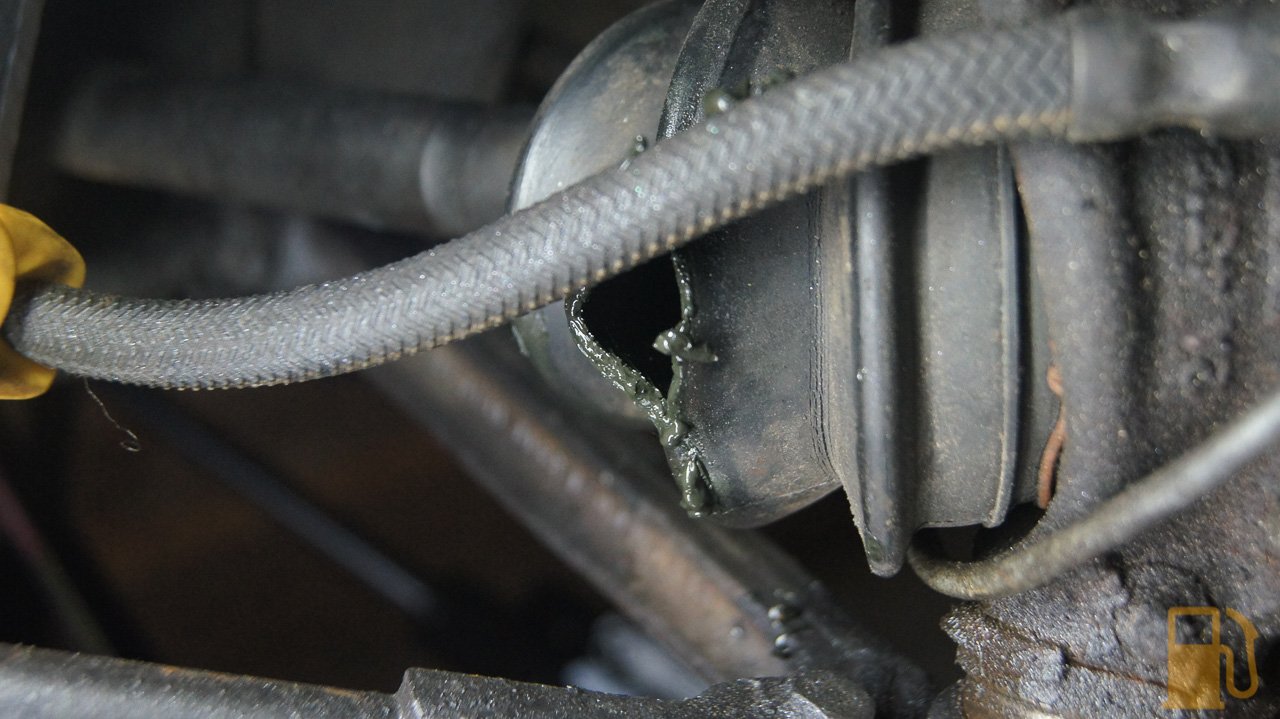
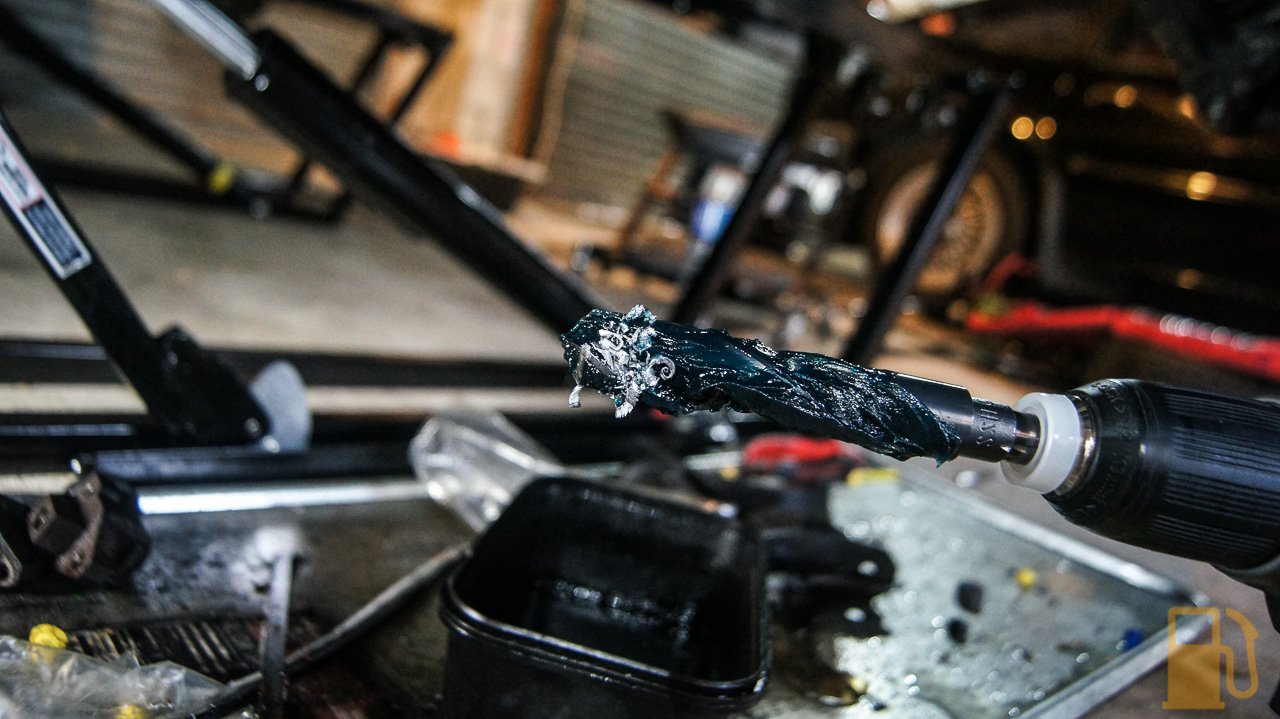
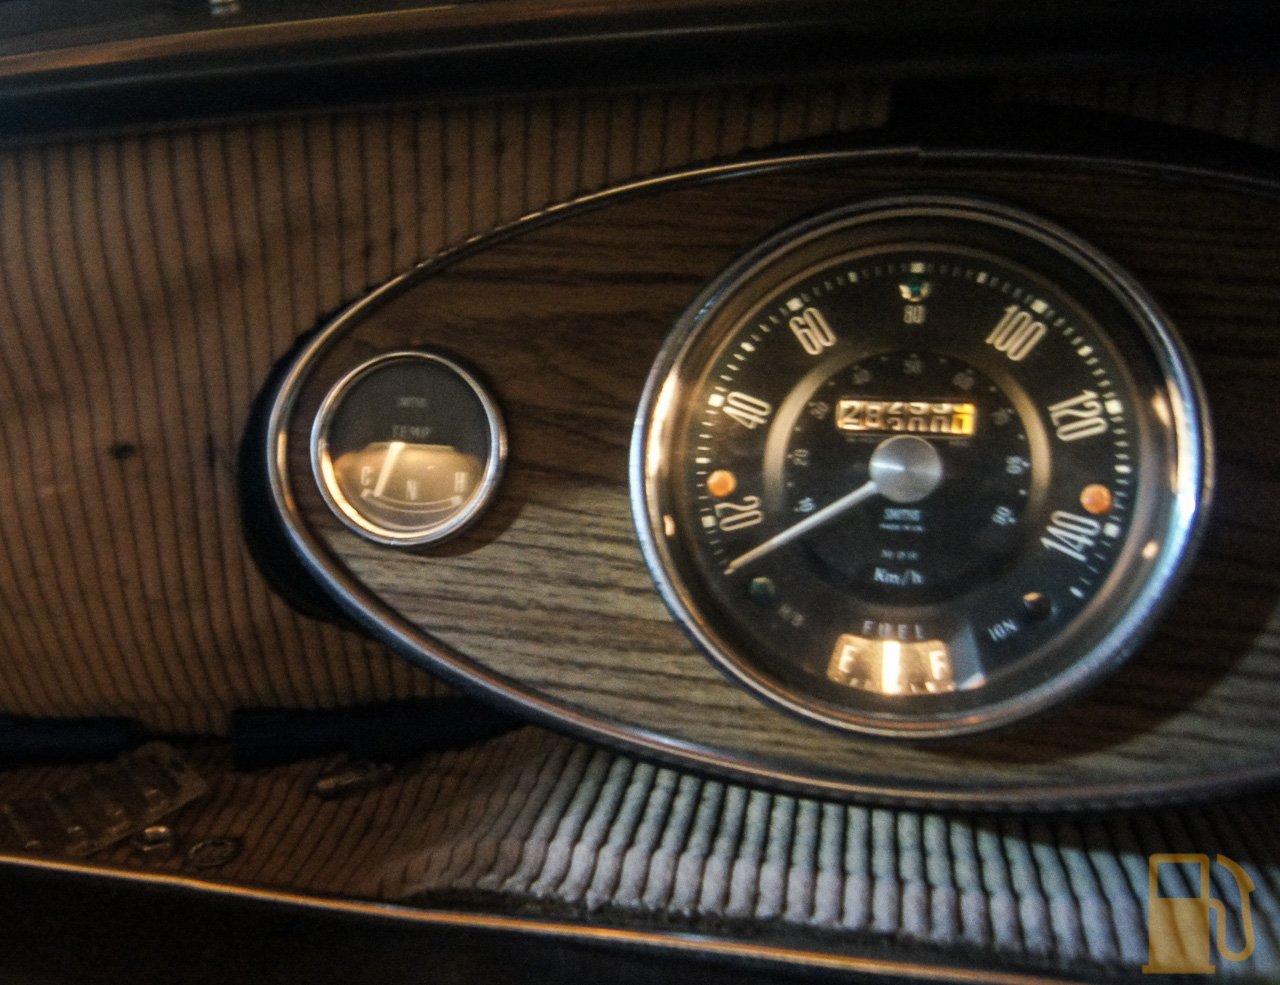
The next day I get a call about lunch time, saying that the brakes were bled and it was ready to go. I head on down there, jump in the car and attempt to take it for a test drive. I get stopped straight away; the engine is pouring out oil! It turned out that the feed for the mechanical oil pressure gauge was leaking, so the seller crimped off the pipe, and the leak stopped. The brakes still don't work. Eventually I worked out that if you double pump the brakes at least one of the front brakes would work, but you had to be damn careful not to lock the wheel. I managed to get it down the road and around the block, and although the clutch pedal engages on the floor and is soft, the car drove pretty well. Gearbox was smooth, and the suspension did its thing. I did note that the speedo wasn't working, but that's not an issue (turns out its not connected).


I get back to the workshop again and advise that the brakes still aren't working properly, so they try to bleed them again. Still no pedal. No worries, I said i don't care how it gets to my house, but if you can get it there I'll buy it. We settled on a price, without the wide wheels (he had the standard wheels with near new tires), and he said he would get a trailer and deliver it.


About 10 minutes after I get home I hear this odd, very British sounding ruckus heading up the street. Oh hey, its my Mini, and the sellers other Mini. It turns out he just chose to drive it the 20 mins to my place, despite having little to no brakes, and no reg/wof. It made it here OK though.
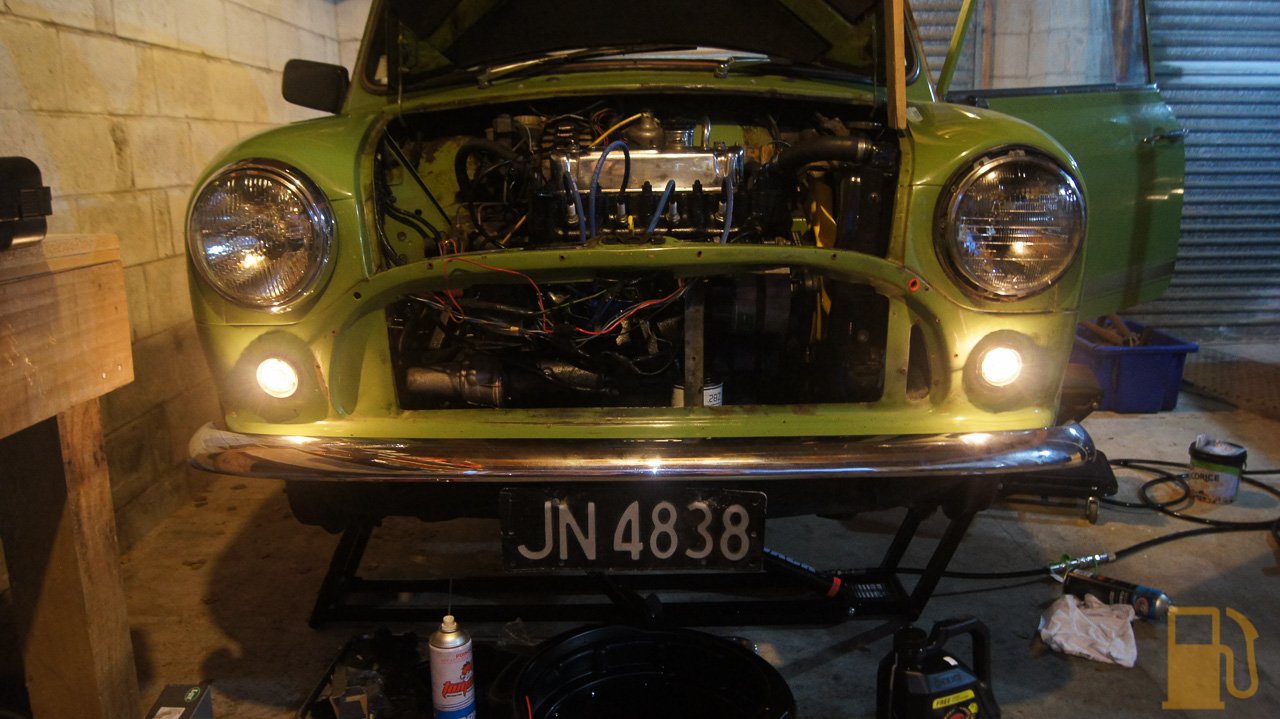
IMG_1707.jpg IMG_1709.jpg

So what do I have?


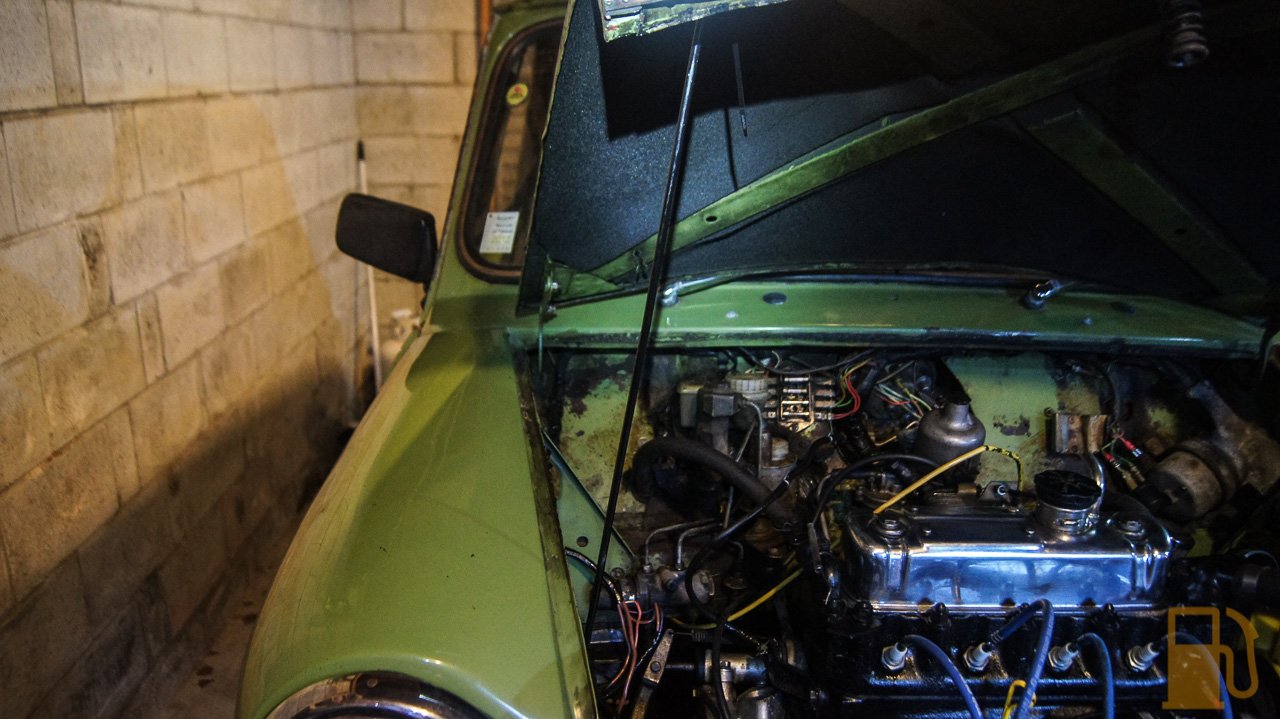
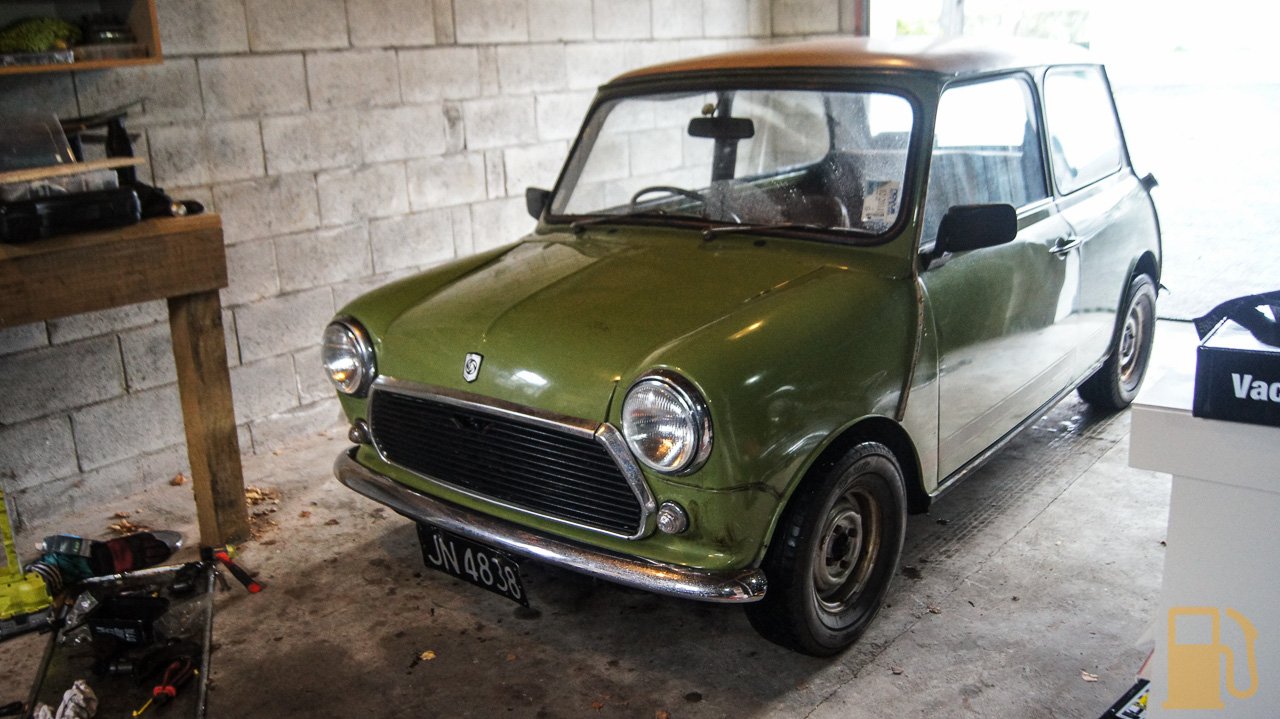
It's a MK4 1980 NZ built Leyland Mini 1000. The reason the brakes needed to be bled is that there was an issue with the original 998cc engine, so the seller swapped in the 998cc from his earlier MK3 Mini, which necessitated dropping the front subframe. There are a few small changes, but generally the engines are basically the same between the two cars.

It hasn't had a warrant in a few years

IMG_1748.jpg


There are a few issues, other than the speedo and brakes not working. So far this is what I have found in my travels:

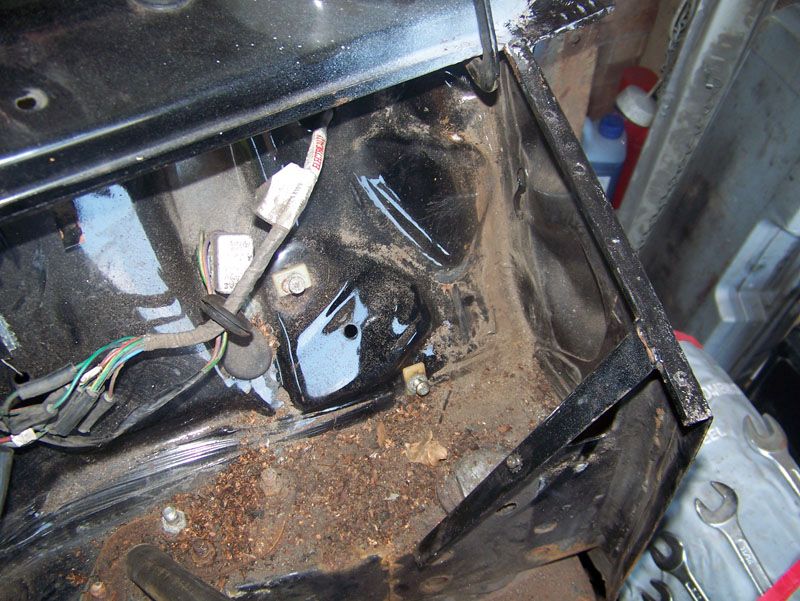
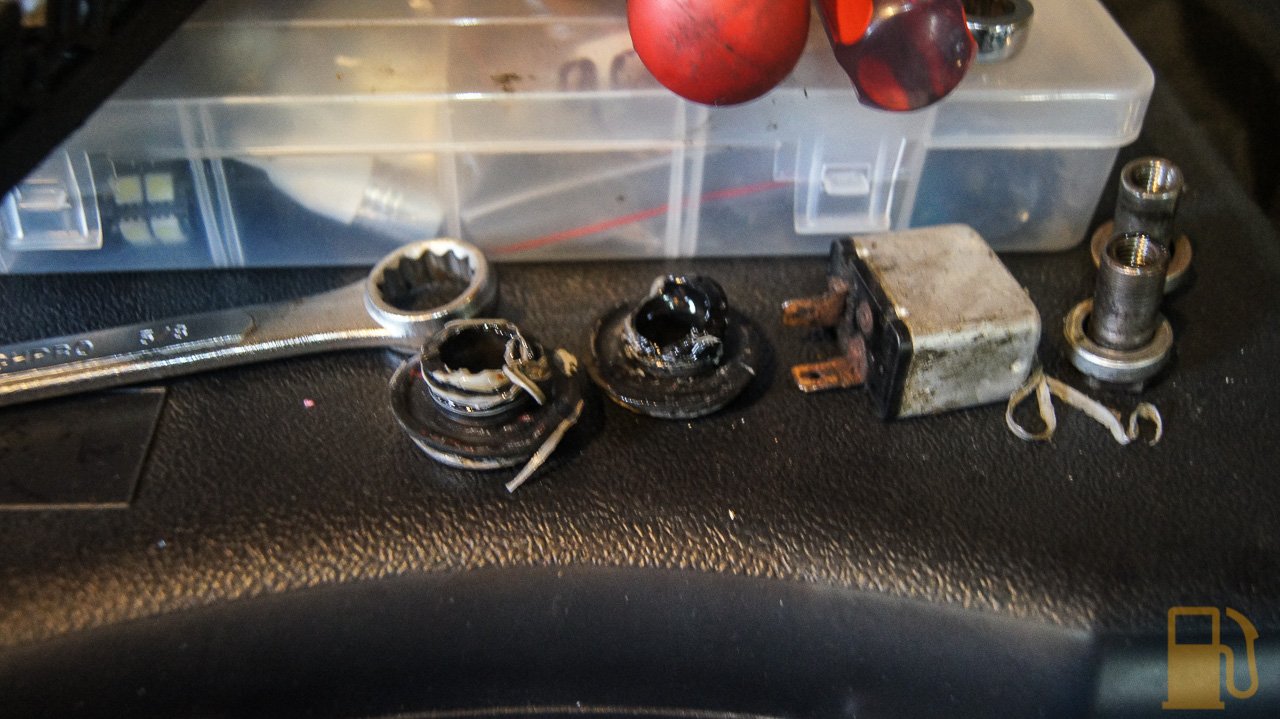
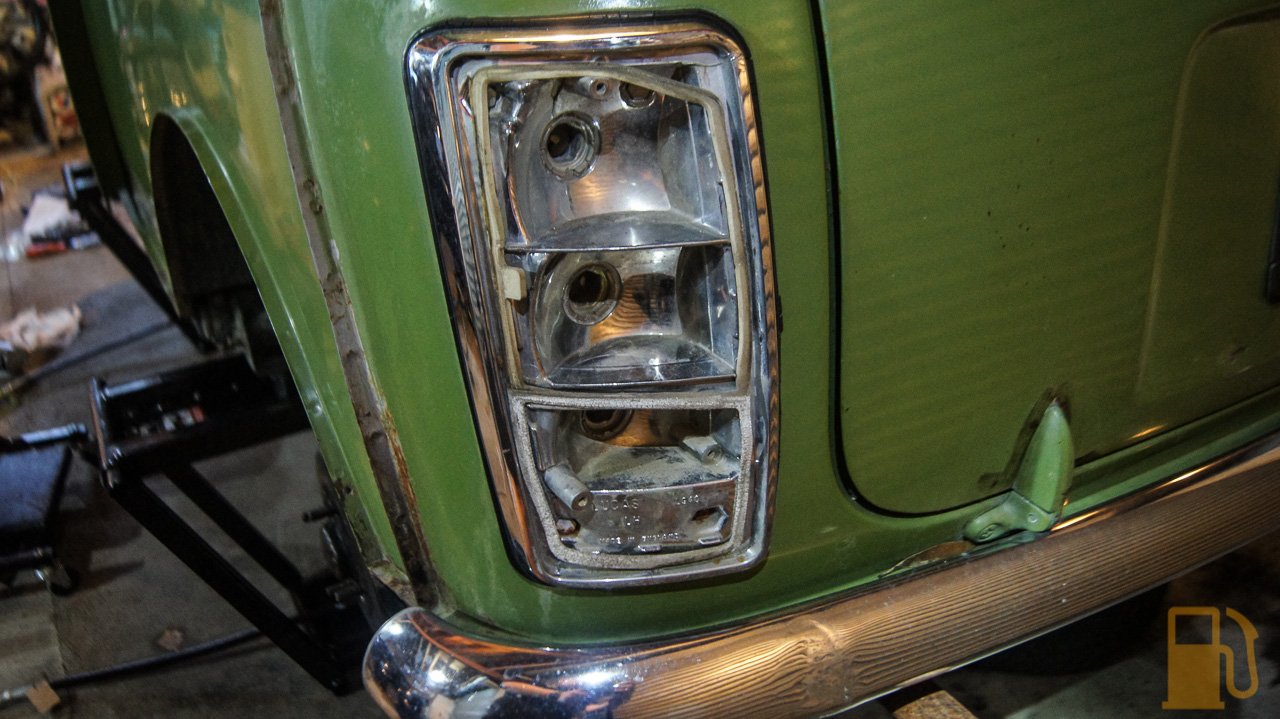
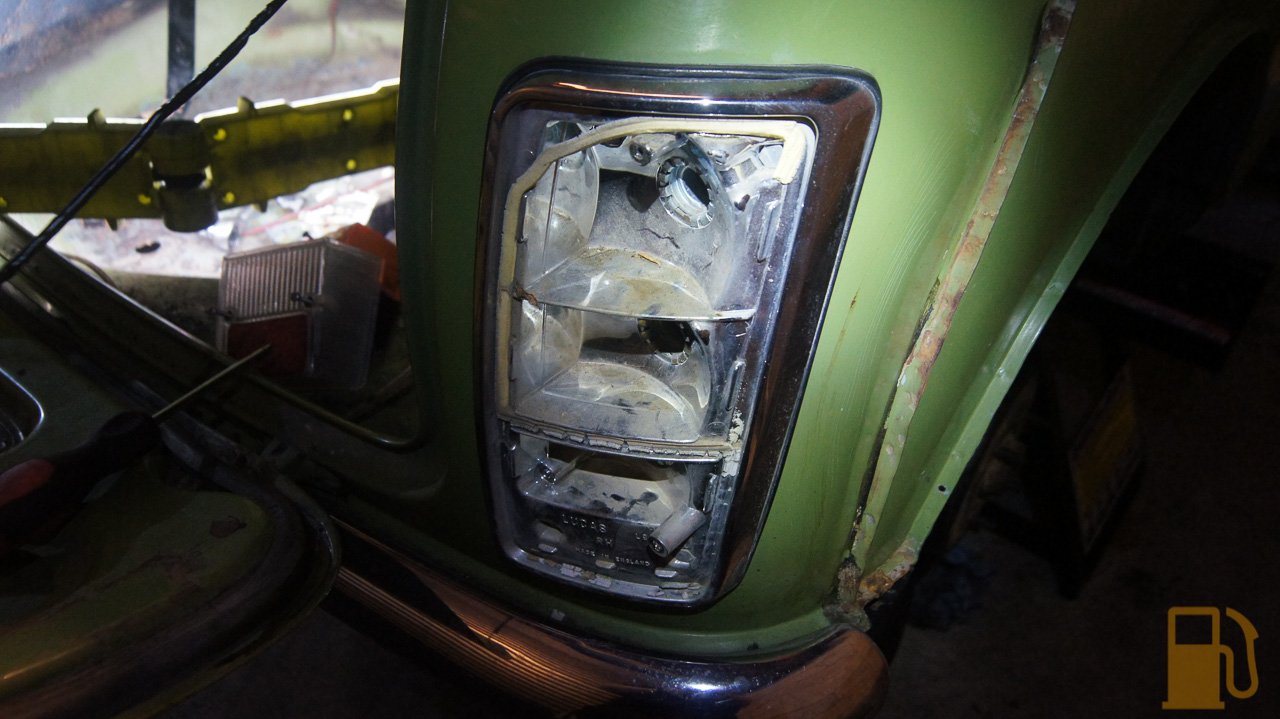
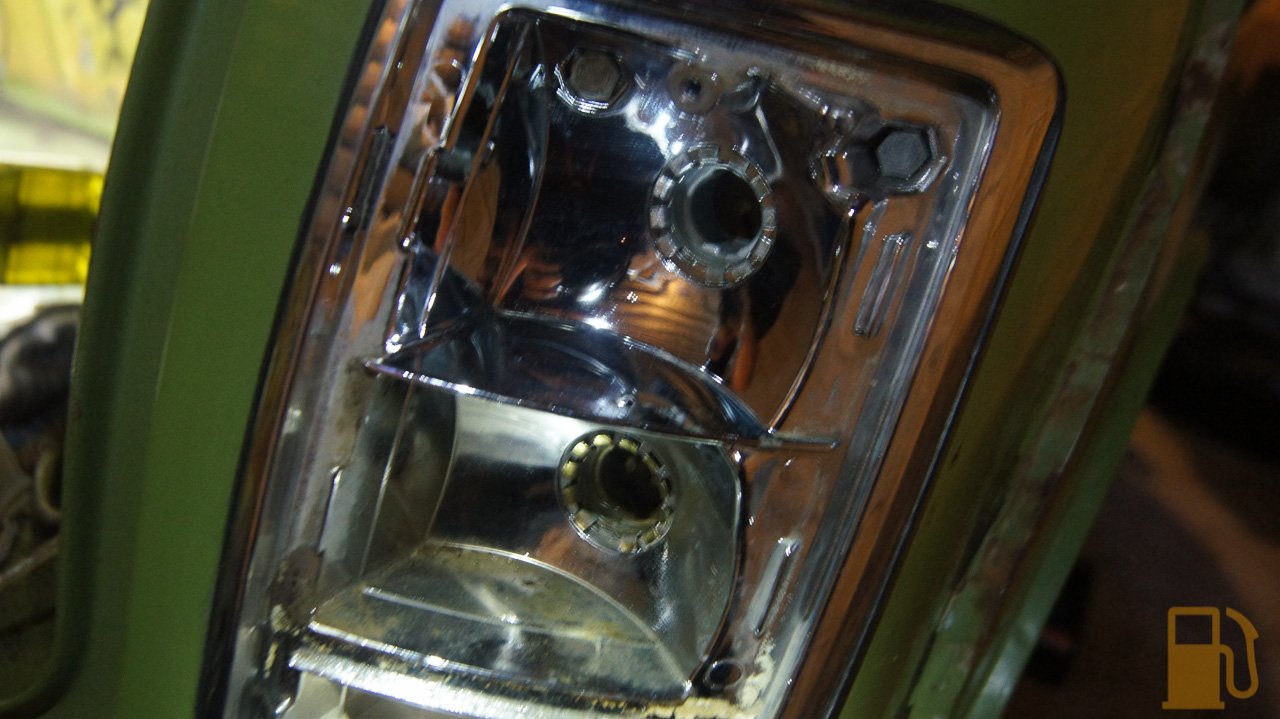
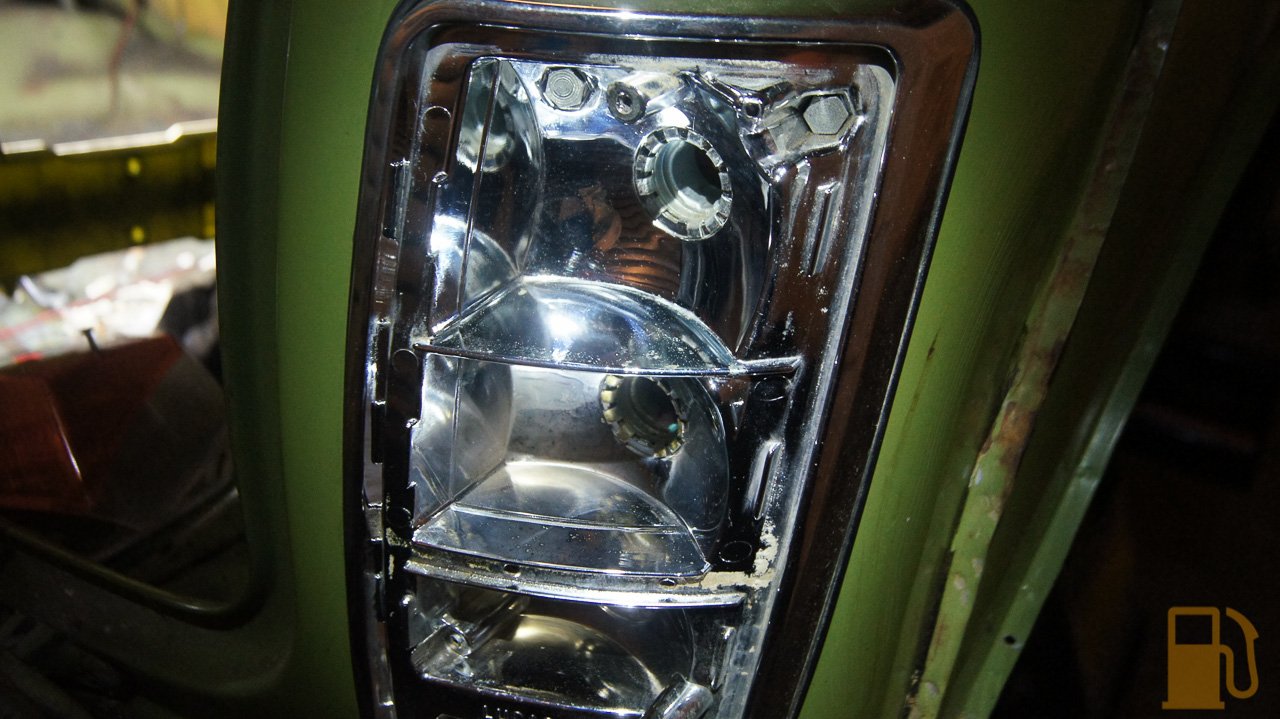
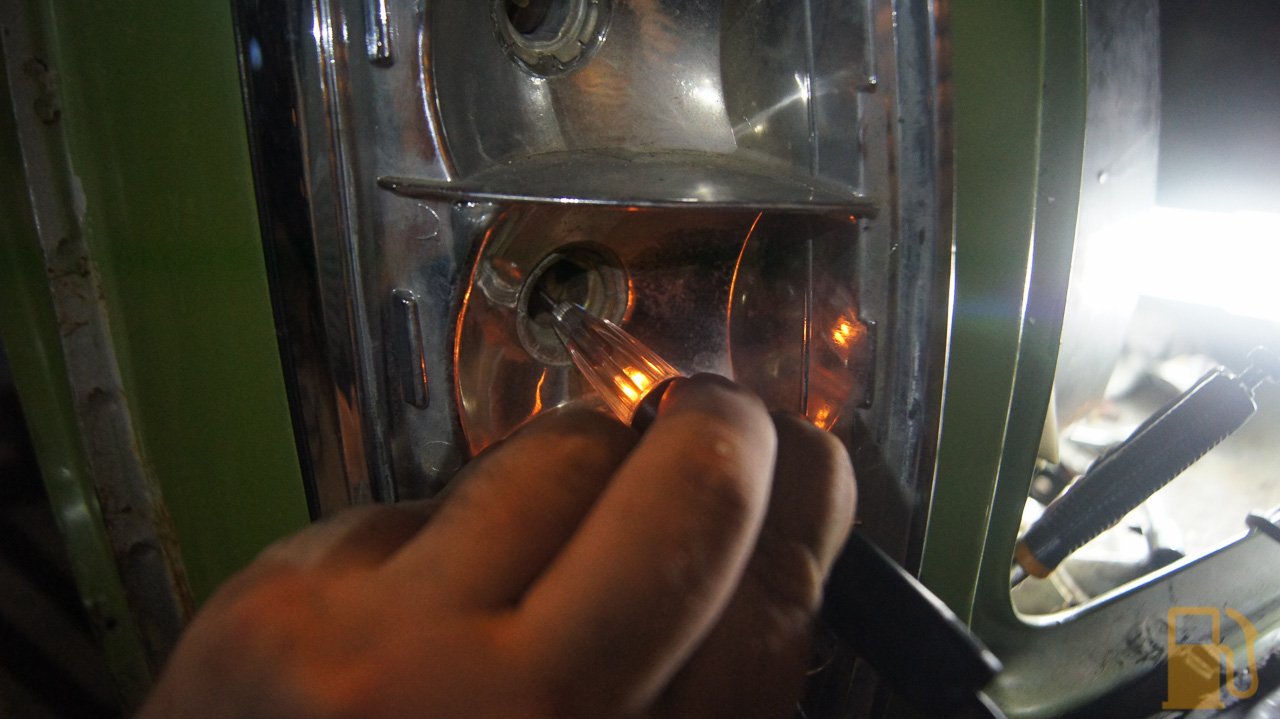
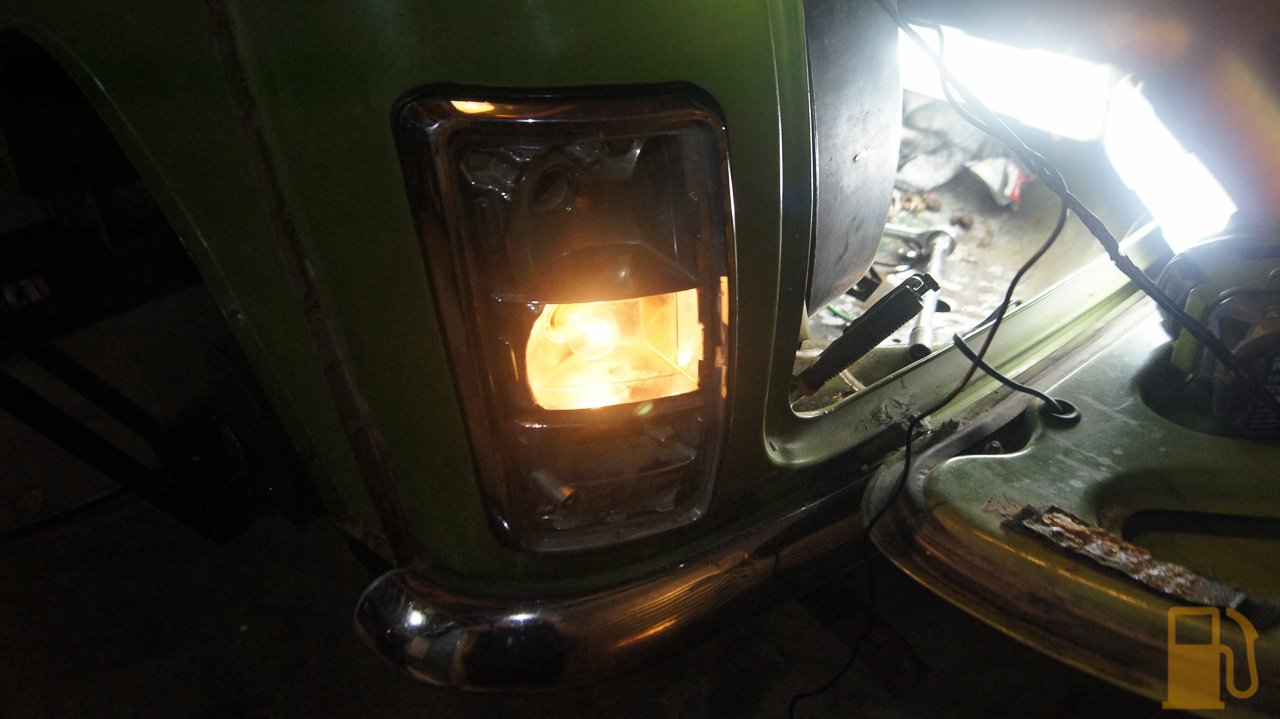
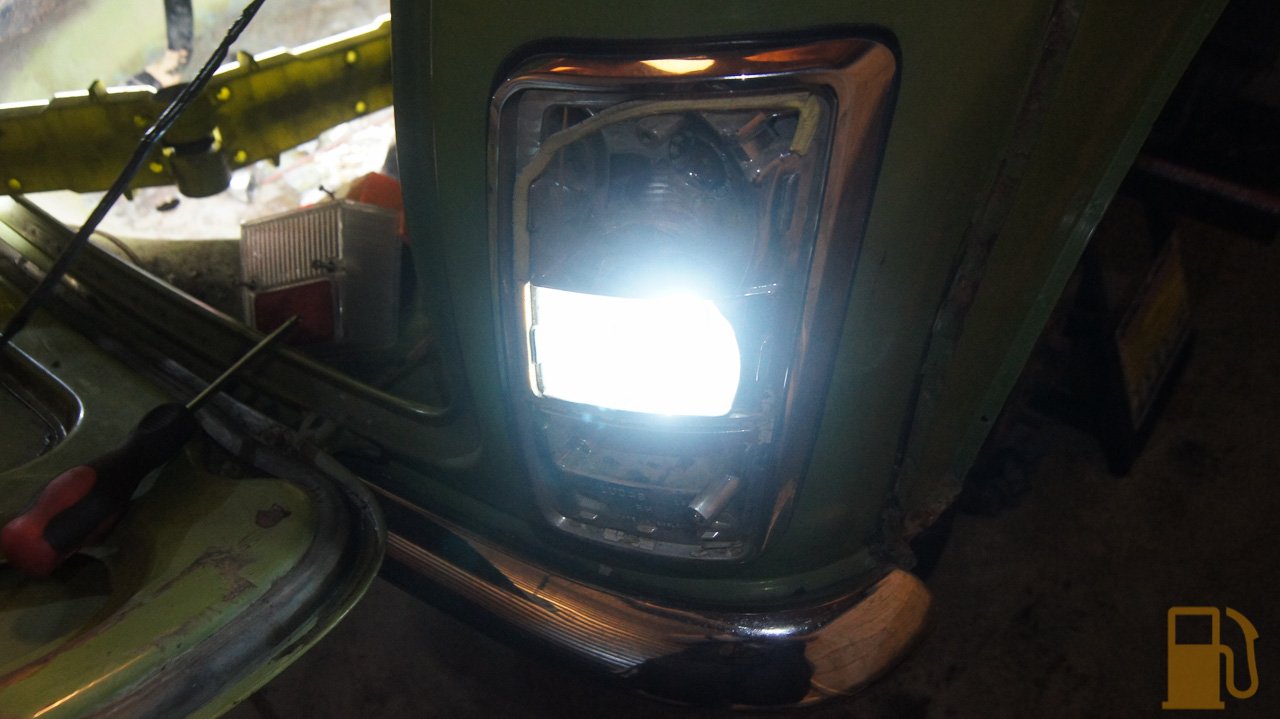
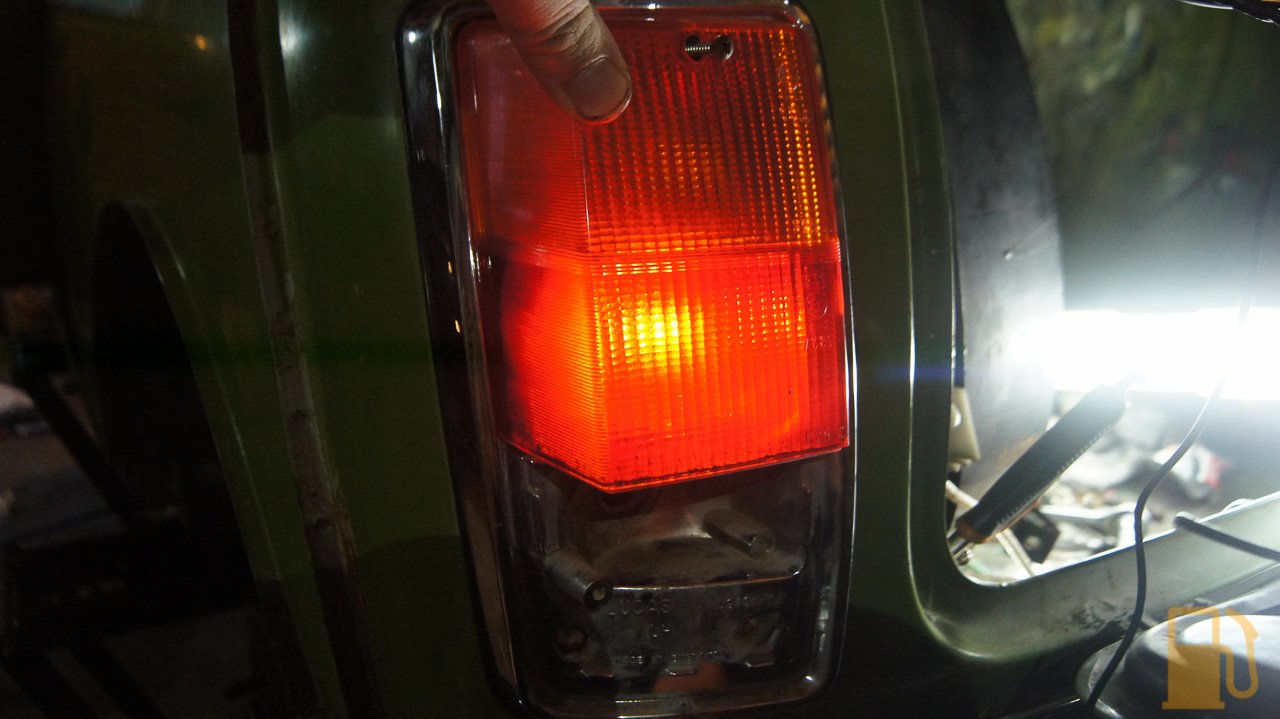
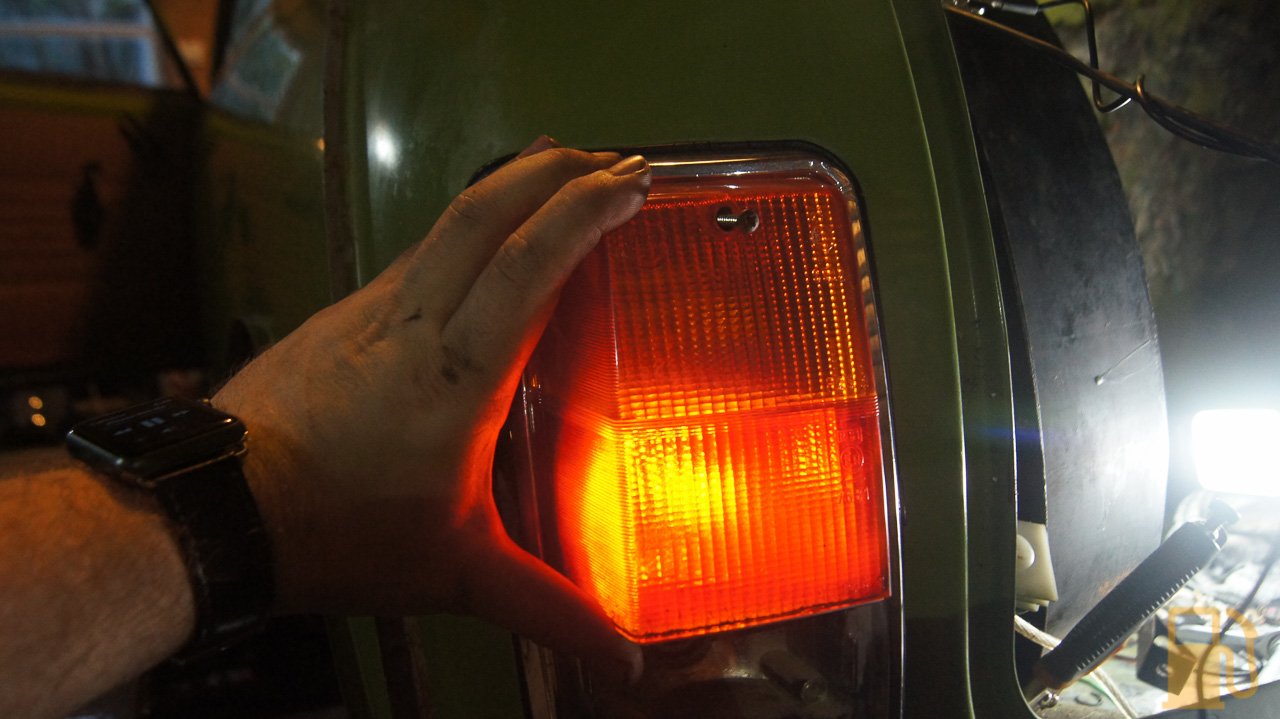
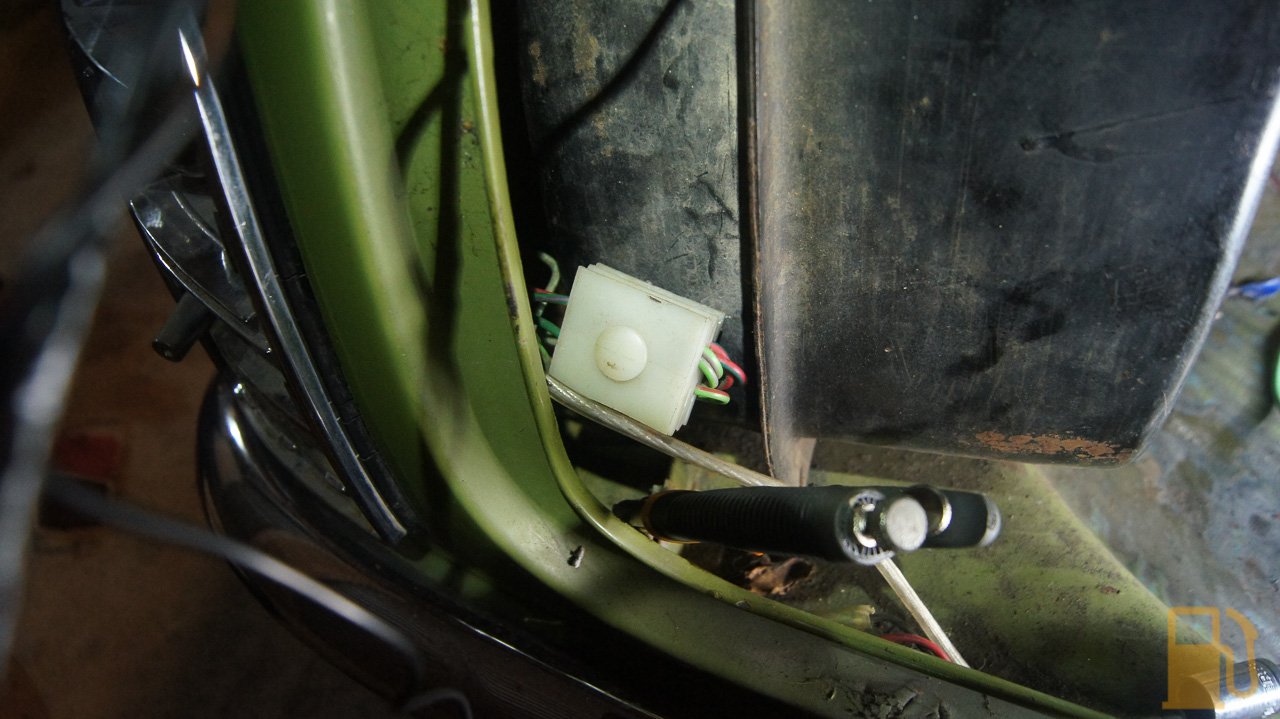
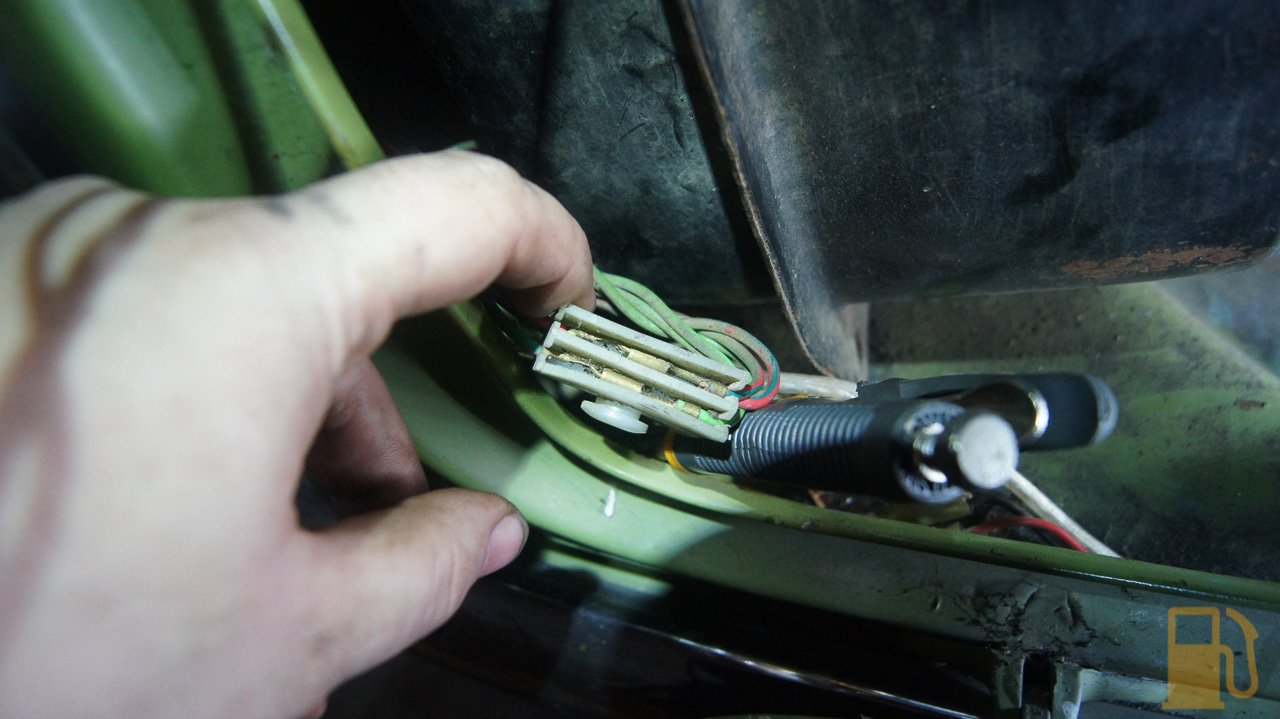
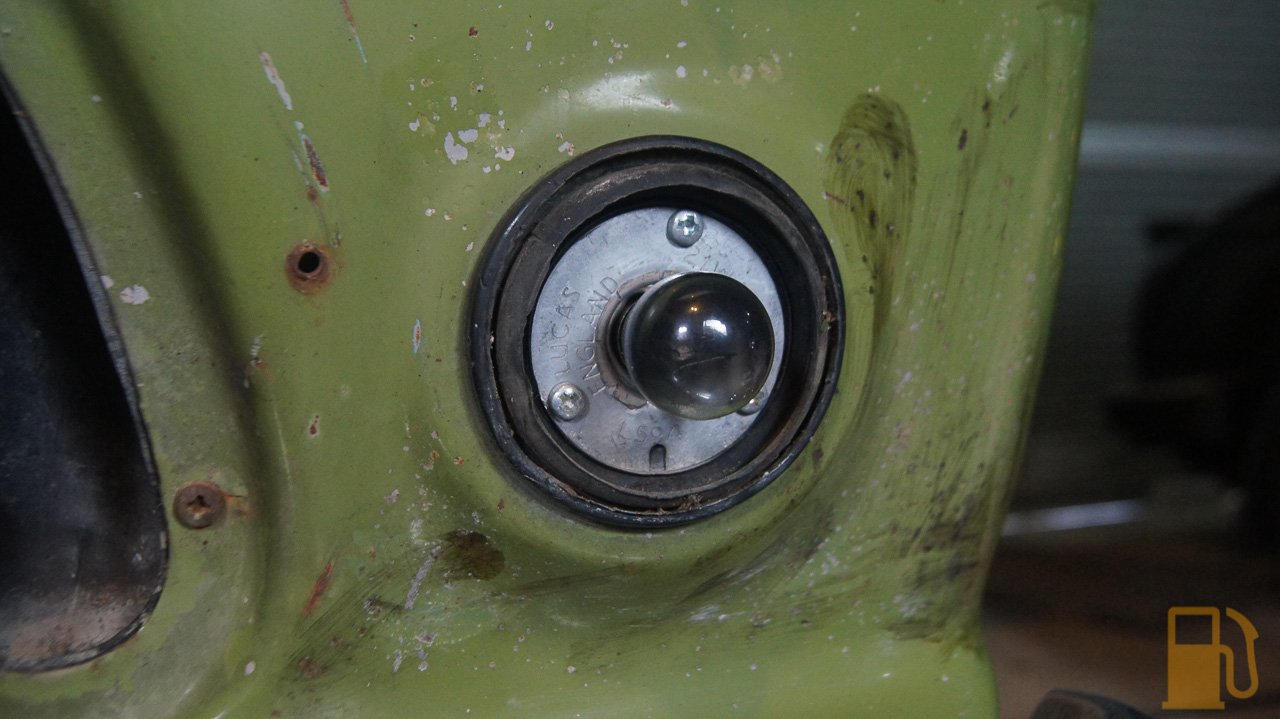
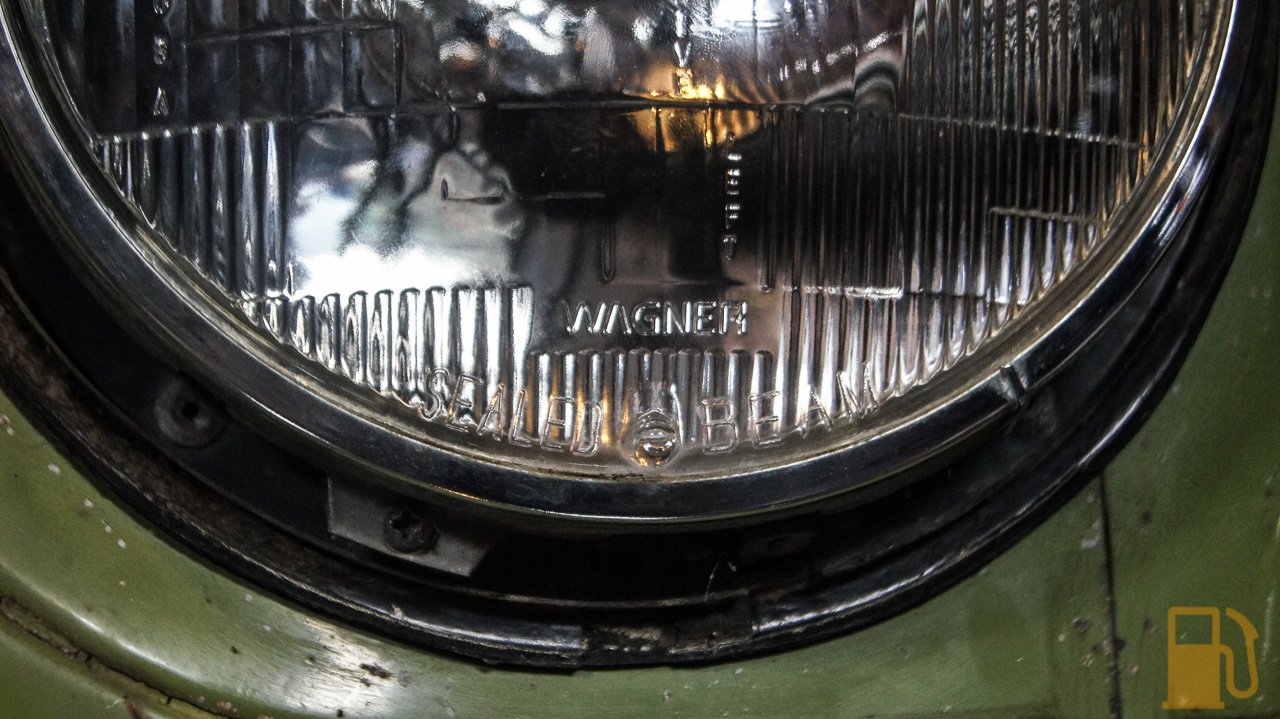
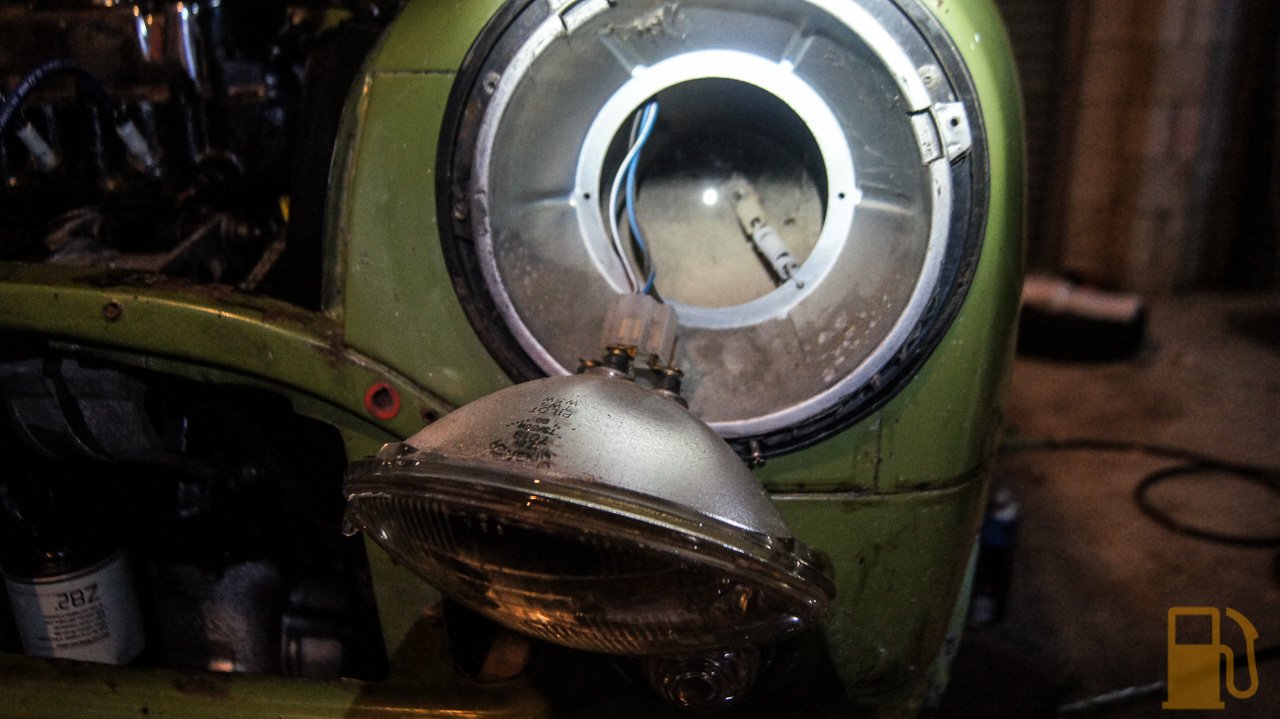
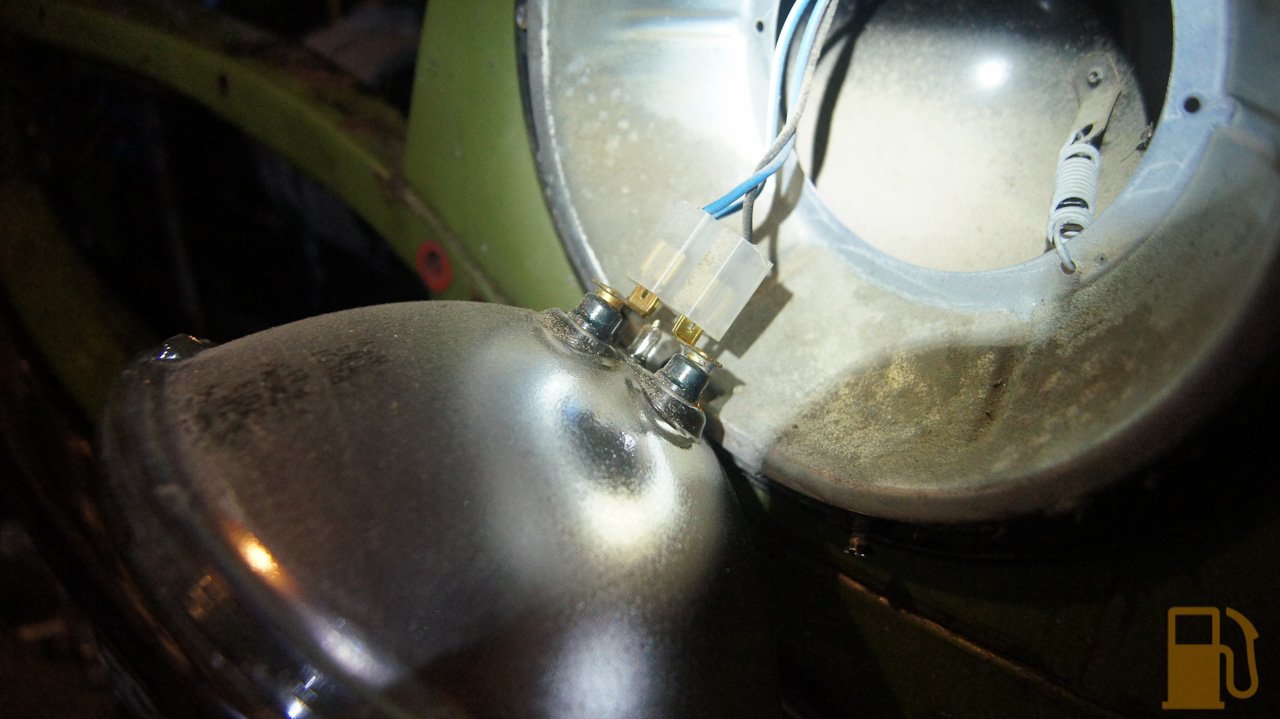
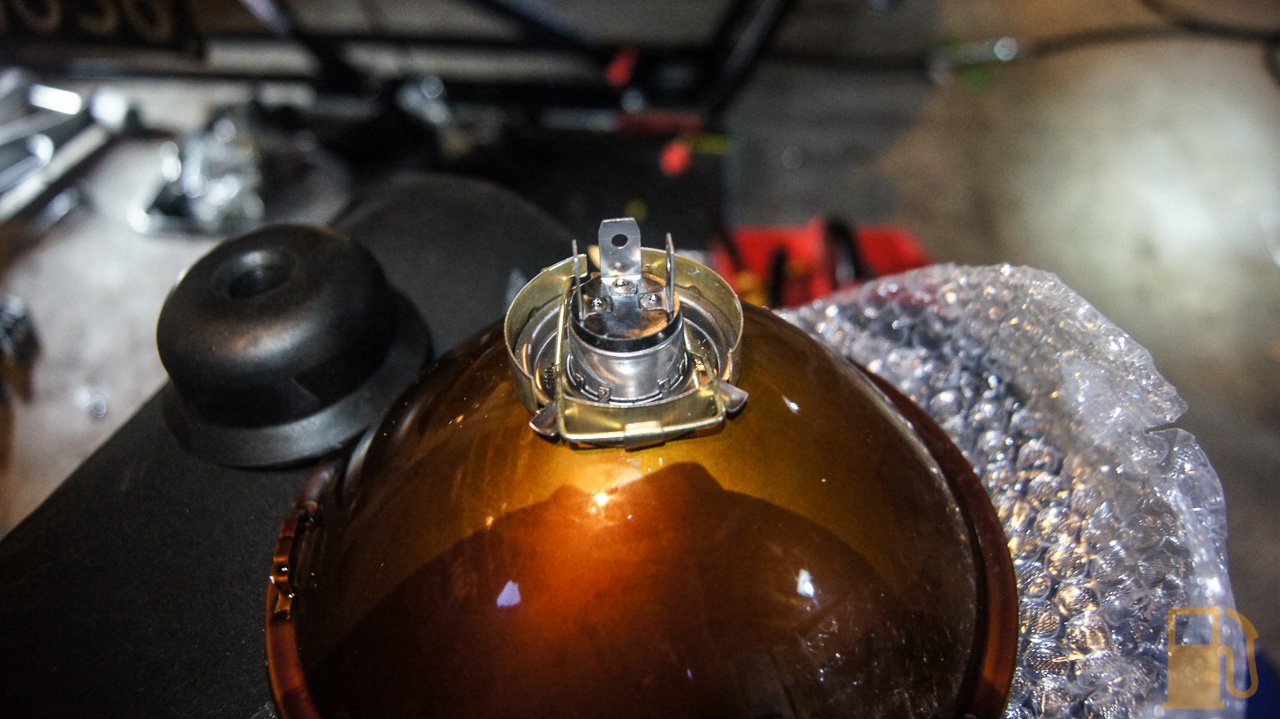
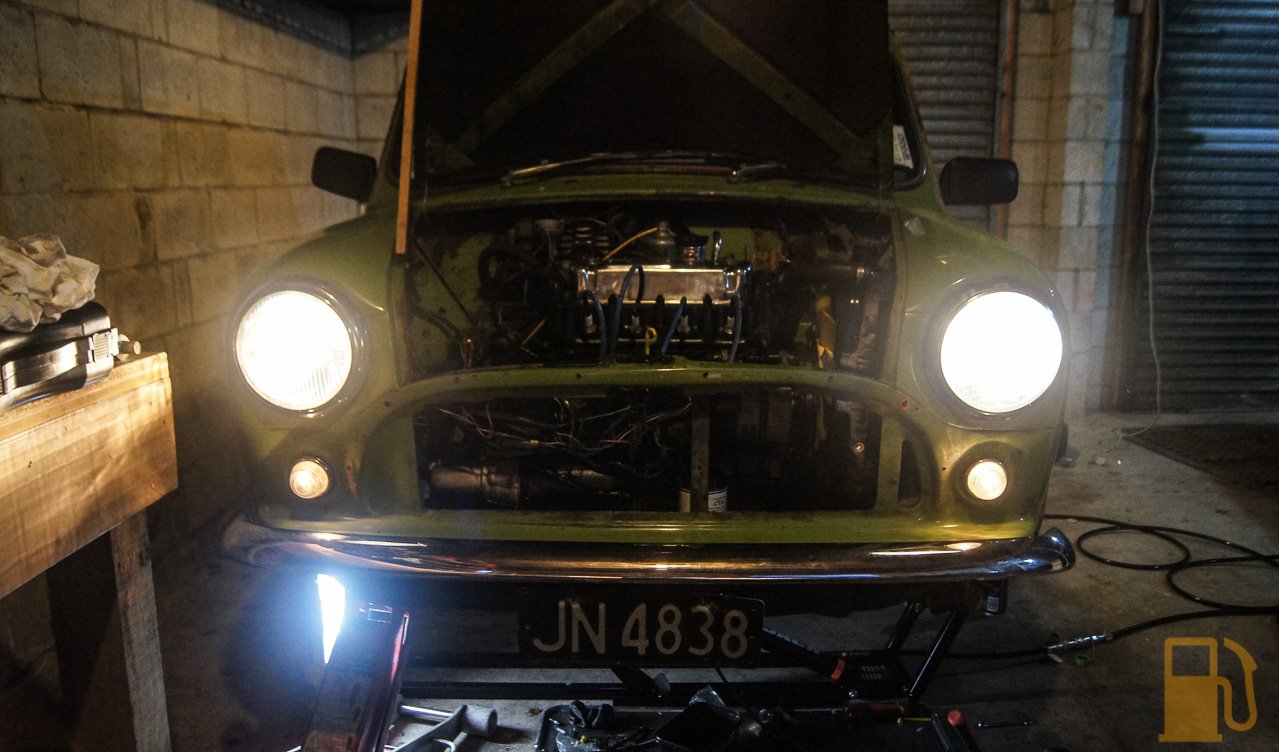
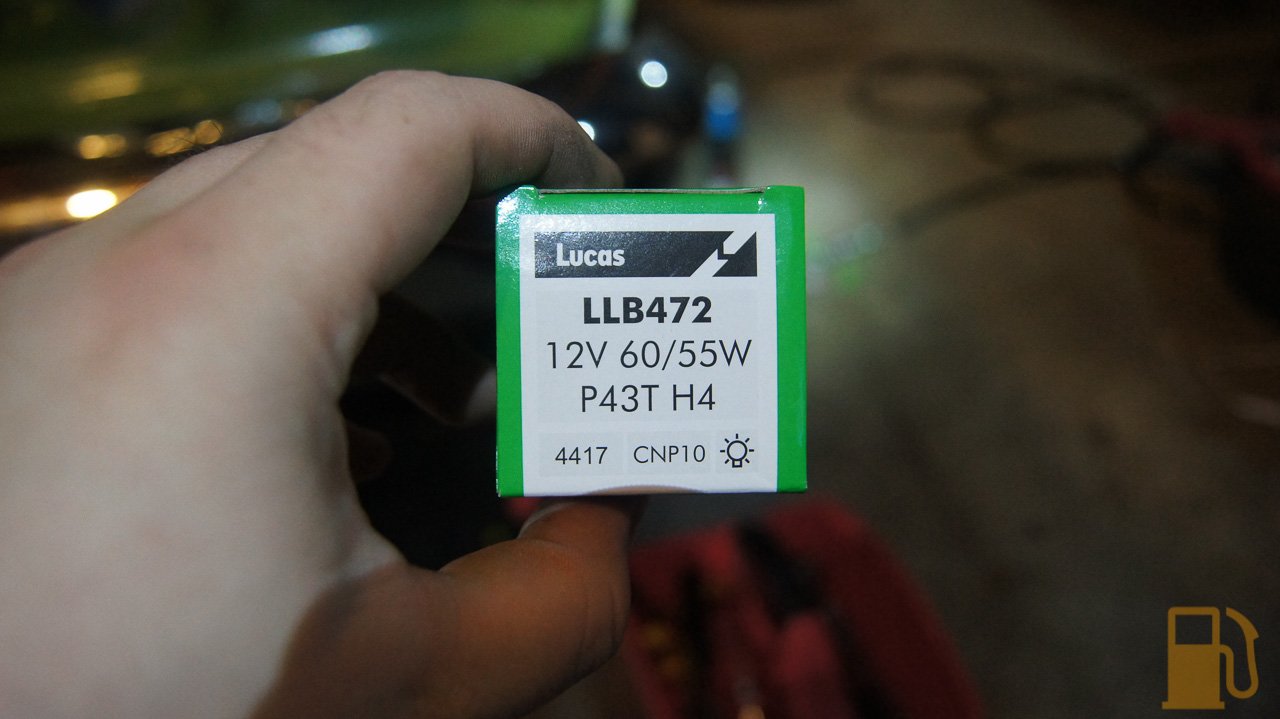
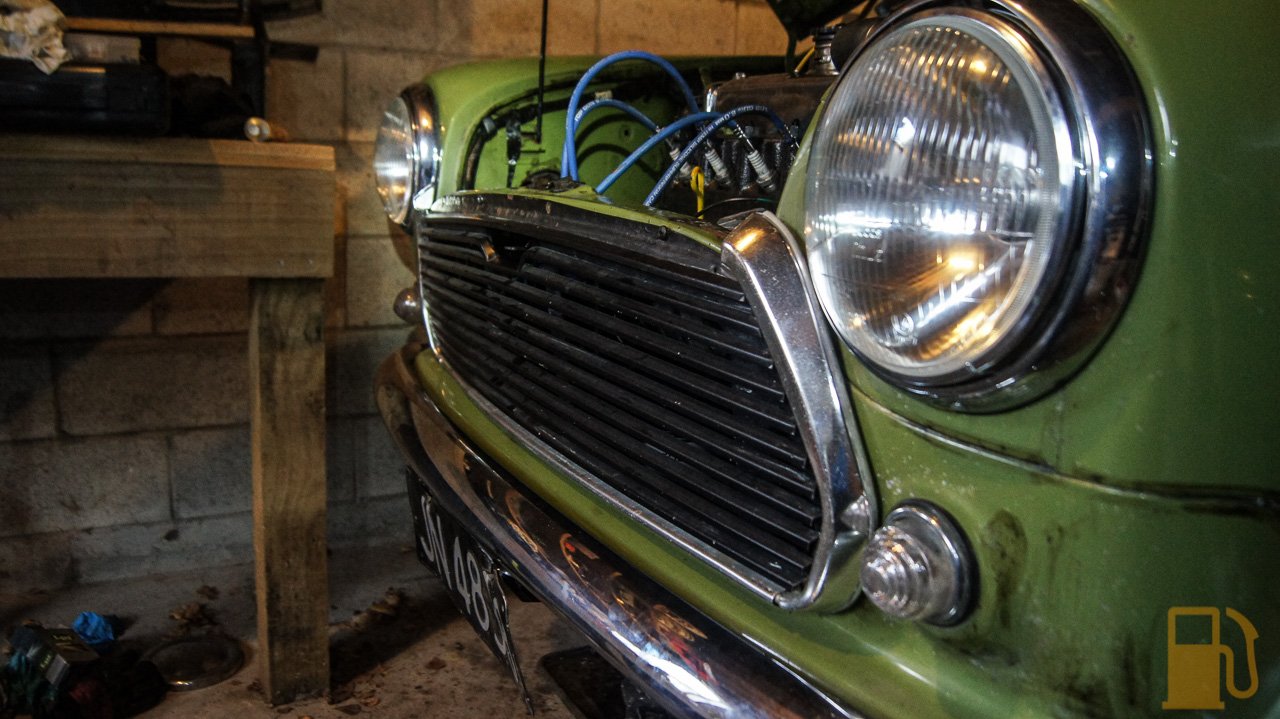
Electrical gremlins aplenty (One headlight works, no tail lights, intermittent dash lights, no temp gauge, no indicators or hazards, no brake check or rear window de-mister lights, The starter solenoid tried to melt two of its wires, no wipers, no blower fan). I suspect most of them must be linked, there will be something unplugged somewhere.
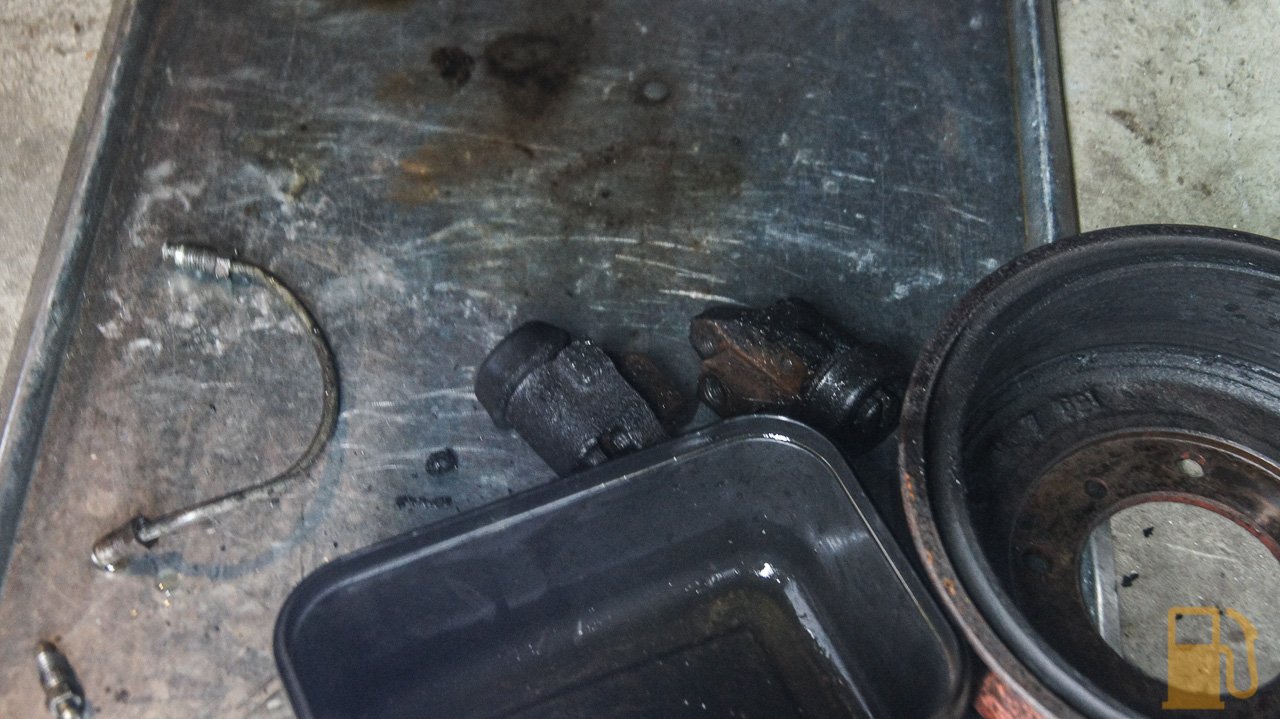
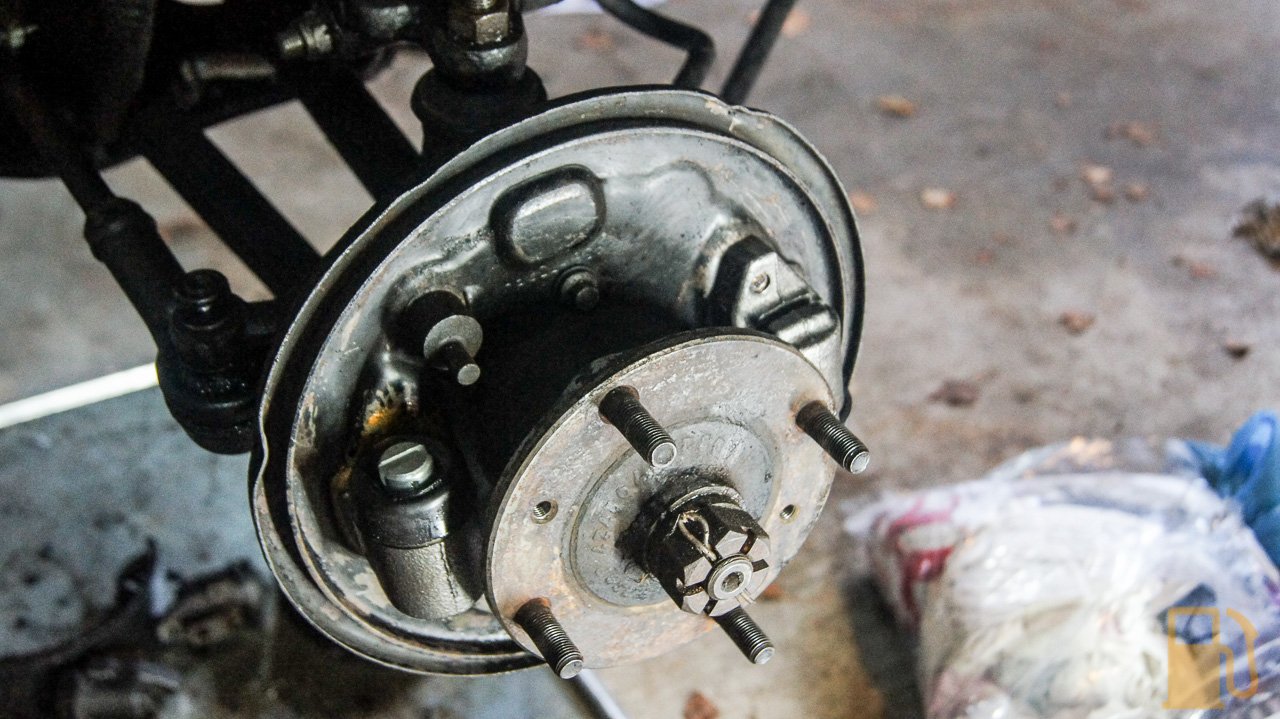
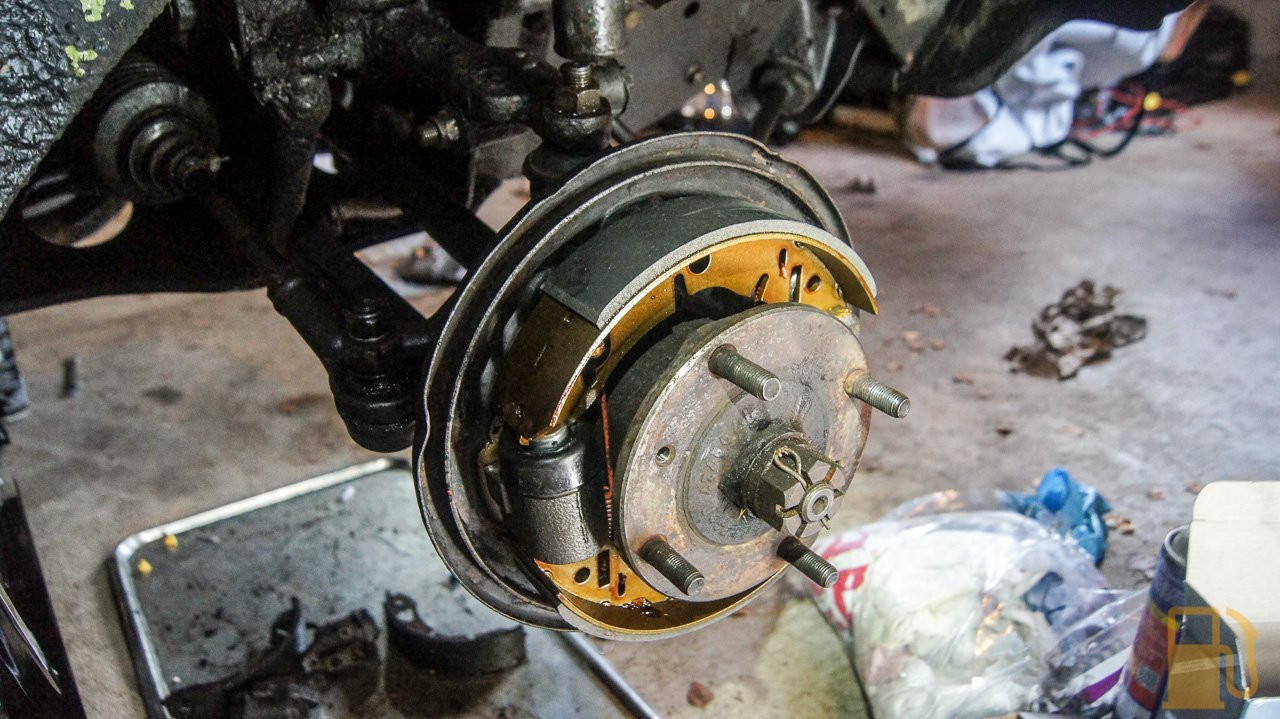
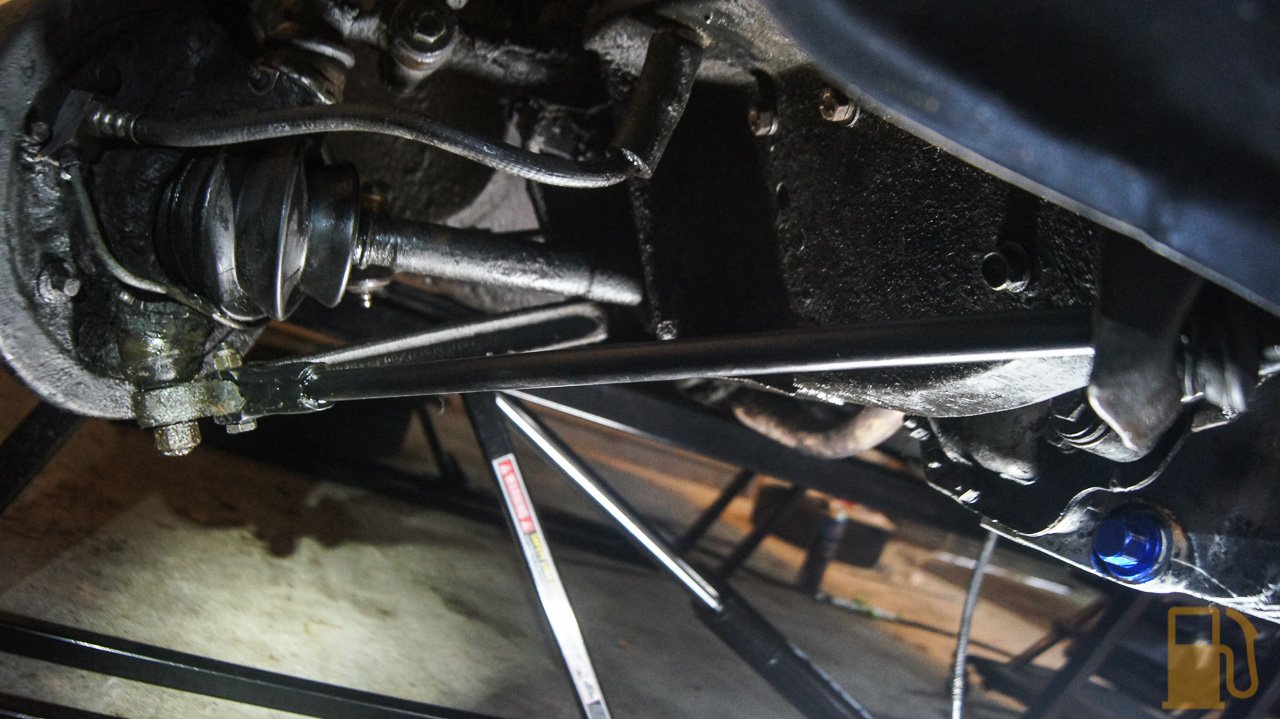
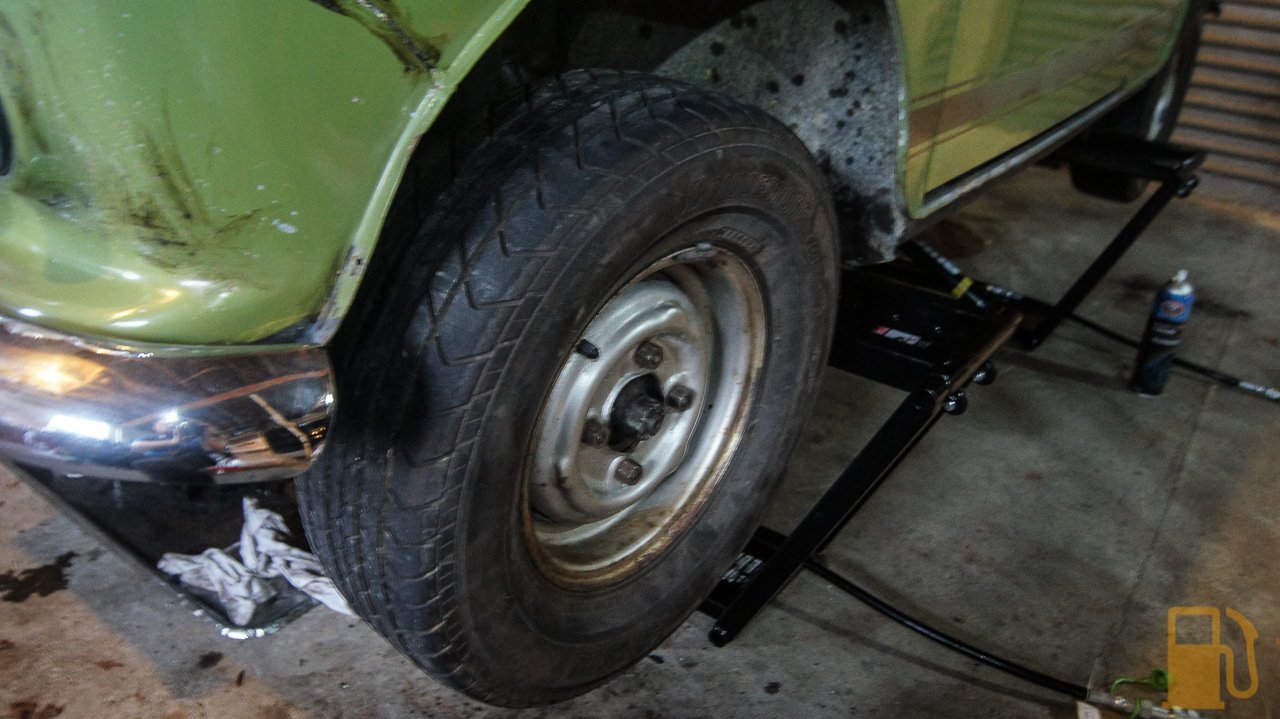
The front LH brake cylinders are leaking and have nuked the shoes.
The front seats have almost no padding left in them. Someone has stuffed some foam into them to try to help, but they aren't too good.
No choke, the cable is too long? and isn't connected
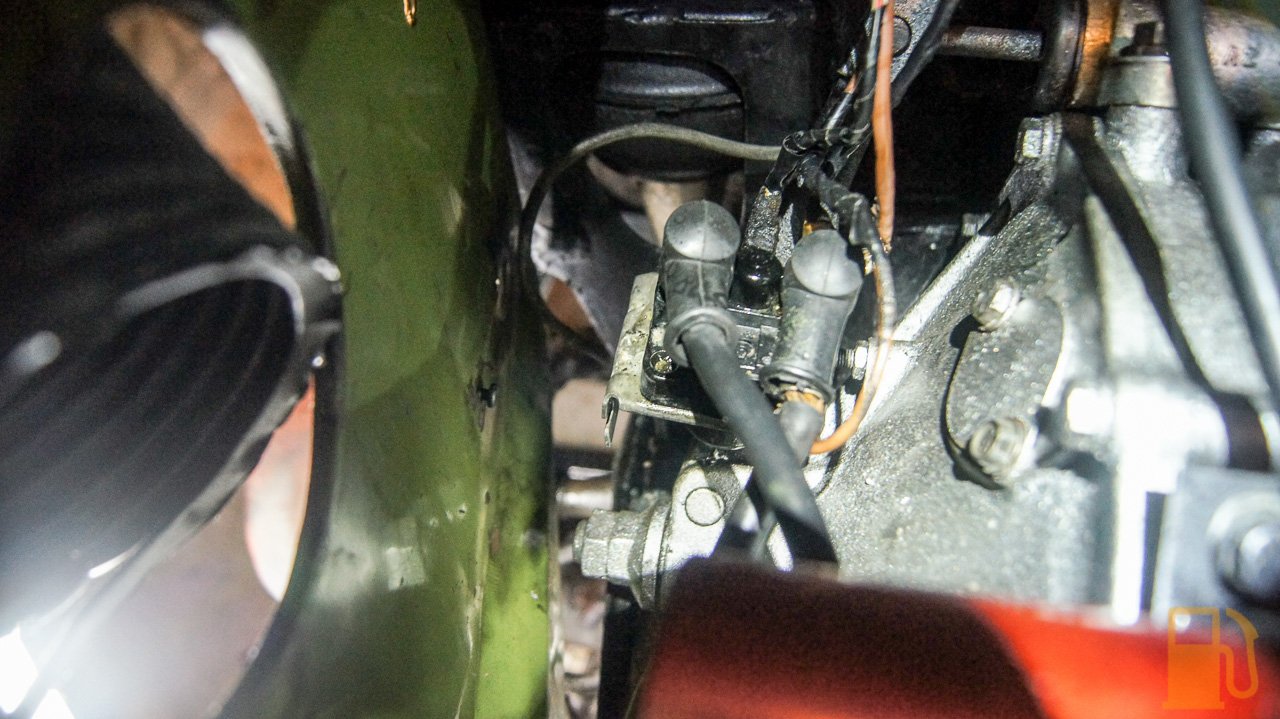
No heater control, the valve is wrong and doesn't match the cable.
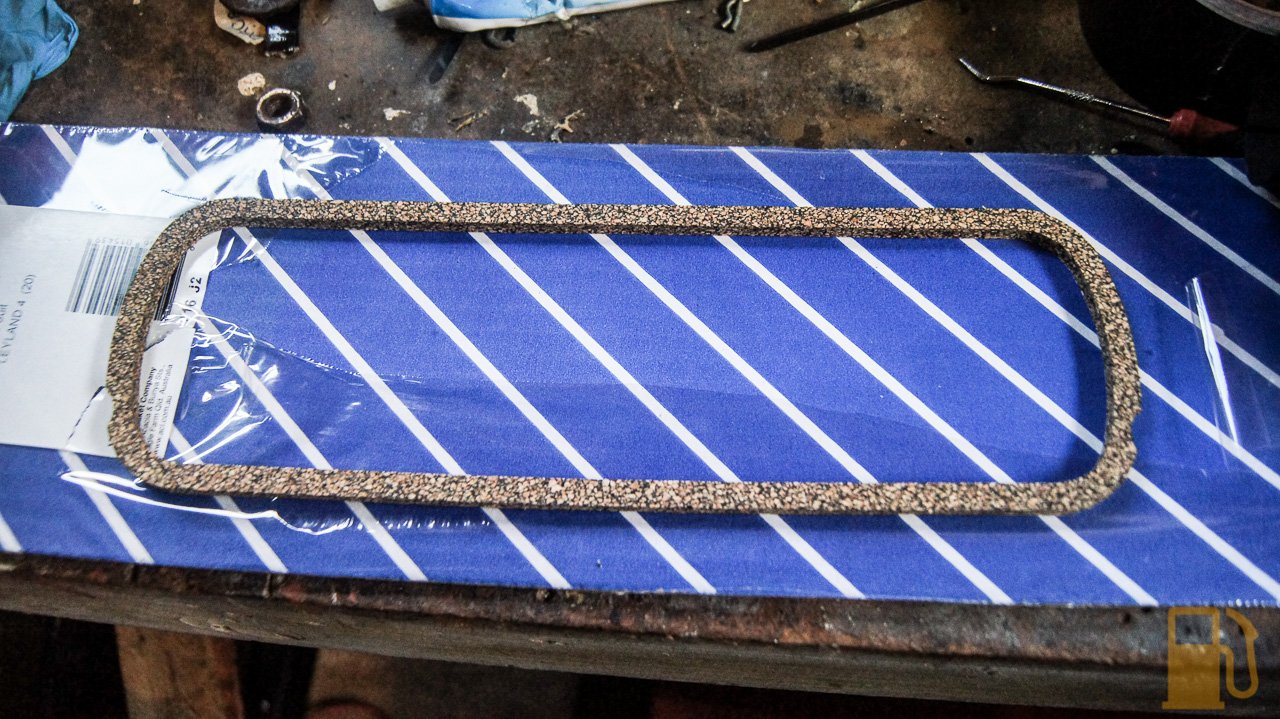
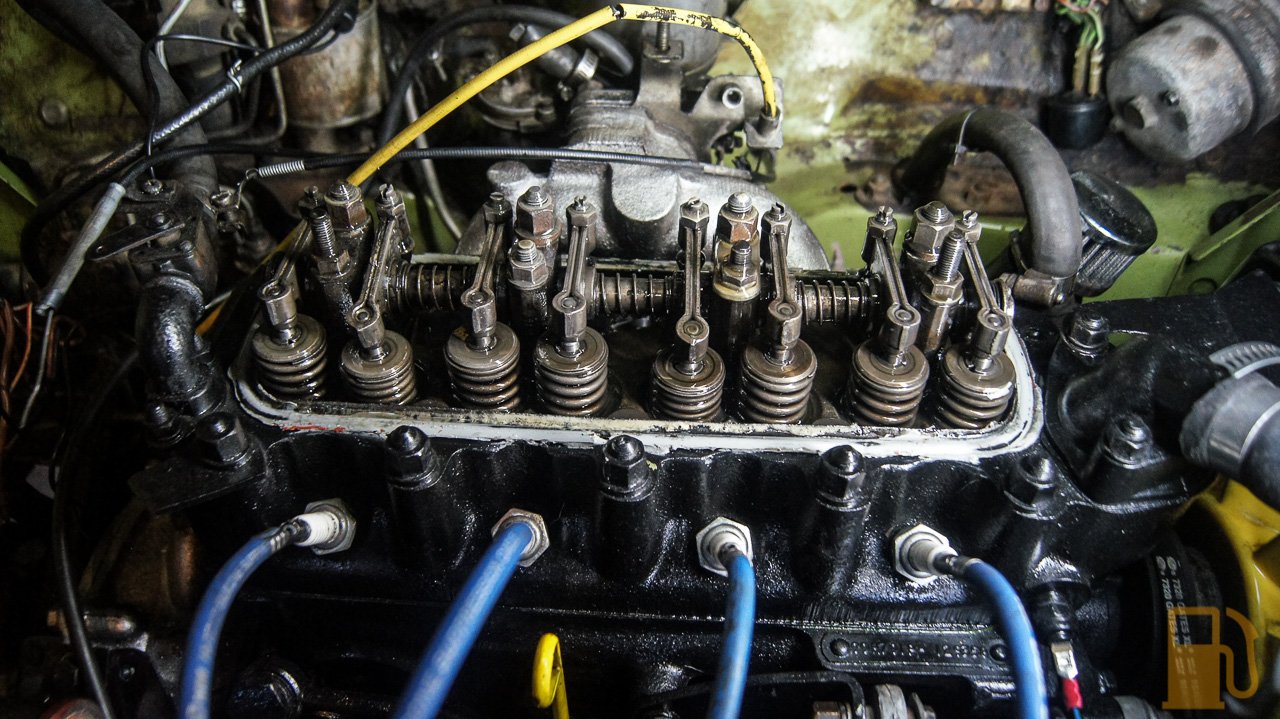
An oil leak from either the rocker cover gasket or oil cap
Uninsulated spark plug leads
Oil leak from shifter rod
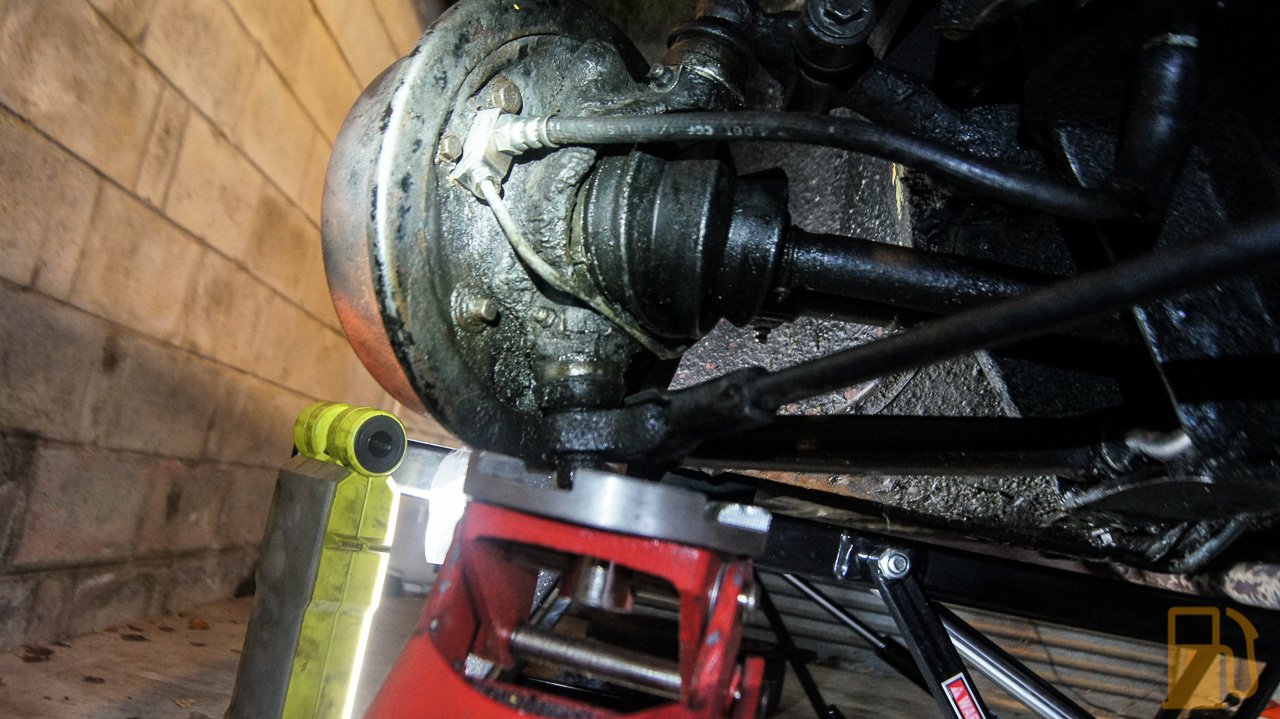
LH outer CV boot torn
A smell of fuel from the fuel tank area
No radio despite wires running all over the show
Battery isn't secured and is missing its cover
Boot floor cover missing


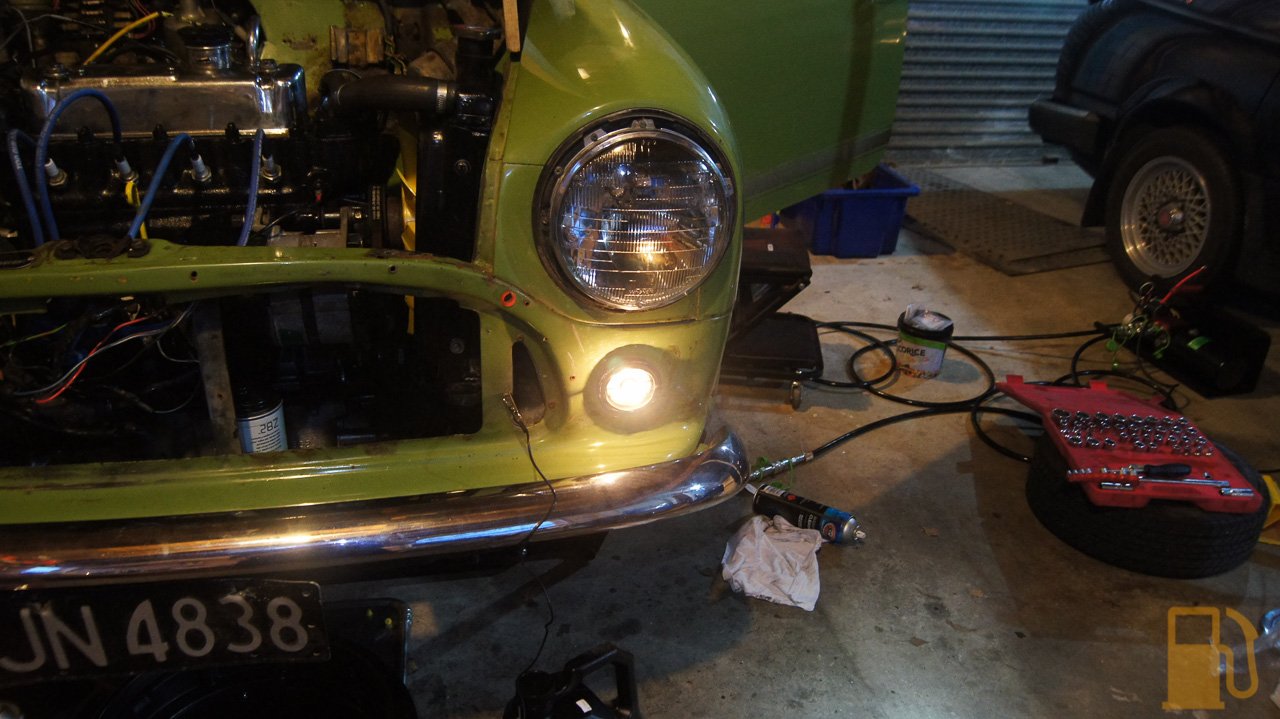
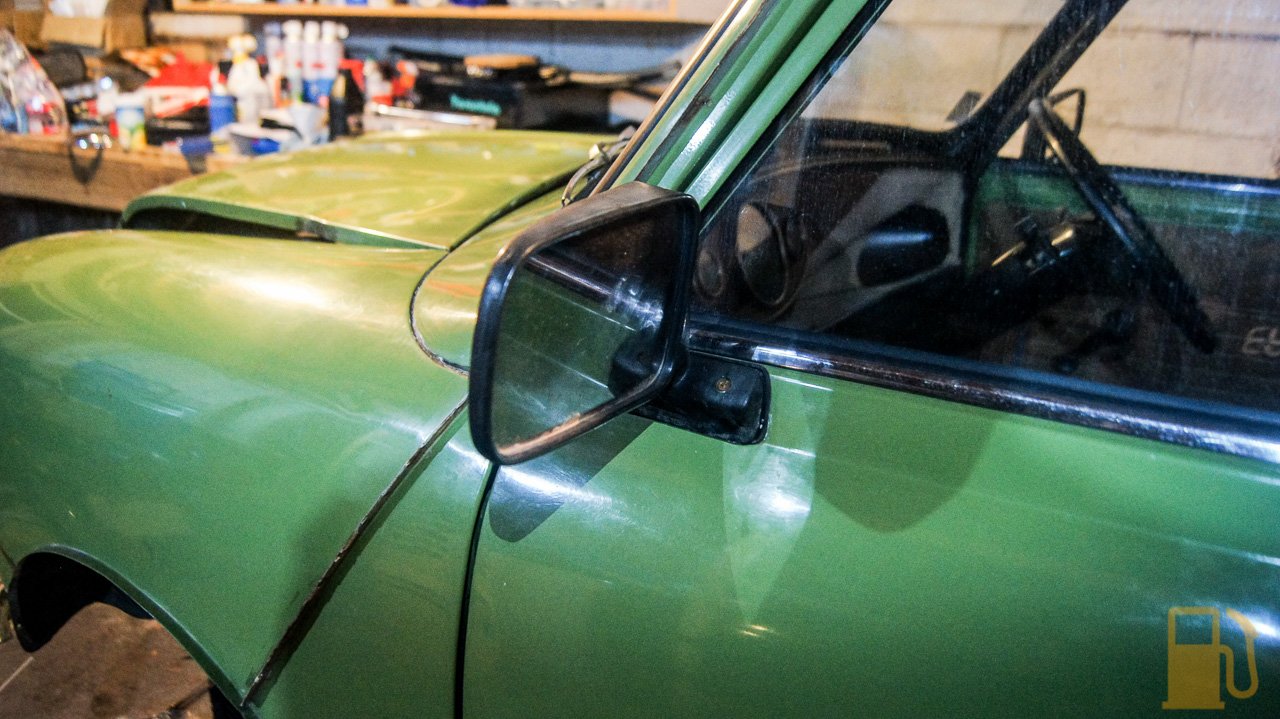
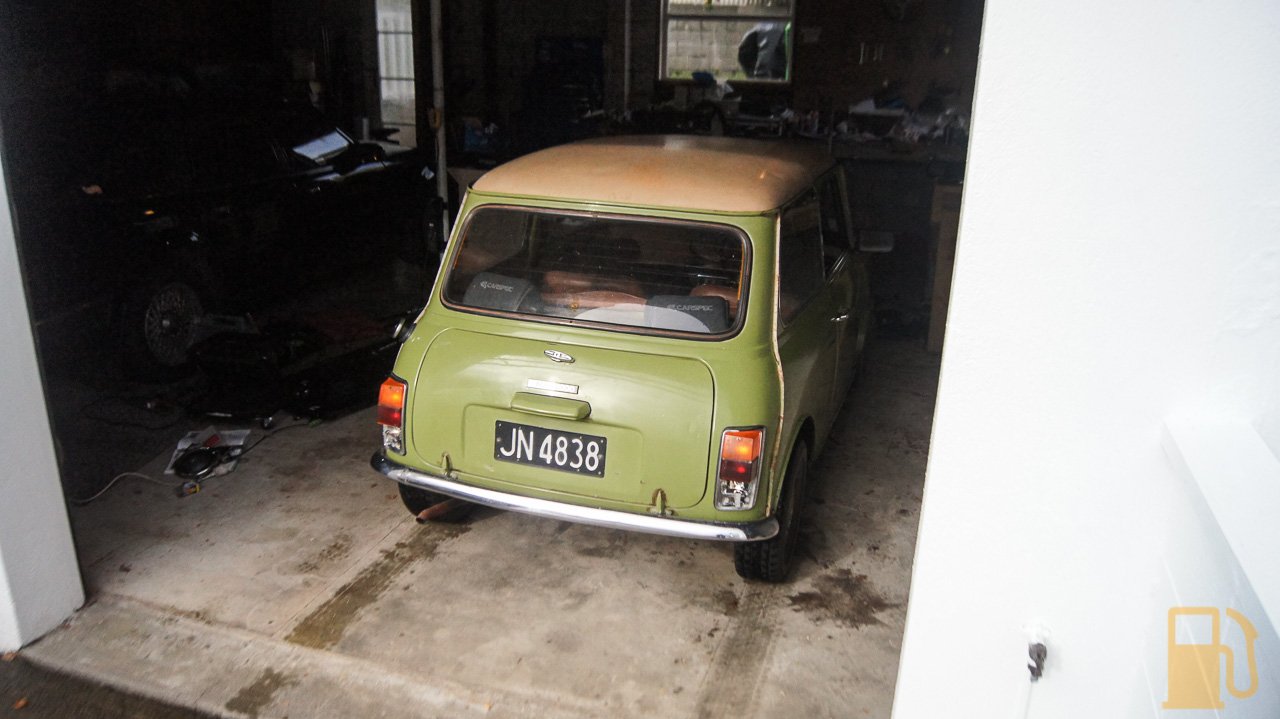
So that's the bad stuff. The good stuff is that the body is solid, the engine and gearbox seem to work well, it handles OK, and the interior is mostly there. It has a sweet vinyl roof. Oh, and its very similar green to my old Marina.


My plan is to get it drivable, and then take it for a re-registration check to see what it needs, or if it will pass and be back on the road. I want to drive the heck out of this car, so need to get it legal.


I also plan on tidying the interior and exterior up, maybe look for some better wheels (to fit uncut arches), change the exhaust and then enjoy it.

For now, here's some photos.

sqJdy4S.jpg
CUFWfn9.jpg
sYnftCf.jpg
as9yAj4.jpg
rm7Gt8g.jpg
ioeqsFI.jpg
1cRC4gv.jpg
cN1TQcc.jpg

Oh yeah, it's called Snicket. After Lemony Snicket, due to the Mini LE decal on the side.... "Le Mini"


Edited by kws, 14 June 2018 - 10:46 AM.


#2 CharlieNZ

CharlieNZ

    Stage One Kit Fitted

  • Noobies
  • PipPipPip
  • 69 posts
  • Location: Auckland

Posted 14 June 2018 - 08:15 PM

Trademe is a proper disaster zone for minis. So many worn out rustbuckets like the red one, or if they're decent then they're painfully overpriced. The only answer is to not be in a hurry, wait for the rare decent car to appear and then snap it up. Or not use Trademe at all...

Green one looks really good. Mechanicals can always be fixed by having rust problems or bad paint is much more of a problem. You're better off without those wheels, that's for sure. Looks a proper mini sitting on those steelies!

Good luck with getting it certified, hopefully straightforward.

#3 CharlieNZ

CharlieNZ

    Stage One Kit Fitted

  • Noobies
  • PipPipPip
  • 69 posts
  • Location: Auckland

Posted 15 June 2018 - 08:36 AM

Just found that red mini on Trademe, what a joke! He's asking 4 grand and says "hard to find in this condition". Also in response to a question he says it starts and runs fine and would probably be ok to be driven to Auckland. Not exactly the same message as I'm picking from your description.

Can't say I'm surprised. Trademe is full of sellers who are either scam artists or delusional. Think this guy is probably both...

#4 kws

kws

    Stage One Kit Fitted

  • Noobies
  • PipPipPip
  • 63 posts
  • Location: Wellington, New Zealand

Posted 15 June 2018 - 09:16 AM

Yeah, its not remotely worth what he is asking for it. I think hes just out for a quick buck. There is a lot of those self "RMVT" "dealers" on trademe now. I guess anyone can register.


#5 kws

kws

    Stage One Kit Fitted

  • Noobies
  • PipPipPip
  • 63 posts
  • Location: Wellington, New Zealand

Posted 15 June 2018 - 09:19 AM

Like all the cars I obtain, I don't mess around, so today I tore into the brakes to replace the leaky cylinders.


What we had was a braking system that had no pedal feel, and wouldn't actually stop the car unless you pump the pedal, and then it would brake hard on one front wheel and pull to the right. This was after many attempts to bleed the system.


Yesterday I took the drums off (it has 4 wheel drums, woo technology) and inspected the shoes and cylinders. The front left was showing clear signs of a serious fluid leak, with everything wet, and the shoes had soaked up fluid and were badly contaminated. All the others at the time appeared to be dry.
DSC02611.jpg DSC02612.jpg DSC02613.jpg


This morning I shot to Repco (local parts shop) and picked up a pair of left hand cylinders. Unfortunately they had no stock of the shoes, but BNT in Lower Hutt did, so I drove in and grabbed a set of them.
DSC02614.jpg


To start, I clamped off the brake hose, so I didn't end up draining the system completely
DSC02615.jpg


And then removing the shoes was as simple as just lifting the top shoe off the cylinders on each end, doing the same to the lower shoe, unhooking the springs (whilst taking care to note how they are attached), and then removing the lot.
DSC02616.jpg DSC02619.jpg DSC02620.jpg


The shoes were well stuffed and had transferred material to the drum
DSC02621.jpg DSC02622.jpg


Just a quick side note whilst we have it apart, this is how the adjusters work for the front. There are two squares on the rear of the drum backing plate which are the adjusters. They requires a 5/16" open spanner to turn.


This is what the adjusters look like on the inside of the drum with the shoes removed. The red arrow is the top shoe adjuster, and the green arrow is pointing to about where the lower adjuster is, behind the flange.
DSC02619-1.jpg


You can see the adjuster is an offset pin that rotates, pushing the shoes closer to the drum. If we start with the adjuster wound right back, it doesn't touch the shoe at all
DSC02617.jpg


And if you put a spanner on it, and rotate the direction of the tire (anti clockwise in this instance) it will contact the shoe and push it out towards the drum. The lower adjuster works in exactly the same way.
DSC02618.jpg


So, with that little interlude, lets continue. Heres the split CV boot (replacement ordered)
DSC02623.jpg


And then I removed the wheel cylinders. First you remove the bridging pipe from the back, that links the two cylinders. Then remove the bleed valve from the rear cylinder. Next crack off the main brake hose nut, but do not try to undo it completely as the hose cannot spin.


Before you can remove that hose you need to remove the two bolts in the rear of the cylinder and pull the cylinder forward with the hose. Since the hose was cracked off, you should be able to spin the cylinder off the hose and then remove it.
DSC02630.jpg


Heres the two old cylinders and link pipe
DSC02625.jpg


It was pretty grotty in there
DSC02624.jpg


I hosed it down with brake cleaner, and scrubbed it. I wire brushed where the cylinders sit, and put a thin coat of copper grease on the backing plate so the cylinders don't rust to the backing plate like the old ones did
DSC02626.jpg DSC02627.jpg


On went the new cylinders
DSC02628.jpg DSC02629.jpg DSC02631.jpg


Now, before moving further, change of gloves was needed so as not to contaminate the new shoes
DSC02633.jpg


Refitting the new shoes was the reverse of removal. Gently place the shoes into place, hook the springs on, and pull the shoes onto the cylinders. Done
DSC02634.jpg


Back on went the drum (after a thorough cleaning, and removal of all the stuck material), and then I adjusted the shoes. Back the adjusters off so the drum spins freely. Doing one adjuster at a time, slowly turn the adjuster until the drum stops spinning freely. When you hit this point, slowly back the adjuster off until the drum just spins freely. Then move onto the other adjuster.
DSC02636.jpg


I hadn't touched the front adjusters since I got the car, but they were way out of adjustment. No wonder the pedal feel was bad.


Moving onto the other side, since shoes come as a pair I was going to replace the other side too. I pulled the drum off, and damn....
DSC02637.jpg


I'm sure this wasn't leaking when I checked yesterday, but it's bucketing out now. The rubber boot is full of fluid. Oh well, guess I need the RH cylinders too.


By this time it was too late, the shop was closed, so I'll have to get the cylinders tomorrow. In the mean time I whipped off the shoes. They have no signs of liquid contact, so I'll save them as spares.
DSC02640.jpg


Since I couldn't do any more work on the brakes today, I moved onto checking some wiring. I had a lot of things that didn't work, and I was sure most of them were linked. I picked up a cheap test light when I was out, and went onto probing the fuse block.


I had continuity across all fuses except one. I triple checked, and nothing. I wiggled the connectors and removed and reseated the fuse, and bam, the test light lit up. I had power.
DSC02642.jpg


So now I have working wipers (they're so small and cute, but also more powerful than the SD1 wipers; go figure), a brake switch thing that lights up
DSC02645.jpg


A demister switch that lights up when held (the switch doesn't latch properly, will have to disassemble and inspect)
DSC02644.jpg


Dash cluster lights, and the blower fan works now. Yay!


I still don't have indicators or hazards though. I can't test the brake lights due to having the brakes apart too.


I tracked down the flasher relay, and it didn't look good.
DSC02647.jpg


BADLY corroded terminals on both the relay, and the holder
DSC02650.jpg


I tried cleaning up the terminals, but still couldn't get it to work. Will need to remove the holder and maybe replace the terminals. Also need to track down another flasher relay.


I also found this random relay floating around above the wiper motor. Has two wires going to it, doesn't look standard, and two more wires terminated near it. Will have a look in the wiring diagram and see what it is. Maybe hazard relay?
DSC02652.jpg DSC02654.jpg


I also need to find where the speedo cable connects to on the gearbox. I had a good look around but haven't spotted it yet.


I'm hopeful that if I can sort all these issues, I might be able to take it for its registration check in the next couple of weeks.


#6 kws

kws

    Stage One Kit Fitted

  • Noobies
  • PipPipPip
  • 63 posts
  • Location: Wellington, New Zealand

Posted 15 June 2018 - 10:06 AM

Well thats peculiar. Light Green/Brown and 2x Green is the flasher/Indicator relay.... Purple/Orange and Light Green/Pink is the hazard relay. The latter have been cut.

DSC02652.jpg

So what is this flasher on the firewall?
7i6fbVg.jpg
DFedVIg.jpg
​​​​​​​xf6wLvx.jpg


Edit: Ah, the silver flasher may be the old, redundant relay since it was replaced. Apparently there should be wires running to that connector on the firewall, but they have been cut off.

As per this photo
b0bdc690c21481aeeddb84e73e25b448687f9e85


Edited by kws, 15 June 2018 - 10:33 AM.


#7 Bat

Bat

    One Carb Or Two?

  • Members
  • PipPipPipPipPipPipPip
  • 903 posts
  • Location: Bermingum

Posted 15 June 2018 - 12:53 PM

Hi,

There's usually 2 flasher units one for hazards, one for flashers.

The flasher one can usually be found near the brake pedal if my memory is any good.

They also moved them about from year to year! Light green wires is usually hazards and dark green for indicators.

Cheers  :proud:


#8 kws

kws

    Stage One Kit Fitted

  • Noobies
  • PipPipPip
  • 63 posts
  • Location: Wellington, New Zealand

Posted 17 June 2018 - 09:58 AM

Another big day working on the Mini today, but not everything went to plan.
 
I left off yesterday with the RH front brake cylinders also needing to be replaced, so this morning I shot to Repco and grabbed a pair of RH cylinders so I could finally get the brakes back together.
 
Replacing the cylinders and shoes was the same as the other side, and it all went together rather quickly since I knew what I was doing now. I also straightened out the dents in the backing plate with vice grips.
 DSC02672.jpg
DSC02674.jpg
DSC02675.jpg 
 
Then it was a matter of adjusting all the brakes correctly, and bleeding them. I started by gravity bleeding all four corners, just to make sure fluid was flowing through, and then moved onto the actual bleeding process (and what a process it is!)
 DSC02678.jpg
DSC02680.jpg
 
The standard bleeding process on a car is to start with the wheel furtherest away from the master cylinder and work your way forward. This follows that procedure but with a couple of little quirks.
Screen-Shot-2018-06-16-at-9.11.20-PM.png
 
Because this is a late split circuit system, you can't just pump away at the pedal (which would have also caused issues with the seller when they tried to bleed the system in such a way) or the pressure reducing valve can shut off the rear brakes.
 
To bleed it correctly, you need to follow the pattern in the manual (there are four different patterns depending on your exact setup), and in this case with the bleed valve open, the pedal is quickly pushed to the floor and held for 3 seconds. The pedal is then slowly raised to its stop, and a minimum of 15 seconds must pass before the next push of the brake pedal. Do this until clear fluid with no bubbles comes out, and you're done. Move onto the next brake in the list.
 
I went around and did this, but so far the pedal feel isn't too different. I'll need to drive the car to see how it actually feels and operates.
 
Before starting the car up again I wanted to do a quick oil change as I had no idea how old the oil in the engine is, or what it is. I whipped the grille off for easy access. It was missing most of its screws, so this was pretty easy.
DSC02658.jpg
 
You can see the oil filter is right there in the front, nice and easy to access. Just in front of the oil filter is that random wire. Turns out this is the coolant temp sensor wire, which had been missing. Looks like they probably forgot to disconnect it when they dropped the subframe and tore the connector off. I stripped the wire and crimped a new connector on and connected it up. Cant test it yet, hopefully the sensor is good.
 DSC02659.jpg
DSC02691.jpg
 
With that sorted I set about draining the oil. The sump plug is on the RH side, and is a huge 15/16" hex (same as the Rover drain plug). When undoing this I noticed it was very tight but was coming out slowly. When it came out, I wasn't impressed.
DSC02685.jpg
 
Its had sealant smeared all over it to seal it. Why? Well, because the threads in the gearbox are buggered of course. I tried to reinstall the plug but it wouldn't tighten, and this is what I fished out of the hole
DSC02687.jpg
 
Well that's a bugger.
 
Since I was stuck with a sump plug that was now useless, I moved onto replacing the filter. The older filter was date stamped 2015, so I'm guessing that's the last time this engine was used before it was put in this car. I pre-filled the filter, and spun it on.
DSC02689.jpg
 
I have looked into options for the sump plug, and it looks like I have three. Order a tapered self threading plug from Minispares, but they are a very bodge solution. I could get it Helicoiled, but it's very expensive to buy the kit and do it myself and obviously I cant drive it anywhere. The last, and likely best option for me, is to buy an M20 bolt, an 18.5mm drill bit and M20 tap. Drill the hole out, thread it and use the M20 bolt as a new sump plug. Apparently the magnet can be moved from the old plug to the bolt, which I'll try to do.
 
Next on the list of things that failed was the rocker cover gasket. I picked up a new gasket from Supercheap
 DSC02698.jpg
DSC02697.jpg 
 
The reason I needed to do this was that the old cover was leaking like a sieve. There was lots of nice grey sealant oozing out.
IMG_1725.jpg
 
Removal is easy, just the two large bolts on top and then it pulls of to reveal the horrors
 DSC02693.jpg
DSC02694.jpg
 
Even the bolt seals are stuffed and had been smothered in sealant
DSC02695.jpg
 
I cleaned all the old sealant off. There was actually a cork gasket somewhere in that mess, but it was hard as a rock. I used a thin smear of sealant on both sides of the gasket and refitted the rocker cover. This is where I found out that the rocker cover is bowed in the middle and may not seal even with the new gasket. curse my life. I shone a bright torch into the oil filter hole and couldn't see any light coming through, but I'll need to look for a new rocker cover.
 
This is about where most normal people would give up in a rage, and probably set the car on fire. I didn't let it get me down though, so moved onto looking at the electrics.
 
With the brakes back together I confirmed I had no brake lights, and also had no indicators (front or rear) or reverse lights. The number plate lights were working though! Yay!
 
I wanted to check for voltage at the rear bulb holders, so I removed the lenses.
 DSC02700.jpg
DSC02708.jpg
 
Wait, what?! No bulbs?! Well I guess that explains the lack of light....
 
The gaskets on both sides are beyond reusing, so I'll order some more. I also gave the reflectors a quick clean whilst there as they were filthy.
 
Half/half
DSC02710.jpg
 
And all clean
DSC02712.jpg
 
So, do I have voltage here with the park lights turned on?
DSC02701.jpg
 
Test light says yes. Exciting. What happens if I put a bulb in there? I went fishing in my container of old bulbs and found a suitable dual filament bulb
DSC02702.jpg
 
We have light! We even have a brake light now!
 
I wonder if an LED would work?
DSC02709.jpg
 
Yes, and here's the difference.
 
Bulb
DSC02705.jpg
 
LED
DSC02707.jpg
 
The LED is brighter, and lights up far more of the lens.  I will run the LED for now, and see how it looks on the car in the dark before completely deciding. I also fitted an LED bulb to in the rear indicators.
 
This amused me though. I thought it was a connector.... well, it kind is, if by connector you mean a holder for a bunch of spade terminals.
 DSC02703.jpg
DSC02704.jpg
 
So do I have power at the front park lights?
 
I removed the lenses to check. Well, at least I actually had bulbs here.
DSC02671.jpg
 
The answer was no. No power. The bulb looked manky, so I swapped for a better bulb and then went digging whilst the park lights were turned to ON. Whilst probing the bundle of wires that runs behind the grille I noticed the park light flashed on. I narrowed it down to a loose connection in the power feed joiner in that bundle of wires. I don't know why they have weird joiners there, but they don't seem very reliable. I cleaned what I could, and this was the result
DSC02715.jpg
 
The other side was a blown bulb
DSC02718.jpg
 
Well that's a great success. Now, what about indicators? I still had nothing at all, so whilst casually browsing the wiring diagrams I made a list of places to check for voltage. I had nothing up to the hazard switch (which the indicator power feed goes through). I removed the switch and noted some corrosion on the terminals. I cleaned the terminals, refitted the switch and heard a faint "click" "click" "click". It turns out this was happening.
Motion-Still-2018-06-16.gif
 
Indicators!!!!
 
I don't have hazards because the wires are cut, but I'll try getting another flasher and seeing if I can get that working too. The rear indicators are working now too, along with the dash indicator.
 
Very happy with that. I haven't got reverse lights, but hopefully I can get through the inspection without them.
 
You may also note that the headlight trim is missing on one of the lights. That light works on high beam but not low beam, so obviously its blown. I didn't notice the little words on the bottom of the light, so I removed it to see if it was a sealed beam or not. It is, which means no easy bulb replacement (sealed beam means that the whole light is basically the bulb and gets replaced).
DSC02665.jpg
 
I have ordered a replacement pair of semi-sealed beam lights, with replaceable H4 bulbs and will fit them. I do need to take note to not exceed the standard wattage of the sealed beam bulbs as the wiring wont handle more without adding relays.
 
Another electrical item I cleaned up was the starter solenoid. The seller advised that two of the wires were getting hot, and looking at the wiring diagram the only option for grounding the unit was against the inner guard via the mounting bolts. Having a look around I noticed that the whole lot was covered in oil and grease, and the mounting bolts were tiny with no washers or anything to spread the contact patch.
 
I removed the solenoid and hosed the lot down with brake clean
DSC02683.jpg
 
I wire brushed the mounting holes front and back, and found some star washers to put under the nuts
DSC02684.jpg
 
And then I refitted the whole lot. Woo.
 
The last thing I did today was to fix and refit the wing mirror. The mirror had come off the mount. I removed the mount, disassembled the mirror and reassembled the mirror on the mount.
 DSC02727.jpg
DSC02728.jpg
 
I know it's not everyone's favourite style of mirror, but it'll suffice for the registration test.
 
So that was today. Lots of ups and downs, but overall I'm slowly getting there.


#9 Mervyn

Mervyn

    Mini Mad

  • Members
  • PipPipPipPip
  • 256 posts
  • Location: Telford

Posted 17 June 2018 - 10:45 AM

Great thread. Keep the info coming

Merv

#10 frodmyster

frodmyster

    Mini Mad

  • Members
  • PipPipPipPip
  • 213 posts

Posted 17 June 2018 - 12:19 PM

Lovely car, keep up the good work

#11 Vinay-RS

Vinay-RS

    Put's foolish ideas in peoples heads

  • TMF+ Member
  • PipPipPipPipPipPipPipPipPip
  • 2,093 posts
  • Location: Cape Town

Posted 17 June 2018 - 04:05 PM

Slowly getting all the bodges fixed is always nice to see. Good luck with getting the rest of it sorted out. Also, nice details on the different jobs as you tackle them. 


#12 kws

kws

    Stage One Kit Fitted

  • Noobies
  • PipPipPip
  • 63 posts
  • Location: Wellington, New Zealand

Posted 17 June 2018 - 11:29 PM

Thanks guys. 


Bleeding expensive M20x1.5 tap and 18.5mm drill bit purchased. Also found out that Subaru uses an M20x1.5 sump plug, so have ordered a magnetic plug for one of those. Should be able to refill with oil in a couple of days when that all arrives.


#13 kws

kws

    Stage One Kit Fitted

  • Noobies
  • PipPipPip
  • 63 posts
  • Location: Wellington, New Zealand

Posted 20 June 2018 - 03:22 AM

People have asked why I do what I do; buying broken cars and fixing them. It's because despite all the blood, sweat and swears, it's fun and nothing beats the satisfaction of that first drive.
 
 
Yesterday was like Christmas, but better. It was parts day.
 
I had ordered a bunch of critical parts from local, NZ, suppliers (and a whole heap of less critical parts from Minispares in the UK, but they are in transit still) because they can do overnight shipping.
 
The first part that came in was a pair of H4 halogen semi-sealed beam headlights. Genuine Lucas no less. Trust them.
DSC02746.jpg
 
Swapping them out is plug and play. Remove the chrome ring (single screw in underside), remove light retainer (three screws) and then unplug the old light.
DSC02744.jpg
DSC02745.jpg 
 
It turns out the old lights were different brands, with different patterns in the glass. I guess they are alright, but not my cup of tea.
 
The new lights have a standard clip in the back for a bulb
DSC02749.jpg
 
Installation is reverse of disassembly. Heres a comparison. H4 on the right, old Sealed beam on the left. It's hard to see but the H4 is brighter and whiter.
DSC02751.jpg
 
The supplied bulbs are the same wattage as the seal beam
DSC02747.jpg
 
Both went in easily, and now I have high and low beam on both sides. Success.
 
The other things that arrived that I have no photos of, was a new choke cable as the old one was stuffed. This went in nice and easy, but getting the stud for the switch surround back through the hole took longer than it should. The other new part was a speedo cable. The old one was damaged and wouldn't plug into the gearbox. This is a prick of a job to do, but I did it by reaching in over the passenger's side axle. You can see the socket for the cable if you look through the bodywork where the axle goes through. I finally got it connected to the gearbox, and before connecting to the speedo I spun the wheel and the cable turned, so we had a good gear in the gearbox.
 
The last of yesterdays jobs was the big one. Drilling and tapping the gearbox for a new sump plug.
 
I ordered an M20x1.5 tap and 18.5mm drill bit, at great cost, and set about fixing it. Interestingly, Subaru uses an M20x1.5 sump plug, so I ordered an aftermarket Subaru sump plug with a magnet.
DSC02731.jpg
 
The drill bit was filled with grease, to catch as many metal shavings as possible.
DSC02734.jpg
 
This is what I was working with. No threads at all
DSC02735.jpg
 
To get the drill in there straight, I needed to remove my RH tie rod.
DSC02736.jpg
 
And then I took some concrete pills and got drilling. Point of no return long gone.
DSC02741.jpg
DSC02739.jpg 
 
And a complete 18.5mm hole. You do need to take care not to drill too deep as the oil strainer is close to the drain hole
DSC02742.jpg
 
And then I smothered the tap in grease, and carefully tapped the thread. Unfortunately the damn tap, despite my best efforts, went in slightly crooked. This isn't a good thing, because sump plugs seal with the washer under the head, so if it goes in on an angle it may not seal properly.
 
I screwed in the sump plug, and tightened. Knowing it wasnt completely straight I used some thread sealing compound on the threads.
DSC02743.jpg
 
I guess it was a success in that the oil doesn't pour out of the box, but it was a failure in that it is weeping oil. I'll probably dump this fresh oil again soon (use it as a flush oil considering how horrible the old oil was that came out), and either try thread tape on the plug, or maybe get one of those "revolutionary super sealing" sump plugs with an O-Ring half way up the threads from Supercheap and see what happens. Worst case I'll get an M20x1.5 bolt, cut it shorter, drill and tap it for 5/8" UNC, loctite it into the gearbox and use that as an adaptor for the original sump plug. There are options.
dc88bf701d47755c277e3f499d85f1d503a686ae
 
I ran the engine up to make sure it didn't start to piss oil out, and it seemed OK. I did notice that the temperature gauge worked though, yay!
DSC02753.jpg
 
The next day there was a couple of drops of oil on the ground under the sump plug, so I'll monitor and deal with it another time.
 
Late last night the the courier arrived (at quarter to 9 at night!) and dropped off more parts. I had noticed that both tie rods were bent, so I got a pair of good second-hand ones, and the bonnet prop rod was missing (hence the block of wood you can spot in some photos). Thanks MiniBitz
 
First job today was to fit the bonnet prop. Unfortunately I didn't realise it needs a special clip to secure it into the pivot tab on the bonnet, so I had to make do with a washer and a zip tie to keep it in place. It all works well though
DSC02755.jpg
 
These are the old tie rods against the replacement, in the middle. Cant have been good for the alignment.
DSC02758.jpg
 
Replacement arms are in now, but with the old worn out bushes. I have replacement uprated bushes on the way, but will need to swap them out when they arrive.
DSC02757.jpg
 
You can get uprated, heavy duty arms but they are all adjustable, so technically need a certification to be legal. I didn't want that hassle when trying to get the car back on the road, so went with standard arms.
 
With all that done, the next thing to do was refit the grille
DSC02759.jpg
 
And readjust the brakes, again. I had been watching Youtube videos about Minis and came across a video by Stevestonmotorco, about how to service and adjust the rear drum brakes on a classic Mini. It's a great video, with lots of good info.
 
The one thing I took away from it, was that I had incorrectly adjusted my drums. He mentions in the video that you want them to be adjusted "too tight", so that there is significant resistance when turning the drum by hand. I had mine backed off so that there was minimal drag by the shoes. I readjusted all my drums, front and rear, bled them again (and got some more air out of the fronts) and bam, I have a solid pedal.
 
The only thing left was to pop the wheels on and drop it to the ground
DSC02760.jpg
 
And then this happened....
 
The brakes work very well, good pedal feel, it brakes nice and evenly and feels stable. The engine is unfortunately misfiring at times (quite badly when cold, despite choke) under load, but it idles OK and drives well. No obvious signs of smoke, and temperature was good. The clutch pedal bites a little low, but is progressive and easy to use, and the gearbox is smooth with no grinding or crunching. There is an exhaust leak from the manifold join, so I'll need to sort that.
 
When my parts from the UK arrive I have some new ignition leads to go on, and I'll check and gap the plugs, points and check the distributor cap and rotor. Timing will also be checked (another video from the Stevestonmotorco shows how to do that), and I might clean the carb out too. Hopefully that will sort the misfire.
 
Other than that though, damn its fun to drive. It's a peppy little thing, making all the right noises. It's so retro and mechanical.
 DSC02765.jpg
DSC02766.jpg
 
This is why I do this, that first drive left me grinning like an idiot. Driving a classic Mini is so fun it shouldn't be legal.


#14 Vinay-RS

Vinay-RS

    Put's foolish ideas in peoples heads

  • TMF+ Member
  • PipPipPipPipPipPipPipPipPip
  • 2,093 posts
  • Location: Cape Town

Posted 20 June 2018 - 08:14 AM

Congrats, man! That's a great achievement. It's a strange one about the adjustable tie rods and lower arms. I'd think that just lets the wheel alignment folks get a bit more control when setting the car up correctly. 


#15 CharlieNZ

CharlieNZ

    Stage One Kit Fitted

  • Noobies
  • PipPipPip
  • 69 posts
  • Location: Auckland

Posted 20 June 2018 - 09:26 AM

Congrats, man! That's a great achievement. It's a strange one about the adjustable tie rods and lower arms. I'd think that just lets the wheel alignment folks get a bit more control when setting the car up correctly. 


It's an annoyance, and partly comes down to interpretation of the guidelines. Some inspectors will let it go, some won't. I had them on my last mini and it always passed its WoF, but the registration process (that kws has to go through) is much more rigorous.


Also Hi-Los need certifying in theory, but many WoF inspectors will either let them go, or aren't aware that the adjustment is not original


Also tagged with one or more of these keywords: roundnose

1 user(s) are reading this topic

0 members, 1 guests, 0 anonymous users