


OK it seems need to be enlightened about bump stops. It turns out that my mini has never had them and I had never realised they were missing!
So I've got a pair from minispares and assume I need either the tiniest hands ever or need to remove the cones first.
The question is, what should the area look like? I have SOMETHING there. Not sure if someone has welded a plate on or that plate is supposed to be there or that IS the bump stop minus the rubber.
Any help appreciated thanks.
[/url]IMG_20181210_195436252 by Trissy B, on Flickr">http://<a href='http...c.kr/p/Rmm2Fm'>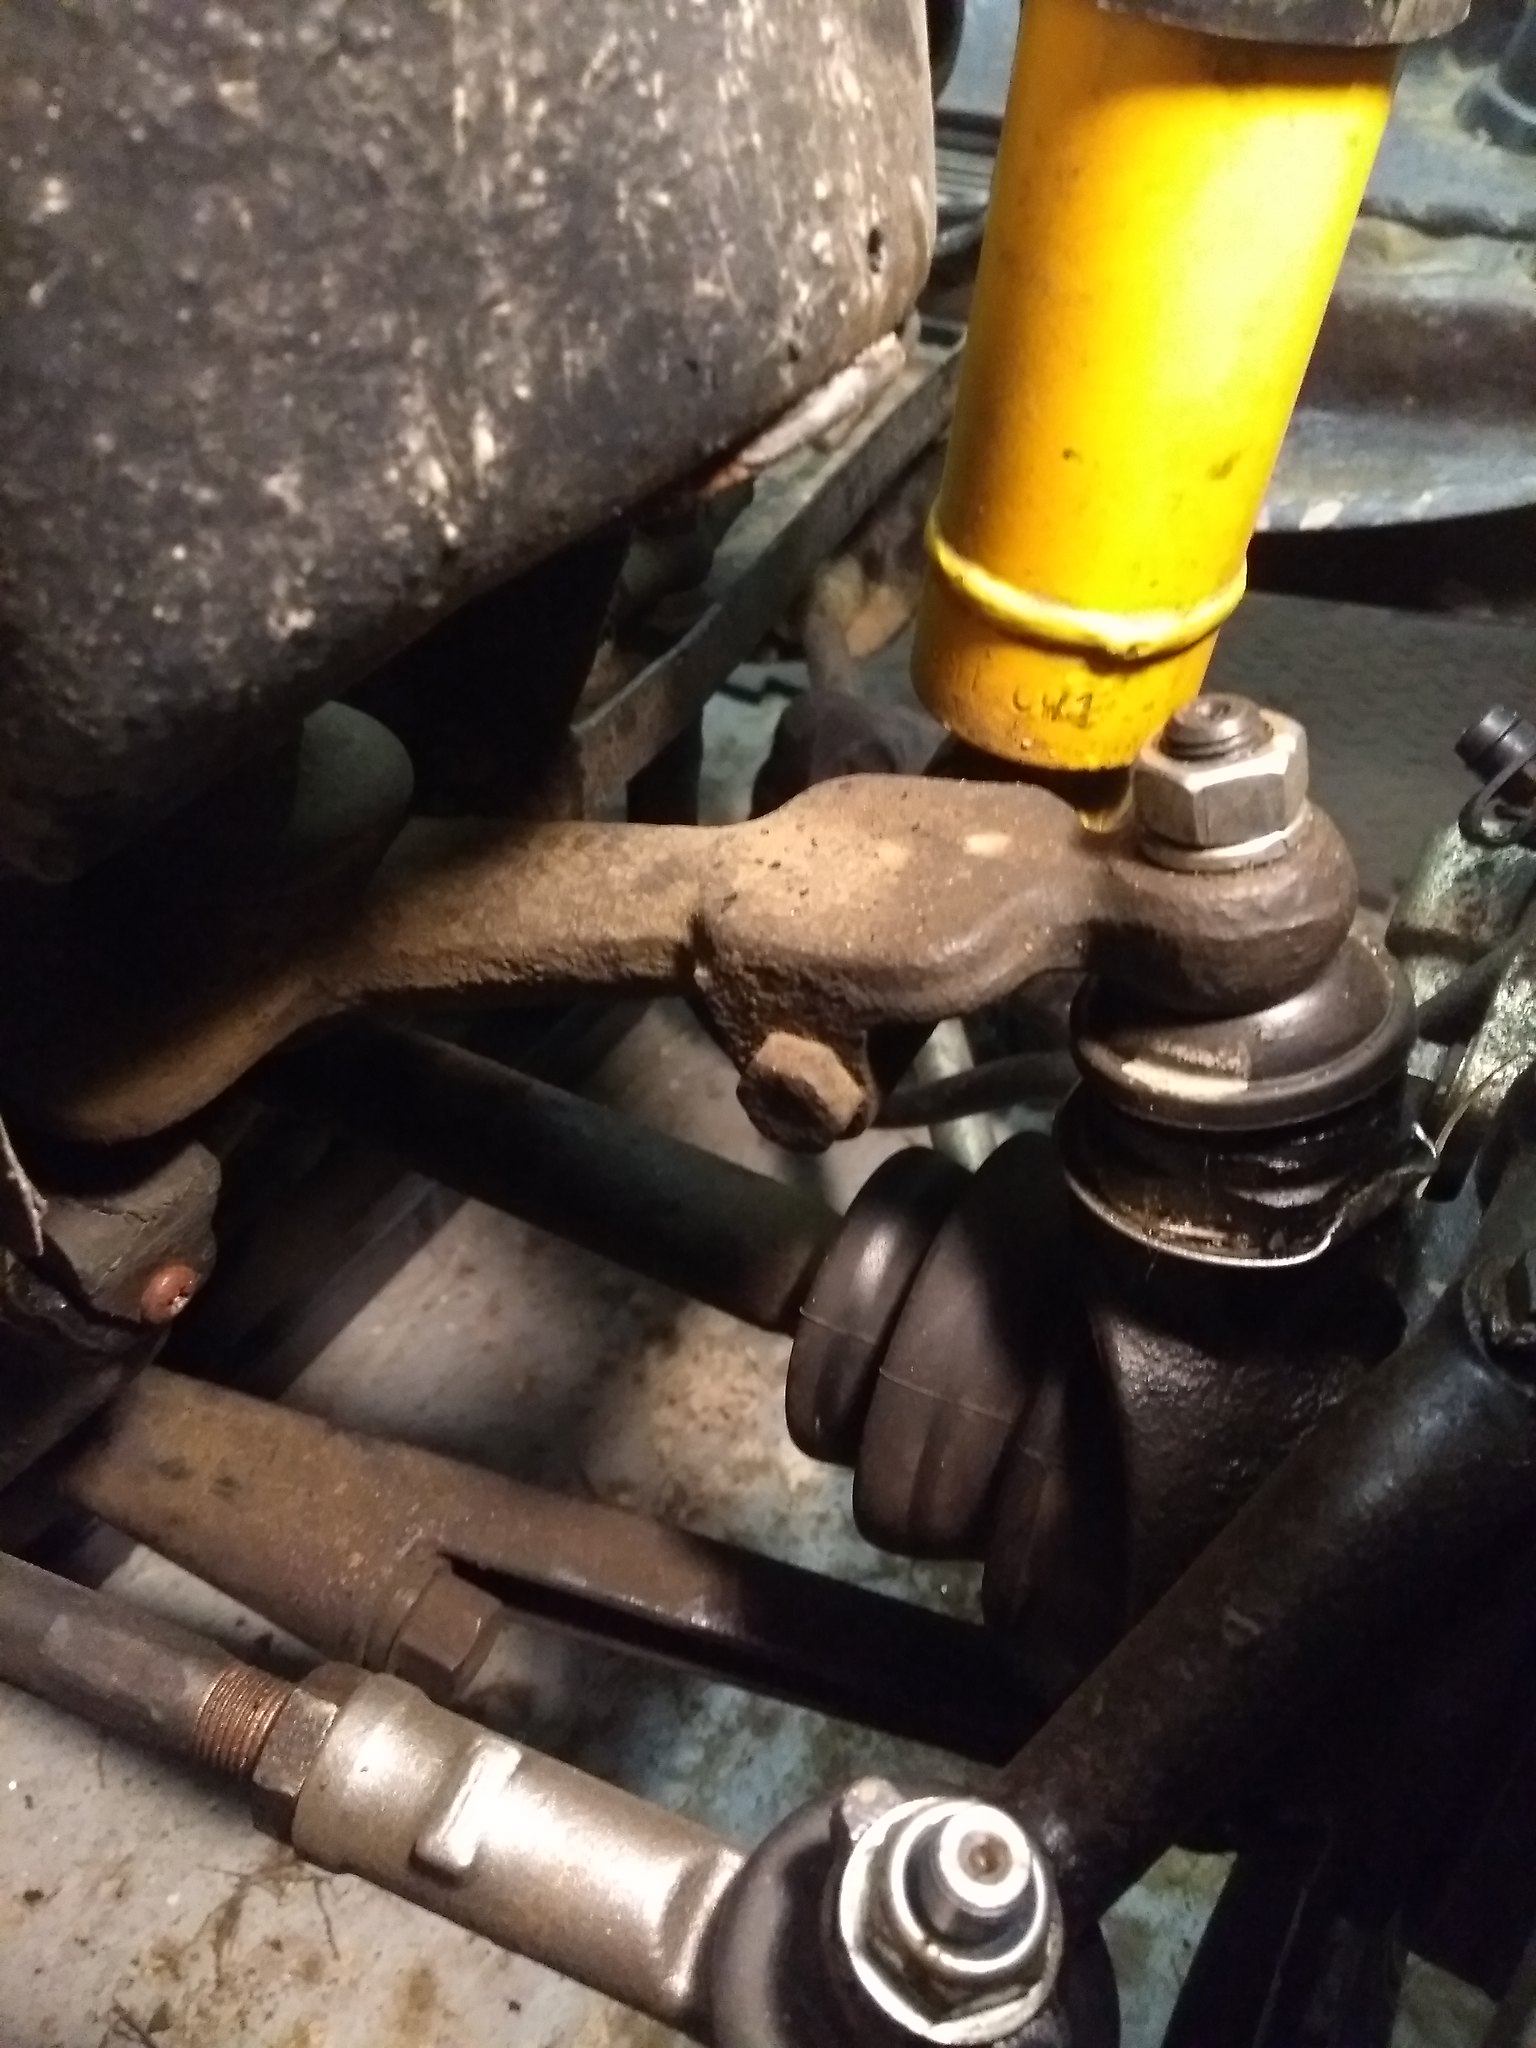 IMG_20181210_195436252 by Trissy B, on Flickr
[/url]IMG_20181210_195524722 by Trissy B, on Flickr">http://<a href='http....kr/p/2dpHwe9'>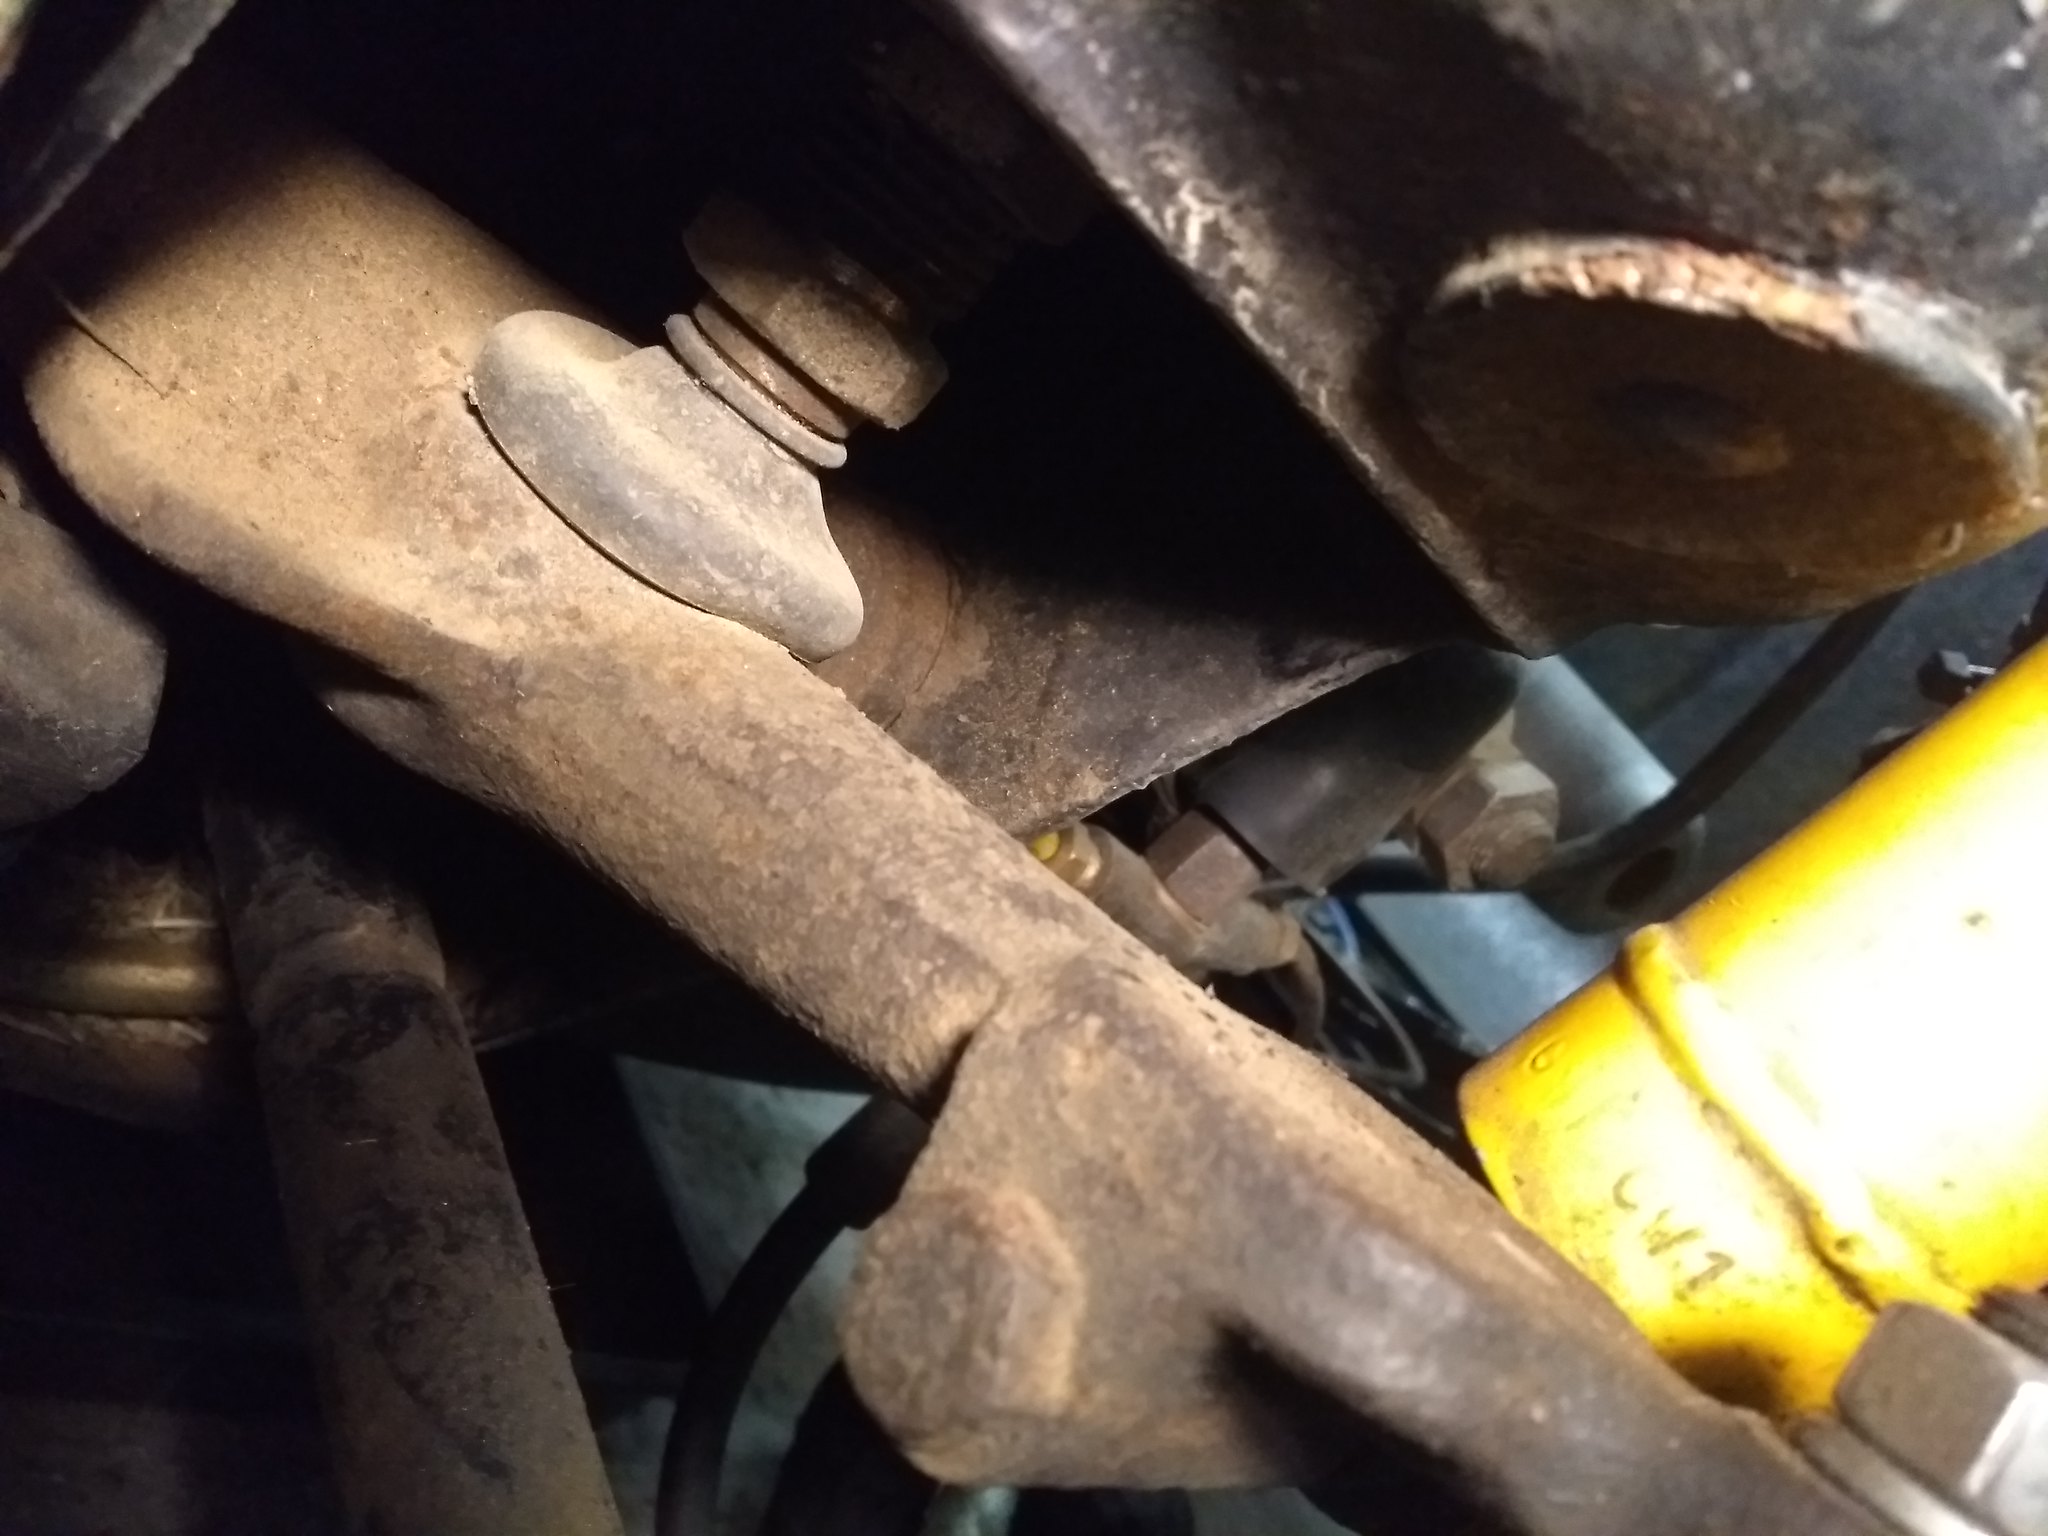 IMG_20181210_195524722 by Trissy B, on Flickr


 ) mine and refit with everything bar the wheel in place.


