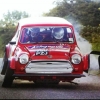
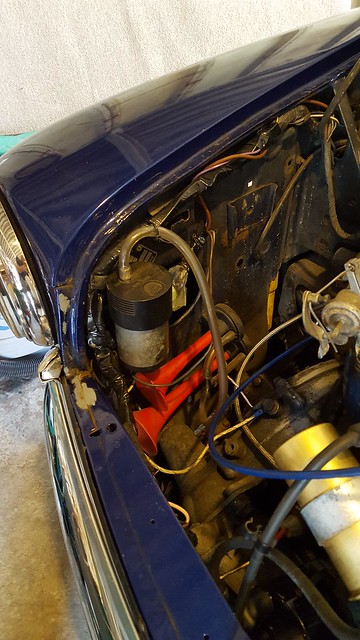
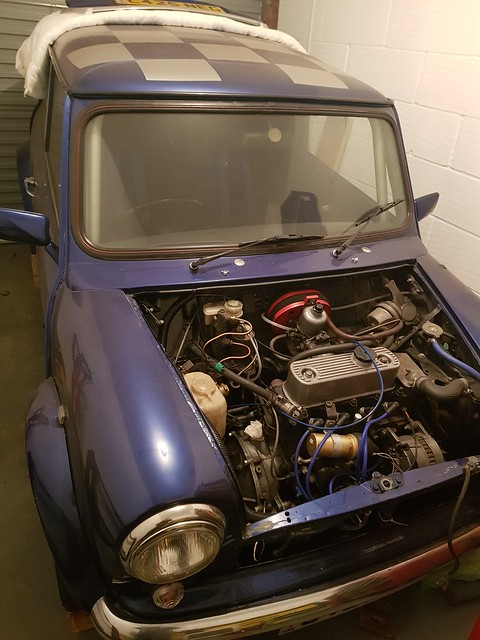
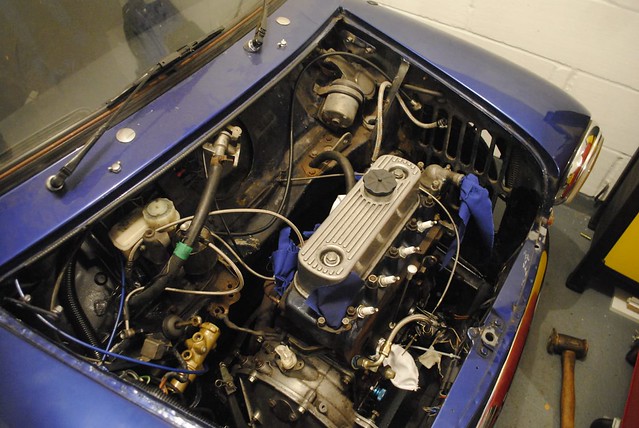
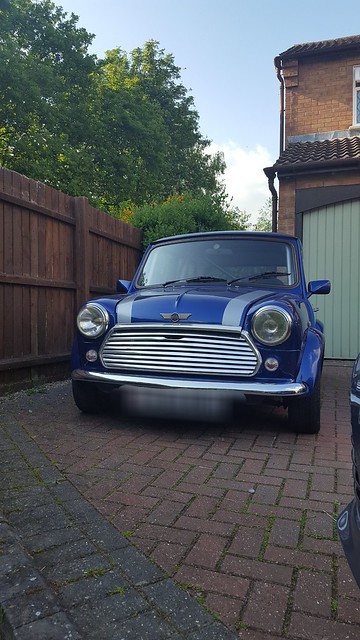
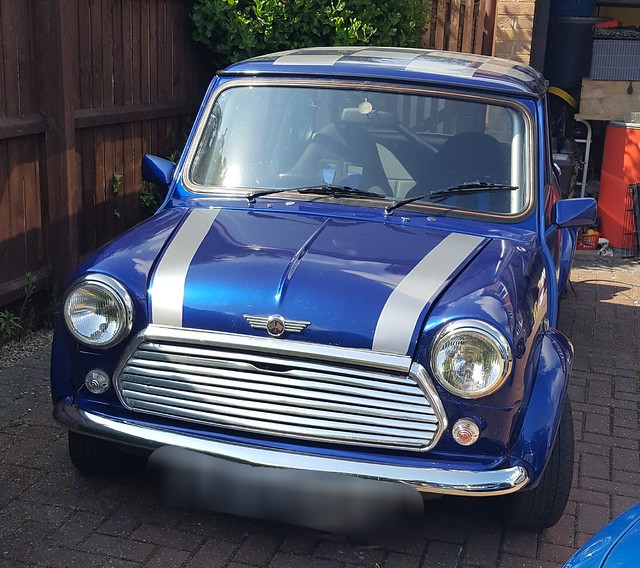
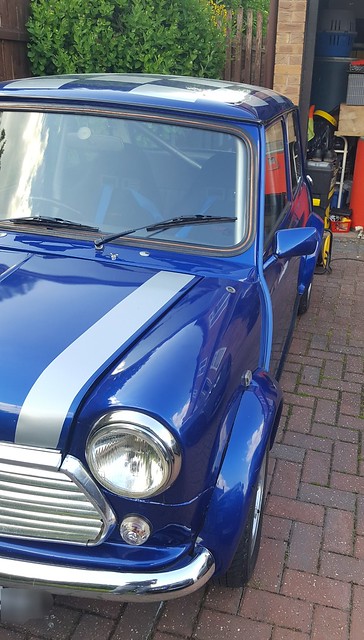
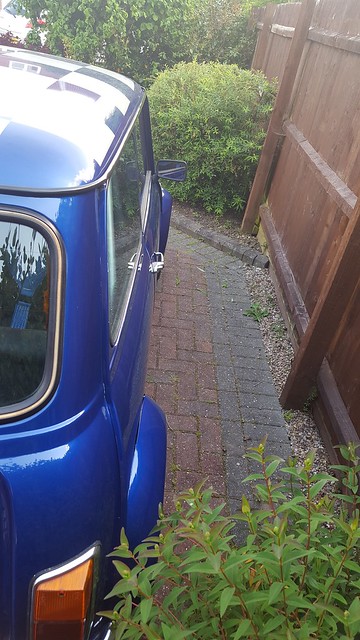
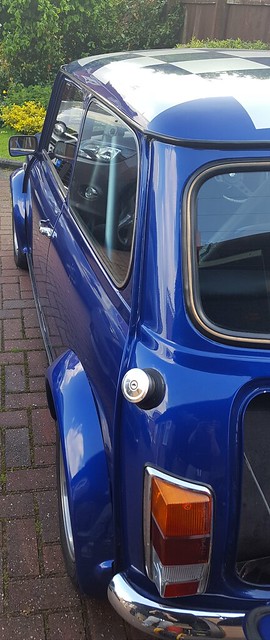
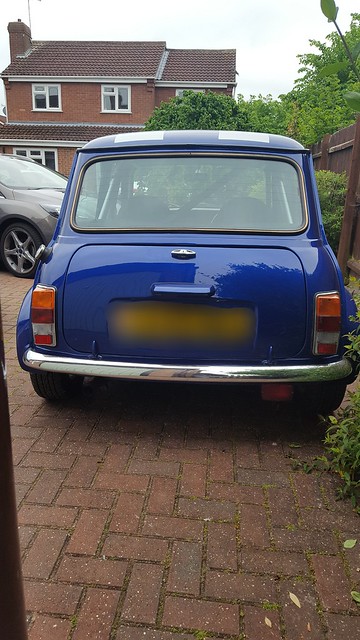
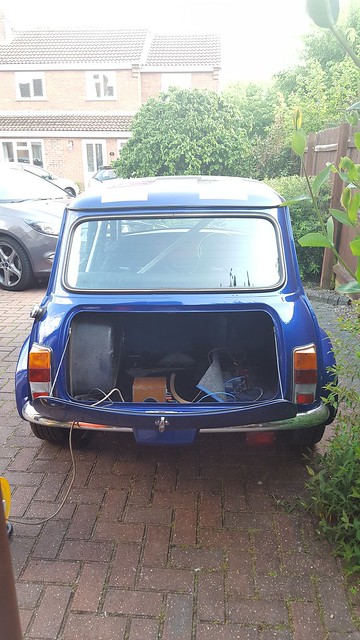
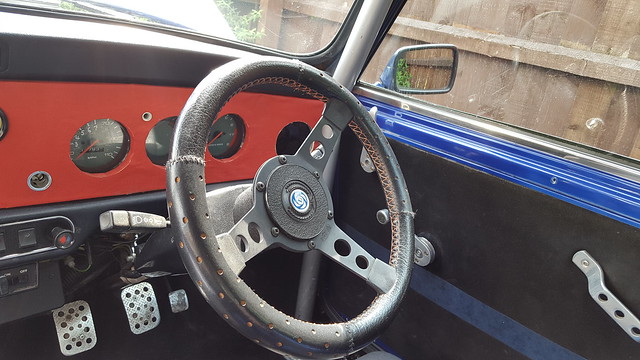
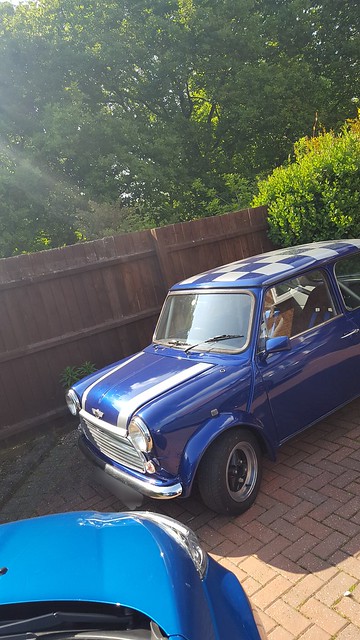
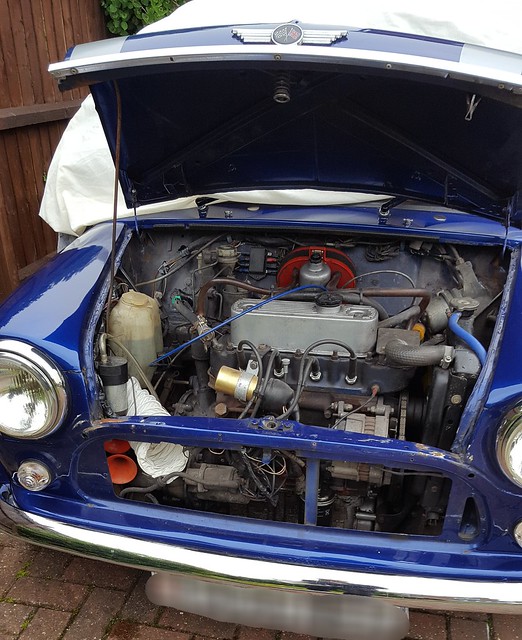
This is my first Mini Mayfair 1986 project that I purchased back in May 2016, I have posted some photos below.
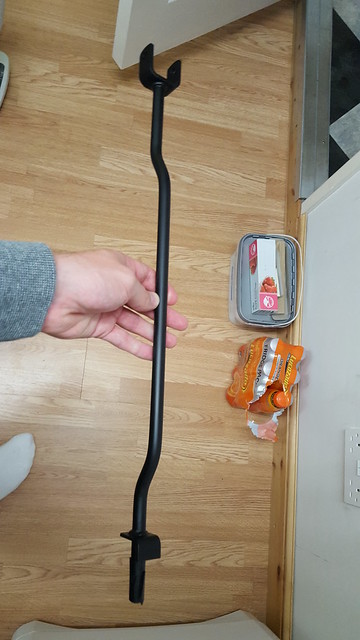
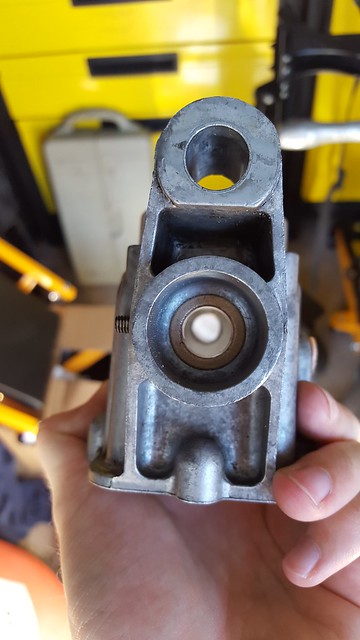
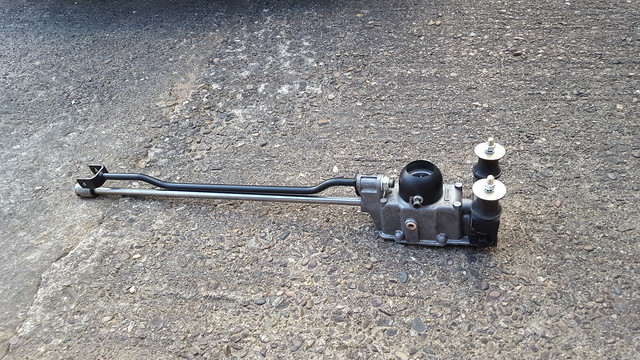
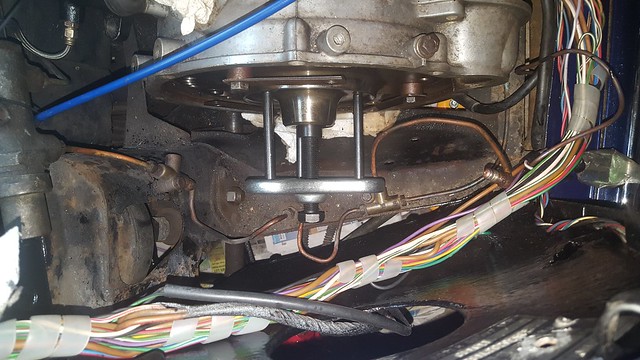
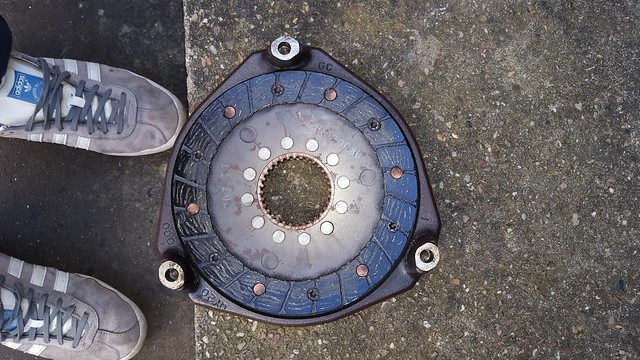
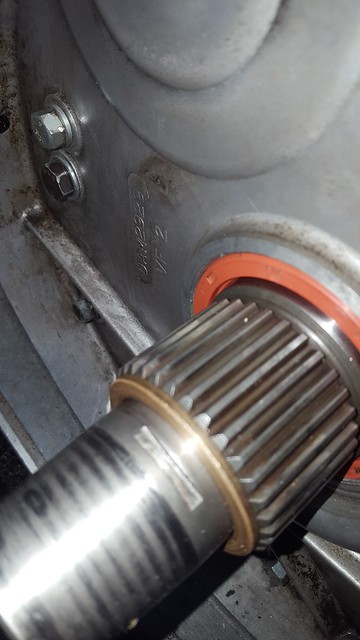
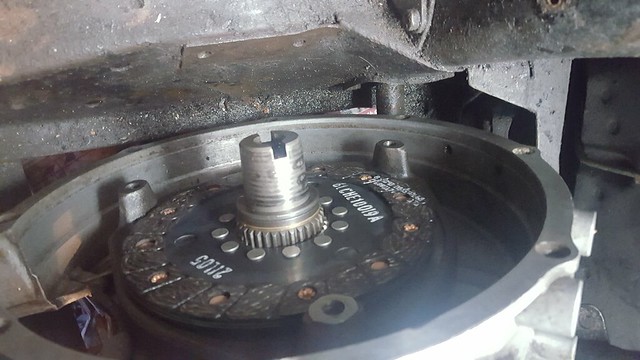
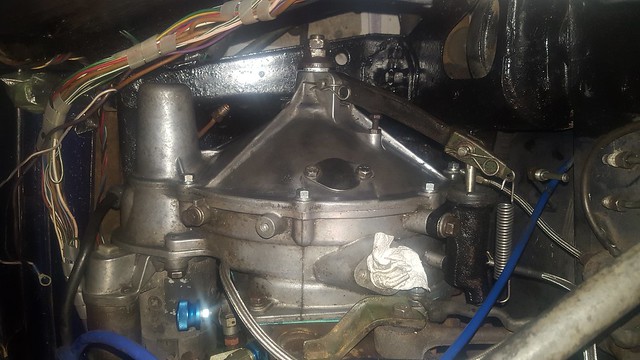
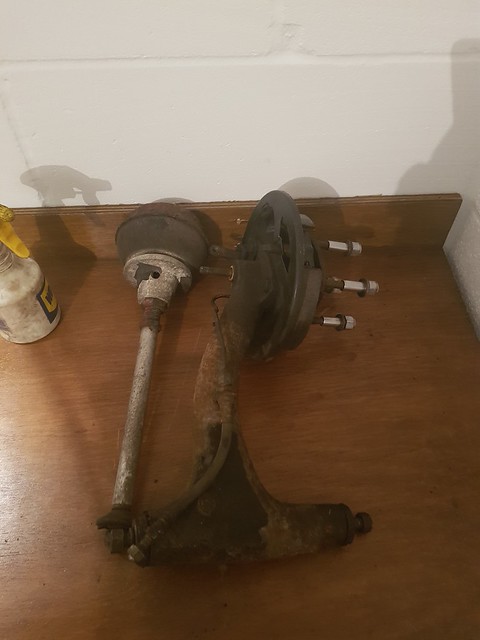
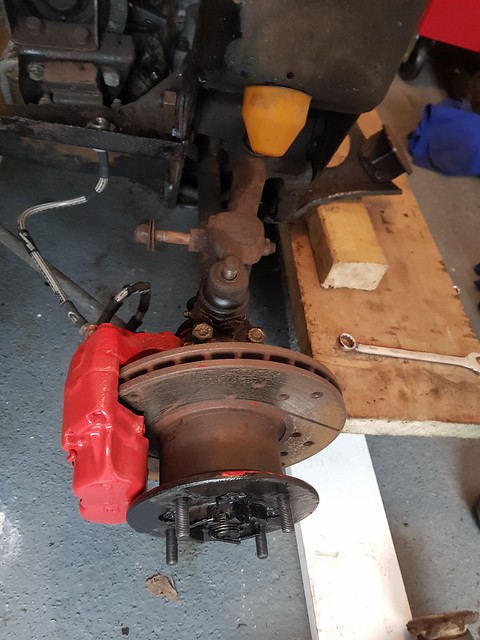
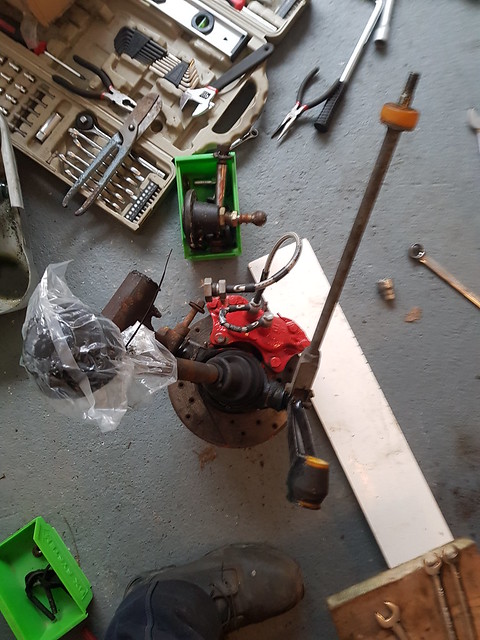
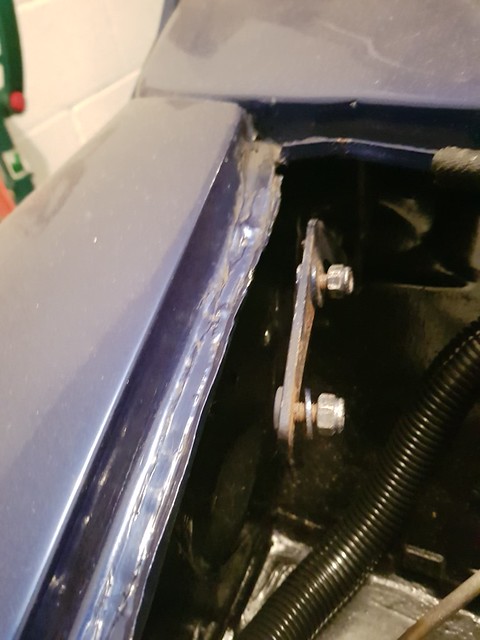
I have done several items of work including new brake lines at the front, clutch, primary gear, gear linkage refurbishment. I shall post some photos in the near future.
Due to moving into my house, putting my time, effort and money into that, the Mini took a back seat.
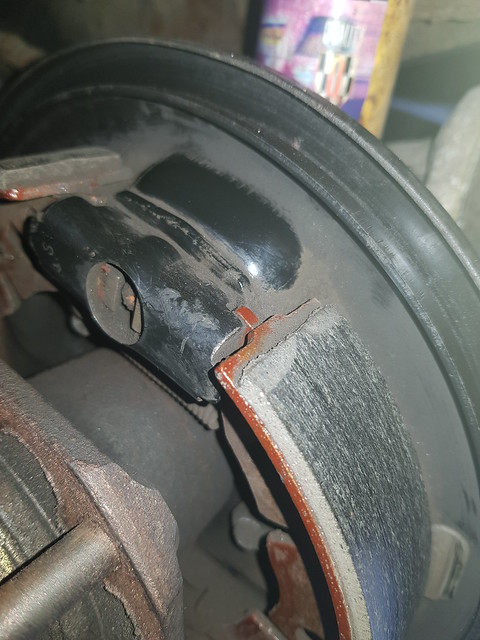
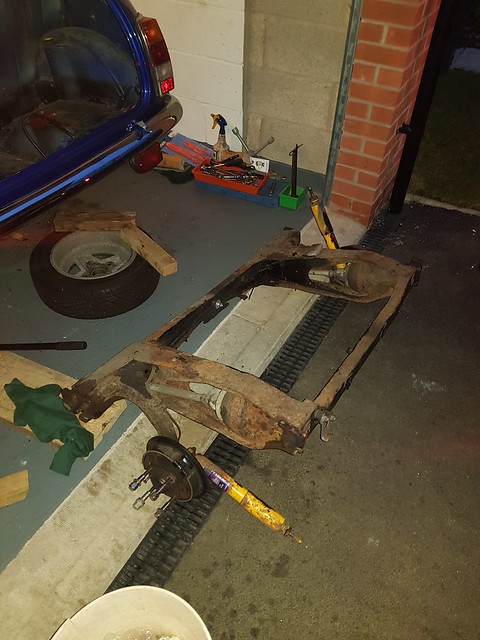
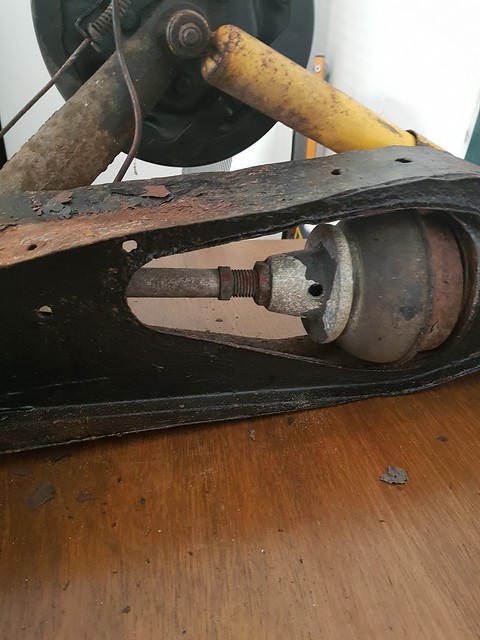
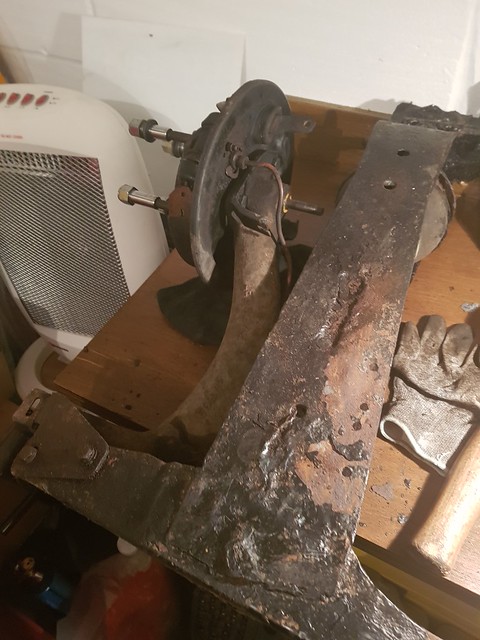
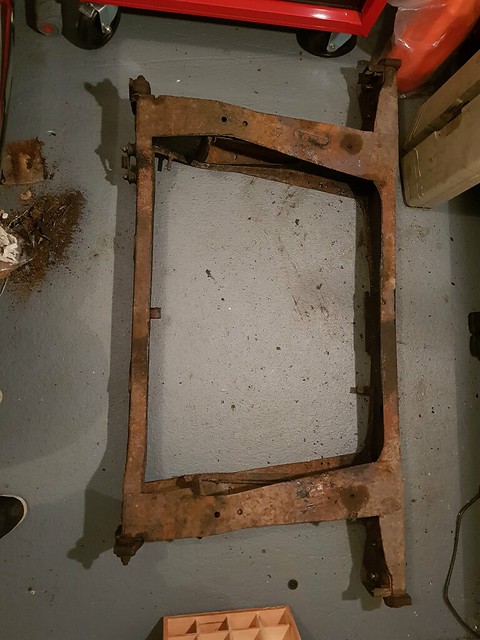
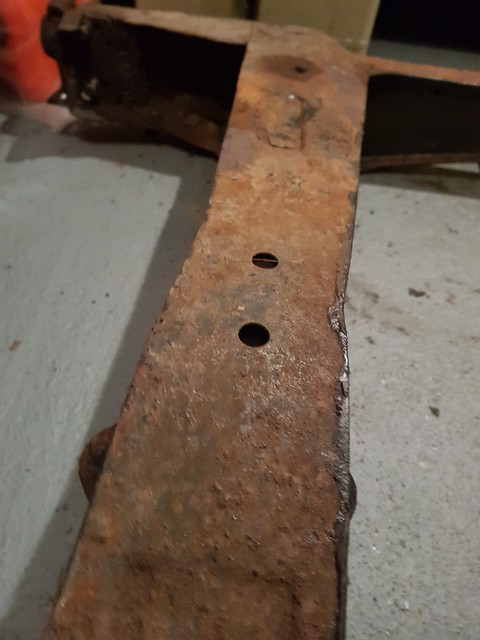
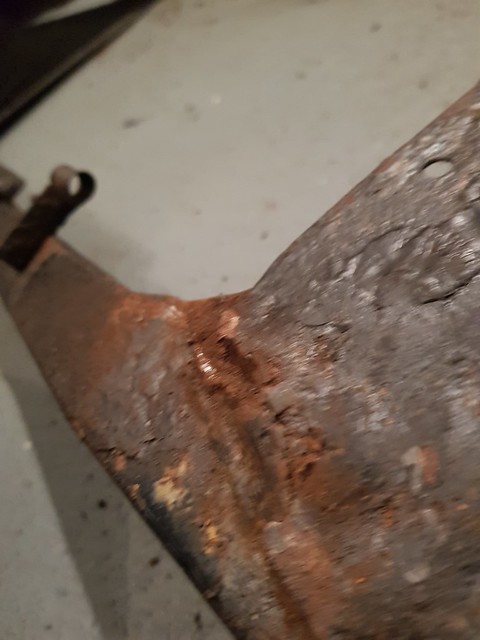
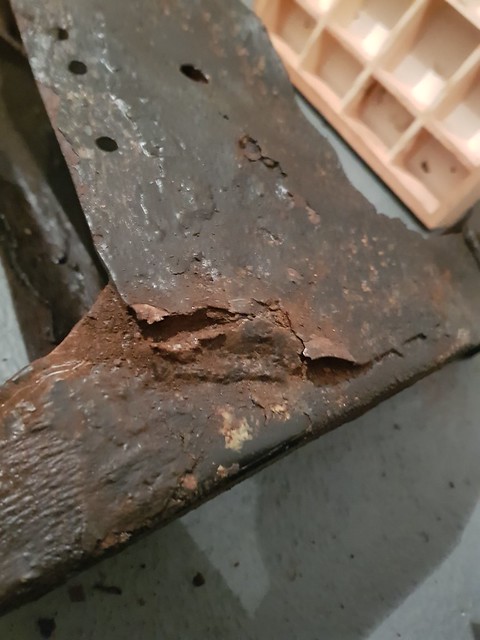
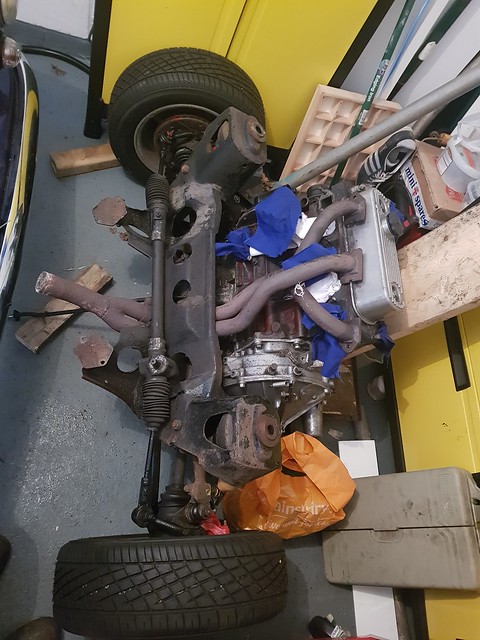
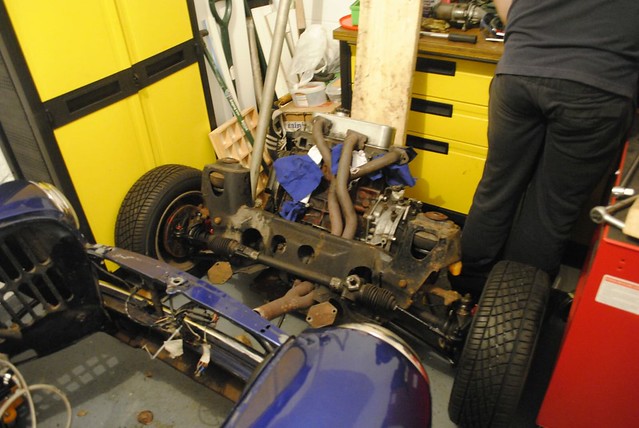
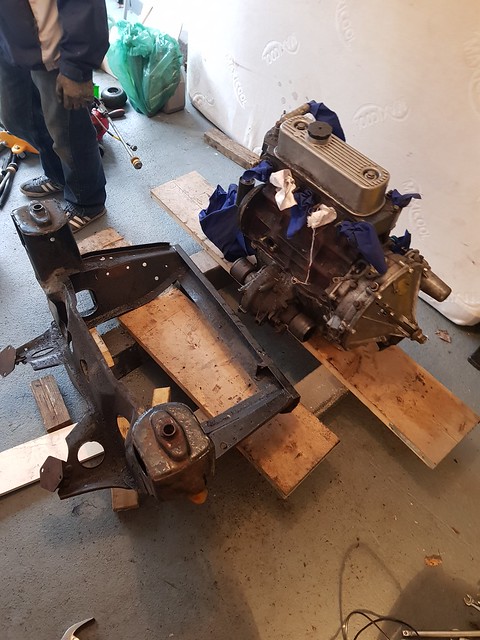
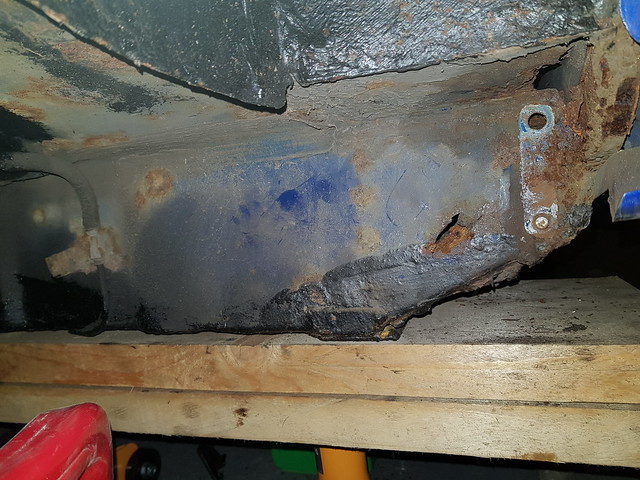
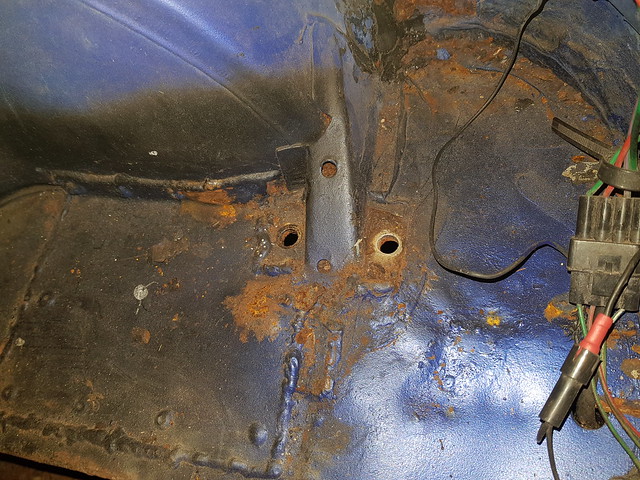
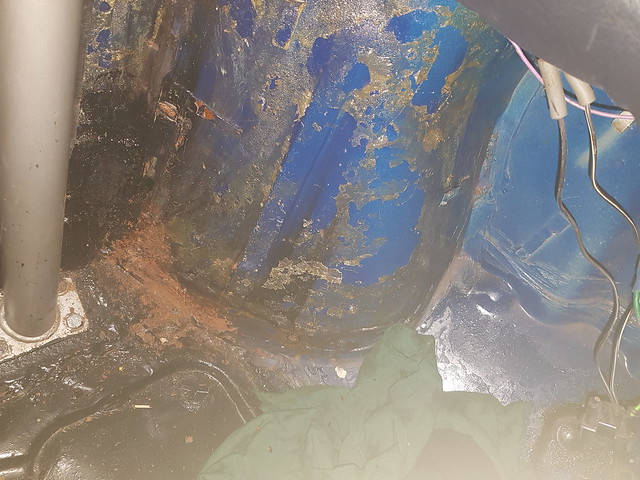
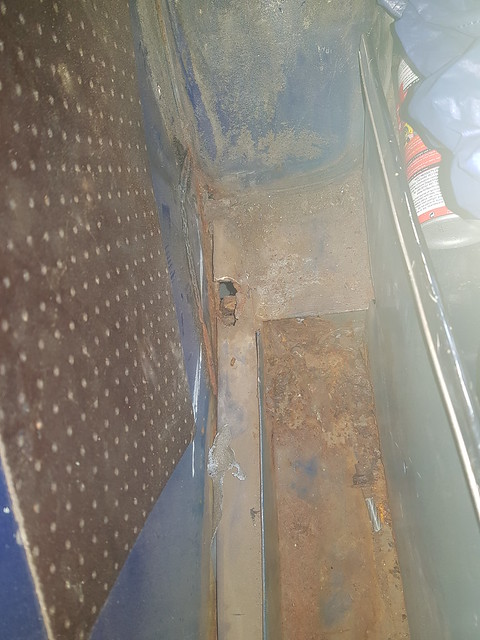
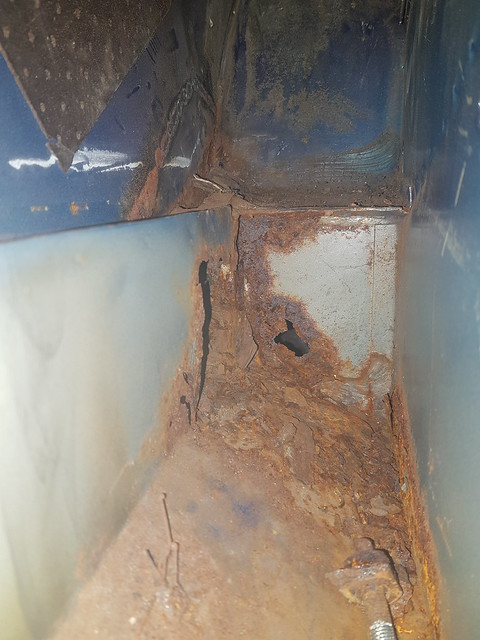
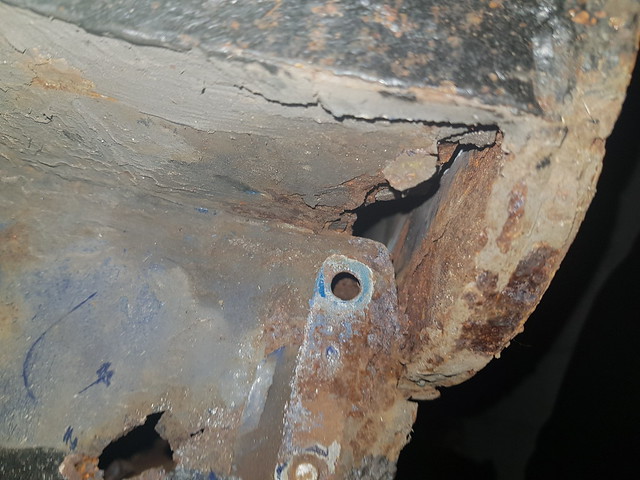
As I was preparing the car for it's MOT with a slack handbrake, and then a no good rear brake cylinder. It soon turned into taking the rear subframe off as it looked rather rusty.
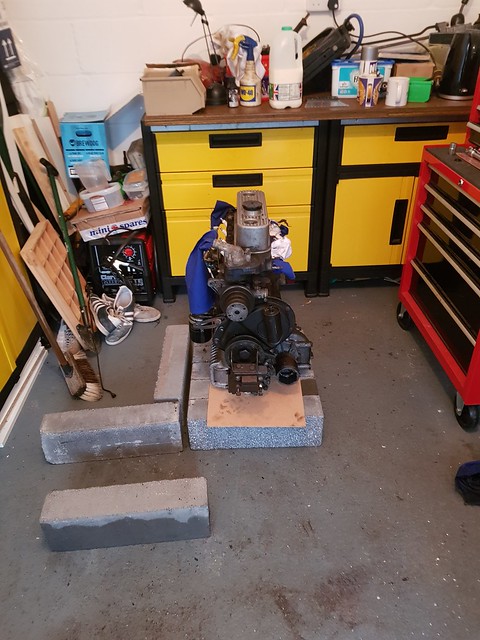
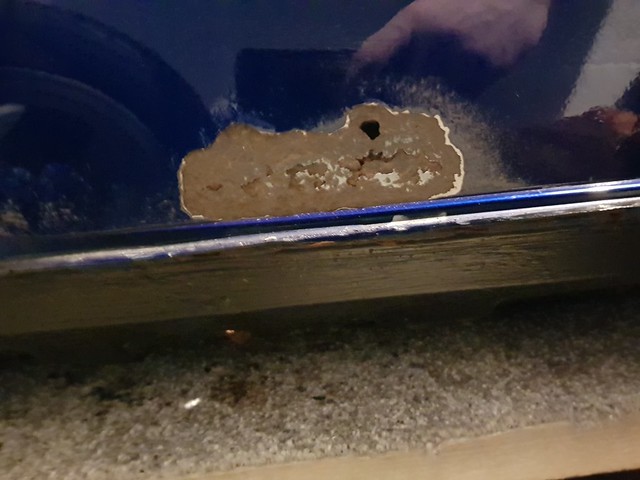
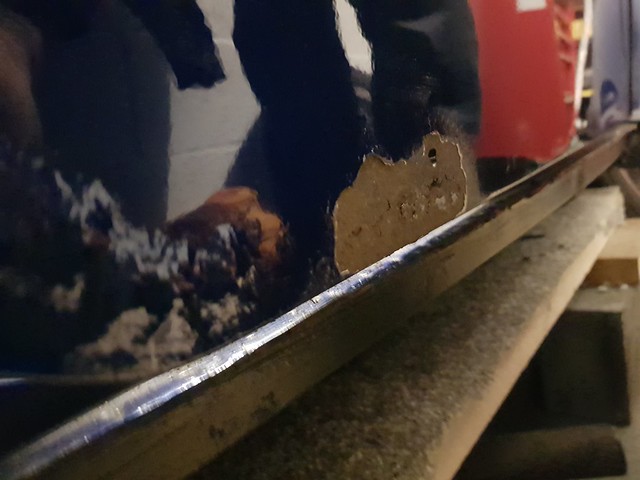
In the time of taking the rear subframe off the Mini I have now decided to do a full restoration to get the Mini to how a level/standard I am fully happy with.
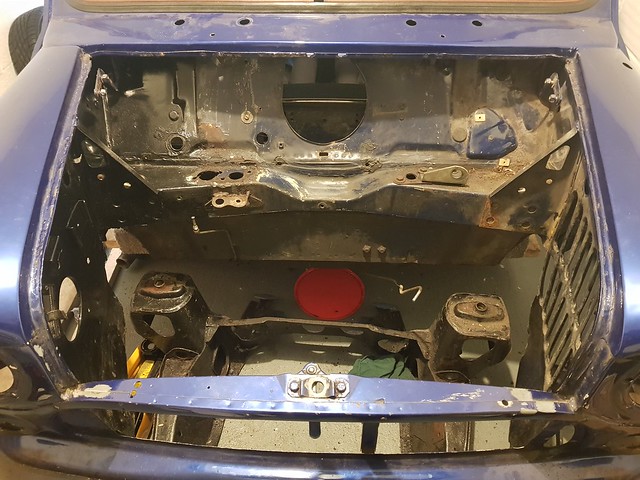
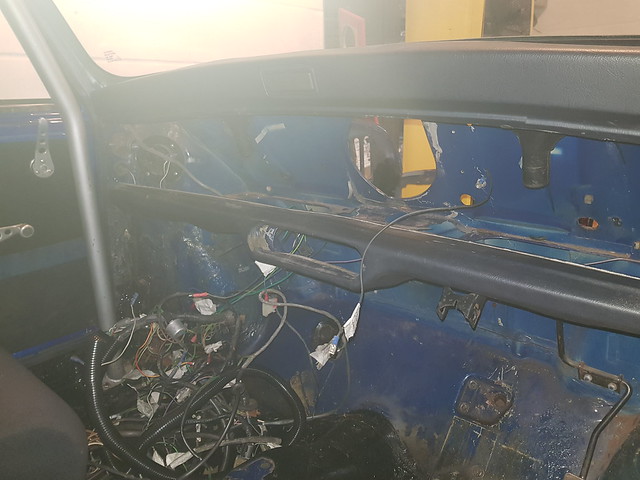
It is now fully stripped down to a shell albeit for a few last parts; arches, bumper, couple of fixings. I shall again post photos of this in the near future.
Any advice is welcomed as I said previously this is my first Mini project.
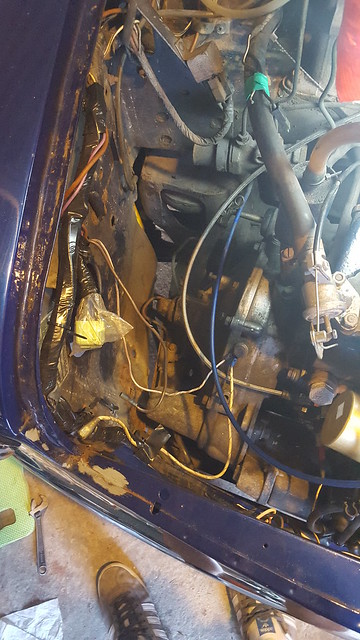
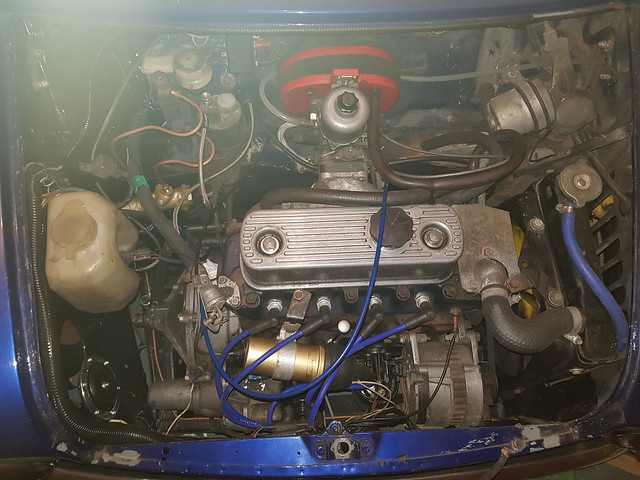
 1 by Samuel Ford, on Flickr
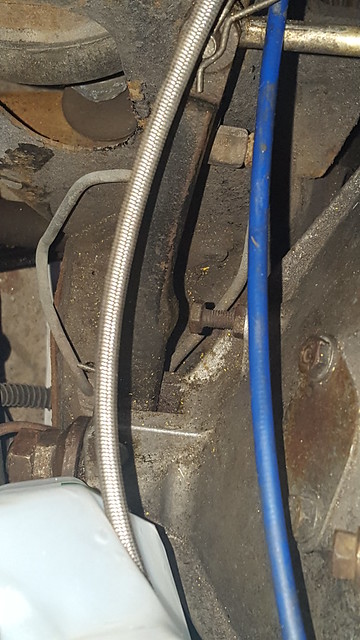
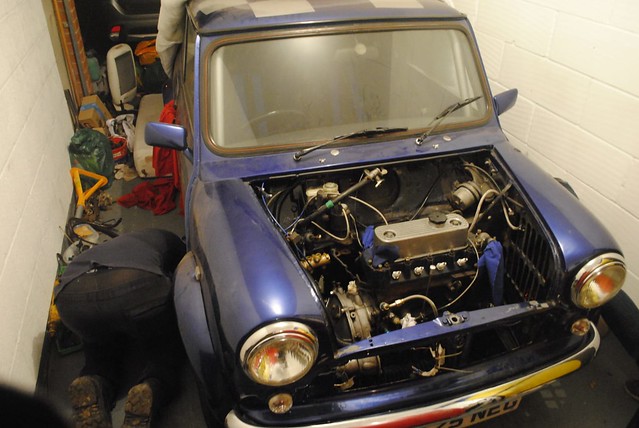
 2 by Samuel Ford, on Flickr
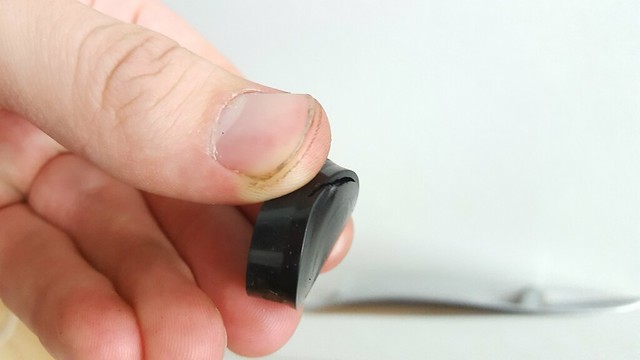
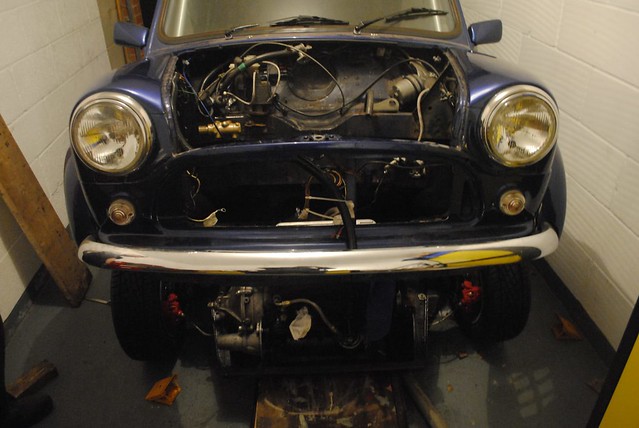
 3 by Samuel Ford, on Flickr
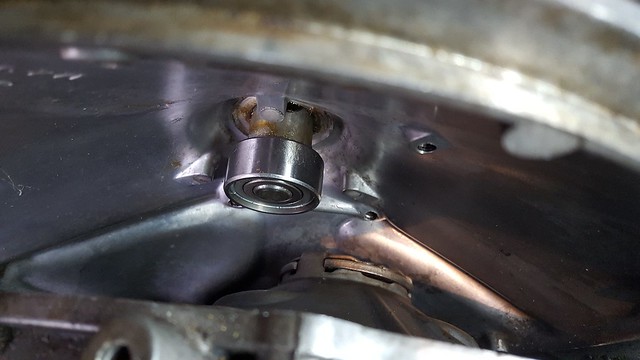
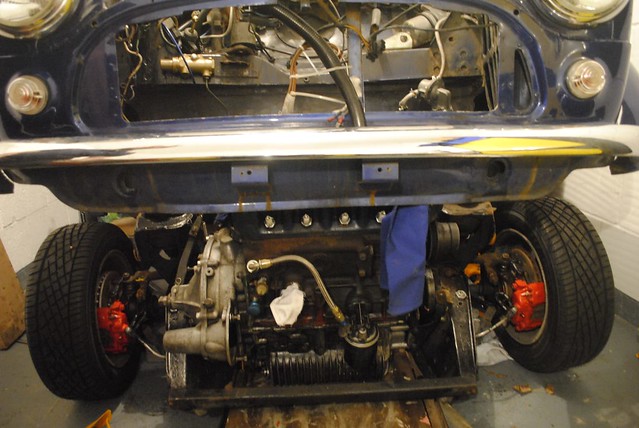
 4 by Samuel Ford, on Flickr
 5 by Samuel Ford, on Flickr
 6 by Samuel Ford, on Flickr
 7 by Samuel Ford, on Flickr
 8 by Samuel Ford, on Flickr
 9 by Samuel Ford, on Flickr
 10 by Samuel Ford, on Flickr
 11 by Samuel Ford, on Flickr