Jump to content


Photo
- - - - -

1293 Rebuild


  • Please log in to reply
187 replies to this topic

#31 ajperry

ajperry

    Speeding Along Now

  • Members
  • PipPipPipPipPip
  • 316 posts
  • Location: Wokingham
  • Local Club: Thames Valley Mini Club

Posted 04 May 2019 - 07:41 PM

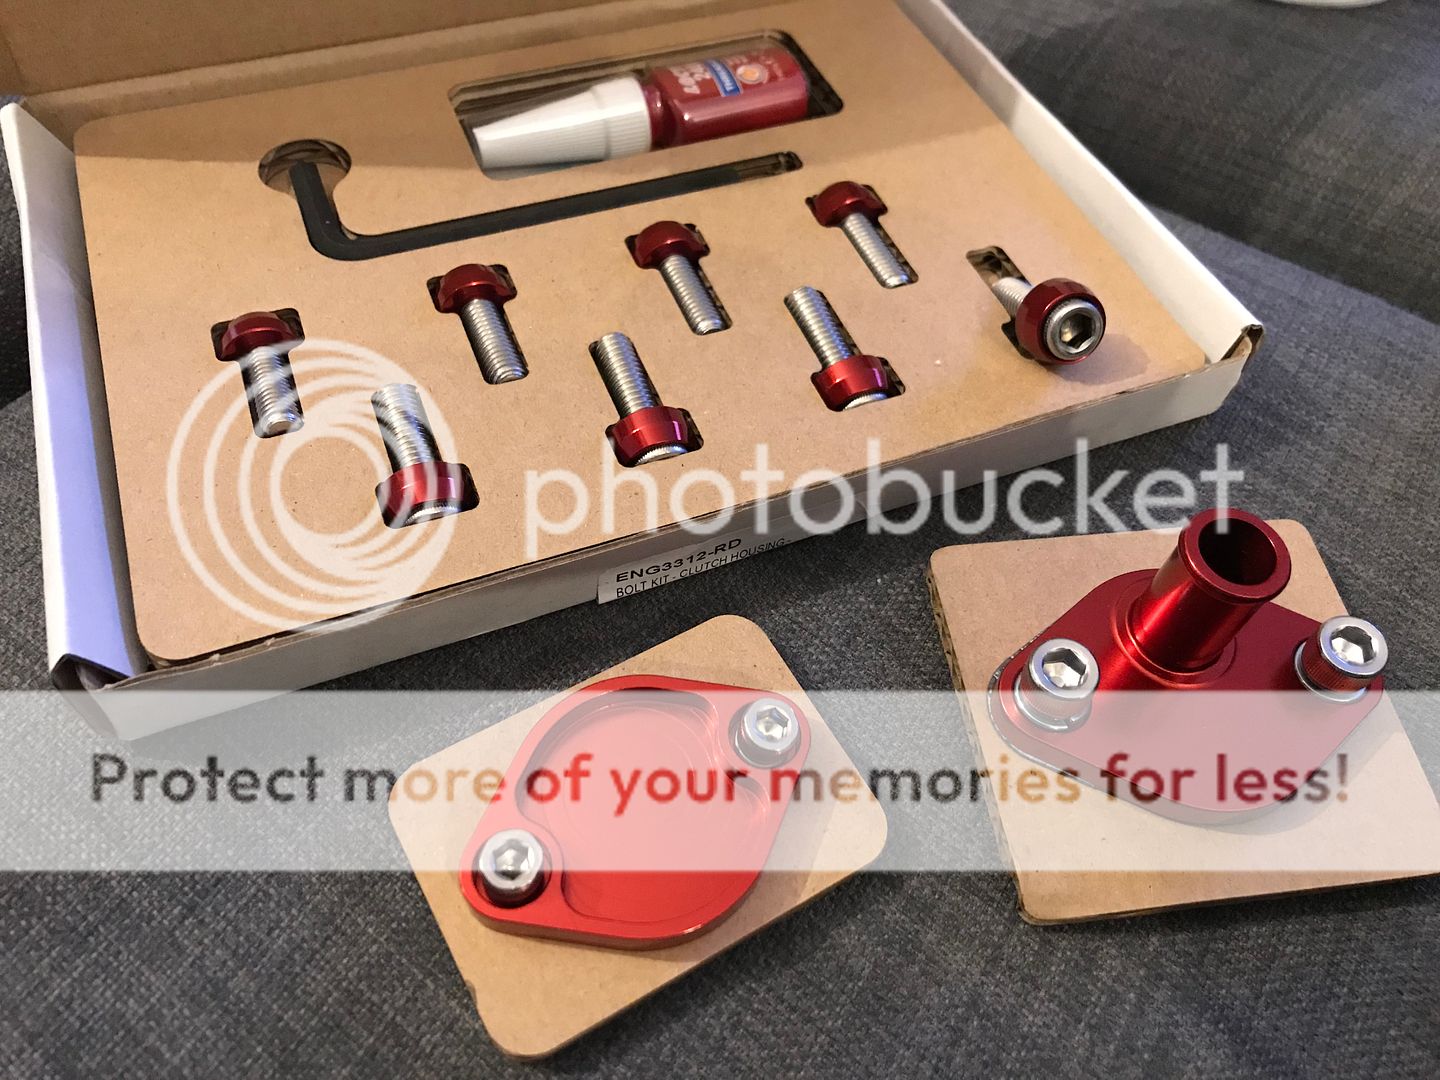
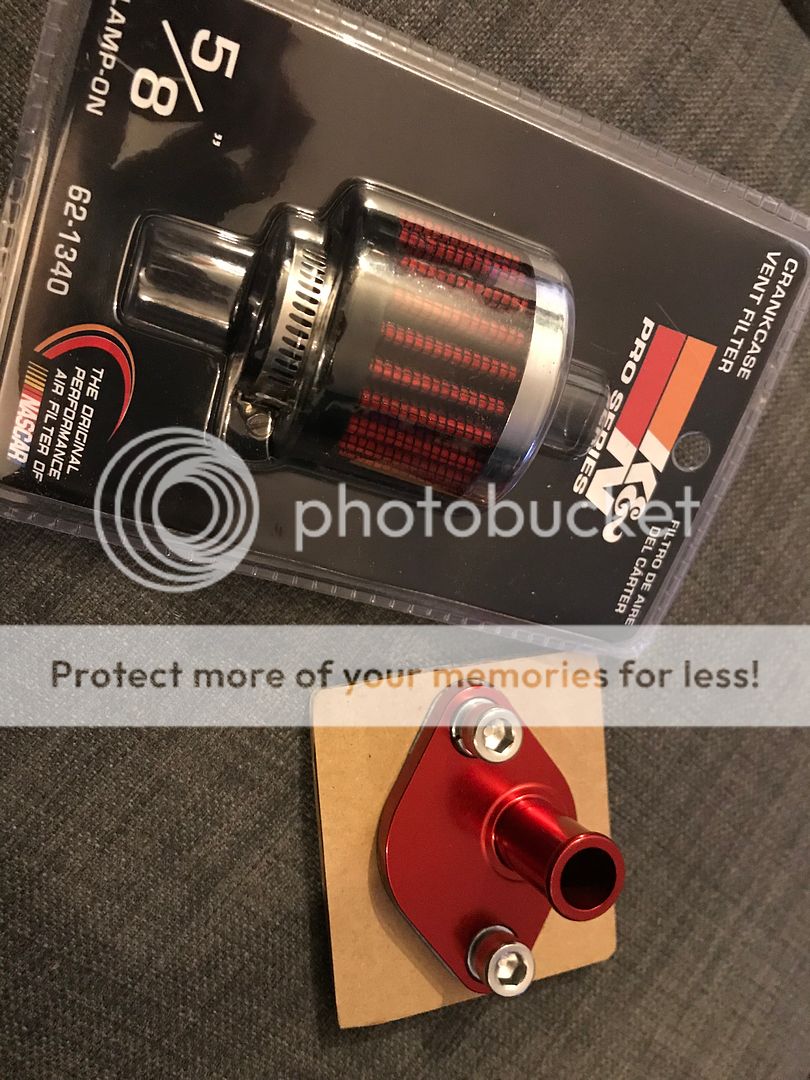
Got some nice DSN bits through this week!
Transfer case breather, timing mark cover and clutch housing bolt set. Yum!
Also a K&N breather filter for the transfer case.
620C1BD5-3509-487F-9411-F21241B1B4D3_zps
F103112E-534B-48FB-8EDC-9DEB0A5A3043_zps

#32 ajperry

ajperry

    Speeding Along Now

  • Members
  • PipPipPipPipPip
  • 316 posts
  • Location: Wokingham
  • Local Club: Thames Valley Mini Club

Posted 06 May 2019 - 12:46 PM

Couldn’t resist trying the new bits on... ?
Polished up the bell housing a bit more and in the middle of cleaning up the crank case, slowly getting there!

62F7D173-7A18-4F7D-8EB0-EB93299A8AE2_zps

#33 ajperry

ajperry

    Speeding Along Now

  • Members
  • PipPipPipPipPip
  • 316 posts
  • Location: Wokingham
  • Local Club: Thames Valley Mini Club

Posted 06 June 2019 - 06:04 PM

Did a little happy dance when these showed up!
DBC85527-5DAF-460B-BFAB-A868DB595008_zps

Almost there with the bits to take to the machine shop for the block and head work. Just cam choice to sort. ?

#34 johnR

johnR

    Up Into Fourth

  • Members
  • PipPipPipPipPipPipPipPipPip
  • 2,244 posts
  • Location: Dorset

Posted 06 June 2019 - 09:40 PM

If you want a high polish on that Wok you'll have to start with a coarse wet and dry to get the deep marks out - that one does seem quite bad, might be easier to look out for a better one as I don't think they're expensive.


#35 ajperry

ajperry

    Speeding Along Now

  • Members
  • PipPipPipPipPip
  • 316 posts
  • Location: Wokingham
  • Local Club: Thames Valley Mini Club

Posted 07 June 2019 - 12:36 PM

If you want a high polish on that Wok you'll have to start with a coarse wet and dry to get the deep marks out - that one does seem quite bad, might be easier to look out for a better one as I don't think they're expensive.


Hi John,

I think i'm going to paint it now as it's taken a lot of work so far just to get it to that point, and that was with 400 grit wet and dry!

I've got some black wrinkle paint for my rocker cover so will see how that turns out and may use that or just some gloss black on the crank and flywheel housings...

I've got some MOWOG/BMC green for the engine block and head so thinking a limited overall colour pallette of MOWOG/BMC green and black with polished/silver anodised and red accents should look good. I've been looking in the engine styling section recently for some good inspiration.

Yours is looking great by the way!


Edited by ajperry, 07 June 2019 - 12:36 PM.


#36 johnR

johnR

    Up Into Fourth

  • Members
  • PipPipPipPipPipPipPipPipPip
  • 2,244 posts
  • Location: Dorset

Posted 07 June 2019 - 01:09 PM

Thanks, it's obviously a matter of personal preference but I agree that a limited palette is best - some engine bays are an explosion of mis-matched colours that give me a headache! I prefer to use different finishes of the same colour highlighted by alloy and chrome with perhaps one item in a complementary bright colour as a highlight. 

Personally I'd suggest doing the whole engine either black or green rather than half and half and limiting a different colour to the rocker cover. Whatever you choose it should reflect you as you're the one whose got to live with it! 

Keep up the good work.


#37 Fastorq

Fastorq

    Mini Mad

  • Noobies
  • PipPipPipPip
  • 186 posts
  • Location: Ayrshire

Posted 07 June 2019 - 08:49 PM

So, as it’s a 1380, I can’t bore it out any further so they have suggested to get the block sleeved to 1330, which I am happy to do as I’d rather keep this block and have it sorted properly. ...


To get to 1380cc the bores have to be offset .
I’m no expert but because of this I don’t think it’s possible to sleeve a block once it has been taken out to 1380cc
Sure somebody more experienced than me will advise you about this before you spend any more time and money with this block.

#38 ajperry

ajperry

    Speeding Along Now

  • Members
  • PipPipPipPipPip
  • 316 posts
  • Location: Wokingham
  • Local Club: Thames Valley Mini Club

Posted 07 June 2019 - 09:32 PM

So sounds like a quick double check in the tech section is needed

Edit: after some searching it seems it shouldn’t be a problem to get the machine shop to sleeve from 1380.

Edited by ajperry, 07 June 2019 - 09:54 PM.


#39 ajperry

ajperry

    Speeding Along Now

  • Members
  • PipPipPipPipPip
  • 316 posts
  • Location: Wokingham
  • Local Club: Thames Valley Mini Club

Posted 09 June 2019 - 04:38 PM

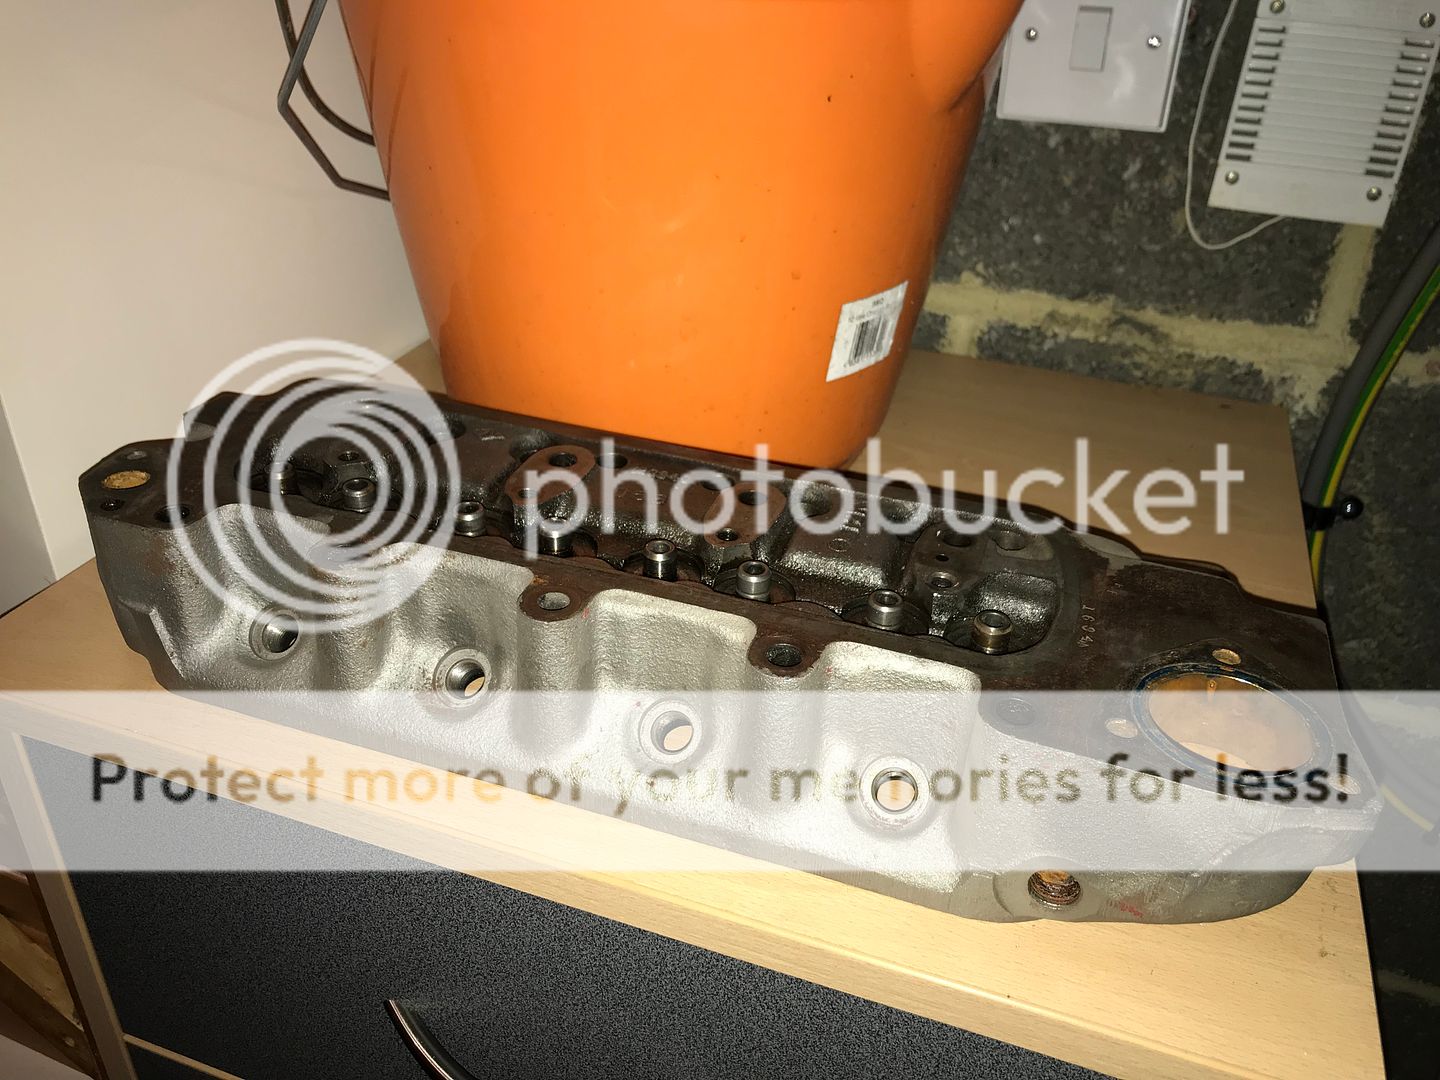
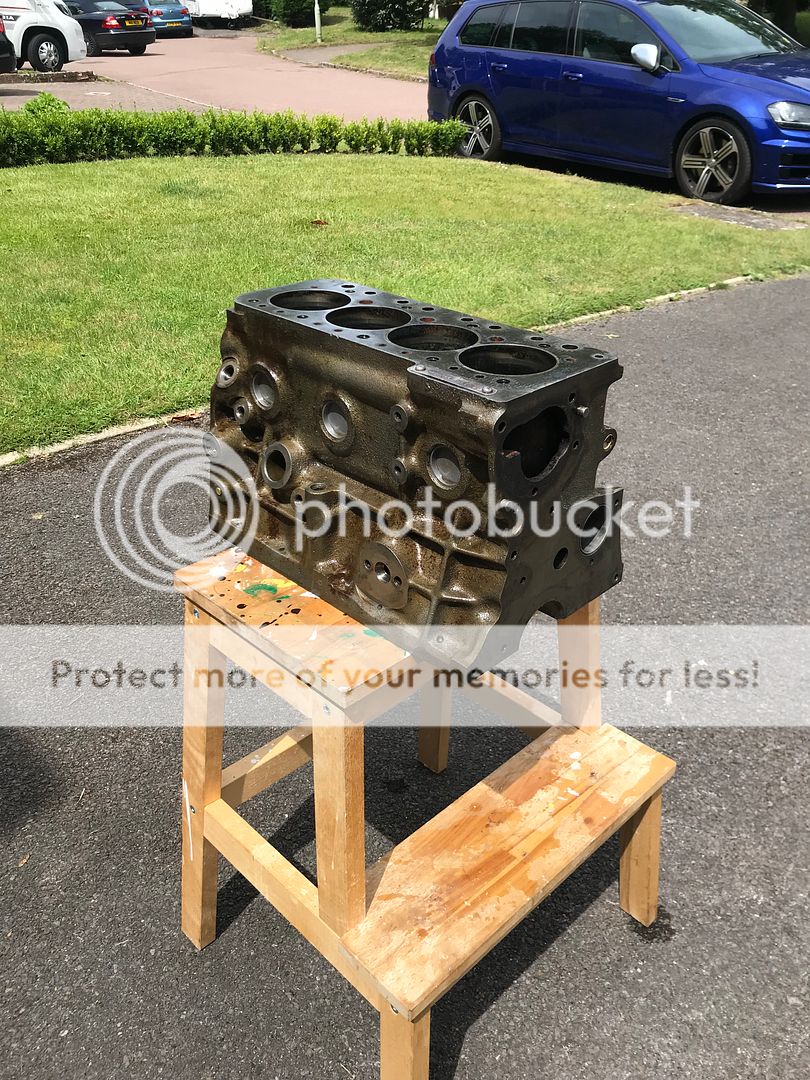
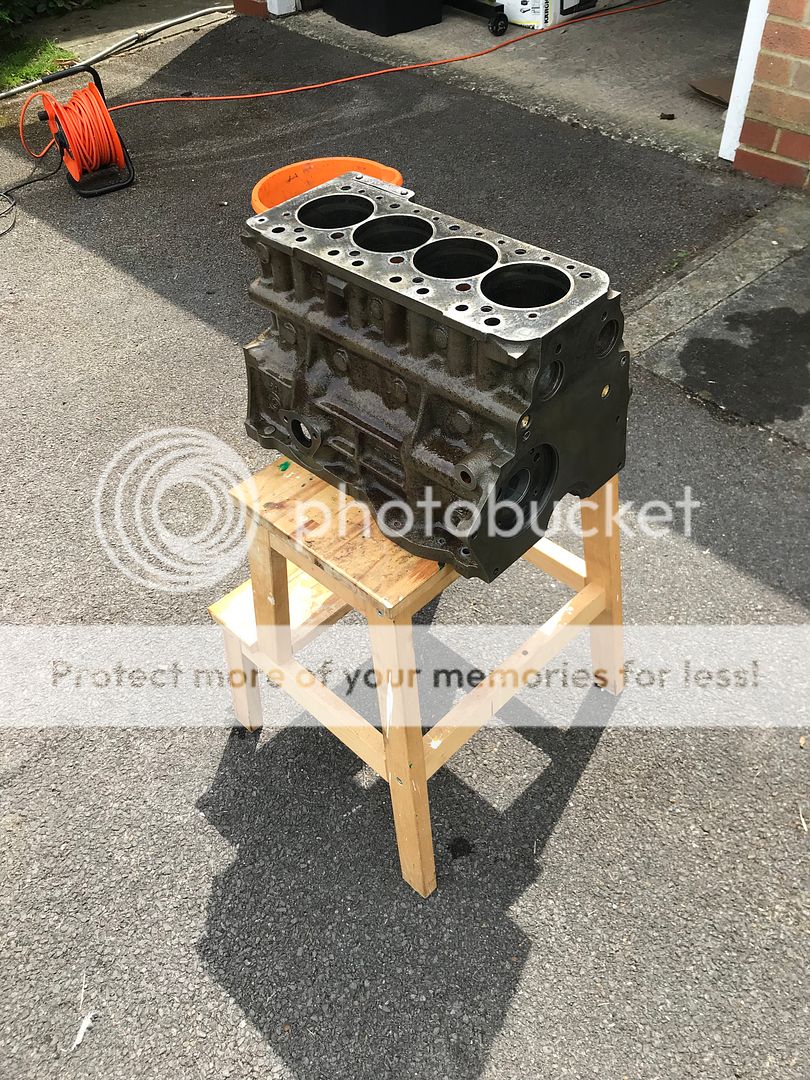
Bit annoyed today, got the head and block back from the blasters and while the head was ok the block seems to have come home with a lot of blast media in some of the pushrod and cam oil galleries.

As I’ve decided to get the machine shop to acid dip both when I get the work done I thought I’d just get the pressure washer out and blast the block clear of all leftover media. Worked out well and while I was doing it a ran some wet and dry over the gasket faces to clean them up a bit.

Happy enough but still peeved. Pics of the head ready and block post clean with WD40 misted over the top to stop the surface rust getting terrible.

F41E9B5B-591C-4FFD-A961-89408B284E7B_zps
6E46709D-8419-4E59-9185-48F161C12CBE_zps
AE02B2A3-1F82-403F-80C4-8A59BA4C19FA_zps

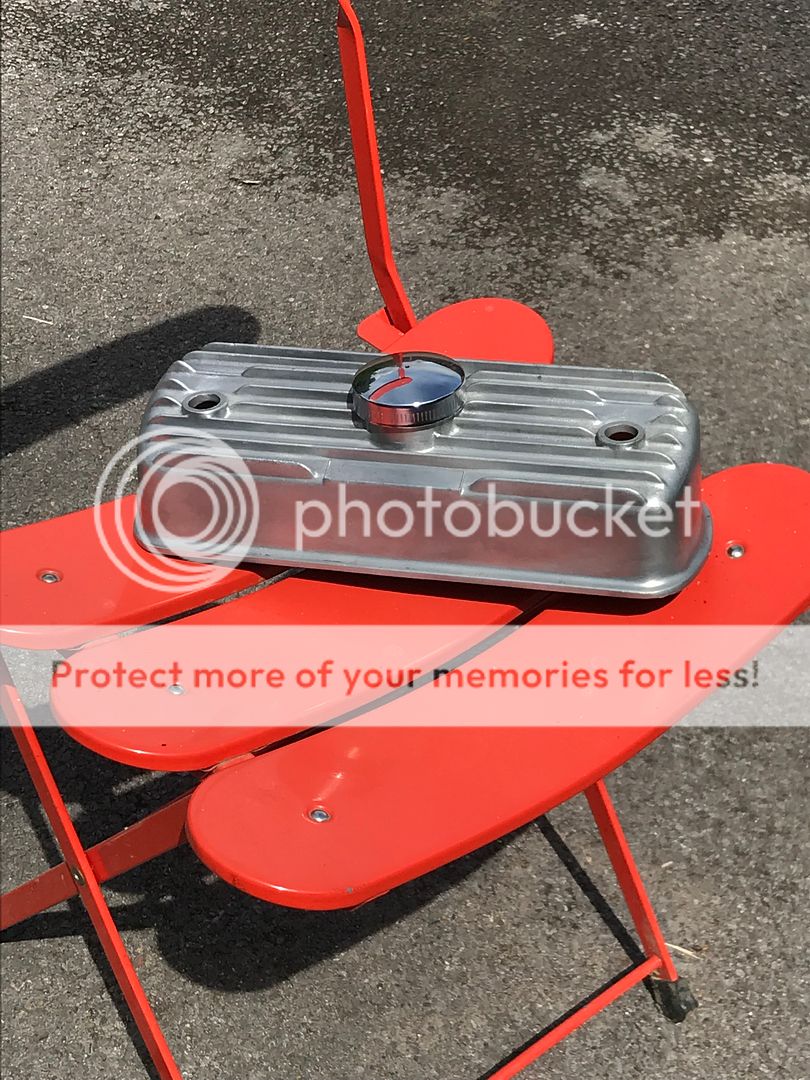
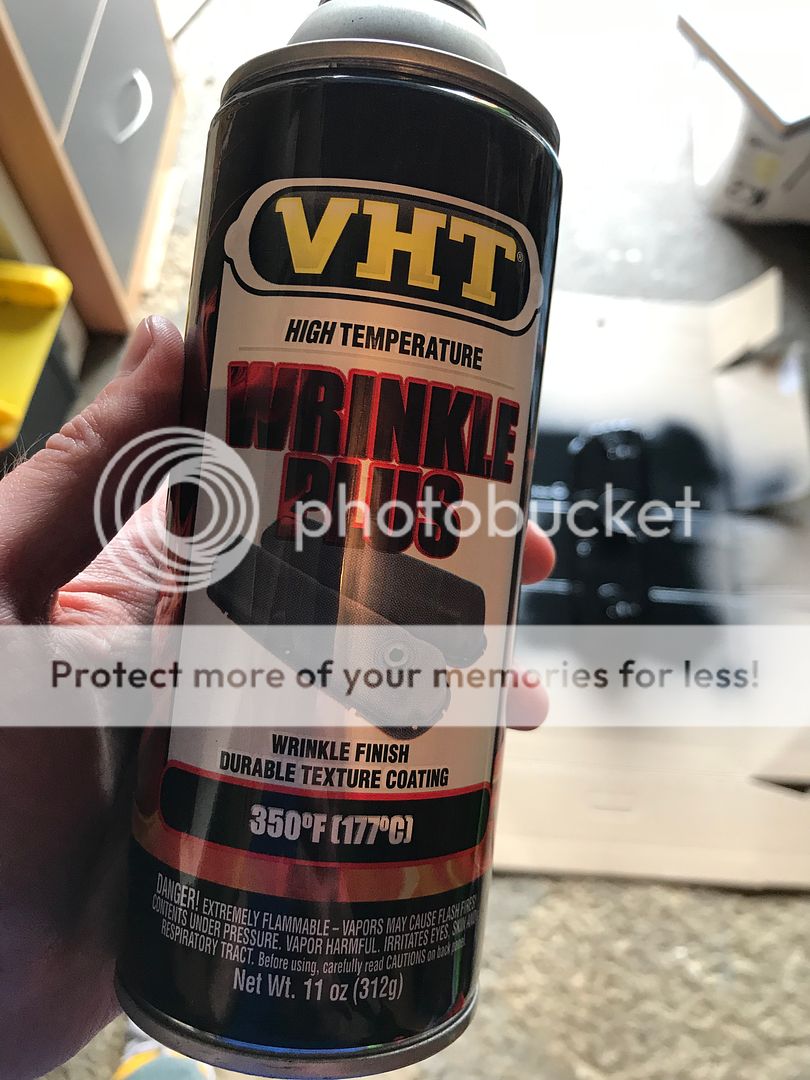
Also got my wrinkle paint through during the week so couldn’t wait to spray up the rocker cover. Cleaned it all up and then followed the instructions on the can.

Cleaned up:
291DD3C2-FA55-4A61-821C-D1C358ED77CB_zps

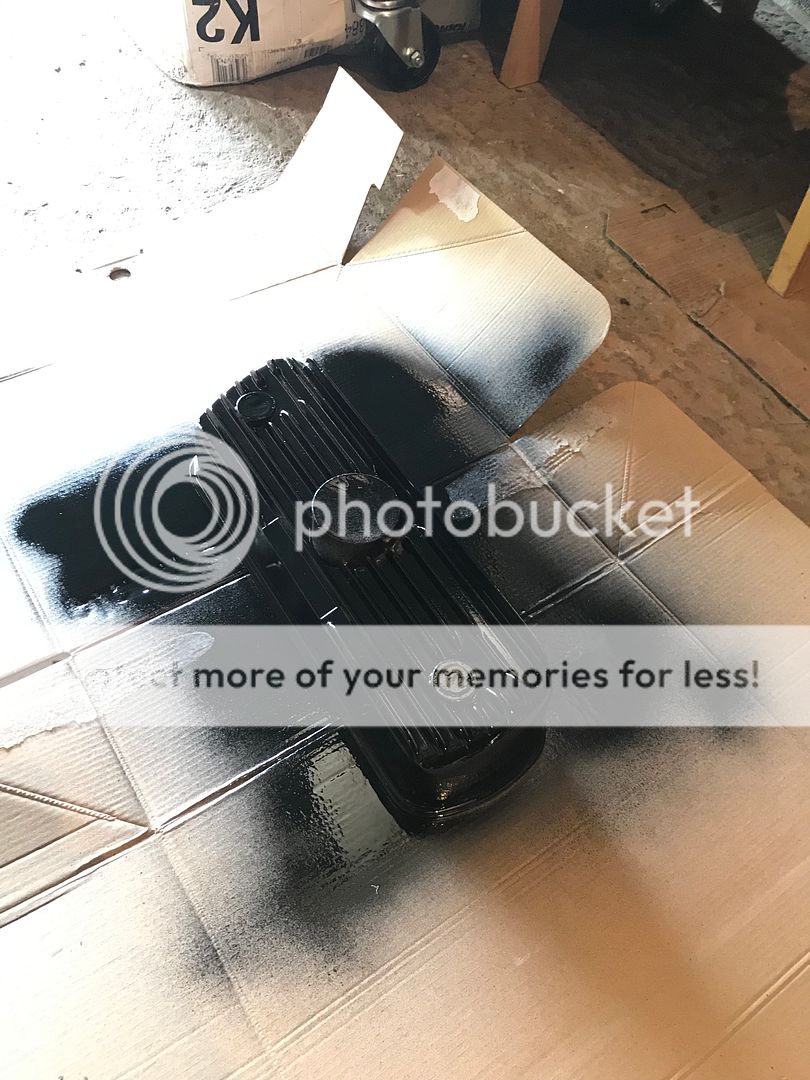
First coat with the cap area and cover bolt holes taped:
BFACEAC9-1C9C-48E3-BDA0-3F2C4FBF5A8F_zps
12004418-E32C-4760-9F96-DAC9062615F1_zps

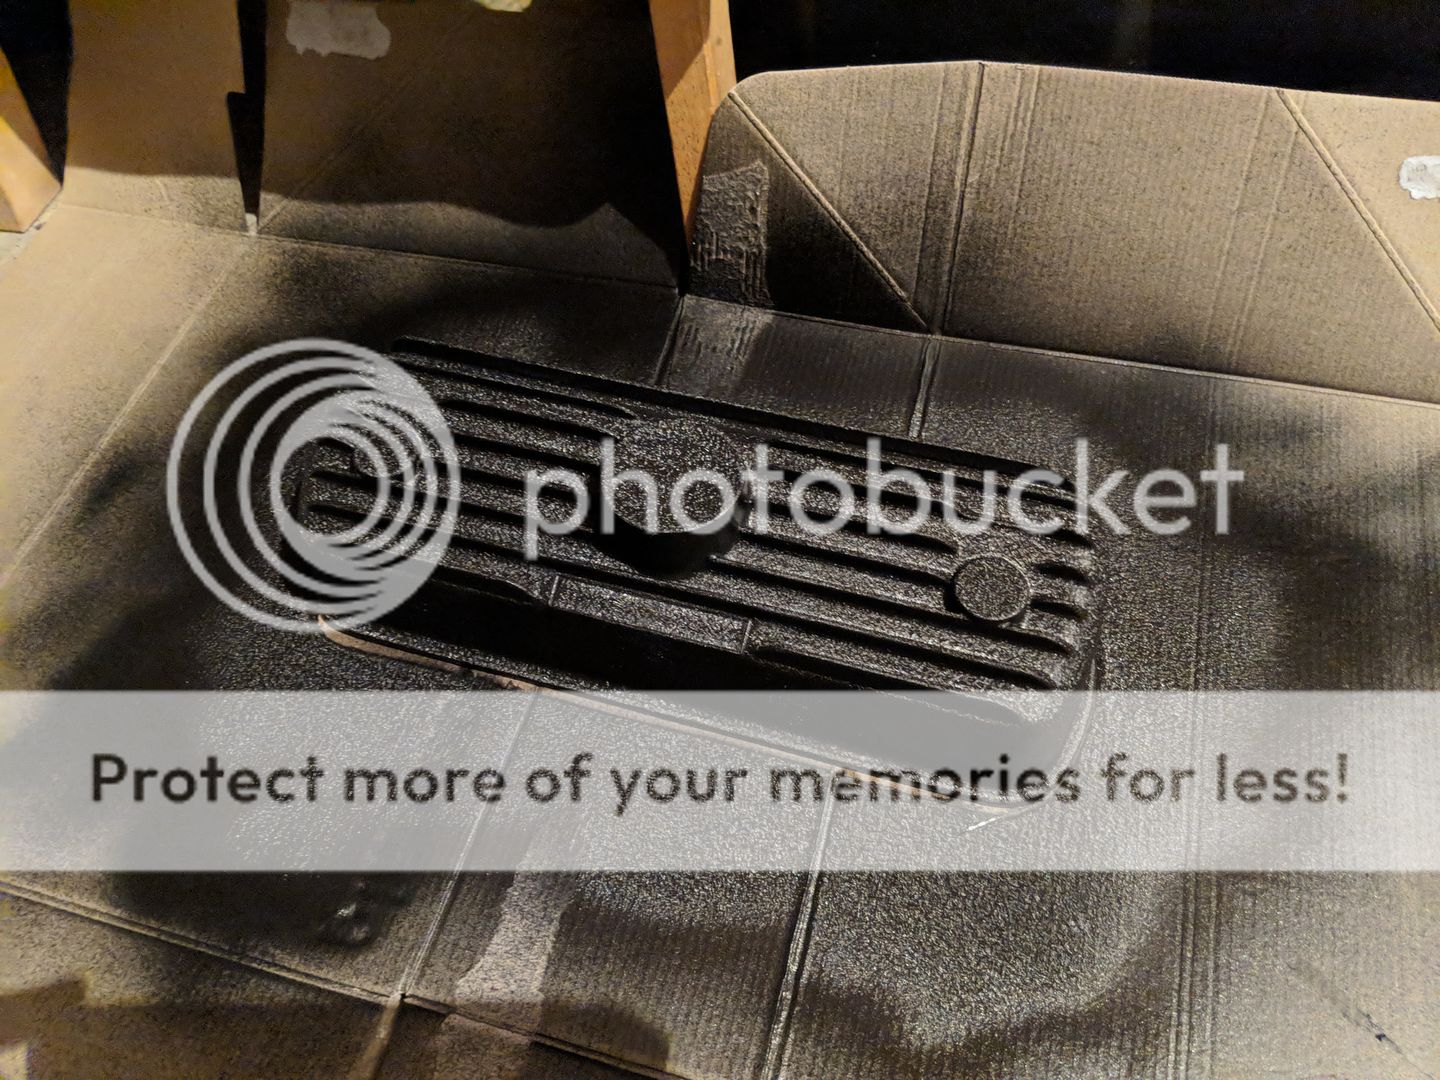
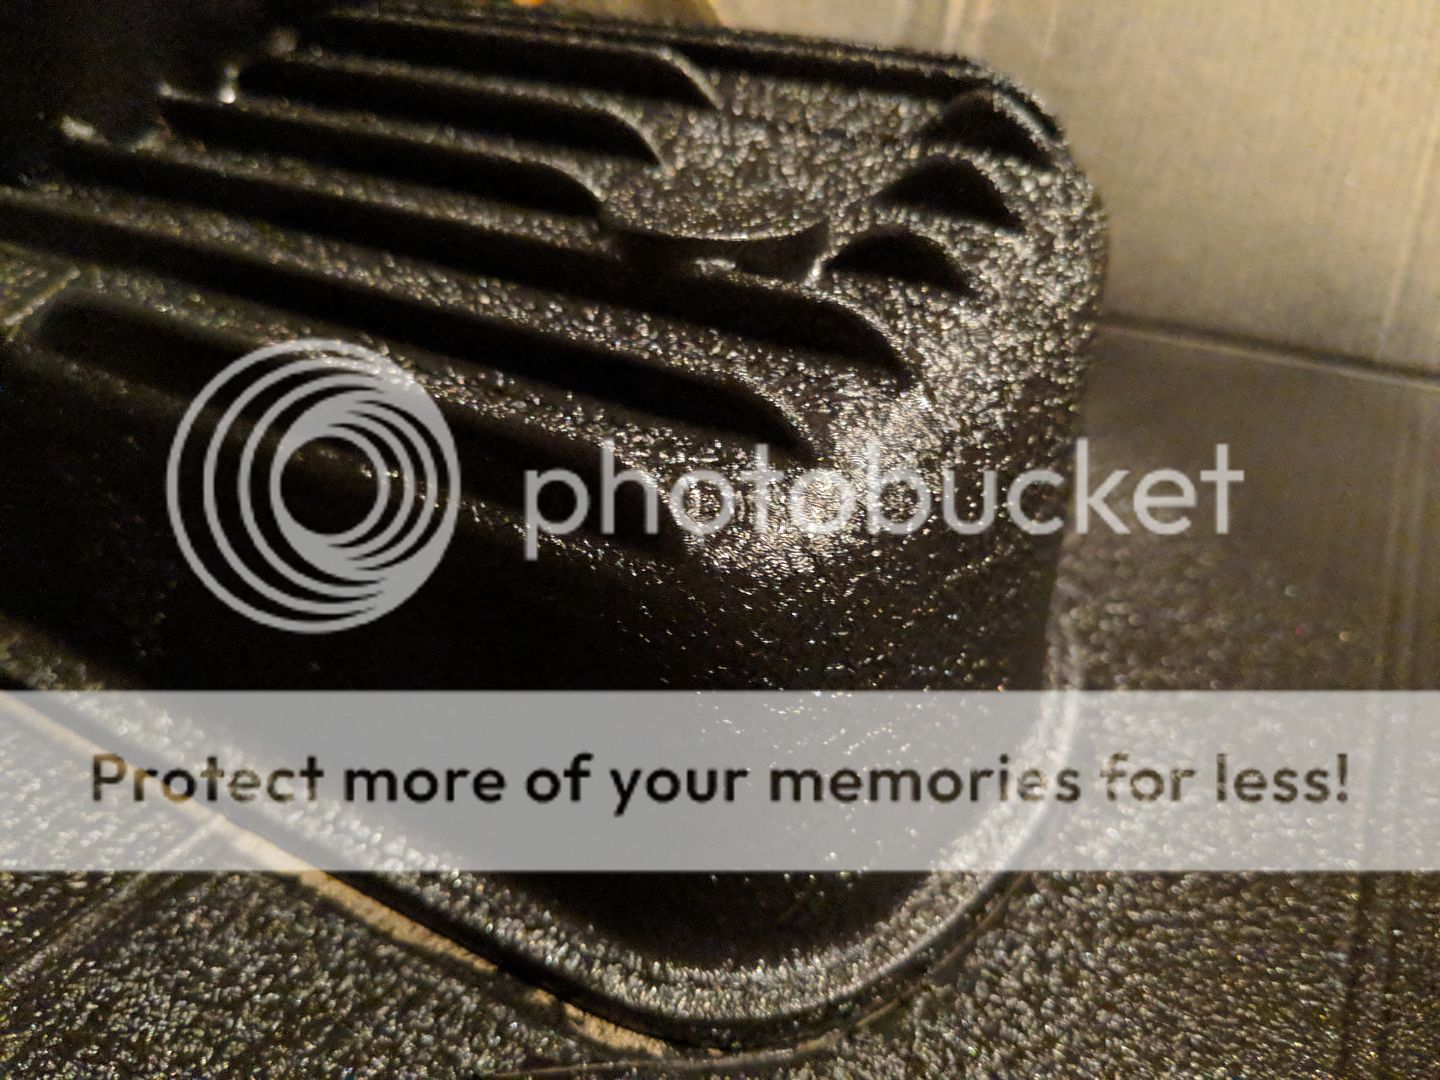
Used a hairdryer to get the wrinkle started and now will leave it for a few days to fully cure. Photos don’t do the finish justice so I’ll get some better ones once it’s fully set.
IMG_20190609_170053_zps1xwa3l57.jpg
IMG_20190609_170135_zpsxhk6iwjo.jpg

#40 johnR

johnR

    Up Into Fourth

  • Members
  • PipPipPipPipPipPipPipPipPip
  • 2,244 posts
  • Location: Dorset

Posted 10 June 2019 - 10:36 AM

Looks like it wrinkled well - are you going to polish the ribs?

#41 Curley

Curley

    Speeding Along Now

  • TMF+ Member
  • PipPipPipPipPip
  • 469 posts
  • Location: Basingstoke, Hampshire
  • Local Club: Not MINI friendly

Posted 10 June 2019 - 11:35 AM

re: engine colour, do you have a car for this engine yet? Reason I ask is that the engine colour changed over the years depending on what model Mini you have. 


#42 ajperry

ajperry

    Speeding Along Now

  • Members
  • PipPipPipPipPip
  • 316 posts
  • Location: Wokingham
  • Local Club: Thames Valley Mini Club

Posted 10 June 2019 - 06:04 PM

Evening,
John I think I’ll see how it looks with just the polished cap and cover bolts and take a poll! Haha

Curley, no car at the moment. I really wanted to get started on something I could learn a lot in and the engines always interested me more than bodywork. So bought the engine to work on first as that’s all funds would allow. As soon as I’ve added to my savings this year and, fingers crossed, get a decent Christmas bonus, I’d hope to have a half-decent car early next year. Ideally a runner so I can use it before I make the transplant, but my main criteria is to look for something that’s got bodywork in good condition, minimal tinworm. I’ll be taking my magnet for viewings! ?

#43 Fastorq

Fastorq

    Mini Mad

  • Noobies
  • PipPipPipPip
  • 186 posts
  • Location: Ayrshire

Posted 10 June 2019 - 06:34 PM

Be very , very , careful that you clean all the media out of the passages particularly in the block.
To do it properly you’ll have to remove all plugs to ensure passages are clear.
I’m not so familiar with the “geography” of mini blocks .. you may need to drill / tap and plug if there are any blind end passages.
Any media left in there is almost sure to cause a seizure.

Edited by Fastorq, 10 June 2019 - 06:36 PM.


#44 ajperry

ajperry

    Speeding Along Now

  • Members
  • PipPipPipPipPip
  • 316 posts
  • Location: Wokingham
  • Local Club: Thames Valley Mini Club

Posted 10 June 2019 - 08:47 PM

Be very , very , careful that you clean all the media out of the passages particularly in the block.
To do it properly you’ll have to remove all plugs to ensure passages are clear.
I’m not so familiar with the “geography” of mini blocks .. you may need to drill / tap and plug if there are any blind end passages.
Any media left in there is almost sure to cause a seizure.


Thanks buddy I’m not confident I’ve got absolutely all of it all out so it’ll be the first thing I tell the machine shop and hopefully they can flush it out or what ever needs to happen. Rather leave that to the professionals, as you say it could be catastrophic!

#45 Fastorq

Fastorq

    Mini Mad

  • Noobies
  • PipPipPipPip
  • 186 posts
  • Location: Ayrshire

Posted 10 June 2019 - 09:25 PM

I beadblasted an expensive aluminium VW race prepped case a few years ago , both halves inside and out ..... more for appearance than anything else.
I flushed it out submerged in baths of petrol ... the bead could be seen settling in the bottom of the plastic tub after every flush.
I did it numerous times and then when no more bead was showing assembled the engine.
It started , revved it up a few times then the crank/rods seized solid .


0 user(s) are reading this topic

0 members, 0 guests, 0 anonymous users