
Hi all,
am currently trying to replace the inner sills in my mini.
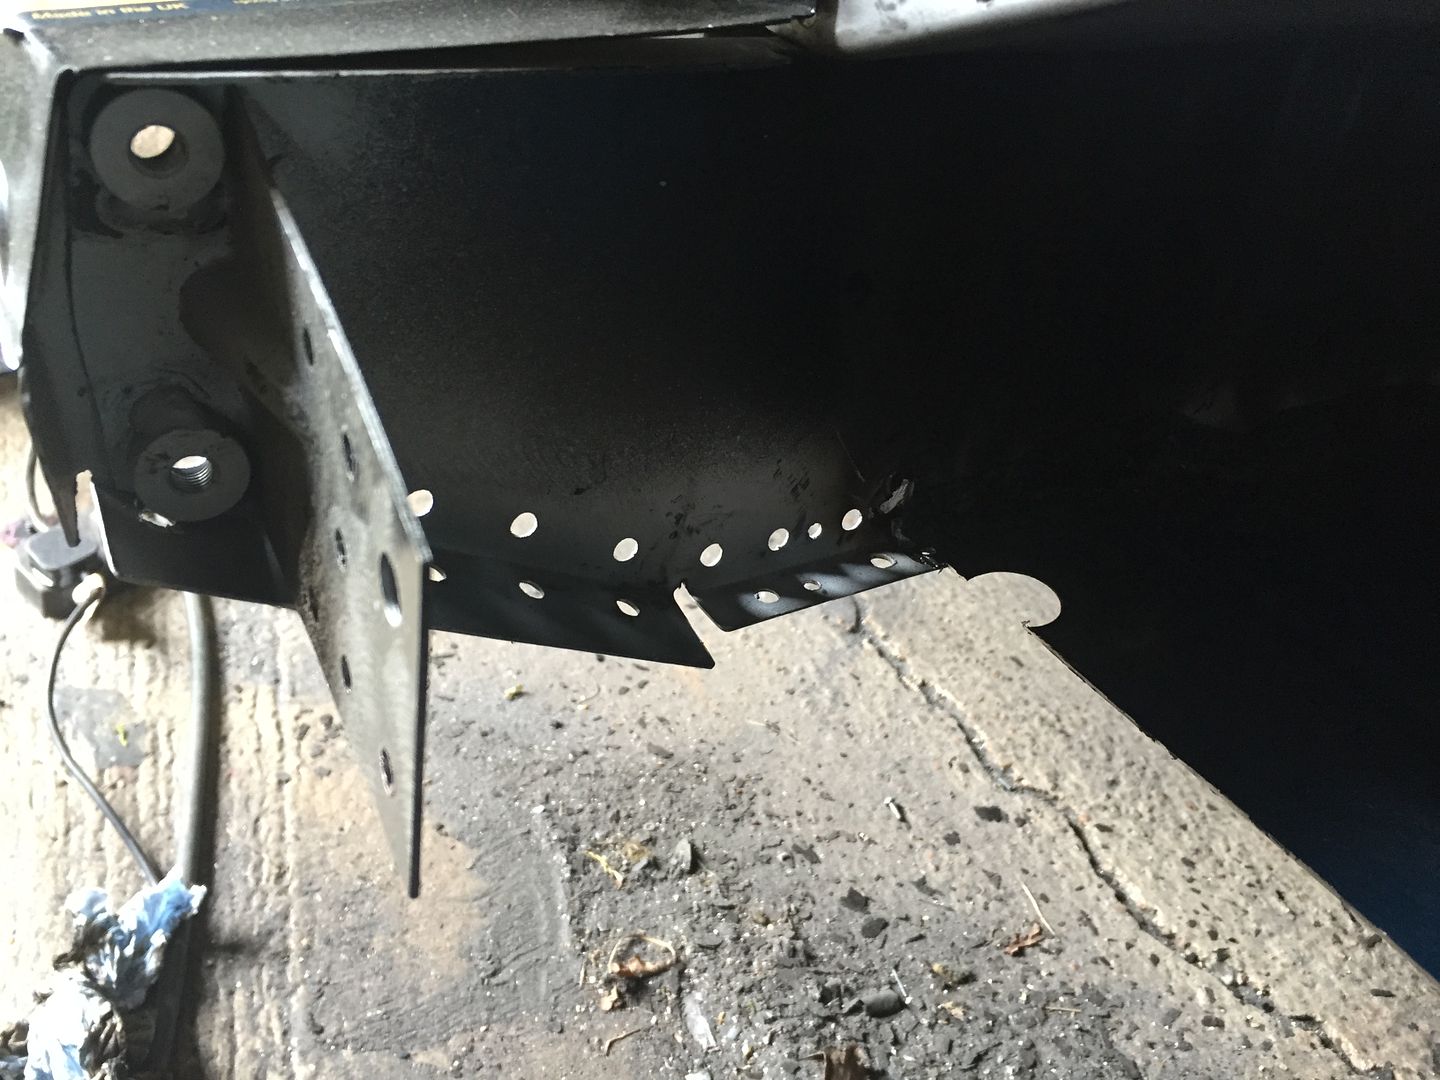
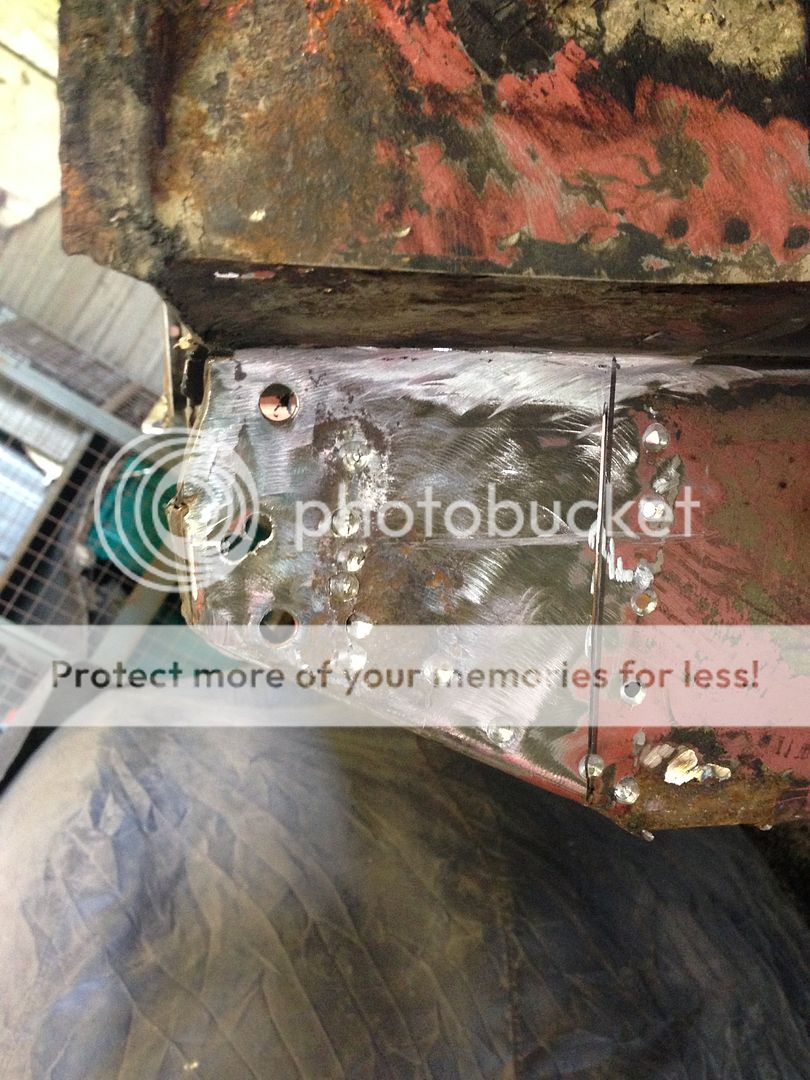
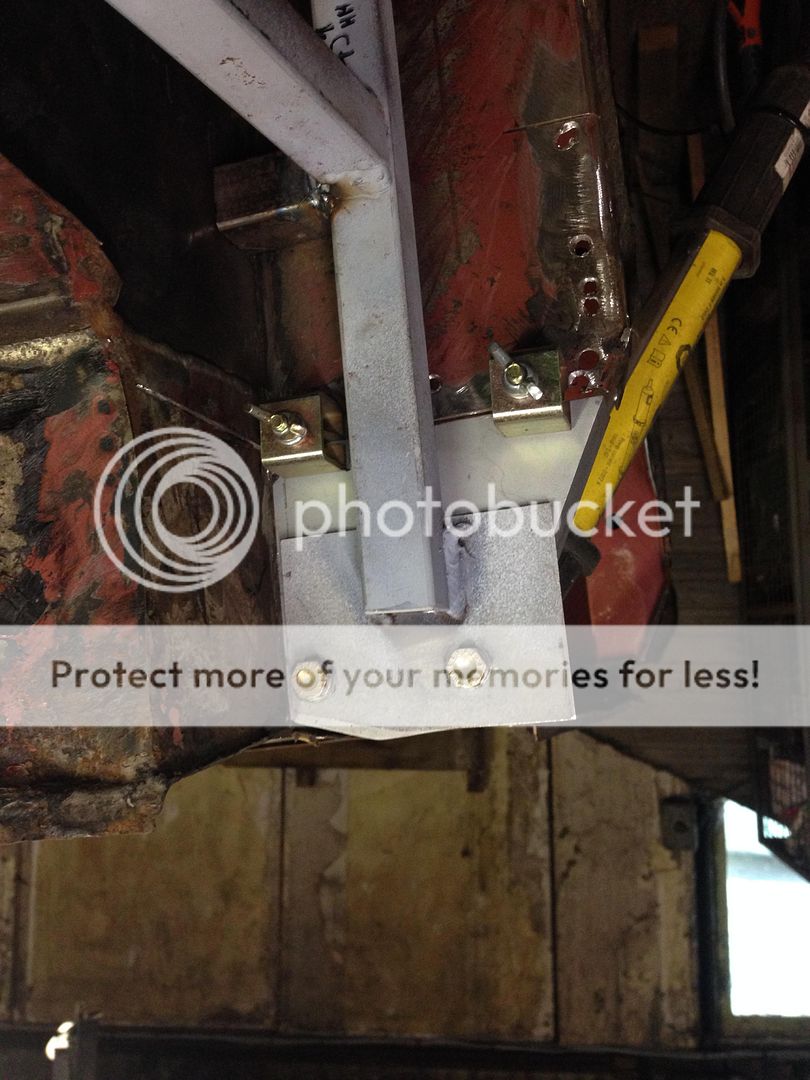
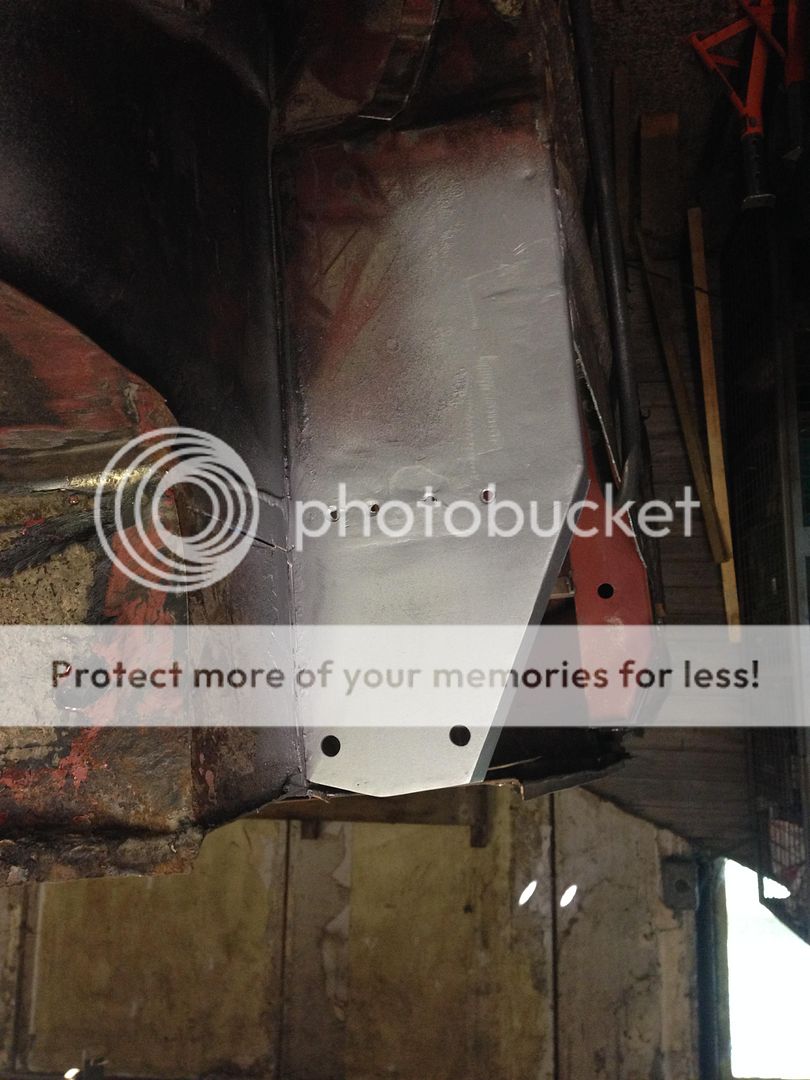
lots of work left to do before i get to a point of welding them in, i brought the m machine panels however.. they seem to long by about an inch? is that normal?
i also assume that the flanges of the inner sill panel needs to be inside of the heelboard and inside of the flitch panel?
thanks
Jonny