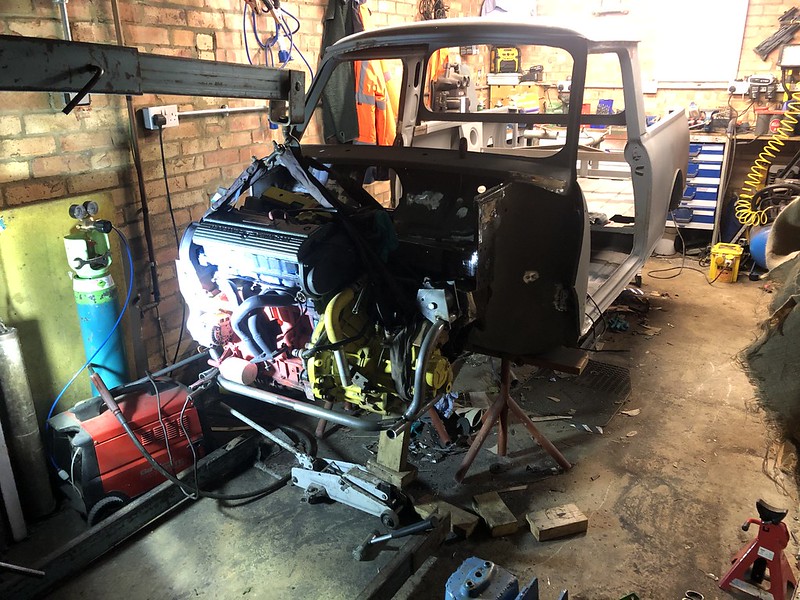
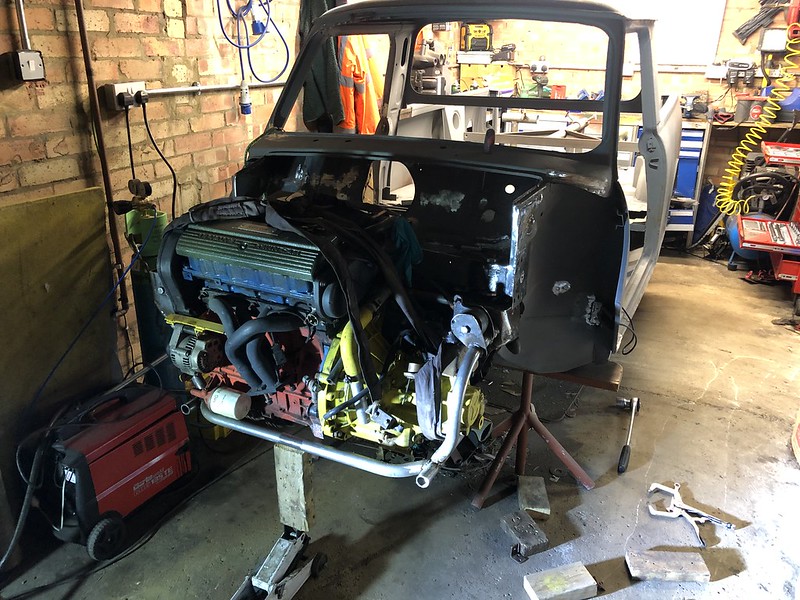
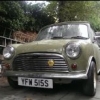
Thought I'd put a thread up for my latest project. I bought it back in february, off eBay, paid alot of money for it, its a 1979 austin pickup, or whats left of it  Its actually ex royal navy, so was built in 1979 but not registered until 1988, and has been off the road since 1991. The story goes was that it was being restored and all the original parts, engine, interior, trim, etc was stored in a camping trailer which was stolen. My plans for it are not original, its never going to be original, its had alot of panels replaced and there not really much factory bits left in it at all. I'm going to be putting my k series engine from my mk3 into it instead, should be a bit faster than the 850cc engine's performance
  It going to be very tight to get it done tho, aiming for the riveria run at the start of May for a deadline haha..
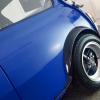
When we picked it up..


Into storage..

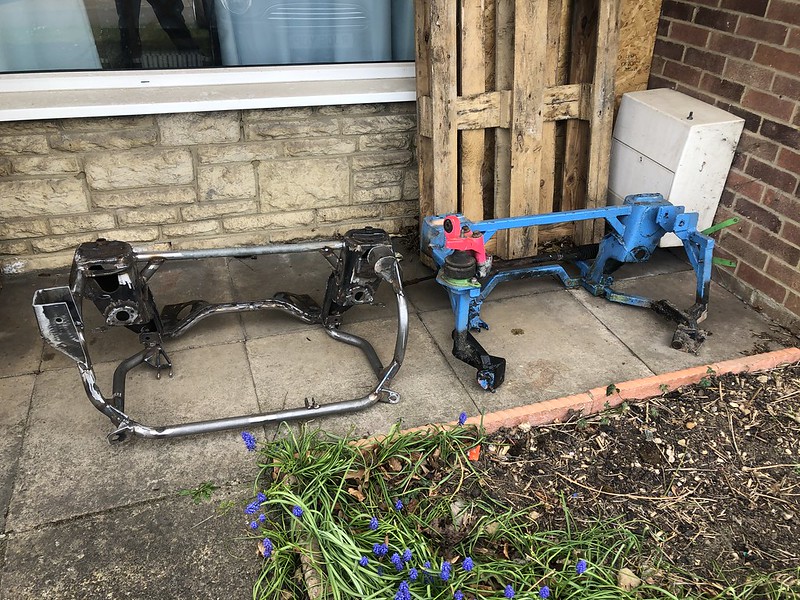
Moving them about..

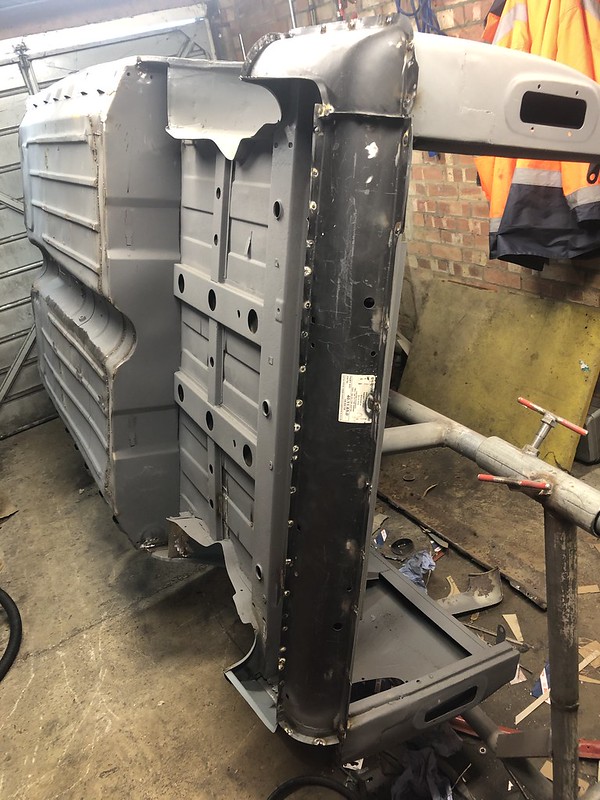
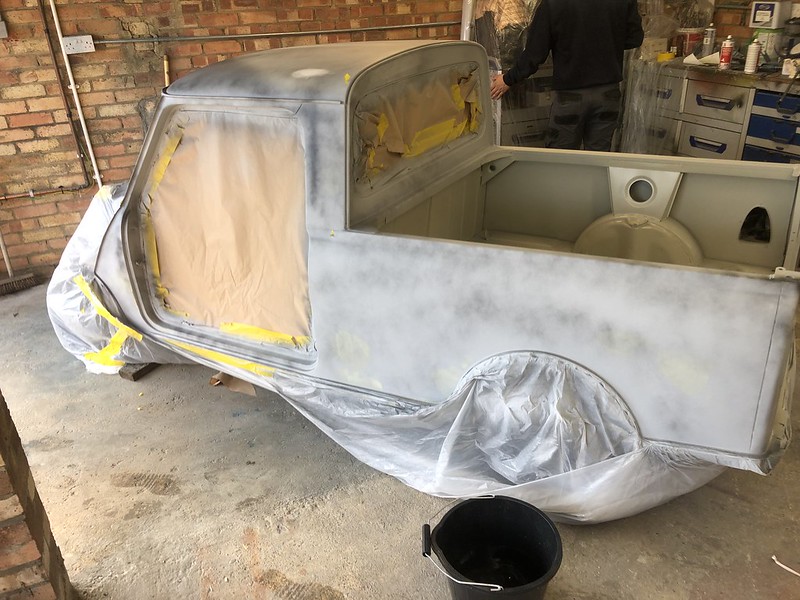
Bit of work today, got it all stripped down to a bare shell..


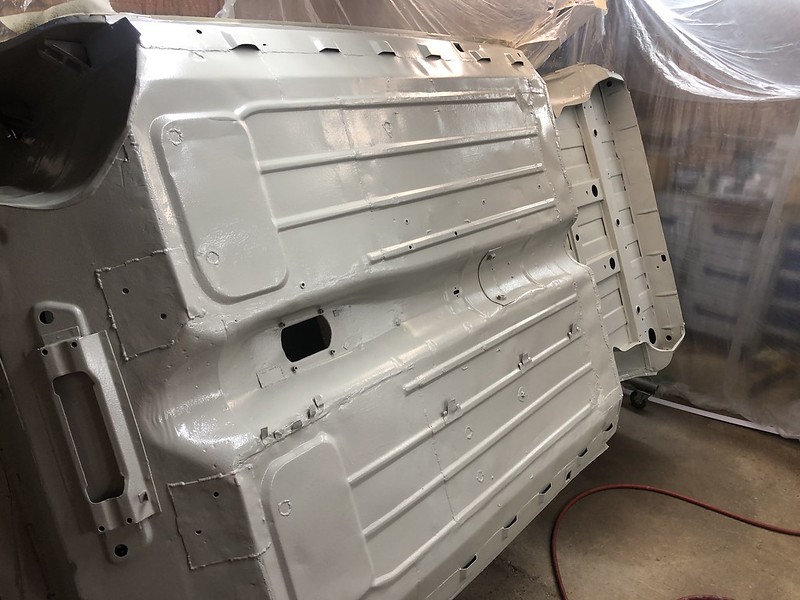
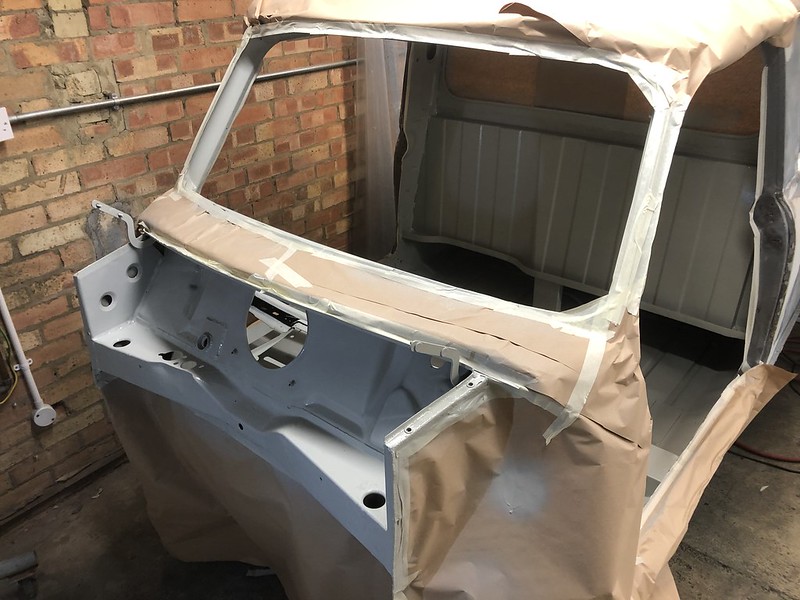
 The MK3 has had a 998 put back into it, it runs but needs some fettling still, I'm likely gonna sell it come freedom. So I'd say I've been quite busy, was trying to smash out all the work and welding to get it ready for L2B and IMM, but since they got cancelled I've lost motivation a bit on the shell so started making my subframe. I made a rotisserie for it and sent the shell to be blasted, very impressed with the result, 100x better than stripping it by hand and on your back
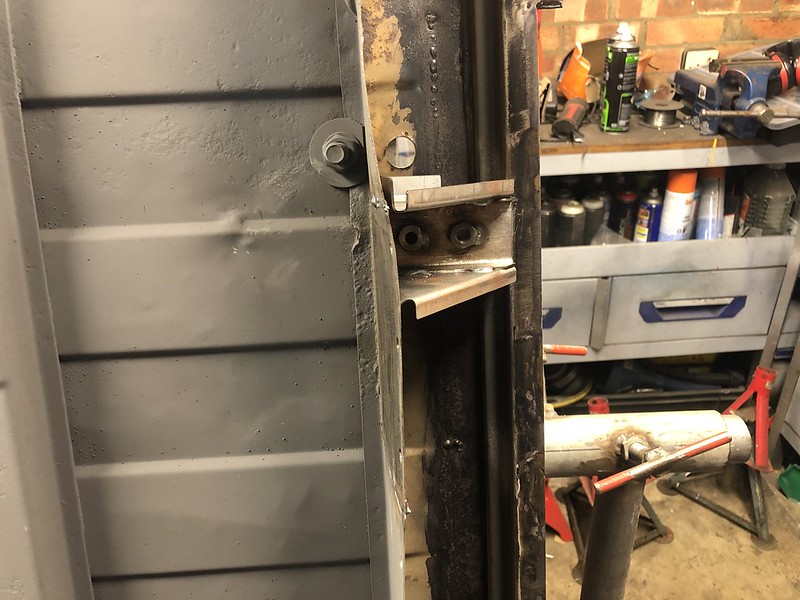
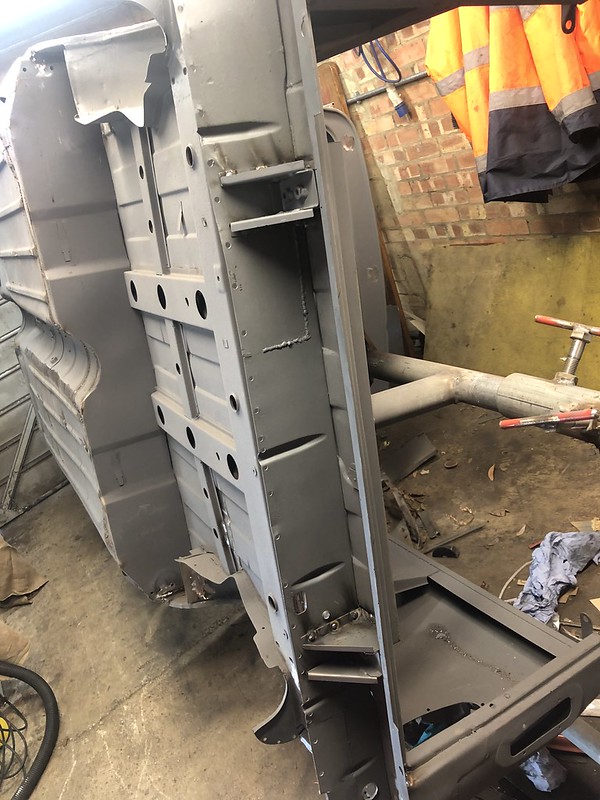
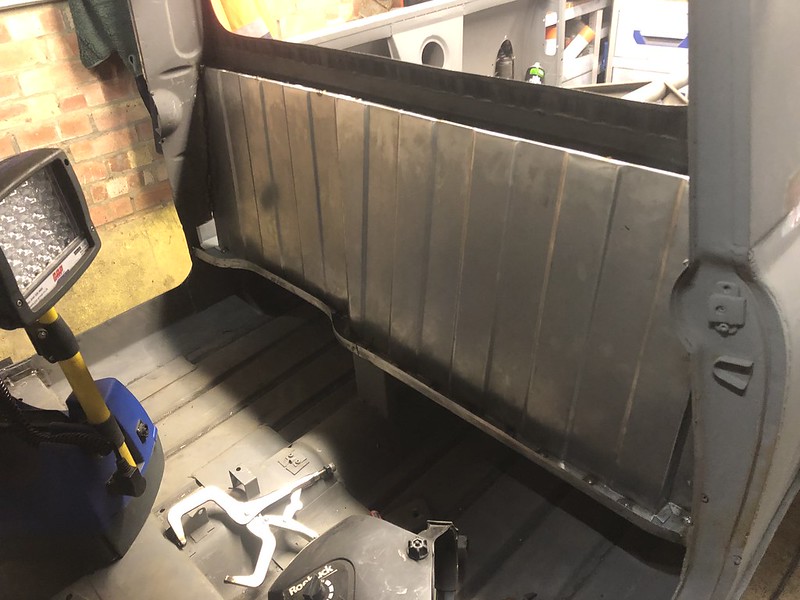
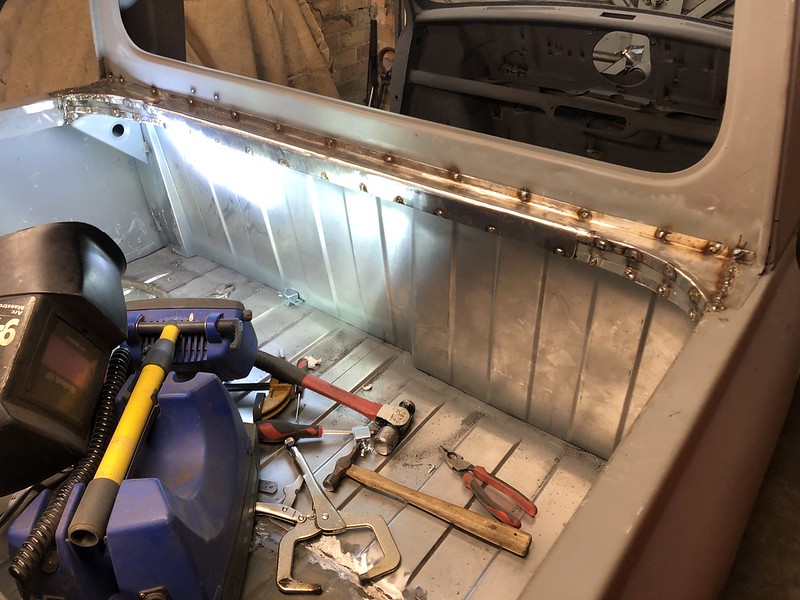
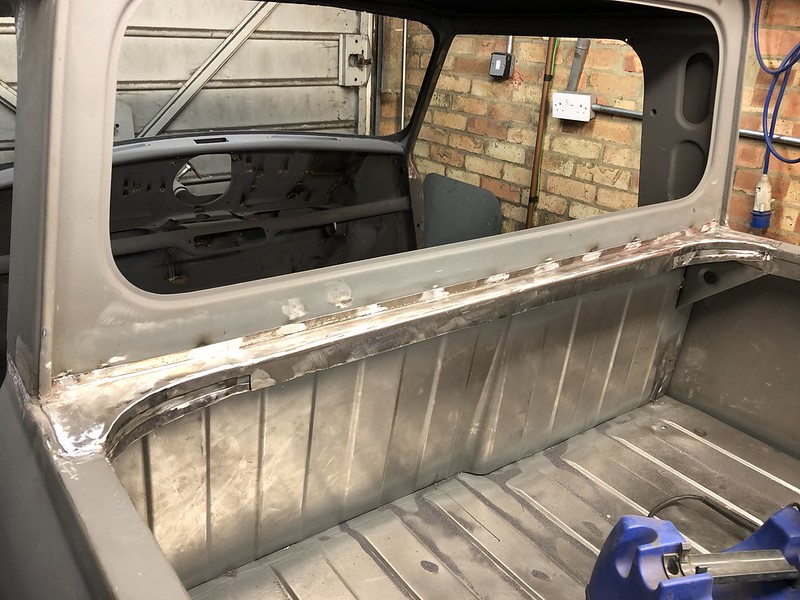
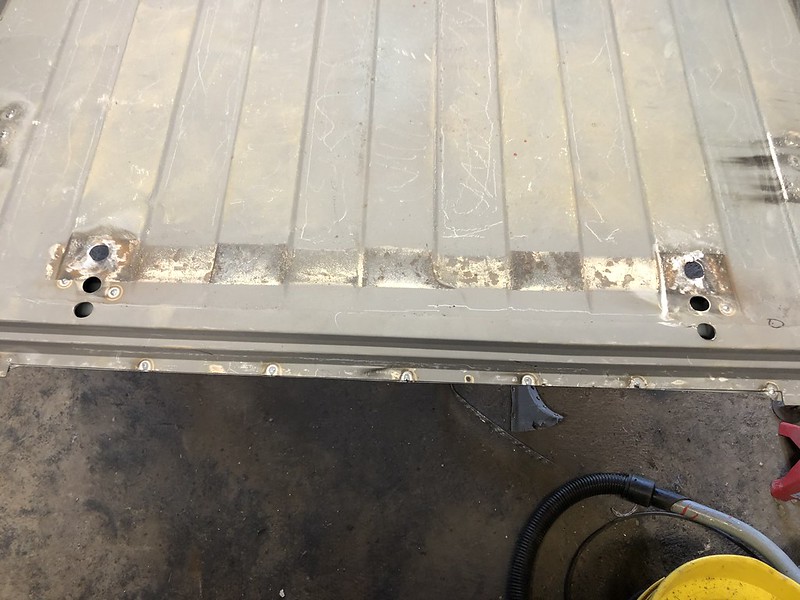
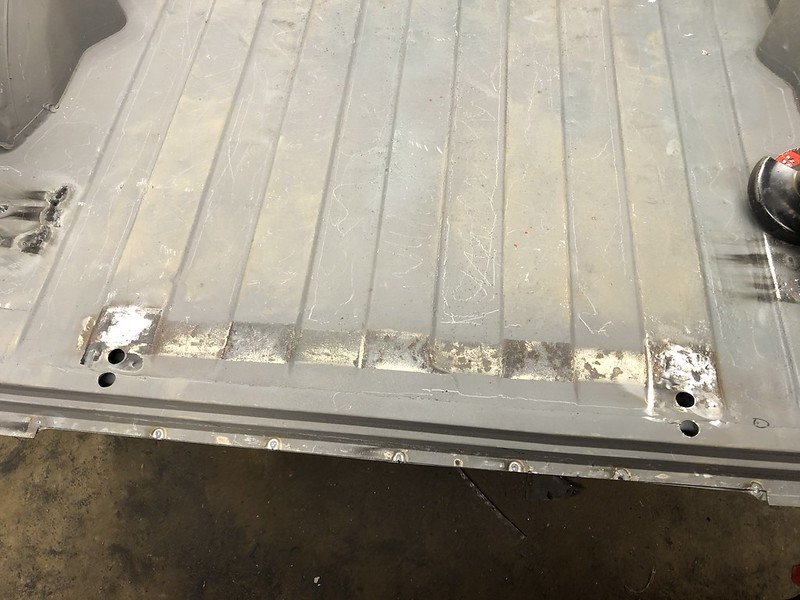
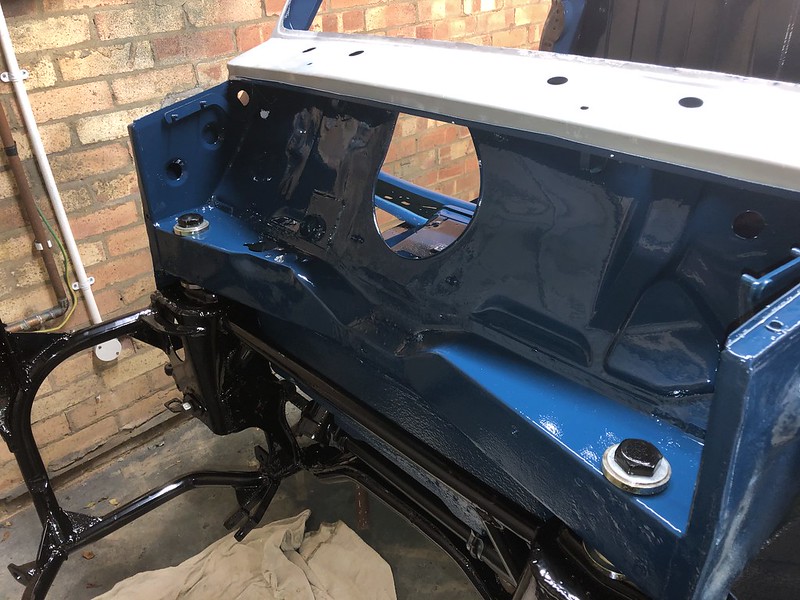
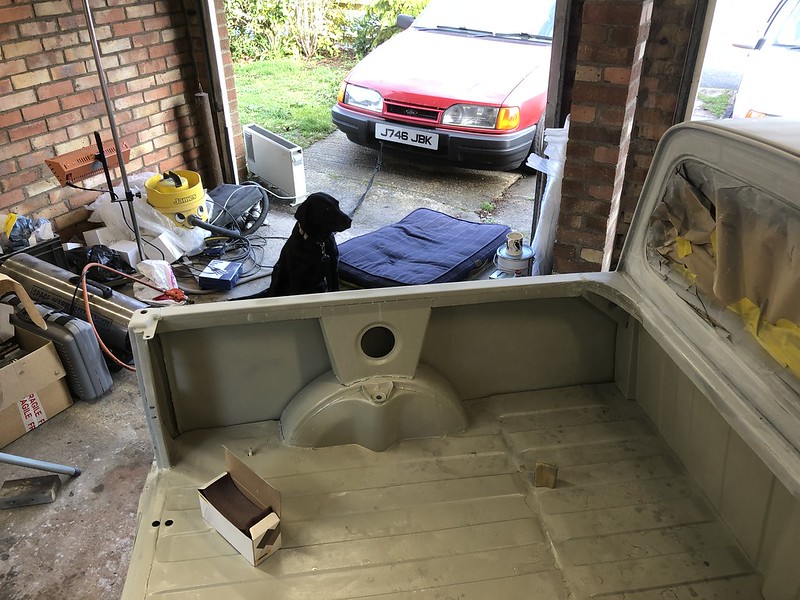
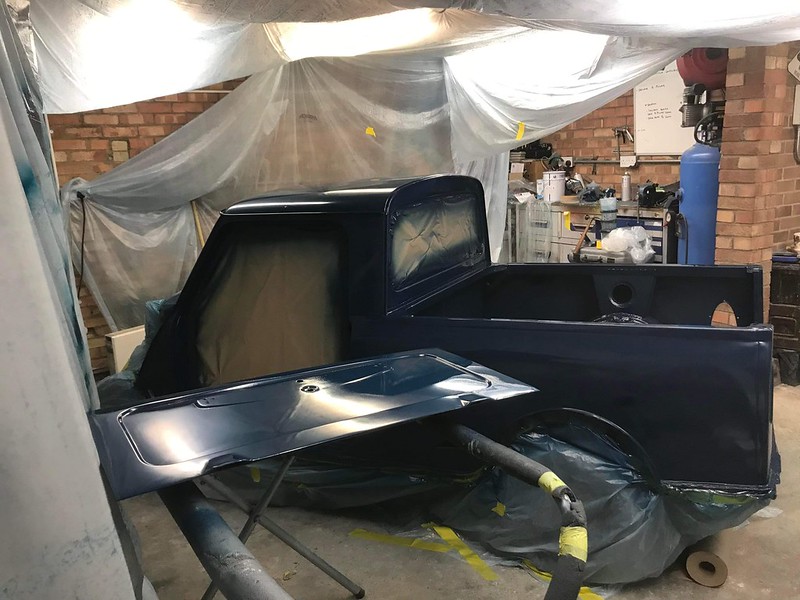
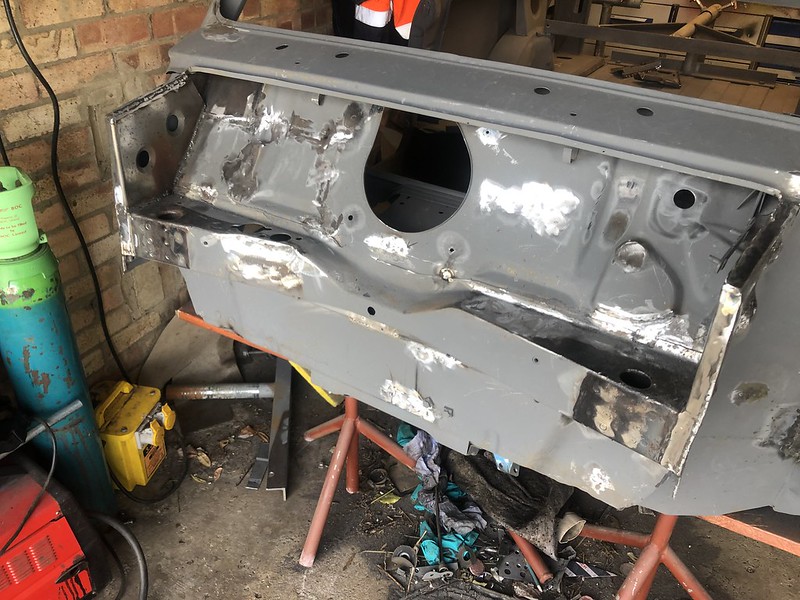
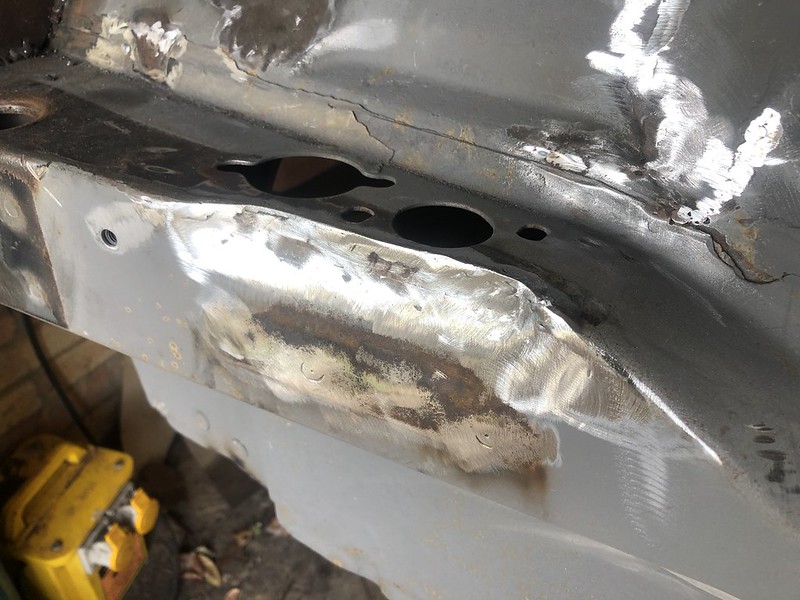
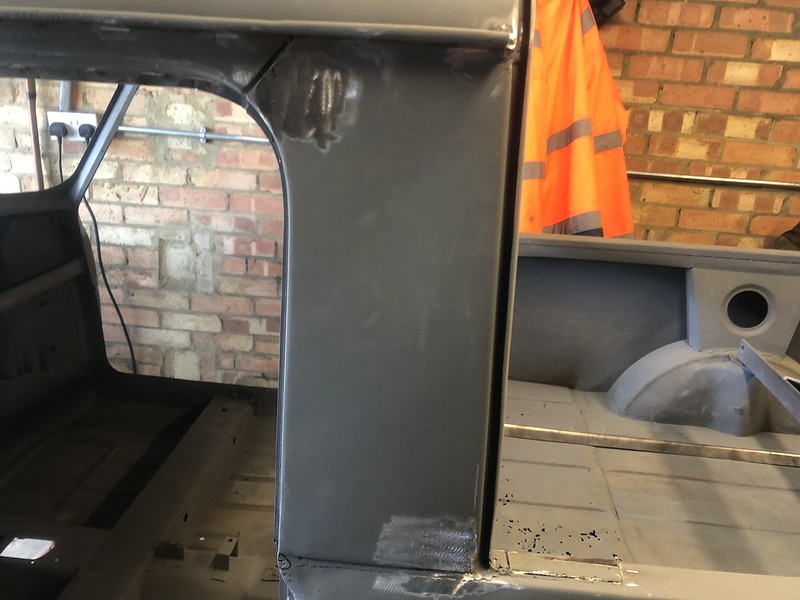
  Its had bits on the rear loadbed, rear arches, door surrounds, scuttle, B-Pillars, a-panel, roof, quite alot! Ok I might have been better replacing the whole panels but didnt see the point as it looked very isolated to where it had holed. I have ordered the front loadbed part and bulkhead from M-machine but it hasnt arrived and I dont think it will anytime soon.. I've got some work still to do before that though, made a new lower lip for the window surround, new braces, quite a bit to do there yet. Engine bay was next, inner wings were cleaned up and I've boxed in the ends with some dimple died pieces same as I did on the mk3, I've clearanced the bulkhead for the inlet manifold by the clutch master, welded up unused holes, few rust repairs too.
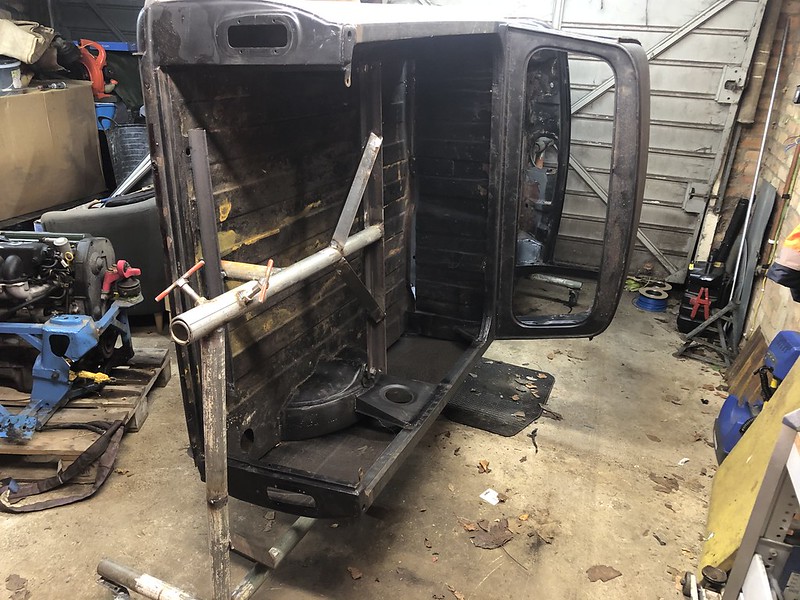


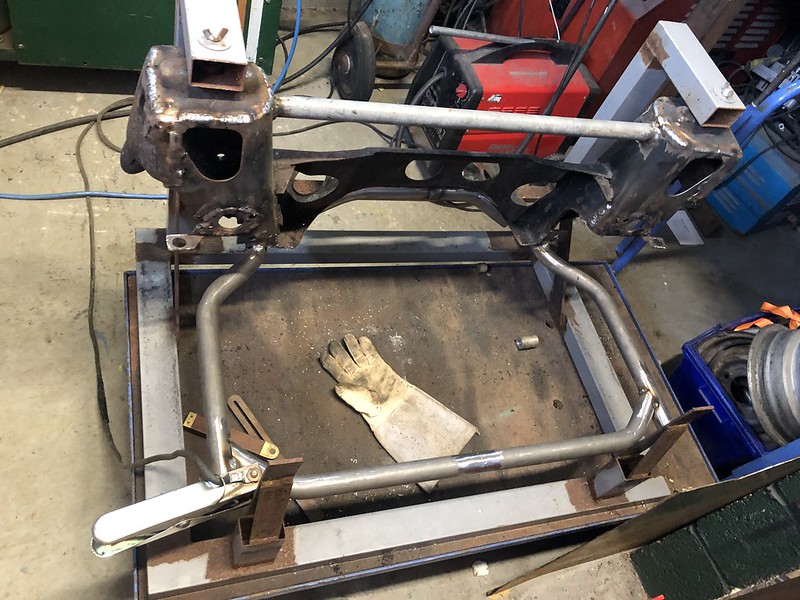
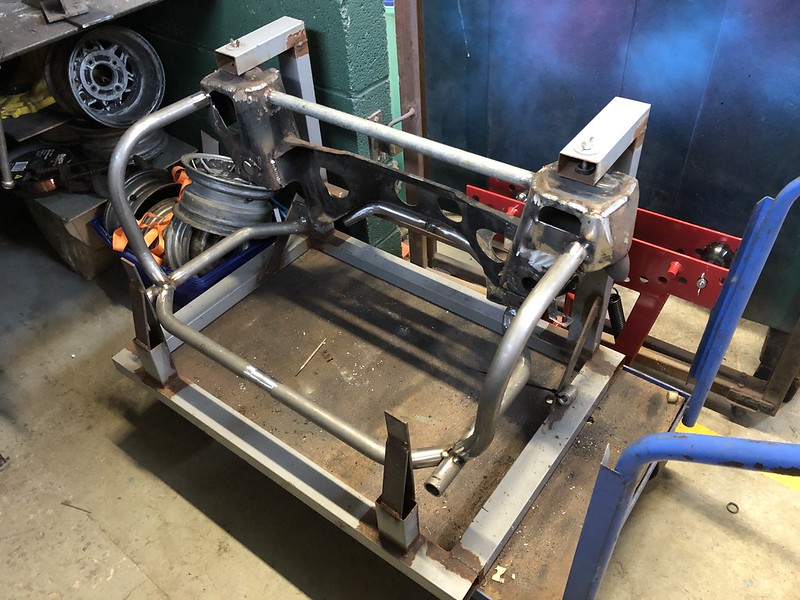
 Made the bottom legs, then the front bar, then the side arms, worked out the engine mounts, then fully welded it and gusseted, it should be plenty strong enough. I'd like to weight it as I think it'll be similar weight to a normal mini. This and the rear one will be sent away to be powder coated.