Jump to content


Photo
- - - - -

Mini Racing Green, Full Nut And Bolt Restoration


  • Please log in to reply
21 replies to this topic

#1 jarm691

jarm691

    Learner Driver

  • Noobies
  • PipPip
  • 22 posts
  • Location: Upton

Posted 21 January 2020 - 05:07 PM

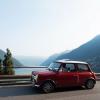
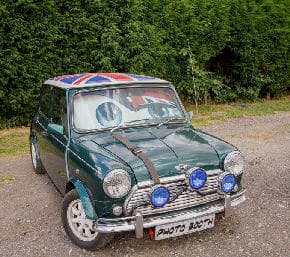
Jasper is my 1989 Racing Green 998 mini. I have owned him for about 7 years, and when I acquired him he was in quite good nick. Over the time he has been used as a photo booth, the front seats would come out, a computer system would be dropped in the front passenger footwell and people would have their photos taken at parties and weddings.


About 3 years ago, at a festival down south, someone stole the driver seat. As a result for the last 3 years we have taken him to events on a trailer.


Anyway, this winter we were short of trailers, so we had him bodged through an MOT and put back on the road for a couple of jobs. I took him out, and suddenly remembered just how much fun a mini was, especially once you got off the motorway.


The decision was made initially to patch up the rusty front end panels, have a nice spray job and perhaps paint the engine to make it look better. 


That was the plan, but like I am sure, many owners, once we started stripping things off we found more work than we had realised, and once I started buying uprated parts for the engine I decided that we were going to carry out a full ground up restoration.


Here is Jasper as he was;


Jasper%20the%20mini%20cooper%20photo%20b


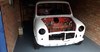
And here he is a week ago as we carried him into the shotblasters to be taken back to bare metal.


Jasper-Being-Carried-Into-SHotblasters-1


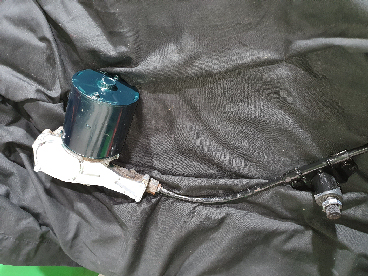
The engine is currently spread all over the shop. A local mechanic that works on my other vehicles has stripped the engine (by stripped I mean it is completely in seperate parts, there isn't anything attached to any other component!). The crank and rods are in MED to be balanced, and the block is in Southam Mini's to be acid dipped rebored probably to +20 and have new cam bearings and an oil galley plug fitted.


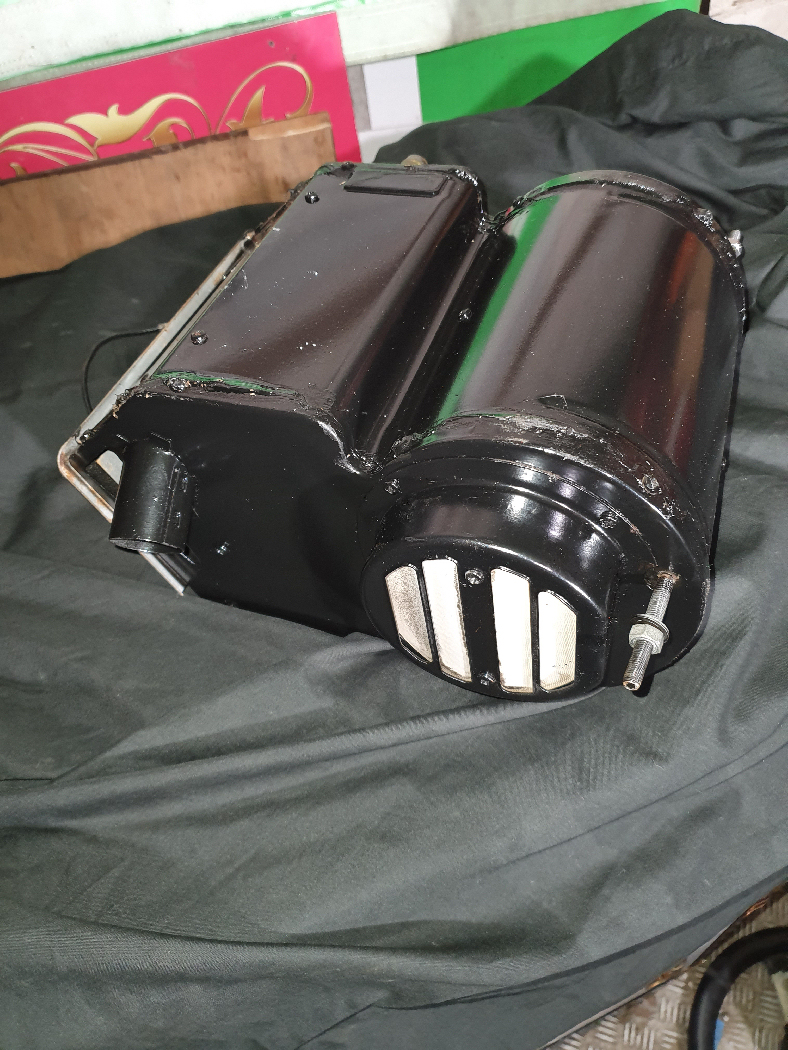
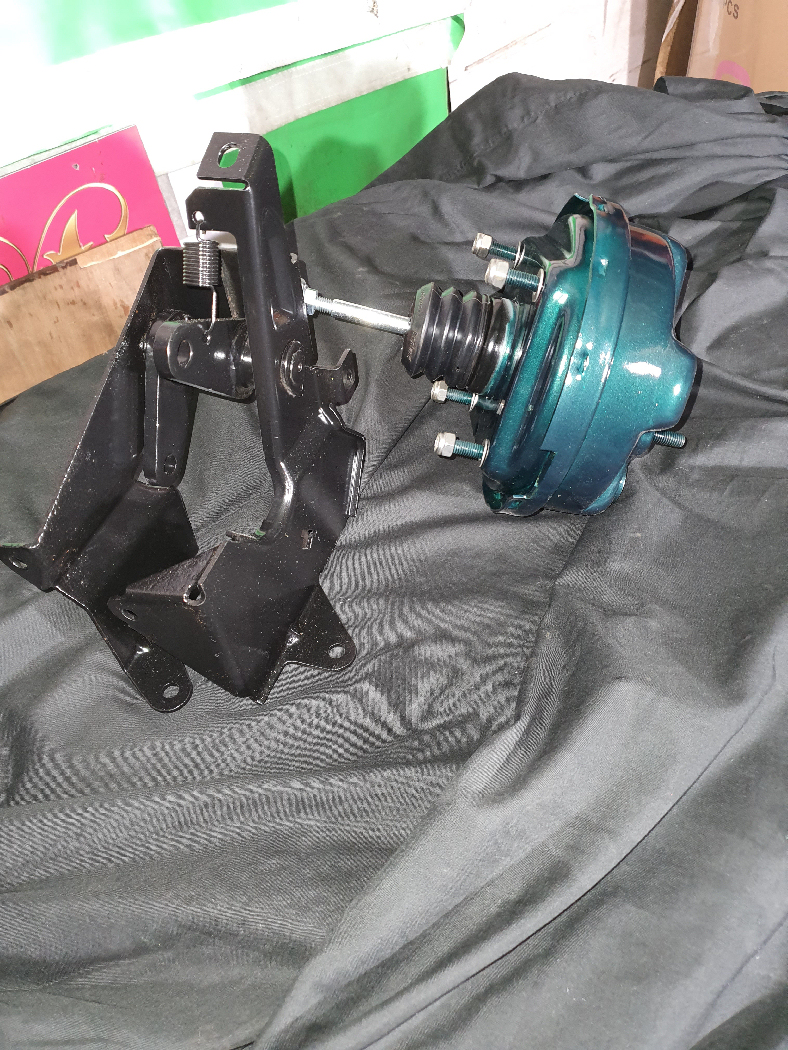
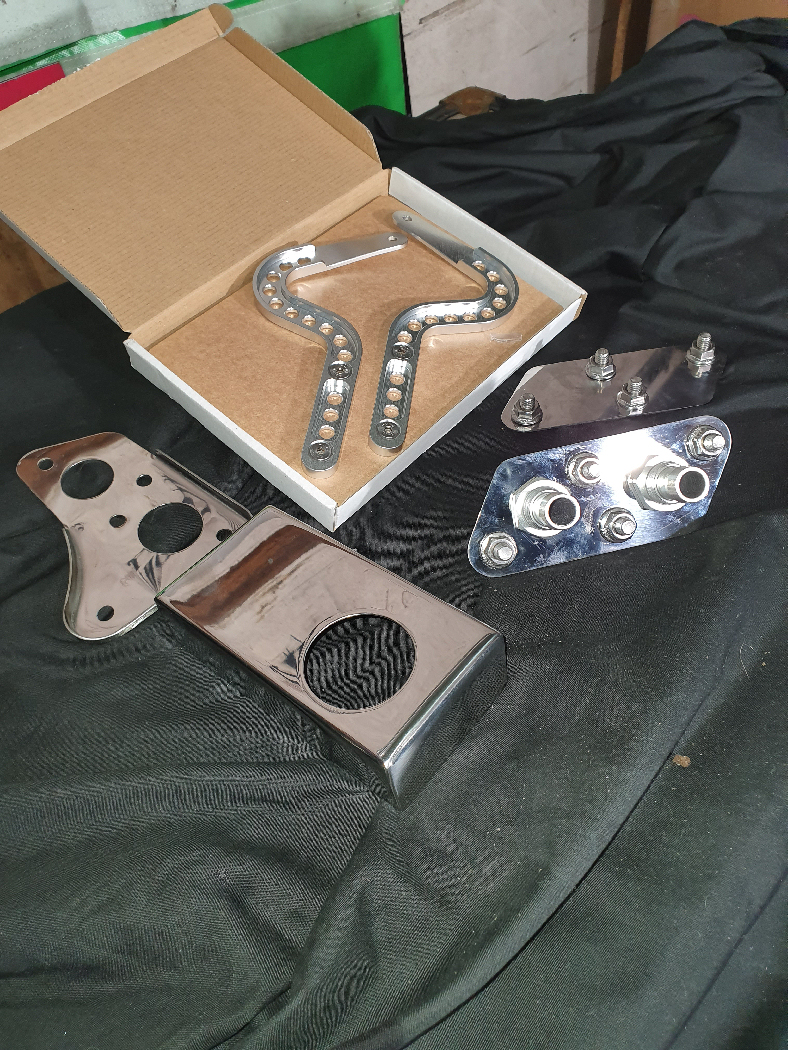
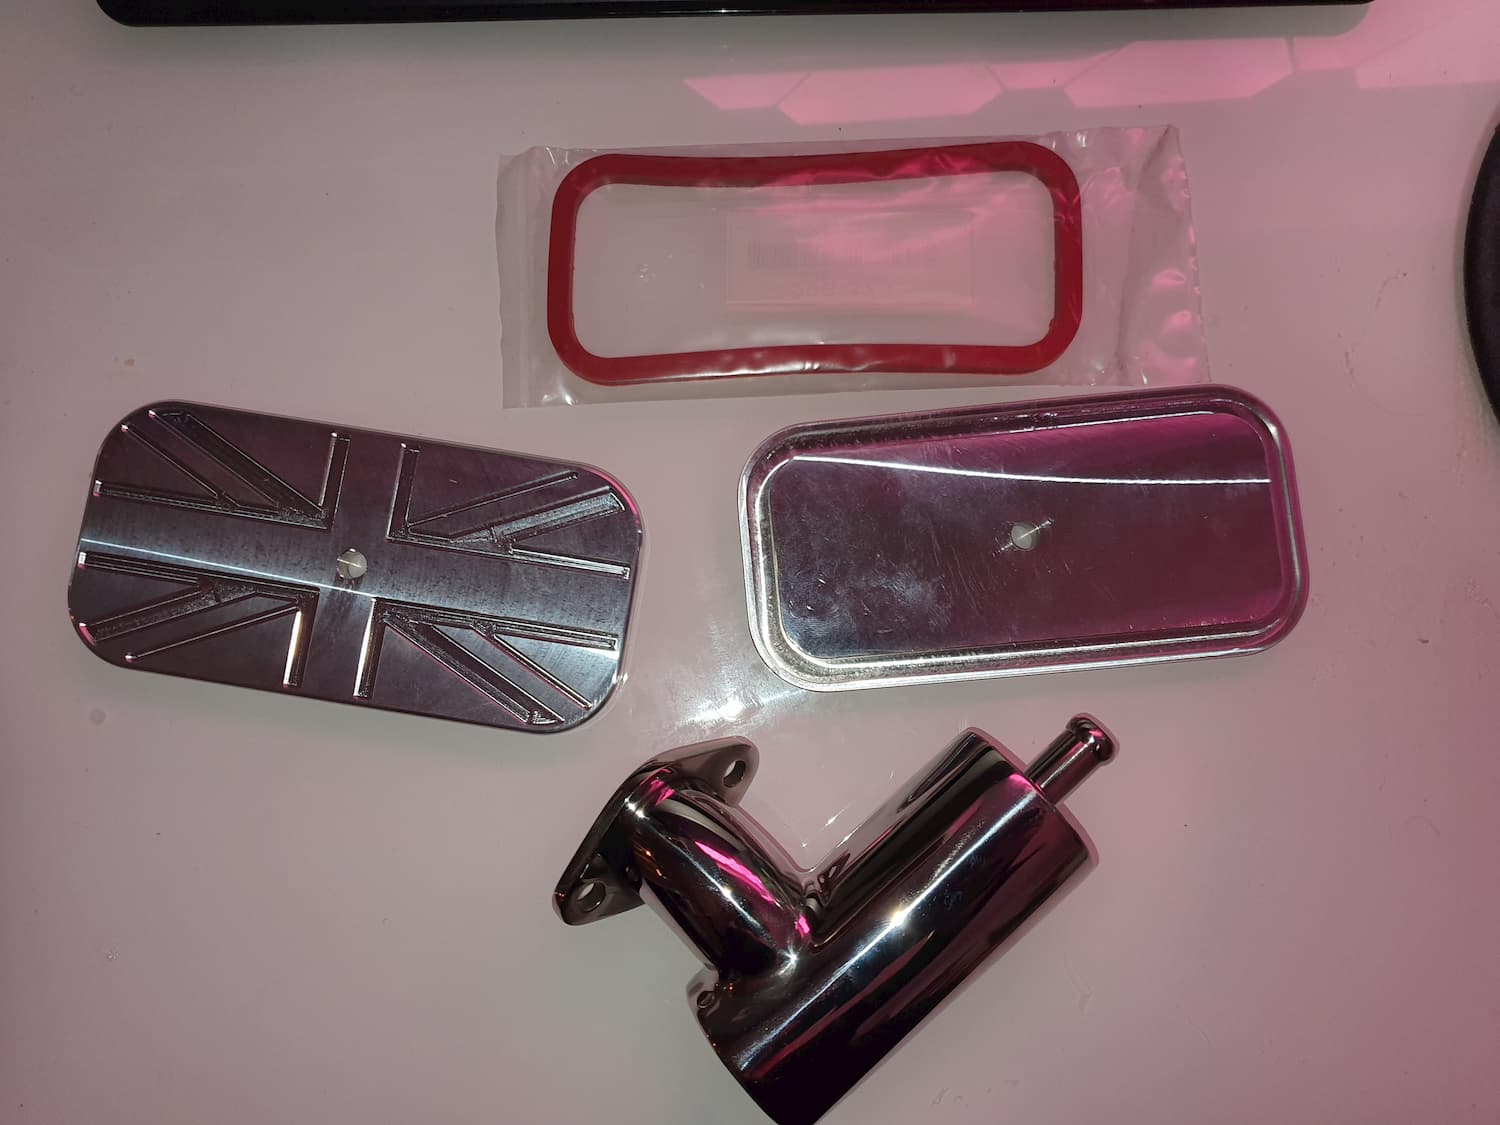
I have a collection of performance parts, along with fancy DSN retrosport items to be fitted and will detail the build once it starts, the block is liable to be away for a couple of weeks.


Edited by jarm691, 21 January 2020 - 09:23 PM.


#2 KTS

KTS

    Up Into Fourth

  • TMF+ Member
  • PipPipPipPipPipPipPipPipPip
  • 2,257 posts
  • Location: Herts

Posted 21 January 2020 - 07:51 PM

cracking on then  :-)


look forward to watching this one's progress


p.s. i assume the steering wheel will come out before they blast it ?


#3 cooperd70

cooperd70

    Super Mini Mad

  • TMF+ Member
  • PipPipPipPipPipPip
  • 653 posts
  • Location: London

Posted 21 January 2020 - 08:23 PM

Have a Flame Red from 1990...fun little cars...will go like stink if SMMC work their magic on the block...can't wait to see it as work progresses ?

#4 jarm691

jarm691

    Learner Driver

  • Noobies
  • PipPip
  • 22 posts
  • Location: Upton

Posted 21 January 2020 - 09:22 PM

cracking on then  :-)


look forward to watching this one's progress


p.s. i assume the steering wheel will come out before they blast it ?


Lol yes, its sat on my bench now waiting to be stripped and refurbed. It ended up not being blasted as the guy I use suddenly decided to retire, so I picked it back up this morning. Its going to another guy I use on Saturday morning.


#5 jarm691

jarm691

    Learner Driver

  • Noobies
  • PipPip
  • 22 posts
  • Location: Upton

Posted 22 January 2020 - 04:37 PM

Rear Subframe


Whilst the engine is spread about the country, and I am waiting for the shot blaster, I finished the rear subframe off.


It was only fitted about 4 years ago, but the garage that fitted it didn't put any additional paint on other than what it come with, which is to say not very much, so it was rather grotty. Mainly surface rust, and the swing arms and pipes etc were similarly surface rust.


20191019_102049-1024x768.jpg


Rear subframe after being detached from the car.


20191019_100749-1-1024x768.jpg

Swing Arm


I had the subframe blasted, then zinc passivated for rust protection. Finishing it off with a powder coating to look nice. It was seam sealed using automotive sealant, and once it is fitted to the car, I have some Bilt Humber anti rust wax which I will use to coat the seams etc.


20200122_152538-1024x768.jpg


The swing arms I blasted using a little gun from Machine Mart, had the pins, bushes and needle bearings replaced, a couple of coats of cold galvanizing spray and a topcoat from one of Rustbusters products saw them looking quite nice.


20200122_152655-1024x768.jpg


Goodridge braided brake pipes, and new copper piping for the rest of the subframe took care of that side of things. DSN retrosport brake plates, alloy brake drums and Specialist Components rear hub assemblies took care of rust proofing, along with shaving a bit of weight from the assembly.


20200122_152618-1024x768.jpg


Building the rear assemblies up proved to be a bit of a bother. I downloaded an image of the assembled backplates and copied it. Turns out it must have been the only bloody image on the internet of classic mini rear brake assemblies, assembled upside down!  I stripped them all back down and put them together the right way up. Only to realise that DSN had sent me 2 left hand brake plates.!  To give them their due, when I contacted them they sent me a replacement out overnight delivery, and that just reminds me that I need to send the extra one back, it is still hidden from my significant other in the workshop.


To finish things off, I added DSN trunnions, and brake quadrants. along with adjustable rear arm mounting brackets and some new poly exhaust mounts.


20200122_152547-1024x768.jpg


20200122_152736-1024x768.jpg


20200122_152705-1024x768.jpg


Next job is the front subframe, I am just waiting on a large delivery of components from KAD to put together.


Edited by jarm691, 22 January 2020 - 09:46 PM.


#6 Dannyboolahlah

Dannyboolahlah

    Mini Mad

  • TMF+ Member
  • PipPipPipPip
  • 168 posts
  • Location: Wigan

Posted 22 January 2020 - 05:21 PM

Excellent work, this is gonna be great. I have a 1989 Racing Green and it could do with similar love! Just finishing the mechanicals before I start looking at bodywork though.
One criticism - stick them coil springs in the bin! No personal experience of them but seen many broken subframes.

#7 jarm691

jarm691

    Learner Driver

  • Noobies
  • PipPip
  • 22 posts
  • Location: Upton

Posted 22 January 2020 - 05:29 PM

I know quite a lot don't like coil springs. Trouble is when I bought the car the ride was that harsh my wife refused to travel in it. When we fitted the coils the ride was far superior.


#8 cooperd70

cooperd70

    Super Mini Mad

  • TMF+ Member
  • PipPipPipPipPipPip
  • 653 posts
  • Location: London

Posted 22 January 2020 - 08:28 PM

I know quite a lot don't like coil springs. Trouble is when I bought the car the ride was that harsh my wife refused to travel in it. When we fitted the coils the ride was far superior.


Mine was harsh when I bought mine too...decided to get new donut's all around as well as hi-lo's. Once the car was set a std ride height, bedded in for 500/1000 miles or so and then re-adjusted it's not at all that bad. Only the roughest of roads puts it about.

#9 jarm691

jarm691

    Learner Driver

  • Noobies
  • PipPip
  • 22 posts
  • Location: Upton

Posted 22 January 2020 - 09:41 PM


I know quite a lot don't like coil springs. Trouble is when I bought the car the ride was that harsh my wife refused to travel in it. When we fitted the coils the ride was far superior.


Mine was harsh when I bought mine too...decided to get new donut's all around as well as hi-lo's. Once the car was set a std ride height, bedded in for 500/1000 miles or so and then re-adjusted it's not at all that bad. Only the roughest of roads puts it about.


Having learnt a bit more about Mini's since I bought mine I might well have gone down that route. At the time  I followed some one else's advice and to be honest I haven't really had any problems from them.


#10 Bdshim

Bdshim

    Mini Mad

  • Just Joined
  • PipPipPipPip
  • 196 posts
  • Location: Suffolk

Posted 23 January 2020 - 05:53 AM

Nice work love the detail

#11 jarm691

jarm691

    Learner Driver

  • Noobies
  • PipPip
  • 22 posts
  • Location: Upton

Posted 23 January 2020 - 09:29 AM

Nice work love the detail


Thanks I am trying to build a nice road car, but one that looks good as well, oh and it still needs to be usable as a photo booth lol as we have bookings for it.


#12 jarm691

jarm691

    Learner Driver

  • Noobies
  • PipPip
  • 22 posts
  • Location: Upton

Posted 24 January 2020 - 08:11 PM

Bits and Bobs


Whilst I am waiting for the shell to be paint stripped, and the engine is in bits around the country, I took the time to finish a number of smaller bits and bob off.


Anc1.jpg


The heater was never great, but never really poor, just I suppose average. I took the opportunity to flush the matrix out and check for leaks, seal all of the joins to prevent air leakage and then gave it a couple of coats of black.


Anc2.jpg


The brake servo bracket cleaned up pretty well, again a couple of coats of Zinc and a topcoat of anti rust black. The servo itself was badly rusted so I replaced it, zinc and then a topcoat of BRG and lacquer to match the car colour.


Anc3.jpg


A quick clean up of the wiper motor, a DNS cover to replace the rusted original and again a coat of BRG for the motor. Zinc and black for the tube containing the worm drive.


Anc4.jpg

Cleaned the gear shift mechanism up, usual coatings of zinc etc, then a replacement stick from KAD.


Anc5.jpg


Finally some shiny bits for the engine bay from DSN and Smiffys Bits. Where possible I am trying to use alloy or stainless to keep things rust free.


#13 jarm691

jarm691

    Learner Driver

  • Noobies
  • PipPip
  • 22 posts
  • Location: Upton

Posted 30 January 2020 - 10:43 PM

Front Subframe


After a busy week I have found the time to upload some images of the front subframe rebuild. This one looked a bit rough to just blast so I ended up replacing it and starting again. I refurbed the top arms, but pretty much everything else is new.


20200123_111705-1024x768.jpg


20200123_112339-768x1024.jpg


20200123_111712-768x1024.jpg


I had the new frame zinc passivated then powder coated, then seam sealed, hopefully this will prevent rust creeping into the subframe.


20200122_193309-1024x768.jpg


I loved the look of the KAD red calipers, so ordered a set along with new vented discs and alloy drive hubs. The calipers were an exercise in patience as after waiting weeks I received a phone call to tell me that a bolt had been left in them when they went to the anodisers and that they needed to be redone, meaning they would be an additional week.


20200122_193402-768x1024.jpg


New Goodridge brake lines, ball joints, a set of Timkin bearings, and full adjustable tie bars and lower arms finished things off. I left them in a mates garage out of the way, only he didn't tell me he was working in there so everything is covered in dust.


20200122_193319-768x1024.jpg


Some lightweight Specialist Components tower bolts, along with semi solid tower mounts, and full solid mounts for front and rear of the subframe from DSN.


20200122_193313.jpg


20200122_193335.jpg


zz1-768x1024.jpg


Little items from Smiffy such as the stainless washers for the tie bars, and the top arm plates in stainless give it a bit of bling as well as another couple of items that I shouldnt have to worry about rusting.


zz3-768x1024.jpg


Wherever possible I have changed washers, bolts and nuts to stainless, obviously not on highly stressed parts where they are weaker than high tensile steel.


MED rang today to say my crank and rods have been balanced, so just waiting on Southam to sort the block out.


Edited by jarm691, 30 January 2020 - 10:50 PM.


#14 jarm691

jarm691

    Learner Driver

  • Noobies
  • PipPip
  • 22 posts
  • Location: Upton

Posted 01 February 2020 - 07:38 PM

Yay, my new tappet chest covers and engine breather turned up today, so will get them assembled after the weekend ready for the block coming back.


Tappets.jpg


#15 tankertanker

tankertanker

    Stage One Kit Fitted

  • Noobies
  • PipPipPip
  • 53 posts
  • Location: Gillingham dorset

Posted 01 February 2020 - 07:56 PM

Loving the posh bits,,, blinging beautiful things going on here


0 user(s) are reading this topic

0 members, 0 guests, 0 anonymous users