Jump to content


Photo
- - - - -

My Cooper Sports Le


  • Please log in to reply
7 replies to this topic

#1 ski

ski

    Passed Test

  • Just Joined
  • PipPip
  • 31 posts
  • Location: honiton

Posted 08 May 2020 - 11:34 AM

Hi guys, thought I would stick a build thread up. 

I fancied a Mini again, and as it would fit easily in the garage it made sense! 

So I found this sports le in jan 2018, I knew looking at it that it needed a fair amount of work but was hoping that I could do the minimum to get it on the road and use it for a year then strip it for rebuild. Well this didnt go to plan! 


First a bit of history on the car as it has some background, registered in 98 but exported to a Rover Dealer in the Netherlands, it then seems to have come back to Rover in the UK and was used by Custom Consoles as their show car while it was still owned by the dealer. It was then purchased by a Gentleman in Surrey from Rover, he mainly took it to Wood & Pickett over a number of years I believe it was one of 3 Le's they looked after. They fitted the roof, did work on the interior and rebuilt the engine, there are receipts for thousands and normally a letter most years from WP for the cars valuation. 


Anyway enough typing I will add some photos in. I sent it straight for an MOT, I think it was 4 major fails and about 13 advisories so I set to work. So in 2018 it had -

-Rocker gasket, new selector seal, bush gator and roll pin. 

-New cv's both ends and a coat of paint, gearbox oil seals and flange gaskets. 

-Front wheel bearings, front ball joints, track rod ends. Tie rod bushes and bolts. 

-Brembo disks, pads, caliper rebuild, braided lines on the front end. 

-Oil & filter change. 

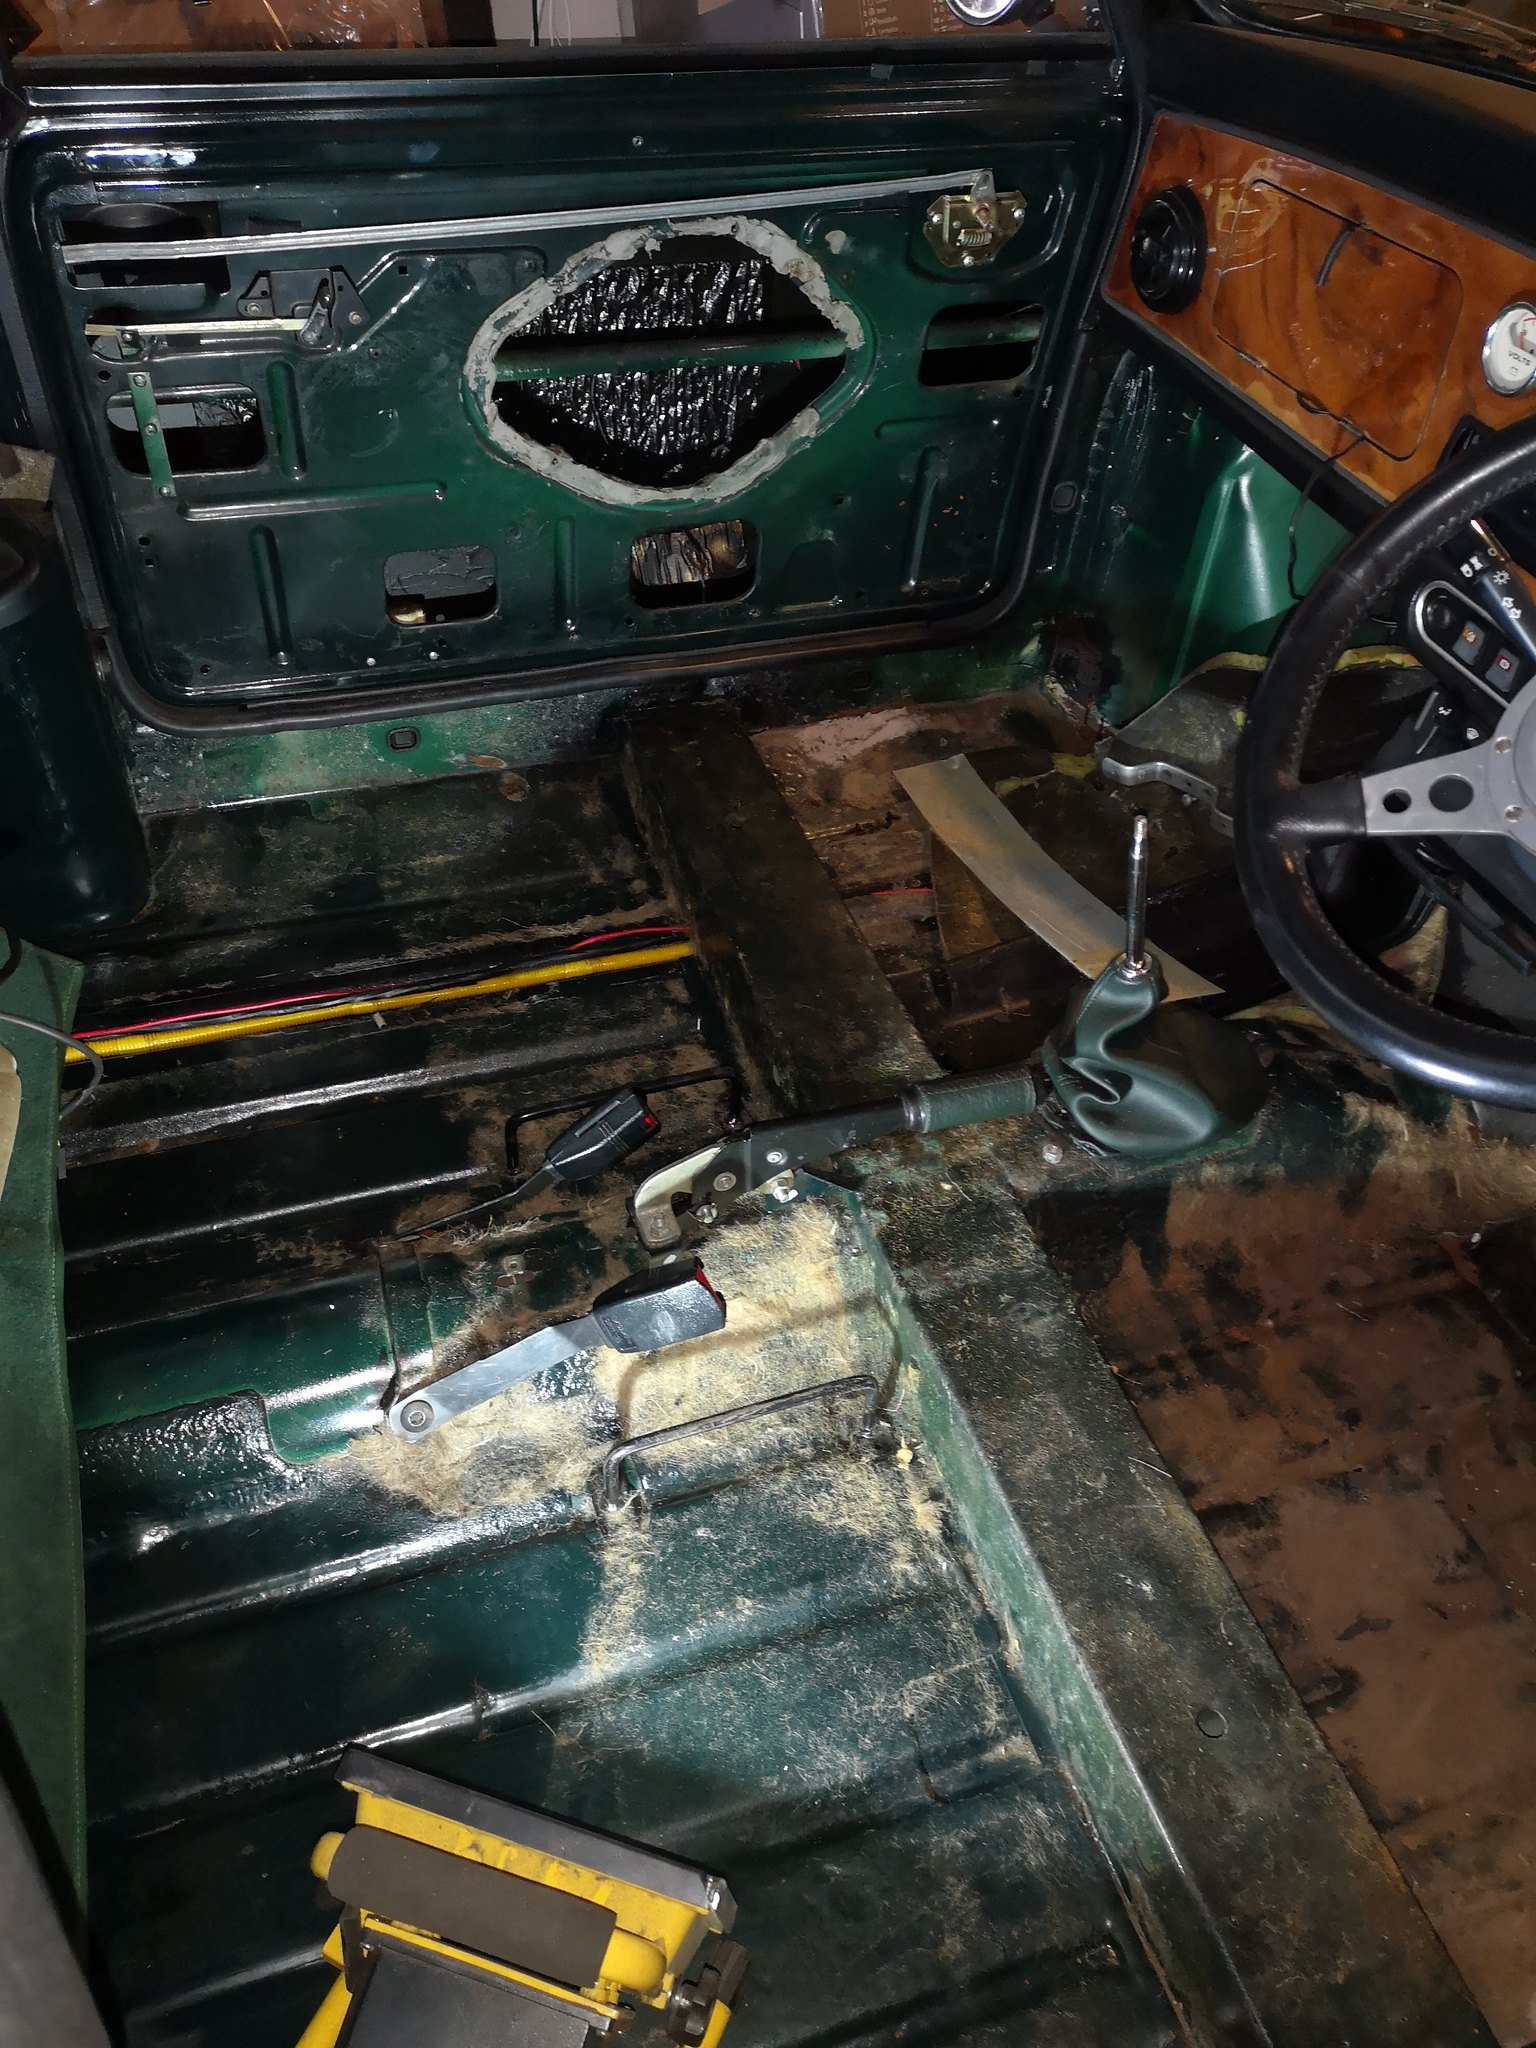
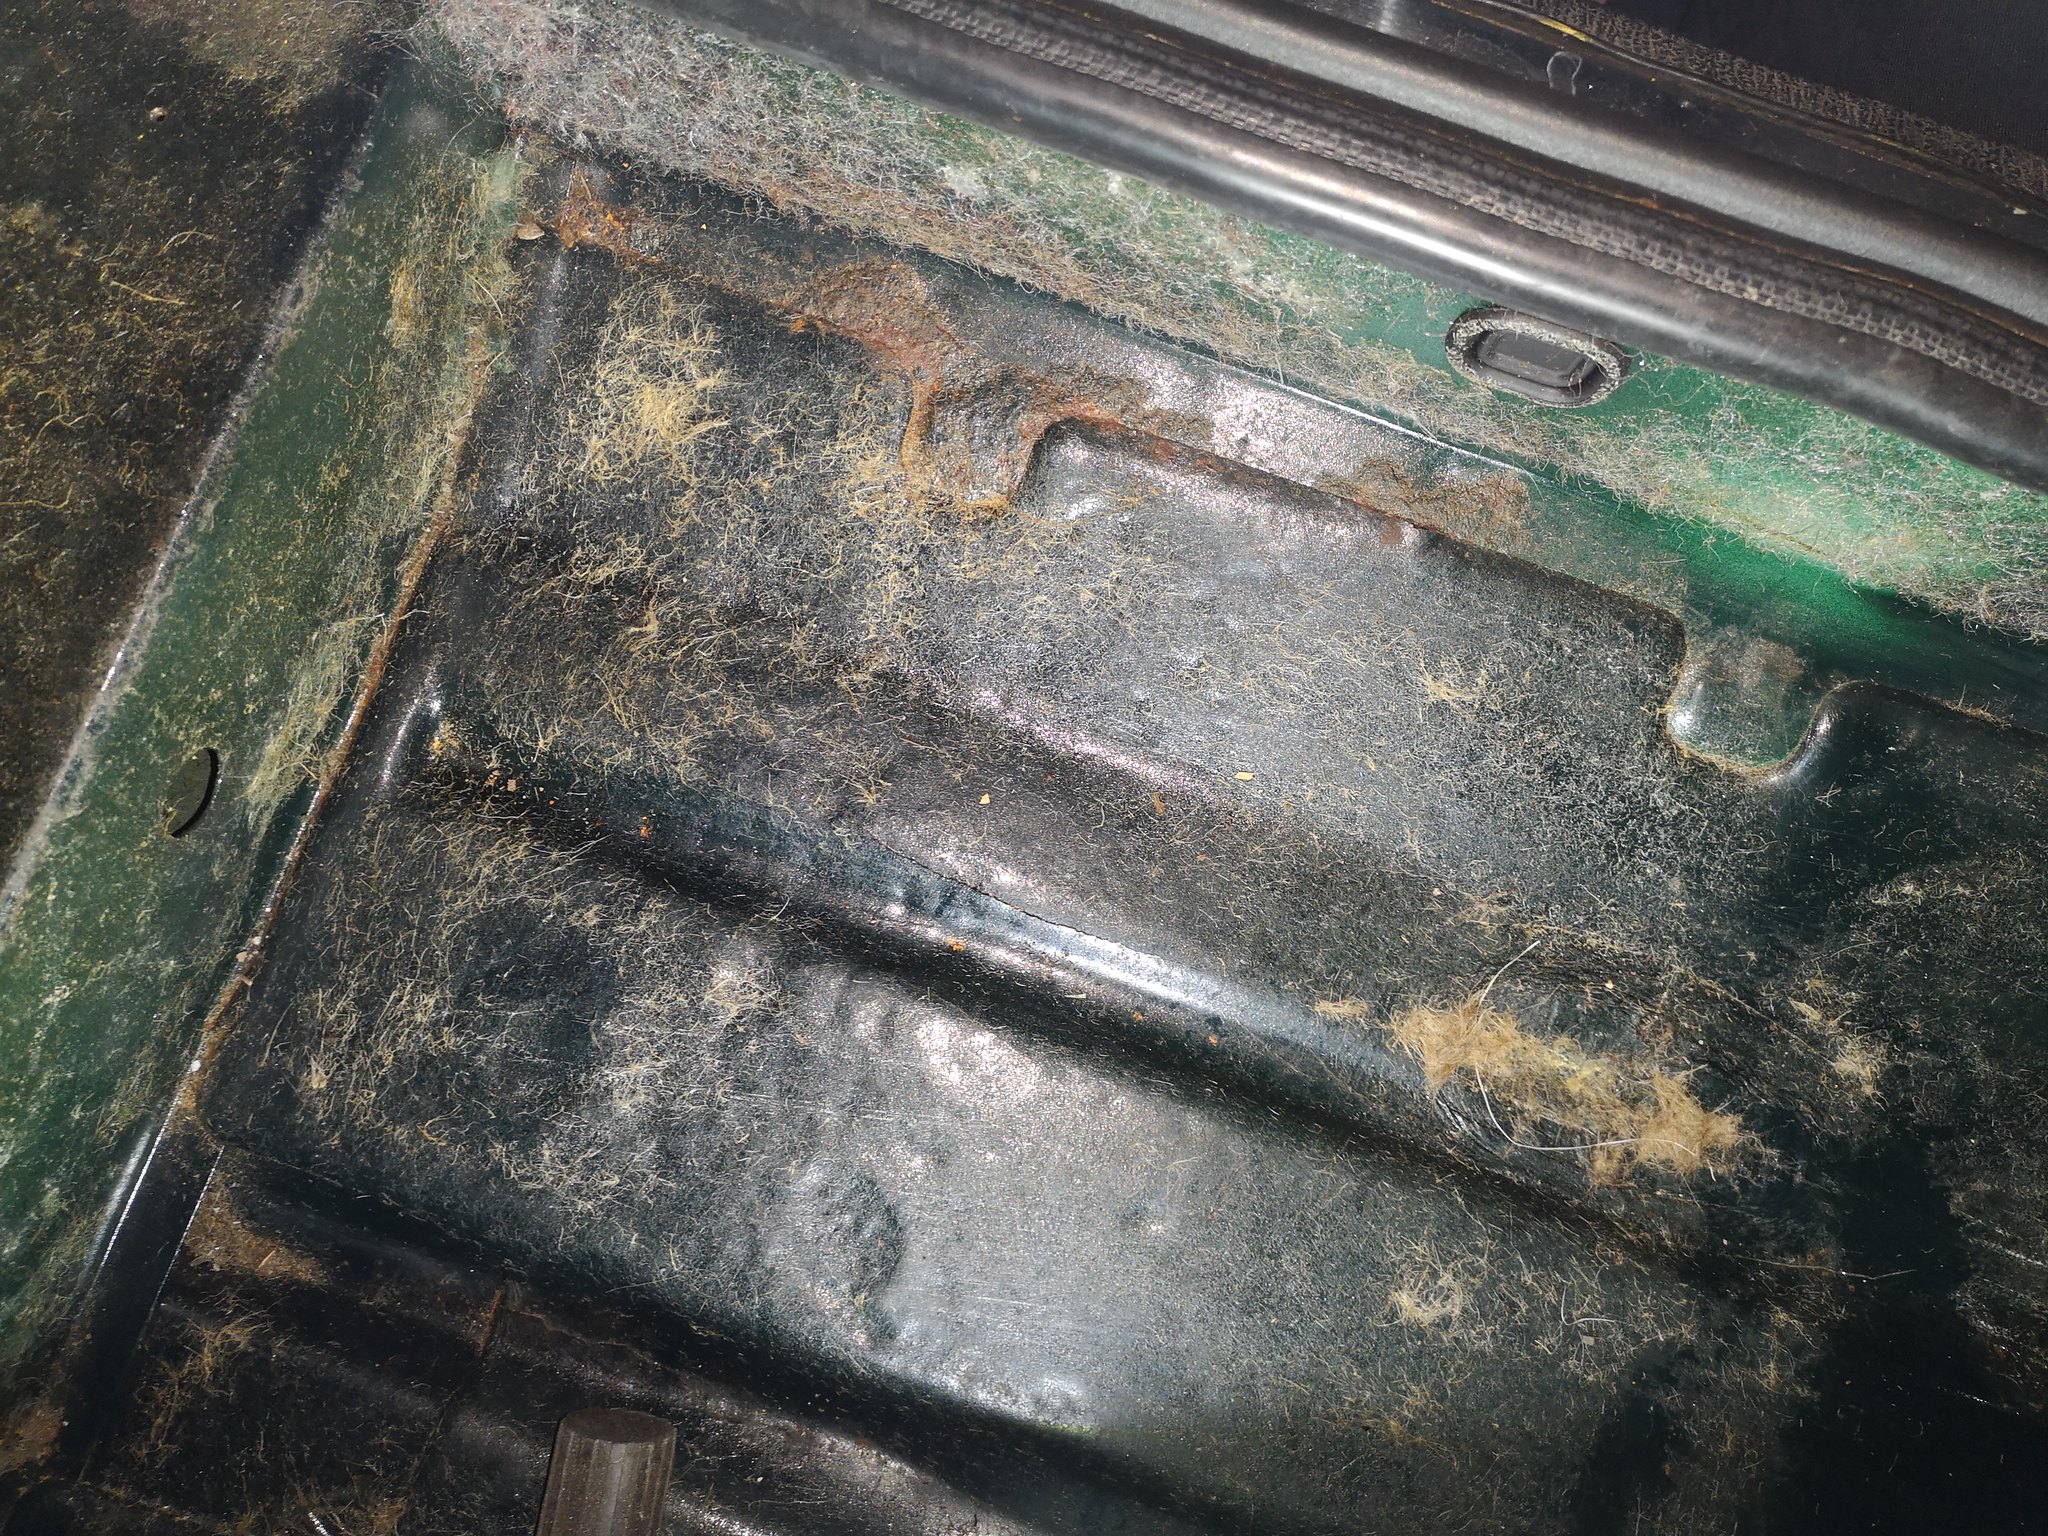
-I found some holes in the floor that were somehow missed on the mot so patched those for now. 

-Rebuilt the rear brakes and new cables. 

-New water pump, stat, belt, alloy rad, alloy header tank. 

-New alternator, and ignition leads (The old one was fine, but I had it on my bench and managed to drop it on the floor!!). 

-New heater matrix. 

-Stripped the inlet manifold down, cleaned all sensors and fitted new injectors. 


It then went for Mot but failed on emissions. 


Some photos 

49870126257_d19c714dbf_k.jpgIMG_20180106_110229 by Sken21, on Flickr

49870132867_26f4c32d59_k.jpgIMG_20180523_195409 by Sken21, on Flickr

49869827031_82fae1ba90_k.jpgIMG_20180523_195427 by Sken21, on Flickr

49869294818_dc94210269_k.jpgIMG_20180615_225639 by Sken21, on Flickr

49869828591_3d5f44fb35_k.jpgIMG_20180619_203611 by Sken21, on Flickr

49869831326_d9894f0f7f_k.jpgIMG_20180928_171229 by Sken21, on Flickr

49869301458_3ad7172bae_k.jpgIMG_20190418_183349 by Sken21, on Flickr


So after failing on emissions, I basically threw money at it hoping to fix the problem! 

I found that the wiring to the lambda probe was mainly broken, so I sourced a new plug, then the probe didnt seem to work, so I changed this for a new one. Still no difference, so I took it to a local garage to see if they could find anything, they said the probe was working but that the ECU seemed suspect. So I sent the ECU off for testing, which came back all ok. After this I did a compression test (Which I probably should have done in the first place), I found one cylinder to be down on pressure, and a wet test made no difference. 

So I pulled the cylinder head (it has a large valve head supplied by OAP racing?), rebuilt the head, new stem seals and double valve springs and it was good to go. Now it was mid 2019 and the rust had set in, so on retest it failed on door steps, and a rear wheel cylinder had also seized up. 


49869835761_3e67f79247_k.jpgIMG_20190531_165931 by Sken21, on Flickr

49869836811_a5d0dd4fd4_k.jpgIMG_20190614_113709 by Sken21, on Flickr


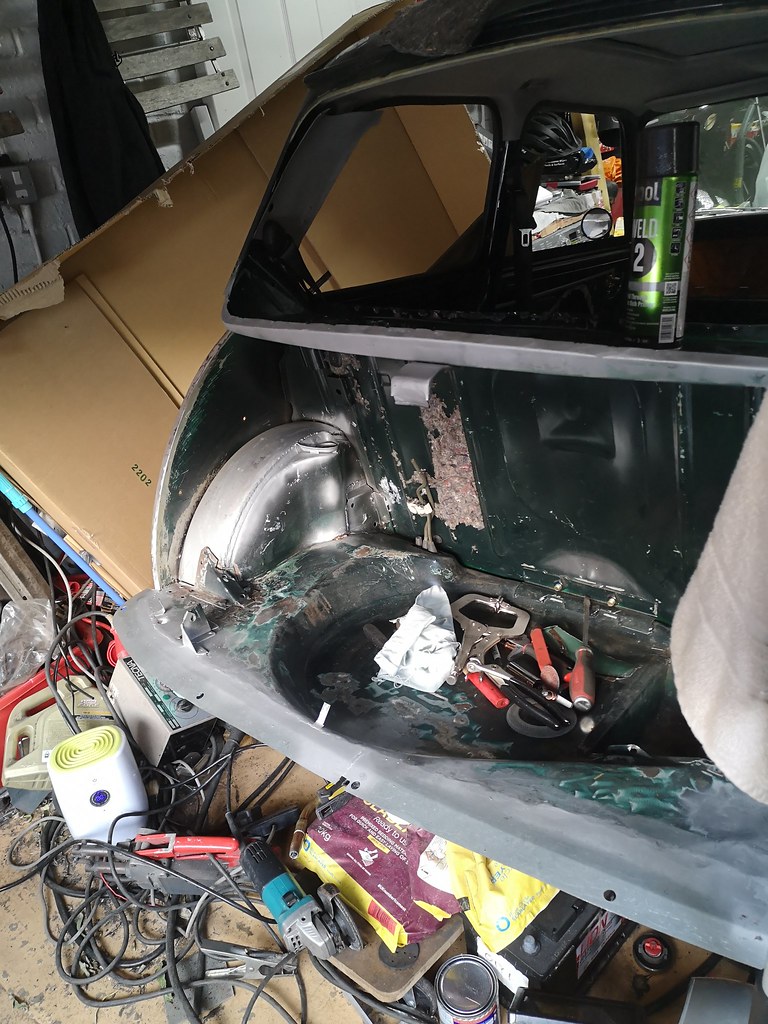
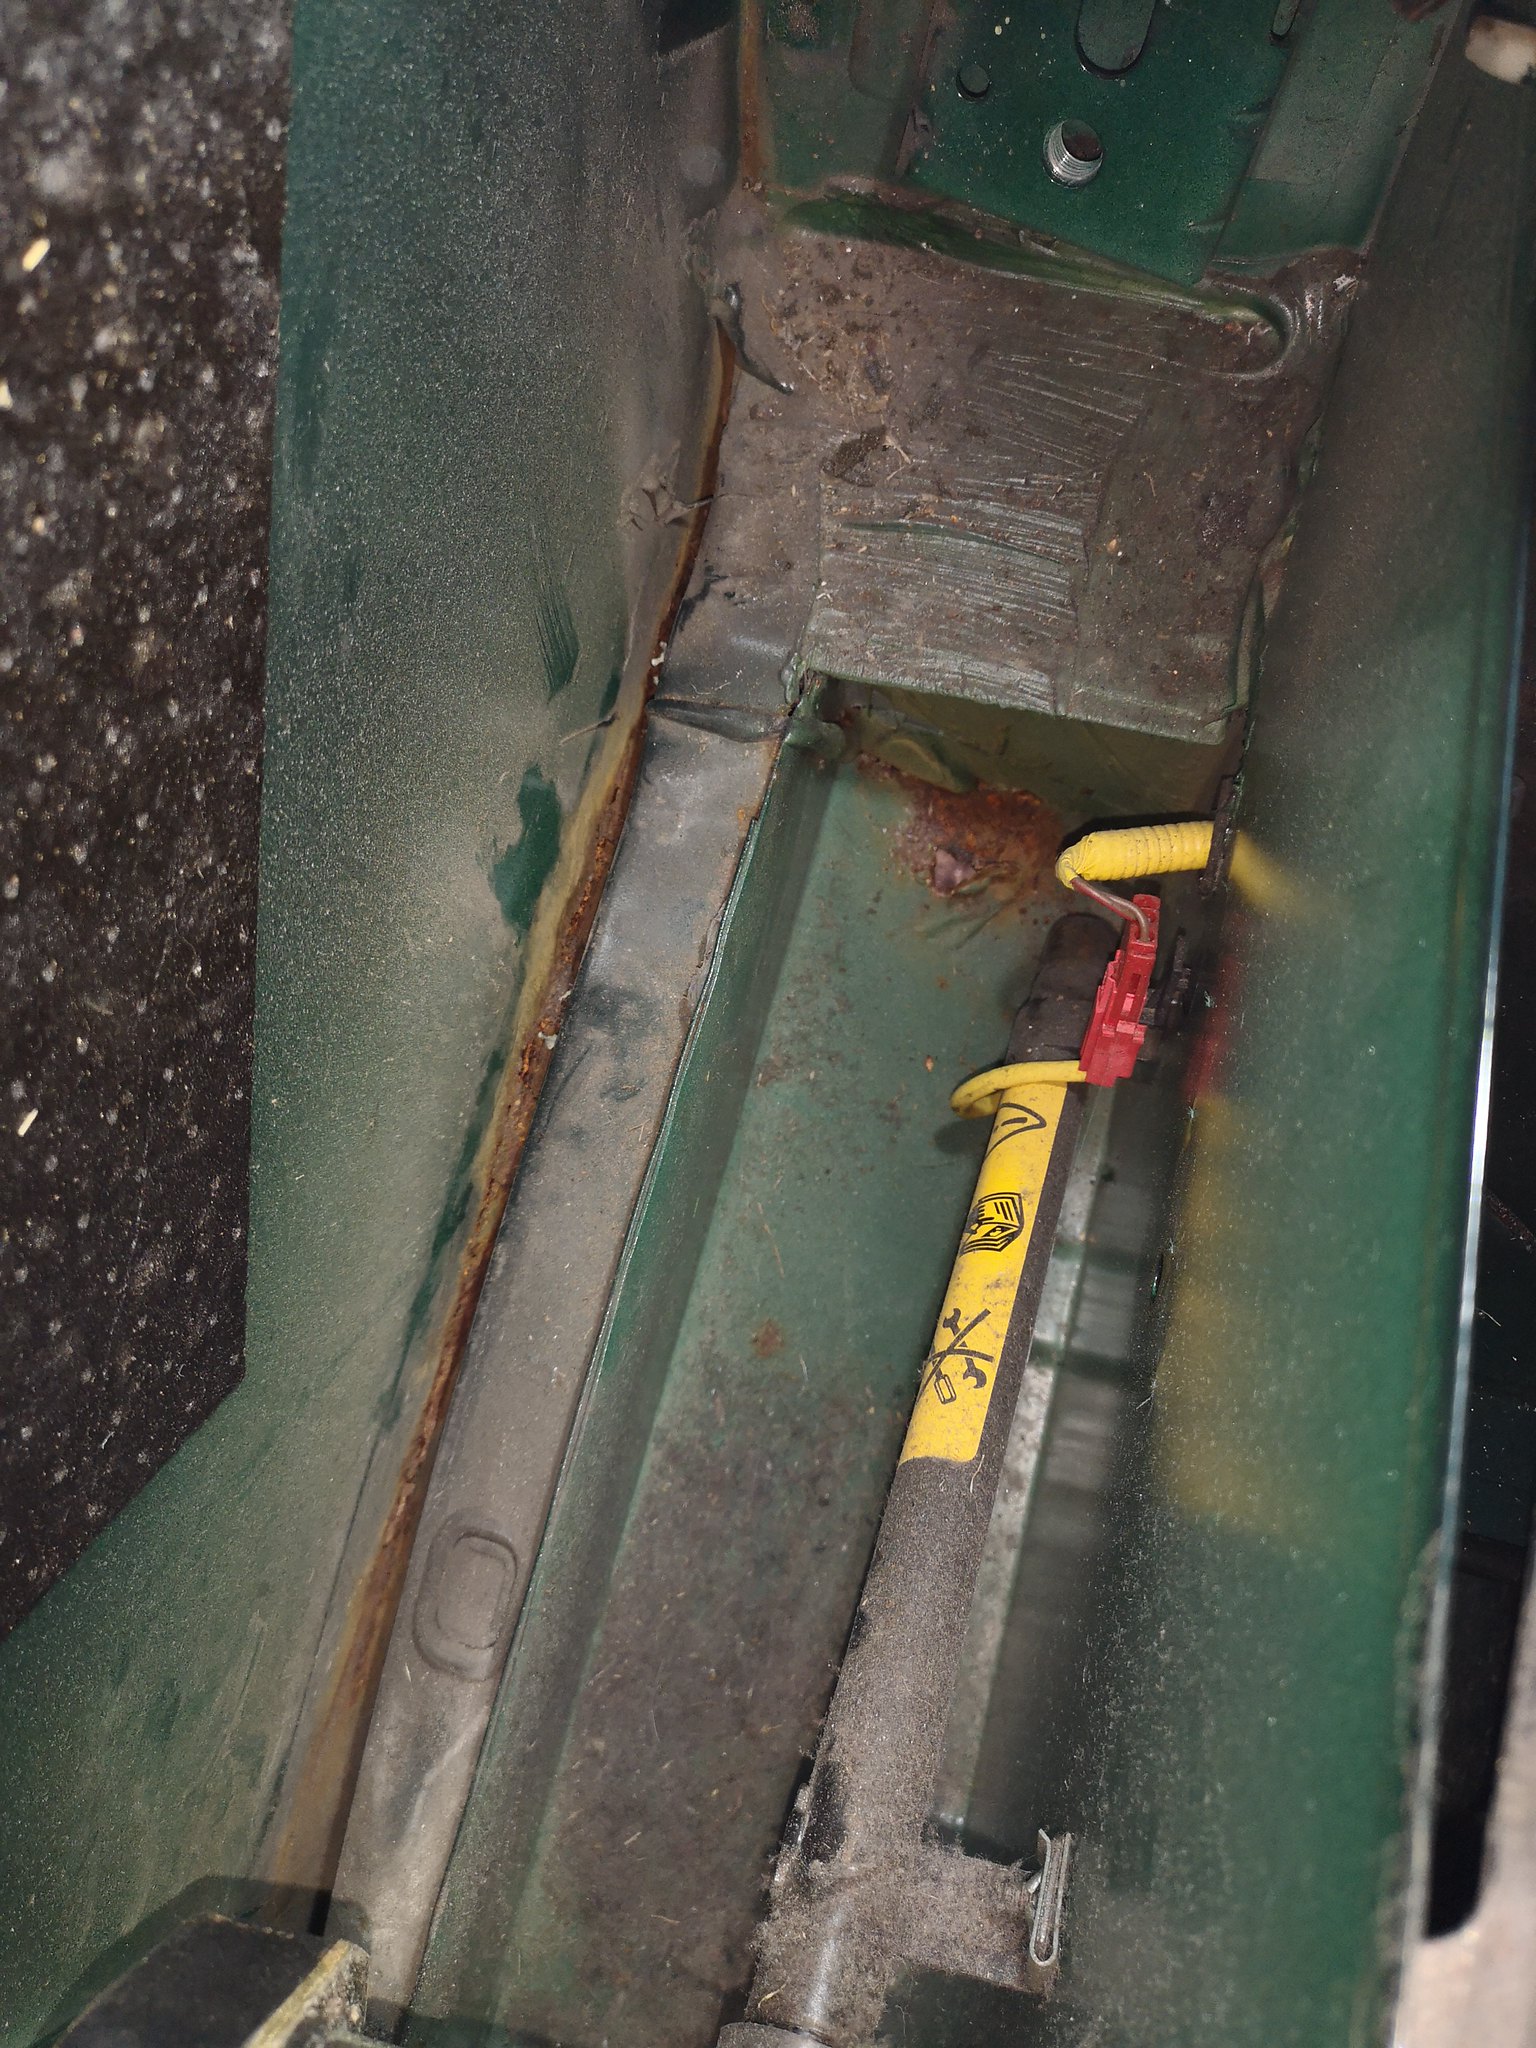
So since the lockdown I decided to strip the rear end. The rear valance was quite rusty in places. 

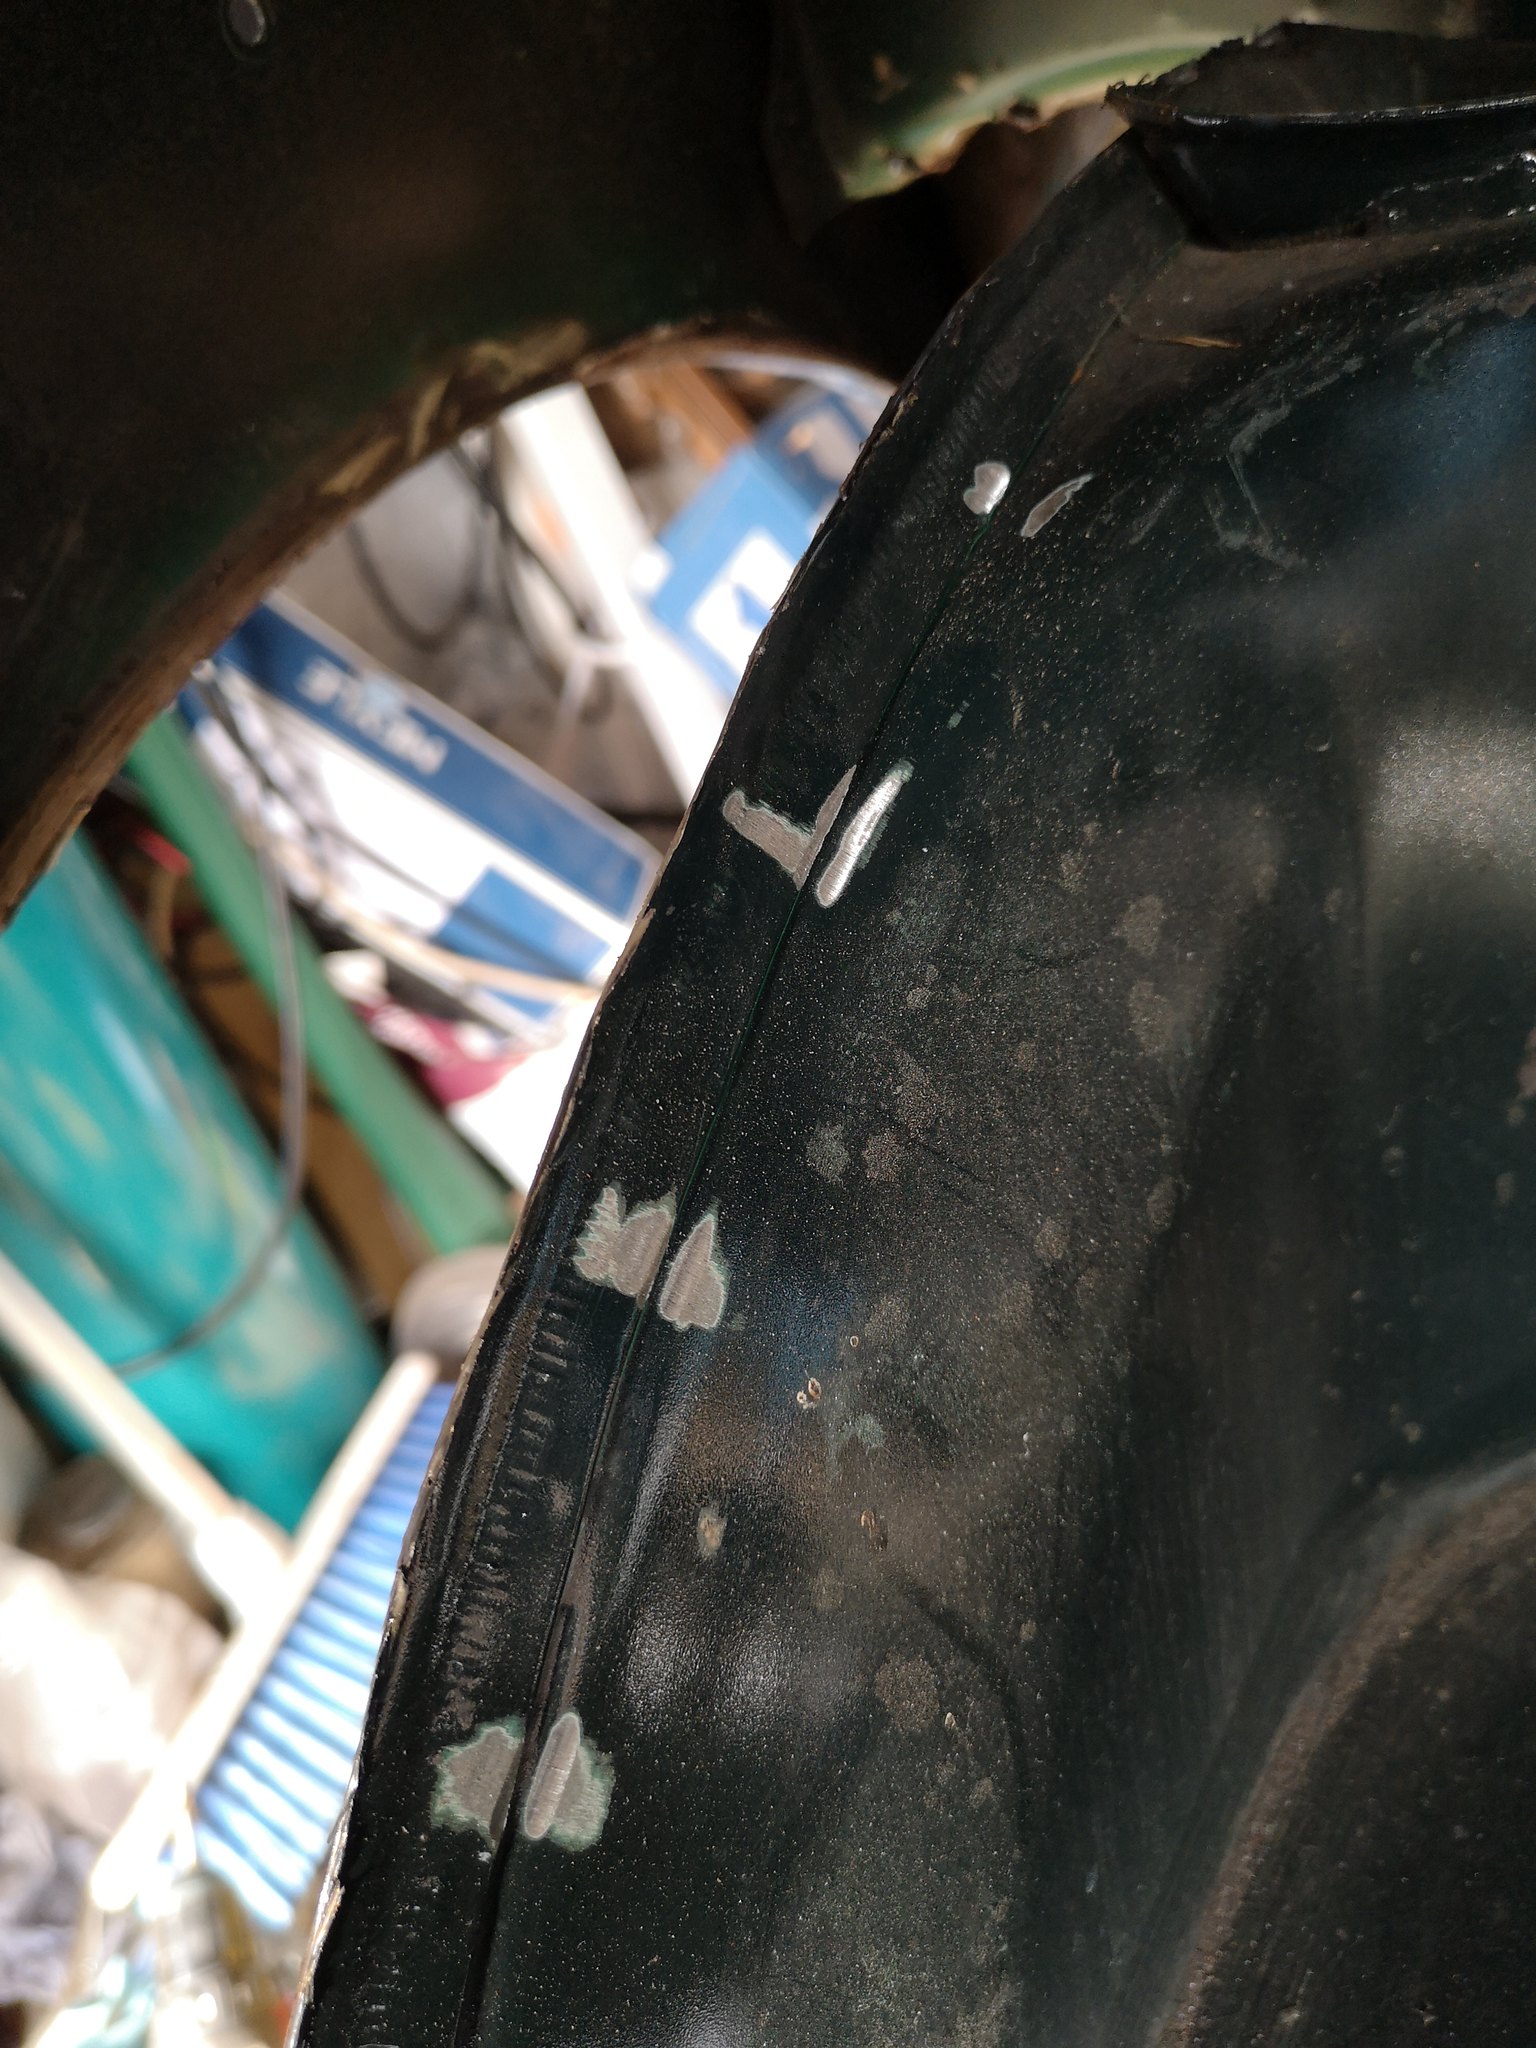
When stripping I found that at some point someone stuck quite a lot of filler on the boot lip to rear valance, so it looked ok but was actually rotting under the filler. Not the best photo but its 2-3mm thick in places! 


49870226497_88d973839c_k.jpgIMG_20200430_151712 by Sken21, on Flickr

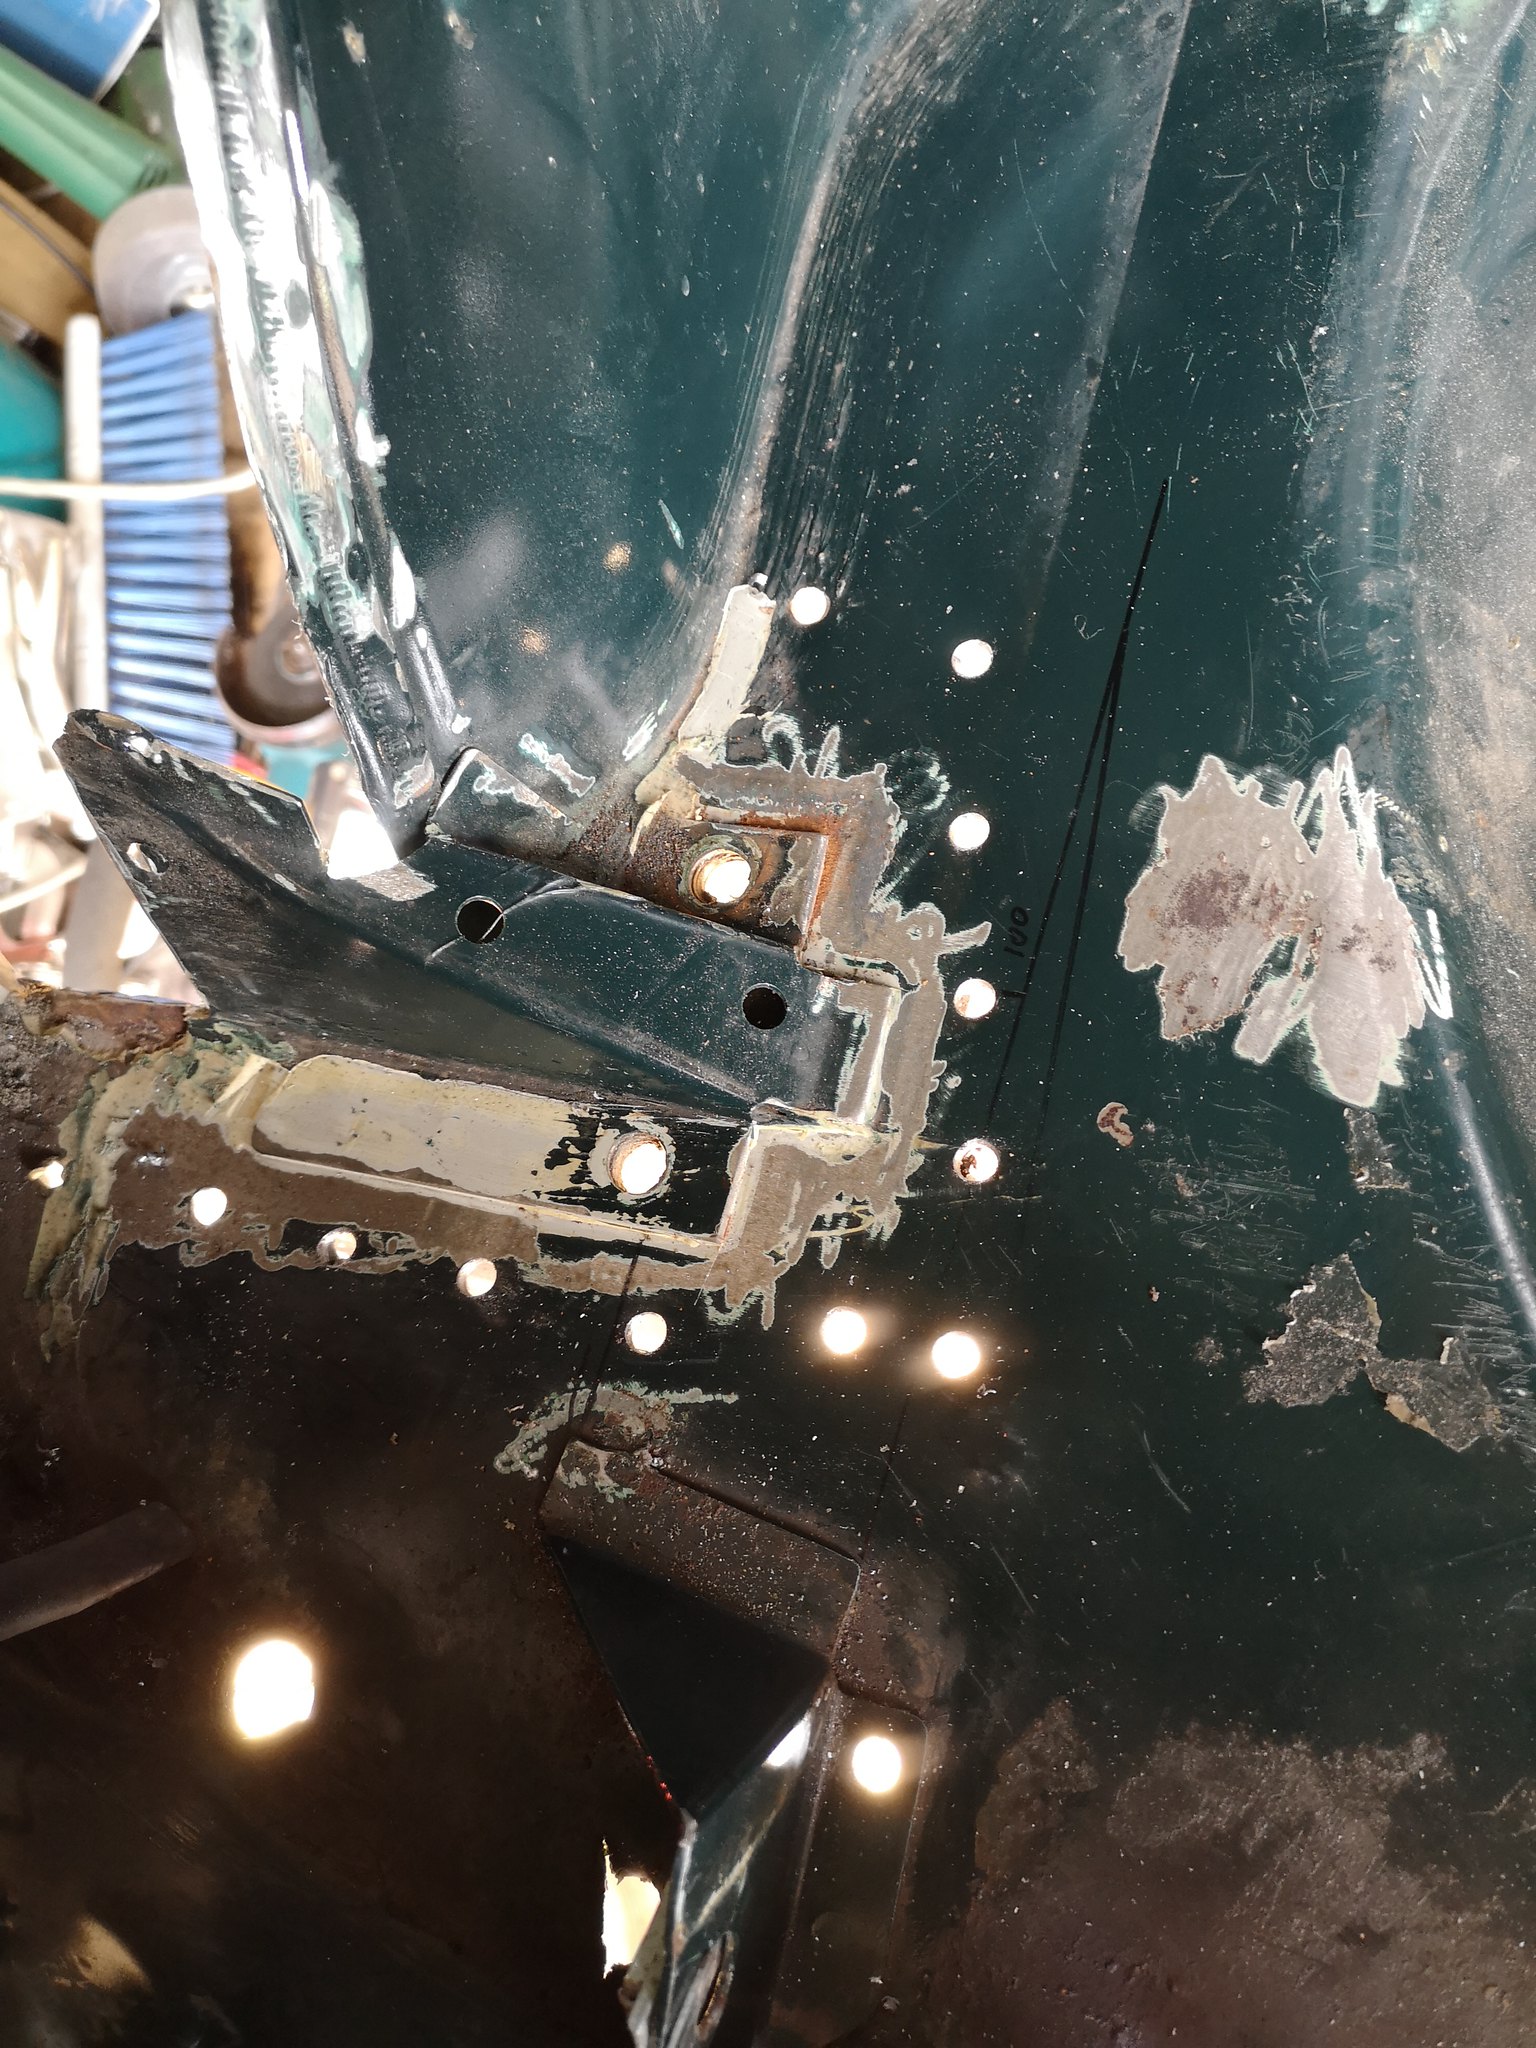
The left side is quite good inside, no rust at all, but the right side has some surface rust inside the boot, ive not decided whether to use these magnum panels or order a full heritage panel yet?? I also have some rust bubbling by the lower rear window. 

49870226287_1b19f70e72_k.jpgIMG_20200430_164126 by Sken21, on Flickr

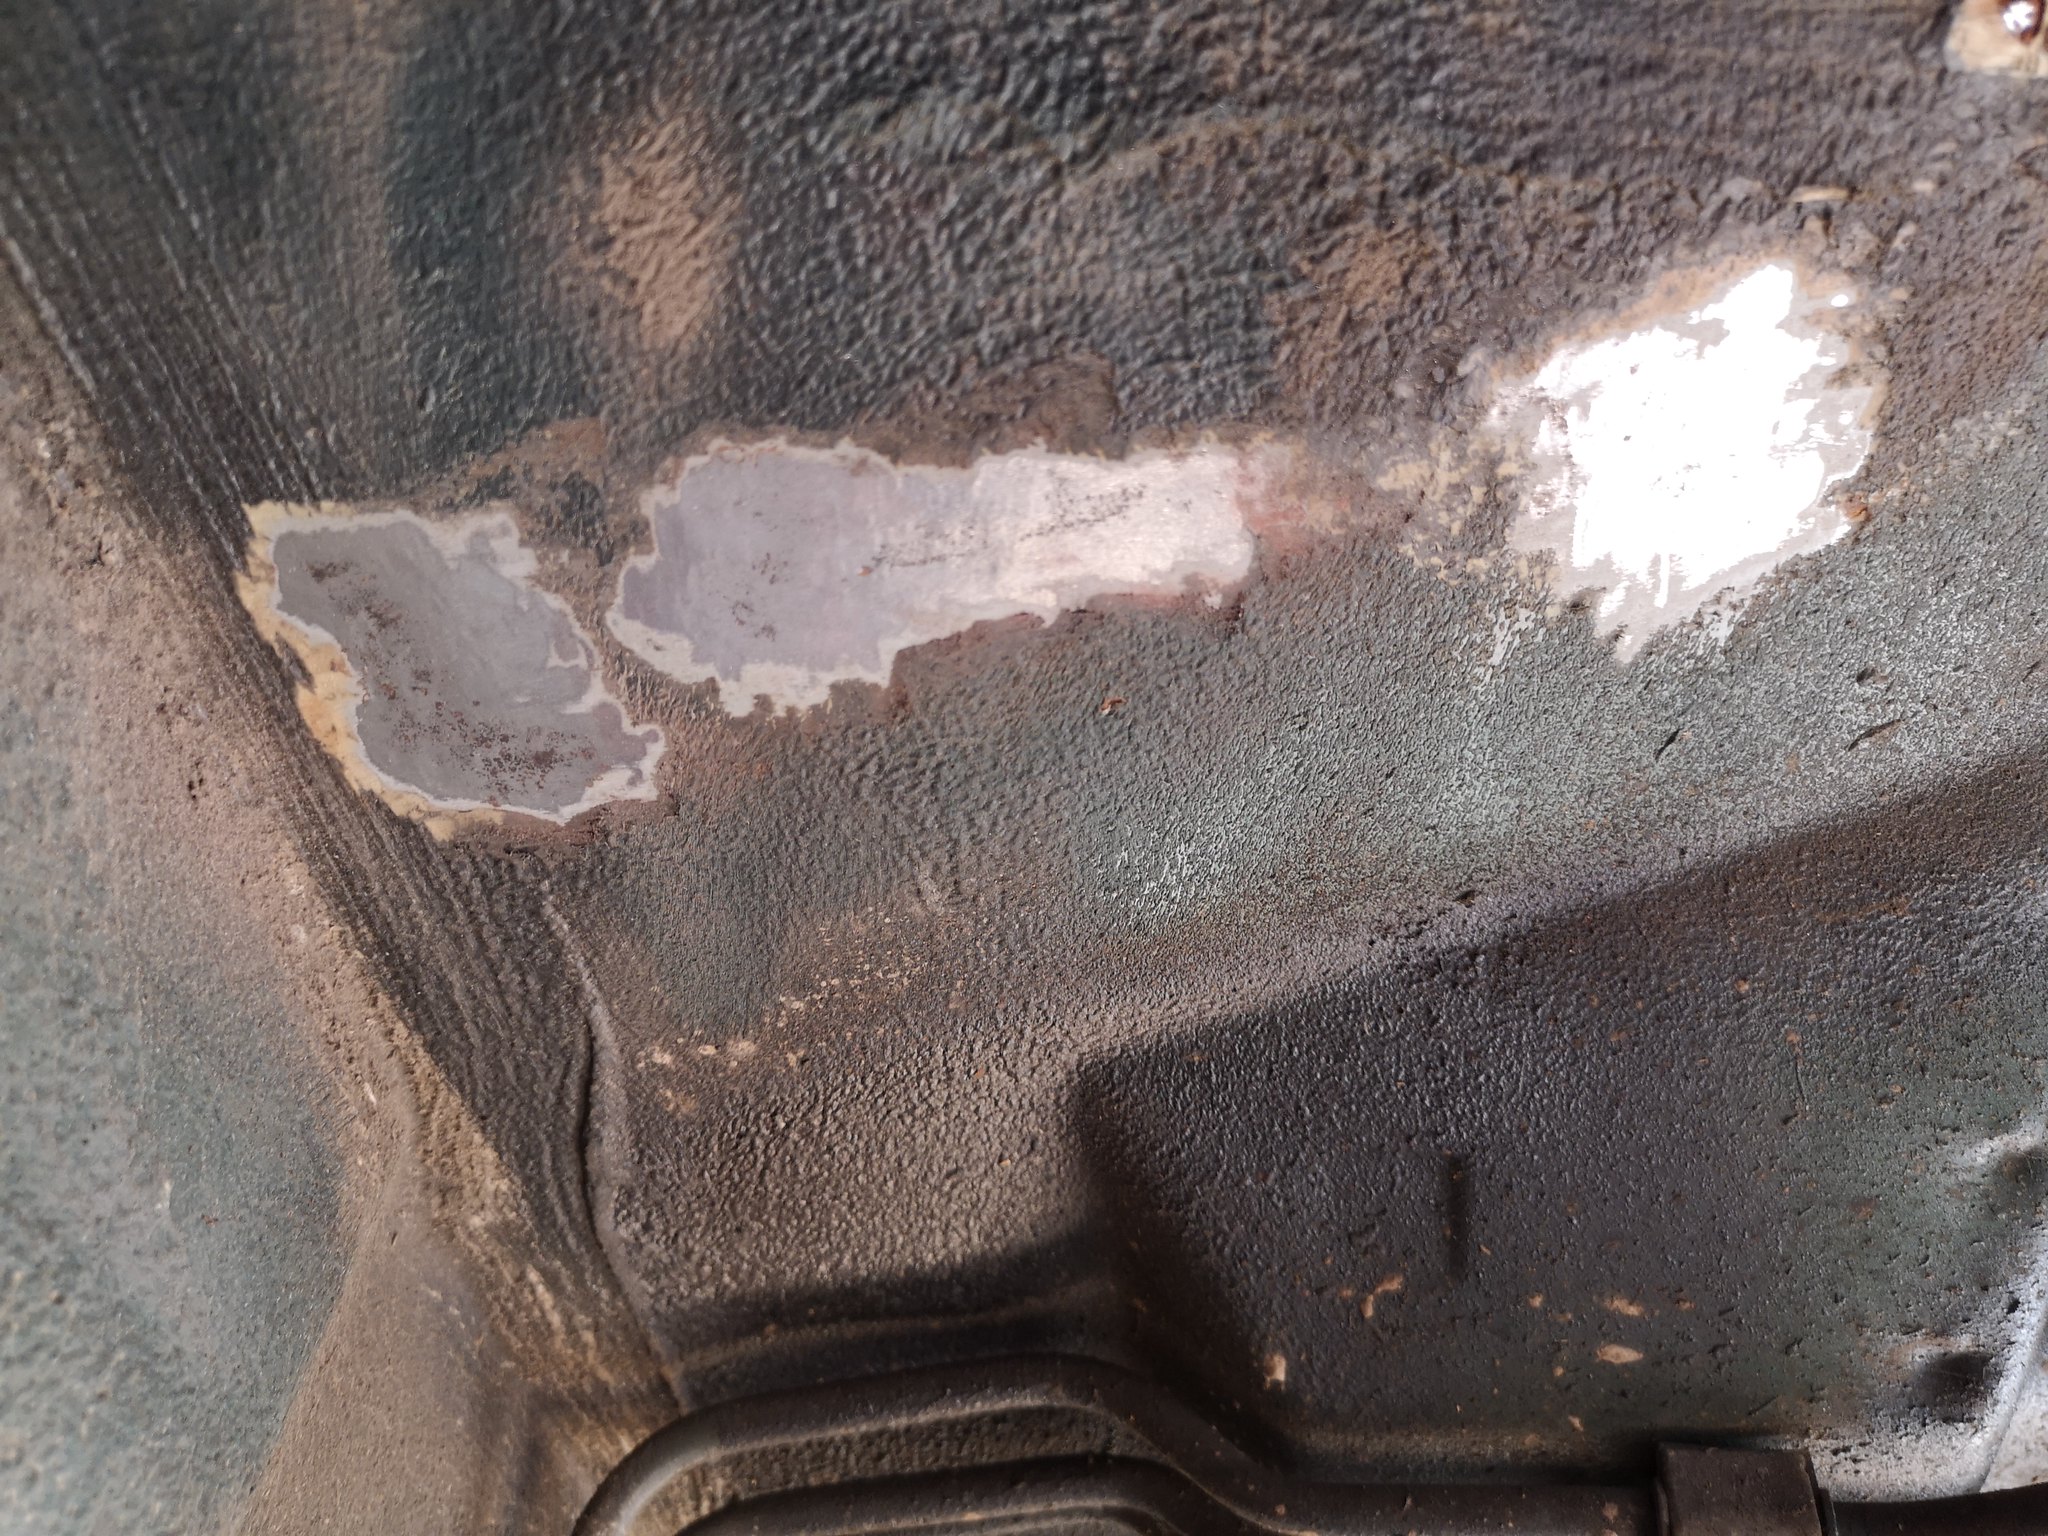
Luckily underneath doesn't look terrible. 

49869921516_48e63f8bf9_k.jpgIMG_20200430_175037 by Sken21, on Flickr

49870227047_e587a63e5f_k.jpgIMG_20200506_153704 by Sken21, on Flickr

49869920971_2930a6cc0a_k.jpgIMG_20200506_154042 by Sken21, on Flickr


So I was under the impression mini spares were not doing the sportspack rear subframes yet, but I checked last nite and they are! so that probably would have been a better option but ive already started on mine. 

I half expected it to fall apart on removal but it was ok, a guy down the road does metal finishing so he blasted it for me. 

49869385183_c02559882c_k.jpgIMG_20200501_113913 by Sken21, on Flickr

49869384963_02e1b61016_k.jpg
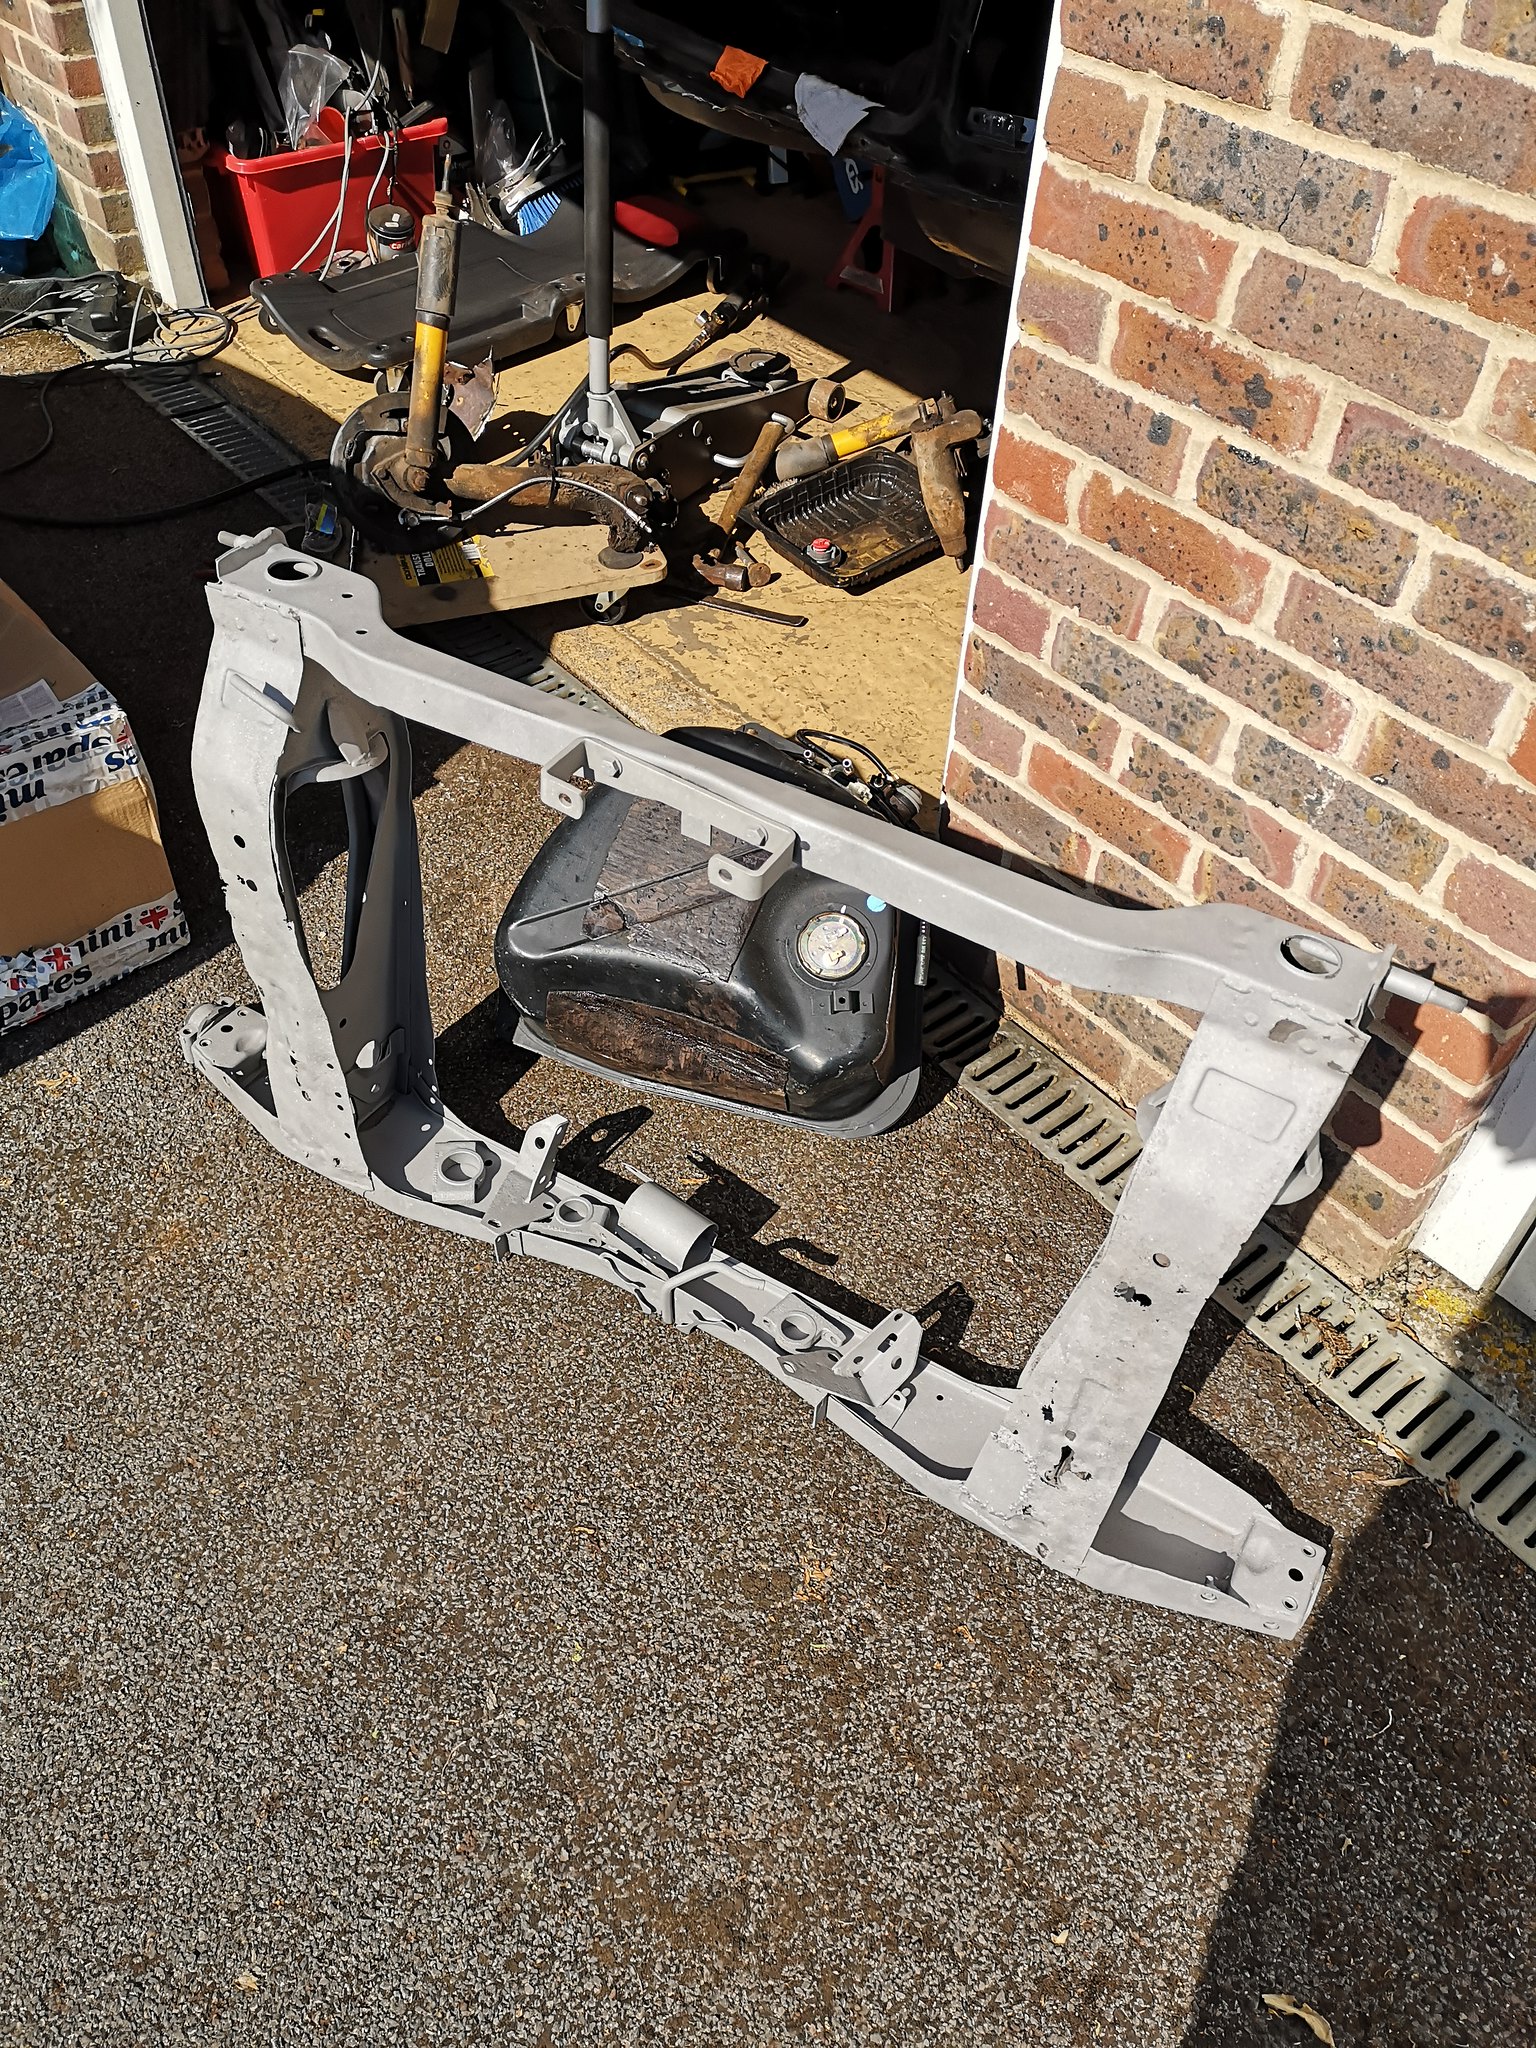
IMG_20200506_161614 by Sken21, on Flickr

Ive now got repair panels for the lower arms, will spot weld and mig as required. Im using a upol weld through zinc primer, then epoxy primer, then it will be Raptor coated, will be doing similar on the underside and using some bilt hamber products. 


Currently boot floor repair panel for the outer edge, maybe 0.5" has some surface corrosion towards the boot hinge. 

Rear arches had gone in the top, new rear valance and closing panels (They were solid but a lot of rust). 

49870224367_760cb58d63_k.jpgIMG_20200430_143250 by Sken21, on Flickr


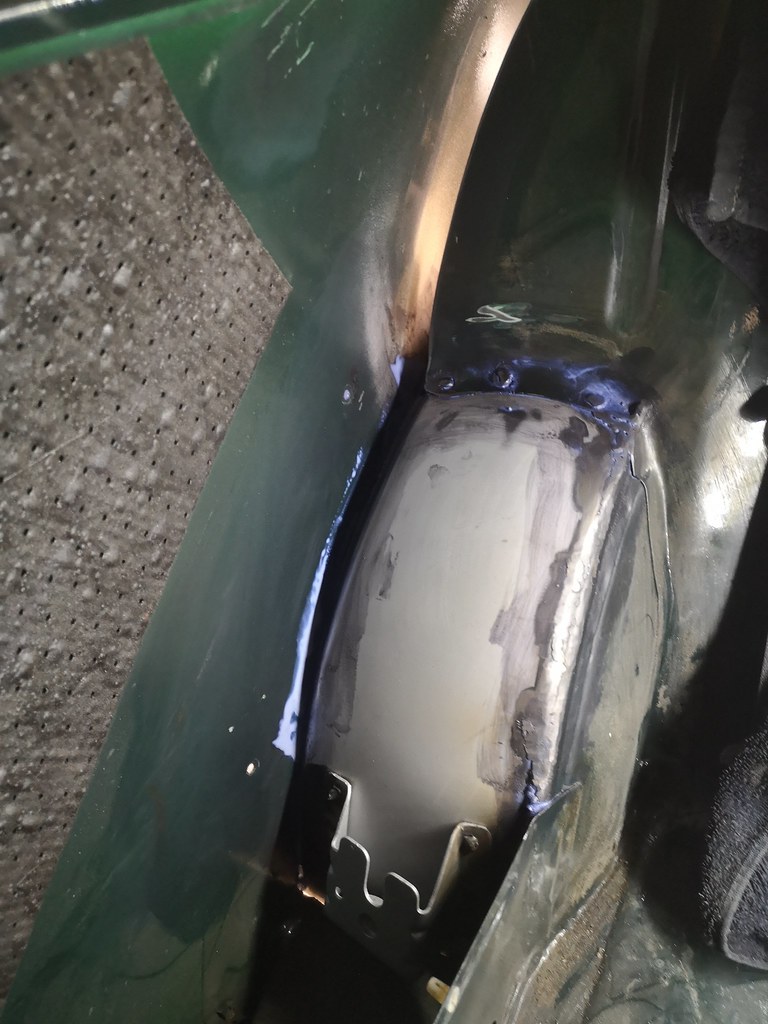
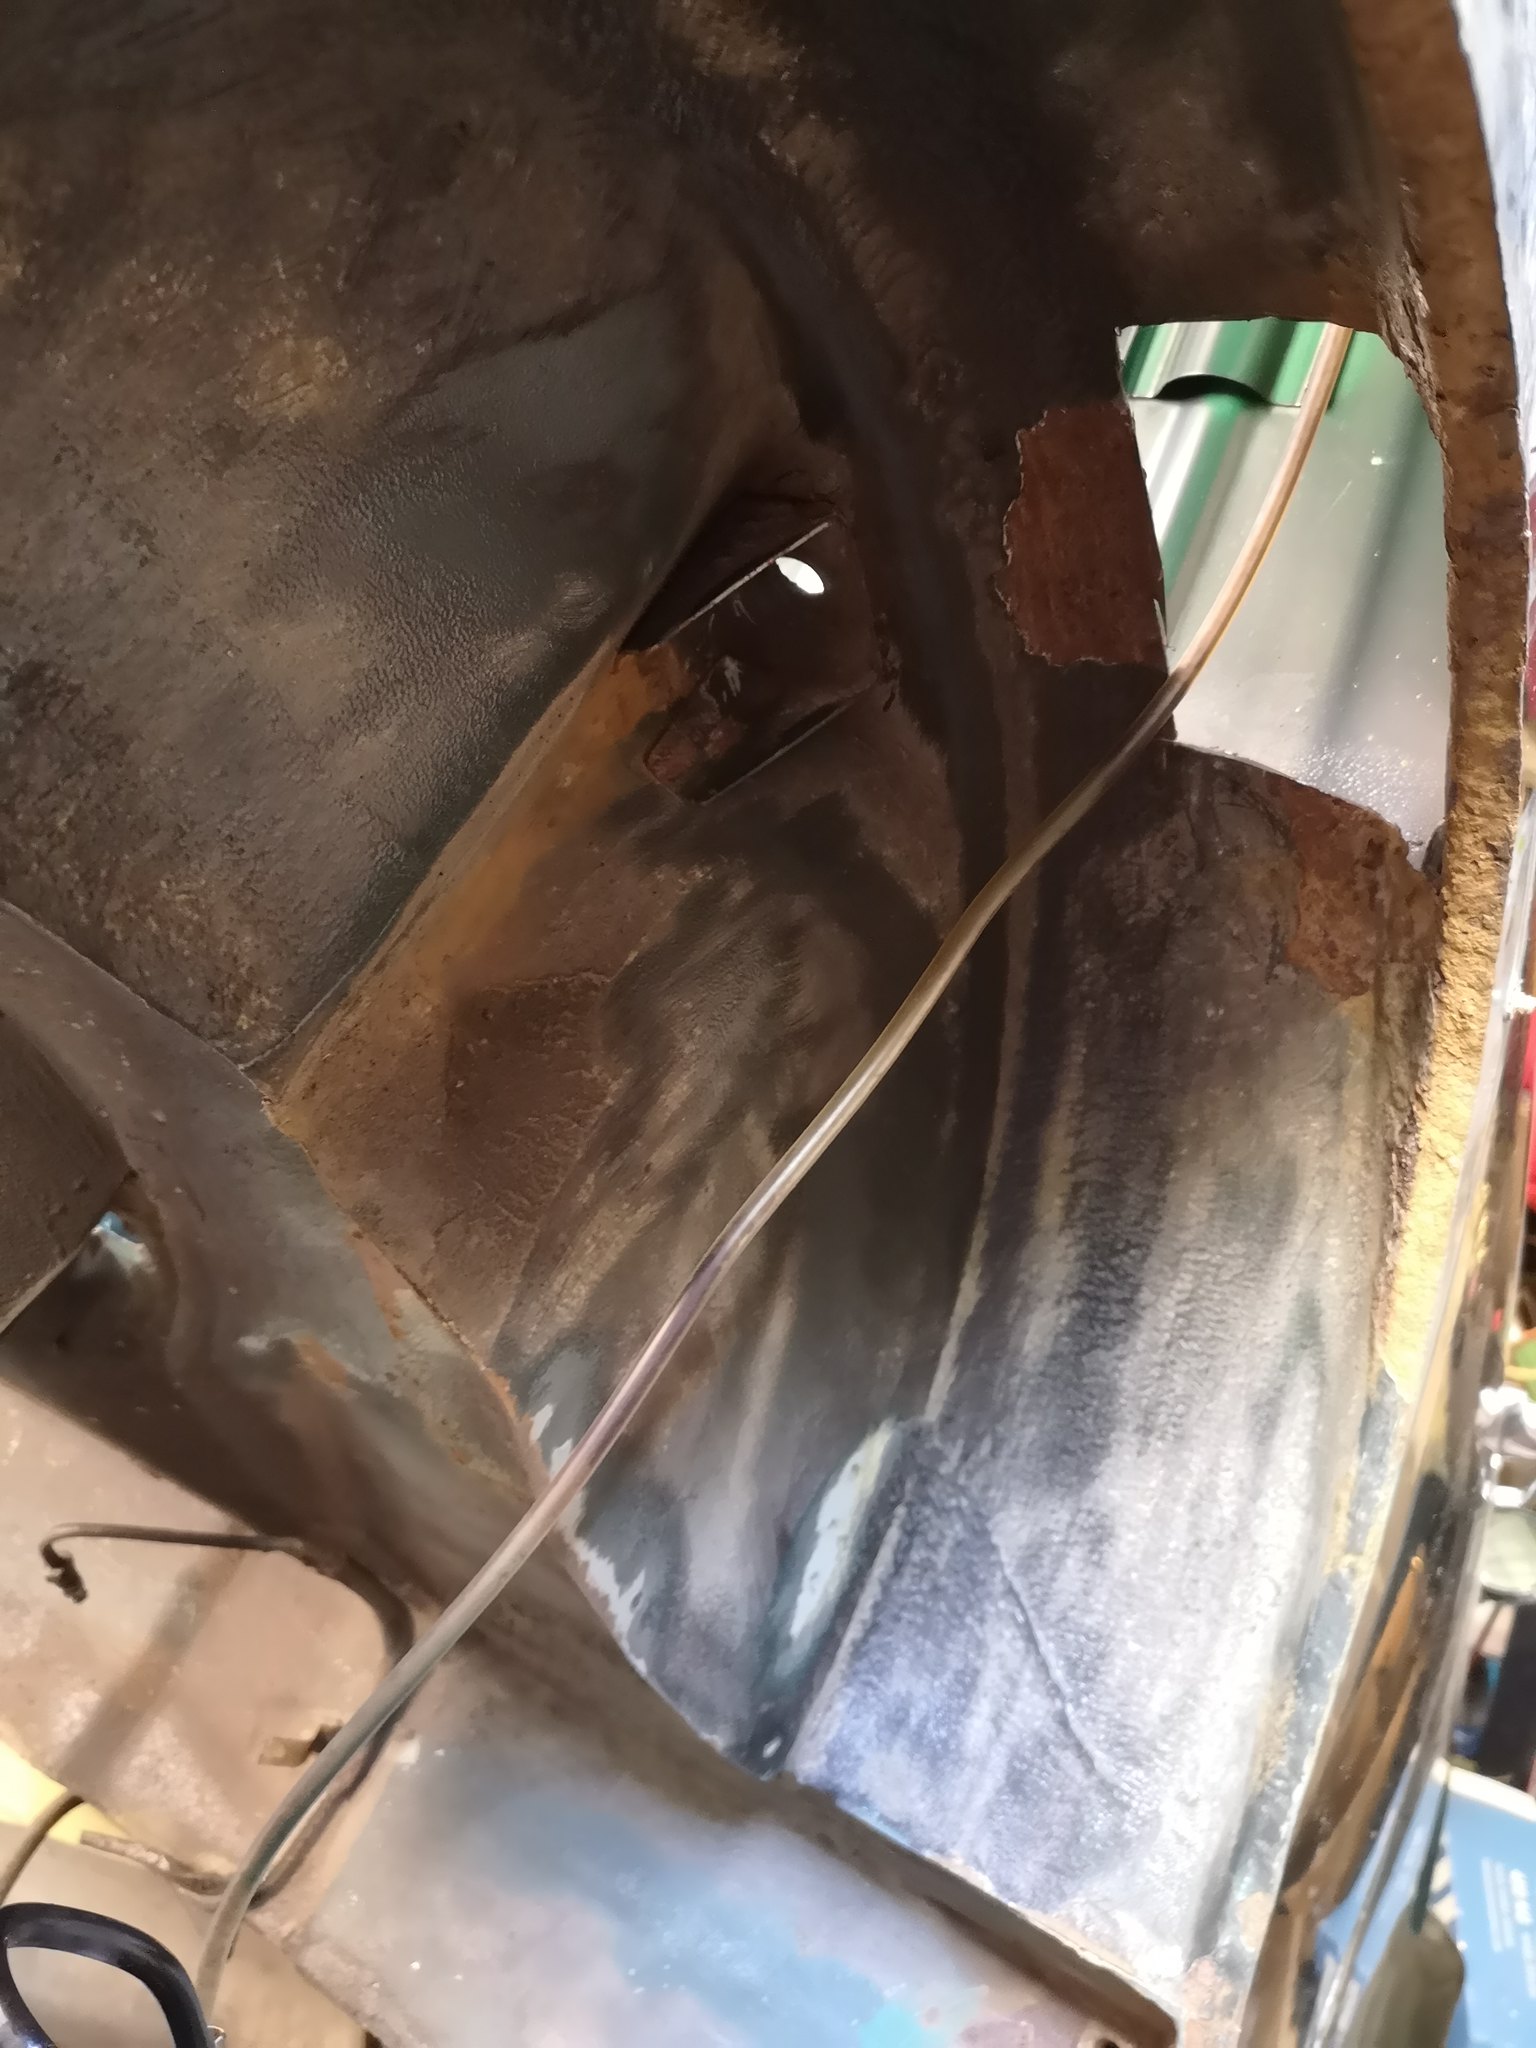
Just started on a rear arch, which I wanted to do with the inner and quarter in place as they have no rust. 

49860715871_9dee9396e7_k.jpgIMG_20200505_171535 by Sken21, on Flickr


This had made it slightly trickier as I have the old lip in the boot. 

49861026722_3e376175b9_k.jpgIMG_20200505_171549 by Sken21, on Flickr


Currently planning to cut the new lip off the heritage panel, then ill seam weld to the old lip from within the arch. Not sure if anyone has any better suggestions? trying to do it as well as possible! 

Thanks for reading! :) 


#2 Homersimpson

Homersimpson

    One Carb Or Two?

  • Members
  • PipPipPipPipPipPipPip
  • 802 posts
  • Location: Redditch

Posted 08 May 2020 - 04:59 PM

Can you not remove the old lip from the inner part of the rear arch? I can see its roller welded but it must be possible, even if you remove the inner arch from the car to do it and then weld it back on.


#3 ski

ski

    Passed Test

  • Just Joined
  • PipPip
  • 31 posts
  • Location: honiton

Posted 13 May 2020 - 10:27 PM


Can you not remove the old lip from the inner part of the rear arch? I can see its roller welded but it must be possible, even if you remove the inner arch from the car to do it and then weld it back on.

I probably could if I remove the inner, but ive decided to trim the lip on the repair panel a bit, then ill seam weld it from within the arch. 


Tidying up the rear subrame, interesting how many times you could drill the rear hanger mounts and still get it wonky!!


49892150522_fb35b928dd_k.jpgIMG_20200510_141235 by Sken21, on Flickr

49891836441_8c355cbdc0_k.jpgIMG_20200510_141402 by Sken21, on Flickr

49891322048_b3046079f6_k.jpgIMG_20200510_152843 by Sken21, on Flickr

49891836176_e973cee75d_k.jpgIMG_20200510_155132 by Sken21, on Flickr


Stripped the rest of the interior and removed the old matt, thinking to go with dynamat for the floor. 

49891880672_29a6fa258a_k.jpgIMG_20200513_093632 by Sken21, on Flickr

49891876247_f012570667_k.jpgIMG_20200512_115339 by Sken21, on Flickr


Rear floor looks good, some live added from the battery, its either for the radio or alarm, will probably remove it and route within the dash to a constant/ignition feed as required. 

49891566366_40d7a186a3_k.jpgIMG_20200513_093814 by Sken21, on Flickr

I can see daylight through this grommet, might weld it up. 

49891565781_f952712274_k.jpgIMG_20200513_093819 by Sken21, on Flickr


There is some rust behind the drivers side, im guessing from the inner sill-

49891051348_477b82b969_k.jpgIMG_20200513_093703 by Sken21, on Flickr


Drivers footwell is probably the worst ive seen on the car, bar the doorsteps!

49891880232_9bfbe65e18_k.jpgIMG_20200513_093655 by Sken21, on Flickr


Companion bins-

49891049823_e19c6da583_k.jpgIMG_20200513_094028 by Sken21, on Flickr

Not sure how to access this side yet, maybe from the sill and underneath then patch it. 

49891563401_427eecb337_k.jpgIMG_20200513_094123 by Sken21, on Flickr


looking more like a complete rear panel, found more filler near the rear lights, and some welding splatter by the rear window, not sure how bodyshops get away with such poor work. 

49891566061_3c554de0ae_k.jpgIMG_20200513_094837 by Sken21, on Flickr

49891877552_f1a1fa6012_k.jpgIMG_20200513_094828 by Sken21, on Flickr


Arch nearly in place, need to trim the lip off. 

49891567231_283bf7f4ee_k.jpgIMG_20200513_094726 by Sken21, on Flickr


Going to pin the closing panel and rear valance in to check dimensions before welding. 

49891568301_4eb00afaaf_k.jpgIMG_20200513_154953 by Sken21, on Flickr


If the rear panel wasn't fillered along the edge the boot floor would have been fine, but unfortunately its rusted so much the boot lip needs to be removed as well.

49891567541_1fdac5fafd_k.jpgIMG_20200513_155015 by Sken21, on Flickr


#4 rich_959

rich_959

    Super Mini Mad

  • Just Joined
  • PipPipPipPipPipPip
  • 568 posts
  • Location: East Yorks

Posted 14 May 2020 - 10:34 AM

I love these cars. Had a brand new one back in 98, but was lured away by bigger faster cars - how I wish I had kept it. Good luck with the rebuild! Great work so far. 


#5 ski

ski

    Passed Test

  • Just Joined
  • PipPip
  • 31 posts
  • Location: honiton

Posted 15 May 2020 - 11:16 AM


I love these cars. Had a brand new one back in 98, but was lured away by bigger faster cars - how I wish I had kept it. Good luck with the rebuild! Great work so far. 


I didnt know they existed till spotting it for sale, but I guess there are a lot of mini specials! bet it was very nice having a brand new one! Cheers :) 


Wondering what people would do with the heelboard and sills? 


2 options go all out, heritage complete panel then just cut the ends I need and weld in. Heritage inner sills and outer sills, door steps. 


Other option, make up the bits I need for the heelboard, maybe some pattern inner sills and just patch the rusty areas. Then heritage outer sills and door steps. 

The outer sills are also not bad but they are crusty near the lip to the doorstep. 


This is the side where the stiffener is quite rusty inside-

49897227186_88cf0c57a1_k.jpgIMG_20200515_105056 by Sken21, on Flickr


49896710043_8ef78aba9f_k.jpgIMG_20200515_105110 by Sken21, on Flickr


This is the other side where there is little rust in the bin, but the inner sill has holed at the end, I also managed to make a hole with a screwdriver in this side-

49897537877_7e7830f89c_k.jpgIMG_20200515_105135 by Sken21, on Flickr


I have some repair sections for the quarter-

49897226056_aa54629822_k.jpgIMG_20200515_105145 by Sken21, on Flickr


This is the other sill

49897537097_7663ef393a_k.jpgIMG_20200515_105150 by Sken21, on Flickr


This is the other arch, undecided whether I do a section or the whole arch yet. 

49896709903_fac130022d_k.jpgIMG_20200515_105129 by Sken21, on Flickr


#6 ski

ski

    Passed Test

  • Just Joined
  • PipPip
  • 31 posts
  • Location: honiton

Posted 19 October 2020 - 03:48 PM

Been a bit lazy I also started doing work on the daily and before I knew it I was welding the alloy subframe and fitting an LSD then raptor coating the underside O_O . 


Seems to be the small things that take ages, prepping panels well and drilling spots on brackets you need to transfer over. 


The other arch sliced out-

50505428098_14001f4d1c_b.jpgIMG_20200806_153635 by Sken21, on Flickr


The washer bottle bracket, main problem I realize now with mini's is they rust in the seams!

50506140311_e269d5035e_b.jpgIMG_20200807_103015 by Sken21, on Flickr


Other arch going in-

50505427403_cb5eca027c_b.jpgIMG_20200817_162629 by Sken21, on Flickr

50506139606_36eb936c29_b.jpgIMG_20200817_162624 by Sken21, on Flickr


50506139376_f7c5e0c97d_b.jpgIMG_20200909_165257 by Sken21, on Flickr


New bracket and subframe bolted up-

50505426638_9eda20b795_b.jpgIMG_20200924_170654 by Sken21, on Flickr


50506301057_4b85bf308d_b.jpgIMG_20200915_171819 by Sken21, on Flickr


Rear panel now almost ready, closing panels are spot welded in. 

50506300842_6259f94824_b.jpgIMG_20201001_114636 by Sken21, on Flickr


50506300312_1e38fda616_b.jpgIMG_20201006_174349_1 by Sken21, on Flickr

50506300662_5bf9885aa1_b.jpgIMG_20201013_162401 by Sken21, on Flickr

50505426168_644b1b558d_b.jpgIMG_20201001_163718 by Sken21, on Flickr


Has anyone rebuilt rear radius arms and rehoned the bushes at home? worth the bother or not? Its just ive rebuilt one hub totally on an arm and would rather do it in place now. 


#7 exuptoy

exuptoy

    Super Mini Mad

  • TMF+ Member
  • PipPipPipPipPipPip
  • 674 posts

Posted 25 October 2020 - 01:31 PM

I cut out the corner of the heel board after snapping the subframe bolts and cut a M-Machine one to suit. Easier with the subframe still attached so I could use the subframe as witness holes for mounting.

Attached File  DF3B5553-CC16-41A7-8CAF-F228CAAC2C39.jpeg   54.61K   3 downloads

Attached File  F29E1D06-C034-4EC9-AE97-B4B211DE8A87.jpeg   38.7K   0 downloads

#8 bpirie1000

bpirie1000

    Up Into Fourth

  • TMF+ Member
  • PipPipPipPipPipPipPipPipPip
  • 2,118 posts
  • Location: Aberdeenshire
  • Local Club: Amoc

Posted 25 October 2020 - 05:21 PM

Great work.. a credit to the motivation your providing... well done..


Rust in the veins...


0 user(s) are reading this topic

0 members, 0 guests, 0 anonymous users