Jump to content


Photo
- - - - -

Project : Undecided. The Mighty Mini Resto (96 Mpi)


  • Please log in to reply
16 replies to this topic

#1 Thelowrider

Thelowrider

    Stage One Kit Fitted

  • Just Joined
  • PipPipPip
  • 90 posts
  • Location: Nottingham

Posted 15 May 2020 - 06:47 PM

Right I've been off the forum for a while what with us moving house last year and various other things going on, story goes the other shell i just was not happy under taking the vast amount of work it required so i set about searching for another shell that's in 'better' condition to restore ( I put better like that as turns out it needs roughly the same but not as bad if that's even a thing :lol:)


Same as the last one this is for my partner as shes always wanted one, I'm sort of thinking that i will be hanging on to the other shell and the confidence I get with this one will spur me on to do that one for myself. May or may not happen but a nice idea never the less.


The topic title is pretty apt at the moment as shes not 100% sure how she wants it things like removable front end, interior, what engine will it have etc. So as it says project is undecided  :highfive:


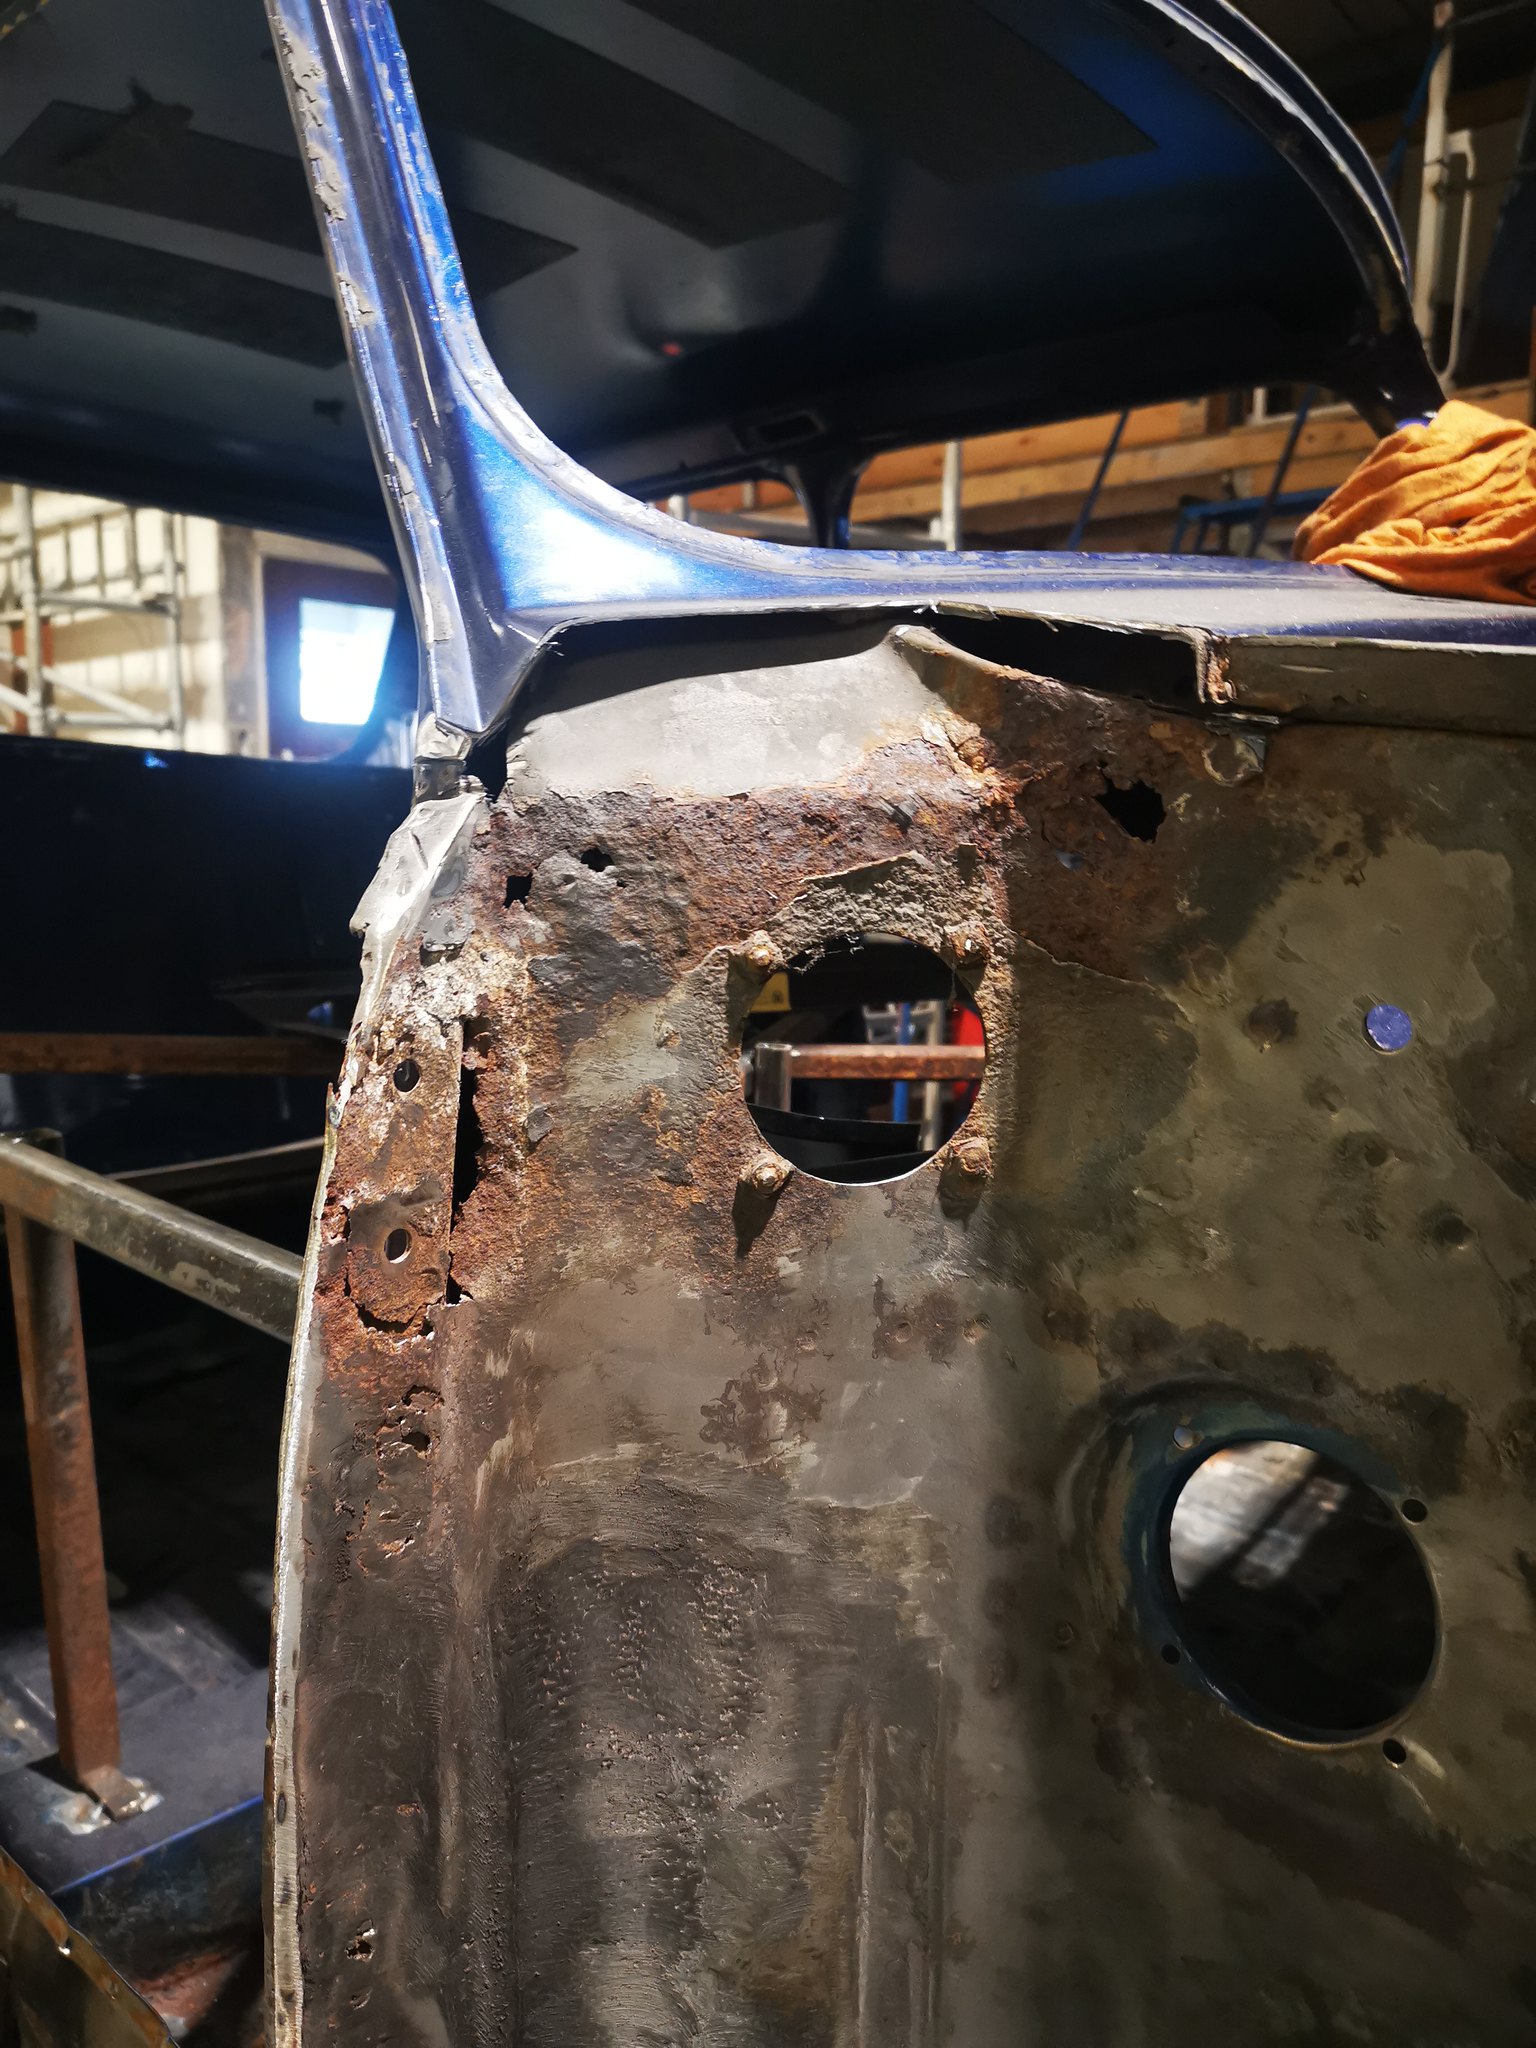
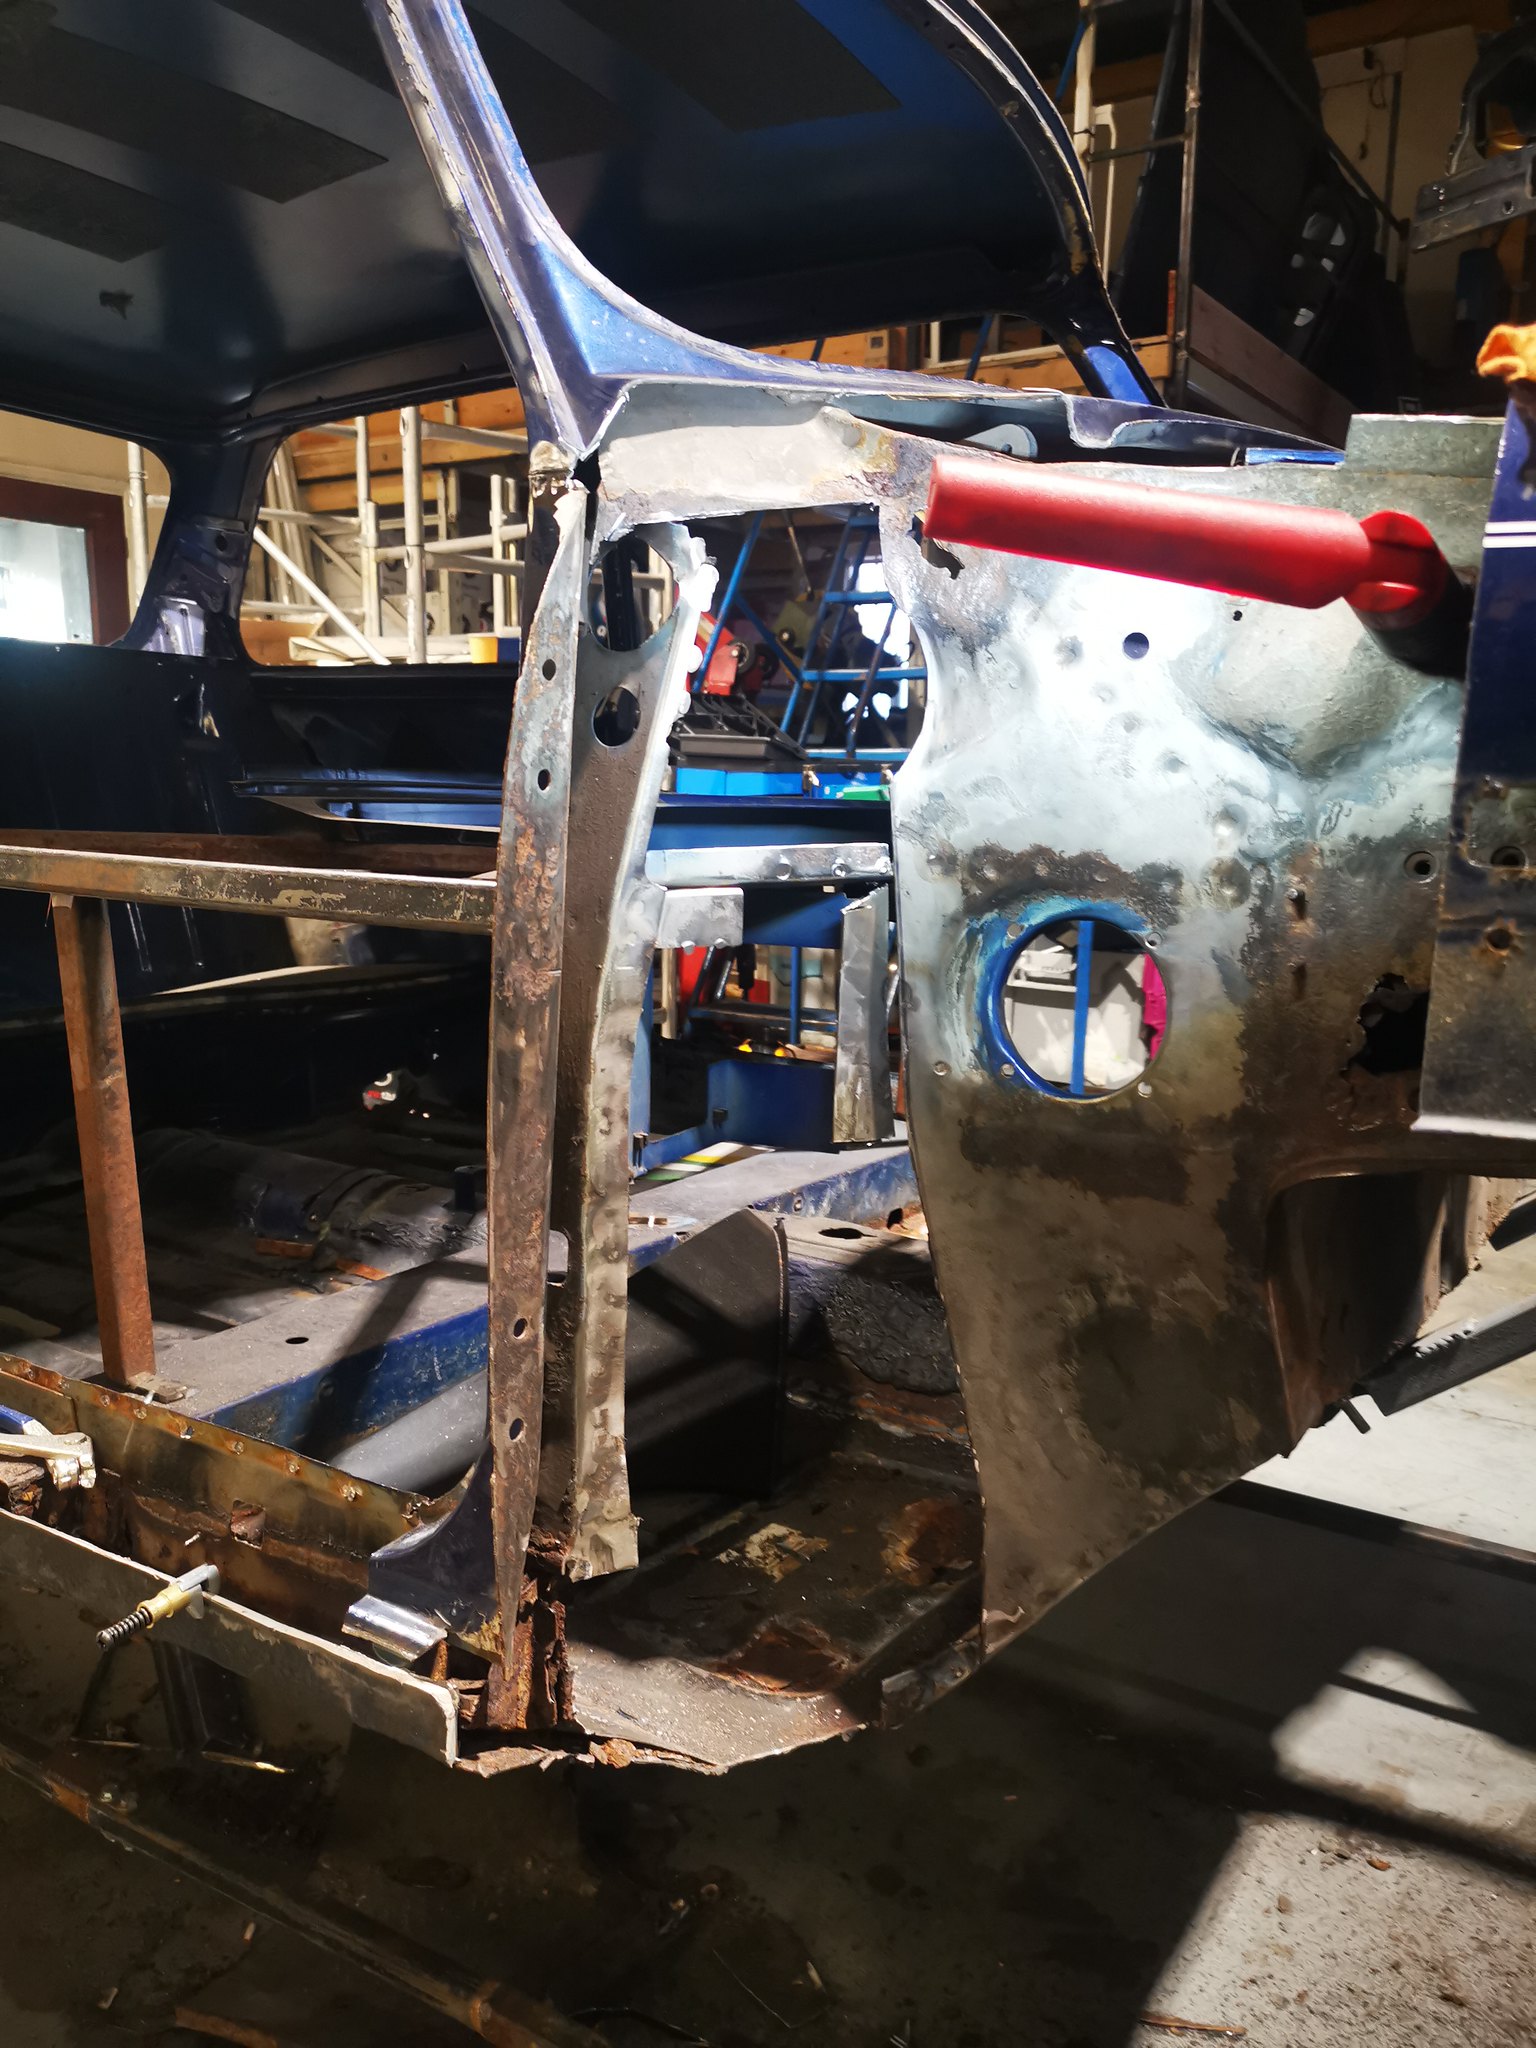
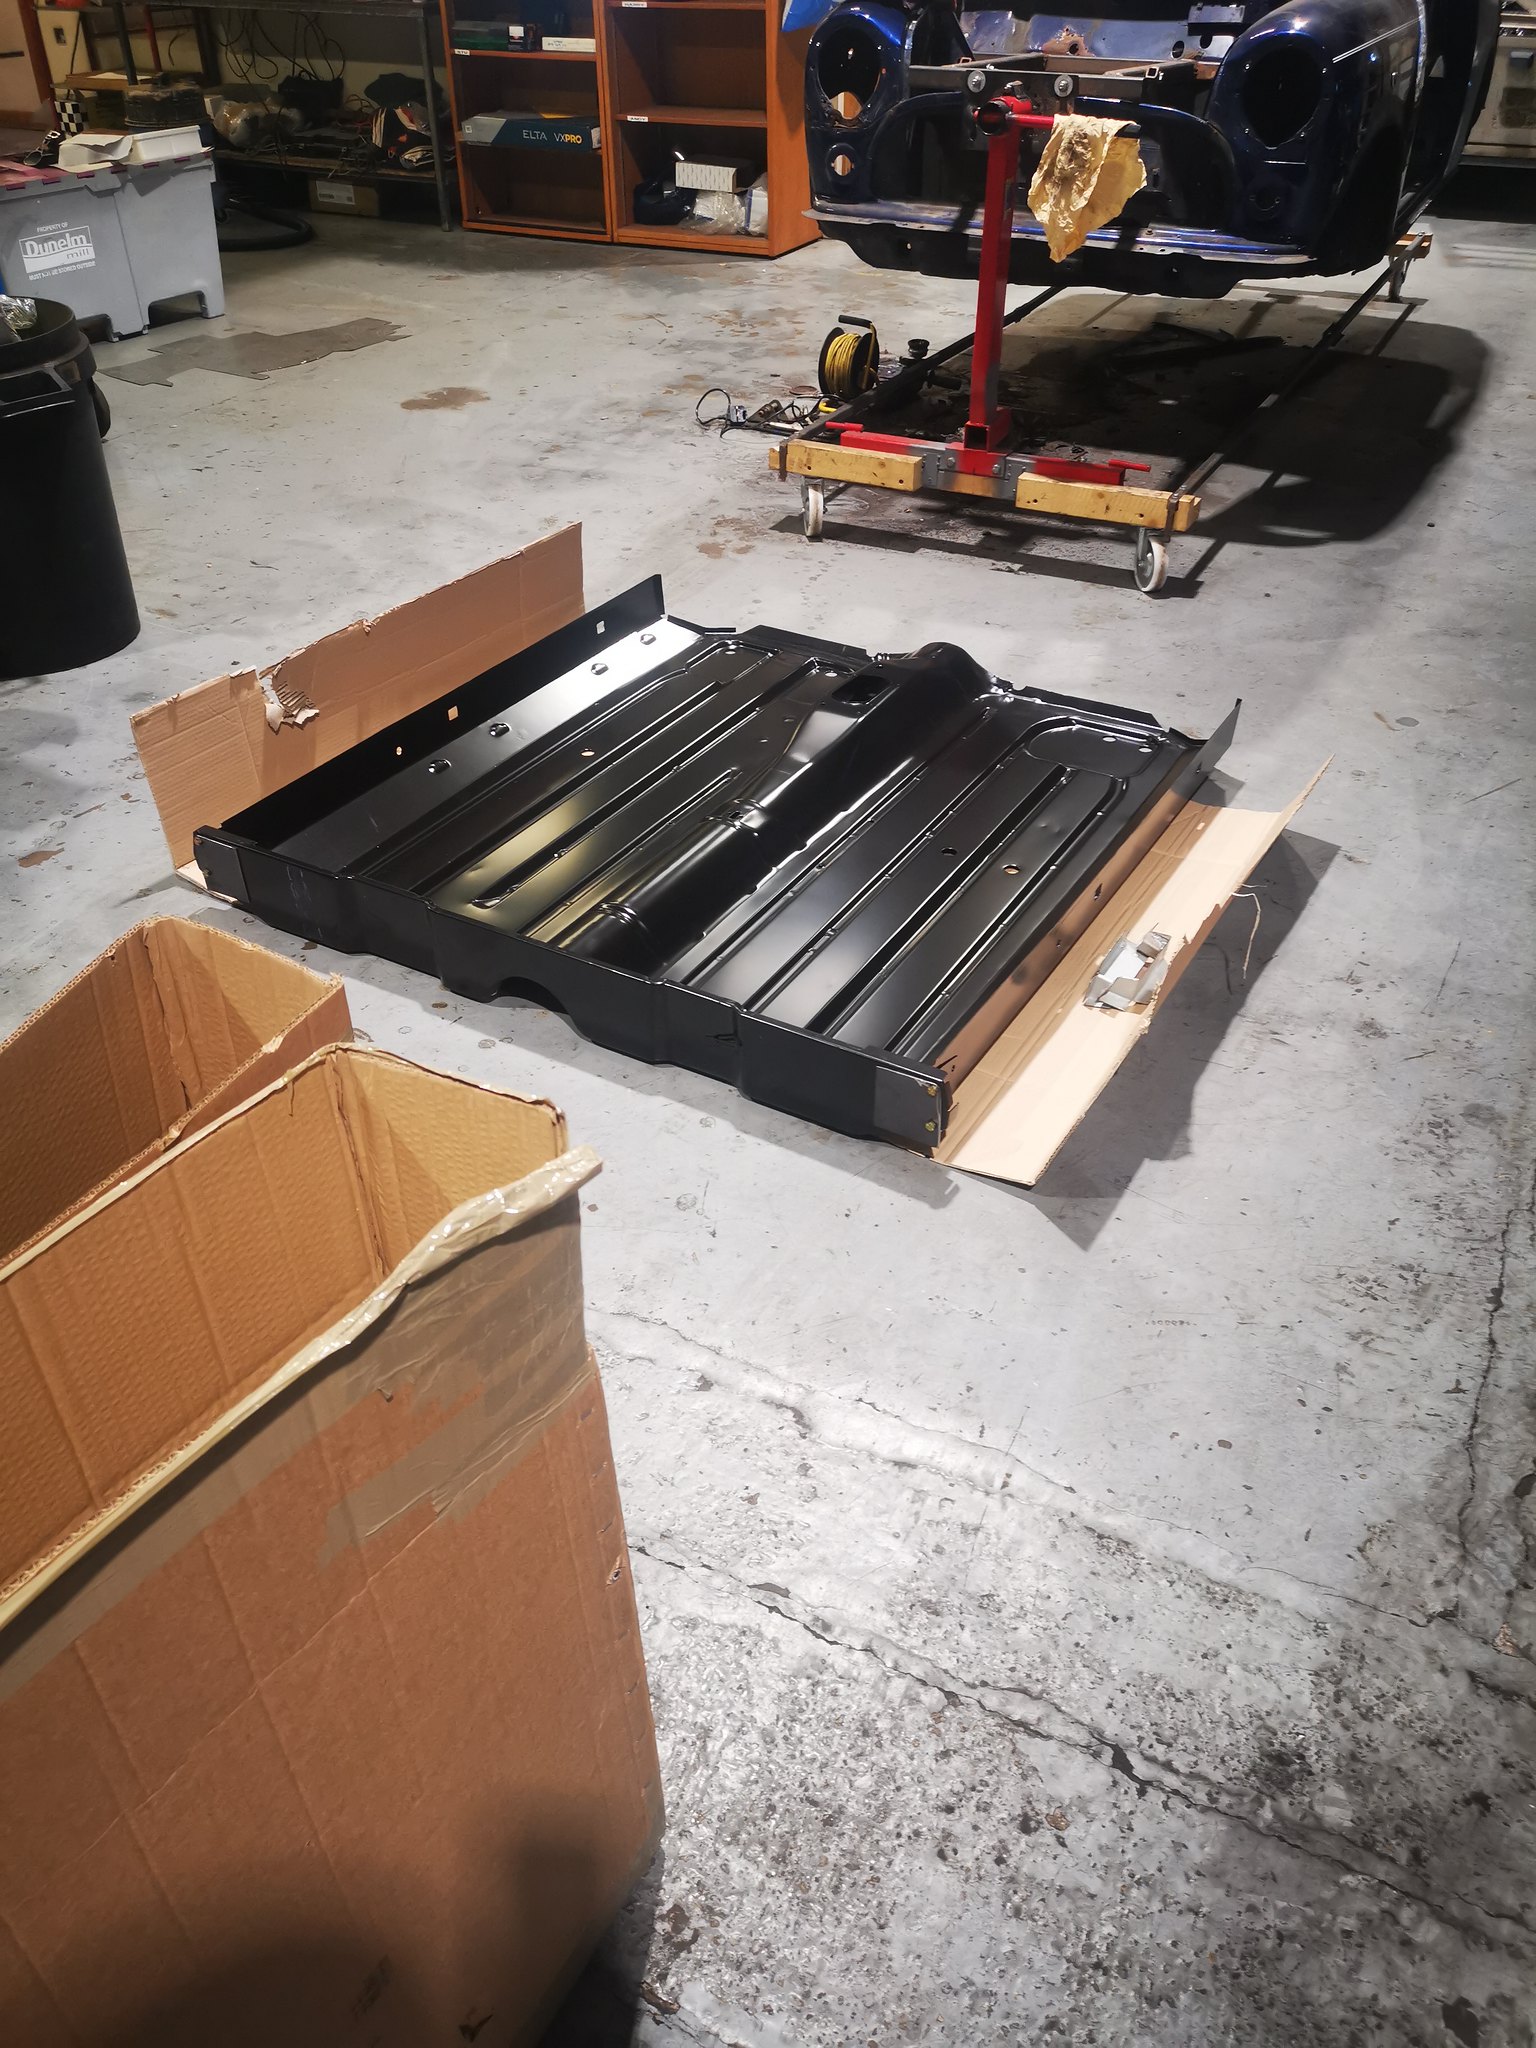
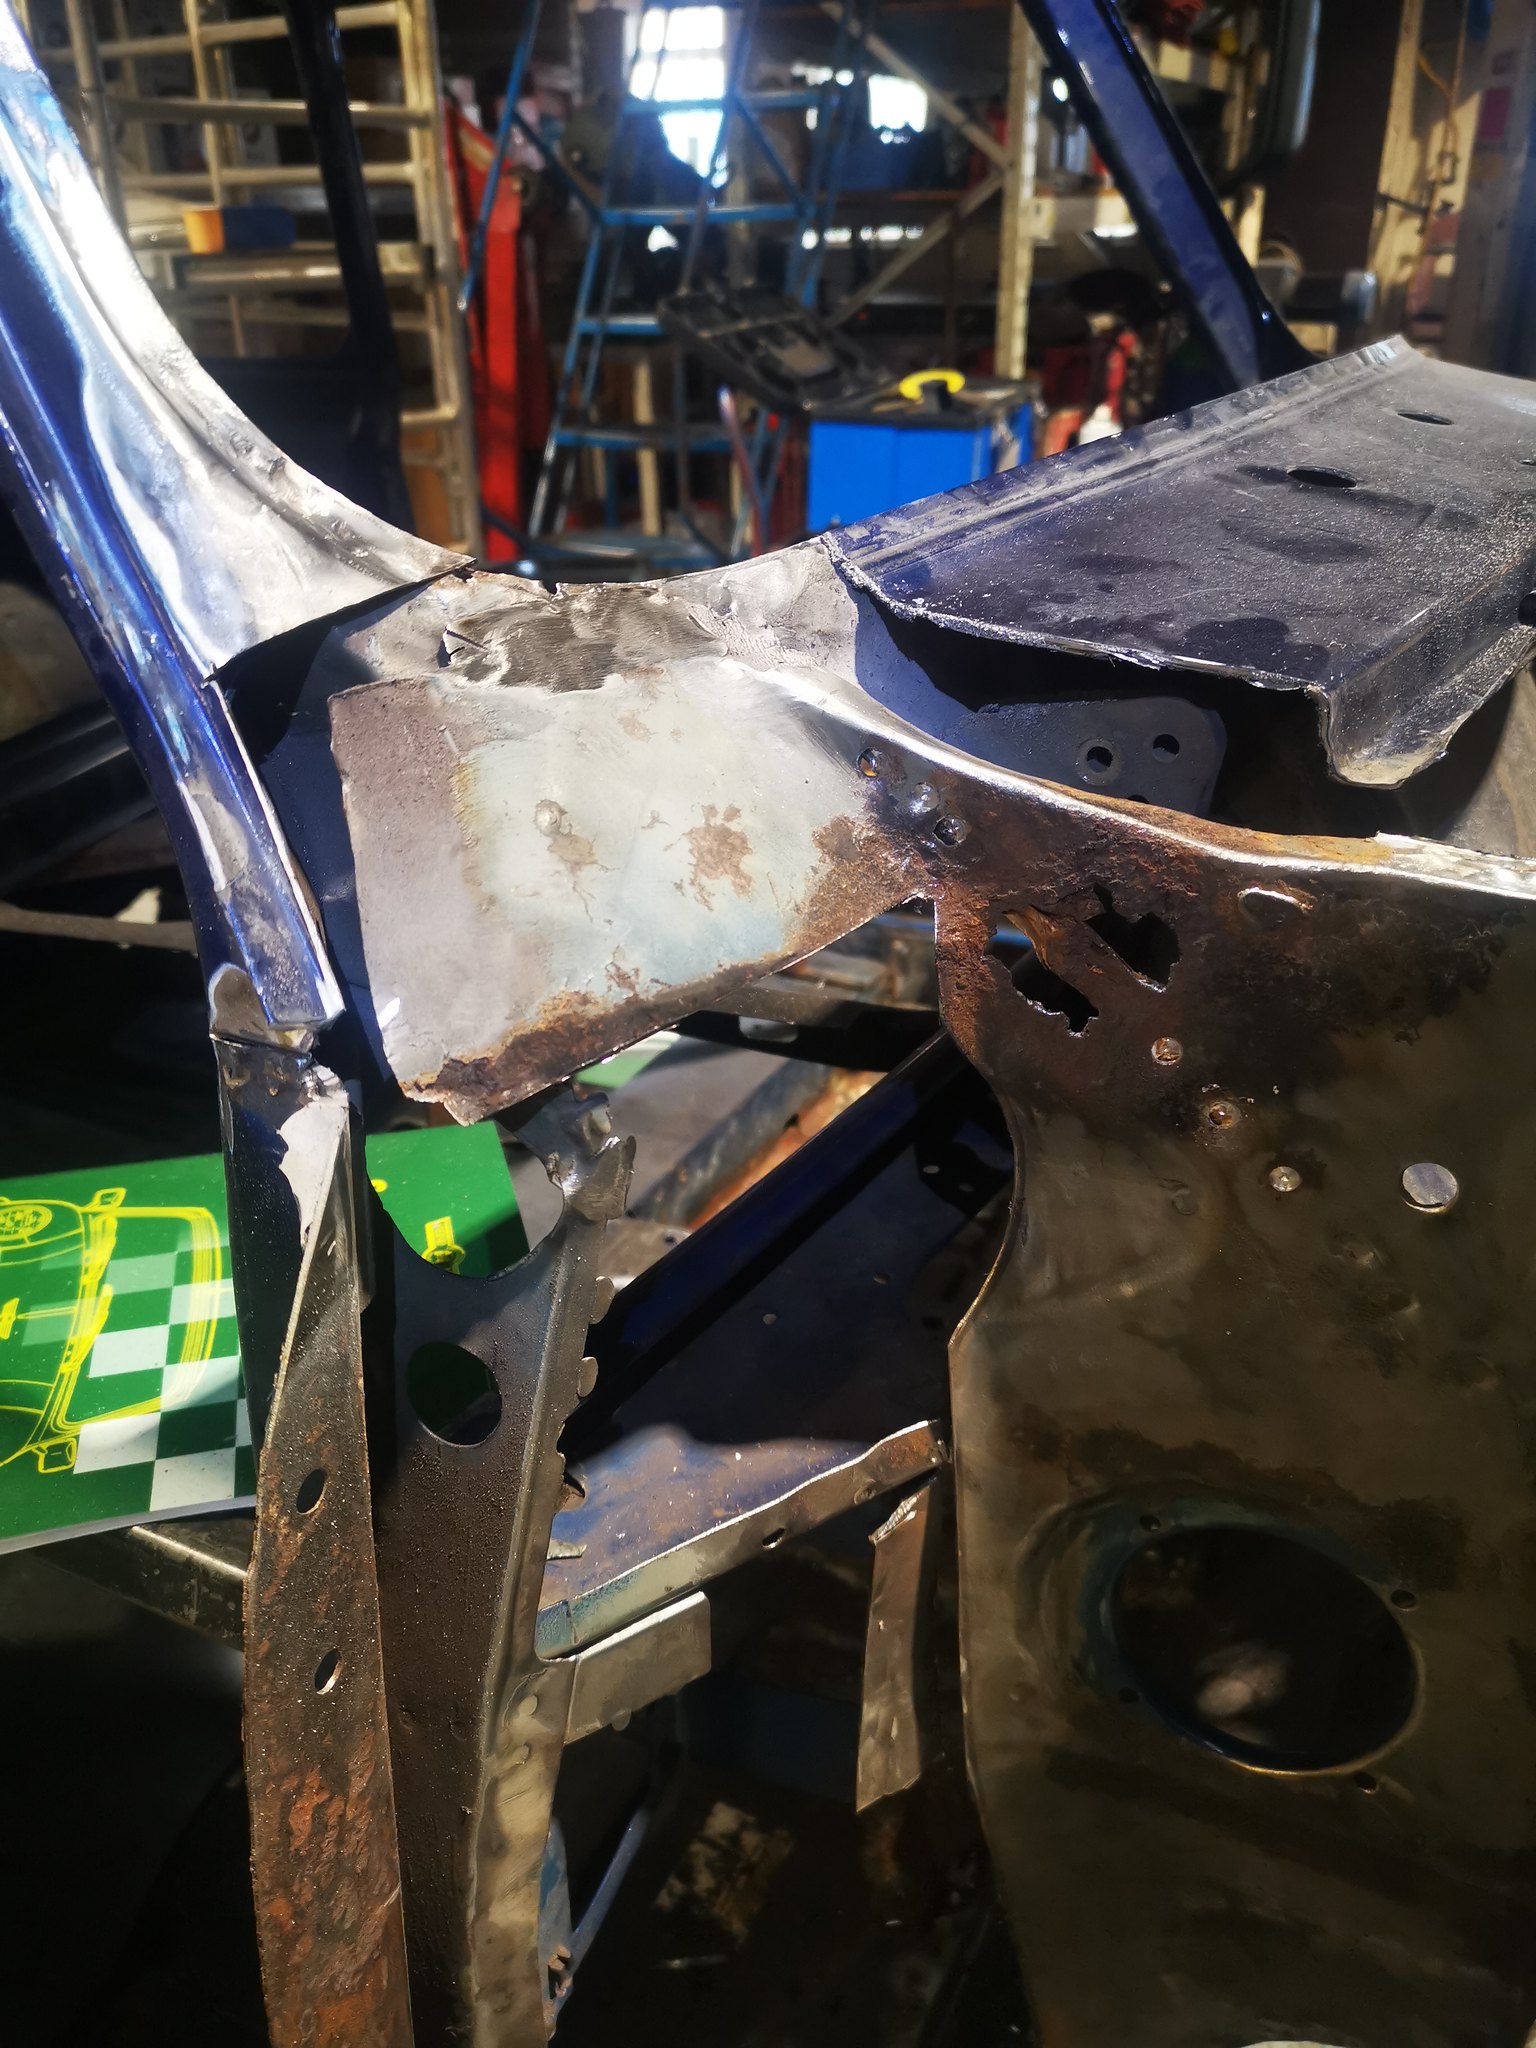
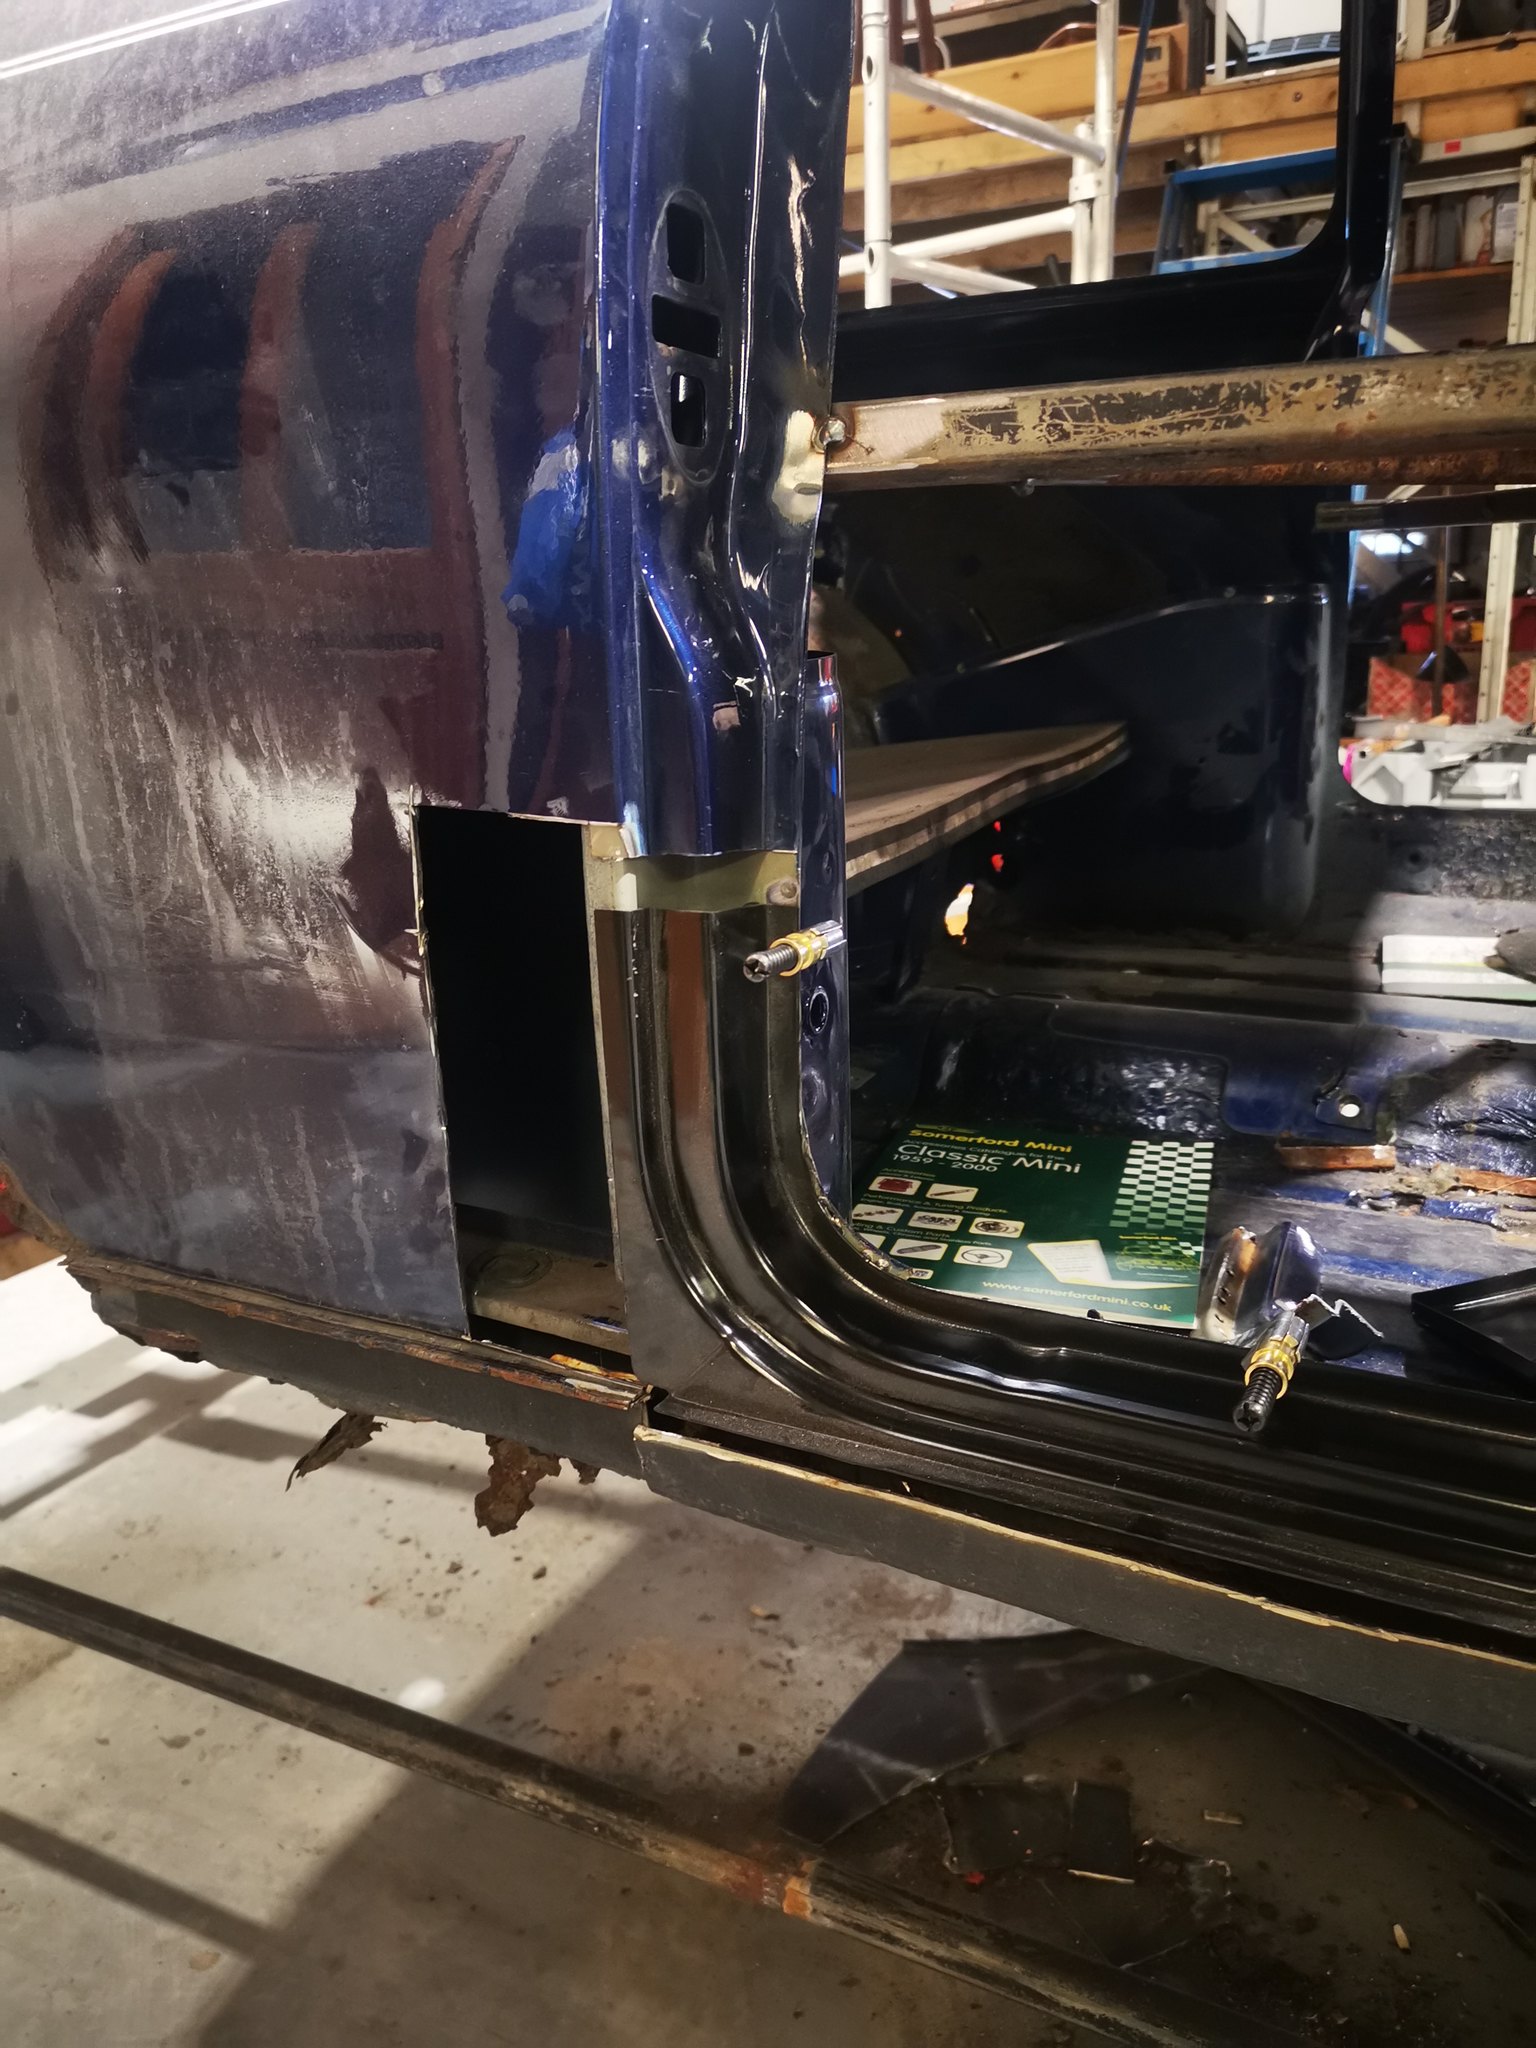
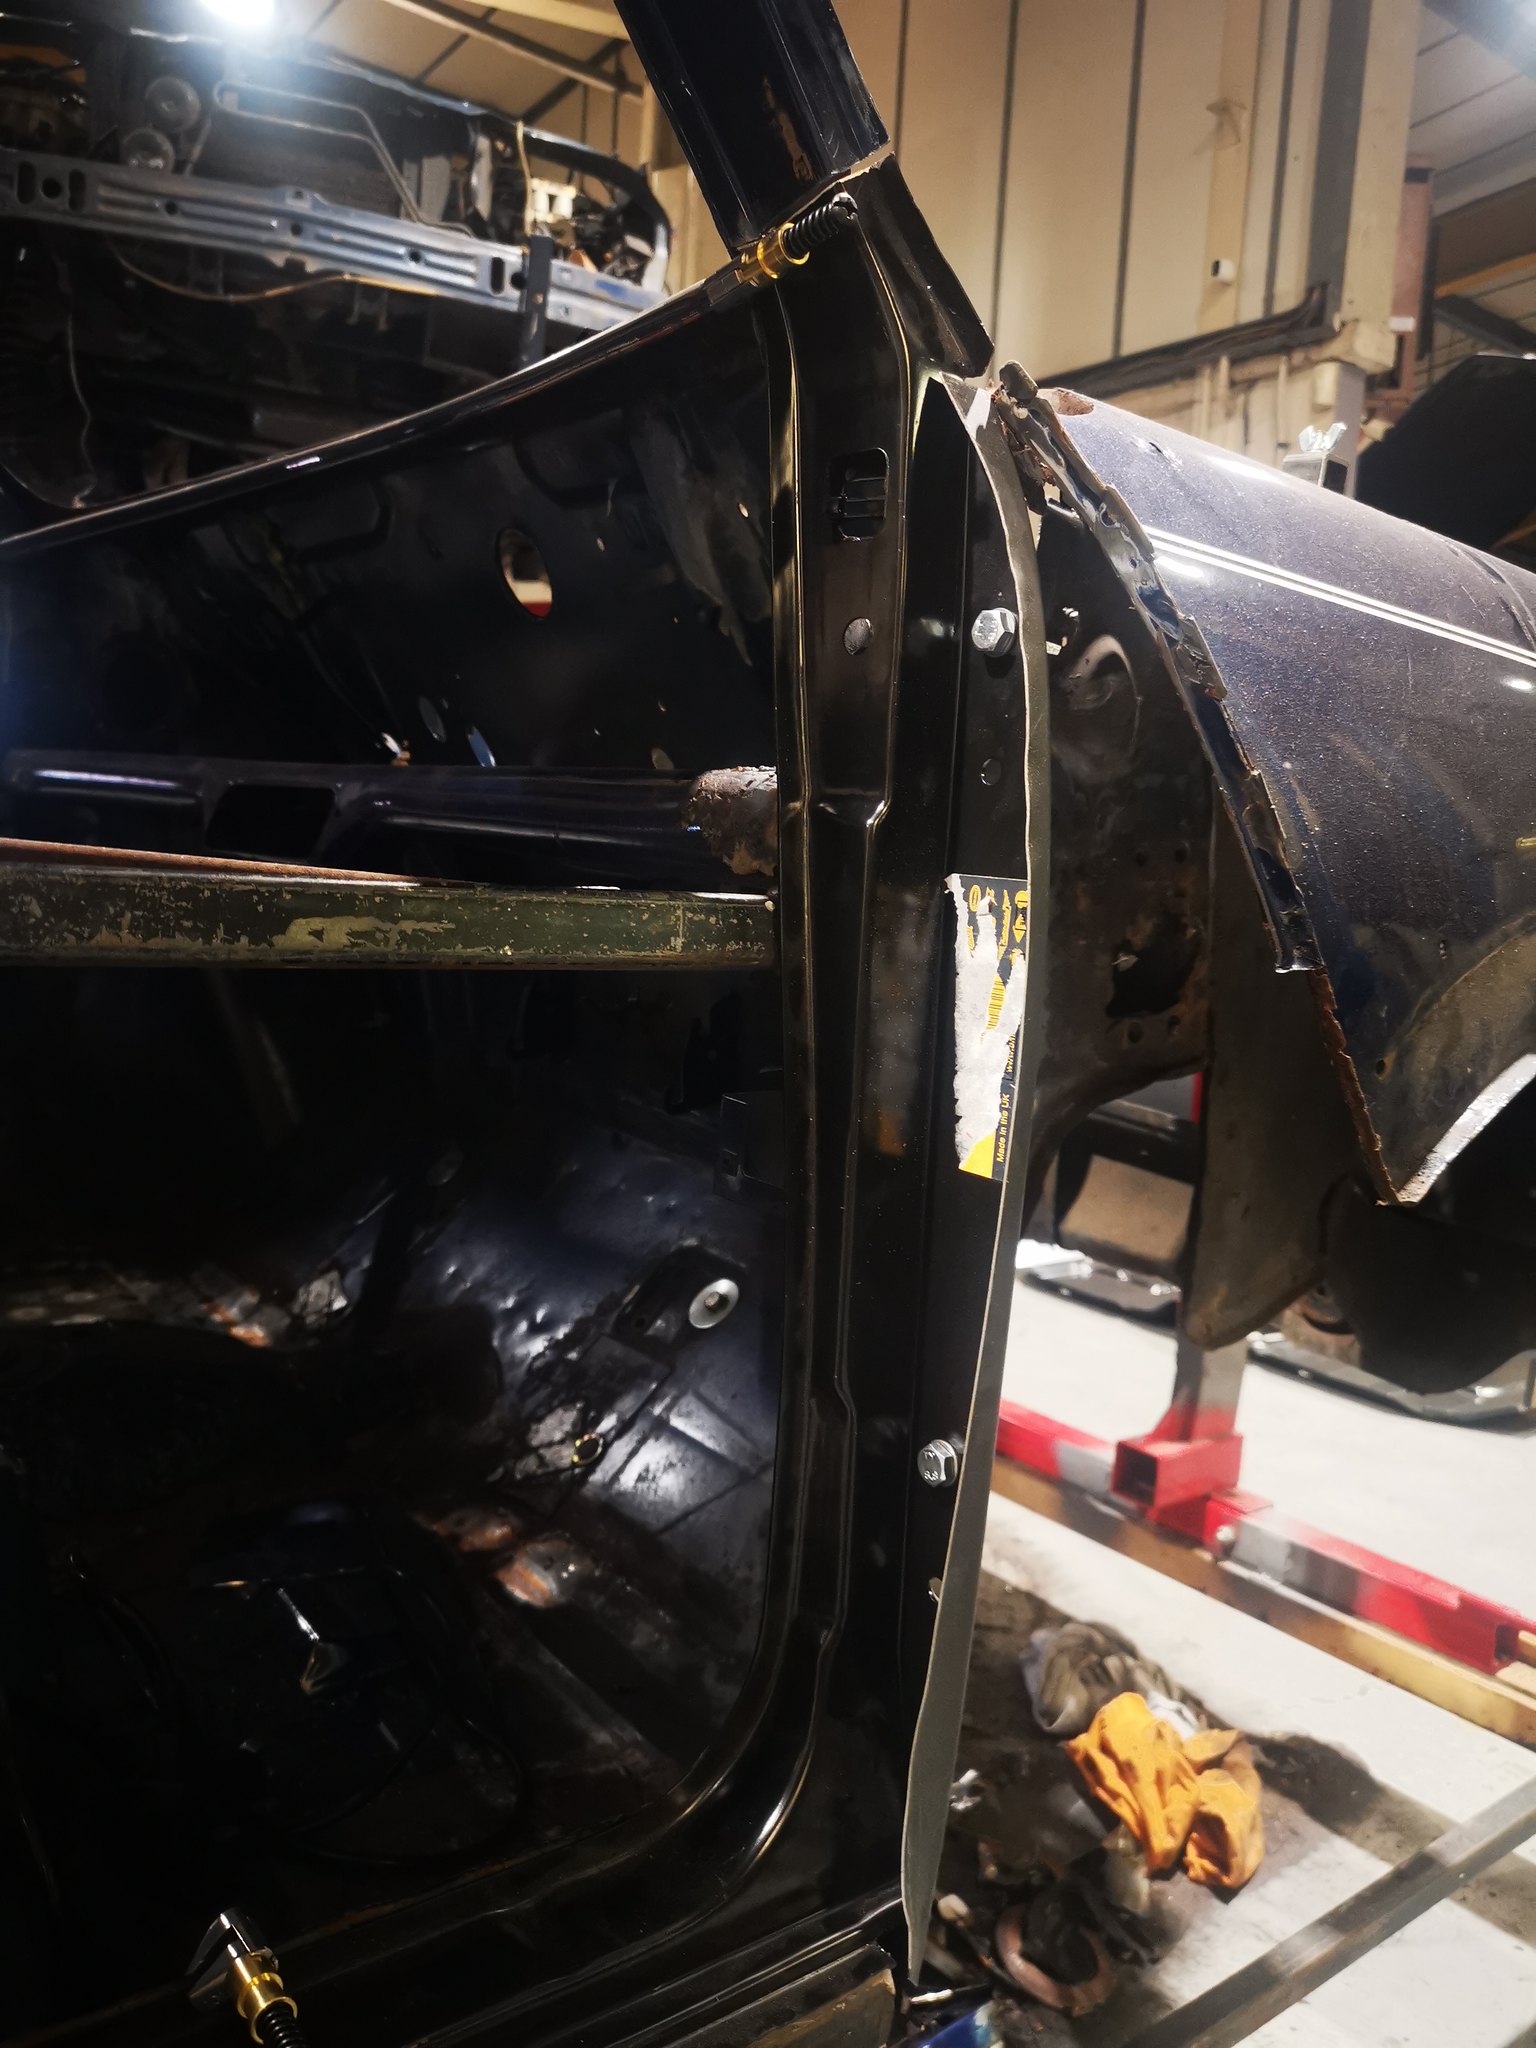
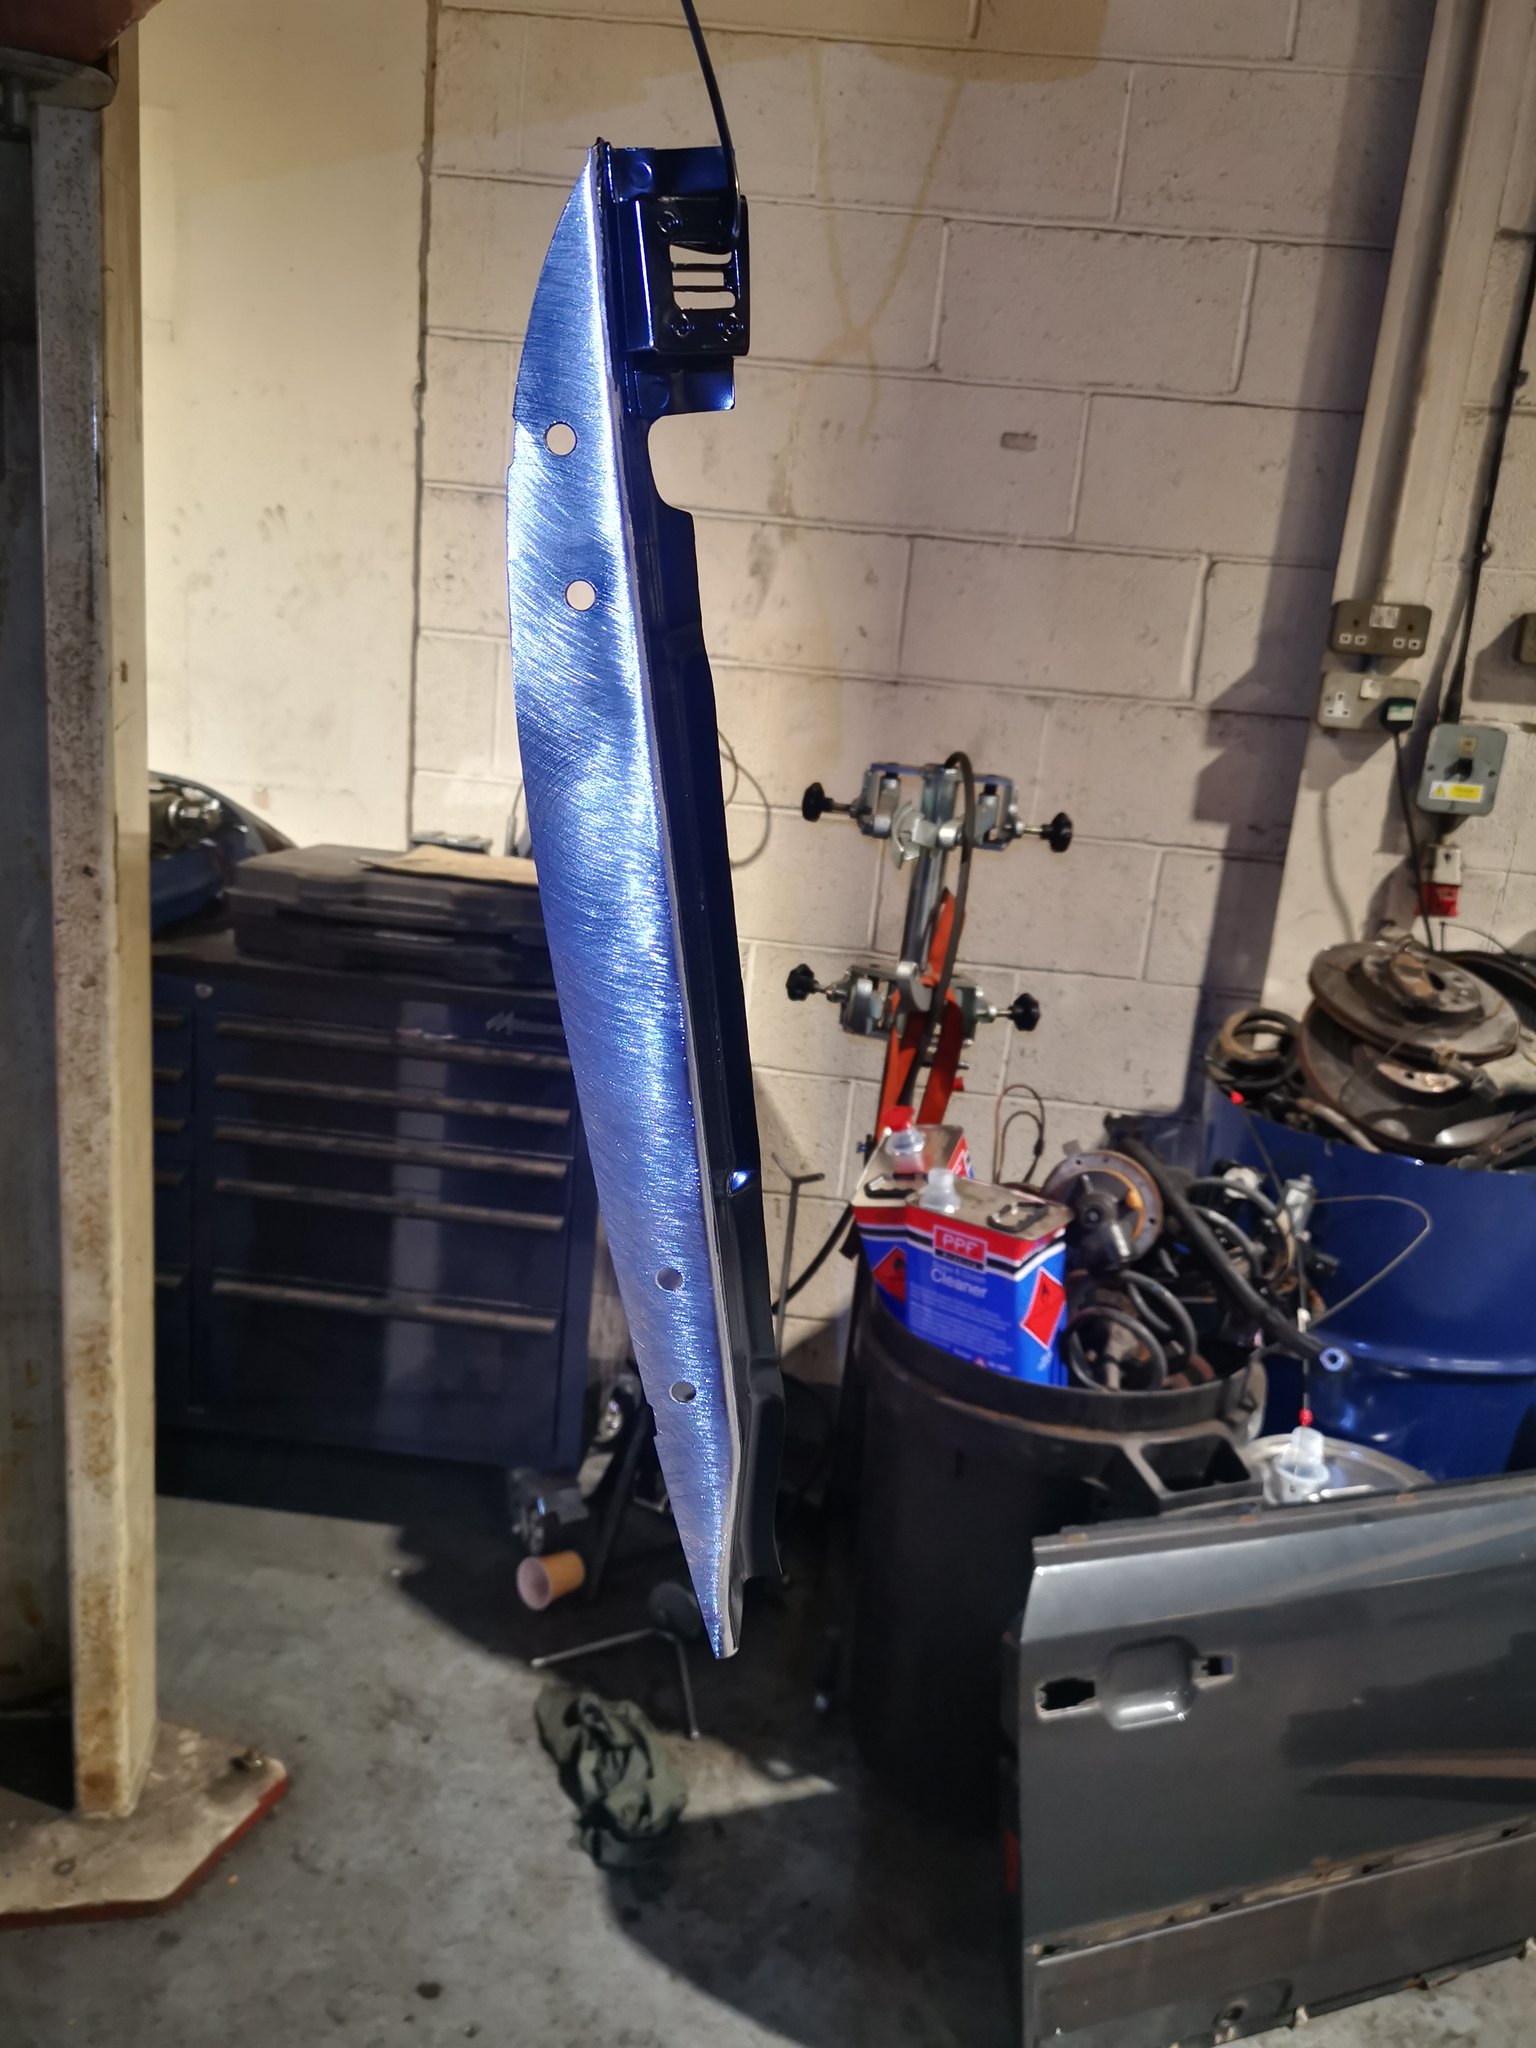
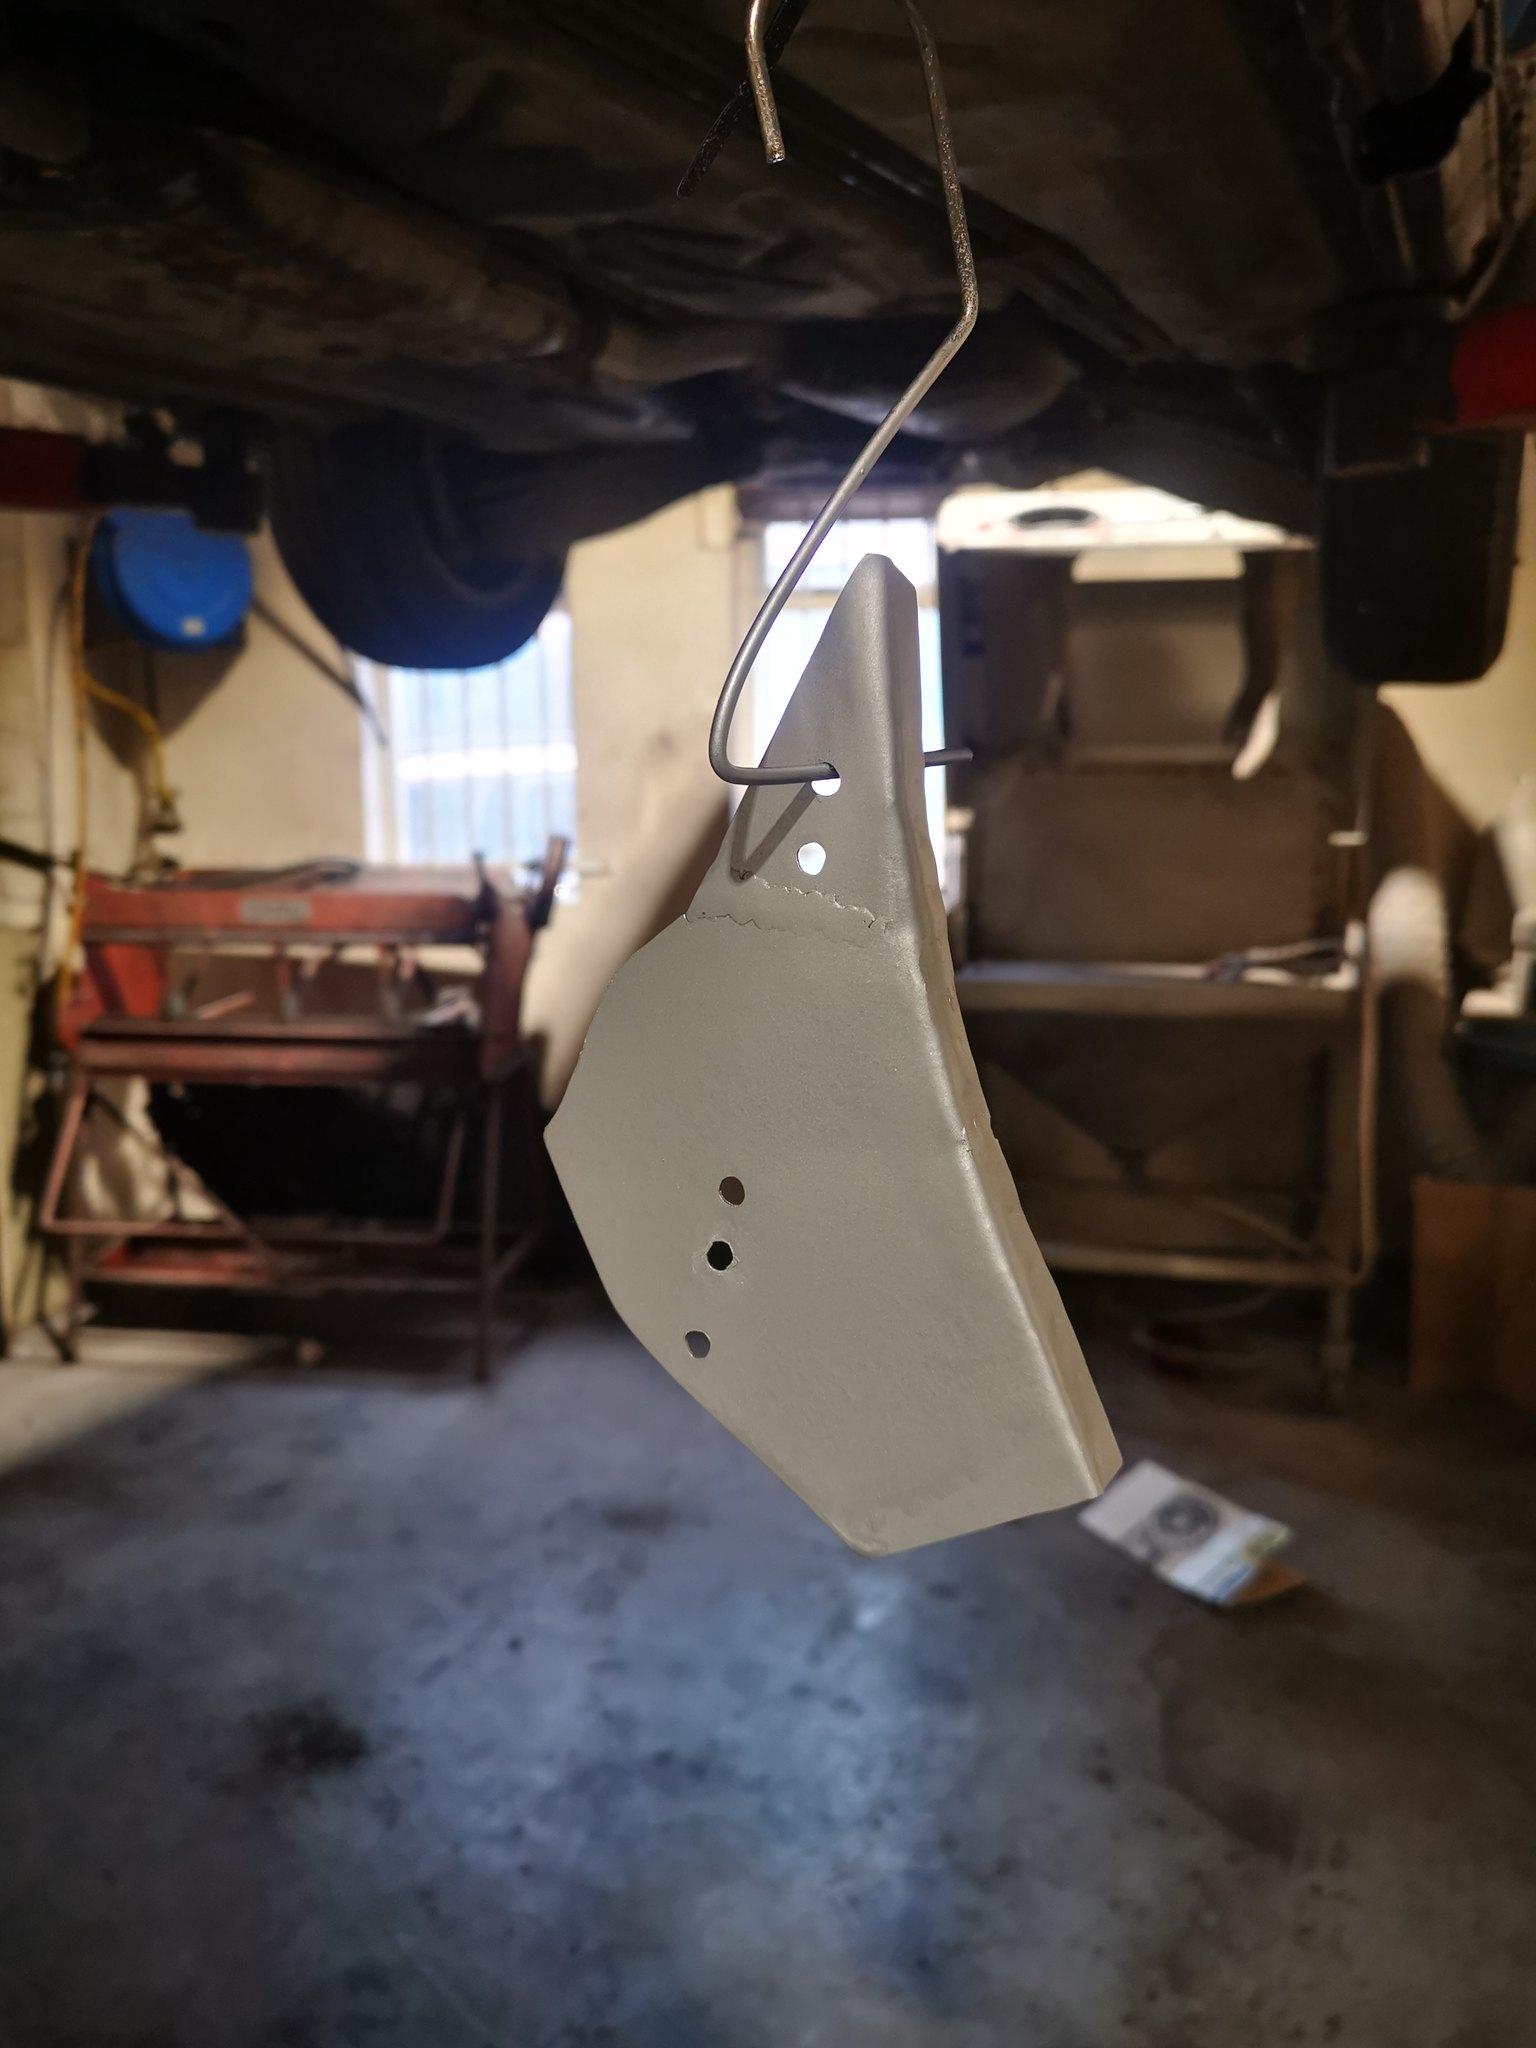
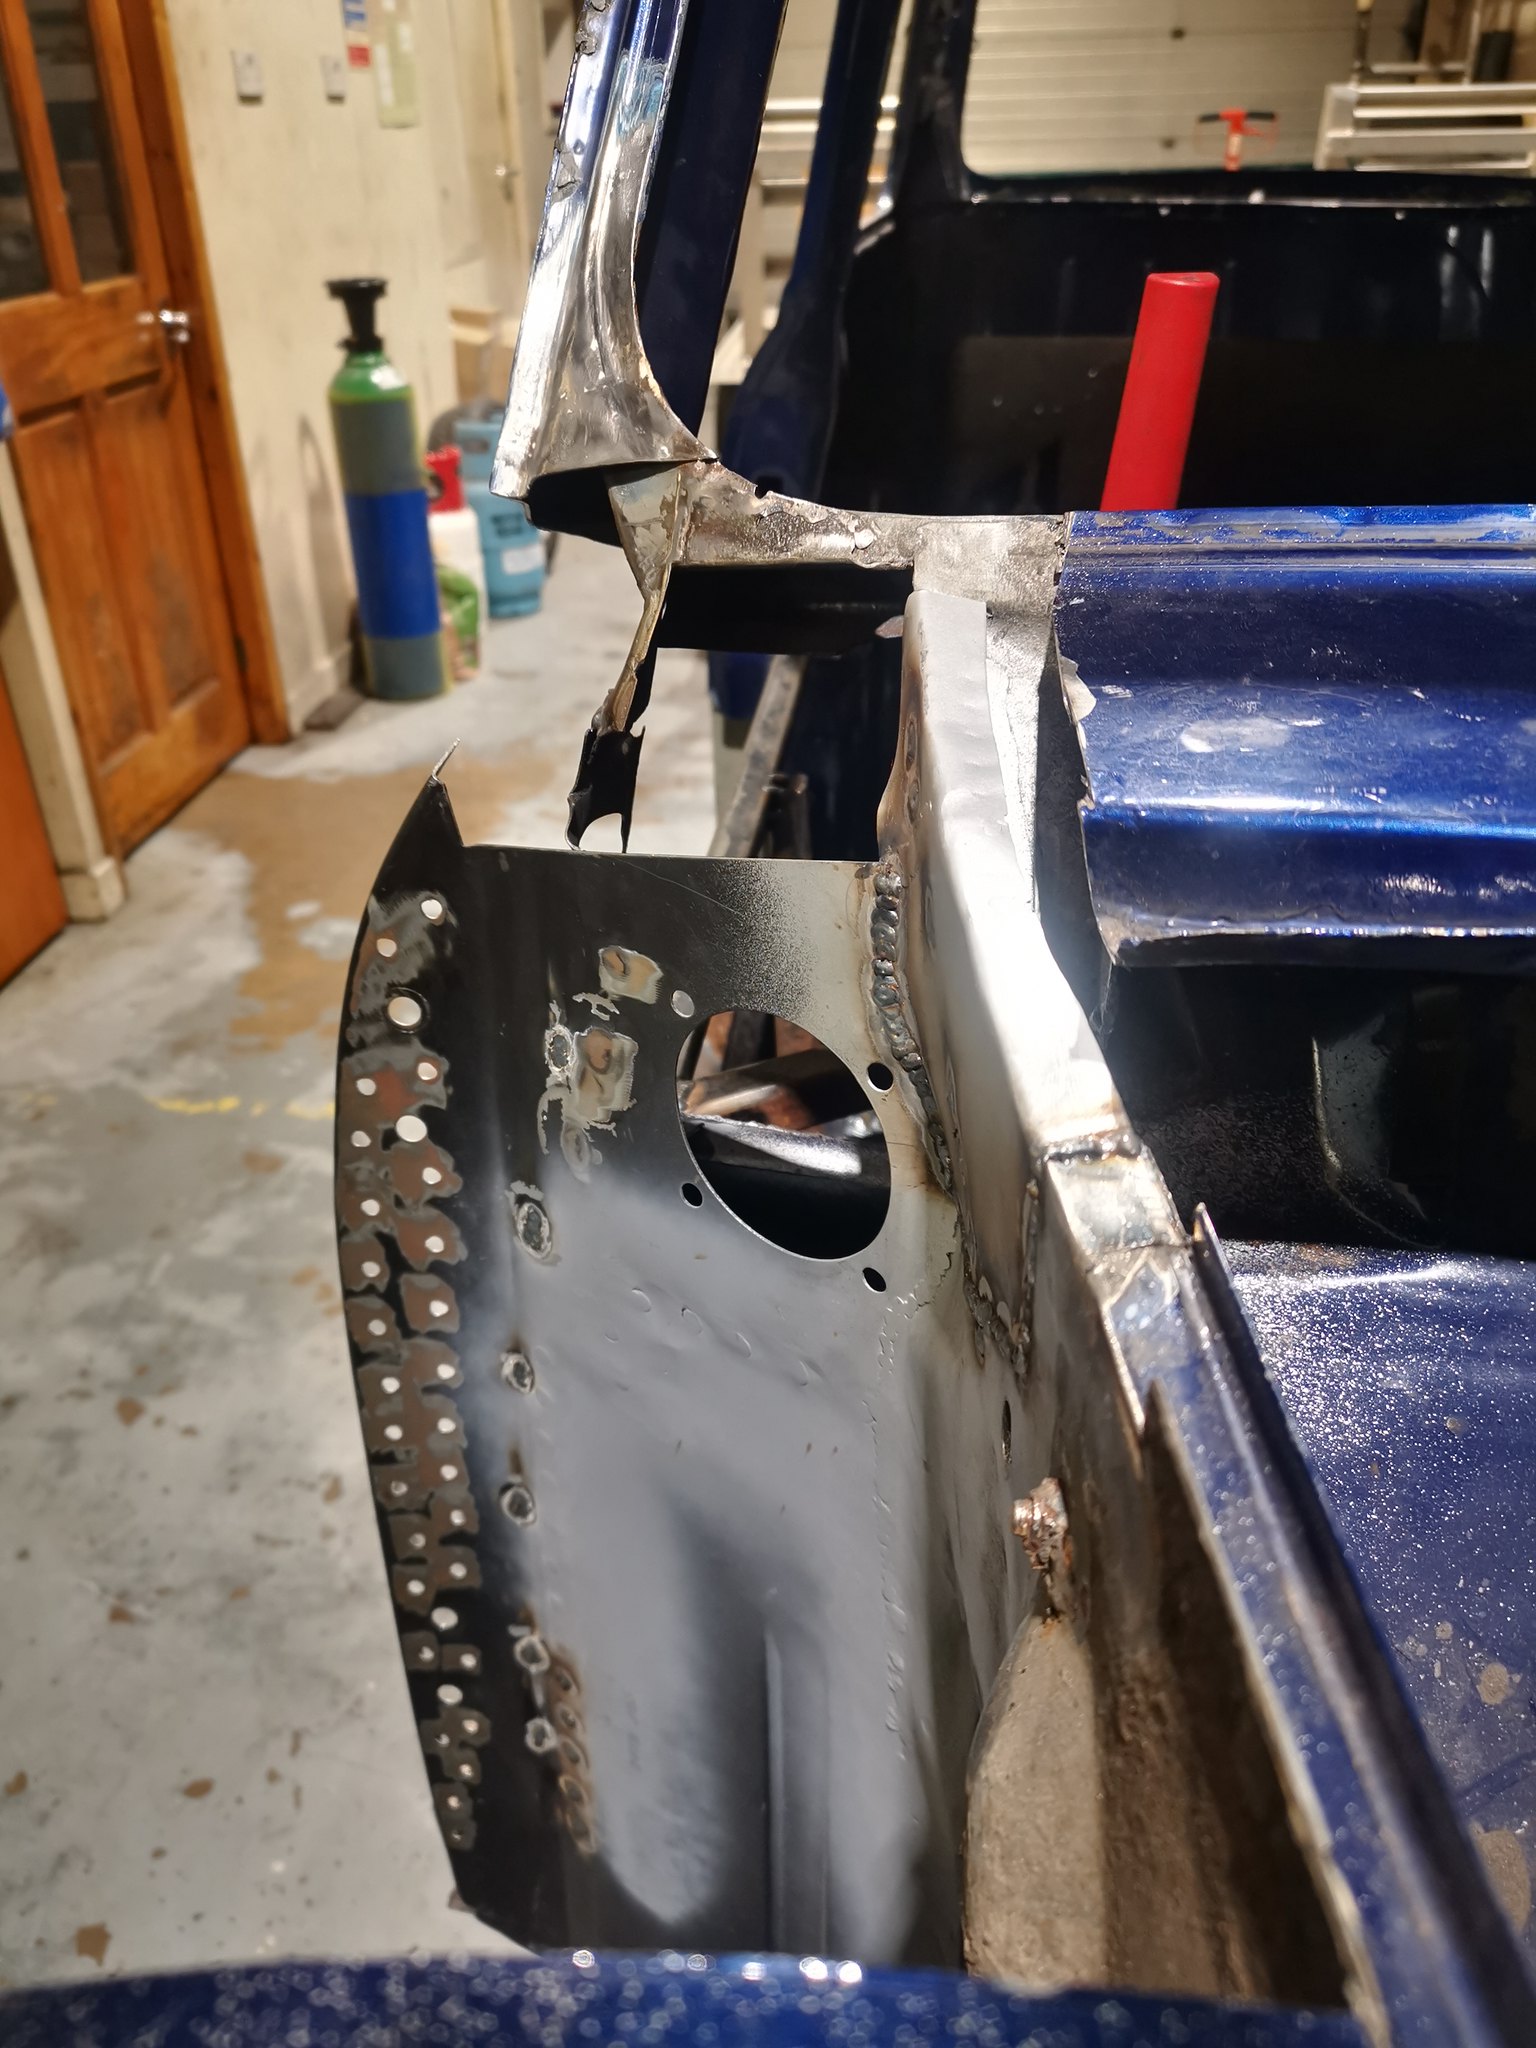
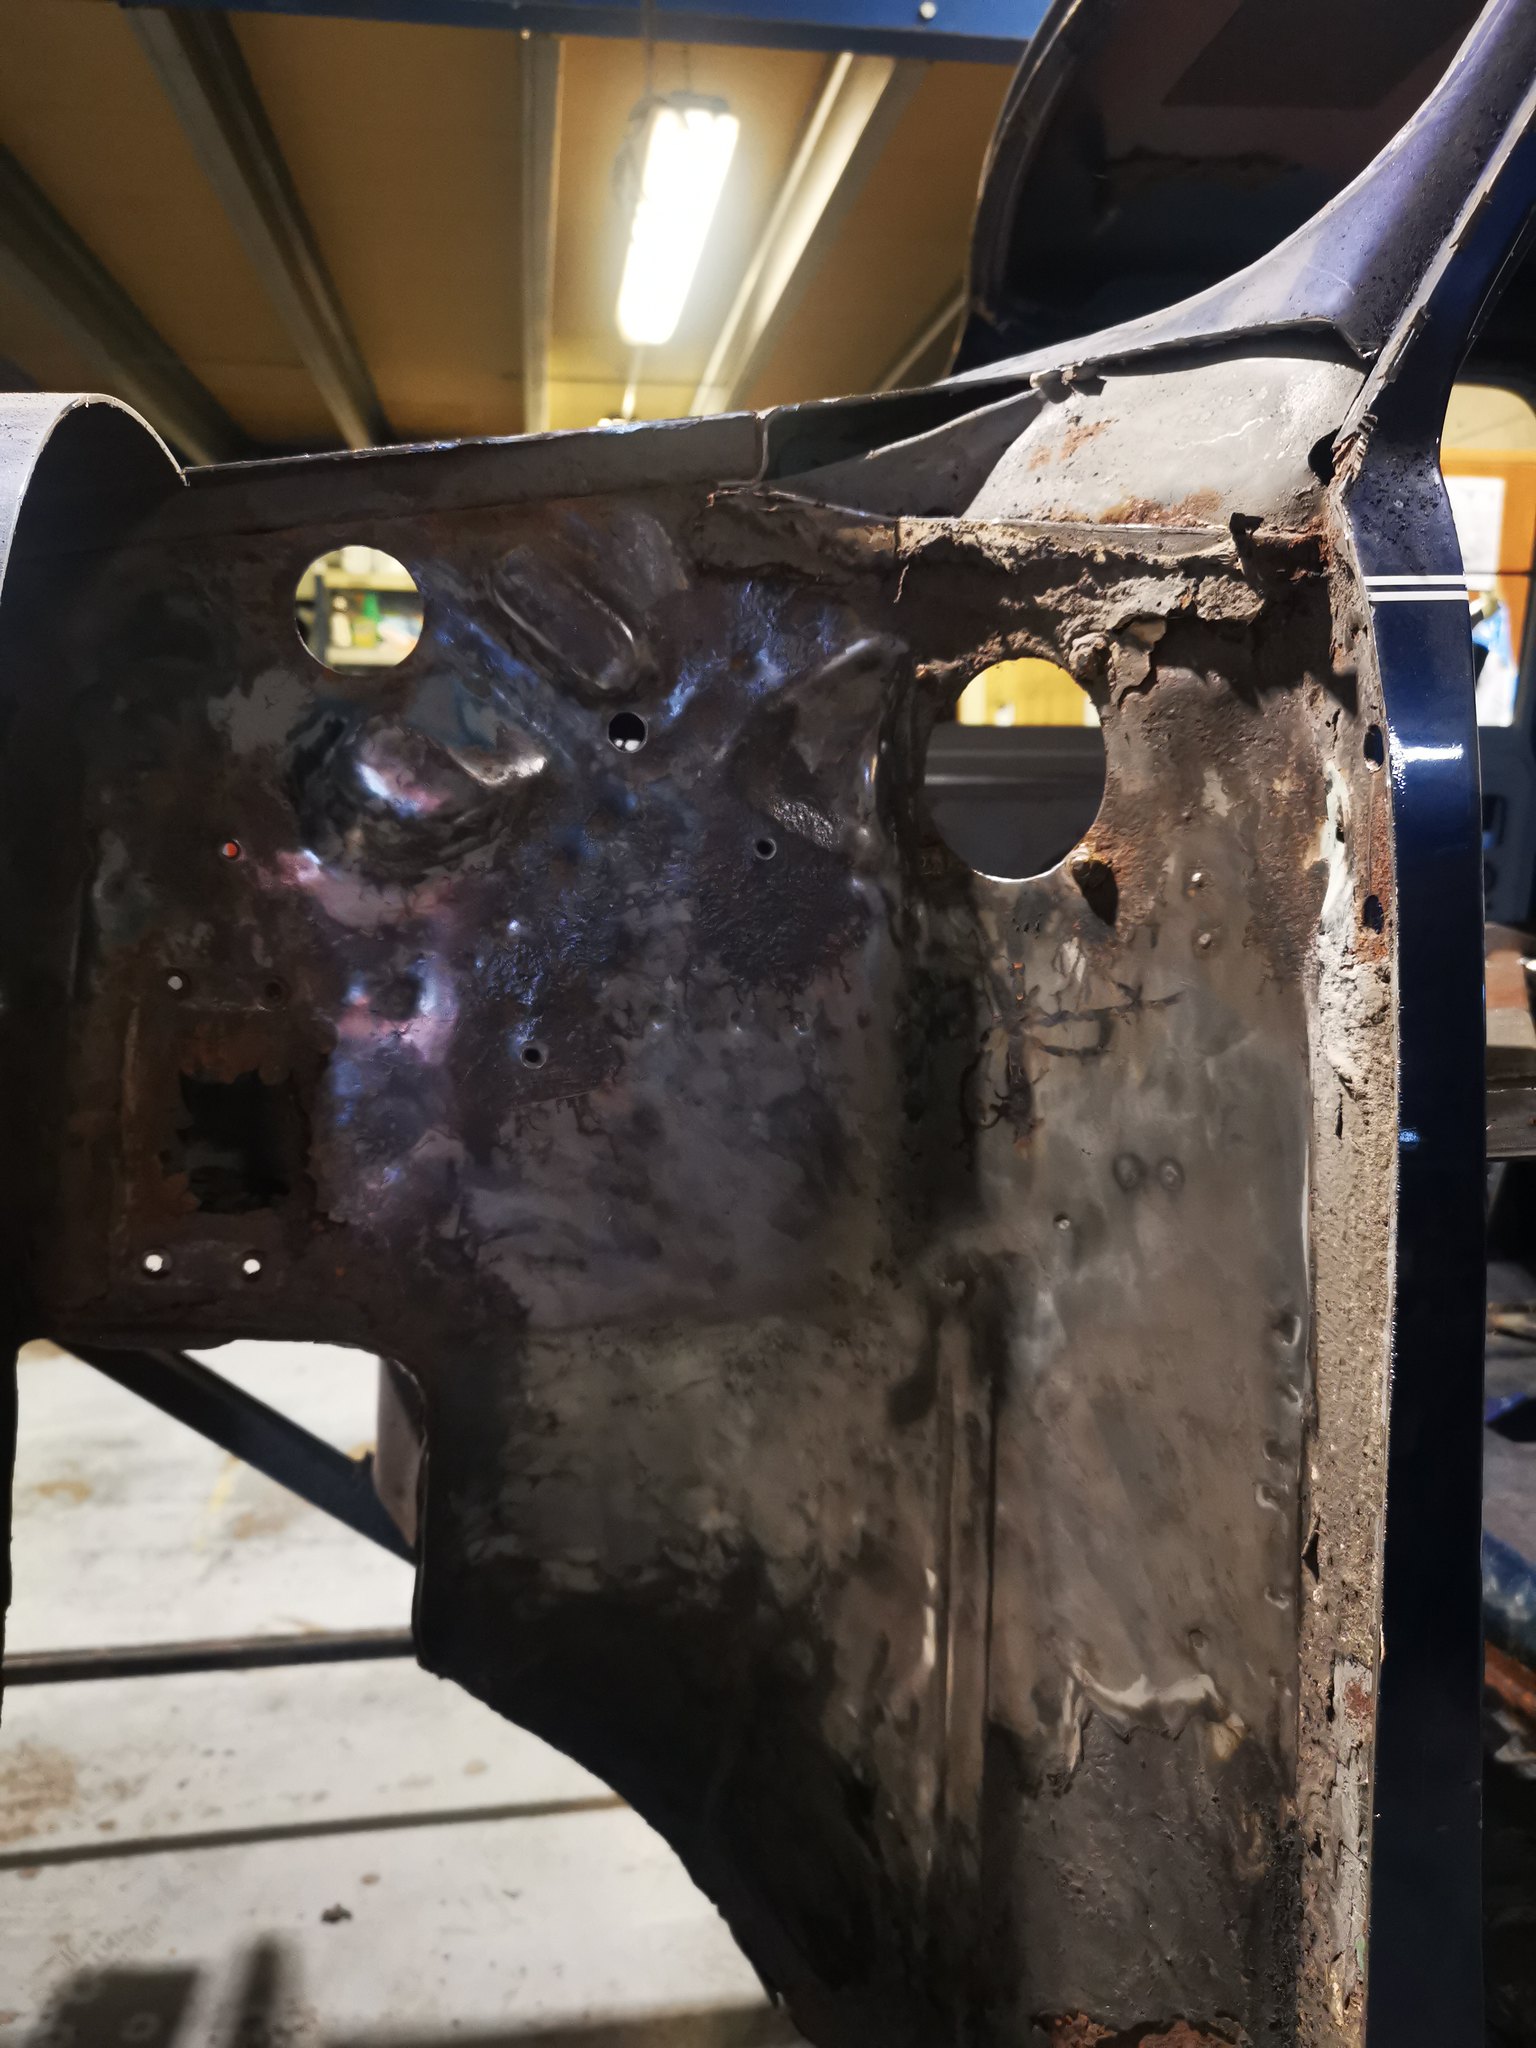
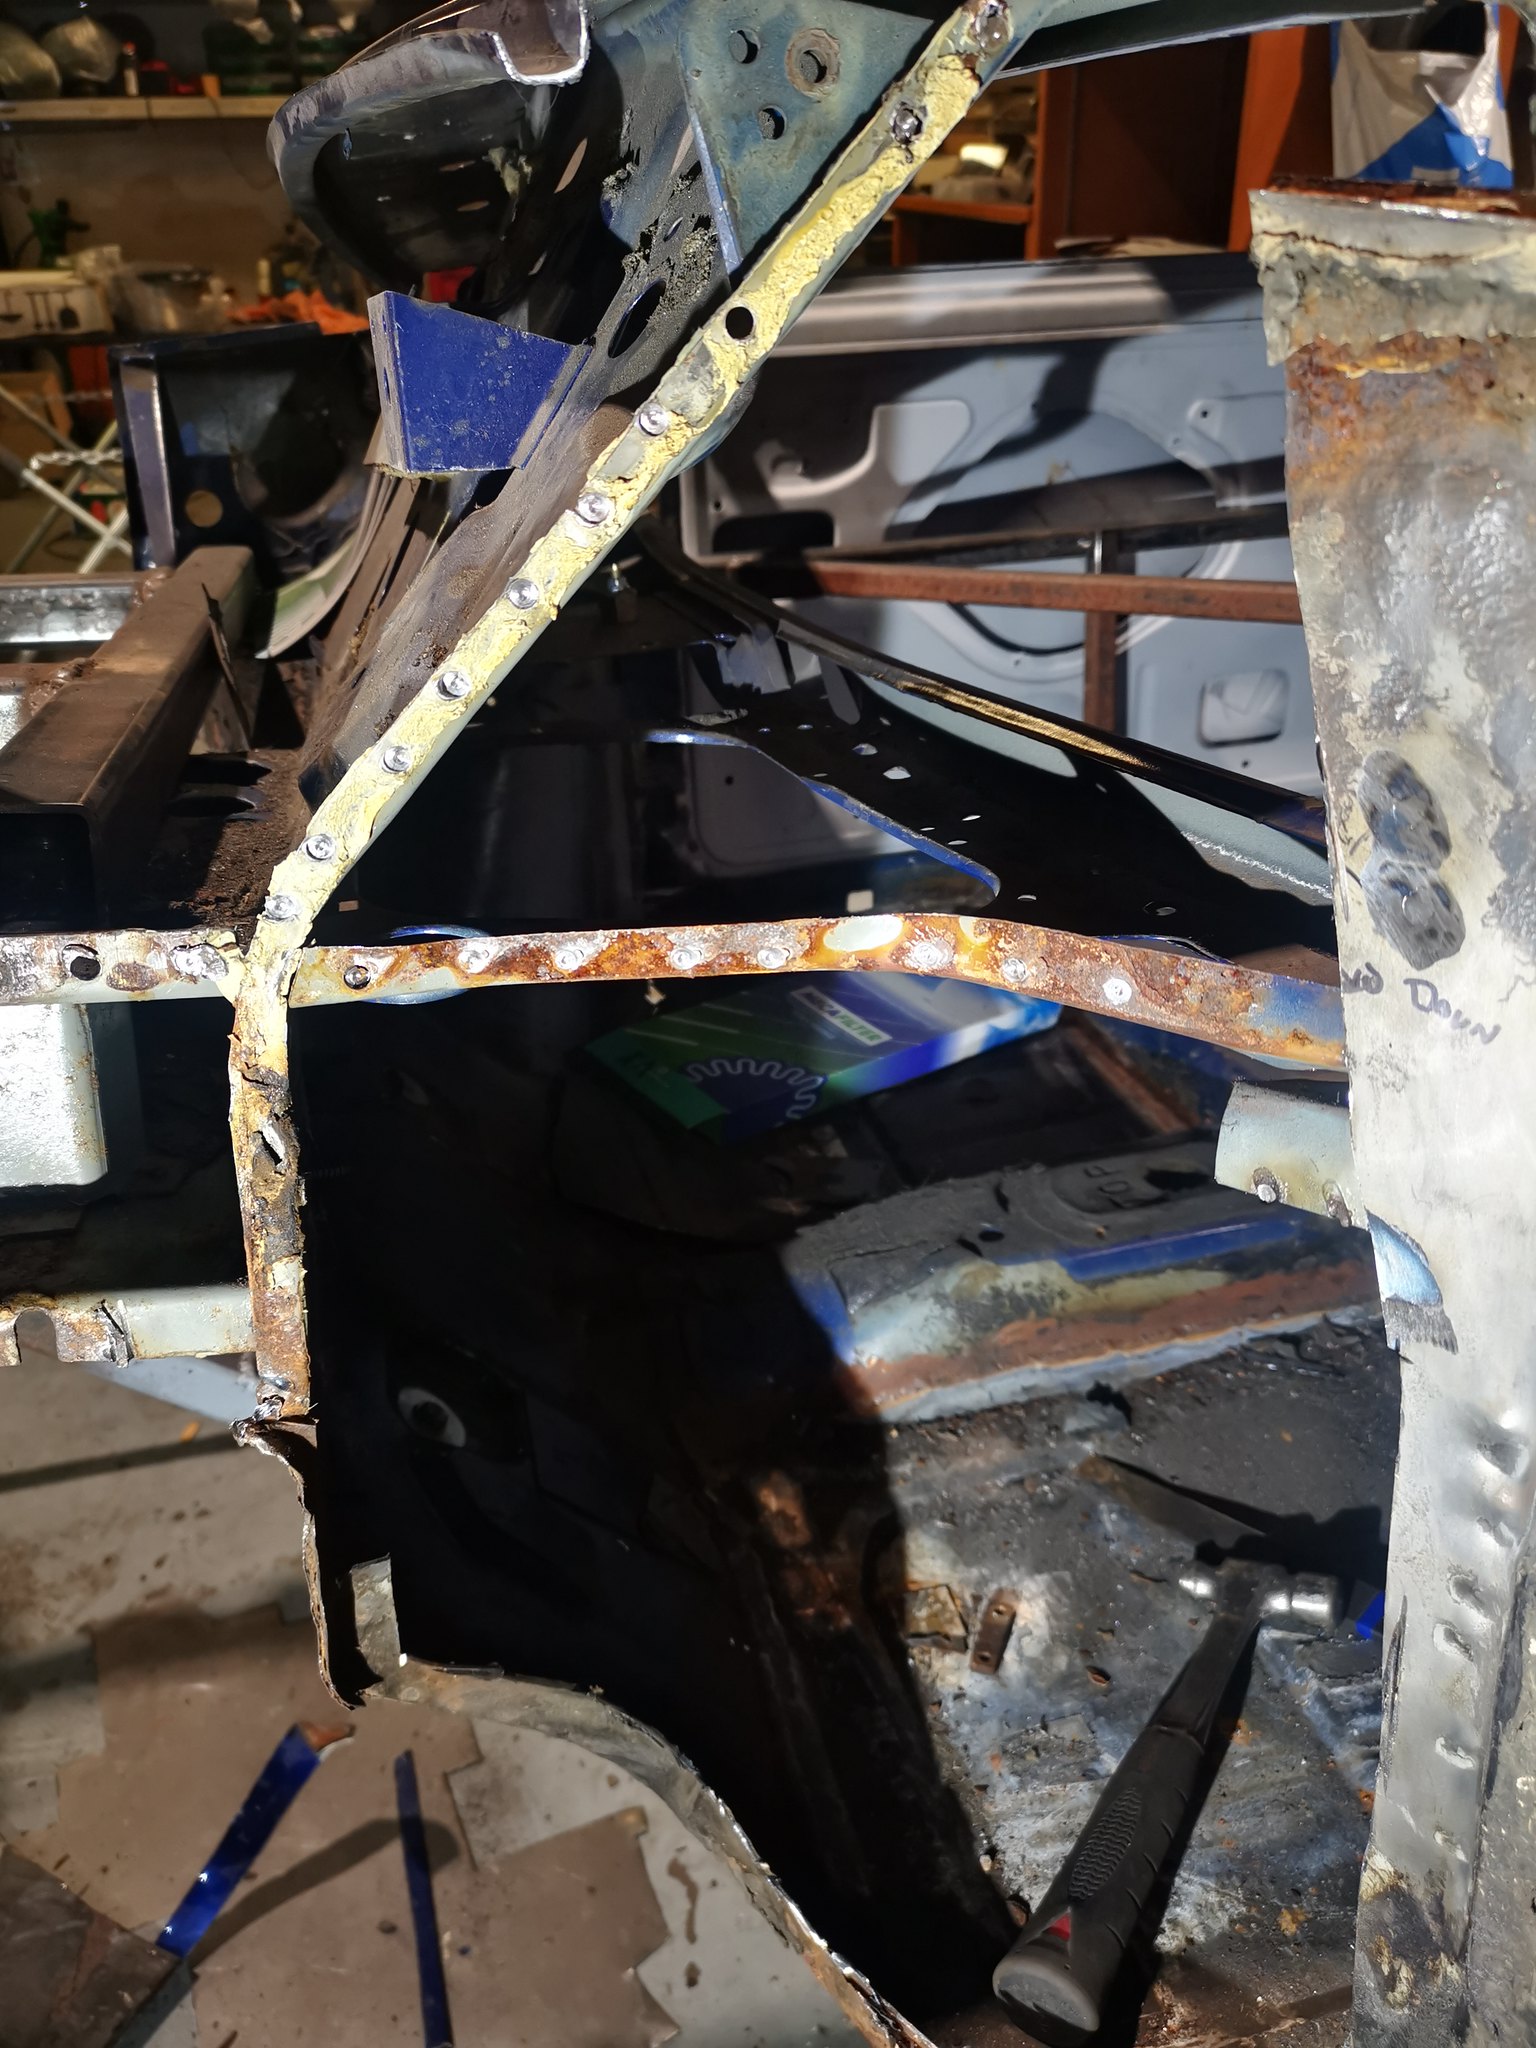
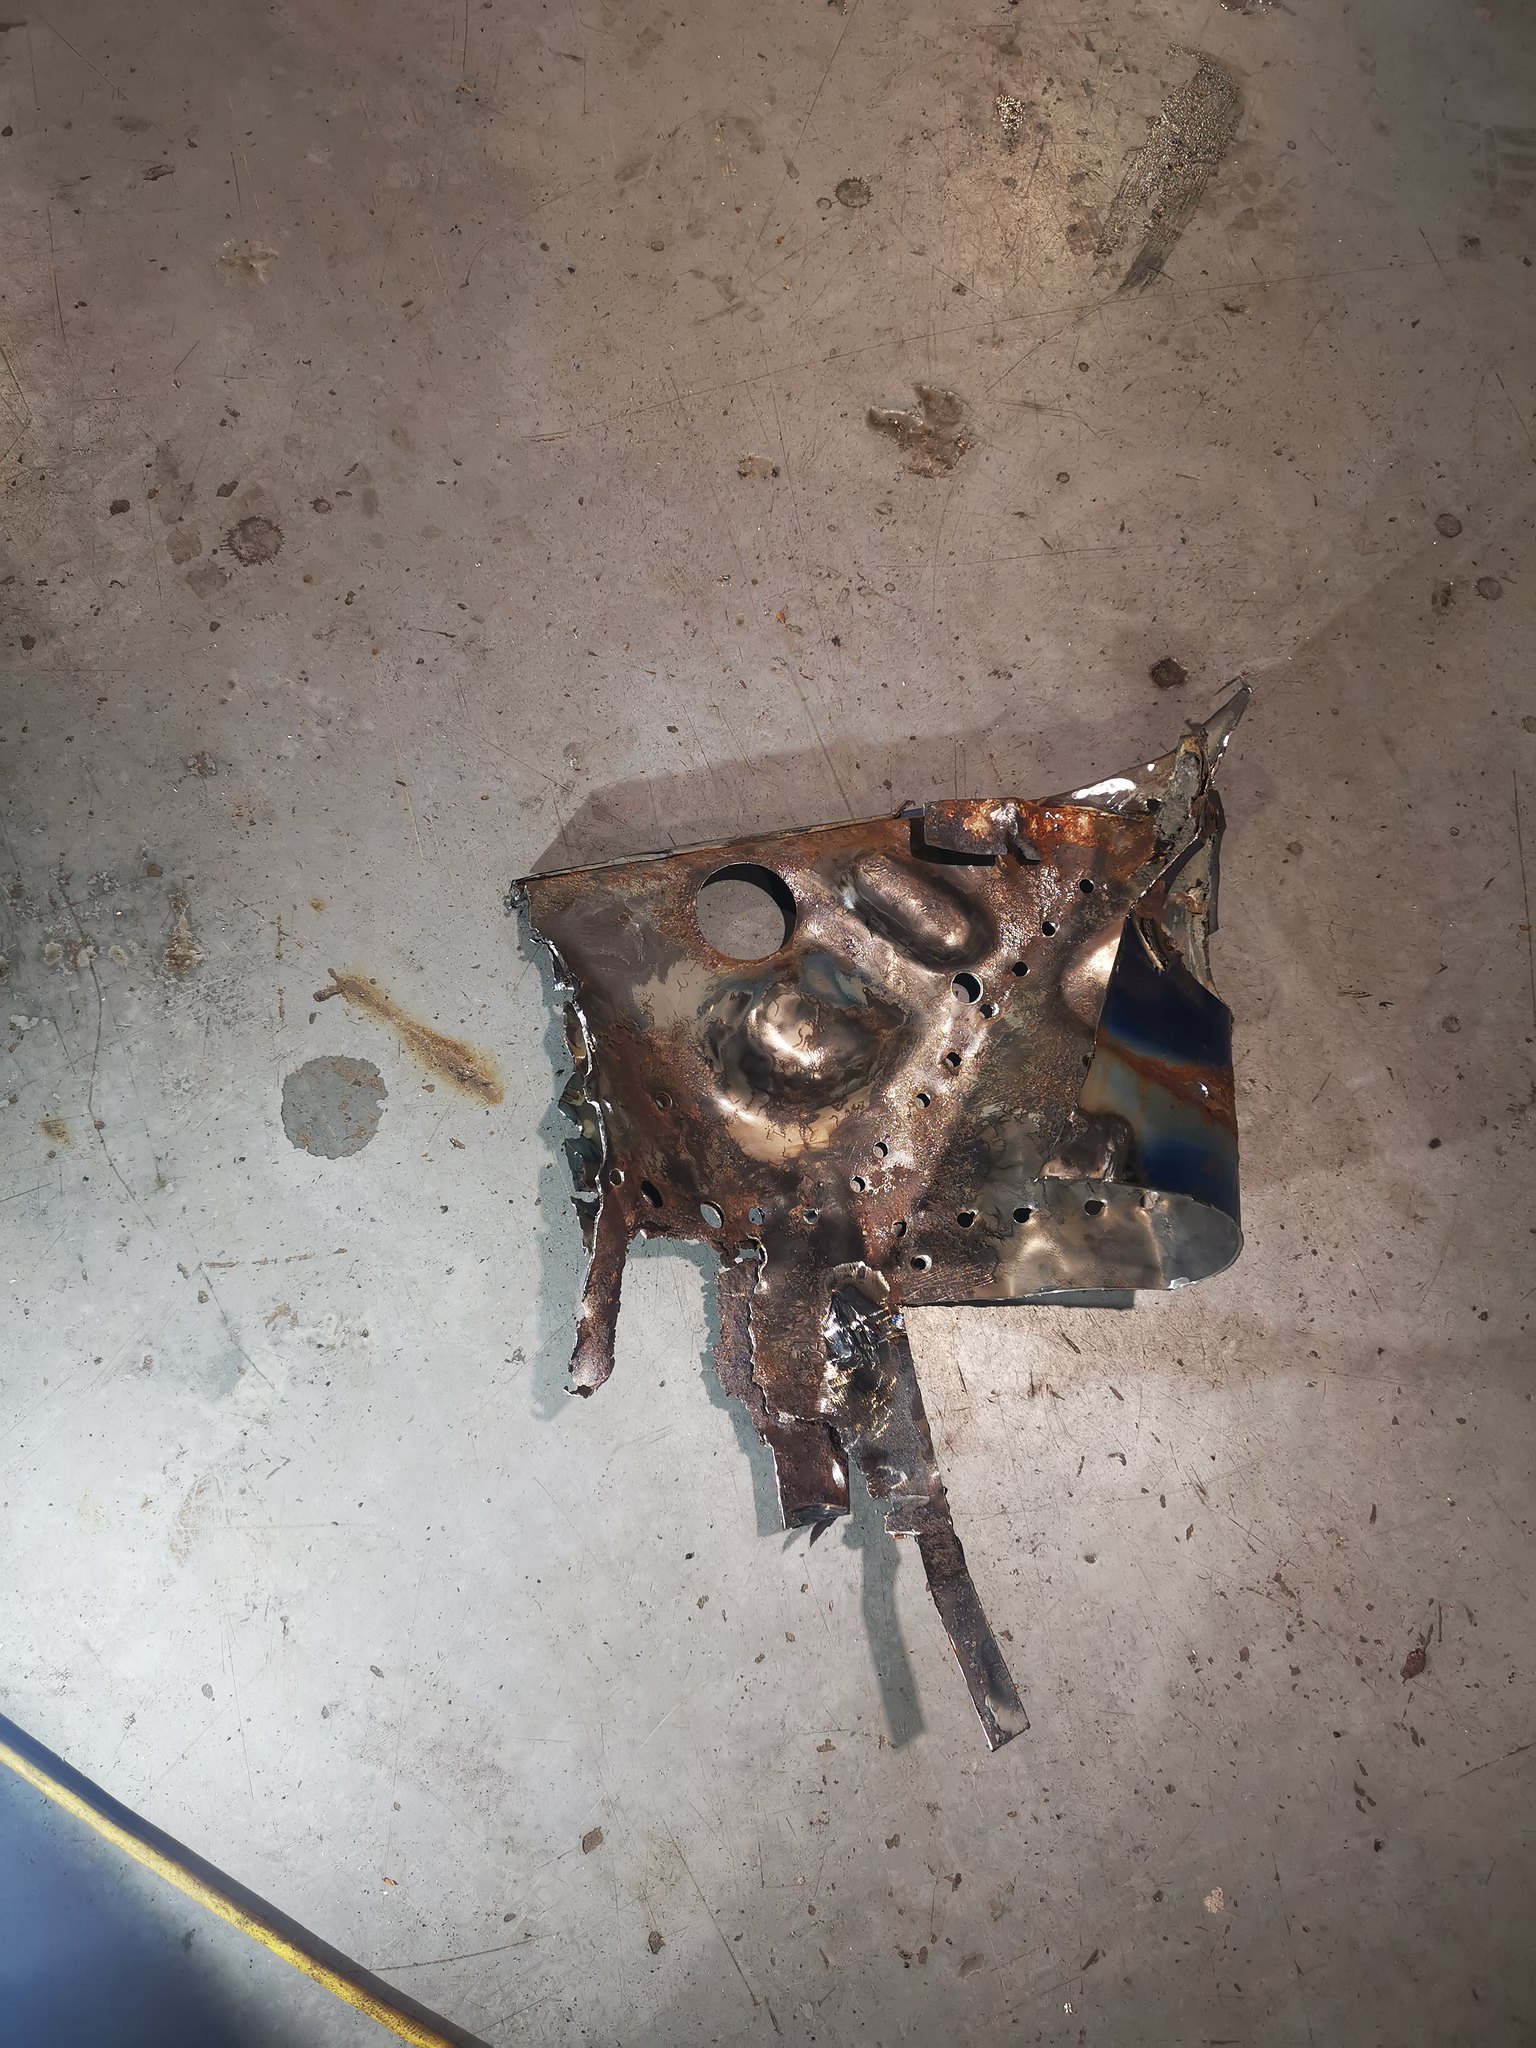
Right ill get some pictures up to show what I've got to contend with.


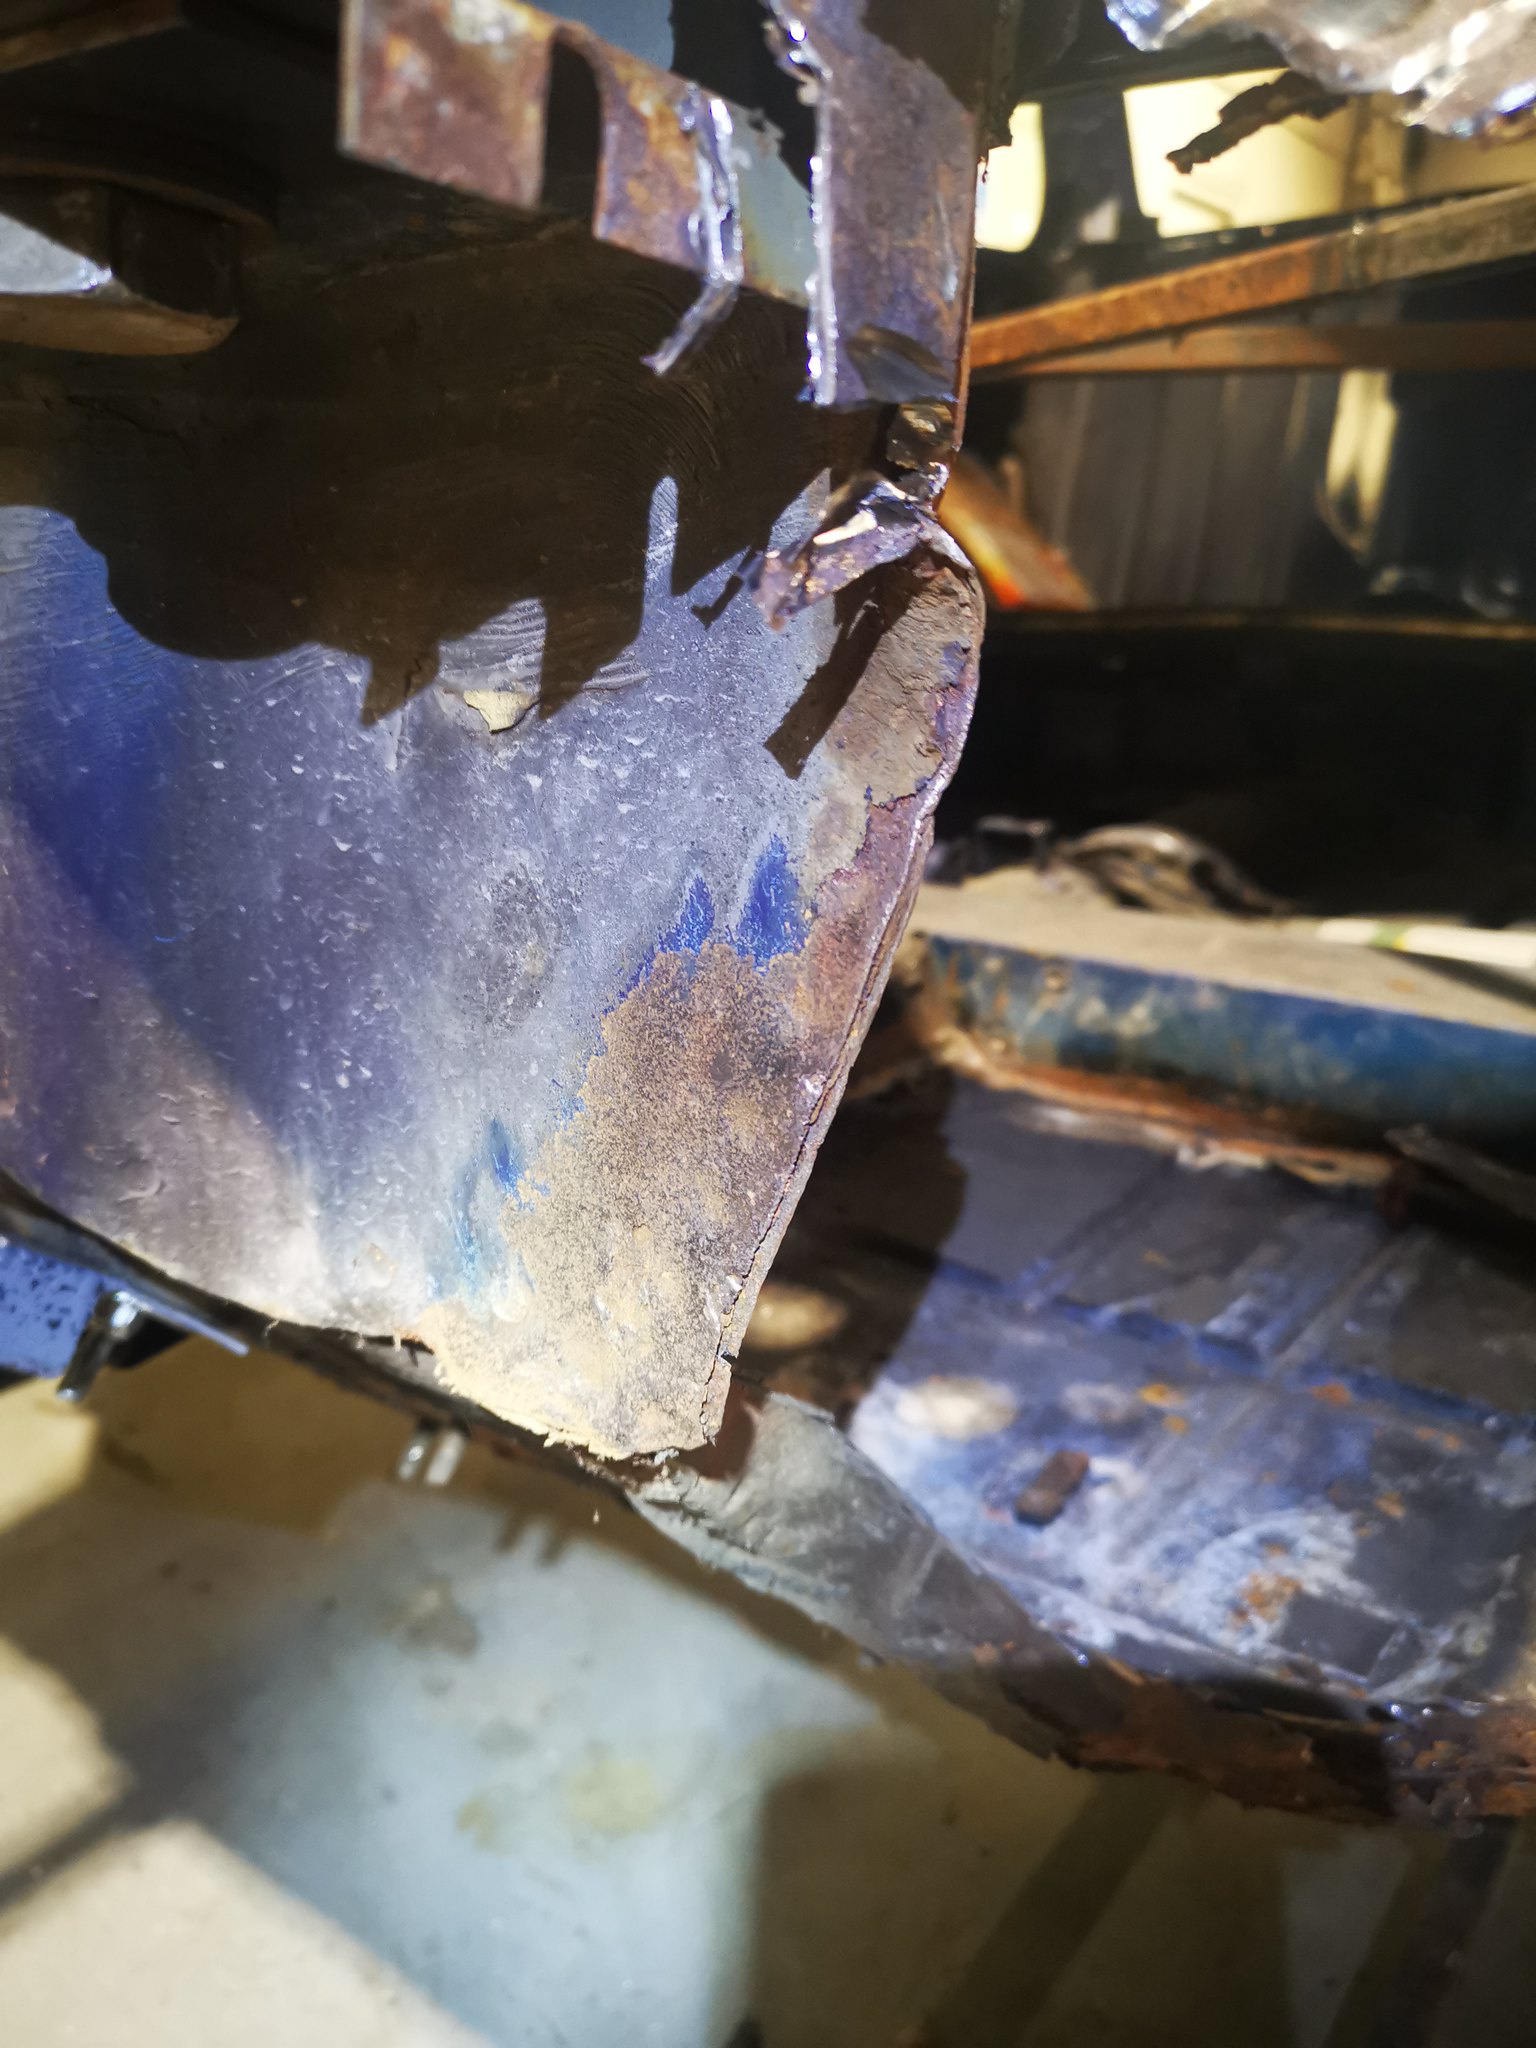
Pictures of the mini just after we collected it a couple of weeks ago.


49880123081_95b16b81fb_k.jpg


49879760583_7b5c248026_k.jpg


49880287606_1dfd9ce2fa_k.jpg


49880286141_c2204b56b2_k.jpg


49880285686_a789bd9d65_k.jpg


49880286141_c2204b56b2_k.jpg


I was pretty excited to get this into my workplace as the boss has allowed me to have it up here which is great as i can really put in a few hours after work a few nights a week and get good headway on it while were quieter than usual because of the current climate. So when works quiet in the afternoon I'm getting paid to work on this so winner winner  :thumbsup:


Edited by Thelowrider, 15 May 2020 - 06:50 PM.


#2 Thelowrider

Thelowrider

    Stage One Kit Fitted

  • Just Joined
  • PipPipPip
  • 90 posts
  • Location: Nottingham

Posted 15 May 2020 - 06:57 PM

The following night i managed to get it off the trailer and onto my homemade spit that i made up for the other shell and get to work on bracing it. My plan is to get the inner wings sorted and the door steps on before fitting a floor into it. As having had a quick look at it both the heelboard and toeboard will need repairs or replacing. so want to be able to get the floor secured to both steps and flitch repairs before repairing/replacing the heelboard and toeboard.


49880527252_9c1add5c23_k.jpg


49879688973_40e934545e_k.jpg


The shell itself only came with the bonnet so I'm having to potentially use the doors off the other mini on this one which has shown that the doors are going to need fettling to get them into shape for this shell. A few pictures of the shell with the doors on.


49880228221_85831f5524_k.jpg


49880227146_8cf0207f7b_k.jpg


49879698663_8f92620037_k.jpg


49880533907_6f1598d6e5_k.jpg


49879694078_bdf96eb3eb_k.jpg


49880218376_9298558f78_k.jpg


#3 Thelowrider

Thelowrider

    Stage One Kit Fitted

  • Just Joined
  • PipPipPip
  • 90 posts
  • Location: Nottingham

Posted 15 May 2020 - 07:09 PM

I then decided it be best as I've said in the post above to address both door steps and inner wings to try and give me something solid to attach the floor pan to. A few pictures of the damage as i started digging, it became obvious that this had been poorly repaired. Oversills and lots of filler work and a few interesting repairs to the inner wing.

49880215611_35062ac993_k.jpg

49880523892_92a5b857a0_k.jpg

49880212896_3df4df4dbd_k.jpg

49880521707_b50b908a66_k.jpg

49879681333_577901d28a_k.jpg

As many of you know with projects, that once you start digging you discover alot more.

49880516167_fc615787d2_k.jpg

I set about clearing out the old rotten metal and fitting a flitch repair panel, I'll address the suspension mounting part later on in the resto. My aim here is to get the flitch repair panel in, A post stiffener and the door step repair panel in, addressing the scuttle panel and suspension mount corrosion afterwards.

49880205476_dc97dd44c6_k.jpg

49880202761_4b8ba20cbb_k.jpg

49880201631_7f6364b8c9_k.jpg

49879670663_eb1cd2d0f6_k.jpg

After watching a few guys videos on YouTube of them doing repairs and seeing them use cleco pins as well as the grips I decided id order some and make my own intergrips as well which you will see in action later on in the build.

49880210091_3d02168957_k.jpg

Flitch repair panel offered in and as you can see the intergrips i made are in action testing the flitch panel into postion.

49880504022_8aeb0dc41e_k.jpg

49880480307_e76e36175e_k.jpg

49880476482_482591a2bf_k.jpg

49880479552_ebe884b3cf_k.jpg


I was happy the flitch panel was in the right place and lined up with the a post stiffener so set about cleaning it up drilling holes to plug weld to the inner a post, a post stiffener and also the lower dash rail.

49879635578_bd0e03715c_k.jpg

I then called it a night.

Edited by Thelowrider, 15 May 2020 - 08:45 PM.


#4 Thelowrider

Thelowrider

    Stage One Kit Fitted

  • Just Joined
  • PipPipPip
  • 90 posts
  • Location: Nottingham

Posted 15 May 2020 - 07:30 PM

Took delivery of the floor pan during the day which is pretty exciting to see but at the same time quite daunting.


49880504377_1ddf583879_k.jpg


Next before getting the flitch panel in I though it would be best to get rid of the corrosion to the left of it then install the panel, then fabricate a panel to replace that crusty looking thing (As some of you may notice my pictures have got a little jumbled up and the previous post shows a couple of photos with the crusty bit cut out already and flitch panel offered up)


49879657628_3d87a1c94d_k.jpg


49880490202_9f6dd7220e_k.jpg


49880179251_03f38b991a_k.jpg


Once removed i cleaned up the surfaces id be welding too and sprayed on some zinc spray to try and give the metal a fighting chance against corrosion.


49879638453_3505788417_k.jpg


Panel offered up ready to weld in.


49880471677_21ed7f2374_k.jpg


49880158961_a302d43b3d_k.jpg


Panel welded in.Leaving to cool a little before filling in the gaps. You'll notice i didnt plug weld all the way down the inner a post as i need to repair the lower part once the step & stiffener are out the way.


49880156476_cf885ce36b_k.jpg


49879627658_a4bb59d158_k.jpg


Fuse box bracket re-attached


49879623823_131310772d_k.jpg


Cleaned up and a coat of etch over the top for now.


49879625348_7de406b297_k.jpg


#5 Thelowrider

Thelowrider

    Stage One Kit Fitted

  • Just Joined
  • PipPipPip
  • 90 posts
  • Location: Nottingham

Posted 15 May 2020 - 07:51 PM

I then set about removing the old step and a post stiffener so I could offer up the replacement panels.


49880458147_77cd1a6698_k.jpg


There was a little bit of corrosion setting in so had to remove a little more of the b post part than i wanted too but will make a piece up to fill the gap later on.


49879616618_a667b1a0dd_k.jpg


49880143346_2ab8dd5ed6_k.jpg


I then spent hours fiddling and making sure I knew where the stiffener needed to be etc before prepping and finally plug welding it to the flitch panel. Sprayed it with zinc primer again.


49898557131_bdeec0d2f4_k.jpg


49898556966_548501f75d_k.jpg


While i waited for the stiffener panel to dry I set about repairing the inner a panel and also creating a panel to fill the gap at the top of the inner wing. Once made they were primed and welded in.


49898556821_c83f26b8d7_k.jpg


49898556686_1445d71984_k.jpg


49898862657_afb0ac03d9_k.jpg


49898038063_862c776431_k.jpg


49898037843_9c8f1f6ccd_k.jpg


Also put a couple of wleds between inner a post and flitch panel. Zinc Primed and then some seam sealer.


49898556216_5d79db93eb_k.jpg


49898861907_4f66deed9c_k.jpg


Called it a night at that then.


#6 Thelowrider

Thelowrider

    Stage One Kit Fitted

  • Just Joined
  • PipPipPip
  • 90 posts
  • Location: Nottingham

Posted 15 May 2020 - 08:00 PM

Next task was to get the a post stiffener attached to the flitch panel. Here making sure the door fitted correctly.


49898556101_50a94a4773_k.jpg


49898555986_f19bf88e96_k.jpg


Not happy with the door shuts but they were like it before, the doors are going to need fettling to get them into to some sort of shape for the shell but aslong as i can get the panels roughly where they were before ill deal with the door afterwards.


A post stiffener attached to the step with self tappers and then plug welded to the flitch panel. Then cleaned up and primed.


49898861737_e24e094374_k.jpg


49898036998_6e9a8128d6_k.jpg


49898861422_6dfdf768dd_k.jpg


49898036763_c3d4587262_k.jpg


I then set about making a piece to go into the b post part of the step repair panel and tacking into place to make sure it was right it will need trimming as I've had the door on a few times and the step needs to come up a couple of mm at the b post end but that's where i am at to date.


49898036363_b5eb59cc68_k.jpg


49898554871_bd4a8c6463_k.jpg


Right apologies for the many posts but that's me up to date now and I will update now as i go along.


I welcome all feedback bad or good and also any pointers people have are appreciated.


#7 Thelowrider

Thelowrider

    Stage One Kit Fitted

  • Just Joined
  • PipPipPip
  • 90 posts
  • Location: Nottingham

Posted 16 May 2020 - 04:30 PM

Right came into work today to get this step panel in, unfortunately got straight into and haven't taken any pictures of what i did but have some photos of the panel in and welded in. Leaving it unattached from the floor.


I had to removed the extension piece i made for the b post part as it was causing difficulties getting everything lined up so removed it got the step where i was happy, took it off again drilled holes for plug welding, zinc primed and got it on!


I'll let the photos do the talking.


49901233653_4c11b609f2_k.jpg


49901744296_905263759c_k.jpg


49901233508_ec6d6e2a41_k.jpg


49901233423_00e4468b8d_k.jpg


49902056247_db9affc07b_k.jpg


Cleaned up the plug welds ready for some primer over the top.


49902056207_359aeccd2e_k.jpg


49901743756_a9fdfc6469_k.jpg


49901232973_85e264e633_k.jpg


Once I'd done that I decided I would have a little look at the other side and see how bad that inner wing was whether id get away with a flitch repair again or if it would be a whole wing.


49902055922_8d19075fdf_k.jpg


49901232953_17dc2b8c87_k.jpg


49902055527_599bb8751b_k.jpg


49901232623_6b2a8e5a39_k.jpg


49901743271_2bcafa8091_k.jpg


From the last 2 photos looks like it may well end up being a complete inner wing but contemplating just treating it and leaving it as the screwdriver test showed it was still fairly solid.


Like the project name, I'm undecided as to whether or not I'll do the whole thing, if I need to do the complete wing it will have to wait for a little but till I can free up funds, annoyingly just spent £600 on panels that should be here monday for fitting the floor archs etc.


Lets see what next week brings.


#8 sca

sca

    Learner Driver

  • Noobies
  • PipPip
  • 23 posts
  • Location: notts

Posted 17 May 2020 - 06:17 AM

going to do exactly same to mini just waiting for parts to arrive . good pictures for reference . were abouts in Nottingham I am up north notts 


#9 slidehammer

slidehammer

    One Carb Or Two?

  • Members
  • PipPipPipPipPipPipPip
  • 1,081 posts
  • Location: Surrey
  • Local Club: LSMOC

Posted 17 May 2020 - 07:36 AM

Good work, once I have finished fitting and welding in an M-Machine Half floor I am about to tackle similar A and B post repairs. I found with getting the old floor out it is the area around the rear companion bins that take the most time splitting as the inner sill goes between the companion bin and B post, Good luck


#10 Thelowrider

Thelowrider

    Stage One Kit Fitted

  • Just Joined
  • PipPipPip
  • 90 posts
  • Location: Nottingham

Posted 17 May 2020 - 07:37 AM

going to do exactly same to mini just waiting for parts to arrive . good pictures for reference . were abouts in Nottingham I am up north notts


All I will say is just take your time, I've noticed a few others start with the floor and work there way out but for me it was about getting the door steps solid to a point that I could get the floor in and repair both heel board and toe board. Just have to be methodical in what you do.

I am West Notts. Sort of in between Derby and Notts.

Good luck with your build.

#11 Thelowrider

Thelowrider

    Stage One Kit Fitted

  • Just Joined
  • PipPipPip
  • 90 posts
  • Location: Nottingham

Posted 17 May 2020 - 07:40 AM

Good work, once I have finished fitting and welding in an M-Machine Half floor I am about to tackle similar A and B post repairs. I found with getting the old floor out it is the area around the rear companion bins that take the most time splitting as the inner sill goes between the companion bin and B post, Good luck


Thanks, yeah I've seen others mention about the companion bins I was just going to chop them out in all fairness not even going to attempt to get them out in one as both have corrosion setting in on the back corner of each so they will be replaced.

Good luck with yours have you got a project thread?

#12 slidehammer

slidehammer

    One Carb Or Two?

  • Members
  • PipPipPipPipPipPipPip
  • 1,081 posts
  • Location: Surrey
  • Local Club: LSMOC

Posted 17 May 2020 - 06:41 PM


Good work, once I have finished fitting and welding in an M-Machine Half floor I am about to tackle similar A and B post repairs. I found with getting the old floor out it is the area around the rear companion bins that take the most time splitting as the inner sill goes between the companion bin and B post, Good luck


Thanks, yeah I've seen others mention about the companion bins I was just going to chop them out in all fairness not even going to attempt to get them out in one as both have corrosion setting in on the back corner of each so they will be replaced.

Good luck with yours have you got a project thread?


I haven't started a thread for mine as yet, as I am worried, it will be the kiss of death on the project and it won't get finished. I will do once I am past the point of no return. I have taken plenty of pictures. 


#13 Bdshim

Bdshim

    Mini Mad

  • Just Joined
  • PipPipPipPip
  • 196 posts
  • Location: Suffolk

Posted 17 May 2020 - 06:48 PM

Looking good, nice to see another being saved, look forward to the updates ?

#14 Thelowrider

Thelowrider

    Stage One Kit Fitted

  • Just Joined
  • PipPipPip
  • 90 posts
  • Location: Nottingham

Posted 18 May 2020 - 09:40 AM


Good work, once I have finished fitting and welding in an M-Machine Half floor I am about to tackle similar A and B post repairs. I found with getting the old floor out it is the area around the rear companion bins that take the most time splitting as the inner sill goes between the companion bin and B post, Good luck


Thanks, yeah I've seen others mention about the companion bins I was just going to chop them out in all fairness not even going to attempt to get them out in one as both have corrosion setting in on the back corner of each so they will be replaced.

Good luck with yours have you got a project thread?


I haven't started a thread for mine as yet, as I am worried, it will be the kiss of death on the project and it won't get finished. I will do once I am past the point of no return. I have taken plenty of pictures. 


Well I look forward to seeing a thread pop up with updates it's always interesting to see others ideas on how they do repairs and gives others like myself something to look at.


Looking good, nice to see another being saved, look forward to the updates


Thanks, its progress in the right direction.


#15 Thelowrider

Thelowrider

    Stage One Kit Fitted

  • Just Joined
  • PipPipPip
  • 90 posts
  • Location: Nottingham

Posted 23 May 2020 - 06:05 PM

Following on from my last update....


Decided id replace the complete inner wing as it was heavily pitted in areas, heres a few pictures of me removing the old one.


49926508428_f9470728d0_k.jpg


49926508148_f9da170b5a_k.jpg


49927027576_55c28a8638_k.jpg


49927027501_76f84f4bda_k.jpg


49927027096_66eff7d0ae_k.jpg


Old piece out


49927027226_bc75c89c75_k.jpg


Test fitting the new panel


49927027311_c856184444_k.jpg


Need to address the corrosion on the lower piece of the bulkead aswell as repairing the toeboard


49927325592_a5123a63ad_k.jpg


Just out of curiosity if anyone is reading this, I have looked at a few threads of others projects and alot suggest just repairing what you can of the toeboard instead of a full on replacement as there a bugger to get to line up with existing panels is this the case? Reason i ask is i do have a complete toeboard which I could fit or am i better off cutting off the parts of the panel I need and leaving the bulk of it behind if that makes sense?


0 user(s) are reading this topic

0 members, 0 guests, 0 anonymous users