Jump to content


Photo
- - - - -

Stuck Trying To Rebuild Upper Arm


  • Please log in to reply
20 replies to this topic

#1 smeloh

smeloh

    Learner Driver

  • Noobies
  • PipPip
  • 13 posts
  • Location: fr

Posted 10 October 2020 - 08:06 AM

Hi everyone


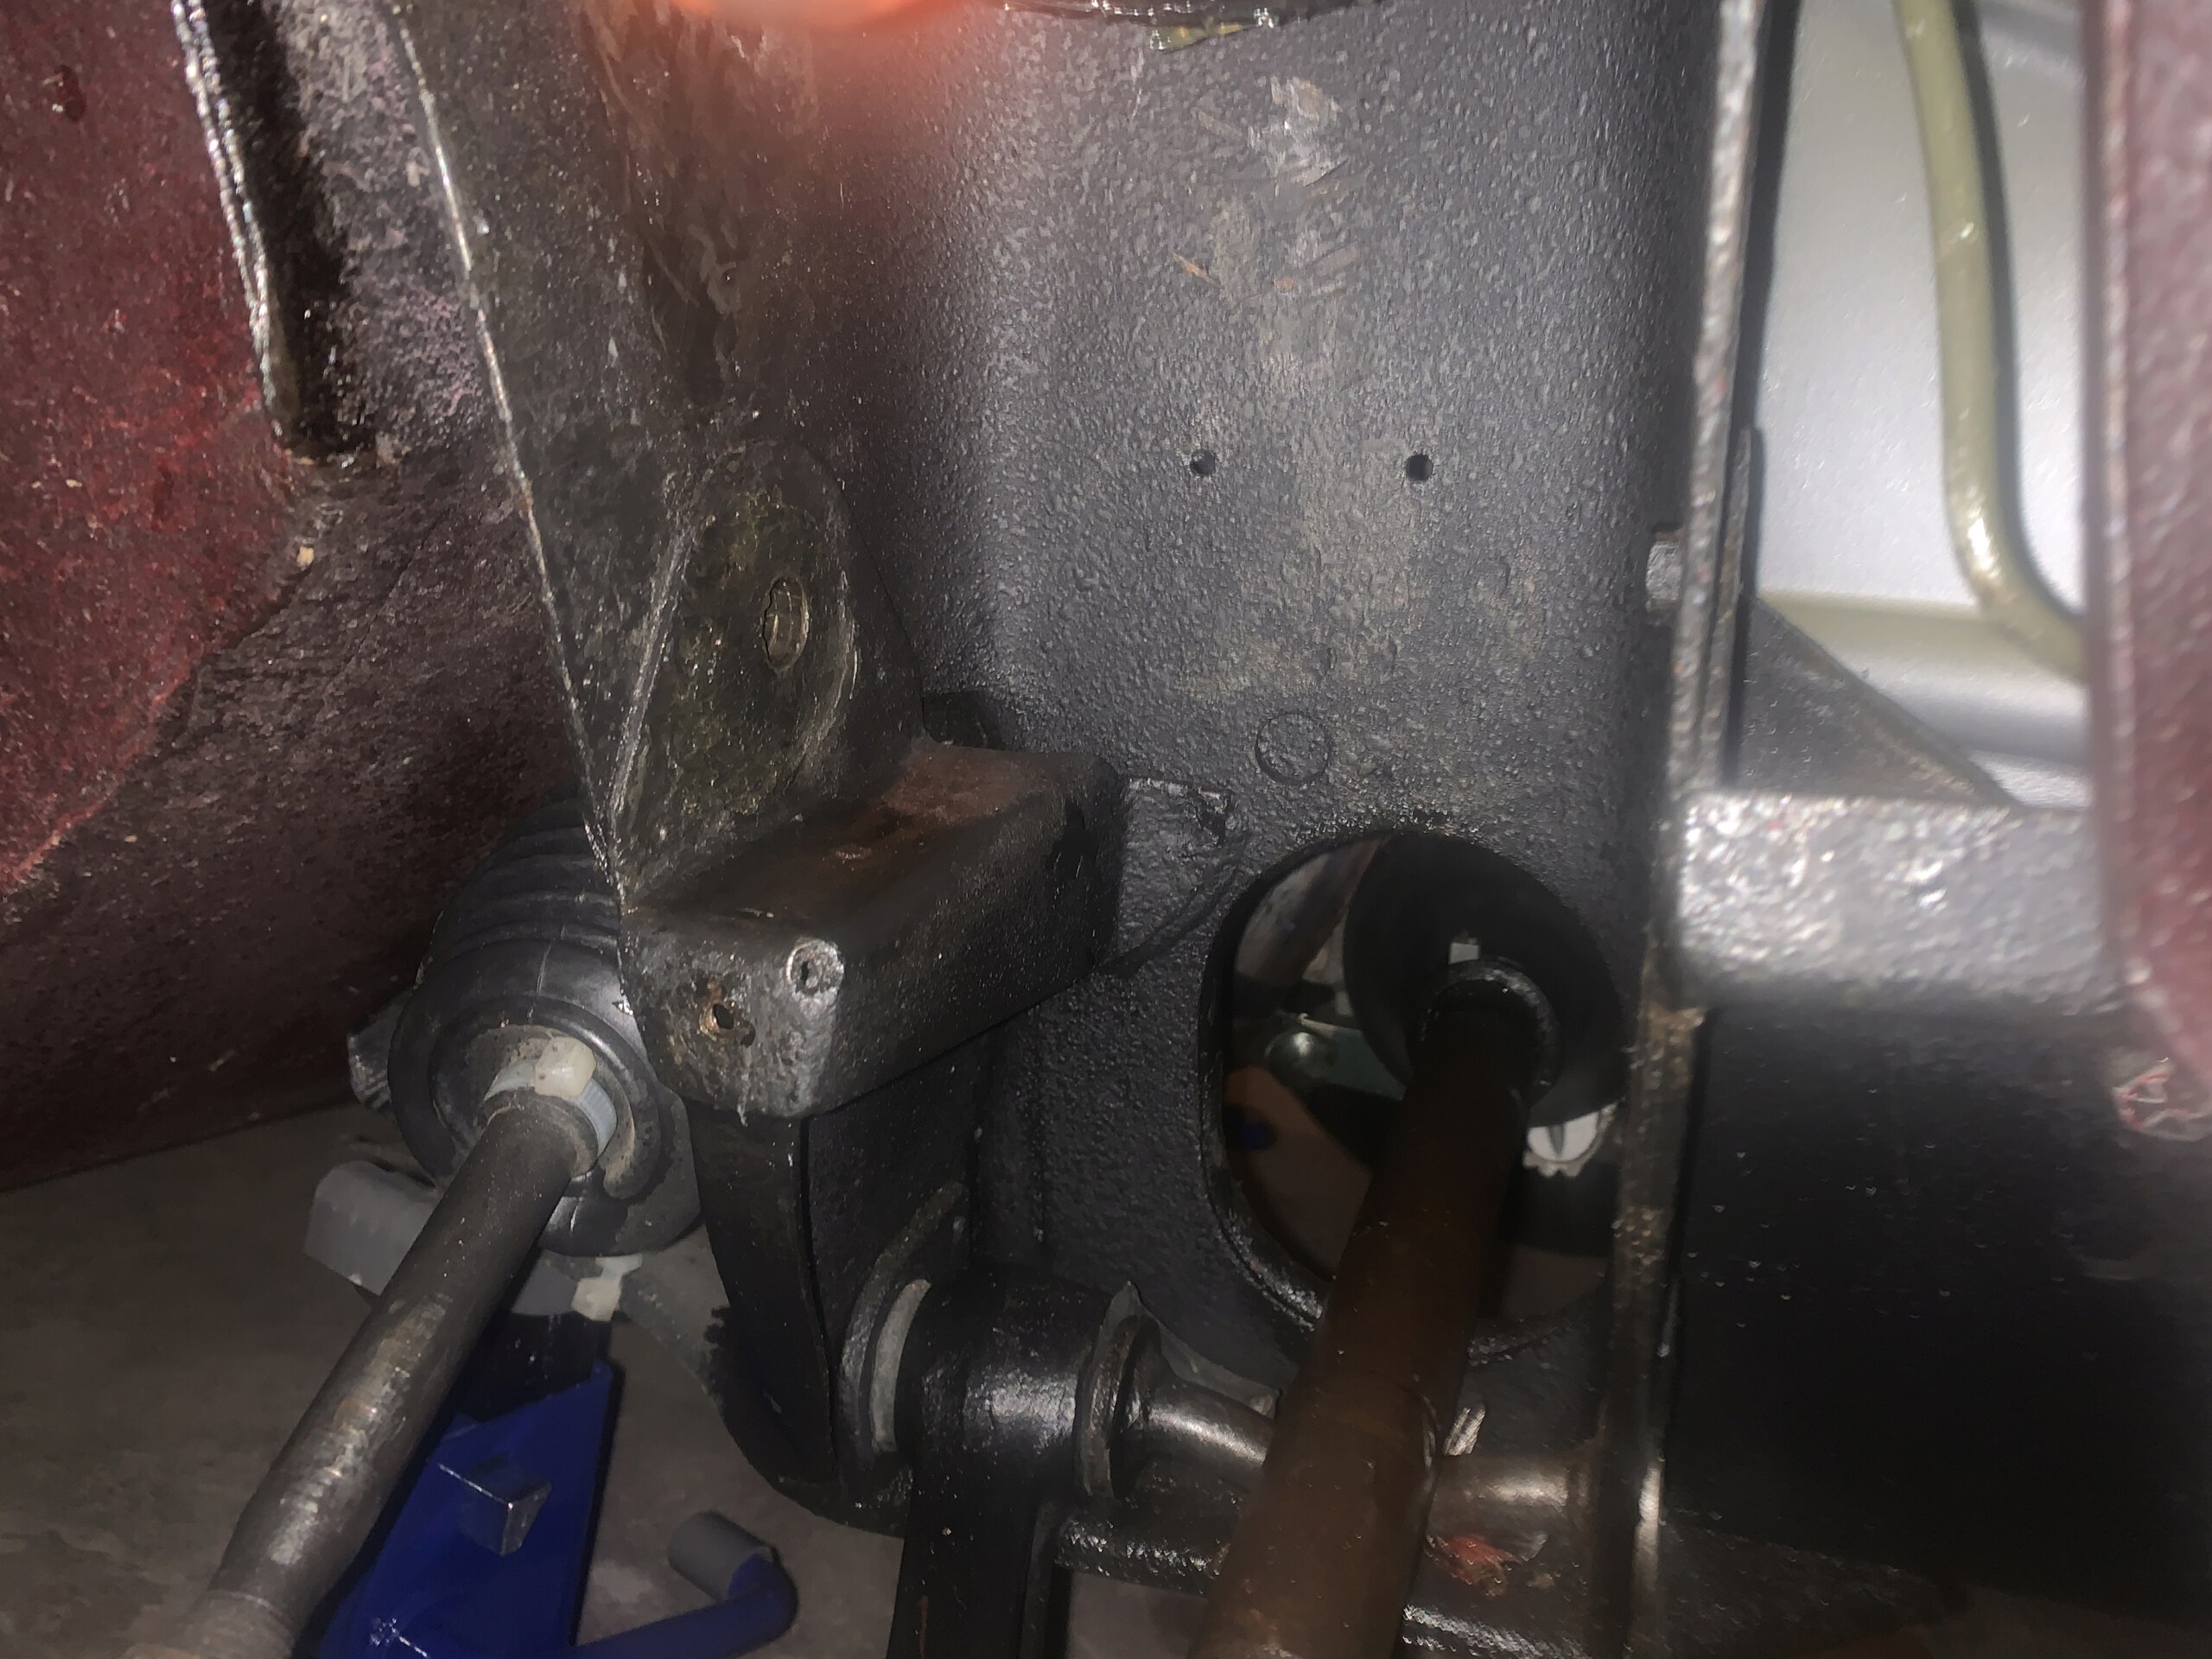
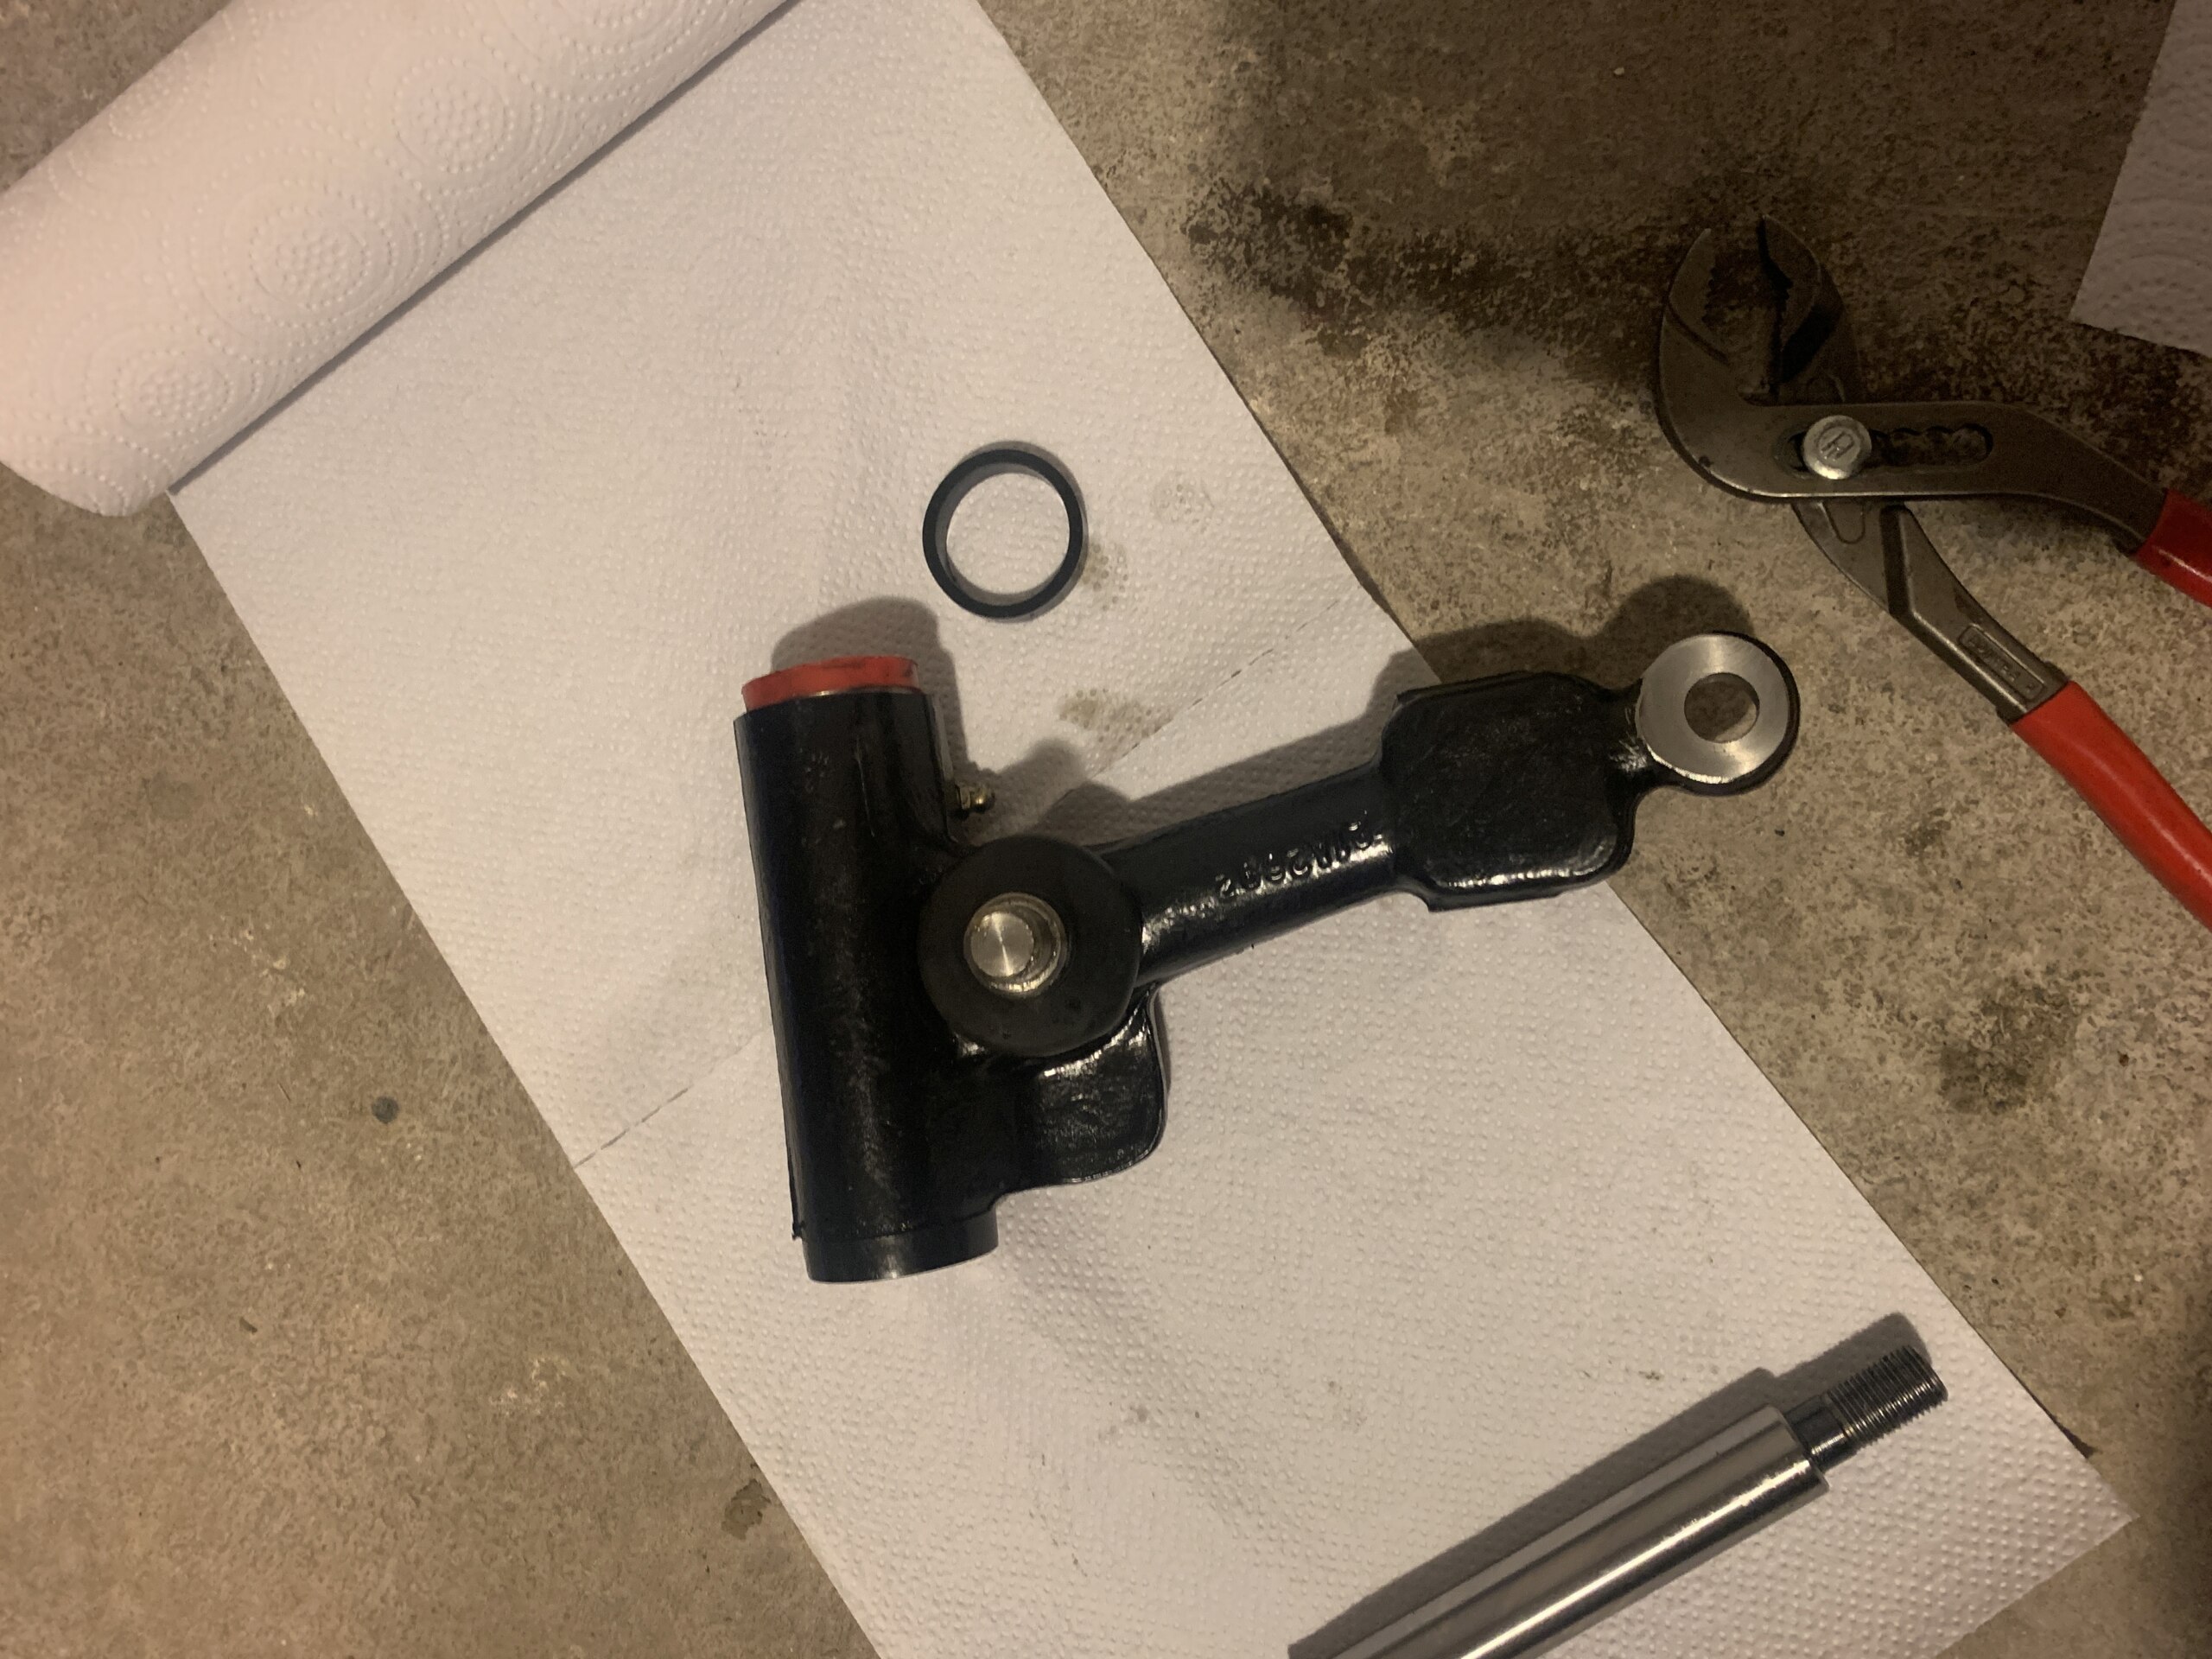
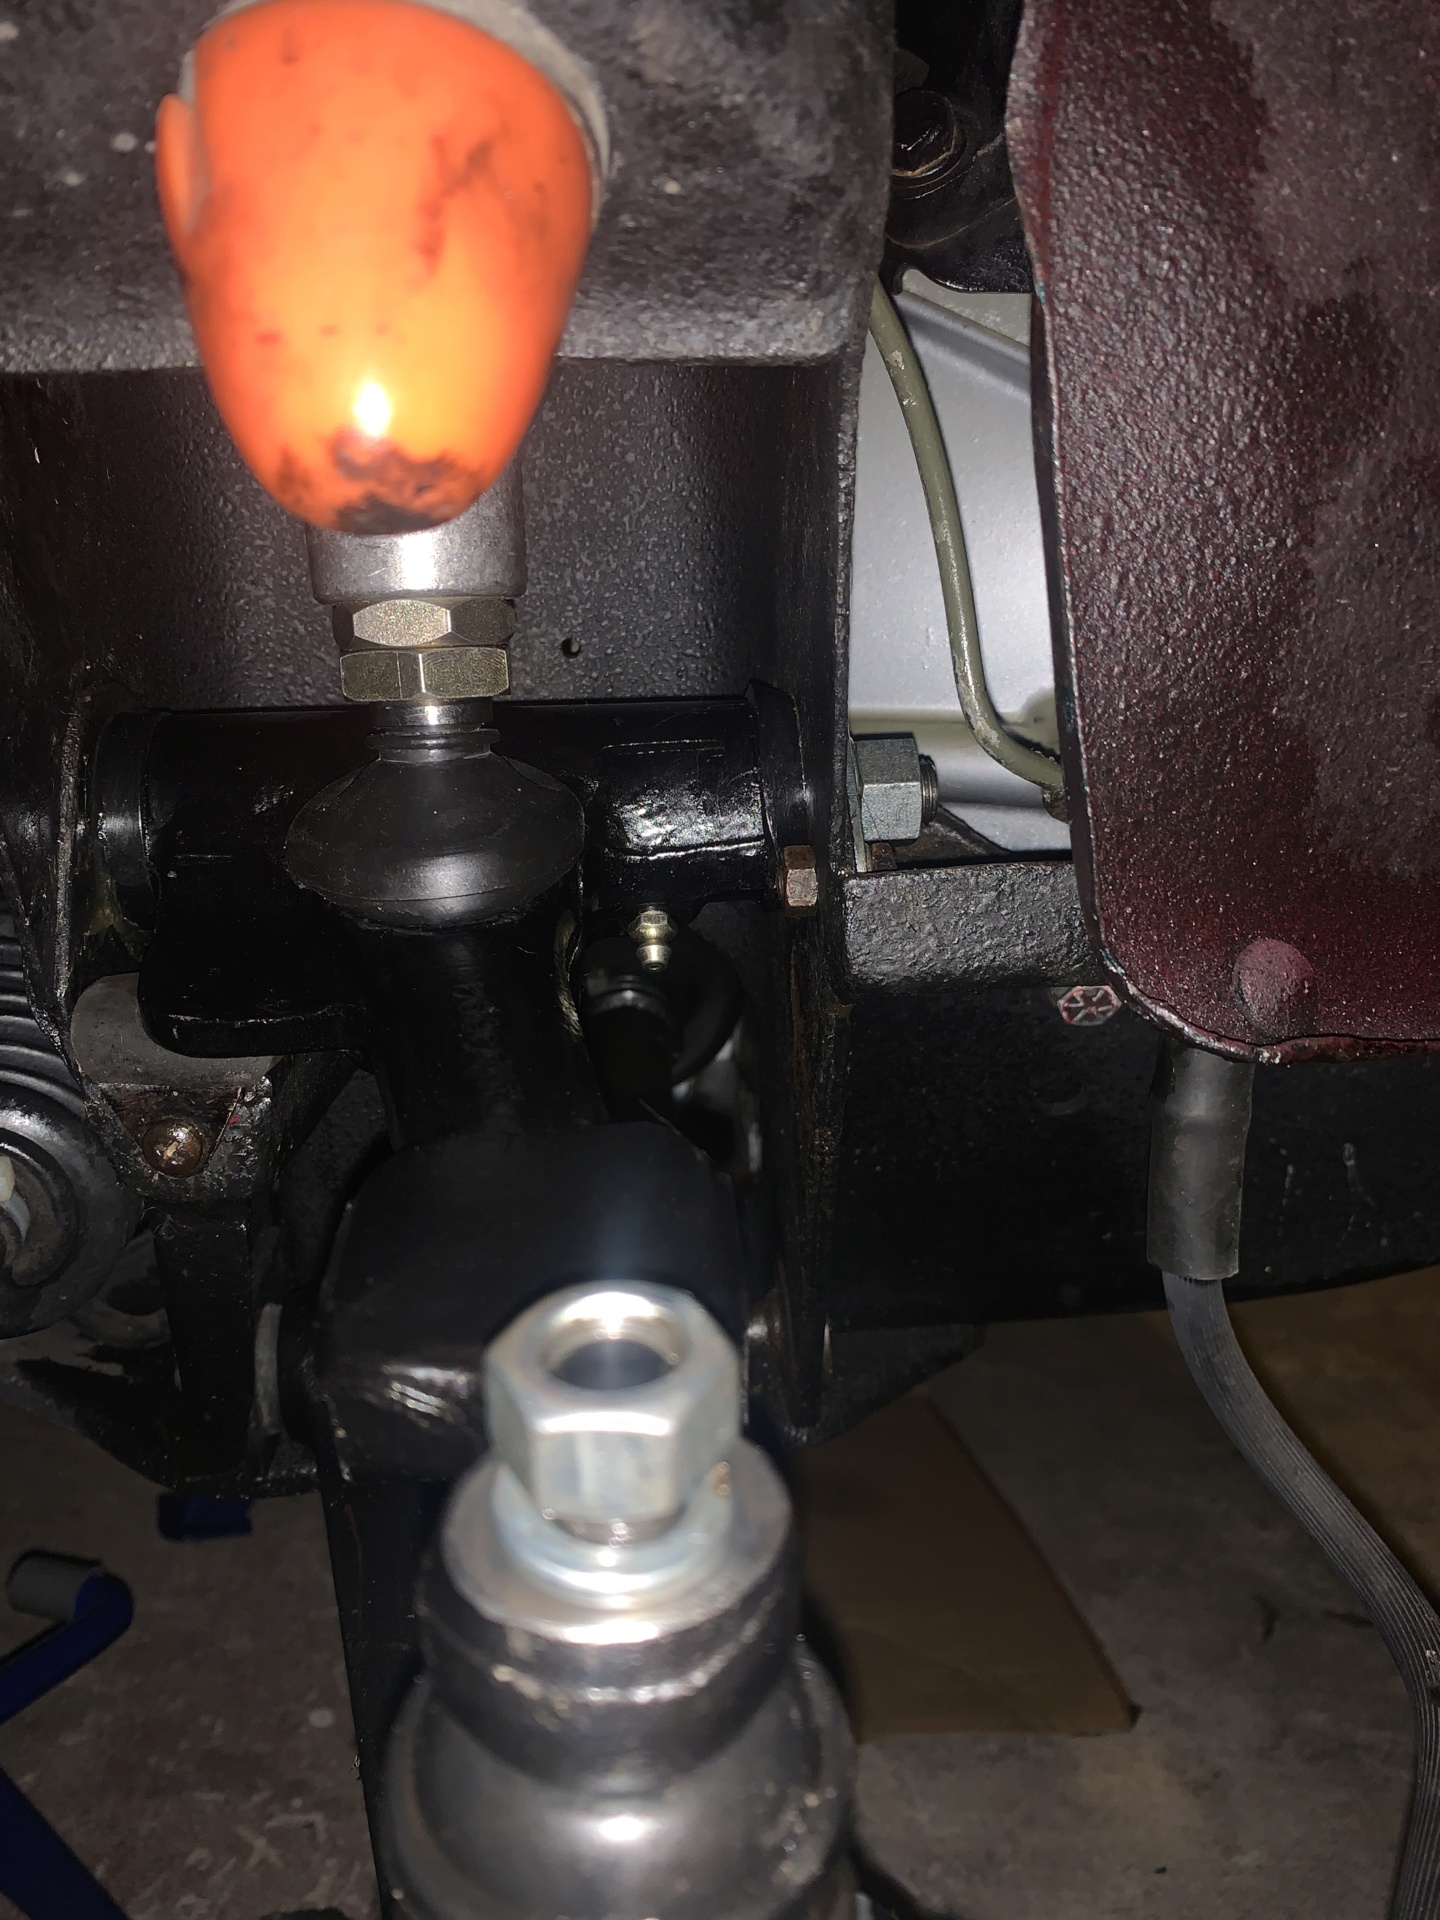
I'm currently rebuilding my front suspension upper arm on my Mini and I'm stuck trying to put it back in place.

I've bought a whole new arm + new joints and dust cover, but when I try to put the arm + the dust cover (passenger side), the joints (both), it does not fit. The engine side joint is not staying in place and it's a pain to achieve it. It looks like I need 1 mm more to work it out. Does anyone get a tips on that?

img_8430.jpg

img_8429.jpg


#2 nicklouse

nicklouse

    Moved Into The Garage

  • TMF+ Member
  • PipPipPipPipPipPipPipPipPipPipPip
  • 17,935 posts
  • Location: Not Yorkshire
  • Local Club: Anonyme Miniholiker

Posted 10 October 2020 - 09:59 AM

Front and rear thrust washers are different thicknesses. The front is way thicker and is fitted through the front opening.as that is what it locates on. So it is often easier to fit the rubber over the top arm. And fit the front washer after the arm is in position.


#3 KTS

KTS

    Up Into Fourth

  • TMF+ Member
  • PipPipPipPipPipPipPipPipPip
  • 2,257 posts
  • Location: Herts

Posted 10 October 2020 - 04:46 PM

also, make sure you keep the arm square to the subframe as it's slid in - there's not much free play as it goes into the tower so will jam if it's skewed 


also if you hadn't considered it already, i'd recommend you fit the rubber cone into the subframe tower before refitting the upper arm  (..a screwdriver etc across the tower apertures will keep it out of the way..)


Edited by KTS, 10 October 2020 - 04:51 PM.


#4 Spider

Spider

    Moved Into The Garage

  • Admin
  • PipPipPipPipPipPipPipPipPipPipPip
  • 13,901 posts
  • Location: NSW
  • Local Club: South Australian Moke Club

Posted 10 October 2020 - 06:22 PM

As the other guys have suggested.


As well, I fit the rear rubber seal and the rear thrust washer to the arm before fitting in place, I also put a light lick of grease on the back (subframe side) of the thrust, this helps it slide in to place as the arm goes in and also helps stop that side of it from rusting.


On the front end of the arm, I put the rubber on the Arm, but position it further on than it should be


ZFpn3cw.jpg


Then after I put the Pin in (with the Thrust, Diamond shaped Plate, spring washer and nut on the pin), before I tighten any of the fasteners on it, I slide the Rubber Seal in to it's correct position. Sometimes you need to work it a little with your fingers to get it to seat properly, then once it's seated, then do up the fasteners.


#5 smeloh

smeloh

    Learner Driver

  • Noobies
  • PipPip
  • 13 posts
  • Location: fr

Posted 13 October 2020 - 01:33 PM

That's great. Thank you guys for your advice. This morning I achieved to fit the arm but the seal was crushed. I'll try again, using Moke Spider solution, seems great


#6 smeloh

smeloh

    Learner Driver

  • Noobies
  • PipPip
  • 13 posts
  • Location: fr

Posted 14 October 2020 - 07:35 AM

Thanks guys, it has worked. The seal is not perfectly in its space, but it should be ok.


img_8510.jpg


#7 KTS

KTS

    Up Into Fourth

  • TMF+ Member
  • PipPipPipPipPipPipPipPipPip
  • 2,257 posts
  • Location: Herts

Posted 14 October 2020 - 08:32 AM

appreciate it can be challenging to get the seal to fit properly, but well worth taking the time and effort to get it done as it'll do a much better job of keeping water/crud out, so you won't need to rebuild again for much longer.


i found that squeezing the seal into the gap whilst rotating the upper arm up and down works quite well to get it in place


#8 smeloh

smeloh

    Learner Driver

  • Noobies
  • PipPip
  • 13 posts
  • Location: fr

Posted 14 October 2020 - 09:43 AM

I'll give a try but it looks like a half millimeter is missing, the seal does not want to fit.


#9 smeloh

smeloh

    Learner Driver

  • Noobies
  • PipPip
  • 13 posts
  • Location: fr

Posted 25 October 2020 - 04:33 PM

Well, I tried but it does not fit, the seal does not have enough space to fit. I'll let it like that...

Also, I noticed the arm is really hard to move (with my hand), after tightening up the axle bolts. Is that normal?


#10 smeloh

smeloh

    Learner Driver

  • Noobies
  • PipPip
  • 13 posts
  • Location: fr

Posted 25 October 2020 - 05:29 PM

I think the new arm is a bit too big compared to the oem, it would explain why the seal is not fitting and the lack of movement after tightening....


#11 mini-mad-mark

mini-mad-mark

    One Carb Or Two?

  • Members
  • PipPipPipPipPipPipPip
  • 703 posts
  • Local Club: northants wot no brakes

Posted 25 October 2020 - 05:48 PM

If I remember correctly its easier to put the seals in place before finally tightening everything (even keeping the parts quite loose until the seals are in the correct position fitted)?


Also good to tighten the rear nut first to pull the arm as far back as possible (not sure if this is the proper way but I found it worked for me - others may say this is incorrect?)


#12 smeloh

smeloh

    Learner Driver

  • Noobies
  • PipPip
  • 13 posts
  • Location: fr

Posted 25 October 2020 - 05:55 PM

I was thinking about, I'll give a try after finishing the other side. But the difference between the old and new arm is quite big (something like 1mm or 3/64″)

I made some schema to understand what's happening, and if the arm is bigger, and the axle based on the OEM size, there is no play at all, the thrusts are touching the arm and then it's complicated to make it move. I hope it won't create problems in the future.


Attached Files


Edited by smeloh, 25 October 2020 - 06:03 PM.


#13 Spider

Spider

    Moved Into The Garage

  • Admin
  • PipPipPipPipPipPipPipPipPipPipPip
  • 13,901 posts
  • Location: NSW
  • Local Club: South Australian Moke Club

Posted 25 October 2020 - 08:18 PM

The Factory Pins, shoulder to Shoulder were 0.005 to 0.010" longer than the Arms were from Thrust Face to Thrust Face.


The 'friction' you feel maybe from the Seal, though some I've had the Bearings have been a wee bit tight in the Arm and so end up a wee bit tighter on the Pin. I've also had some Bearings skew the Needless before fitting the Pin, and so when they do that, they also close up a bit. Might be an idea to check it all.


#14 smeloh

smeloh

    Learner Driver

  • Noobies
  • PipPip
  • 13 posts
  • Location: fr

Posted 25 October 2020 - 09:48 PM

In my case it's more than just a friction. When tighten up, I can't barely move it with my hand. I don't think the seal could do that.


#15 Magneto

Magneto

    One Carb Or Two?

  • Members
  • PipPipPipPipPipPipPip
  • 889 posts
  • Location: Kansas City, USA
  • Local Club: KC MINI Club

Posted 26 October 2020 - 01:54 AM

First thing I would have done it thoroughly clean the area it goes into in the subframe. Check for burrs or other malformations that could cause it to bind.


Next - no that front seal is not right the way it shows in the pic (it also looks to be damaged), you need to take it back out and do it right.


While you have the arm out measure it to make sure it's not longer than the old one, if it is either return it for a better made part or modify it to fit properly.


If everything is right it will go together and move smoothly and not bind.


I also move the arm up and down a little as I'm working it into place, seems to help - I've had some that really were difficult to slide in, but in the end if you persevere you'll get it right. 


1 user(s) are reading this topic

0 members, 1 guests, 0 anonymous users