Jump to content


Photo

Boot Floor Replacement


  • Please log in to reply
9 replies to this topic

#1 biff

biff

    Learner Driver

  • Noobies
  • PipPip
  • 18 posts
  • Location: bristol

Posted 19 October 2020 - 10:51 AM

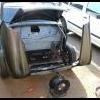
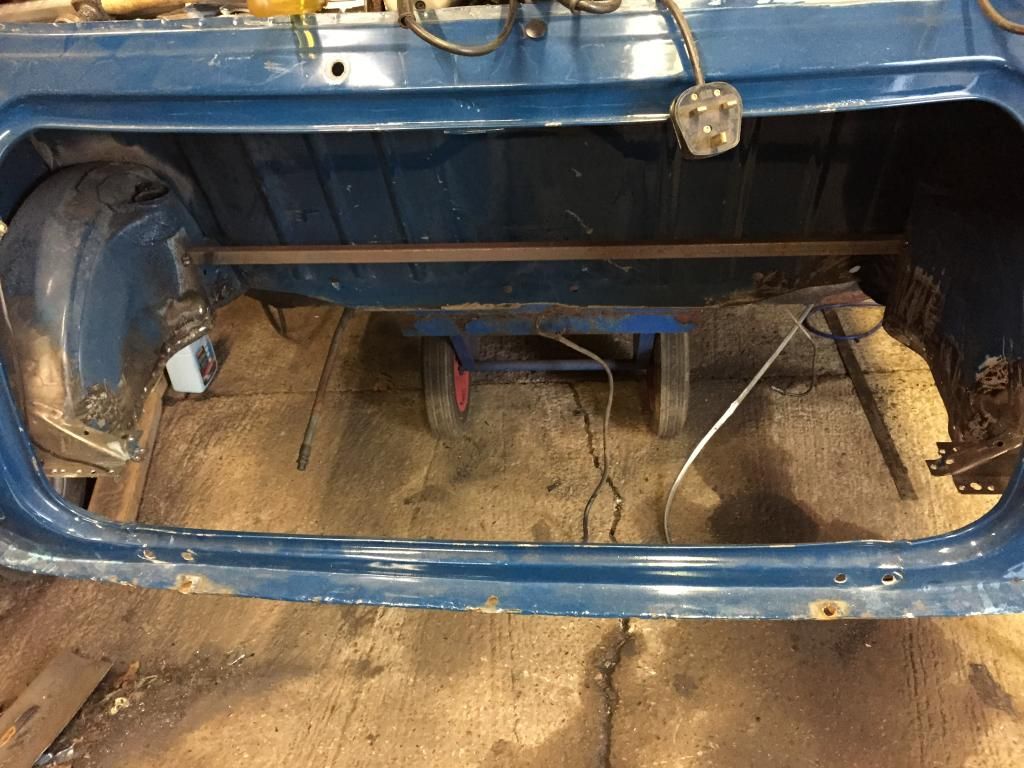
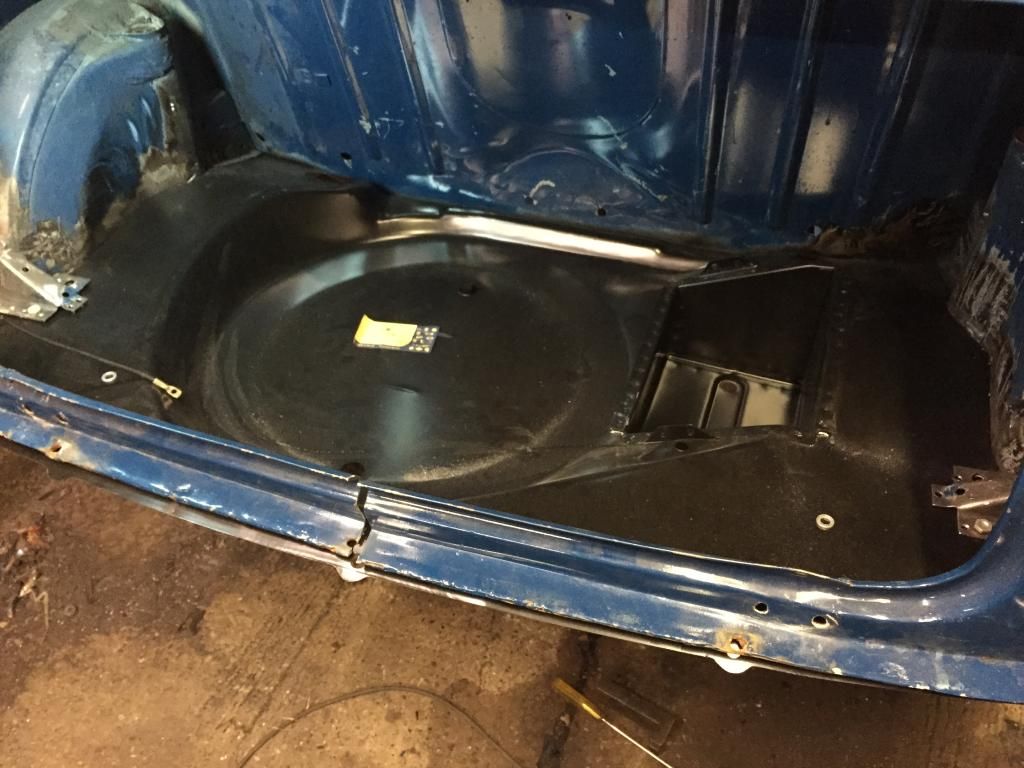
Ive decided to replace the boot floor in my Mark 3.  The car is jacked up with the rear subframe removed.  I was going to patch but have found that what's there has been repaired so many times that it makes sense to replace with a whole new Heritage panel with battery box.  I have seen a few threads on here which have convinced me its possible to get the floor panel out without damaging the rear bulkhead, heal board or wheel arches.


My questions:


1.  The BMH boot floor panel seems to be generic to all models?  Will it fit in a mark 3 ok?   And what non-original features does it have (a different battery box)?


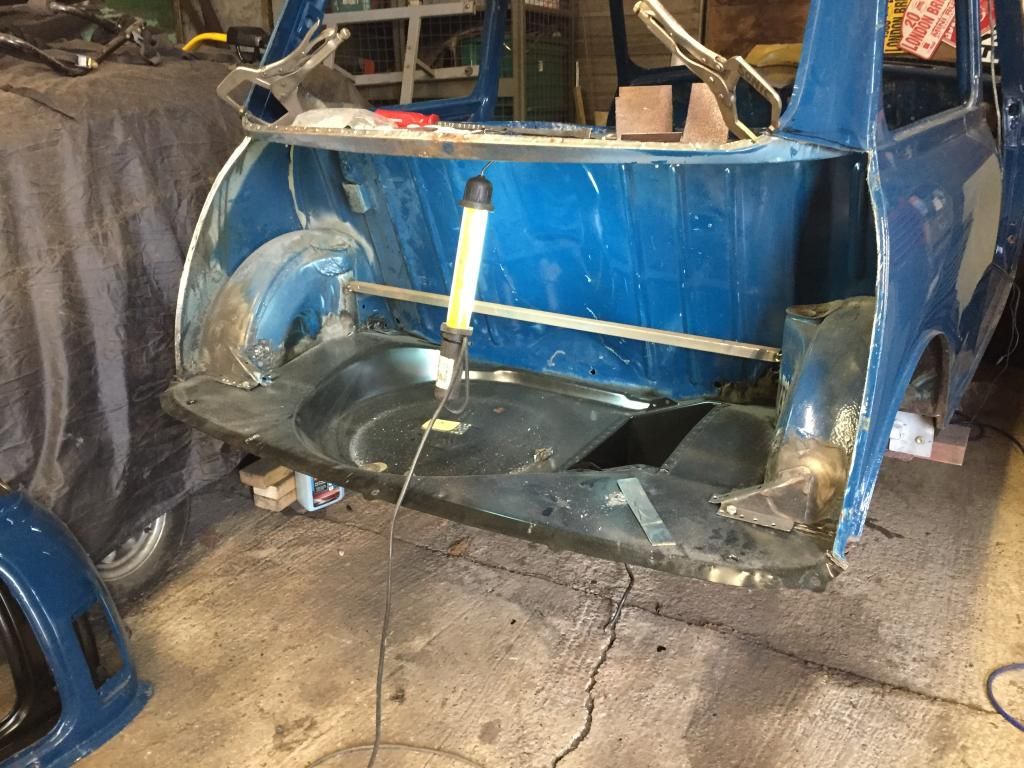
2.  Bracing?  Any required if only the floor is being removed?  My car is currently braced across the doors (ready to do the sills) and jacked up just in front of the heal board.  I have seen that some people brace across the arches/turrets but am not sure if this is in the direction of any likely forces from boot floor removal.


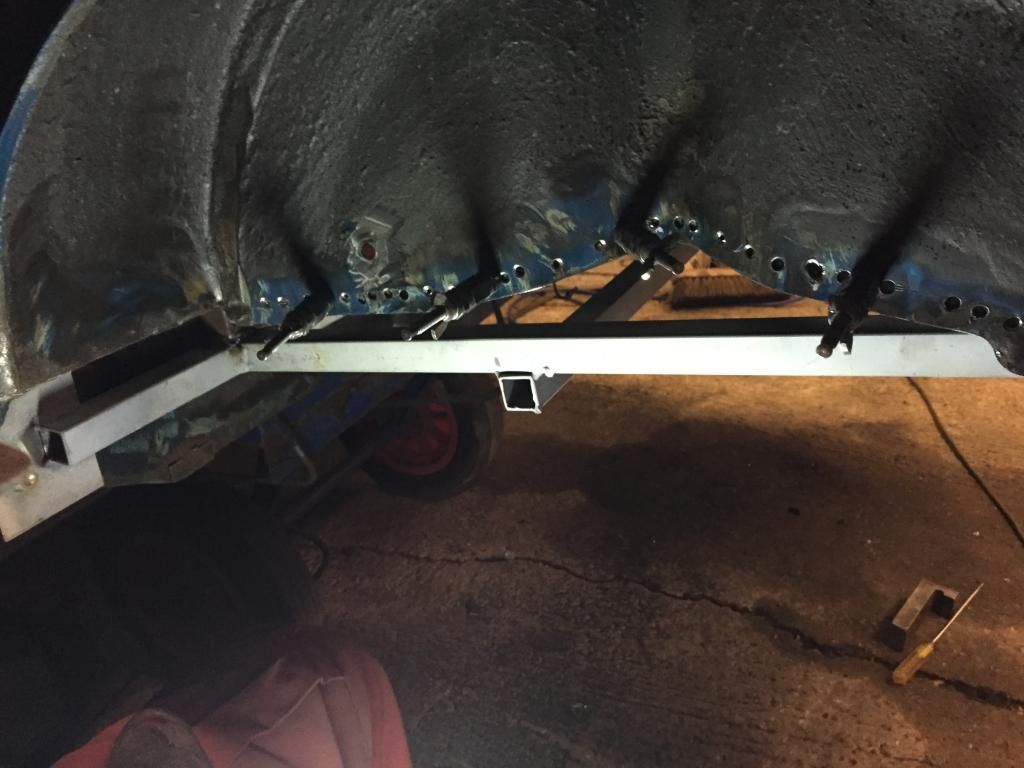
3.  Any other tips - especially for getting the old floor out without disturbing the bulkhead, healboard and arches.


TIA!


#2 Junior Mini

Junior Mini

    Speeding Along Now

  • Members
  • PipPipPipPipPip
  • 313 posts

Posted 19 October 2020 - 11:45 AM

Hi Biff,


Yes you can remove the boot floor in it's entirety without damaging the panels. You will find it easier if you have a spit to rotate it though?


1. The BMH boot floor is pressed from the last shells which was for MPi, so the fuel line hole is different. You can either weld a plate over it and re-drill the correct holes or just fit the MPi fuel line grommet to seal it.

    The boot floor will also need fuel tank strap bracket fitting, and the rear loom tabs. Also you will also need to replace the rear valance panel and it's associated closers as it will be very difficult to rescue these from the old

    floor and that's if they are still worth saving.


2. I would brace it across the top of the rear arch turrets to stop them twisting, but I'm paranoid about things like that and many people have managed to do it without.


3. Yes, as i said it will be much easier if you can get good access to both sides with a spit but you can do it without. You may find that you will need additional panels after removal but if you take your time and remove the old floor in pieces rather than one big chunk you should be fine.


If you look at my project Trixy, you will see how i did it, but it ran away with me and I ended up replacing the whole lot  >_<


Good luck.


Paul.


Edited by Junior Mini, 19 October 2020 - 11:47 AM.


#3 humph

humph

    How bad can it Be?

  • TMF+ Member
  • PipPipPipPipPipPipPip
  • 1,065 posts

Posted 19 October 2020 - 11:53 AM

All of the above is good. As mentioned their are areas (where the subby rear mounts fit) where the floor is 4 layers thick made up of other smaller panels, you may need to replace these.


Also, having learned from experience, use a stripped down subframe, or some of the metal you've used for bracing to make up a template of where all your mounting holes are before cutting out the existing floor.  This way you can make sure it goes back correctly and the subby will fit. They can be out enough to stop the subby fitting even if you leave the rear arches in as a guide.


#4 biff

biff

    Learner Driver

  • Noobies
  • PipPip
  • 18 posts
  • Location: bristol

Posted 19 October 2020 - 01:15 PM

Paul and Humph


Thanks for the tips - very helpful.  I have already removed the closing panels and valence so was expecting to renew these anyway.  And I have stripped down the subframe with a view to using it as a template.  My car currently jacked up with front end/engine still intact (when I started I was only fixing a small rust spot in the rear arch!). Hence a spit is not an option now but good to hear it can be done with the car the right way up.


#5 sonikk4

sonikk4

    Twisted Paint Polisher!!!

  • Admin
  • PipPipPipPipPipPipPipPipPipPipPip
  • 15,897 posts
  • Name: Neil
  • Location: Oxfordshire

Posted 19 October 2020 - 02:33 PM

You will find the holes in the boot floor for the fuel lines are different so i carefully removed those and welded them in to my MK3 clubby floor.


The fuel tank strap mounting is different, its a floating captive nut. Also the tank mount as well.


No need for it to be on a spit to do the boot floor and yes brace it across the strut towers. If the boot floor is still in place including the rear subframe brackets then these can be used to help align everything. Also the same applies to the inner arches as well.


All of this can be seen in Project Paddy in my signature below.


#6 sonikk4

sonikk4

    Twisted Paint Polisher!!!

  • Admin
  • PipPipPipPipPipPipPipPipPipPipPip
  • 15,897 posts
  • Name: Neil
  • Location: Oxfordshire

Posted 19 October 2020 - 02:45 PM

Tank strap mount and support bracket

3a98d931b82561d5accf7df434215776bedc26ab


a98988f751a299bc07261b42fac861f54fead658


Bracing and subframe mounts left in place

0cf2484f062db429380a1952fa200e5bd132cc3a


Floor in place with bolts through the subframe brackets for alignment. The cut in the hinge panel is on purpose and was to do with previously repaired accident damage.

af8e61f4d9c9e775ef05413b46f5e3c56e92a6d9


This is my jig for the subframe, this was built as i was replacing the heelboard as well

ec70fe1d66e4974819bcca421013ff16f82d72f3


A better view of the rear end

0b86e482779848a0b38c139ed56697fc566491b6


Captive nut for the battery strap

0865808ed4093e7810ec8548672ac9c6ff3c2f7b


Salvaged fuel pipe holes

991428680356660a67c0aa598cb9909dc53f55cb


New floor fuel pipe hole cutout (this is for the injection cars)

0975d8a11cd066045d96131aa4136f737666307a


All welded in place

61697e08cce0c2f6bff983cddcf9d2e541a2adcd


#7 MarkR

MarkR

    Learner Driver

  • Just Joined
  • PipPip
  • 22 posts
  • Location: Bergen
  • Local Club: Bergen Mini Club

Posted 20 October 2020 - 01:00 PM

I have replaced the whole panel behind the seat back, cut from a complete heritage boot floor. Used the subframe as a jig. Seam welded and seam sealed the joint with the seat bottom panel which wasn't rusty so I didn't think it worthwhile to replace it.Mines a Mk4.


#8 biff

biff

    Learner Driver

  • Noobies
  • PipPip
  • 18 posts
  • Location: bristol

Posted 20 October 2020 - 05:23 PM

MarkR


I was wondering about doing it that way as the front part of my panel also rust free .  Was your car on a rollover jig when you did that?  The seam weld was against the base of the seat back?  Id have to do it upside down and not sure about getting a good seam weld there vs easier  plug weld joins from above if I remove the whole panel.  Hmmm ...


#9 Verderad

Verderad

    Speeding Along Now

  • TMF+ Member
  • PipPipPipPipPip
  • 394 posts
  • Location: Porthcawl

Posted 20 October 2020 - 09:08 PM

Change the whole floor, only a few more spots to remove and you know its rust free.   

The rear seat also has a change from MK3, I cut this out and replaced with part if my original seat.


#10 MarkR

MarkR

    Learner Driver

  • Just Joined
  • PipPip
  • 22 posts
  • Location: Bergen
  • Local Club: Bergen Mini Club

Posted 21 October 2020 - 08:36 AM

Hi Biff.

Yes it was on my home made jig. Made of metal tube and engine stands. I cut the new panel along the back edge of the seat pans. If you look at the picture the black is original and the redish is new.

Mark

Attached Files


0 user(s) are reading this topic

0 members, 0 guests, 0 anonymous users