Just joined up here and thought I would put up my build diary seeing as I'll be sticking around!!
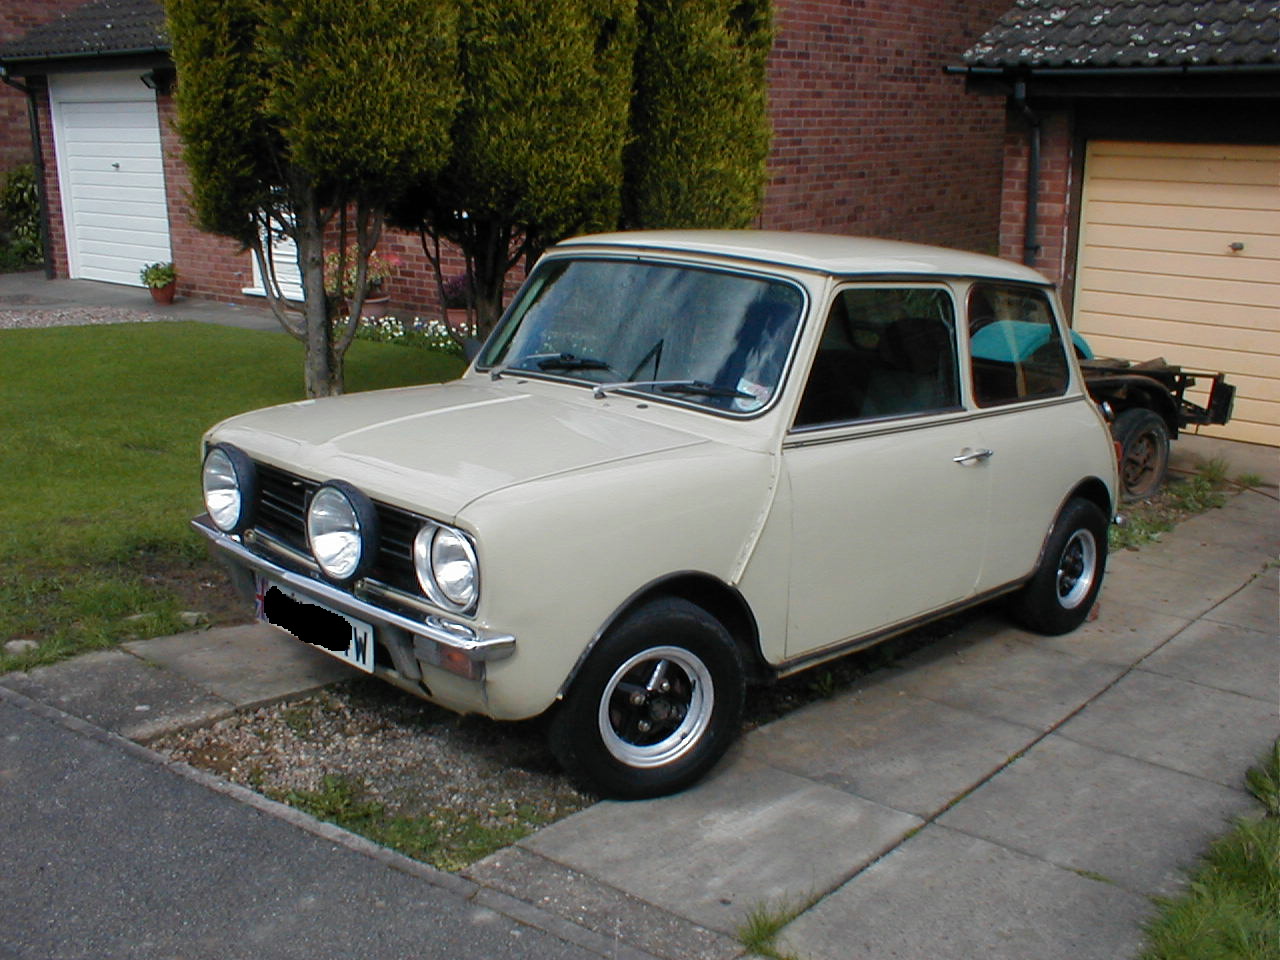
I had a vtec mini a couple of years ago but then got a vauxhall engined one, a kind of surfy blue colour, it was featured in mini mag last year sometime with a vtec clubby you may remember it I don't know!
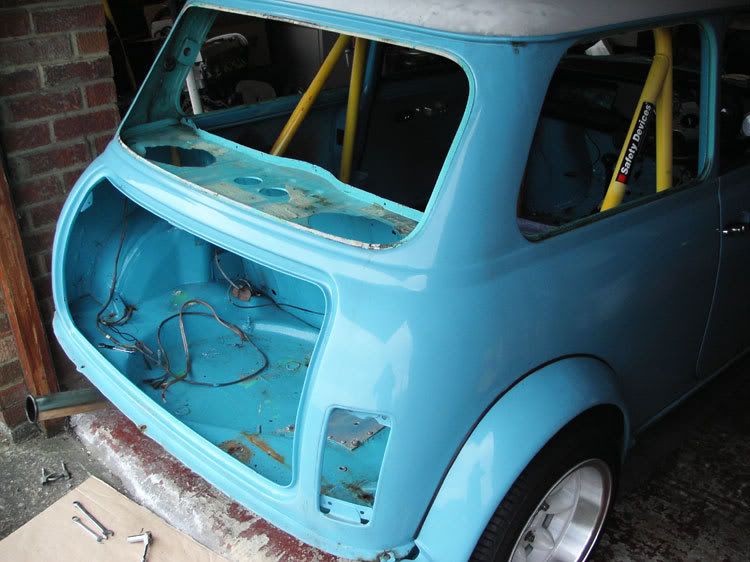
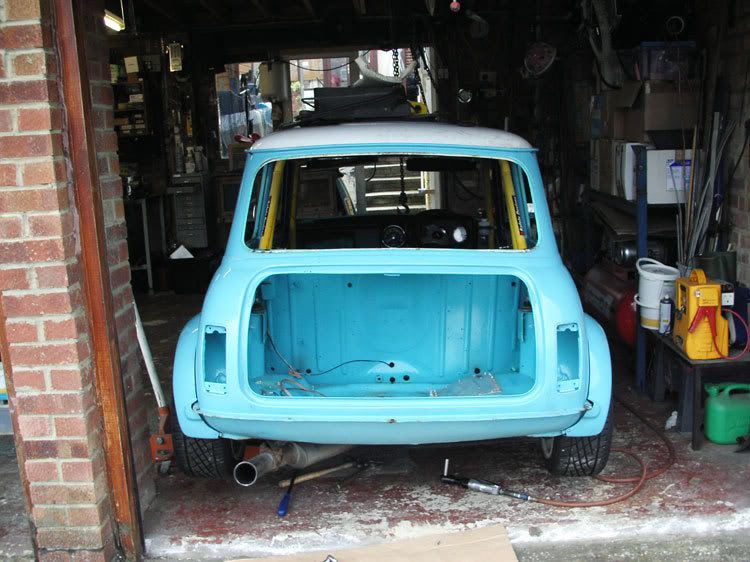
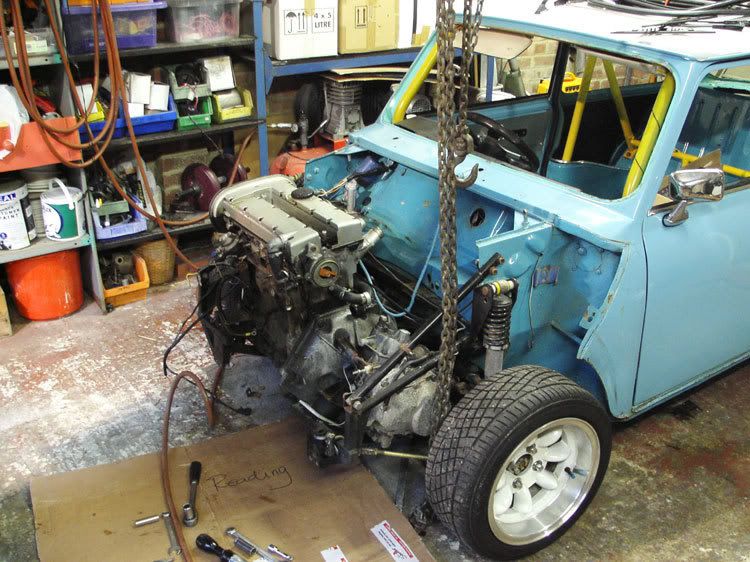
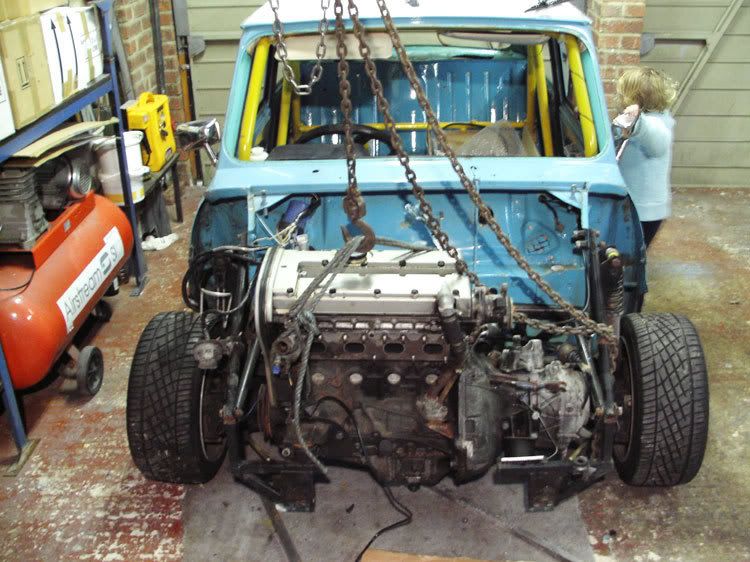
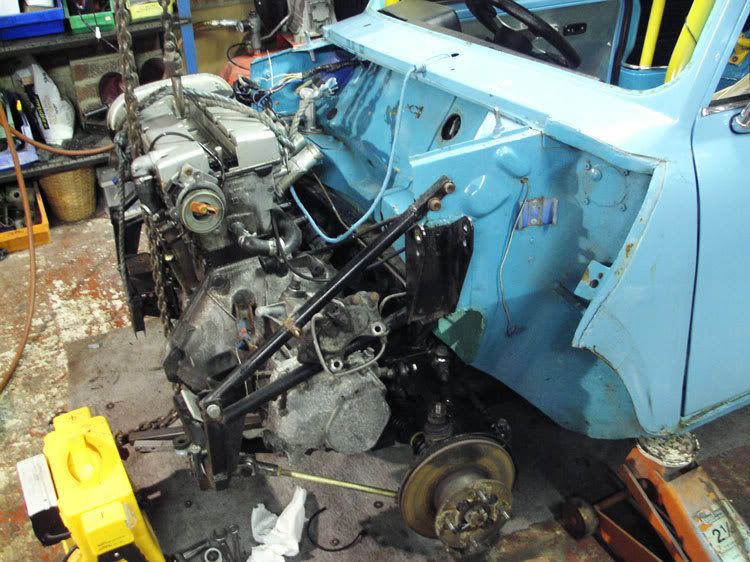
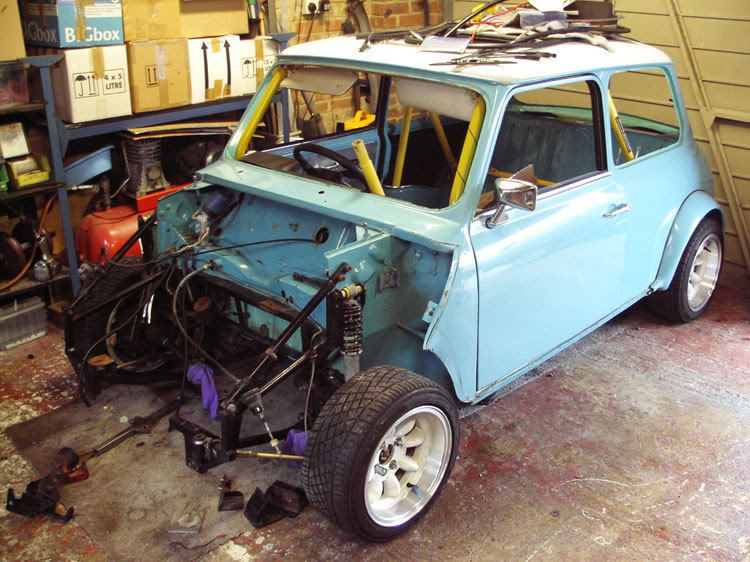
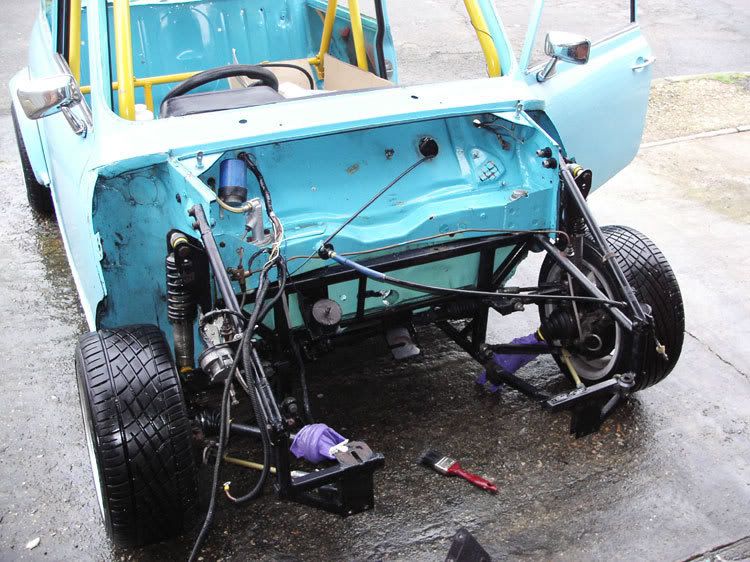
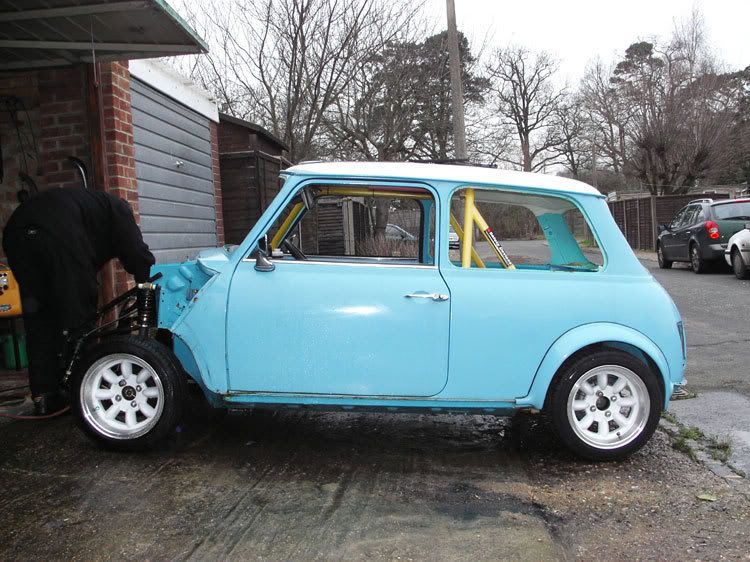
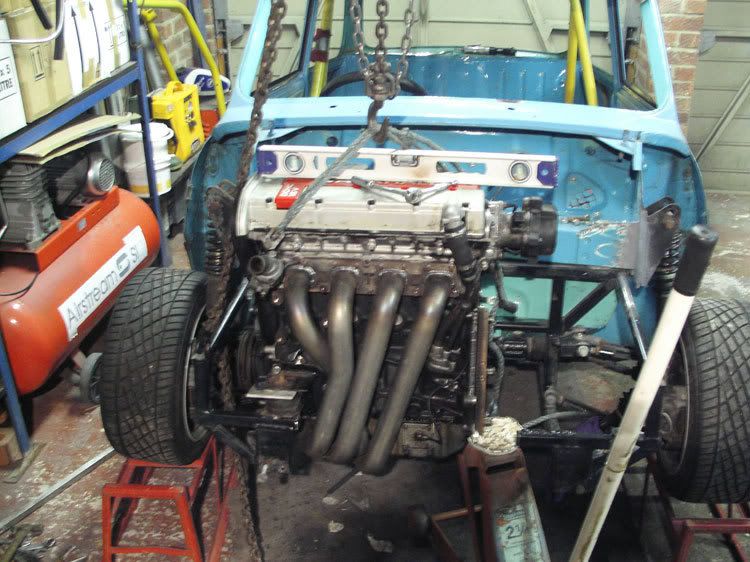
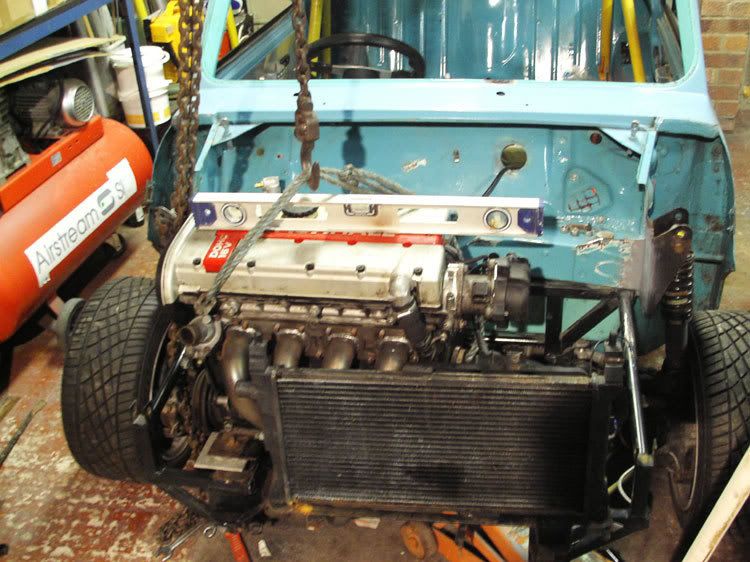
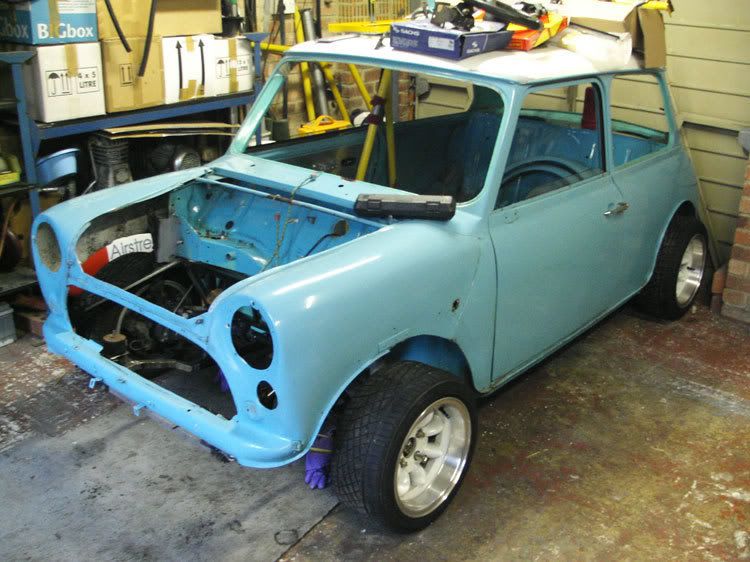
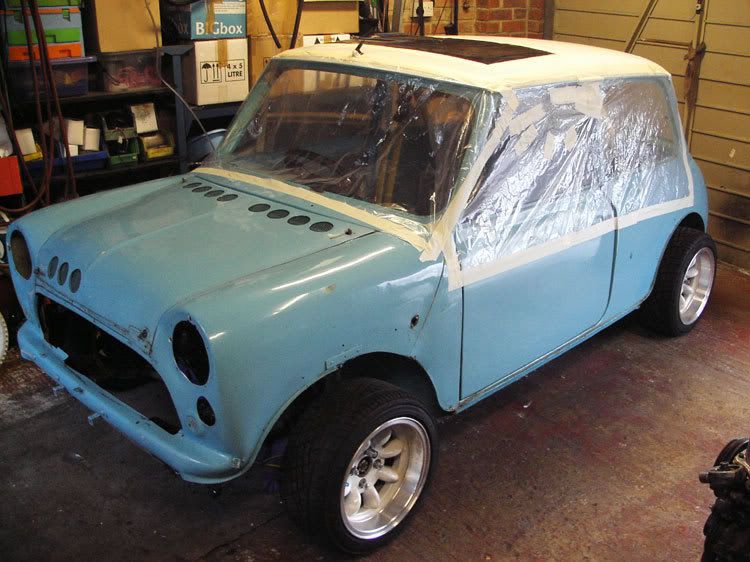
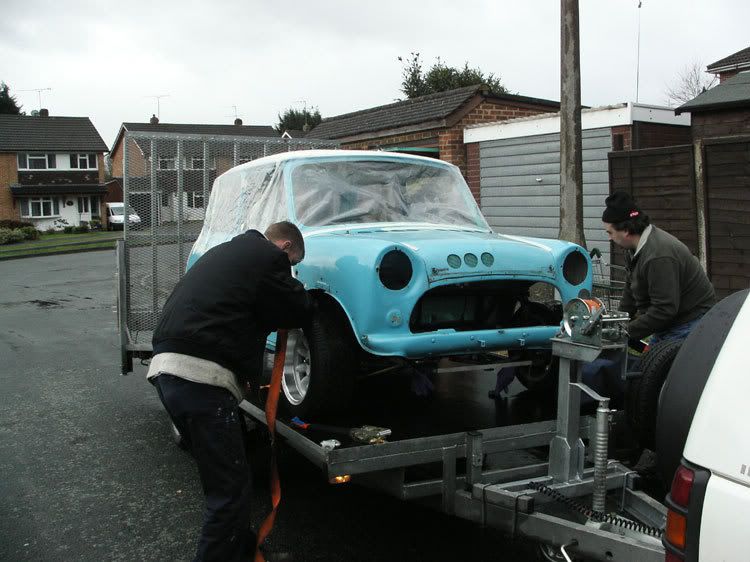
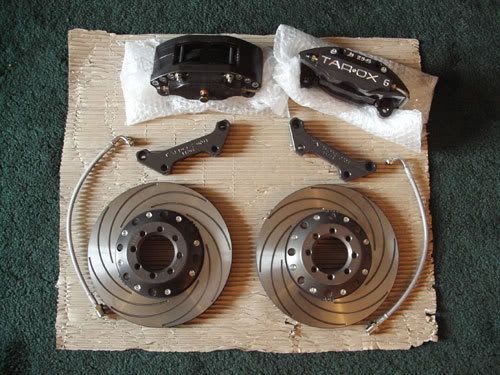
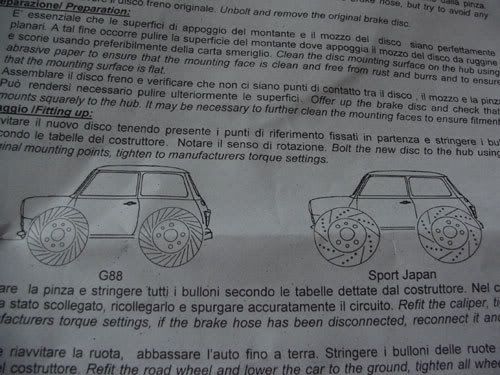
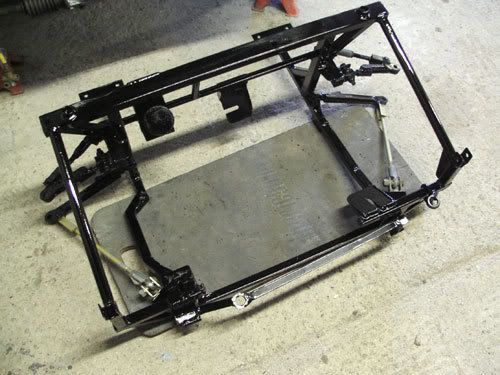
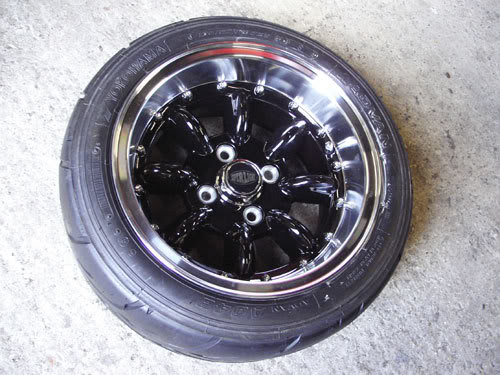
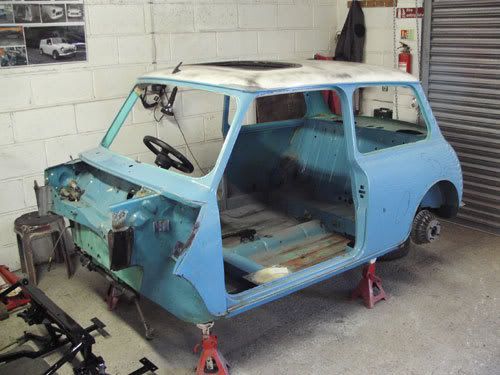
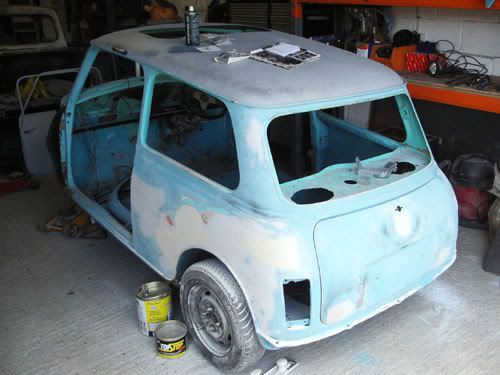
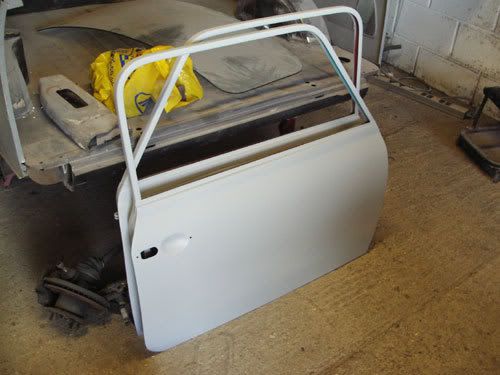
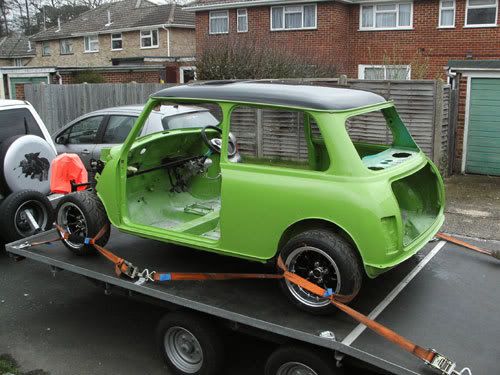
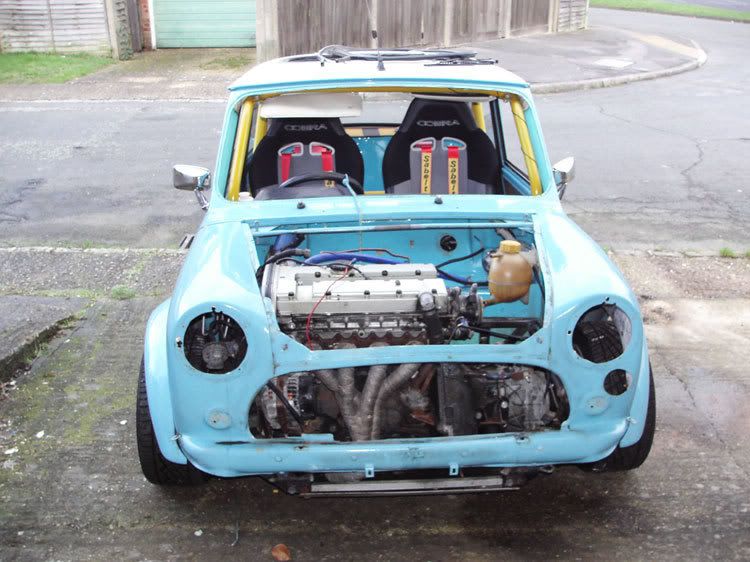
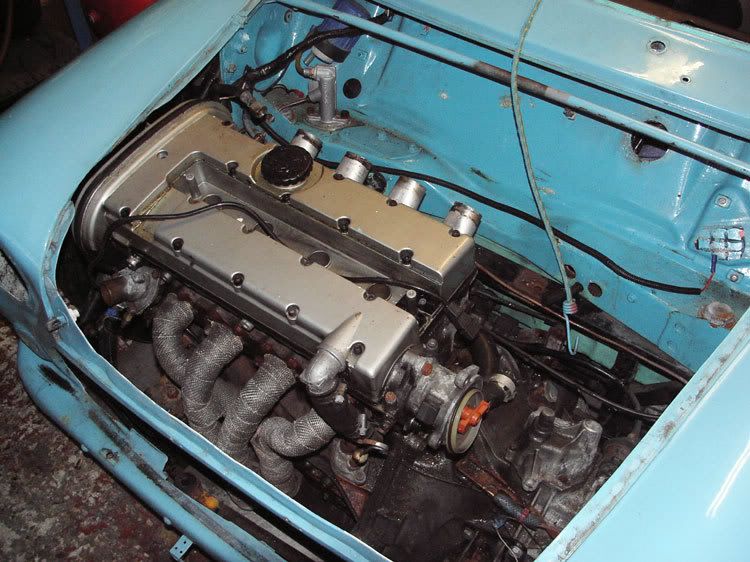
Anyway sorry about the masses of pics but this is the work we've done in the last couple of months, it's now back from the bodyshop and ready to be built up!
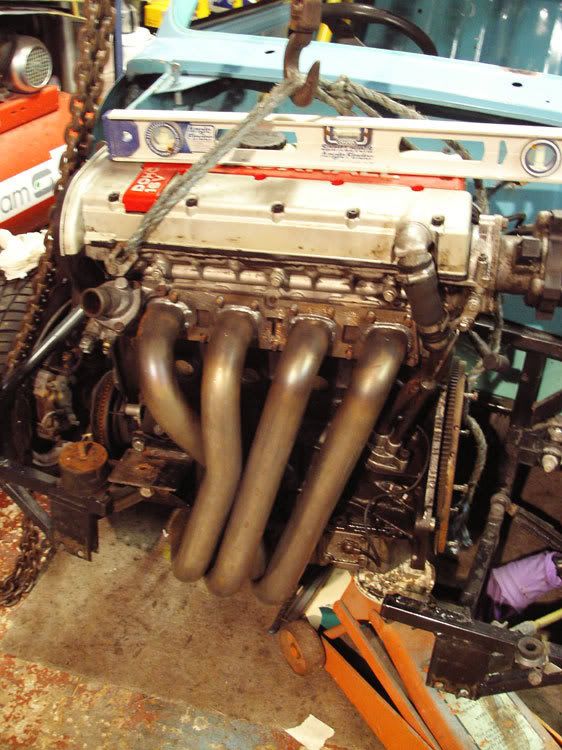
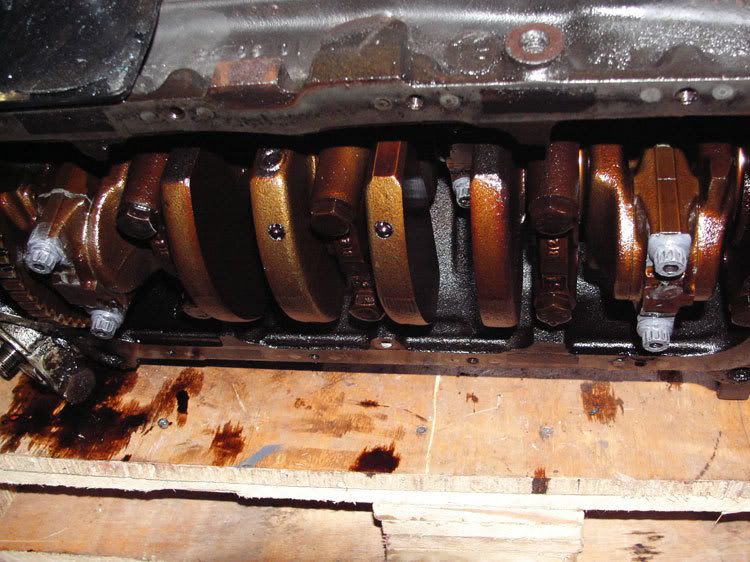
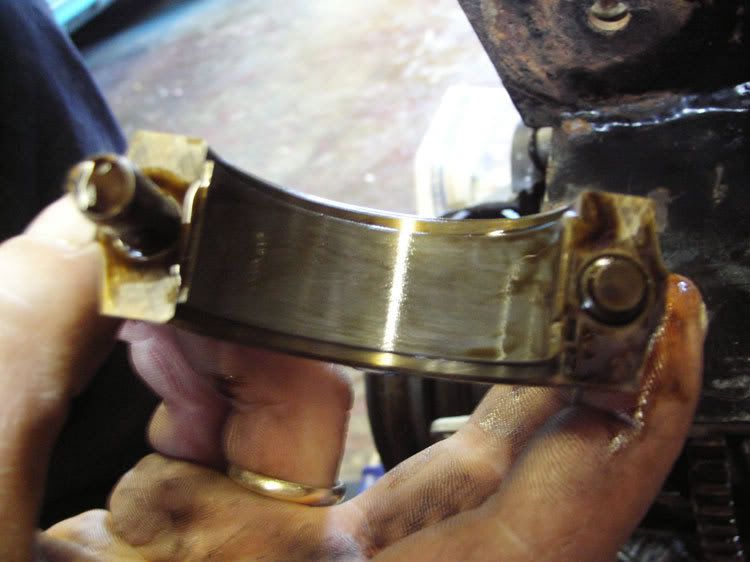
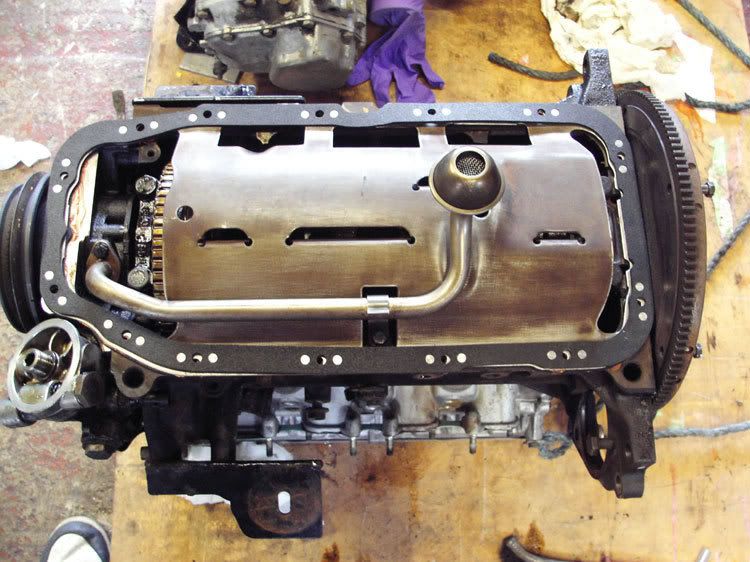
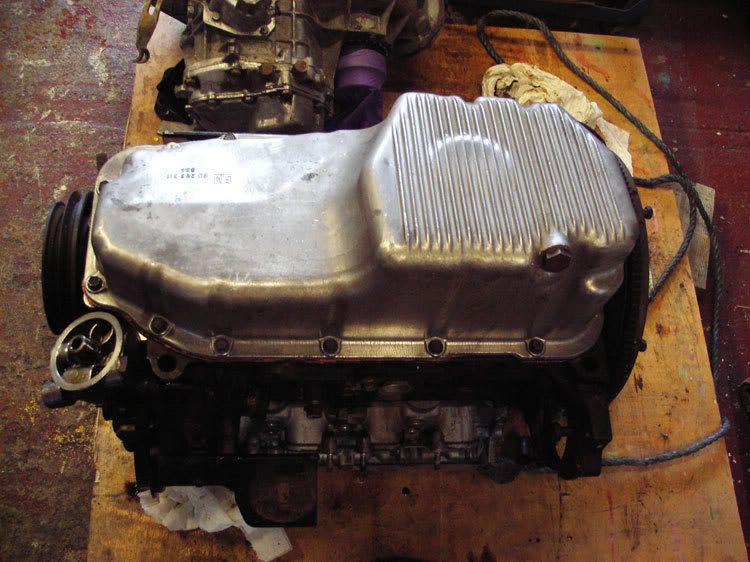
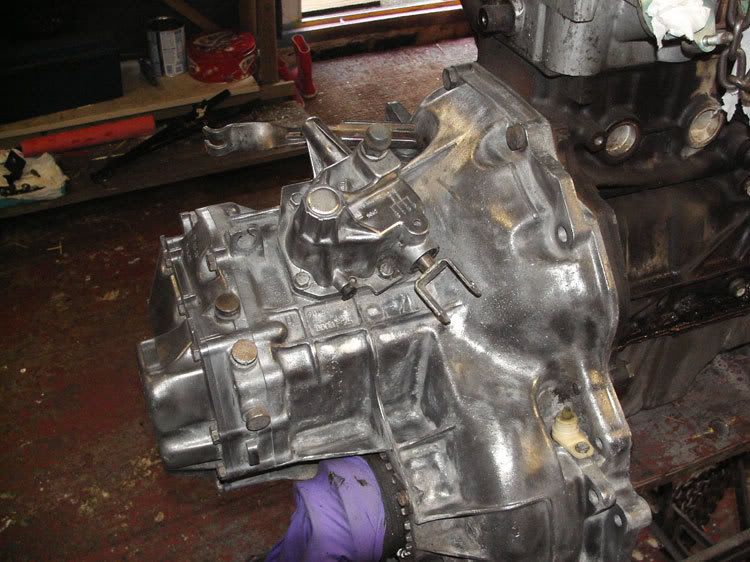
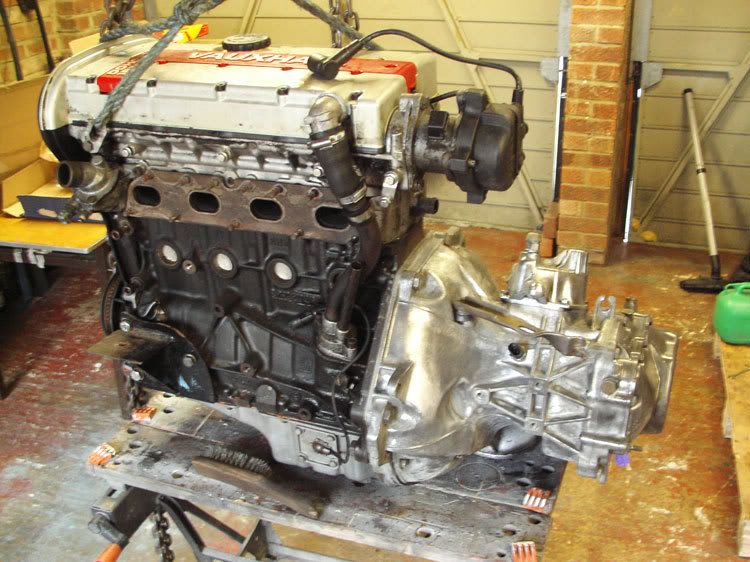
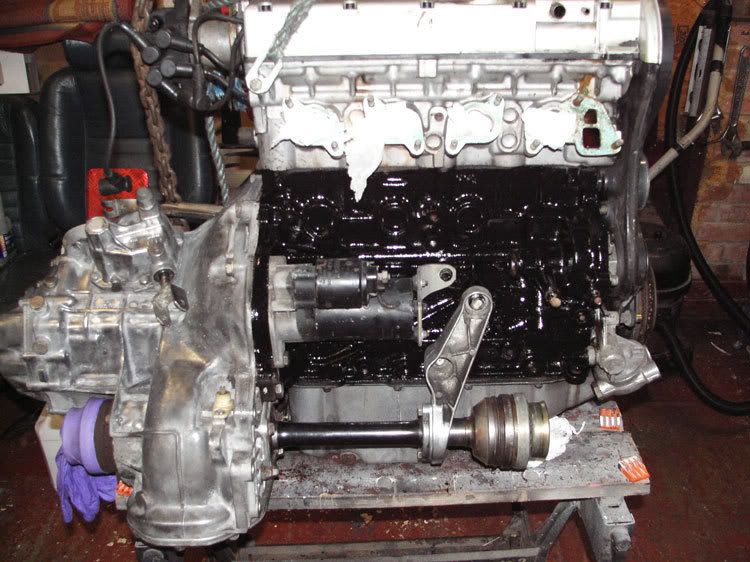
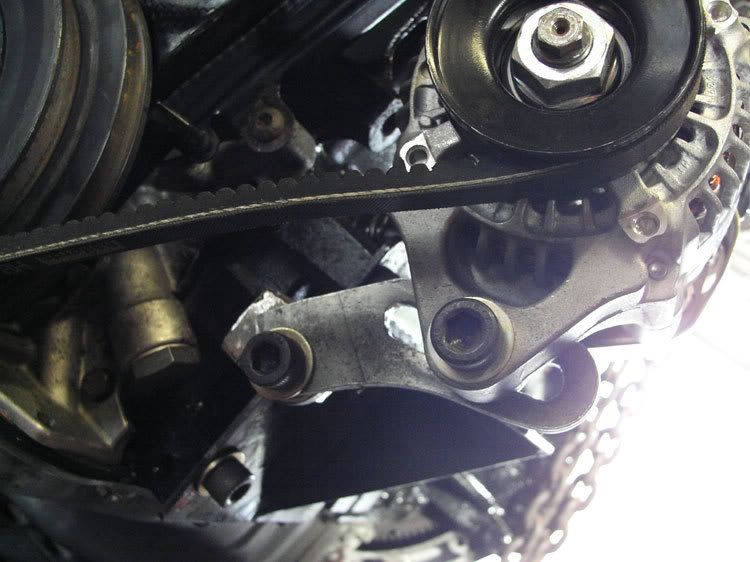
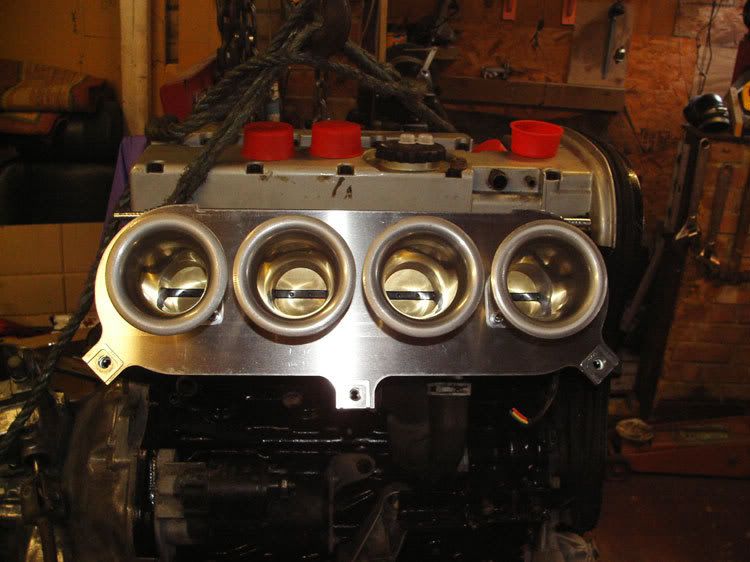
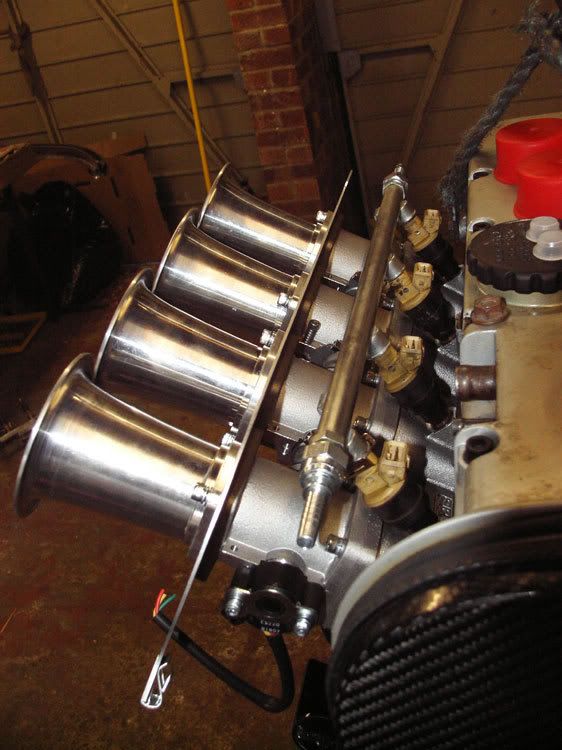
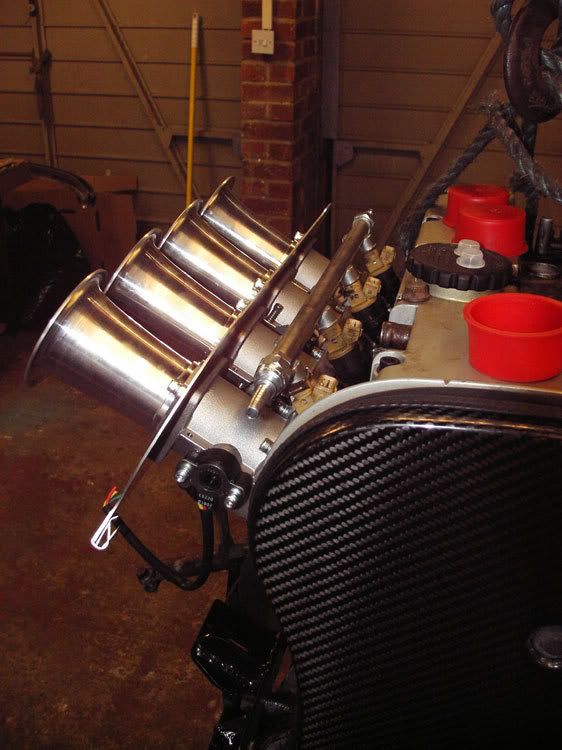
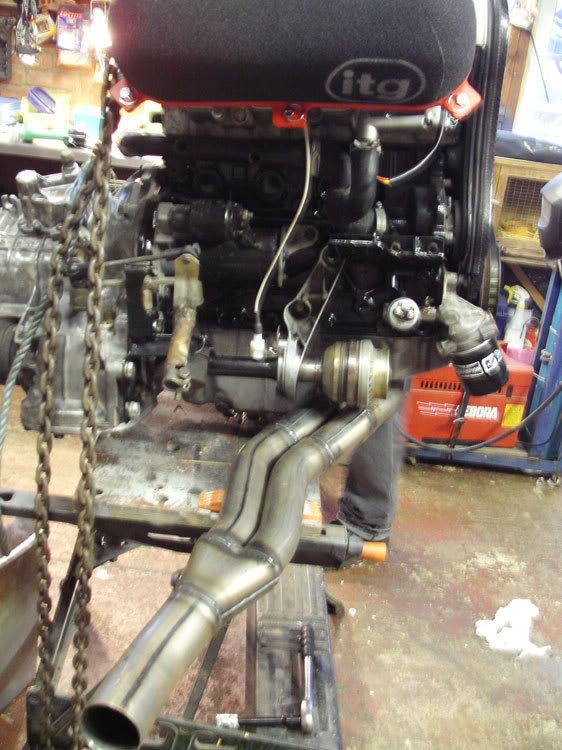
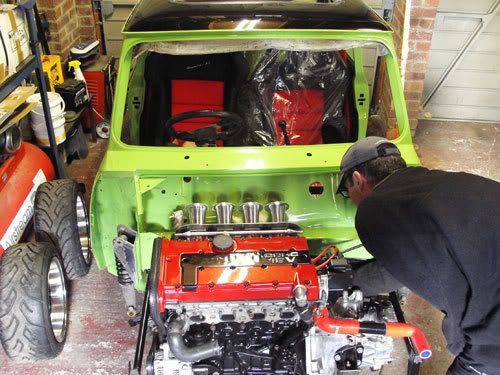
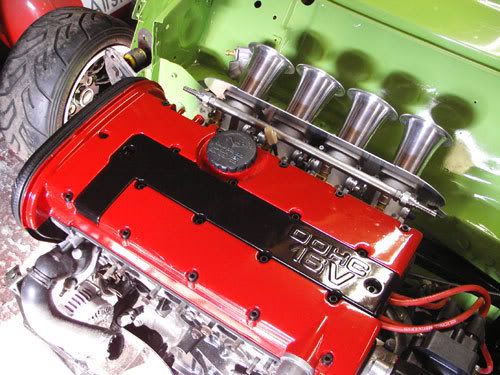
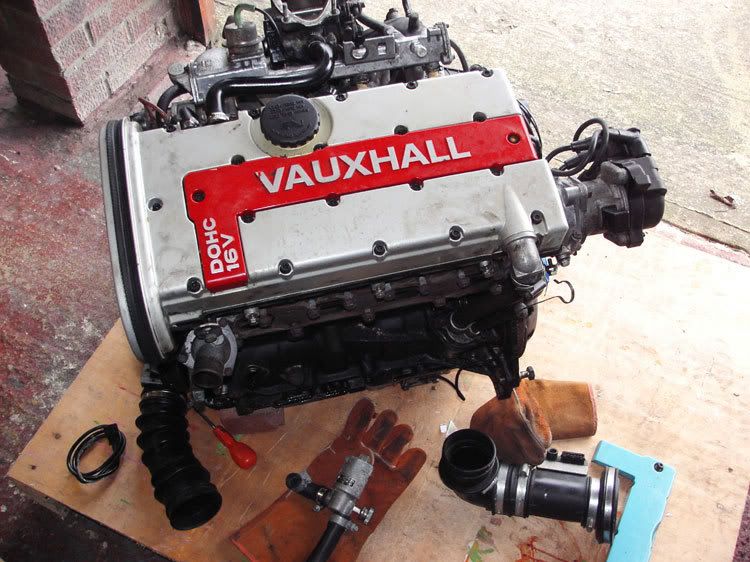
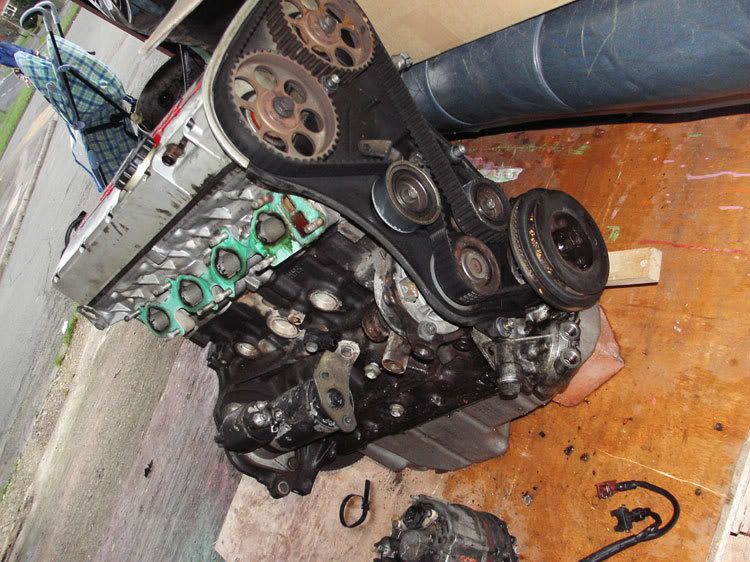
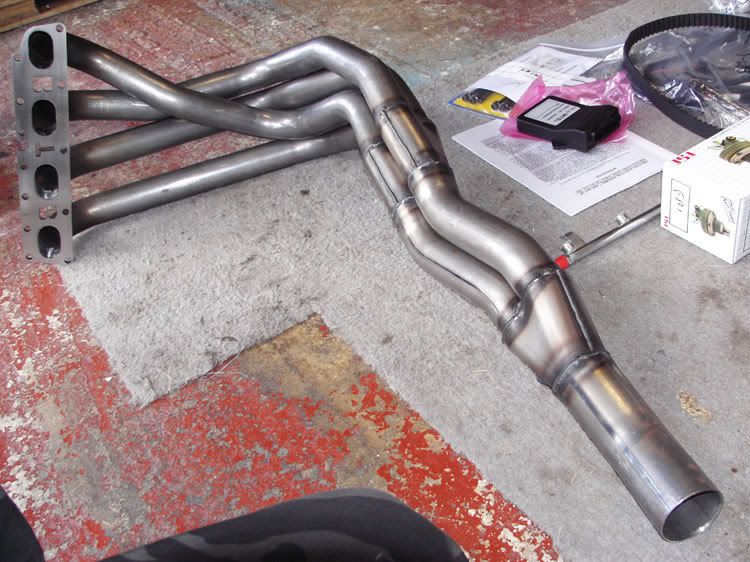
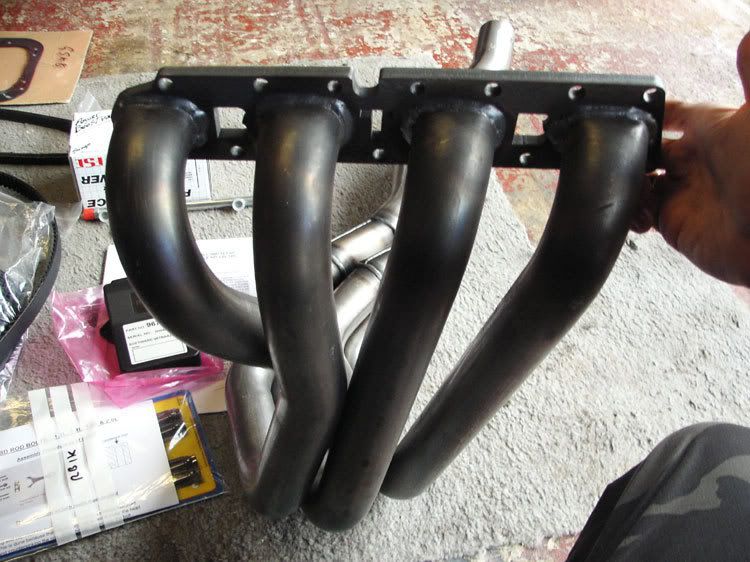
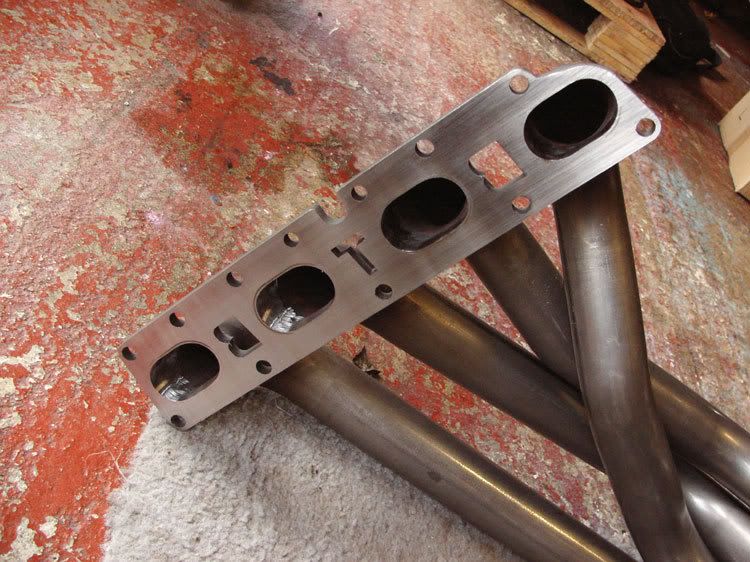
Sourced myself a new XE lump from Somerset, very nice in great nick and ready for modifying!

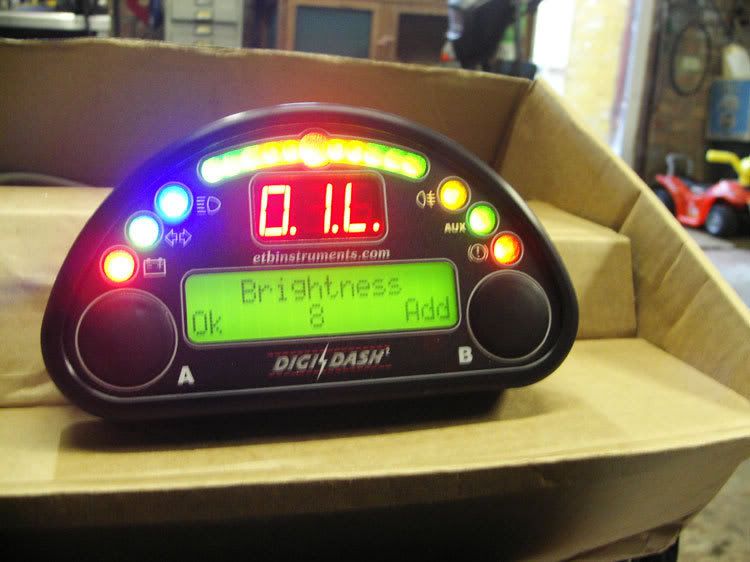
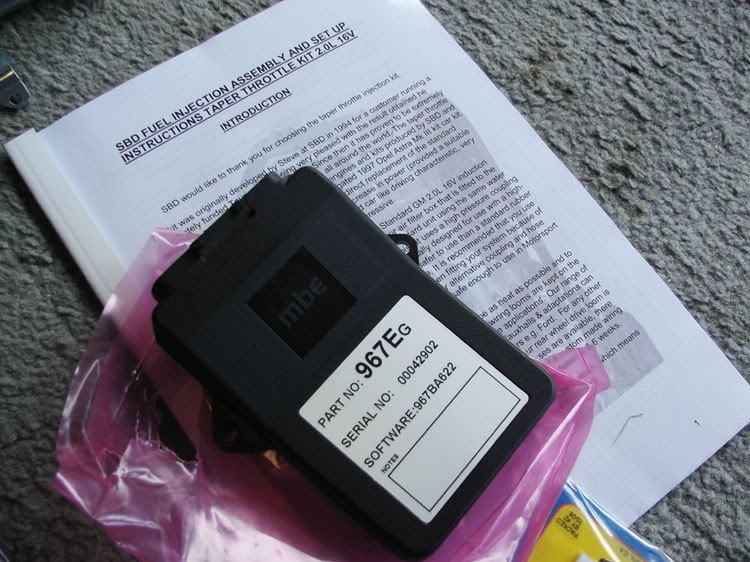
New ecu:
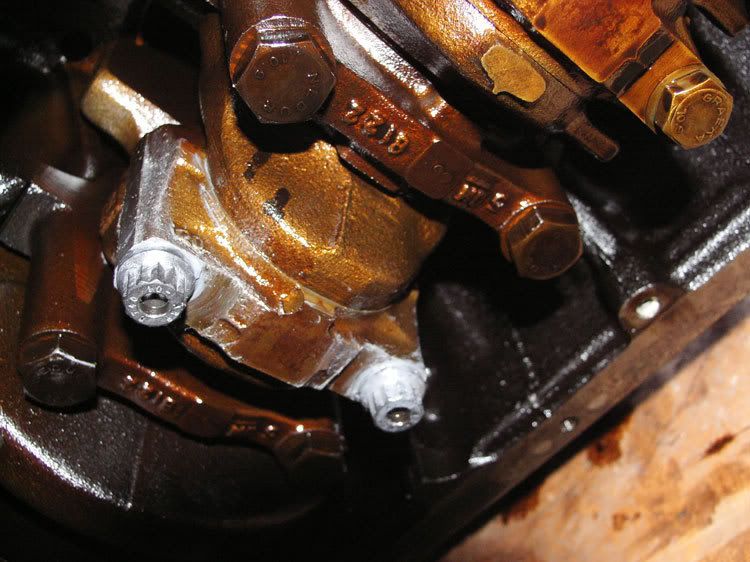
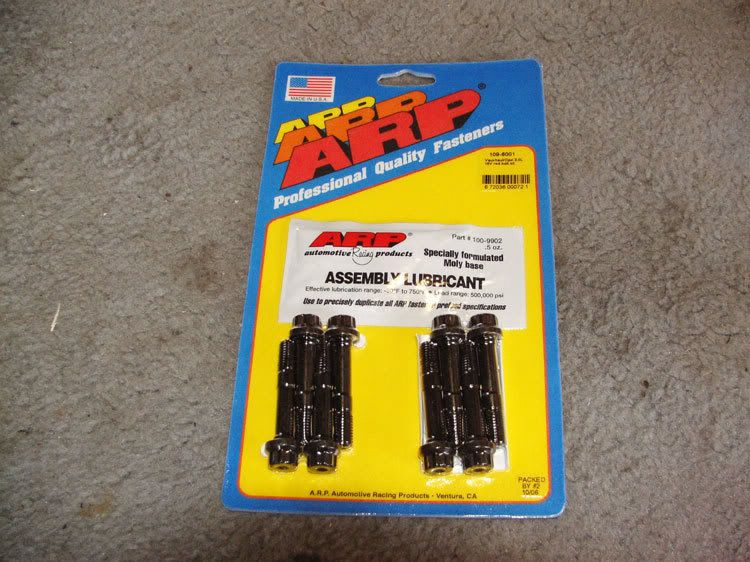
ARP Rod Bolts:
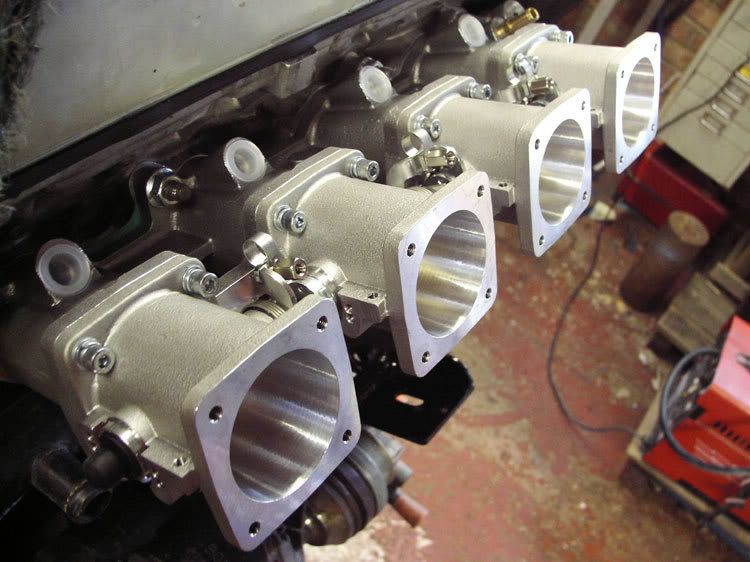
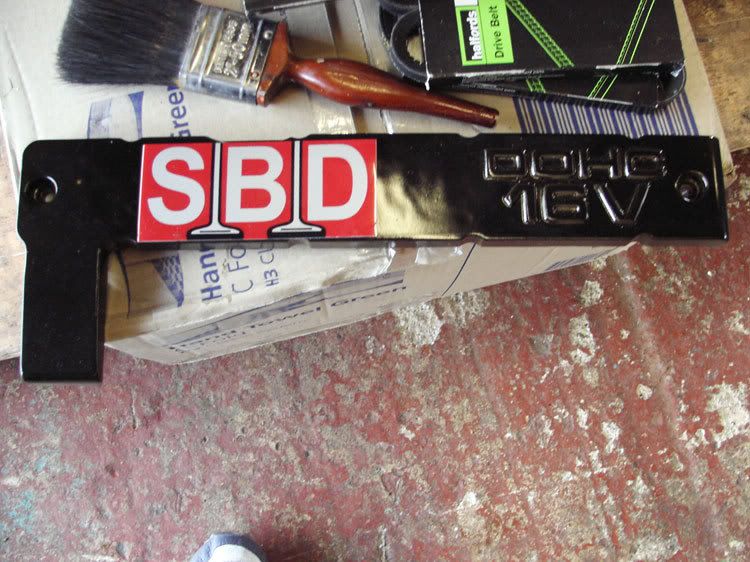
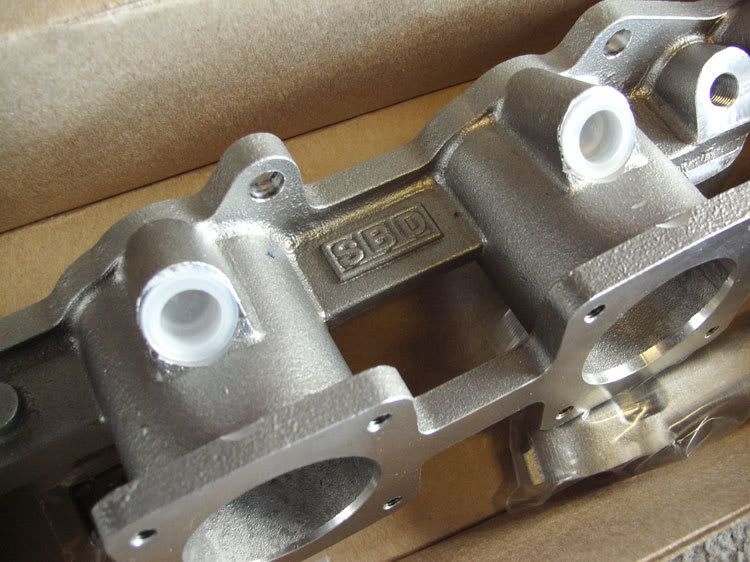
SBD:

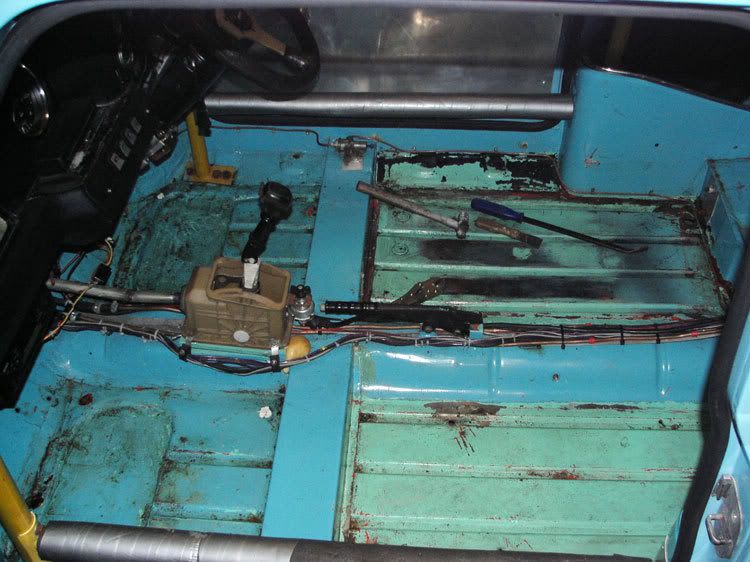
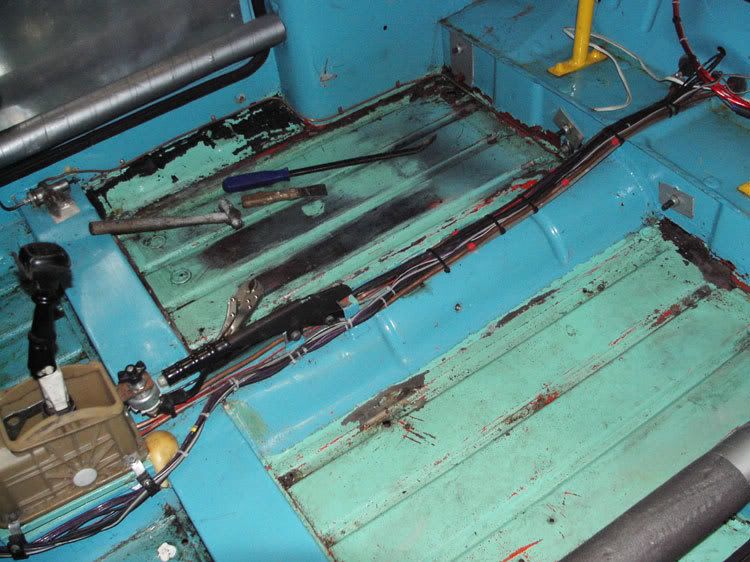
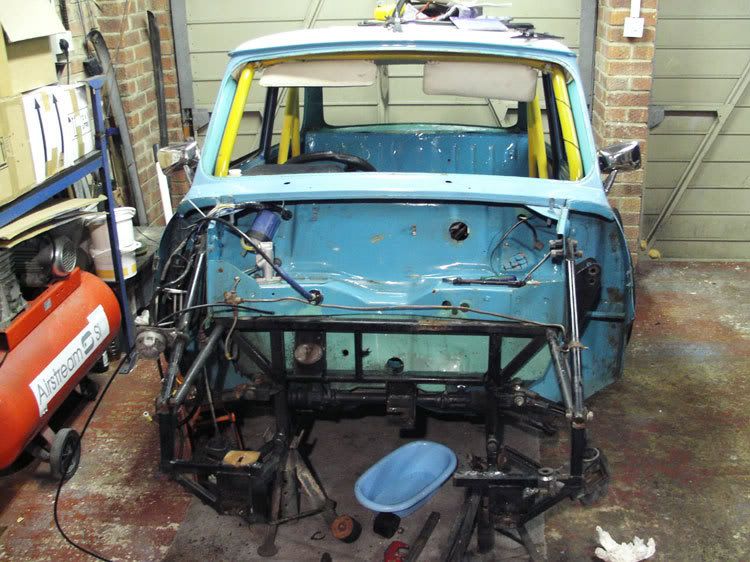
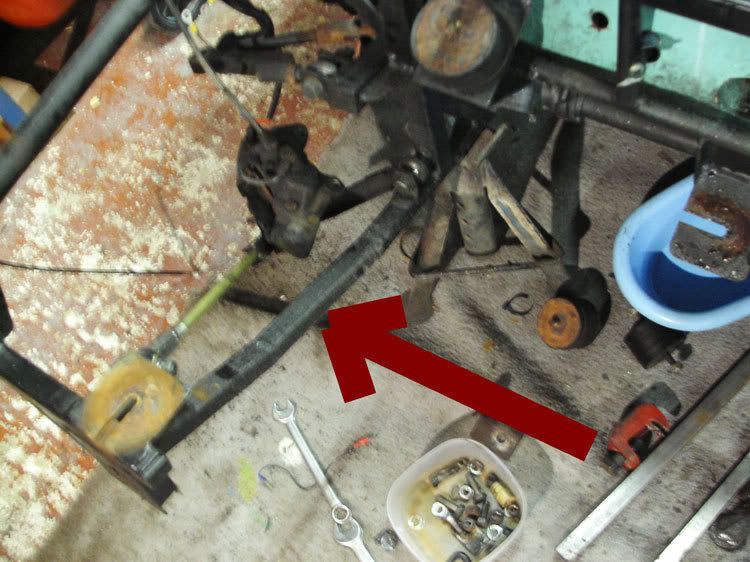
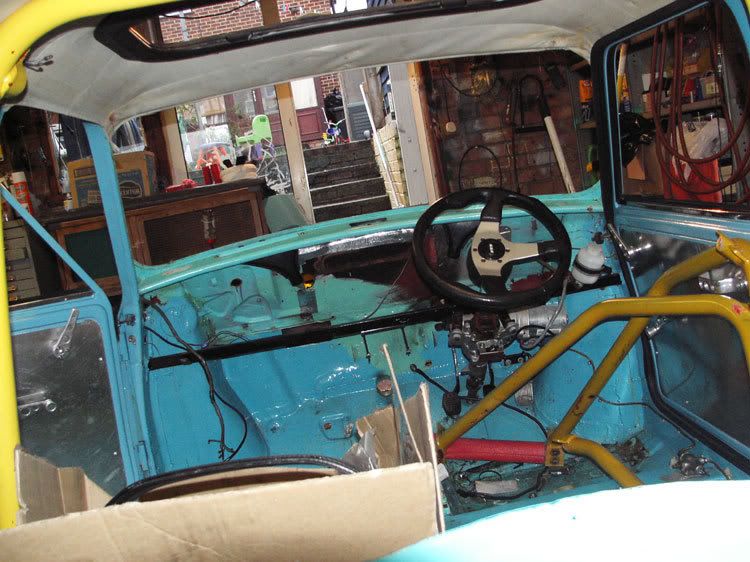
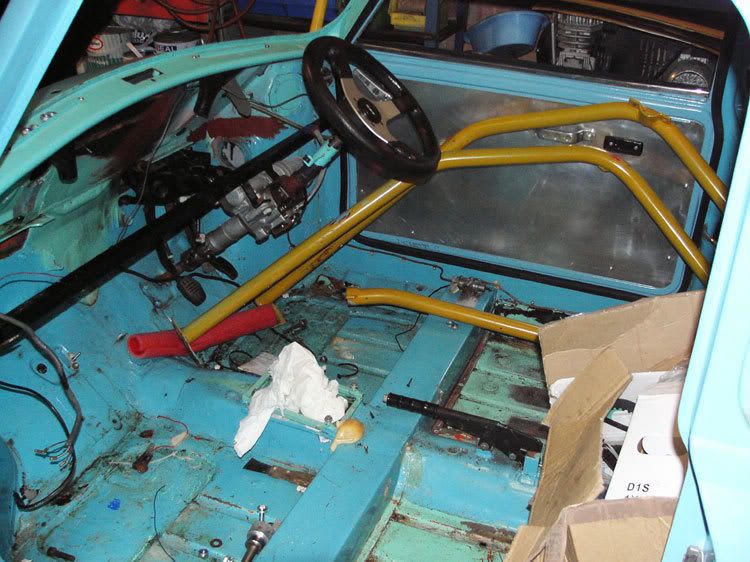
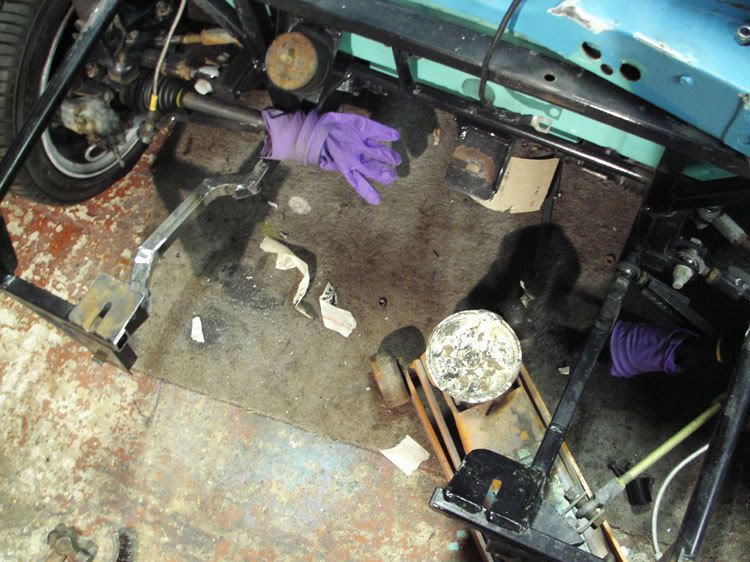
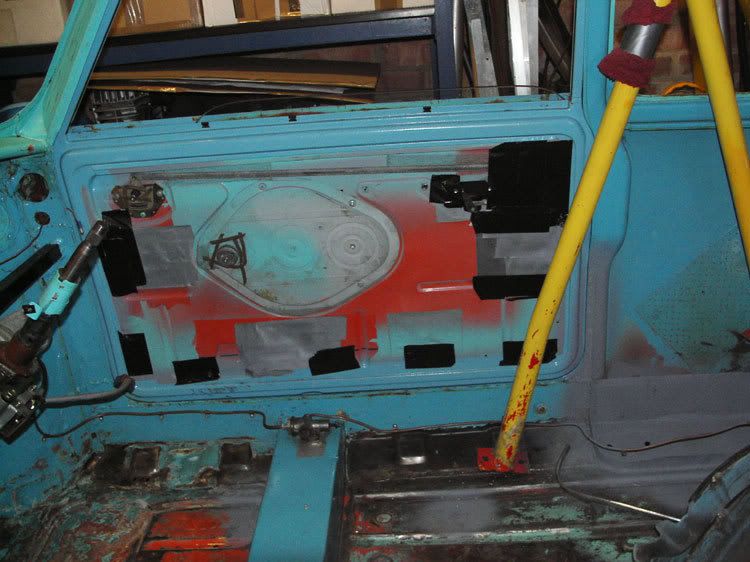
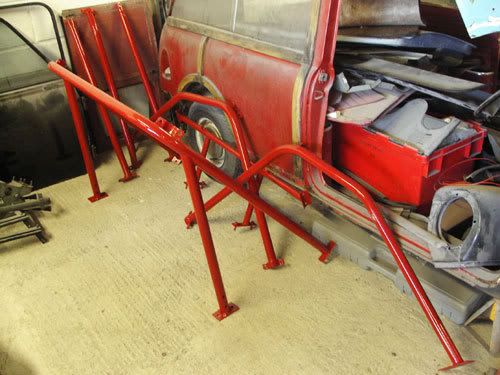
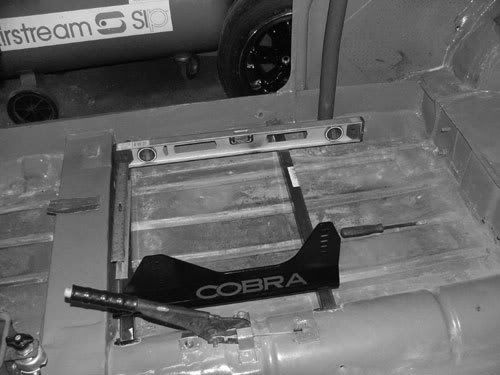
All the floor plating removed, absolute mess, ready for painting methinks!!