Jump to content


Photo

Front Bike Engine Rwd Beast..............hopefully !


  • Please log in to reply
71 replies to this topic

#46 lchris21

lchris21

    Mini Mad

  • TMF+ Member
  • PipPipPipPip
  • 106 posts

Posted 21 April 2009 - 08:28 PM

so any more progress ???


Phew....................its taken nearly a year on and off to get this far, LOL
Just got the drivers side door step and sill tacked into place. So nothing earth shattering just run of the mill Mini resto stuff really. Next updates could be a while :thumbsup:


Door step and rear quarter fitted in place with the door for alignment ready for tacking

Posted Image


Sill punched ready for puddle welding into position.

Posted Image

#47 lchris21

lchris21

    Mini Mad

  • TMF+ Member
  • PipPipPipPip
  • 106 posts

Posted 27 April 2009 - 09:16 AM

This weekend I have been mostly working on the drivers scuttle / inner wing area. Usual mini rot magnet areas, which had been previously bodged with *poop poop* welding and lots of body filler. Soon got the grinder on that !

Enjoy the pics:

Not a pretty sight

Posted Image


Out with the spot weld remover and my favourite cut-off discs

Posted Image


I feel like a surgeon sometimes.................Scalpel !

Posted Image


Bit of "Blue Peter" stuff

Posted Image


In with the patch

Posted Image


Bit of a tidyup

Posted Image


New patch for the upper rail area

Posted Image


A bit more welding

Posted Image


New scuttle repair panel in place ready for a more thourough tidy up when the time comes....................

Posted Image

#48 lchris21

lchris21

    Mini Mad

  • TMF+ Member
  • PipPipPipPip
  • 106 posts

Posted 27 April 2009 - 03:26 PM

My learning curve into sheetmetal bodywork continues..................................

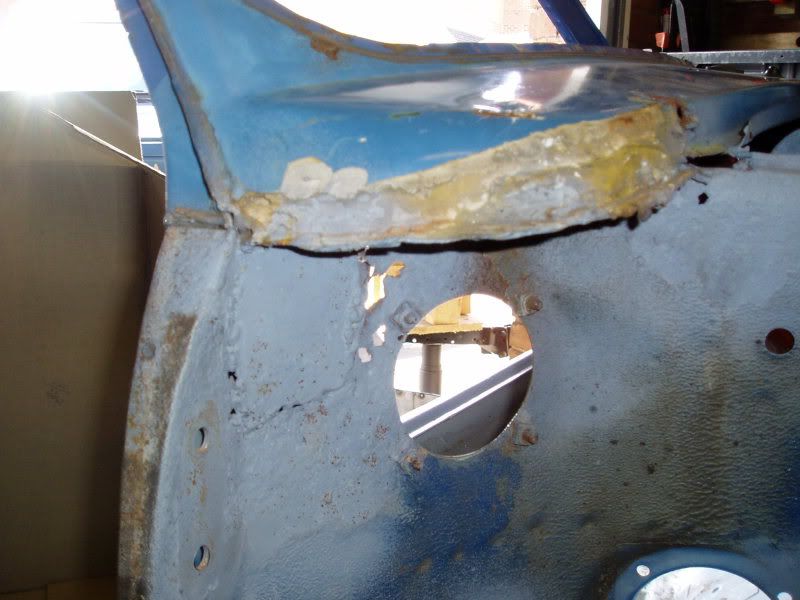
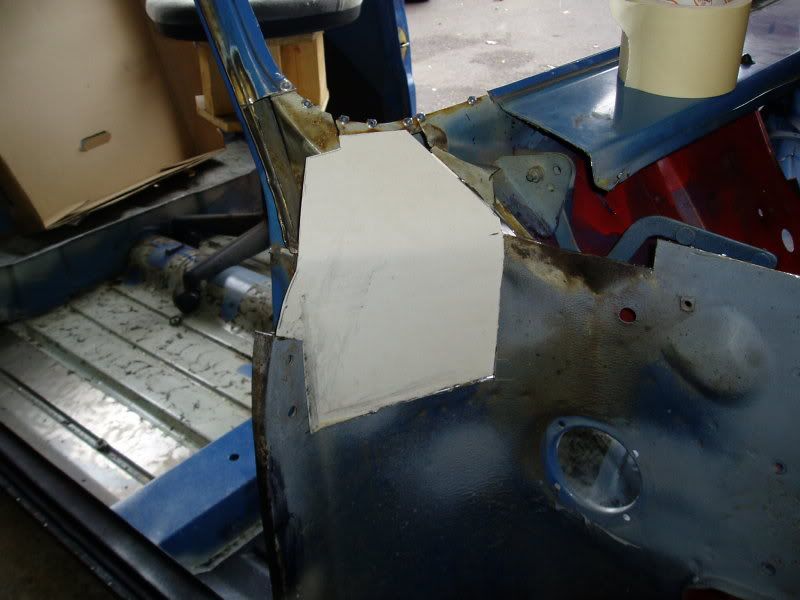
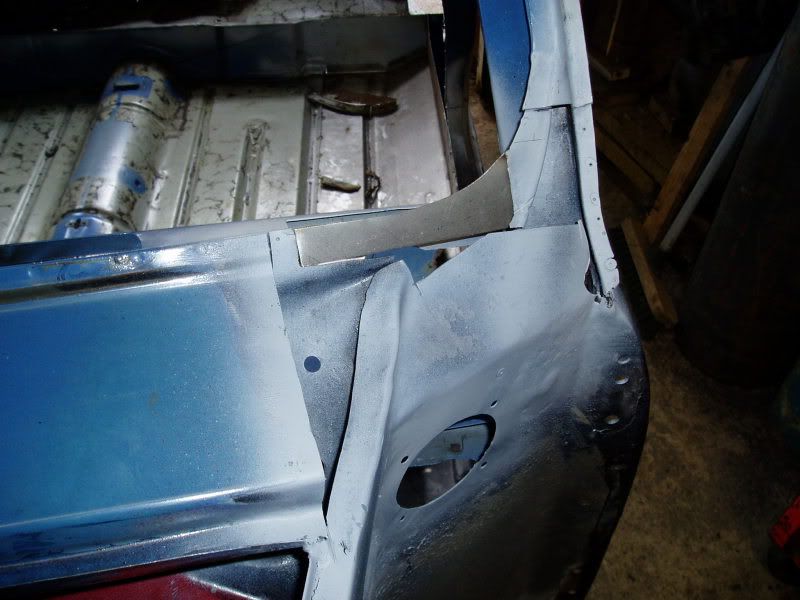
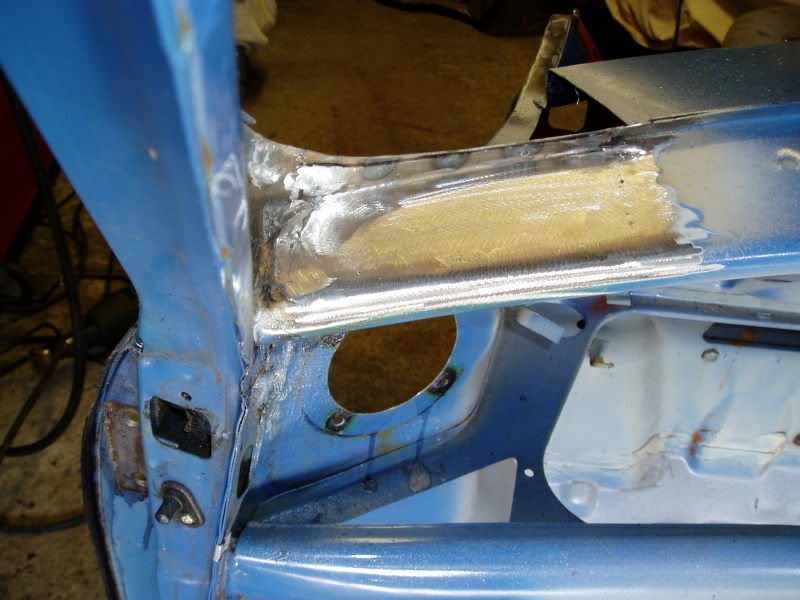
Decided to have a go at tidying the scuttle repair I did yesterday. No matter how hard you try, how good your fit-up is, or how slow you mig thin sheet together it always has a mind of its own when it cools I find. Even with the spot weld back & forth technique.

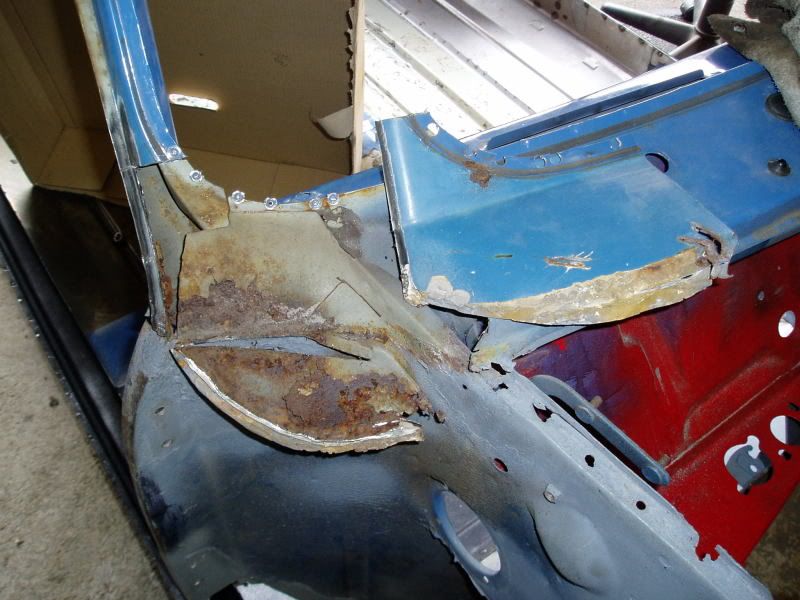
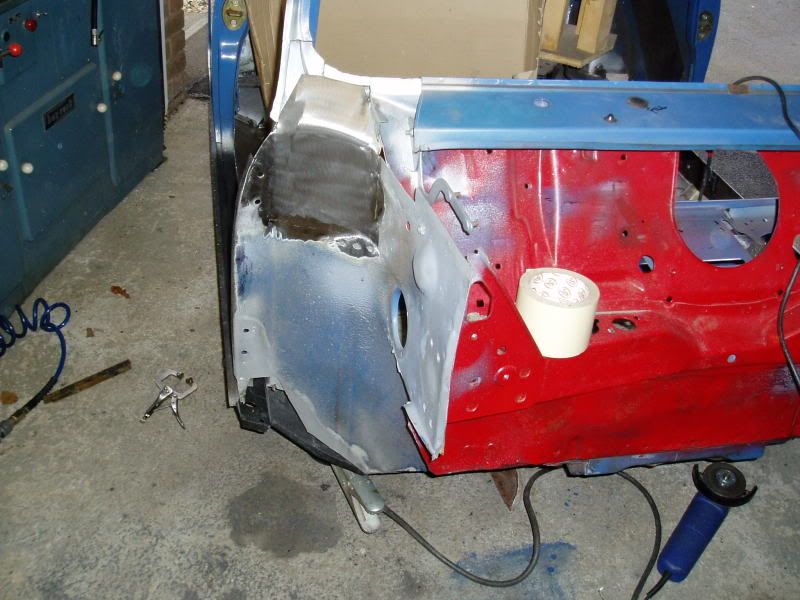
After the scuttle was mig'd in it left a nasty raised seam on the weld. I ground back flush , but it could still be felt, so I did a bit of Googling on mig weld finishing, metal shrinking, panel beating etc, and stumbled accross this
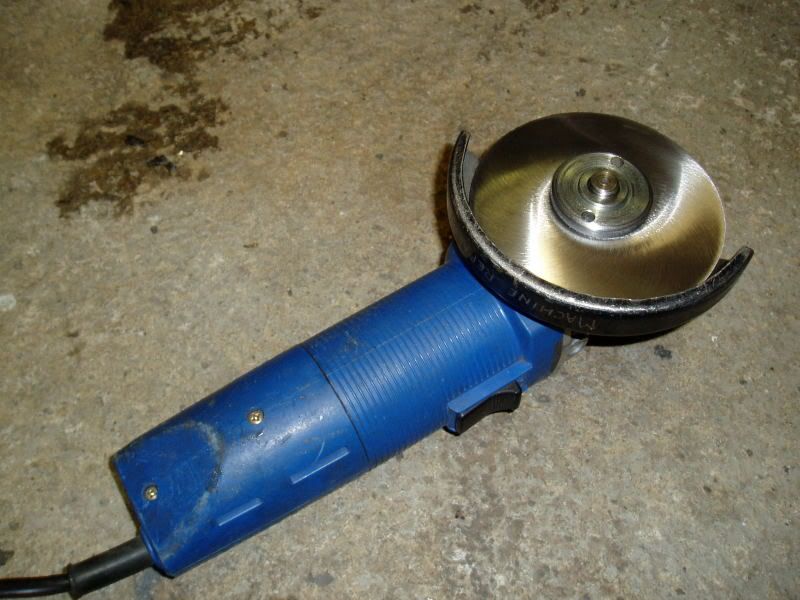
http://www.wolfesmet.../sdiscdemo.html
So to cut a long story short, I knocked one up out of a bit of stainless I had lying around and gave it a wurl !!

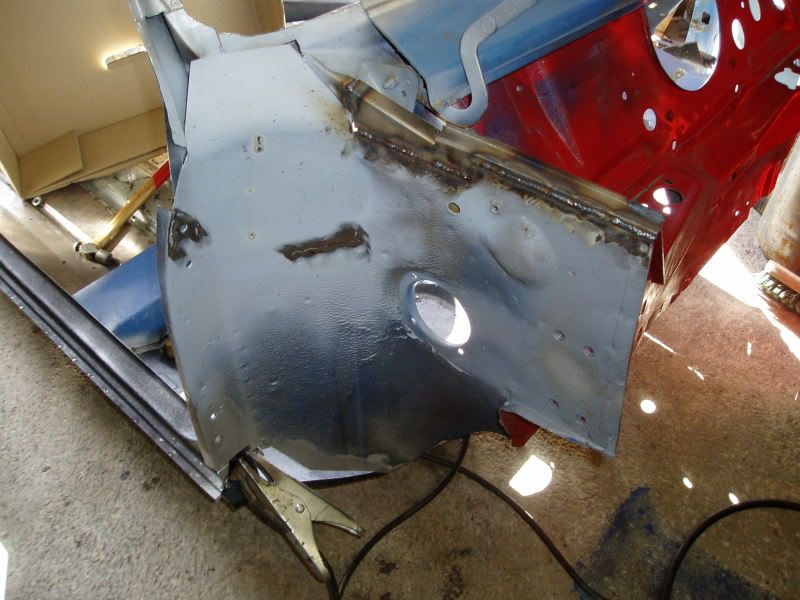
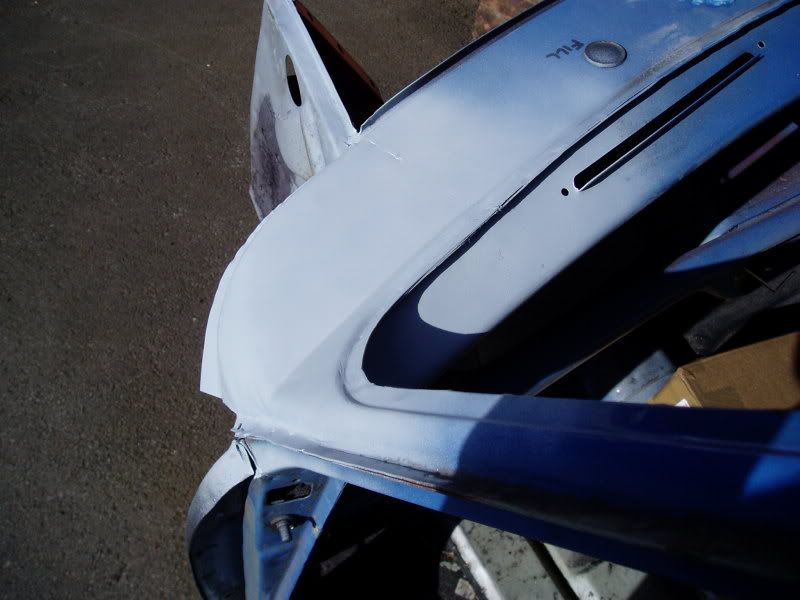
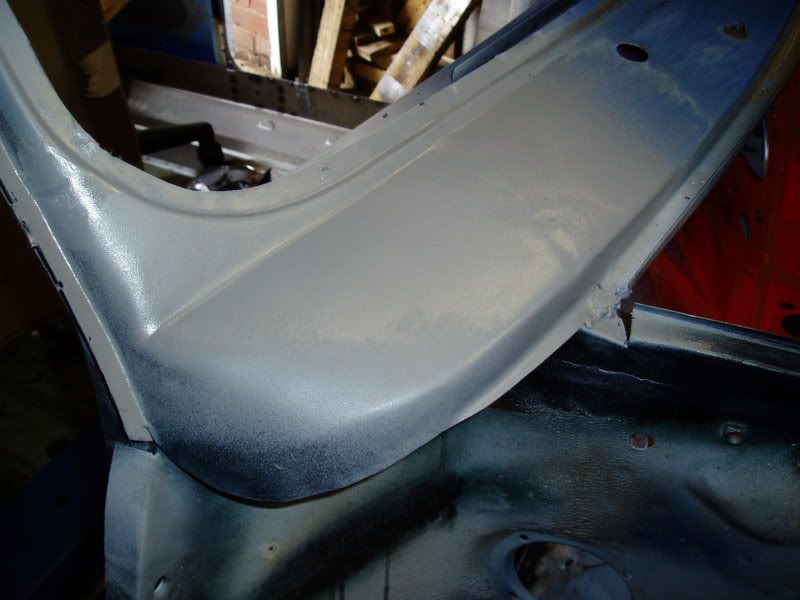
Takes a bit of practice and a bit of fiddling with the panel beating tools but it seems to work. I'm very happy with the results and the repair panel looks / feels good. A light skim of filler should sort any imperfections out.

Only drawback is the noise. Jeees its loud. Metal on metal at 20,000 rpm. Best not do it when your neighbour is working nightshift. I had earplugs in and muffs over the top :D


Enjoy................

Here we go, DIY shrinking disc
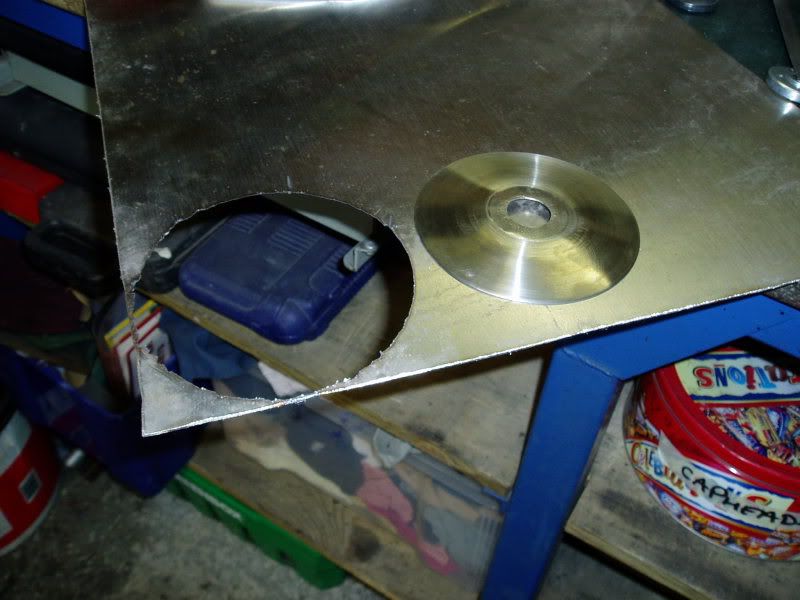
Posted Image


Ready for action

Posted Image


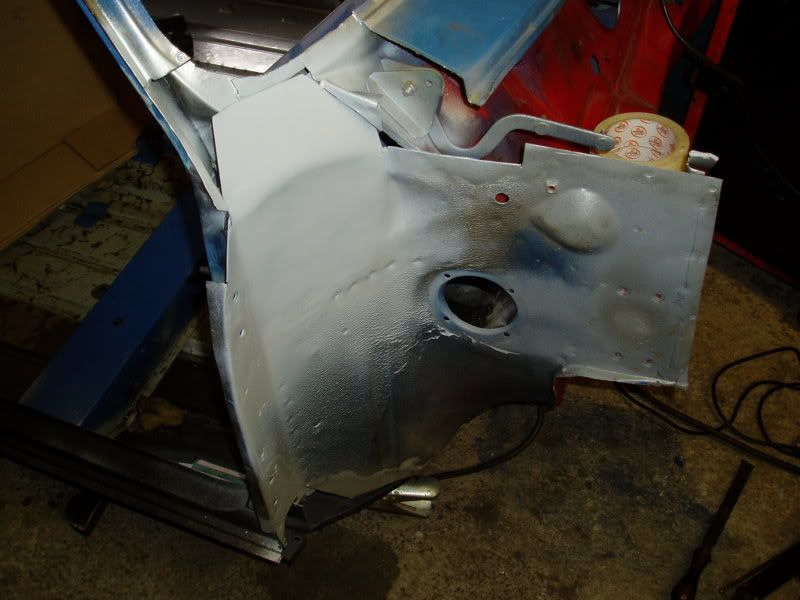
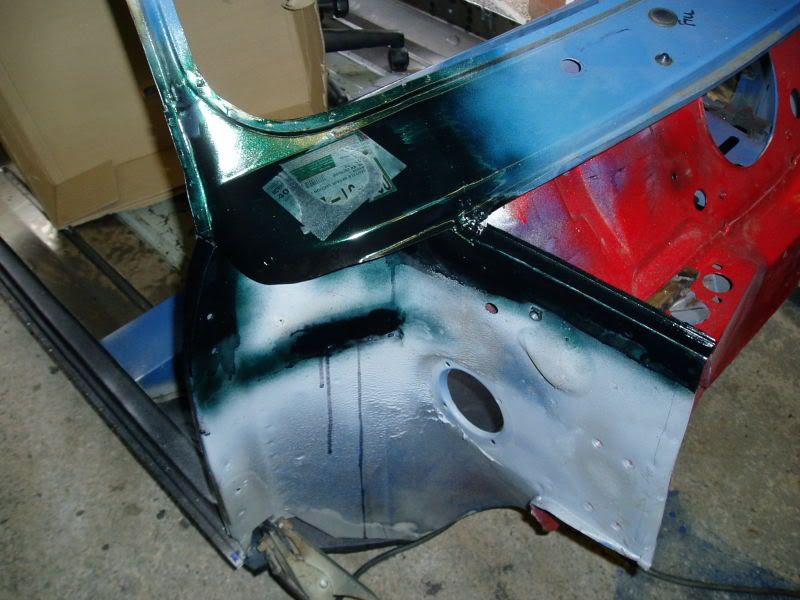
All primered up to keep the rust at bay, with no filler yet ! A few minor imperfections to fill when the time comes and it should sorted.

Posted Image

Edited by lchris21, 27 April 2009 - 03:35 PM.


#49 Baldspeed Racing

Baldspeed Racing

    One Carb Or Two?

  • Members
  • PipPipPipPipPipPipPip
  • 1,185 posts
  • Location: Southam

Posted 27 April 2009 - 03:48 PM

good work dude fair bit of welding going on so thumbs up for saving a shell :D

#50 lchris21

lchris21

    Mini Mad

  • TMF+ Member
  • PipPipPipPip
  • 106 posts

Posted 03 May 2009 - 05:37 PM

More progress..............................................on the rust that is :X

Perhaps I should have started this thread in the complete min rebuild section, then moved here when the nitty gritty starts, anyway. I'm here now.
Passed a bit of milestone today, as all the rust foward of the rear wheel arches is gone ! >_<
Did the passenger scuttle area today. A bit more fiddly as the windscreen rubber metal had gone along with the dash rail inside. A few months ago I would be dreading a job like this, but I'm getting quite good at the rust malarkey !

Enjoy the pics.....


Last bit of rust up front:

Posted Image


Out with the scalpel:

Posted Image


Bit of blue peter stuff with the windscreen edge repair:

Posted Image


In with the dash rail repair:

Posted Image


All done, ready for filler:

Posted Image

#51 Saxo-Fiesta-Mini

Saxo-Fiesta-Mini

    Up Into Fourth

  • Members
  • PipPipPipPipPipPipPipPipPip
  • 2,889 posts
  • Local Club: LCMOC

Posted 03 May 2009 - 05:45 PM

great update i like it when you thinkin of atemptin the engine gbox work as this is the part i enjoy the most >_<

#52 mighty mini jack

mighty mini jack

    Mighty Before a Pint

  • Members
  • PipPipPipPipPipPipPipPipPipPip
  • 5,095 posts

Posted 03 May 2009 - 05:48 PM

Top work as usual dude, makes me want to get on with mine.

#53 lchris21

lchris21

    Mini Mad

  • TMF+ Member
  • PipPipPipPip
  • 106 posts

Posted 03 May 2009 - 07:33 PM

great update i like it when you thinkin of atemptin the engine gbox work as this is the part i enjoy the most >_<


Been doing a bit of research on suitable materials for the various engine mounts, rear sub frame, wishbones and stuff. Will be ordering some CDS tube next week just to get me started. One of my first jobs with the tube will be to make a tube bender. :dontgetit: I want to be able to get things just right without having to nip back & forth to my local tube bending emporium (wherever that may be?)
Round tube chassis mods look alot more pro, and will be much stronger, if a bit more work. Sorry to prolong the wait for the nitty gritty engine & stuff, but I want to do this only once and don't want to cut corners.

I'm one of these mesure a hundred times & cut once guys,............................................ I seem to spend half my life researching stuff on the tinternet :X

Edited by lchris21, 03 May 2009 - 07:34 PM.


#54 mini.cooper998

mini.cooper998

    Super Mini Mad

  • Members
  • PipPipPipPipPipPip
  • 685 posts
  • Local Club: looking

Posted 10 May 2009 - 09:54 AM

tube bending is all about the mandrels we have a cheep one at work and an expensive one that pulls a form through the middle as it forms.
the cheep on creates creases in the pipe as it bends where as the expensive one with the bit inside makes perfect bends. not as easy as i thought to do it but let us no how you get on.

Ps i copied the folder arnt they great. thanks for the tip

andy

#55 preston-7

preston-7

    Stage One Kit Fitted

  • Noobies
  • PipPipPip
  • 90 posts

Posted 19 May 2009 - 09:49 PM

This is booming, not a corner cut, make me a rollcage please haaaa

#56 Saxo-Fiesta-Mini

Saxo-Fiesta-Mini

    Up Into Fourth

  • Members
  • PipPipPipPipPipPipPipPipPip
  • 2,889 posts
  • Local Club: LCMOC

Posted 19 May 2009 - 10:25 PM

lol im still impressed by good body repairs

#57 rustandoil

rustandoil

    Speeding Along Now

  • Members
  • PipPipPipPipPip
  • 317 posts
  • Location: Gloucestershire

Posted 20 May 2009 - 05:09 AM

Excellent work :thumbsup:

Subscribed..........

#58 JordanRaisbeck

JordanRaisbeck

    Speeding Along Now

  • Members
  • PipPipPipPipPip
  • 408 posts
  • Local Club: NEMC

Posted 27 May 2009 - 04:49 PM

Lovin the work mate, looks like a good project.

#59 jplonie

jplonie

    Speeding Along Now

  • Members
  • PipPipPipPipPip
  • 447 posts
  • Local Club: www.lcmoc.com

Posted 27 May 2009 - 07:10 PM

Looking good, keep us up to date!!

J

#60 clubmanreece

clubmanreece

    On The Road

  • Noobies
  • PipPip
  • 46 posts

Posted 07 June 2009 - 04:46 PM

This is not my car but here is a front engined rwd ZX12R in a standard length front end but it's tight

Cheers
David


whoes mini is this can i see any more pics??


0 user(s) are reading this topic

0 members, 0 guests, 0 anonymous users