Jump to content


Photo

Making A Fiberglass Dashboard - Guide


  • Please log in to reply
14 replies to this topic

#1 Tomf

Tomf

    Baby Tom

  • Traders
  • PipPipPipPipPipPipPipPipPipPip
  • 6,440 posts

Posted 31 May 2008 - 09:52 AM

First up i masked off the mini dash area, as if to fill the hole between the dash rails.

Posted Image

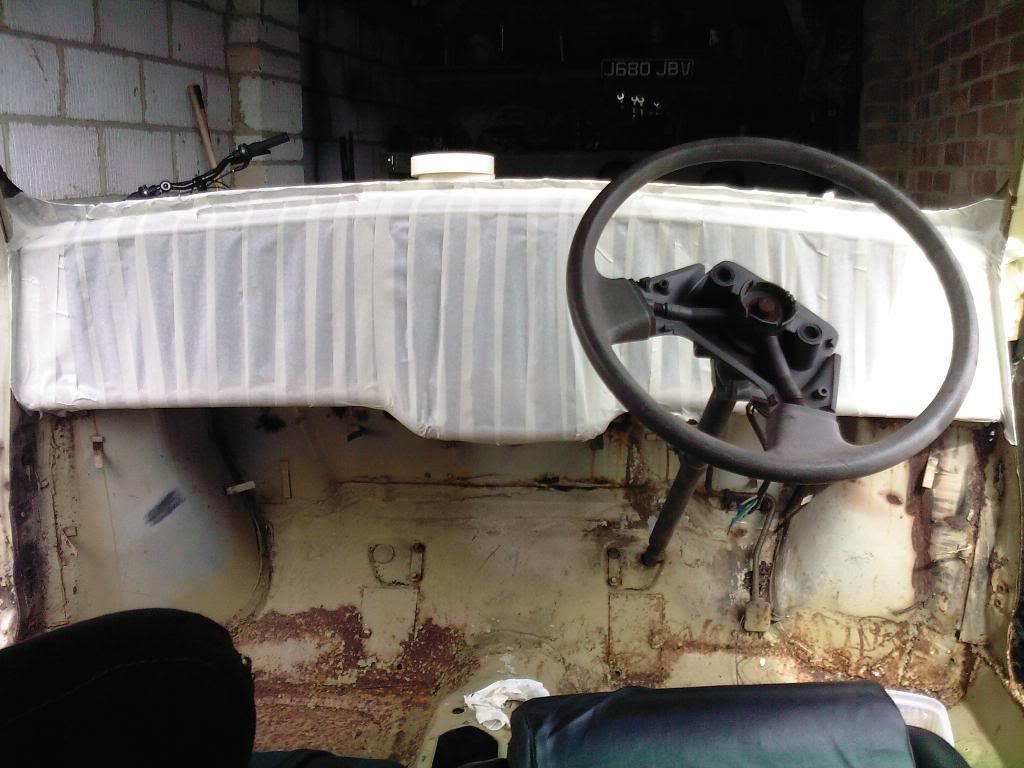
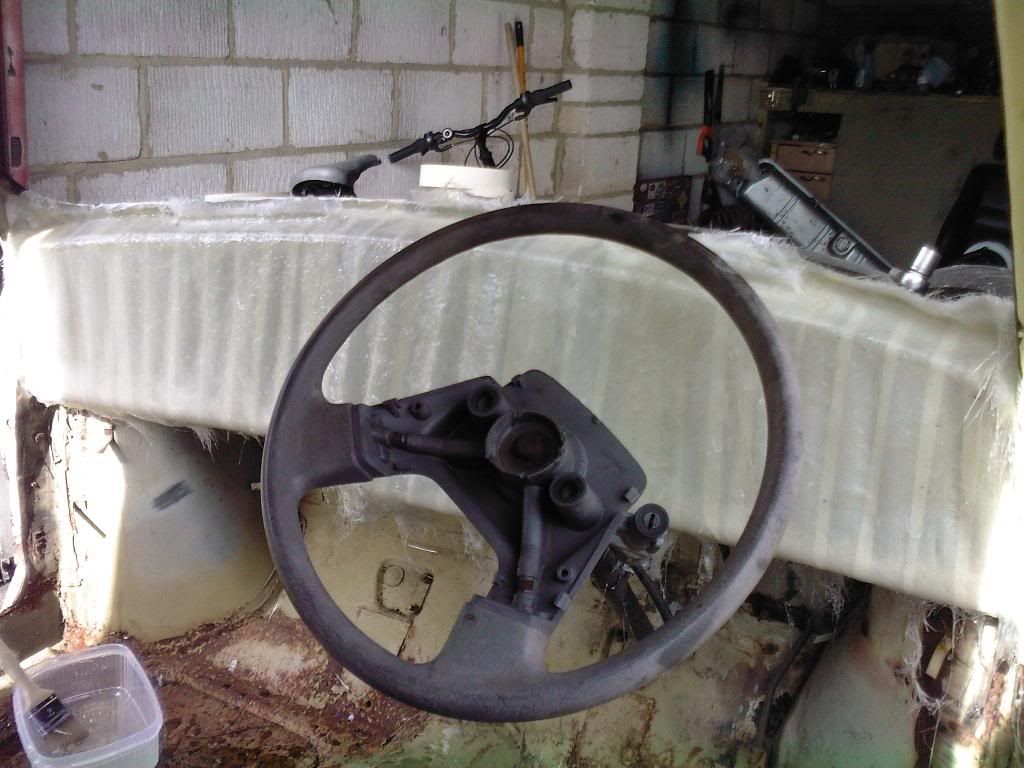
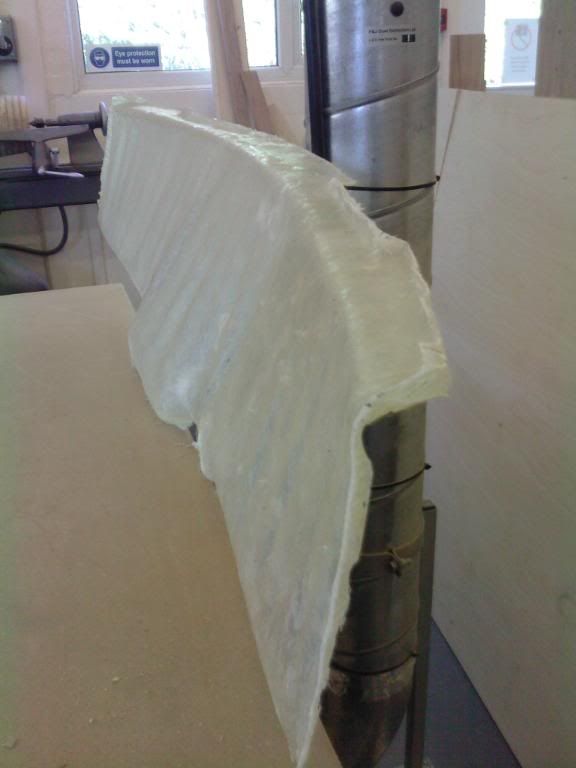
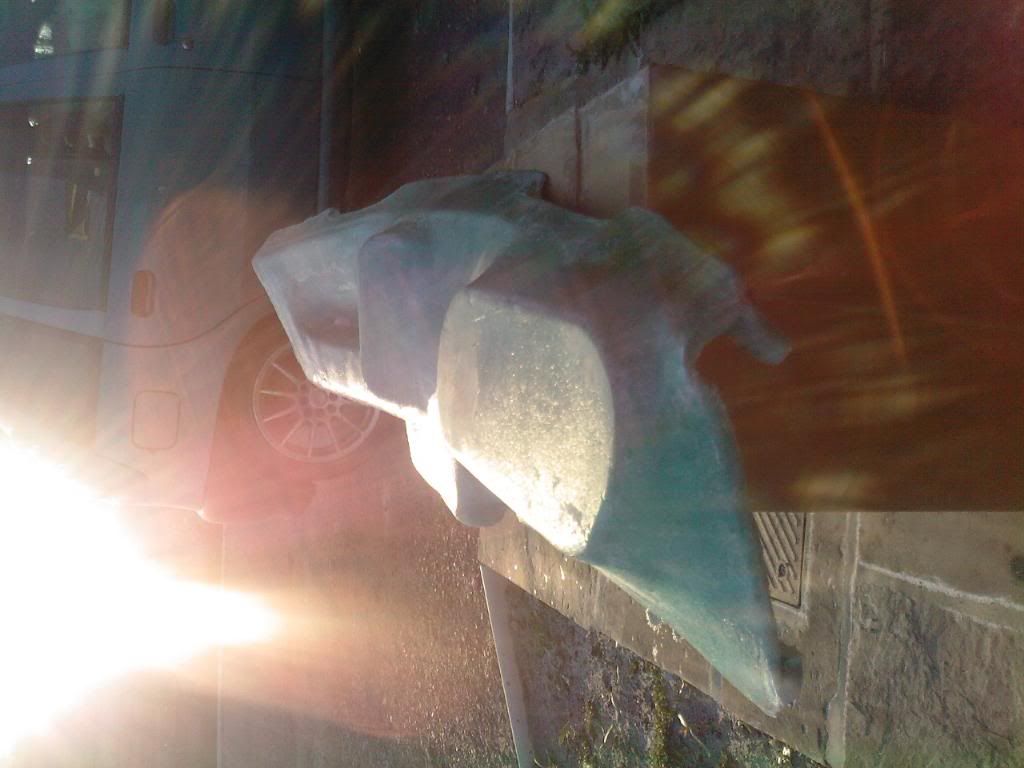
I then mixed up the resin and cut the matting to shape, im doing this to make sure the dash would fit nicely when the actual dash is come to fit.

Posted Image

Posted Image

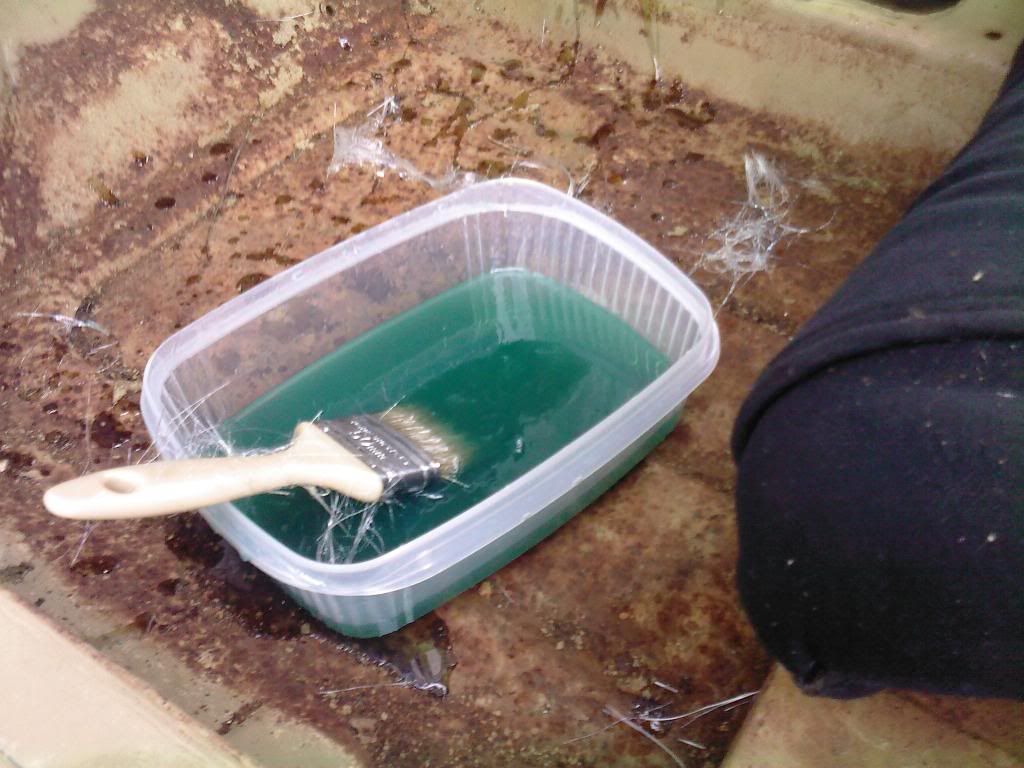
Once the matting was cut to shape i put this in place and applies the resin/catalyst.

Posted Image

Posted Image

Posted Image

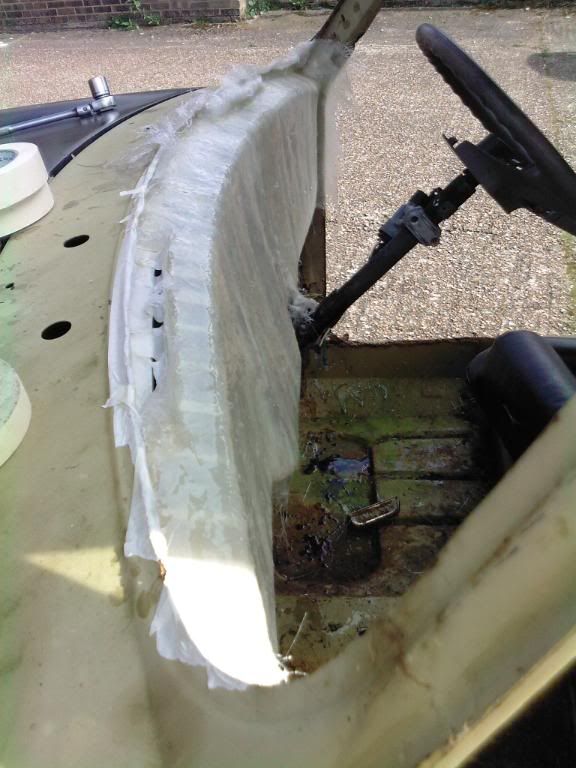
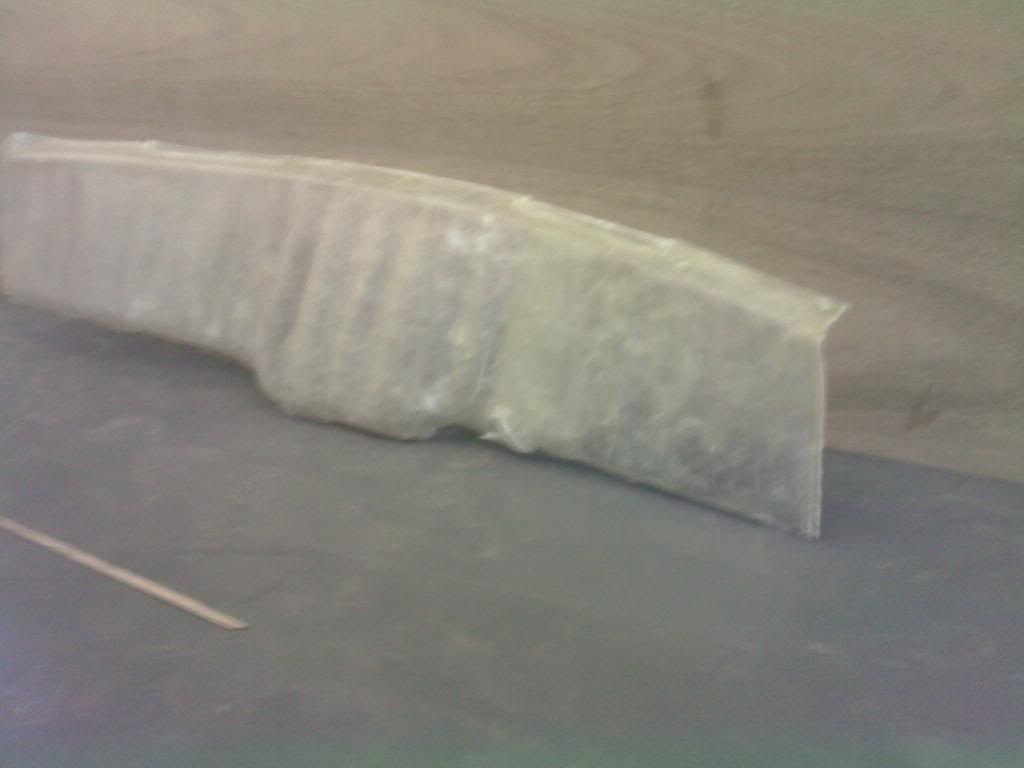
I then left this to set and removed it from the mini. once removed i cleaned up the edges of the fiberglass to make it look a bit nice.

Posted Image

Posted Image

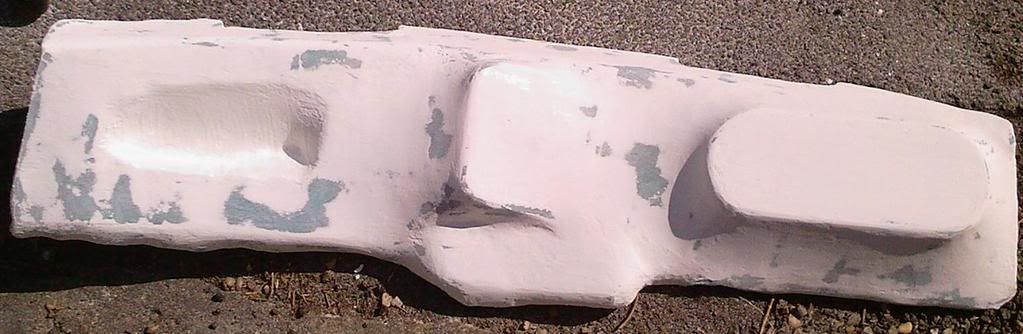
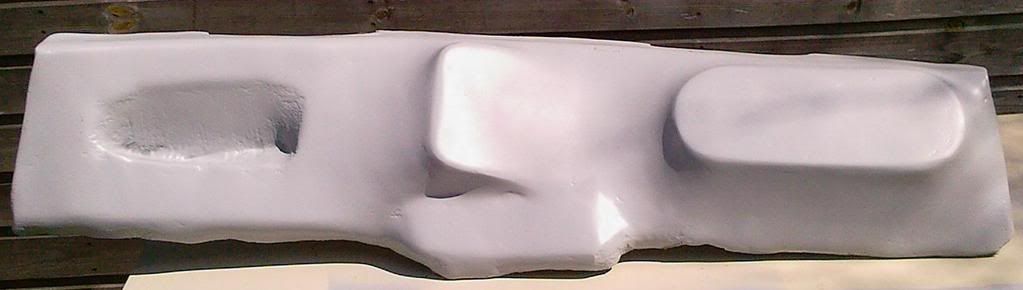
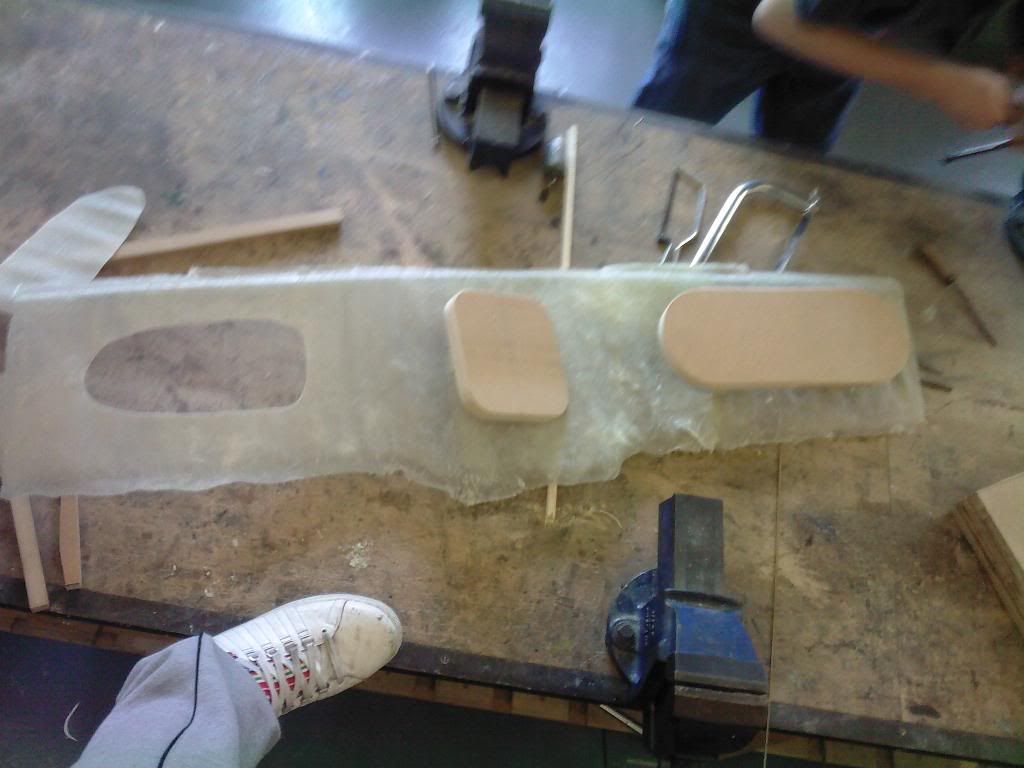
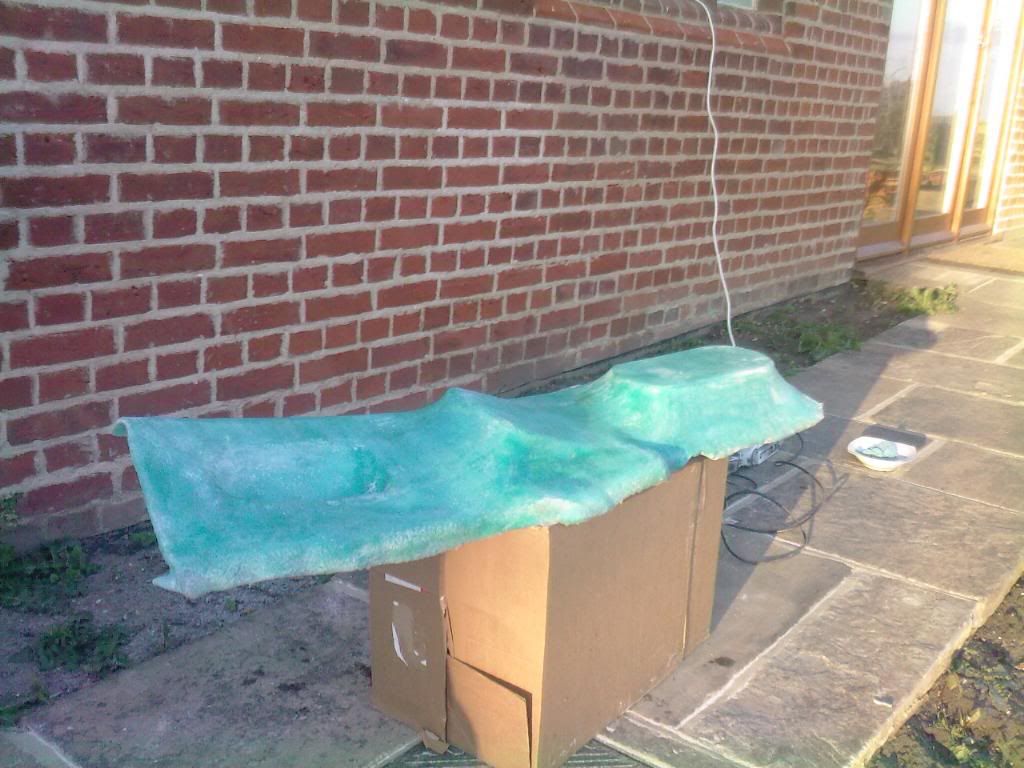
I then started to make the different shapes of bits i wanted the dash to have and fixed these in place, i also cut a hole for the glove box.

Posted Image

Once they were all fixed in place i pulled some fleece material tightly over everything and glued this in place. I then applied the resin/catalyst to the fleece material.

Posted Image

Posted Image

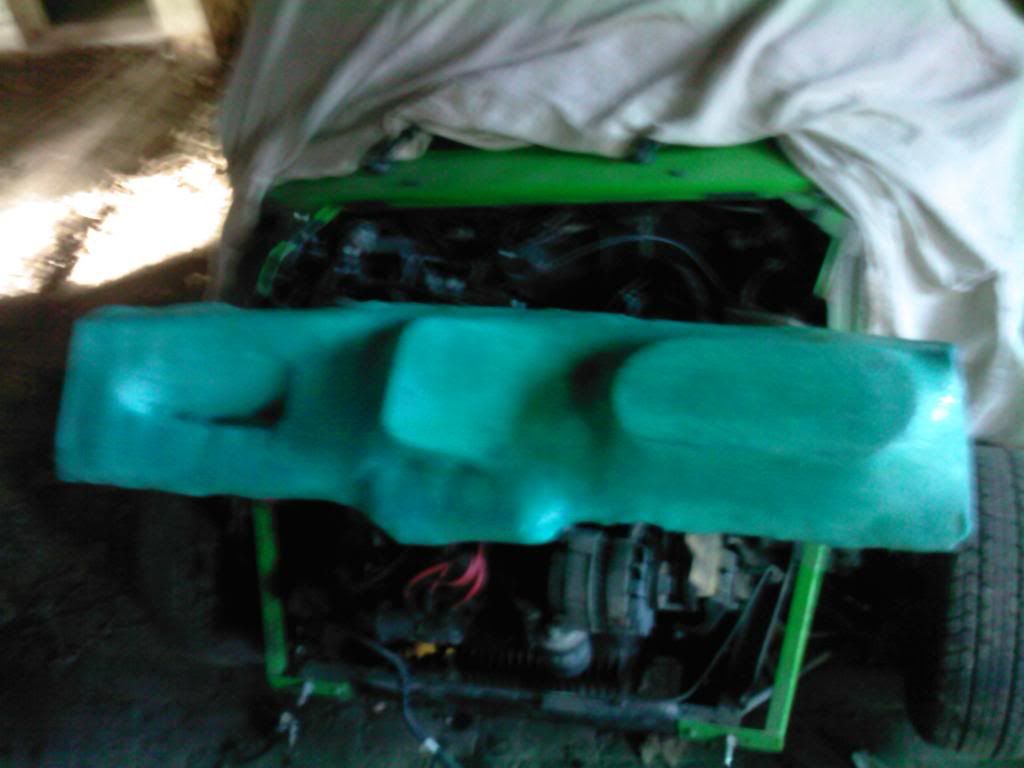
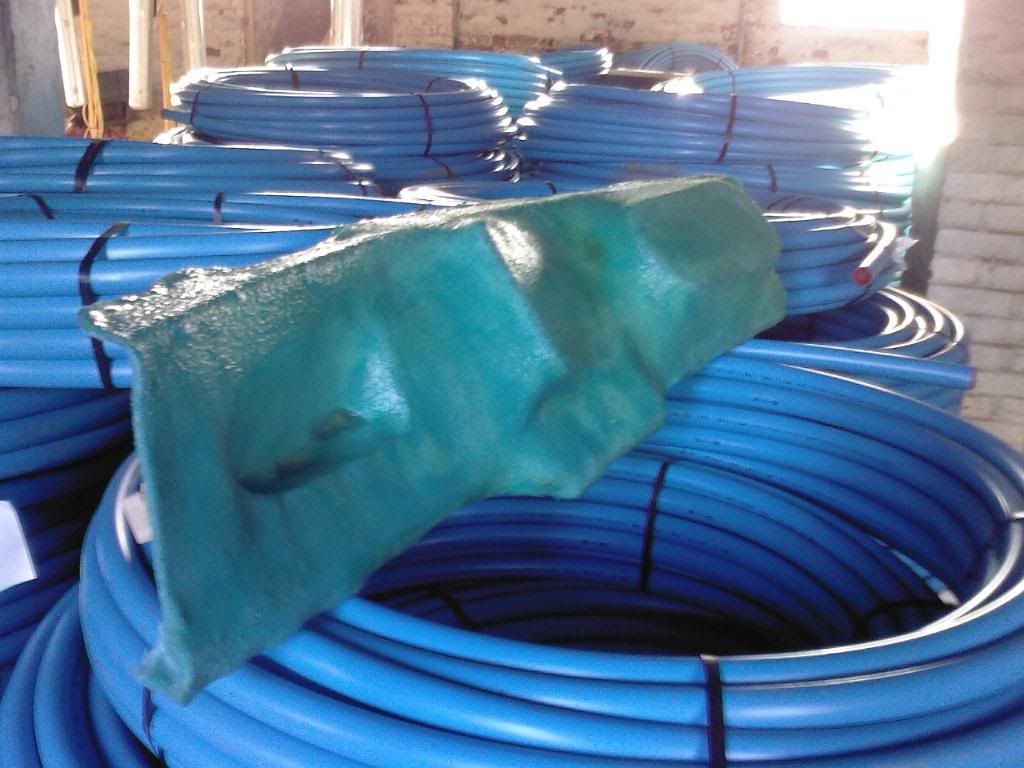
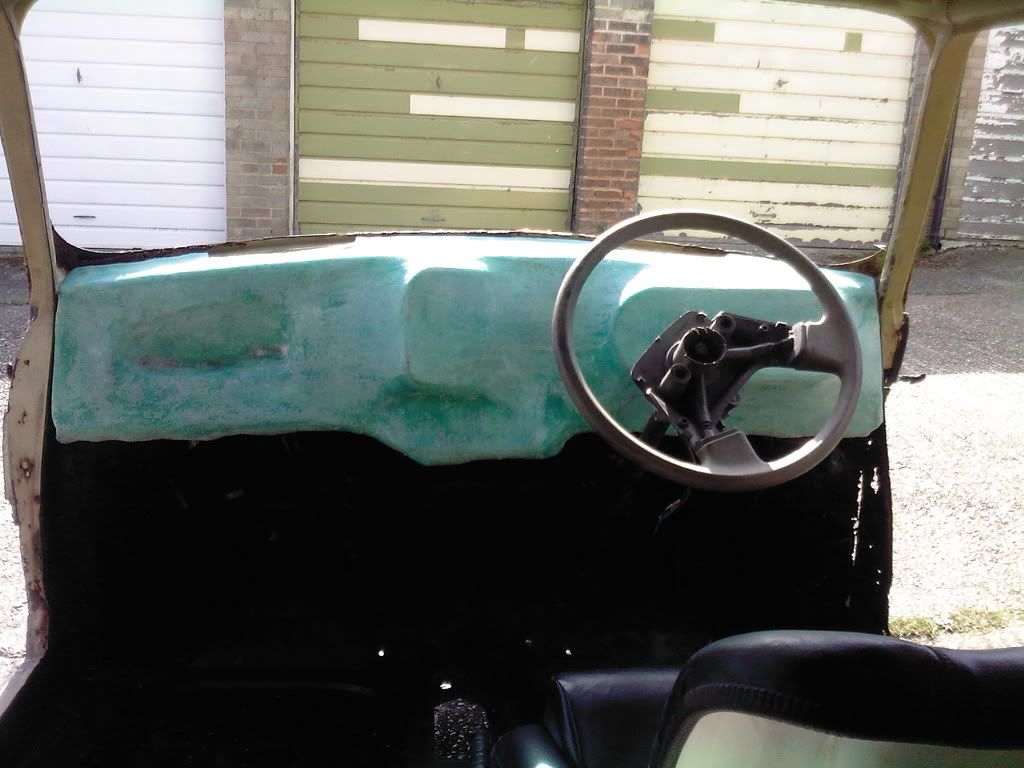
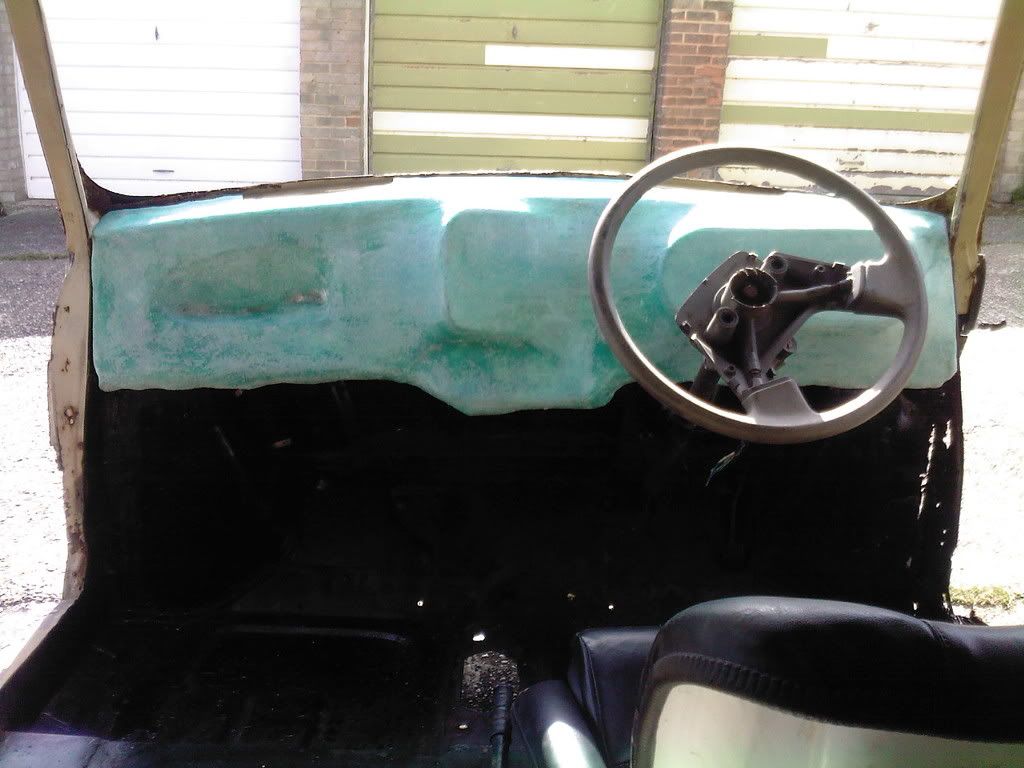
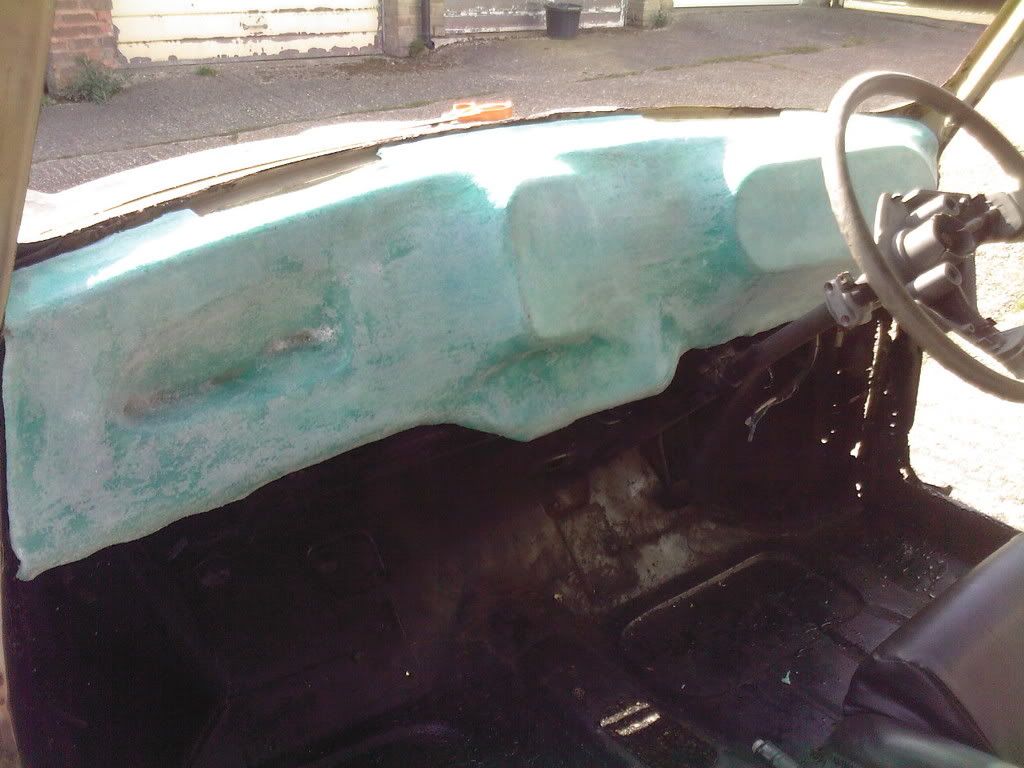
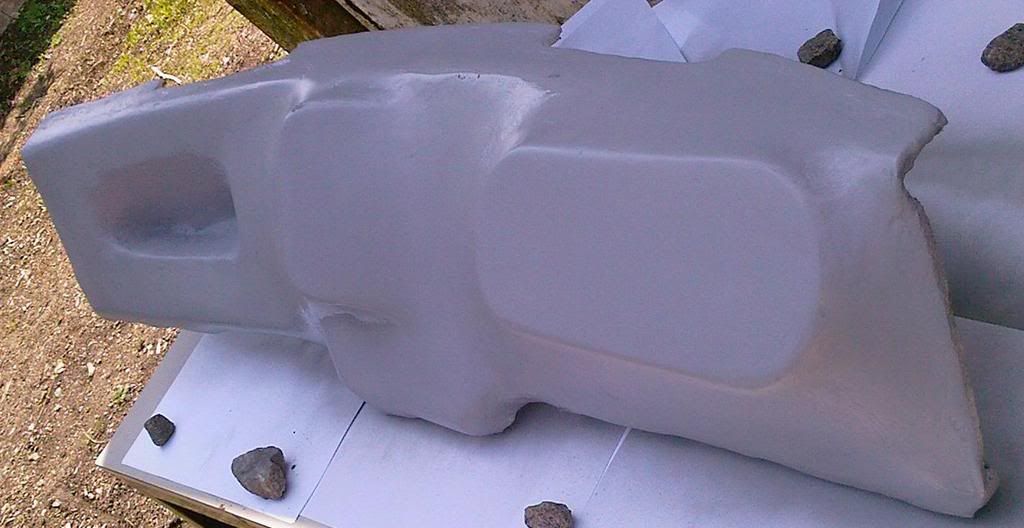
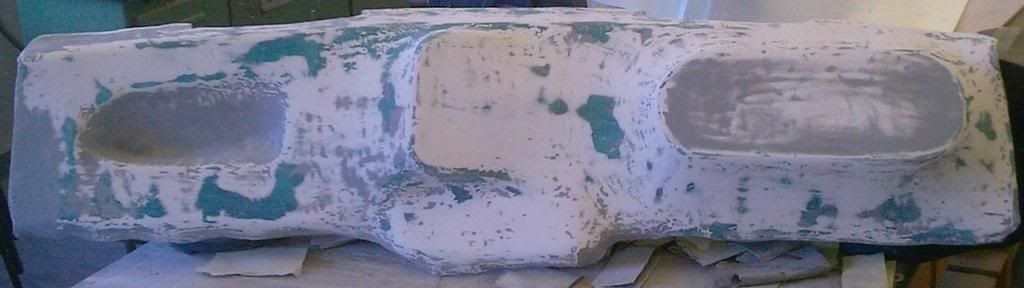
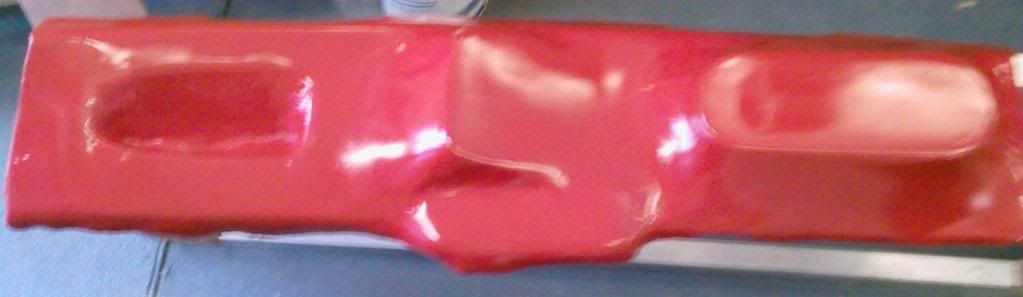
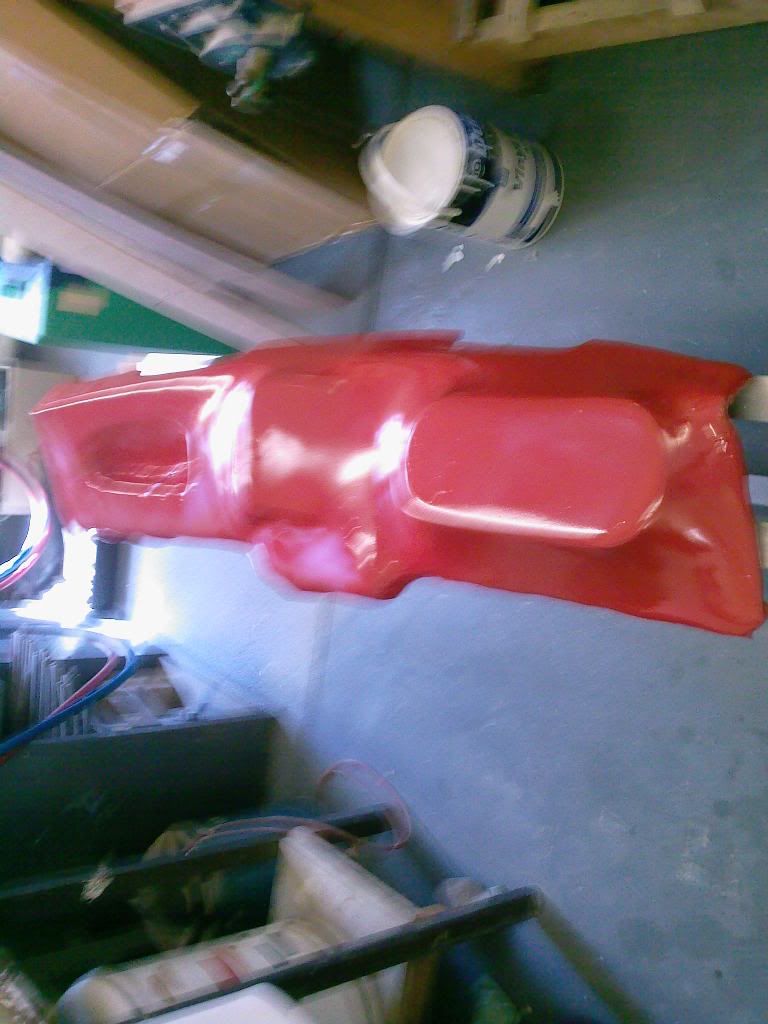
Once the resin had set i started to sand back the whole thing.

Posted Image

Posted Image

Posted Image

Posted Image

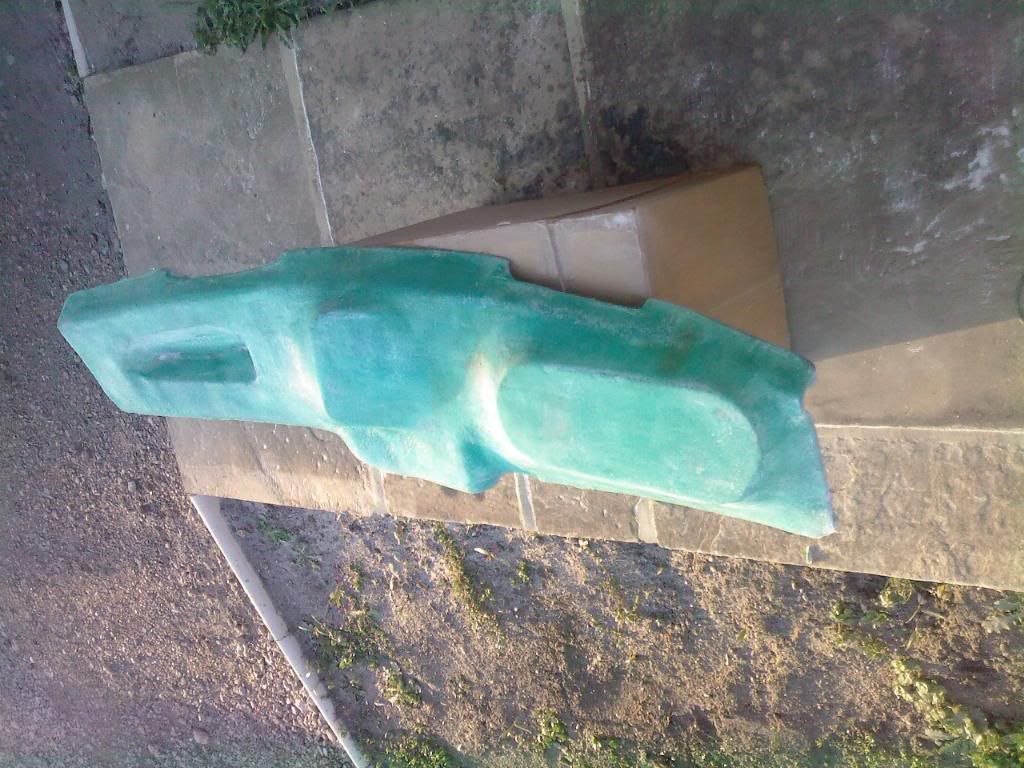
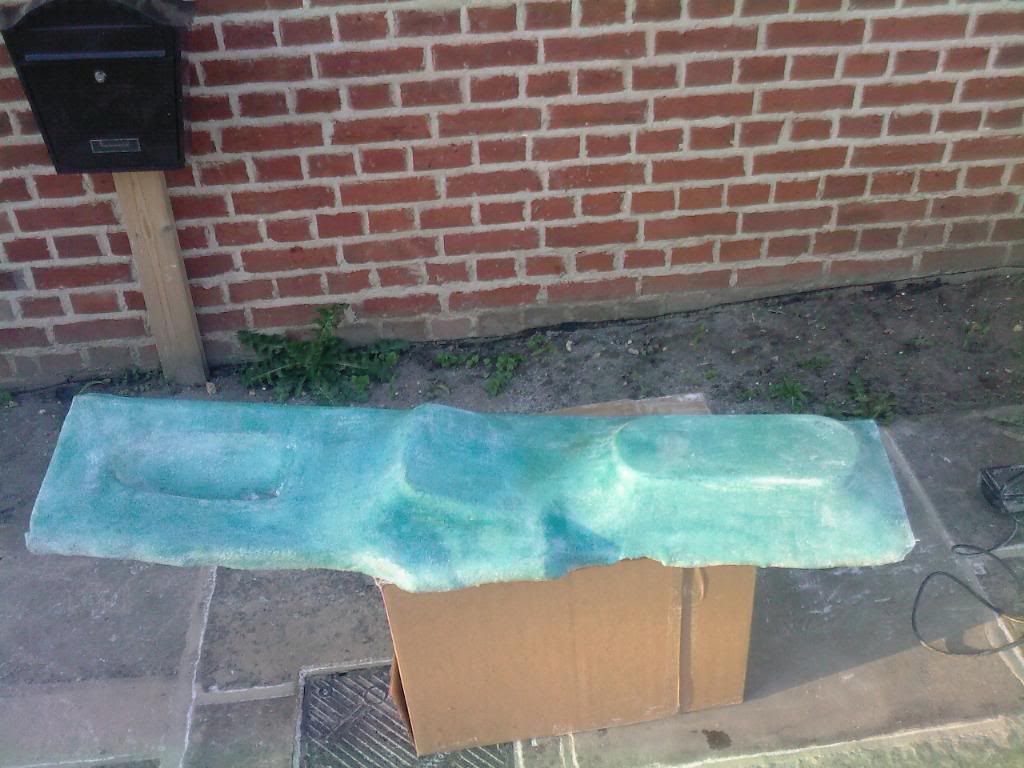
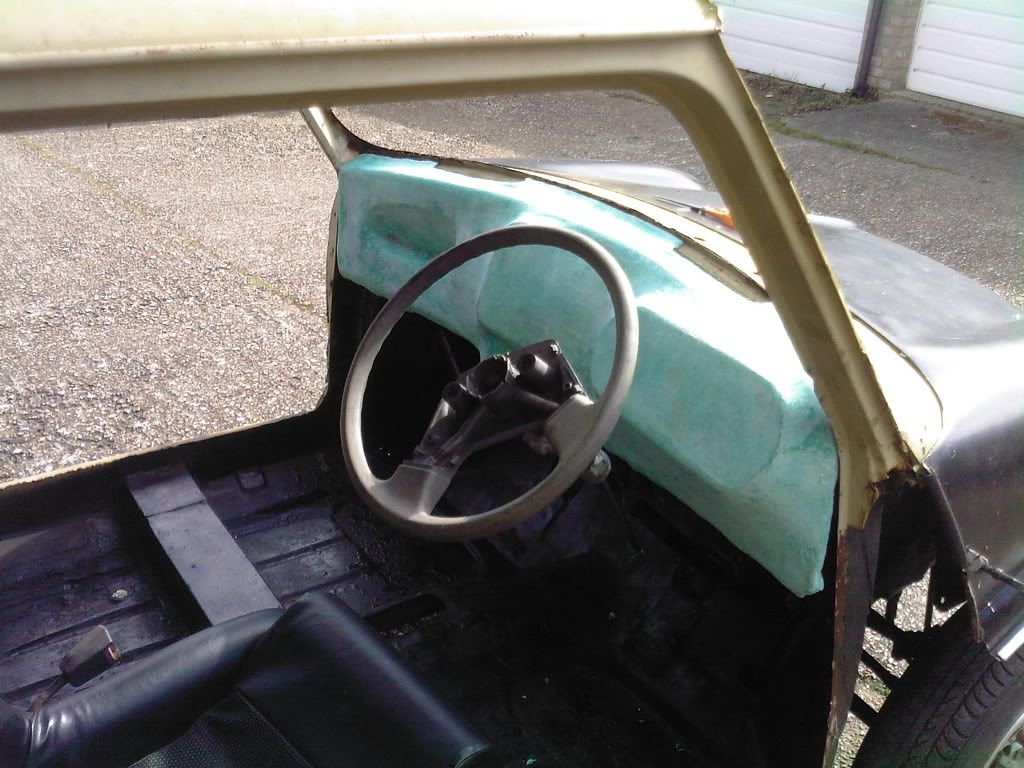
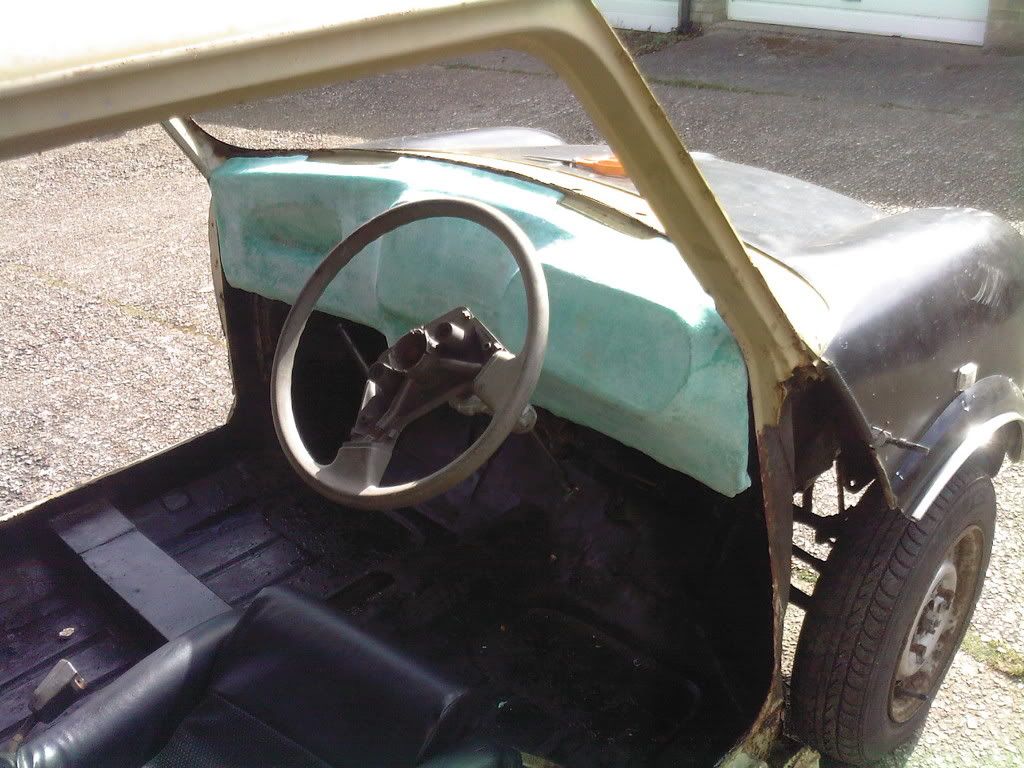
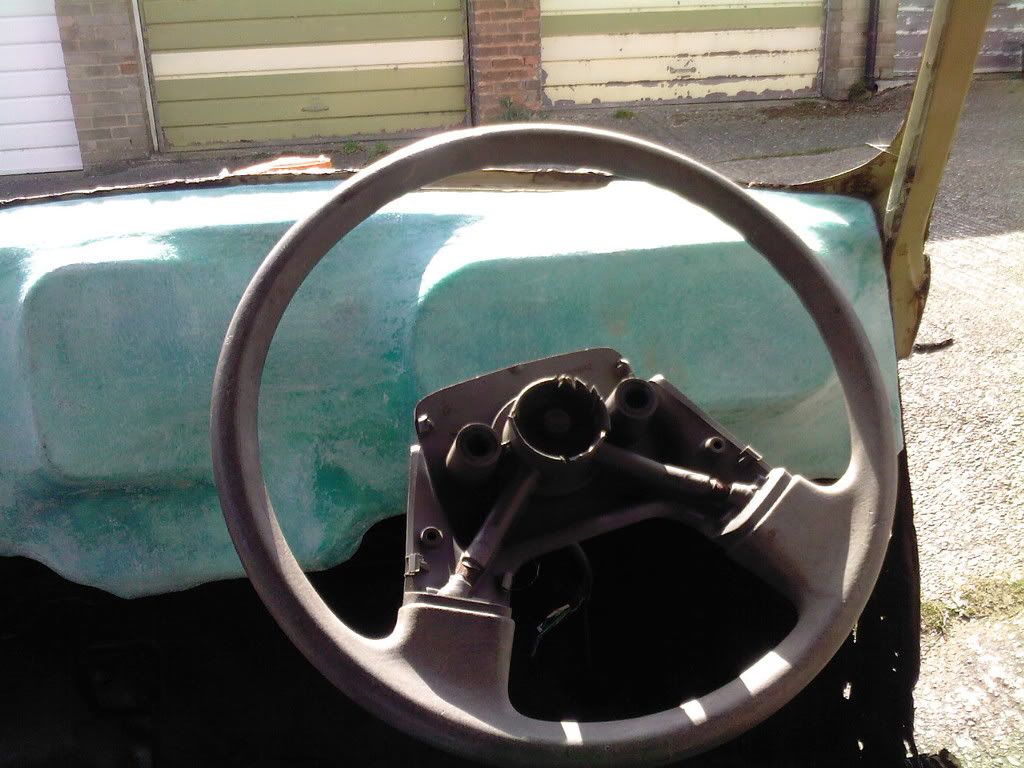
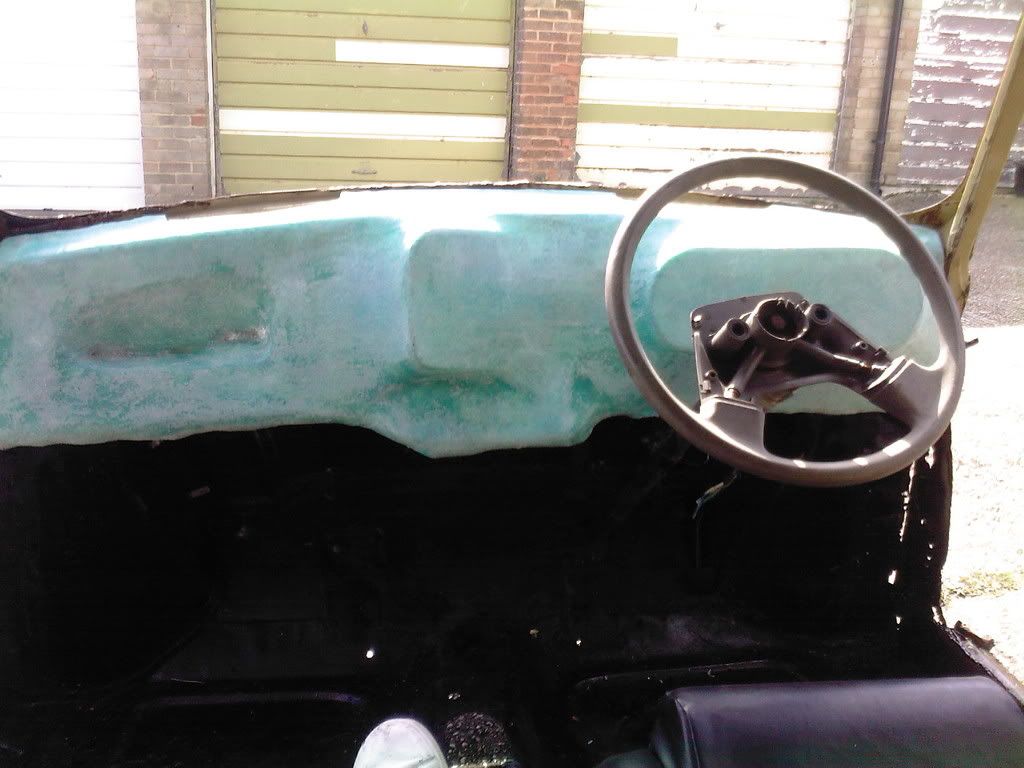
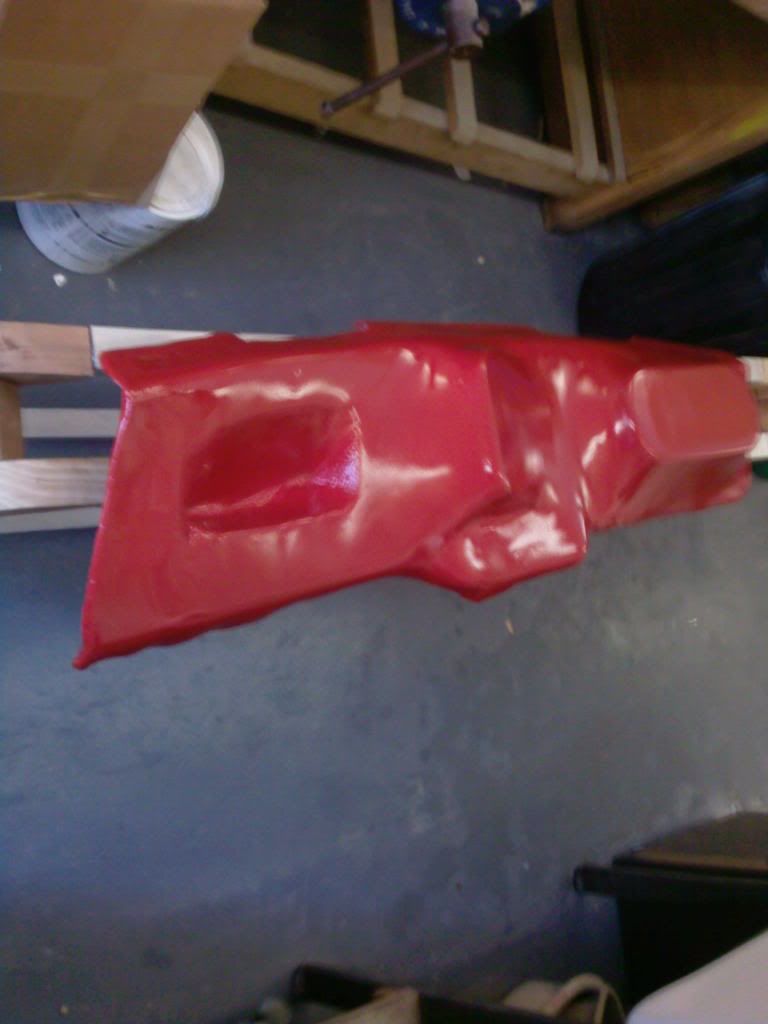
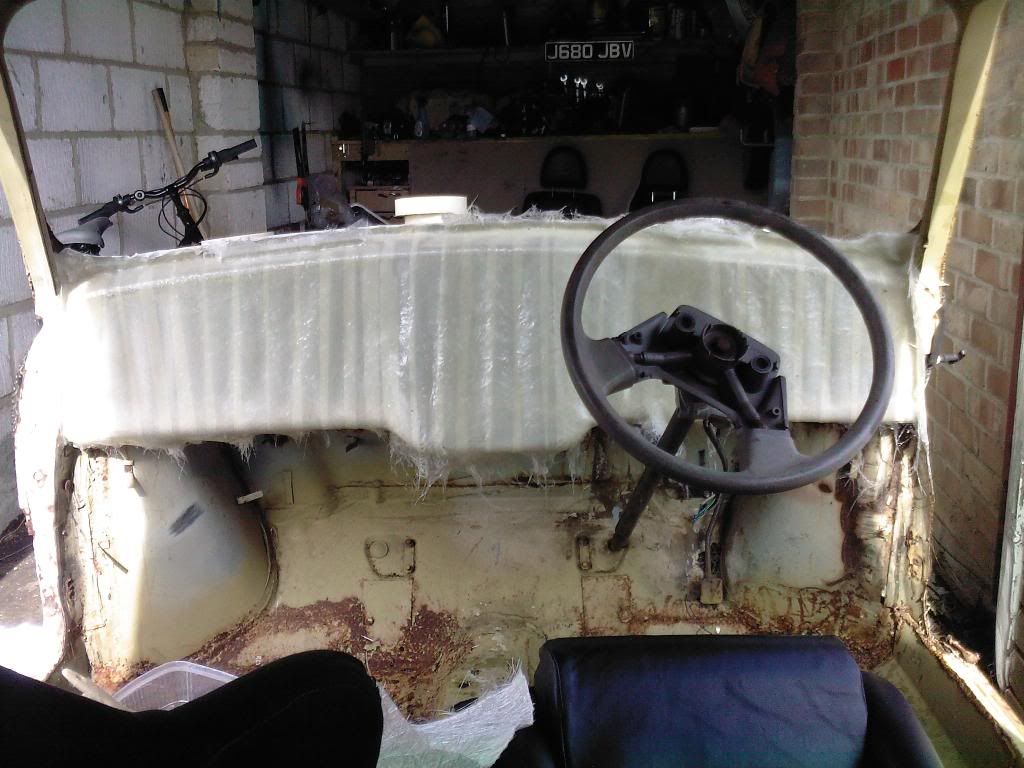
I then put the dashboard in place in the mini to make sure the fit was good and to see how the gauges would be exactly positioned and they came out exactly as i wanted.

Posted Image

Posted Image

Posted Image

Posted Image

Posted Image

#2 Tomf

Tomf

    Baby Tom

  • Traders
  • PipPipPipPipPipPipPipPipPipPip
  • 6,440 posts

Posted 31 May 2008 - 09:52 AM

Posted Image

Posted Image

I continue to sand the dashboard back, i then filled the whole dashboard and sanded back to get smooth.

Posted Image

I then primed the dash, to see if there was anymore imperfections and sanded it back the final time, using finer and finer grade paper.

Posted Image

Posted Image

I then primed again for the final time.

Posted Image

Then i sprayed the dash, its Red as thats the only paint i had lying around that i didnt mind wasting.

Posted Image

Posted Image

Posted Image

#3 mini_lad_1990

mini_lad_1990

    Super Mini Mad

  • Members
  • PipPipPipPipPipPip
  • 614 posts
  • Local Club: aint got one yet!!

Posted 31 May 2008 - 09:57 AM

far enough mate i was thinking about doing this but i might buy one haha
you done a good job tho mate i dont know about the second bump to make the curve but far shout!!!

cheers

#4 Tomf

Tomf

    Baby Tom

  • Traders
  • PipPipPipPipPipPipPipPipPipPip
  • 6,440 posts

Posted 31 May 2008 - 09:59 AM

Yea i dont really like the look of the dash itself, i made it more for testing out fiberglass and seeing what i could actually do...

#5 Dom

Dom

    Moved Into The Mazda

  • TMF+ Member
  • PipPipPipPipPipPipPipPipPipPipPip
  • 10,685 posts
  • Location: Nürburgring

Posted 31 May 2008 - 10:01 AM

Moved to F.A.Q.

#6 mini_lad_1990

mini_lad_1990

    Super Mini Mad

  • Members
  • PipPipPipPipPipPip
  • 614 posts
  • Local Club: aint got one yet!!

Posted 31 May 2008 - 03:03 PM

i was looking for this this morning and it disapered haha

you going to keep the dash mate or flog it on flebay??

cheers

#7 kitch

kitch

    Stage One Kit Fitted

  • Noobies
  • PipPipPip
  • 81 posts
  • Location: Ravensburg

Posted 31 May 2008 - 03:53 PM

Here is my dash made by the same process a few years ago. Yours looks quite good but I would say that you need to fill and sand it alot more to get it much smoother and then it will look perfect.

Posted Image
Posted Image

#8 Tomf

Tomf

    Baby Tom

  • Traders
  • PipPipPipPipPipPipPipPipPipPip
  • 6,440 posts

Posted 31 May 2008 - 04:07 PM

No i have thrown it out as the finish wasnt good enough.

Yea if i was going to be using the dashboard i would have done alot more sanding and filling before i acctually painted it. but as it was just for my testing i didnt bother.

#9 mini_lad_1990

mini_lad_1990

    Super Mini Mad

  • Members
  • PipPipPipPipPipPip
  • 614 posts
  • Local Club: aint got one yet!!

Posted 31 May 2008 - 04:12 PM

Here is my dash made by the same process a few years ago. Yours looks quite good but I would say that you need to fill and sand it alot more to get it much smoother and then it will look perfect.

Posted Image
Posted Image


i liking this dash i would do it so the clocks was flushed into the dash tho??

also where did you get the switches from cause i been looking for some like that but cant find a 3 click one for the lights??

cheers

#10 Tomf

Tomf

    Baby Tom

  • Traders
  • PipPipPipPipPipPipPipPipPipPip
  • 6,440 posts

Posted 31 May 2008 - 04:17 PM

Jusy use two switches... one for dip beam and one for main...

#11 Down&Out

Down&Out

    The King Of Retro Cool

  • Traders
  • PipPipPipPipPipPipPipPipPip
  • 4,833 posts
  • Location: -

Posted 31 May 2008 - 04:20 PM

you angel!! :)

#12 mini_lad_1990

mini_lad_1990

    Super Mini Mad

  • Members
  • PipPipPipPipPipPip
  • 614 posts
  • Local Club: aint got one yet!!

Posted 31 May 2008 - 05:00 PM

good thinking batman lol aint main beam on the stalk tho??

i thought it was dash lights on 1 click with side lights then diped on the second click??

cheers

#13 Tomf

Tomf

    Baby Tom

  • Traders
  • PipPipPipPipPipPipPipPipPipPip
  • 6,440 posts

Posted 31 May 2008 - 05:04 PM

Yae sorry me just being silly.

Edited by Tomf, 31 May 2008 - 05:13 PM.


#14 Mini Man Dan

Mini Man Dan

    One Carb Or Two?

  • Members
  • PipPipPipPipPipPipPip
  • 1,299 posts

Posted 31 May 2008 - 06:36 PM

Maplins sell toggle switches. Thanks for doing this FAQ Tom, much appreciated!

#15 imaparana

imaparana

    Super Mini Mad

  • Members
  • PipPipPipPipPipPip
  • 580 posts

Posted 21 March 2010 - 07:12 PM

how many layers have you applied and how much resin did you use?
cheers


0 user(s) are reading this topic

0 members, 0 guests, 0 anonymous users