So first of all you will need the Materials, for mine i used:
- 6mm MDF, nice big sheet of it, costs a reasonable £8.50
- Carpet of your choice, i used traditional grey/black chord. This should cost around £15 for a HUGE roll of it which is plenty for this project.
- Cardboard to create the template before spending any money on the other materials.
- Bendy Hardboard (for people who dont understand its the specially made wood that is able to be bent more)
- Phillips screwdriver
- Jig Saw
- Standard Saw ( or an electric saw )
- Pencil
- Set Square
- Double Sided tape ( i used double sided Duck tape as this is strong stuff )
- Small screws
- Brackets roughly around 10
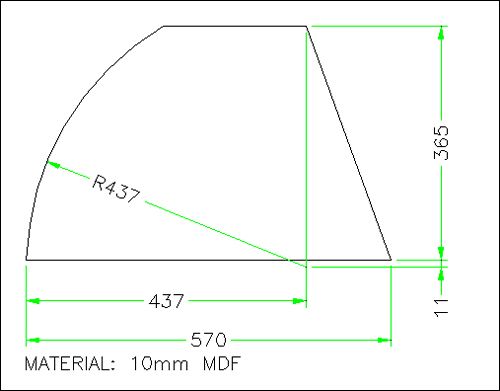
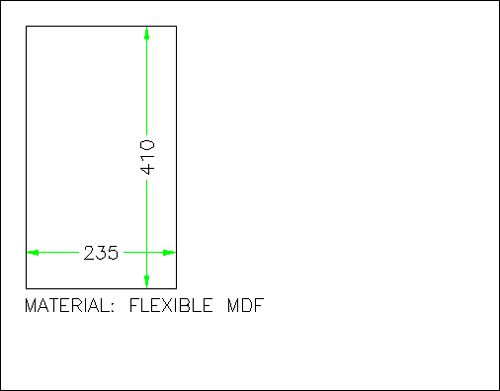
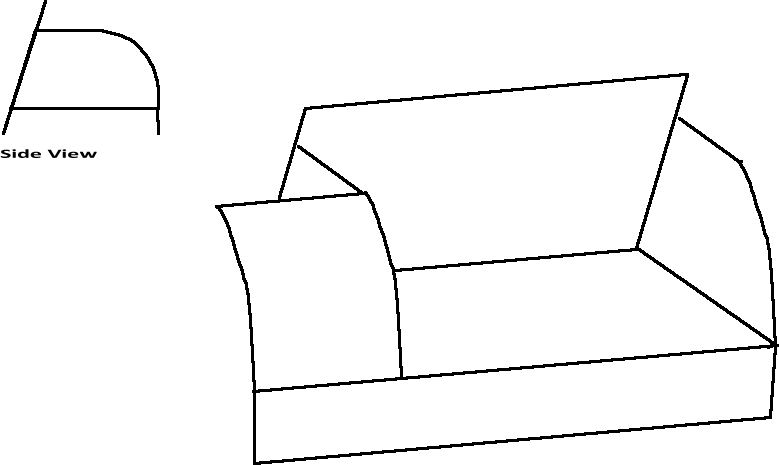
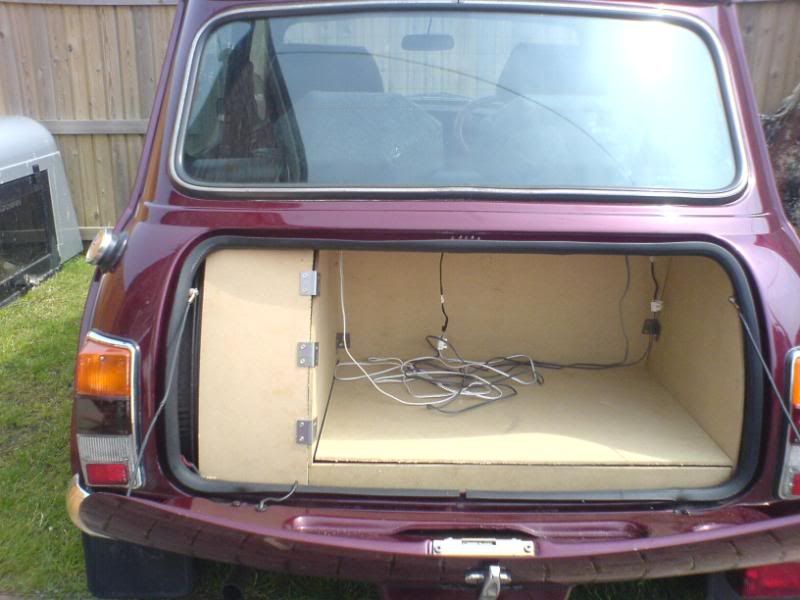
Ok now you have all the following equipment it is time to start creating a cardboard template. This is done to ensure that it all fits in the back of your mini's, as i have found out some of the measurements given for the templates are incorrect. However i will supply the templates for people who want them anyway:
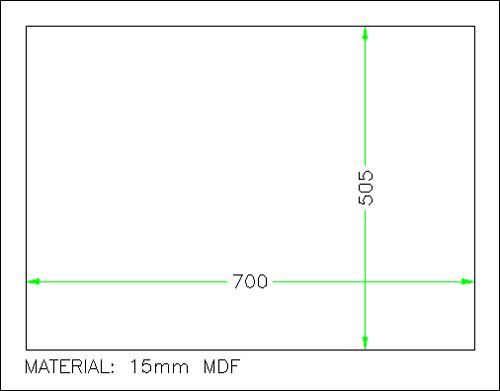
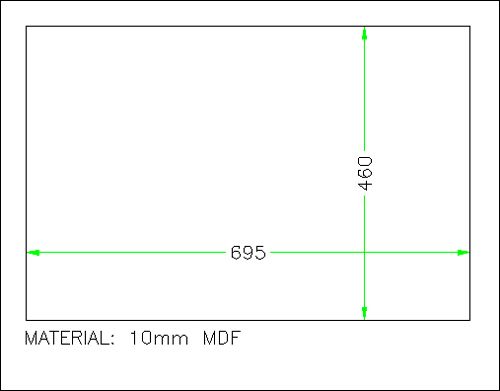
Ok now you should of created the templates, so it is time to draw round the templates onto the MDF sheet, once done cut these all out and give a very quick sand on the edges just enough to get rid of the excess wood. For my boot board i modified the templates to make it unique, for the right hand side panel i had created a bigger side piece to cover the entire right hand side which you will see later on.
Now the pieces are cut out, just insert them into thre back of the Mini to make sure they all fit correctly. If they do then it is time to fix them together using the brackets. To hold my back piece in i used 4 brackets, 2 on either side. Then a further one on the bottom strip and another 3 to hold the bendy hardboard into place over the fuel tank. If they all fit together perfectly then take it apart as now you will need to carpet them.
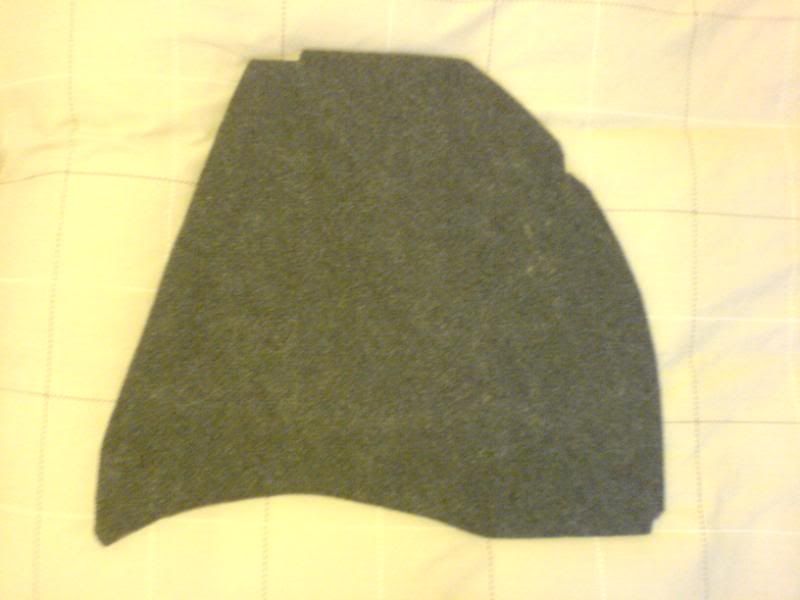
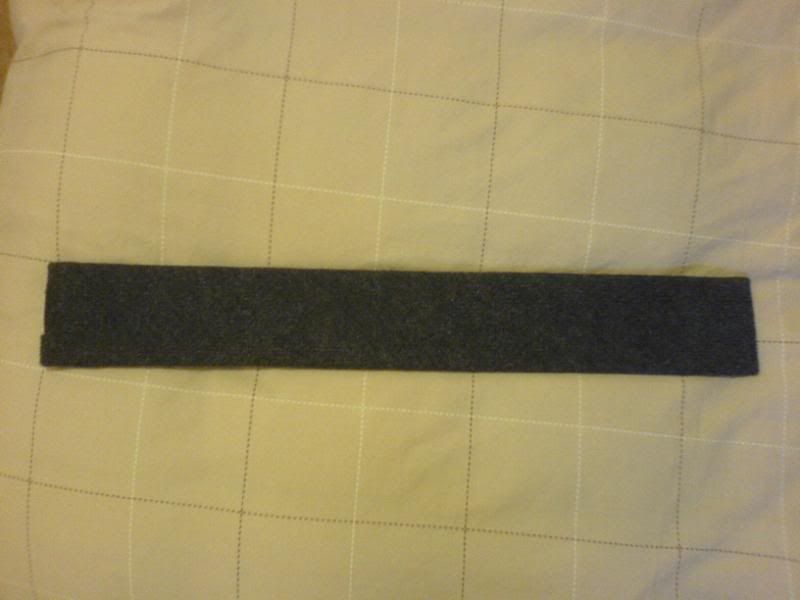
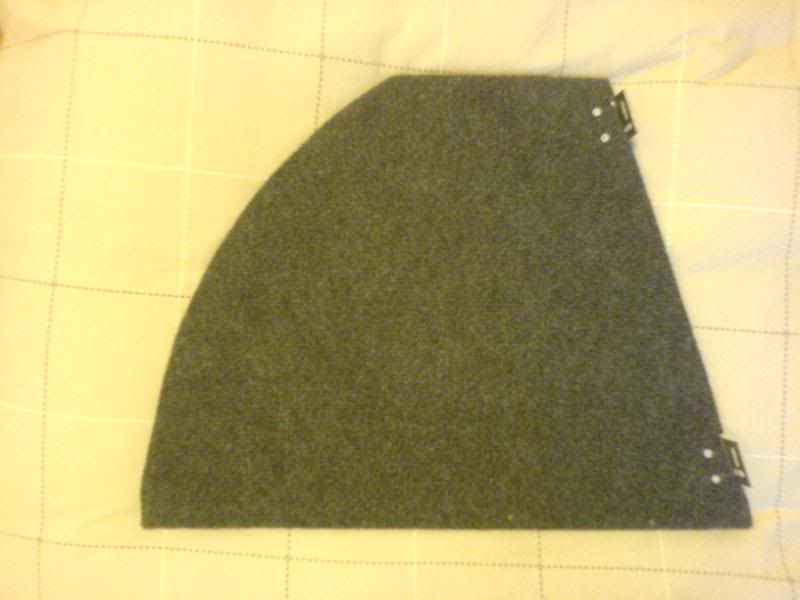
For this i turned the carpet over, i placed the piece on it, and then drew around the shape, from the outline you then measure 1 inch away fromt he line, this gives a good fold other on the other side. Once all the carpet is cut to size, apply random strips of double side tape to the pieces and then stick it on the correct piece of carpet that has been cut out. Make sure this is stuck correctly and is smooth, if so then fold the 1 inch carpet left over round on the un carpeted side, hold it firmly and secure with very small screws. This should create good tight fits, below are the pieces i used:
Right hand side piece (as you can see that is more own design)
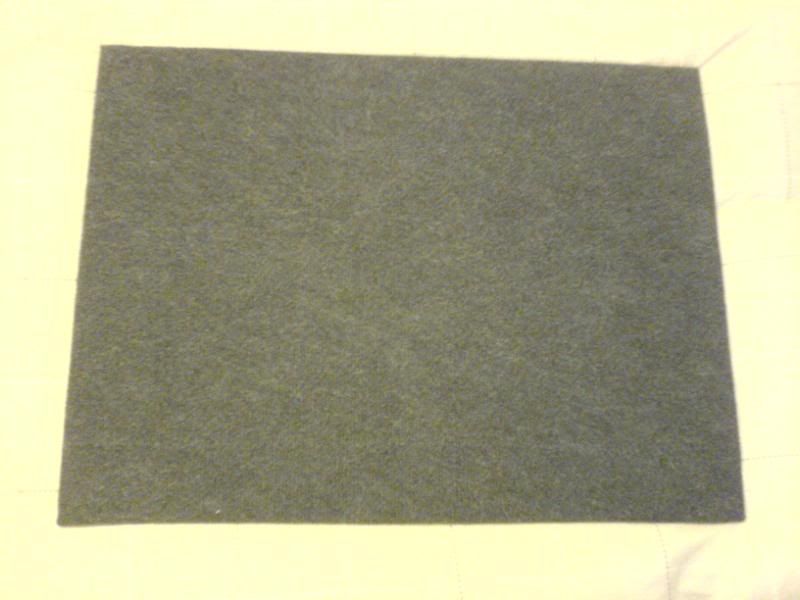
Front section
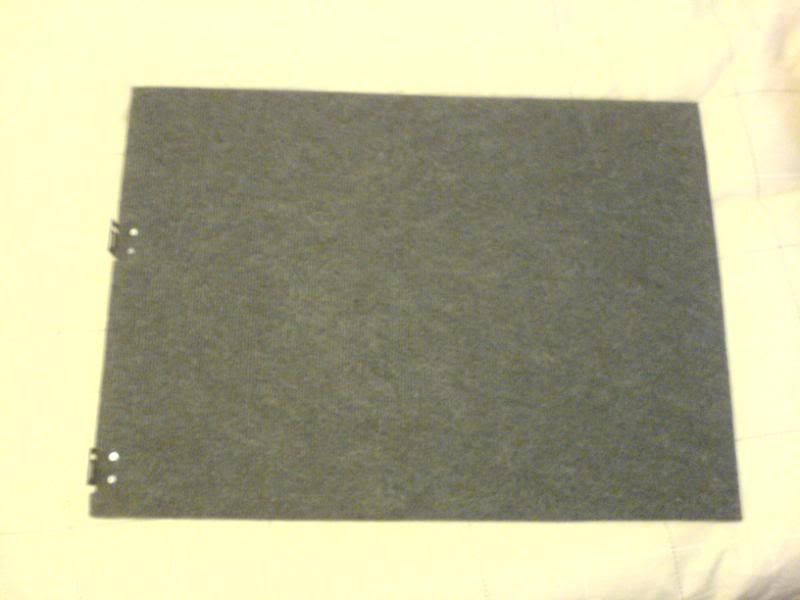
Left hand side
Back section ( please note this picture is upside down by accident lol )
The top section or base
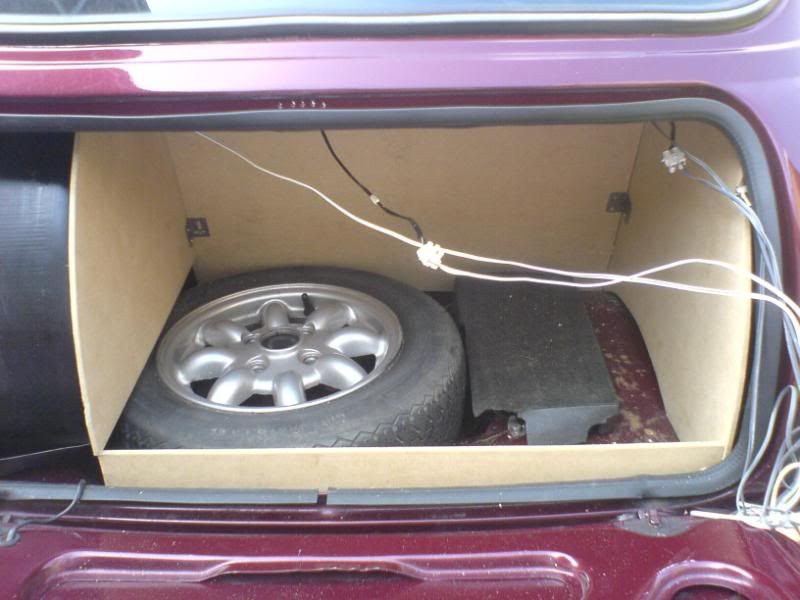
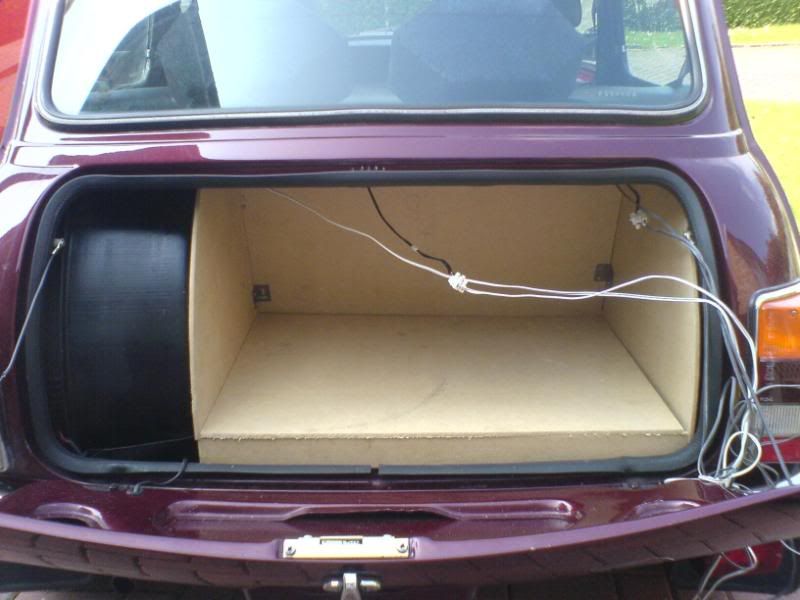
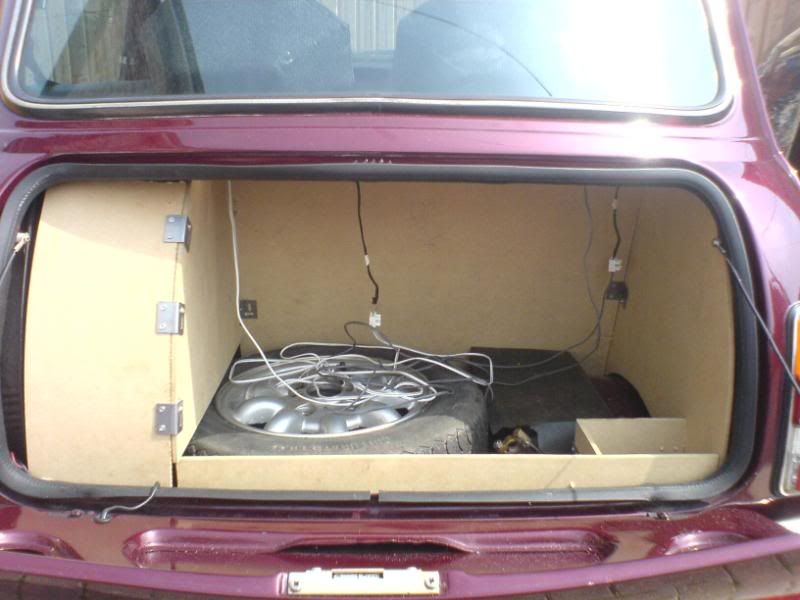
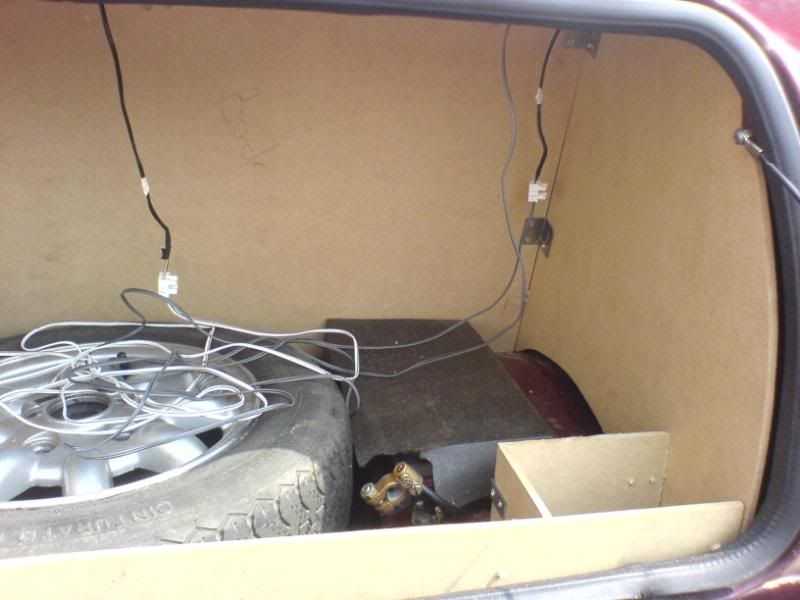
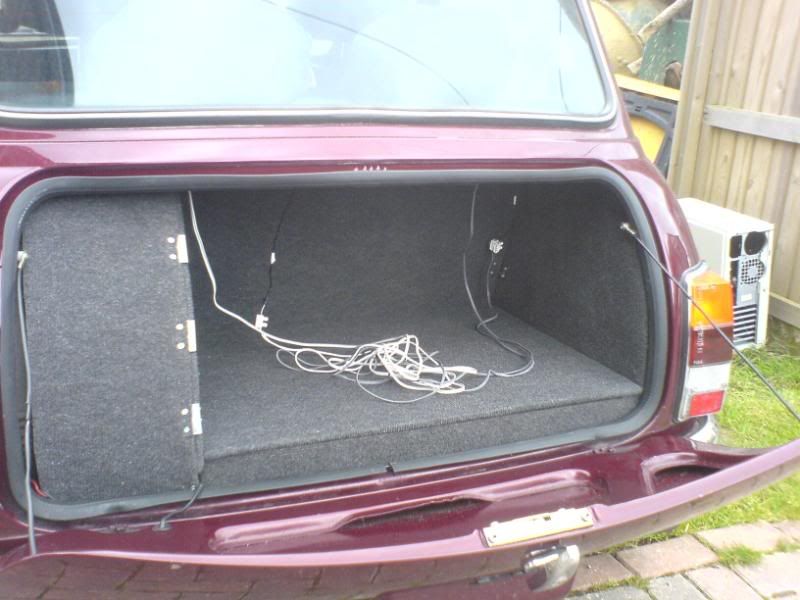
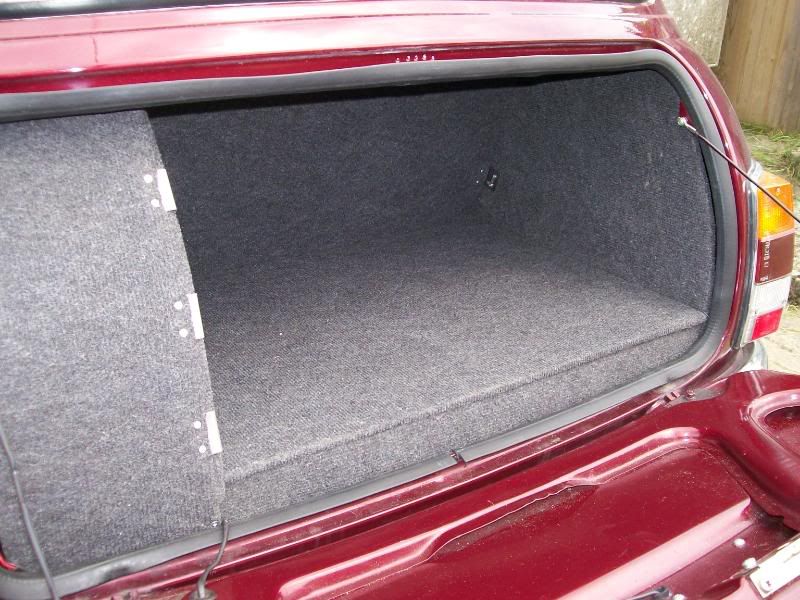
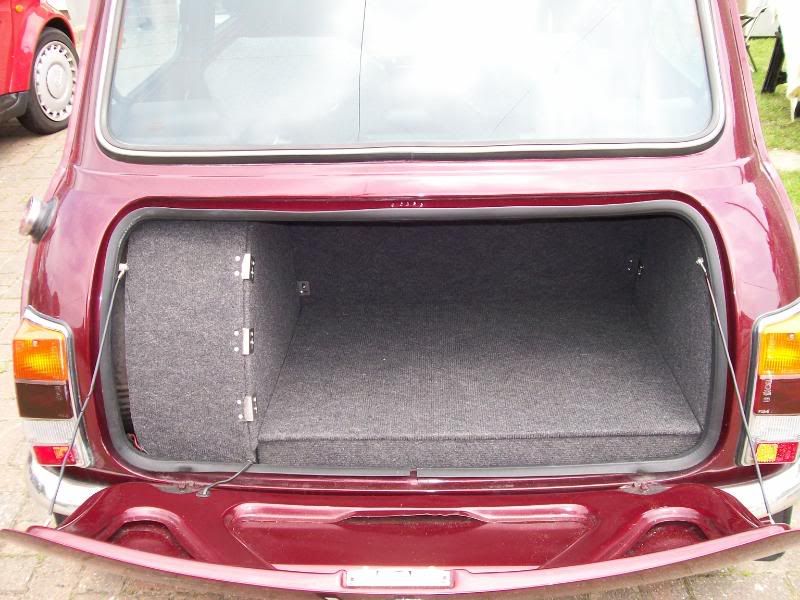
Once all carpeted you can then re insert it back into the boot, then you should have a fully lined boot. I however did add bits to mine, for instance to compensate for the lack of height where the battery is, i added brackets within so that the base has something to sit on, this is much easier and smarter way rather than doing a whole foam cut out so it surrounds your battery, however the section i am refering to you will see in my images below, its on the right and this is not only a support for the base, it is also a small carpeted tool section, for the odd things like screwdrivers etc. Neway have a look at my pictures and let me know what you think:

Edited by Russell-Mini30, 08 June 2008 - 07:38 PM.