Jump to content


Photo

Creating The Ideal Boot Board


  • Please log in to reply
158 replies to this topic

#151 roberts

roberts

    Optimise Automotive

  • Traders
  • PipPipPipPipPipPipPipPipPip
  • 3,295 posts
  • Location: Newcastle-under-Lyme, Staffordshire

Posted 17 January 2013 - 10:50 AM

Good morning,

I purchased the boot liner kit from Optimise Automotive. Looks great and fits in place without having to use any hardware.

However, I have a 1" space between the end of the floor panel and the fuel tank. Does this mean I have an earlier, smaller fuel tank (25 liters)?

It's been a project in my garage since I bought the car, so I haven't had a chance to fill up the tank yet. But 5 gallons of fuel brought the fuel gauge up to approx. 3/4.


From the pics you posted it looks like you have it fitted slightly wrong:

No problem! Here you go:


1) The right hand side board should go behind the boot cord bracket.
2) The left hand side board should be positioned so it sits next to the bottom board (so you loose the gap).

Hope that helps.


Thanks
Andy @ Optimise Automotive

Website: www.optimise-automotive.com
Email: [email protected]
Phone: +44 (0) 1782 579 080

#152 Woreign

Woreign

    Mini Mad

  • Noobies
  • PipPipPipPip
  • 206 posts
  • Location: Ramstein Air Base, Germany

Posted 17 January 2013 - 12:08 PM

I plan to insert a 1" piece of hard foam between the fuel tank and the left side panel to take up the space. That's what lead me to believe that I might have a smaller tank.

#153 Sprite the little rascel

Sprite the little rascel

    Stage One Kit Fitted

  • Noobies
  • PipPipPip
  • 80 posts
  • Location: Sutton-In-Craven

Posted 28 January 2013 - 09:52 PM

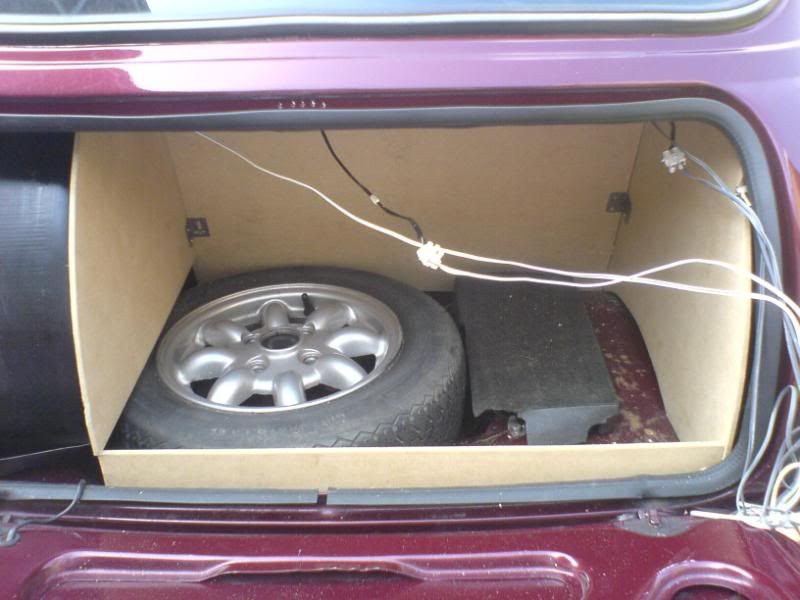
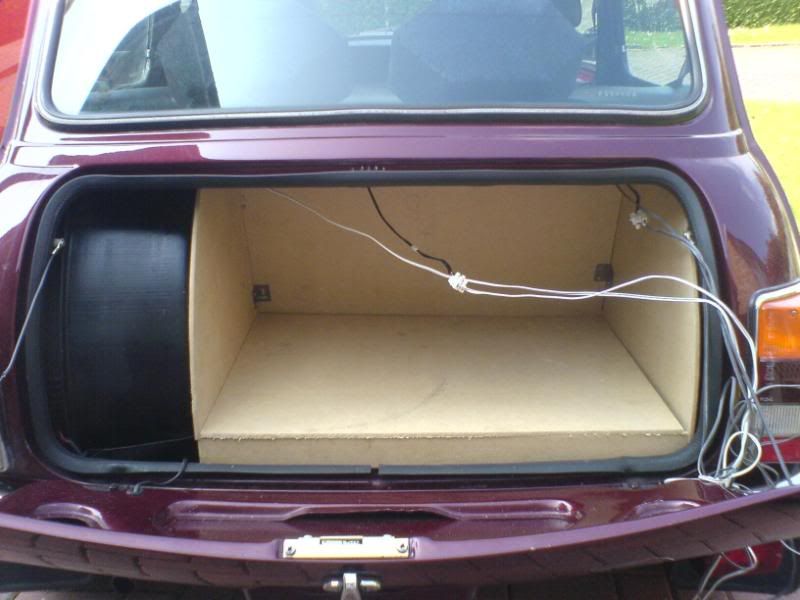
At last managed to get this photo thing working, I used some marine ply and fixed it all together with 6 blocks that lock in place and screw together so easy to remove undo 6 screws and take apart, didn't have any flexible ply so just cut pieces out and screwed in then painted white to make it look a little tidier, the rounded bit will look OK when I get something to cover it all with.

Posted Image

#154 Mini neon 91

Mini neon 91

    Learner Driver

  • Noobies
  • PipPip
  • 24 posts
  • Location: Sheffield

Posted 06 September 2014 - 11:10 AM

Hi people, after looking through this site for a while i found that it lacks any topics on creating the ideal boot board. So i have decided to create a step by step instruction manual for creating one to fit your mini's that are in dire need of a good quality boot board.
So first of all you will need the Materials, for mine i used:
 

  • 6mm MDF, nice big sheet of it, costs a reasonable £8.50
  • Carpet of your choice, i used traditional grey/black chord. This should cost around £15 for a HUGE roll of it which is plenty for this project.
  • Cardboard to create the template before spending any money on the other materials.
  • Bendy Hardboard (for people who dont understand its the specially made wood that is able to be bent more)
Next you will need the following tools:

  • Phillips screwdriver
  • Jig Saw
  • Standard Saw ( or an electric saw )
  • Pencil
  • Set Square
  • Double Sided tape ( i used double sided Duck tape as this is strong stuff )
  • Small screws
  • Brackets roughly around 10
Now please note, i have used 6mm MDF as this is a strong sturdy material and where as the templates and other people use 10mm MDF you do not need it this thick, it only adds more weight and reduces the space overall. And as you can see it came out perfectly fine with mine.

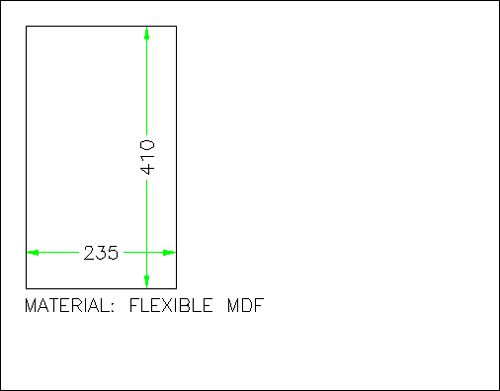
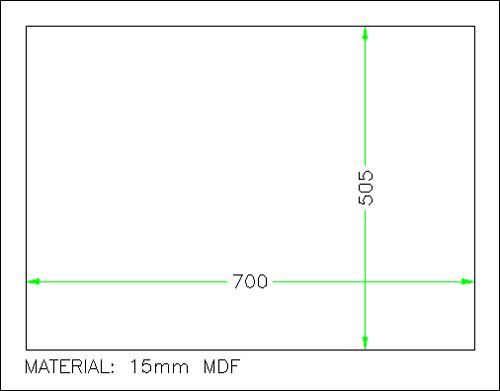
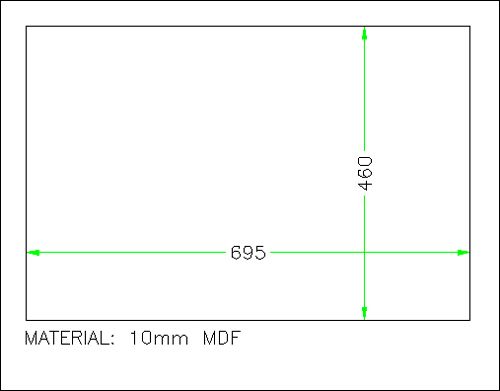
Ok now you have all the following equipment it is time to start creating a cardboard template. This is done to ensure that it all fits in the back of your mini's, as i have found out some of the measurements given for the templates are incorrect. However i will supply the templates for people who want them anyway:
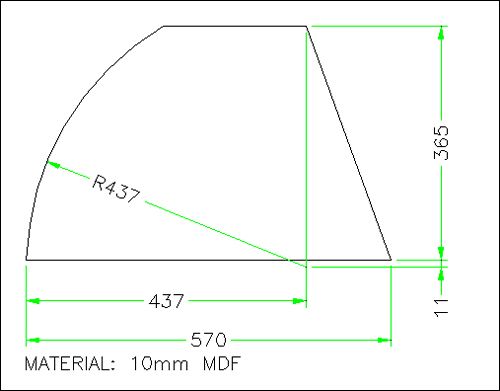
bootboarddimensionssidepieces.jpg
bootboarddimensionsfueltankfrontcov.jpg
bootboarddimensionsbootfloorpiece.jpg
bootboarddimensionsbackbulkheadpiec.jpg

Ok now you should of created the templates, so it is time to draw round the templates onto the MDF sheet, once done cut these all out and give a very quick sand on the edges just enough to get rid of the excess wood. For my boot board i modified the templates to make it unique, for the right hand side panel i had created a bigger side piece to cover the entire right hand side which you will see later on.

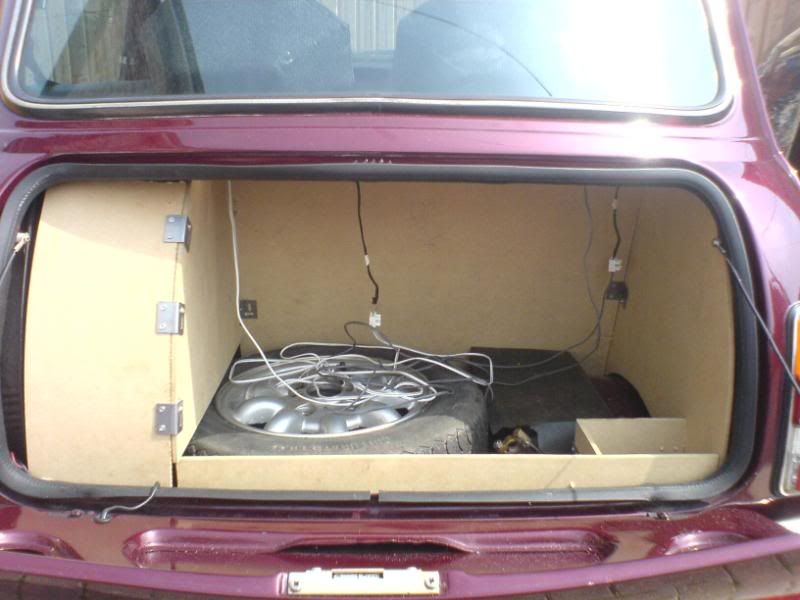
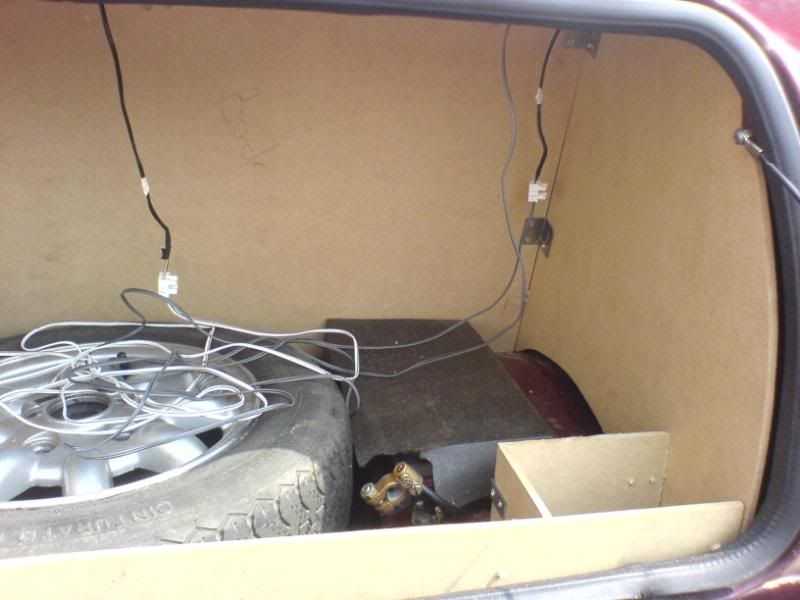
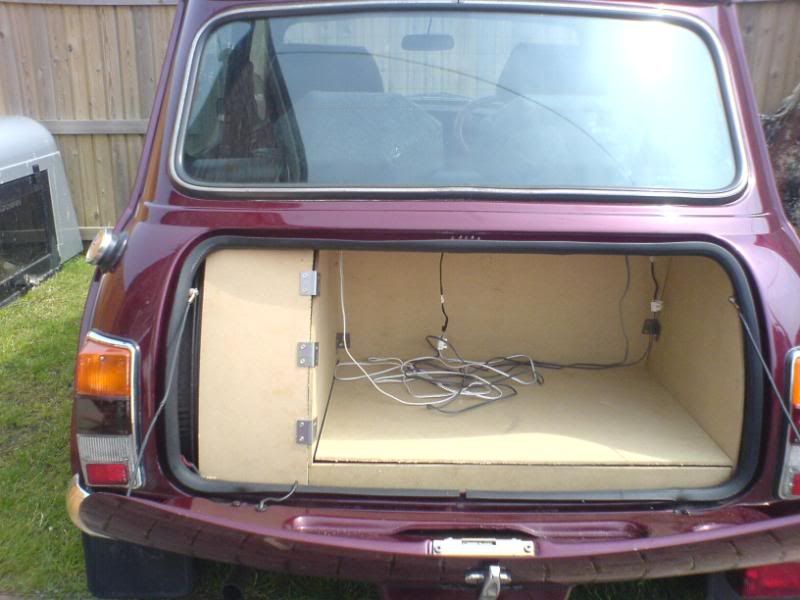
Now the pieces are cut out, just insert them into thre back of the Mini to make sure they all fit correctly. If they do then it is time to fix them together using the brackets. To hold my back piece in i used 4 brackets, 2 on either side. Then a further one on the bottom strip and another 3 to hold the bendy hardboard into place over the fuel tank. If they all fit together perfectly then take it apart as now you will need to carpet them.
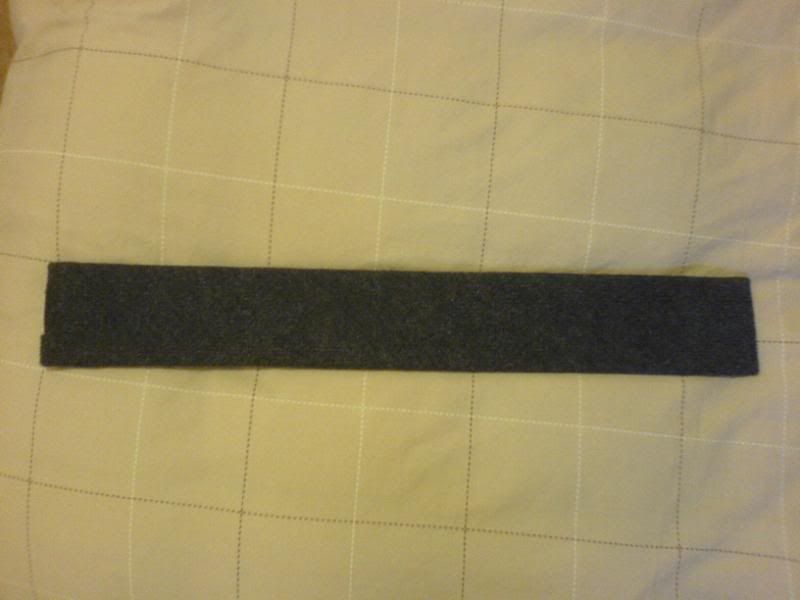
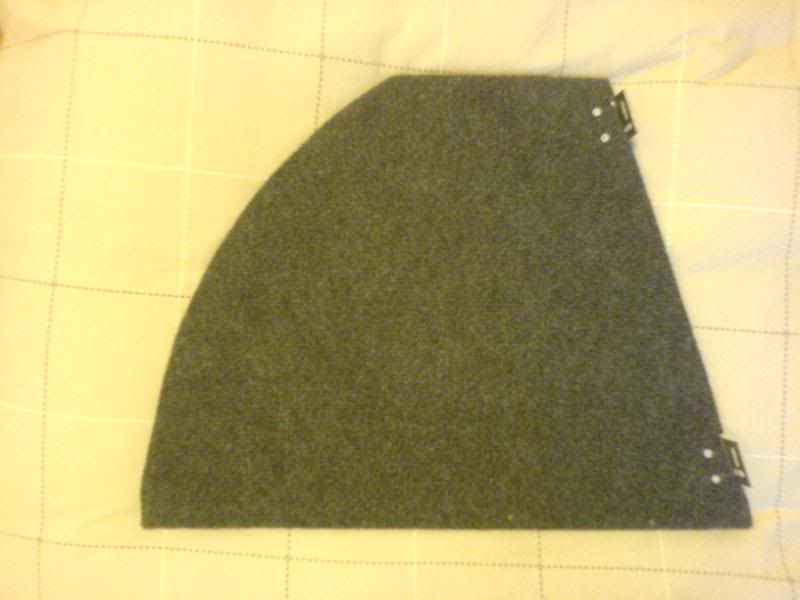
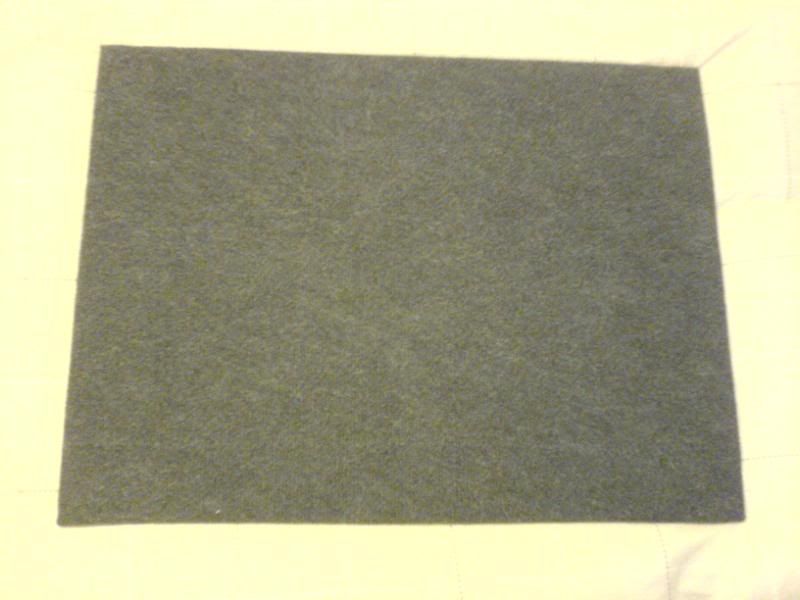
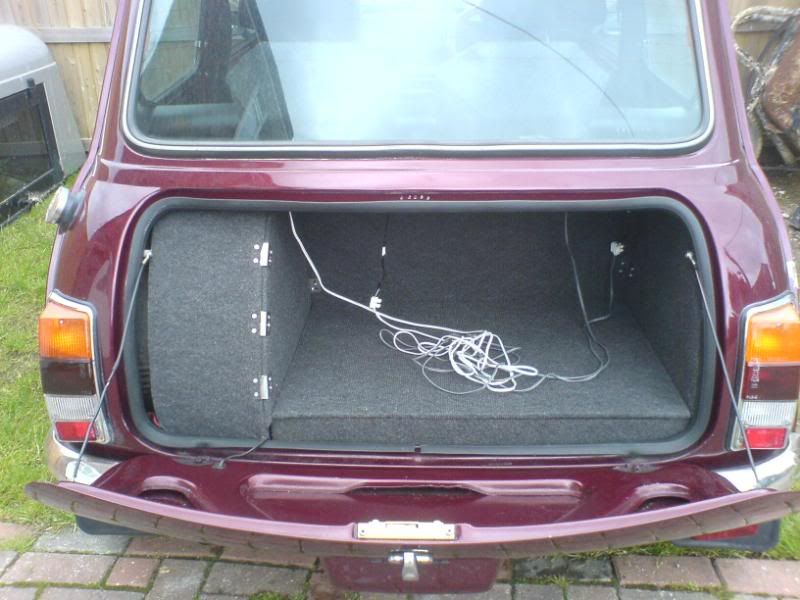
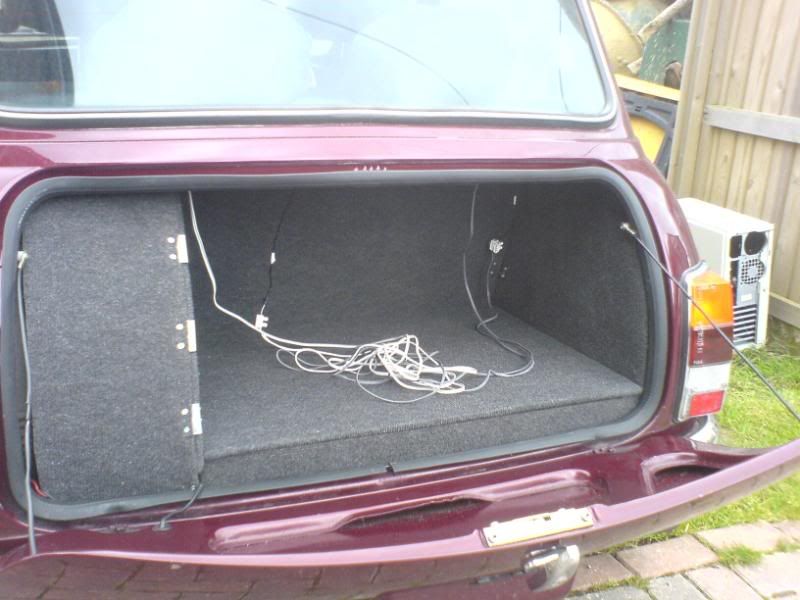
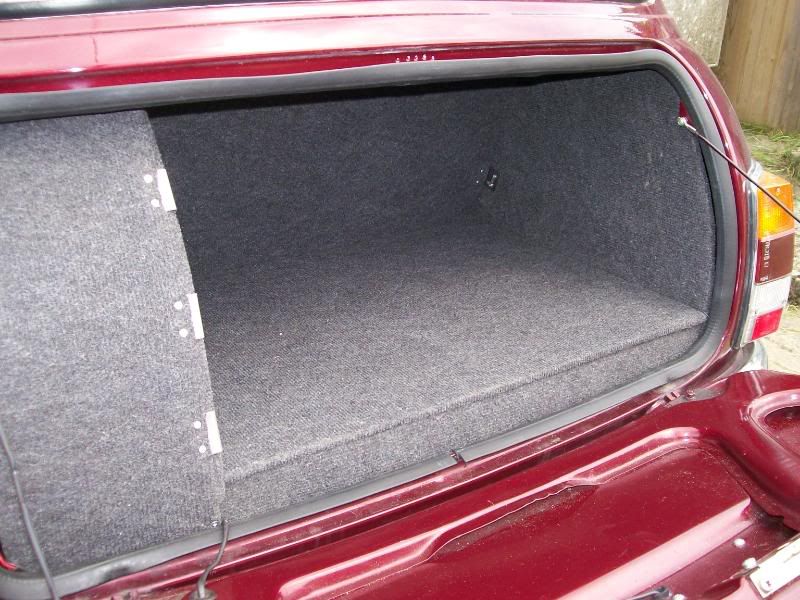
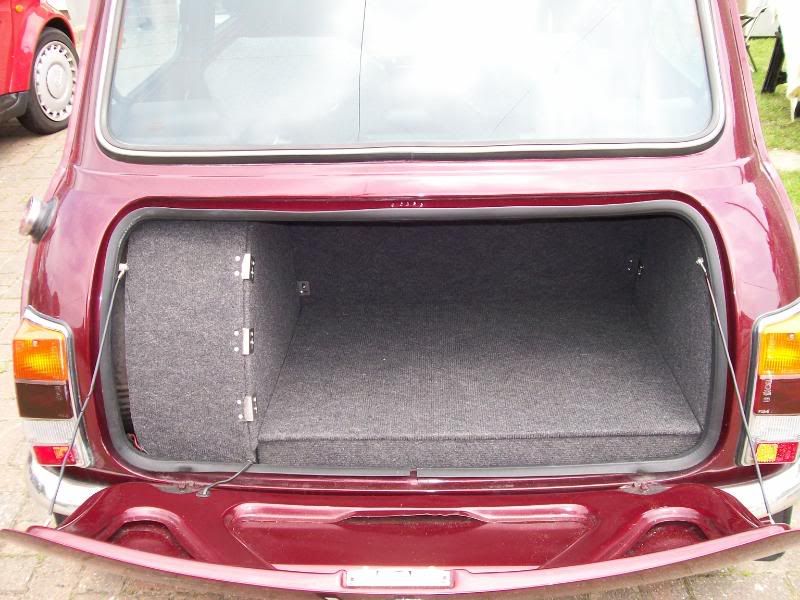
For this i turned the carpet over, i placed the piece on it, and then drew around the shape, from the outline you then measure 1 inch away fromt he line, this gives a good fold other on the other side. Once all the carpet is cut to size, apply random strips of double side tape to the pieces and then stick it on the correct piece of carpet that has been cut out. Make sure this is stuck correctly and is smooth, if so then fold the 1 inch carpet left over round on the un carpeted side, hold it firmly and secure with very small screws. This should create good tight fits, below are the pieces i used:

Right hand side piece (as you can see that is more own design)
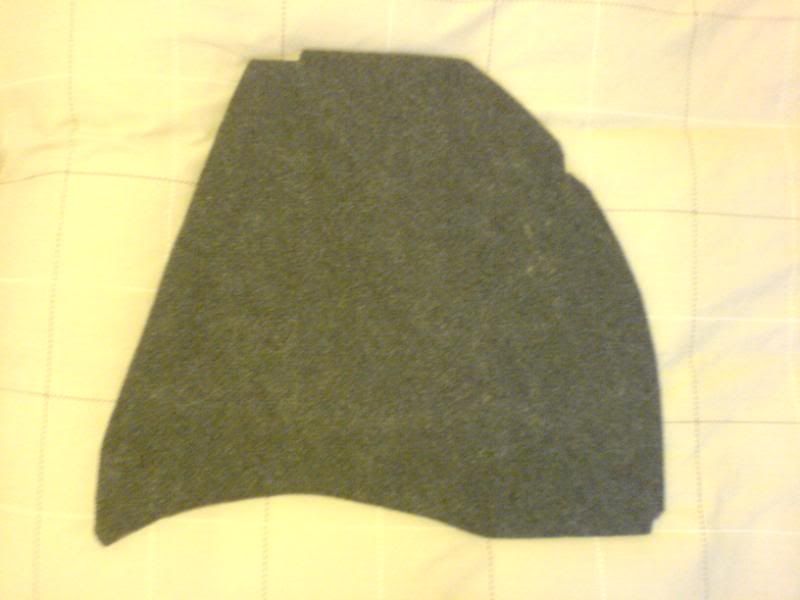
DSC00799.jpg
Front section
DSC00801.jpg
Left hand side
DSC00802.jpg
Back section ( please note this picture is upside down by accident lol )
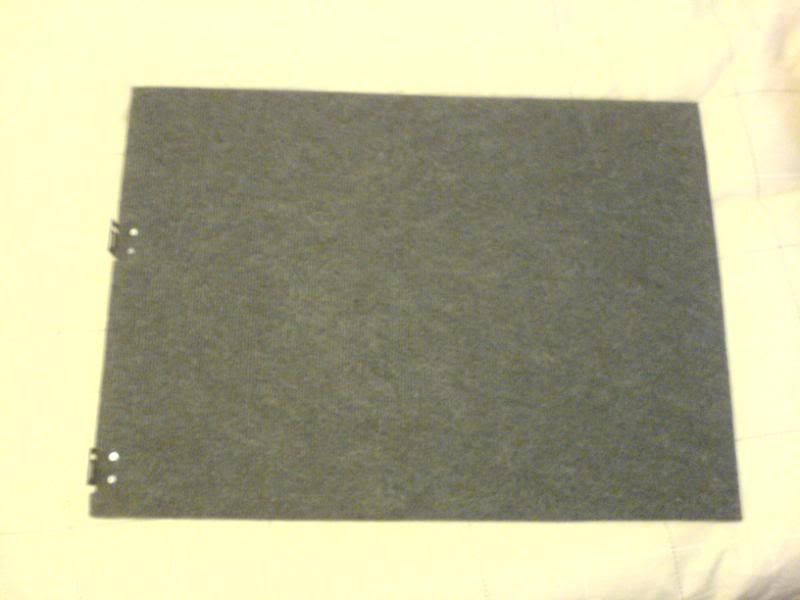
DSC00803.jpg
The top section or base
DSC00804.jpg

Once all carpeted you can then re insert it back into the boot, then you should have a fully lined boot. I however did add bits to mine, for instance to compensate for the lack of height where the battery is, i added brackets within so that the base has something to sit on, this is much easier and smarter way rather than doing a whole foam cut out so it surrounds your battery, however the section i am refering to you will see in my images below, its on the right and this is not only a support for the base, it is also a small carpeted tool section, for the odd things like screwdrivers etc. Neway have a look at my pictures and let me know what you think:
bootboard.png
DSC00787.jpg
DSC00786.jpg
DSC00793.jpg
DSC00792.jpg
DSC00791.jpg
DSC00807.jpg
DSC00808.jpg
100_0252.jpg
100_0248.jpg


does anyone know how big the front panel is which the base stands on?


#155 ruwanatapattu

ruwanatapattu

    Starting My Mini Up

  • Noobies
  • Pip
  • 1 posts
  • Location: Colombo

Posted 07 September 2017 - 09:28 AM

Thanks


Edited by ruwanatapattu, 07 September 2017 - 09:29 AM.


#156 Alice Dooper

Alice Dooper

    Speeding Along Now

  • Members
  • PipPipPipPipPip
  • 391 posts
  • Location: Co. Antrim
  • Local Club: Minis in Northern Ireland

Posted 08 September 2017 - 09:31 AM

Great thread.

It’s certainly inspired everyone to try something out.

I’d already made mine up but wish I’d had some of the ideas on here.

I’ve an MPI and have the left hand side flexible part made up in thinner hardboard with the tank side made in 6mm. I was able to carefully screw through the hardboard onto the edge of the 6mm. The 6mm side is then screwed into captive nuts on the brackets that hold the tank protector. Very neat and no brackets on show.

My backboard is slightly oversize and holds itself in but I think I’ll put some kind of hidden bracket at the back right hand side to hold the side panel in better.

I keep a stash of WD40, brake fluid and stuff behind the right hand panel along with the windscreen washer bottle, think I’ll remak3 th3 side panel with an access door. It’s a pain getting th3 panel off past the battery and alarm switch.

I’ve the jack etc... all secured to the floor with clips, hate stuff rattling around.

Anyone got plans for a battery box?

#157 paulrockliffe

paulrockliffe

    Camshaft & Stage Two Head

  • Members
  • PipPipPipPipPipPipPipPip
  • 1,763 posts
  • Location: Durham

Posted 08 September 2017 - 12:36 PM

I just read this thread too, not seen it before. I might do one eventually, would be good with tools and spares etc fixed underneath the base board where there's space.

My biggest complaint is stuff rattling around in there!

#158 leeesslemont

leeesslemont

    Learner Driver

  • Noobies
  • PipPip
  • 10 posts
  • Location: Auchterarder

Posted 05 July 2021 - 03:32 PM

This looks brilliant. I'd like to make for my MPI.  Does anyone have the template drawings? The links don't seem to work anymore. 


Cheers


#159 panky

panky

    Camshaft & Stage Two Head

  • Members
  • PipPipPipPipPipPipPipPip
  • 1,776 posts
  • Location: Cheshire
  • Local Club: Northwest Casual Classics

Posted 06 July 2021 - 09:55 AM

This was published on here a little while ago, sorry I cant remember who's work it is


http://www.wannop.co...lans/index.html


0 user(s) are reading this topic

0 members, 0 guests, 0 anonymous users