Jump to content


Photo

1980 Clubman Estate..another Sandglow


  • Please log in to reply
68 replies to this topic

#1 mini-adam

mini-adam

    Stage One Kit Fitted

  • Noobies
  • PipPipPip
  • 79 posts
  • Location: Co. Tyrone

Posted 31 August 2011 - 10:09 PM

Couldn't resist being tempted by this as it was only two doors away from where I live and was owned by an old lady from nearby.

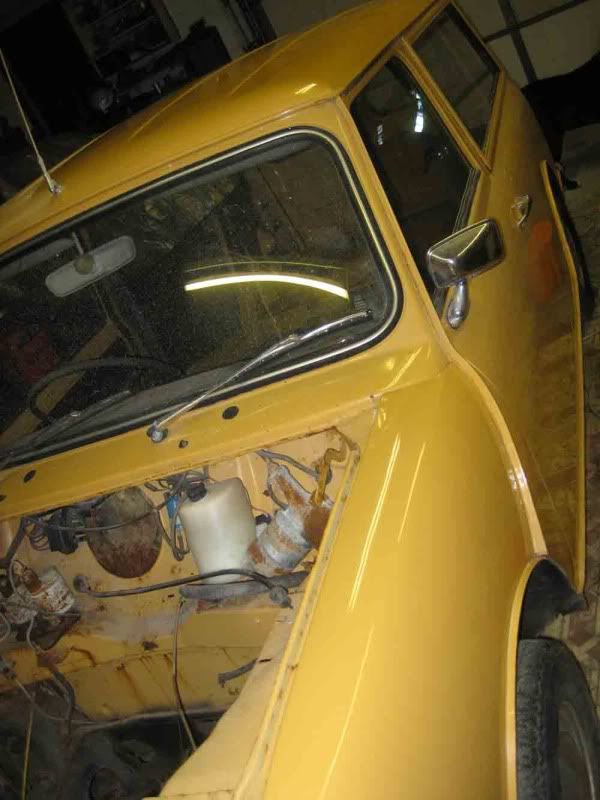
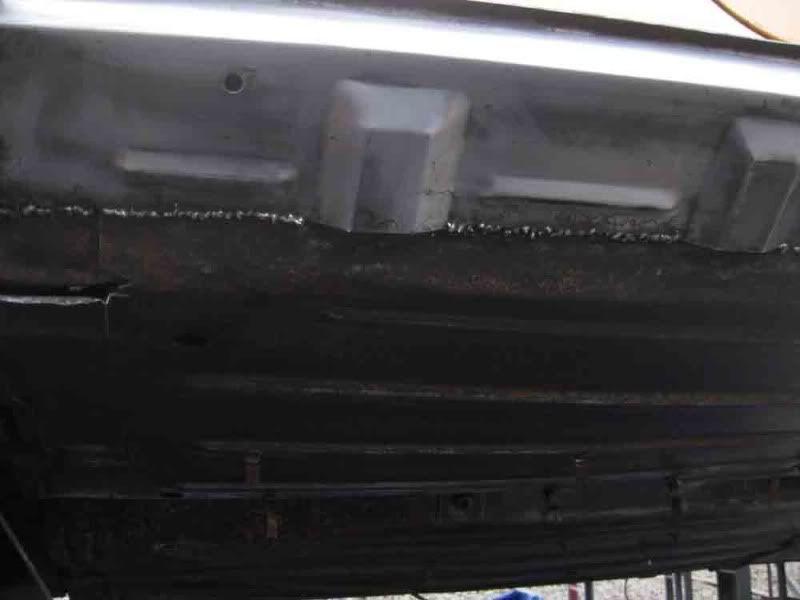
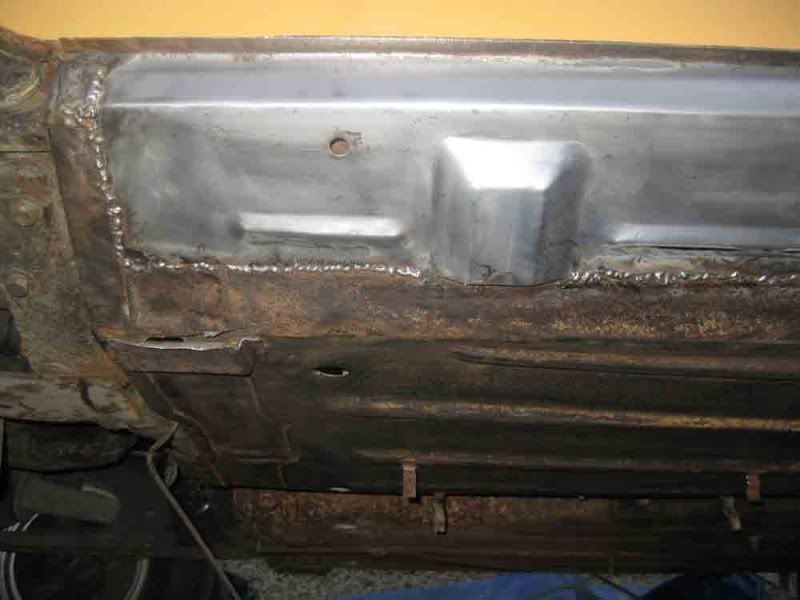
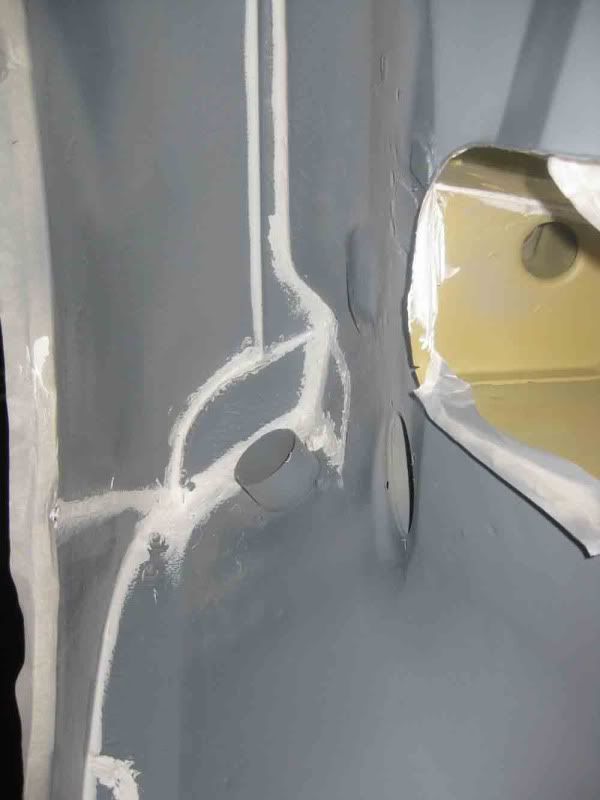
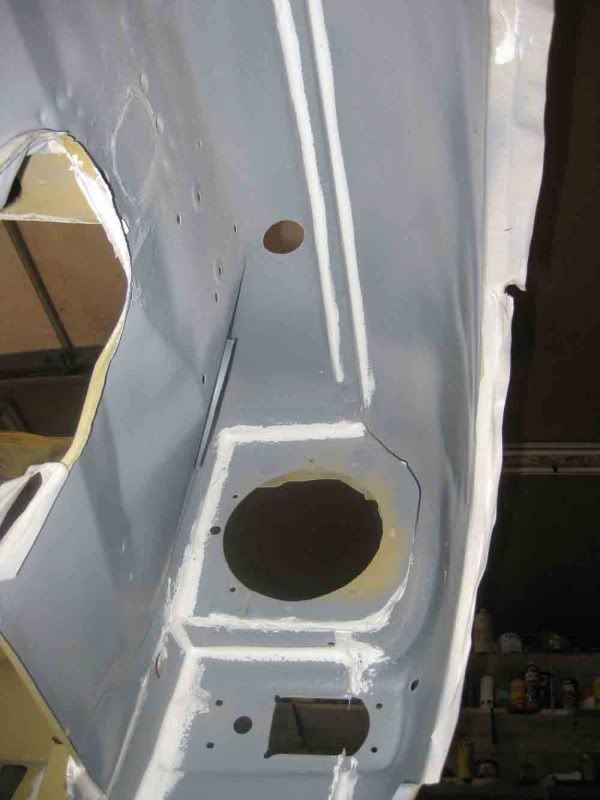
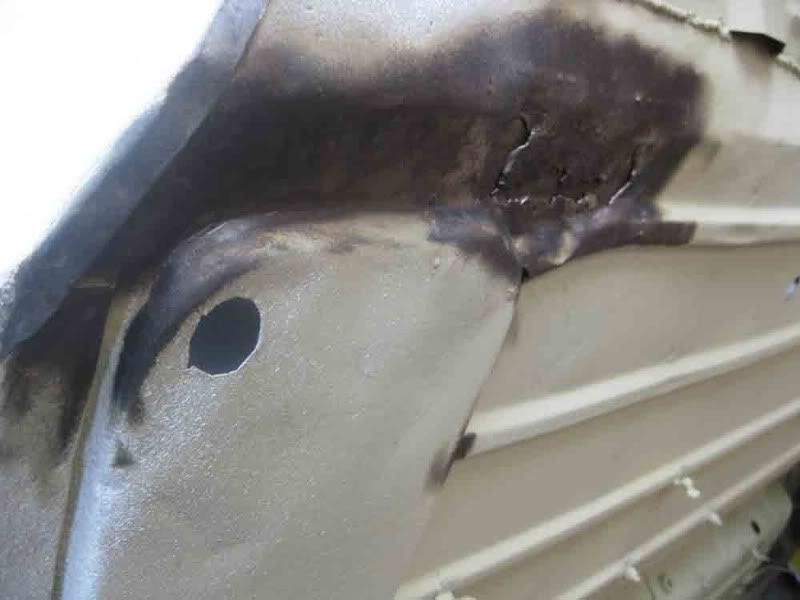
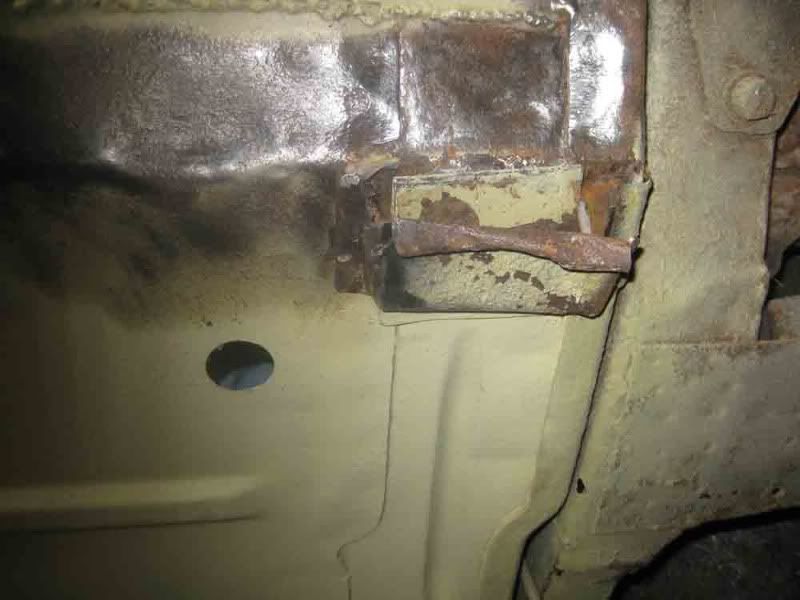
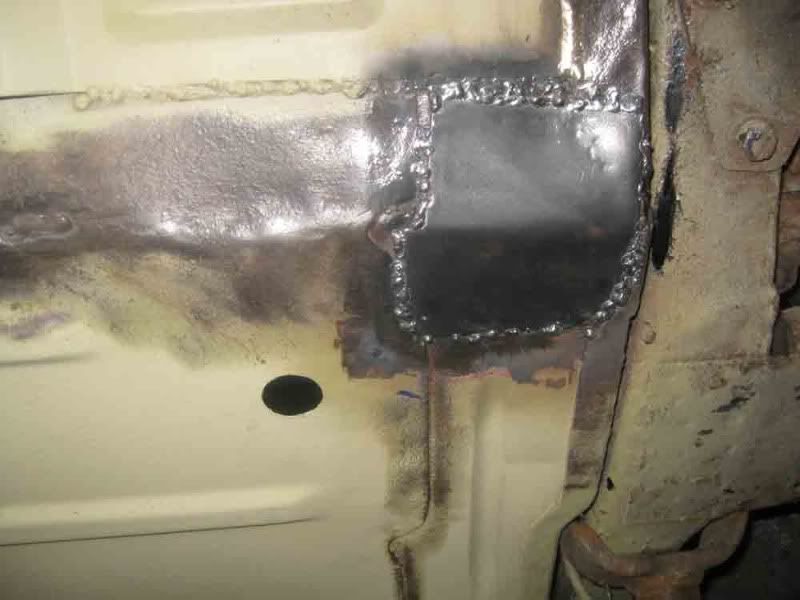
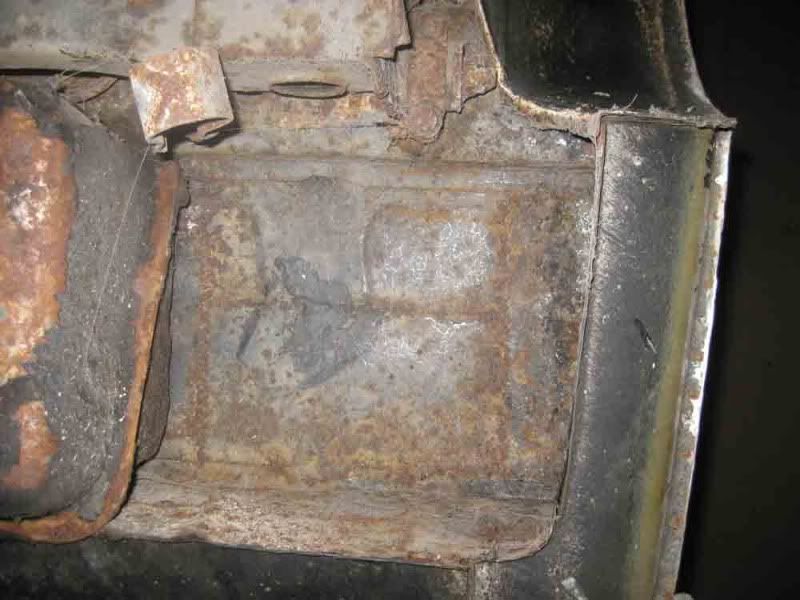
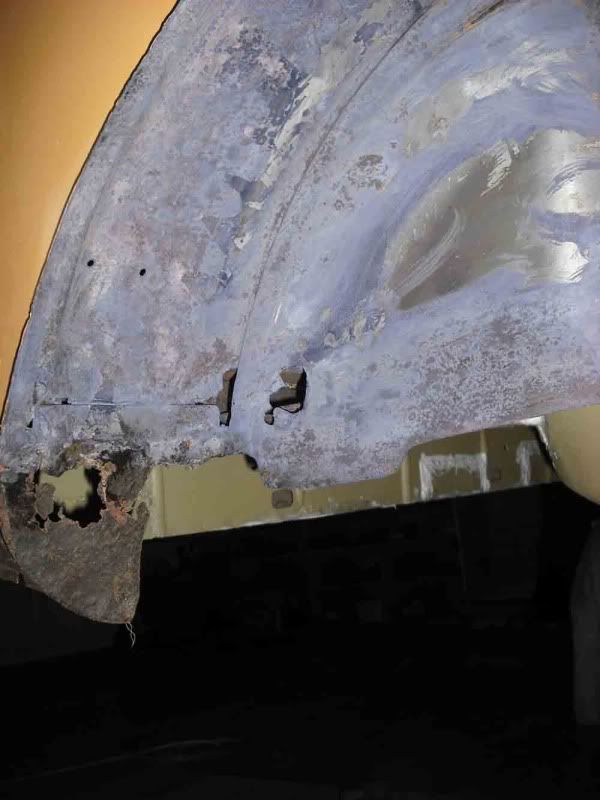
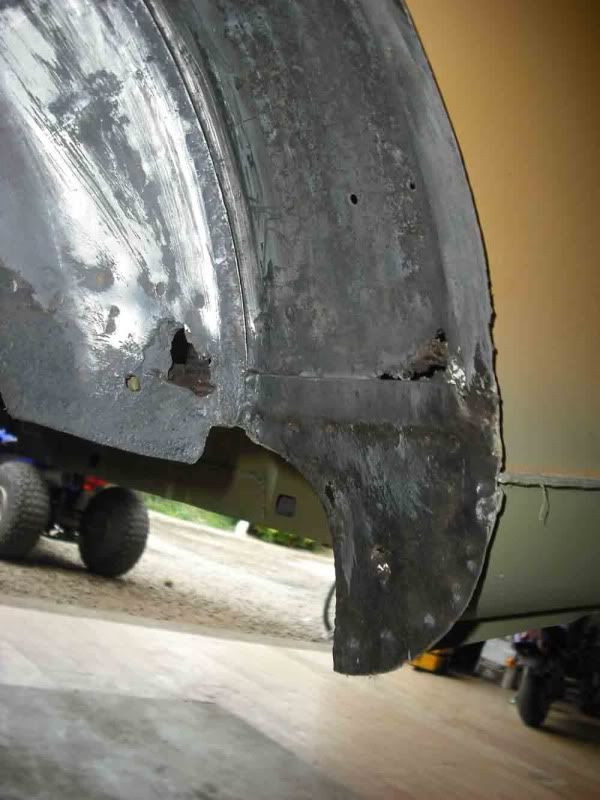
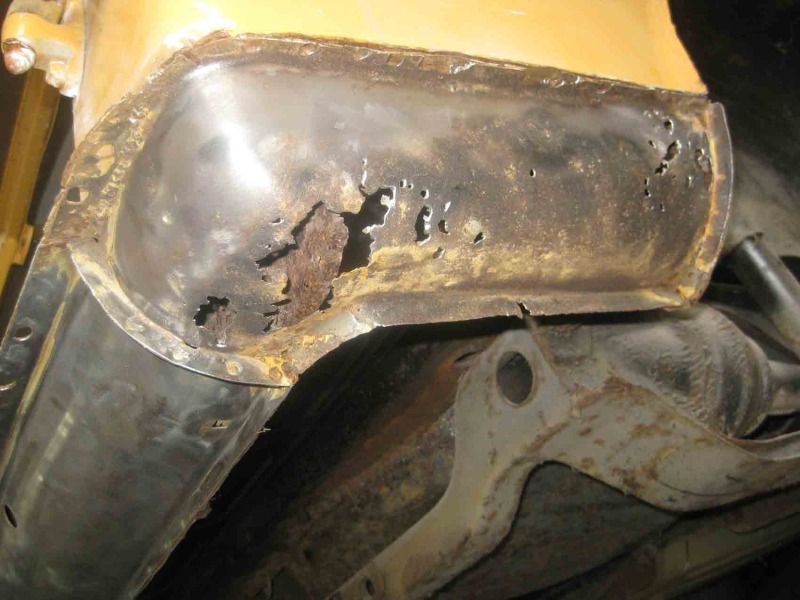
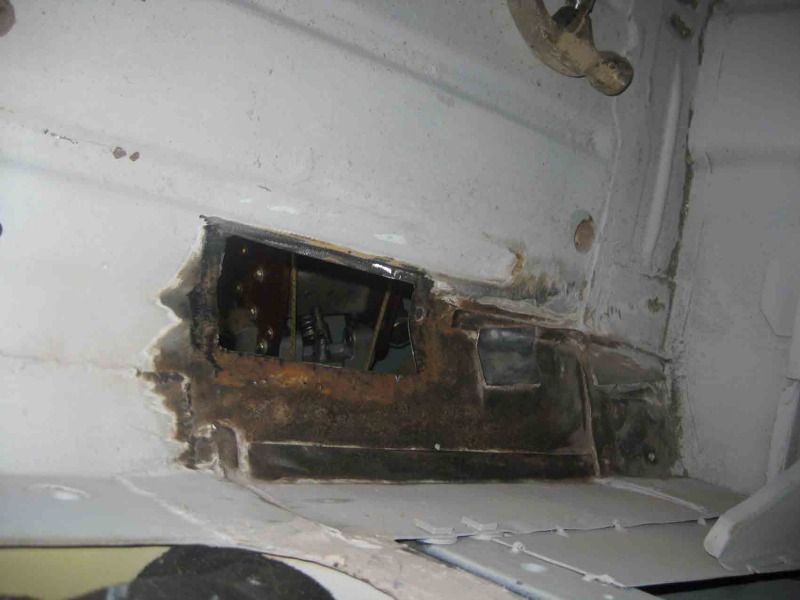
Back in 1991 the car was given to a local mini expert to get a few rusty bits sorted out. He replaced sills, cut out and repaired a few holes in the floor and a wing replaced. Then he left it up to a bodyshop and mechanic fella a few hundred yards away to get repainted, a replacement goldseal engine fitted. When this was happening the elderly lady owner passed away. The fella waited till all the family had the will sorted and done a deal with them to pay for the work done. He put a sheet over it and pushed into the back of the workshop where it sat for the next 18 + years.

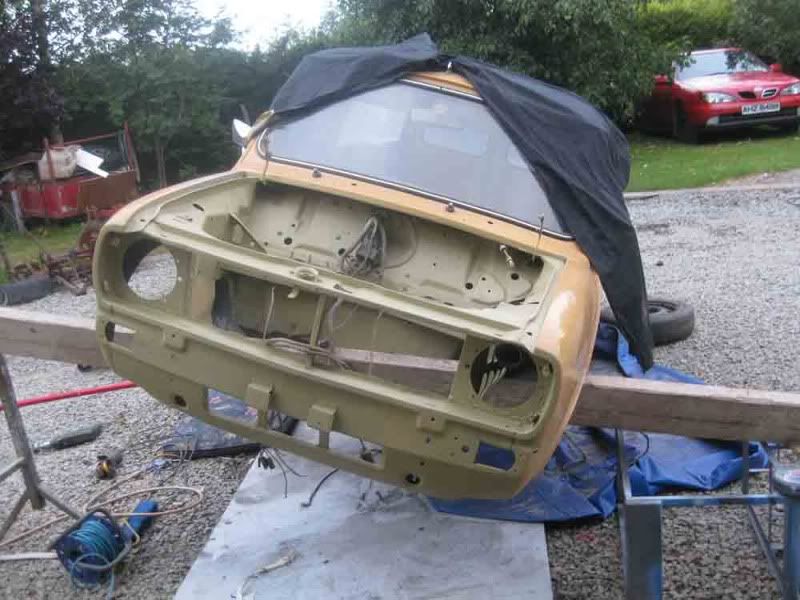
I bought it last year but have only now got around to the serious business of its restoration

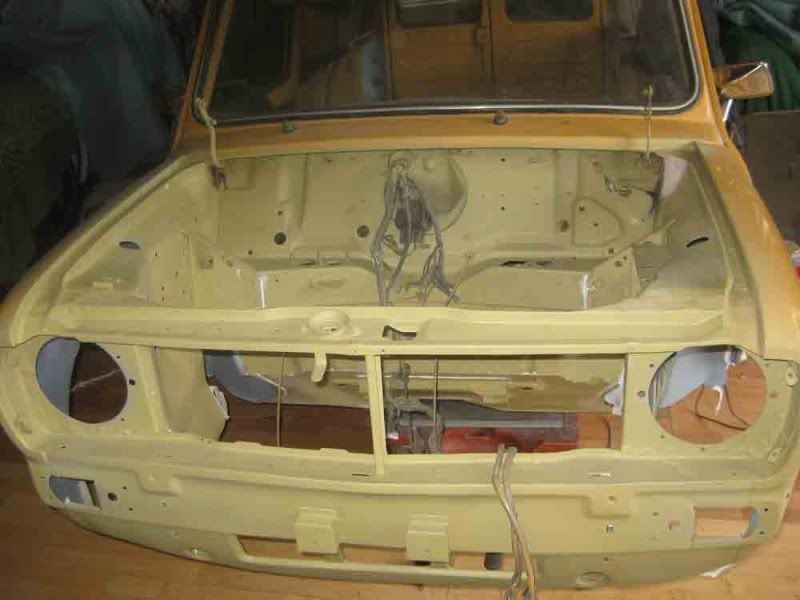
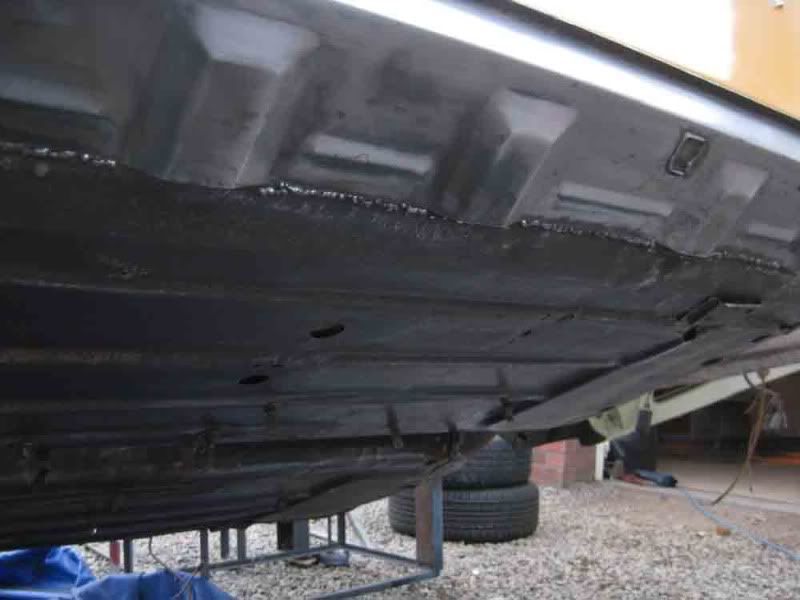
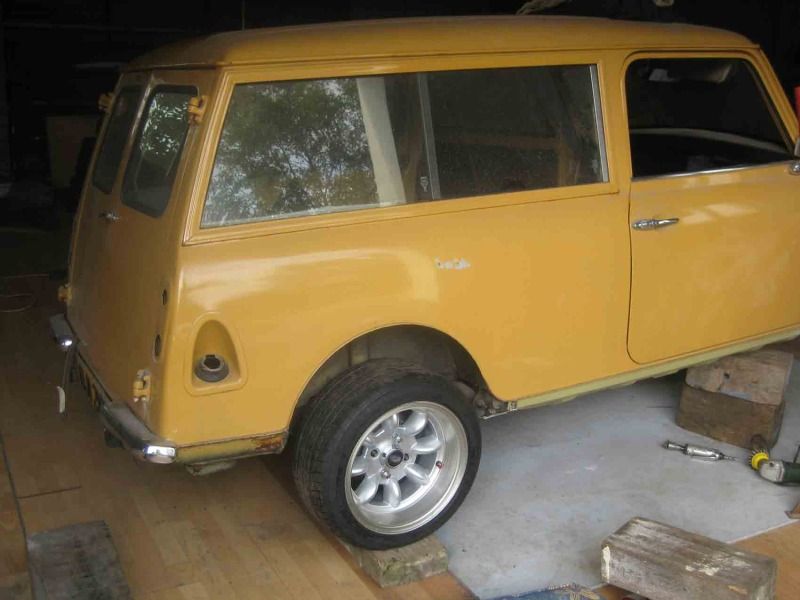
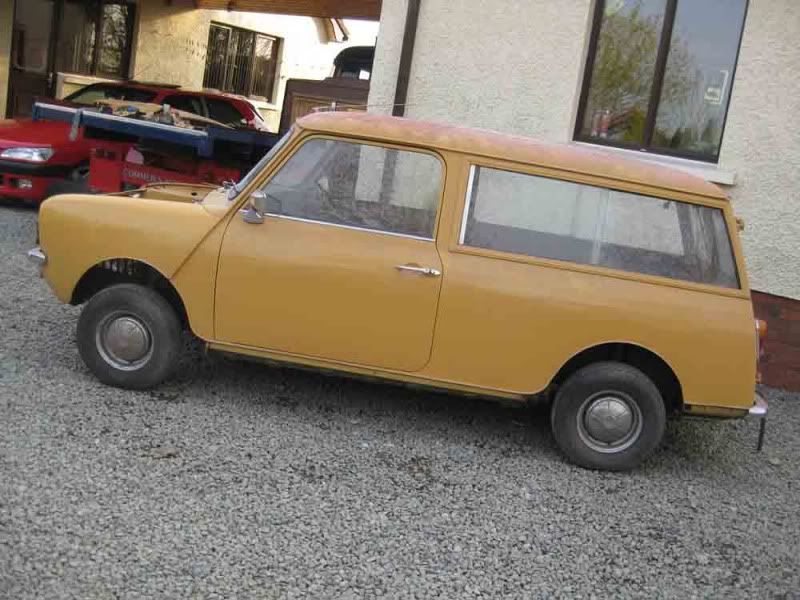
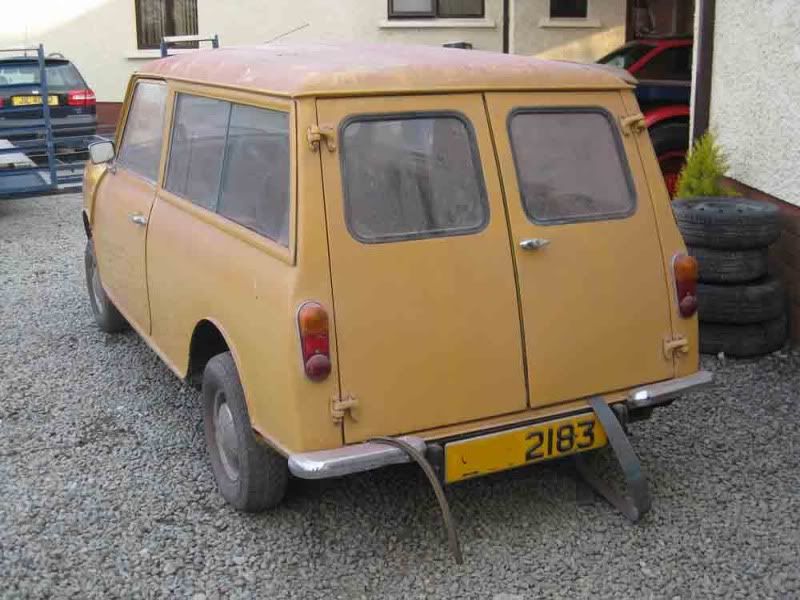
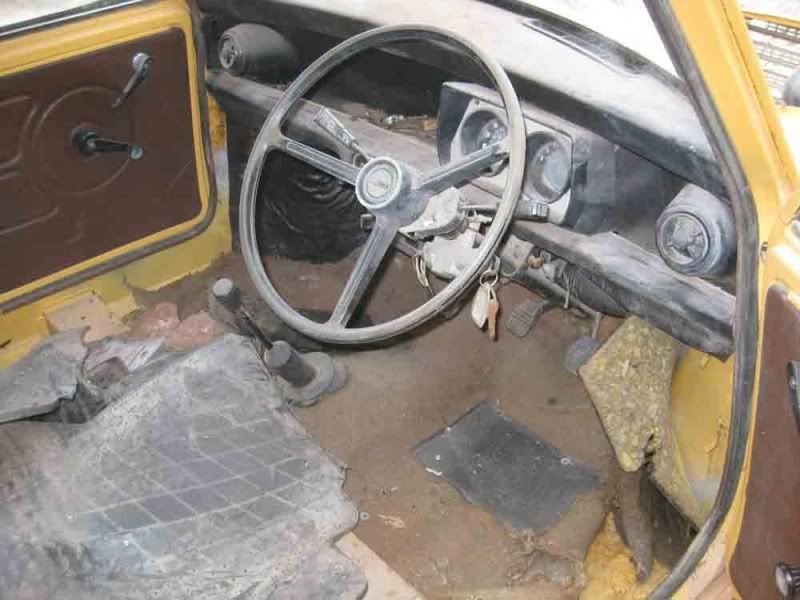
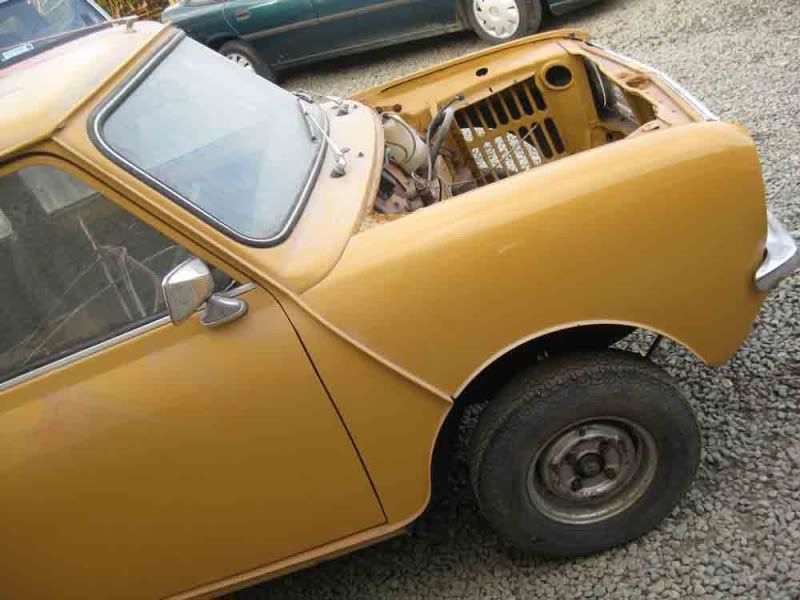
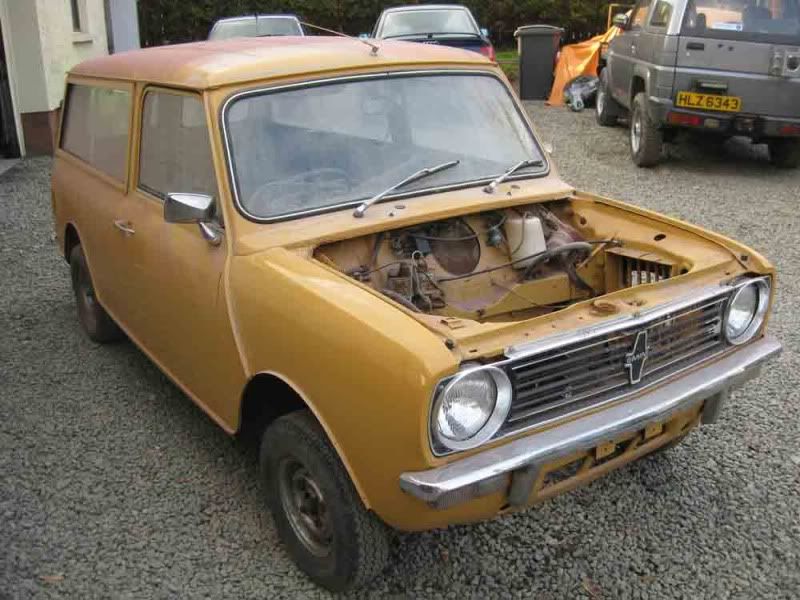
just as when we got it home
Posted Image

Posted Image

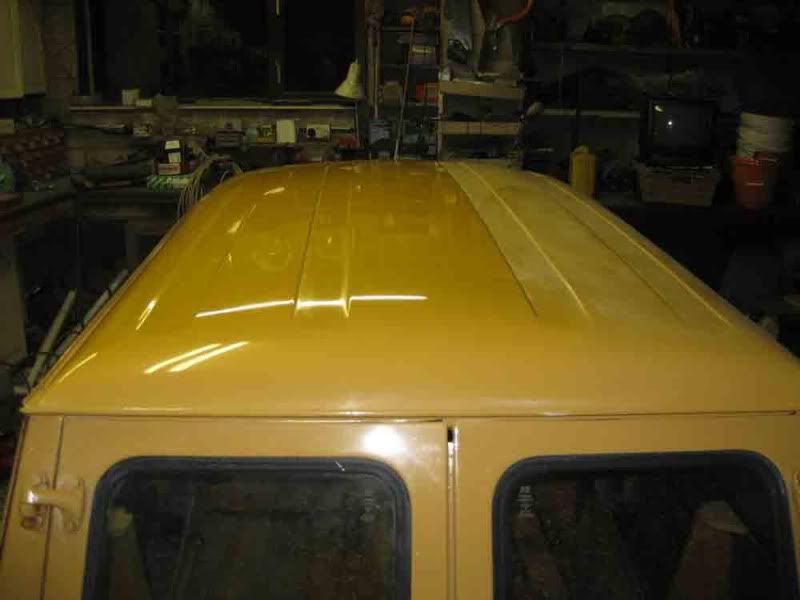
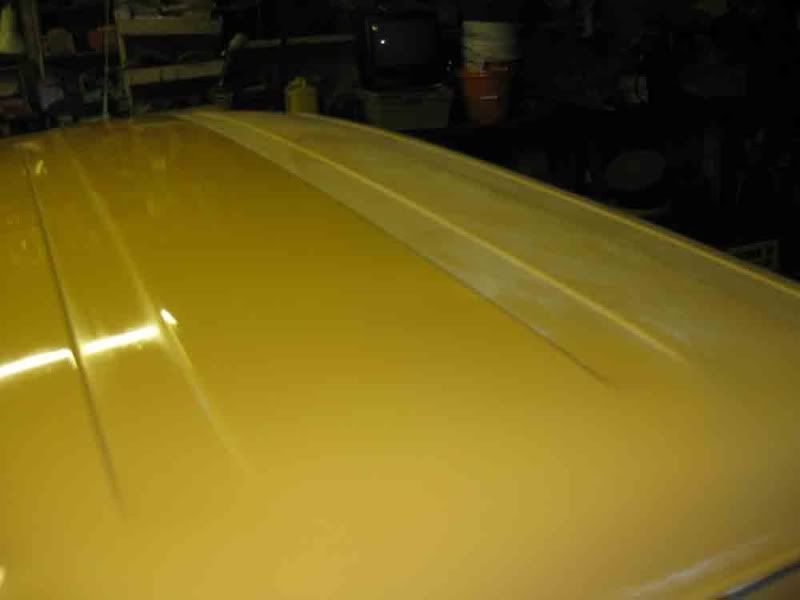
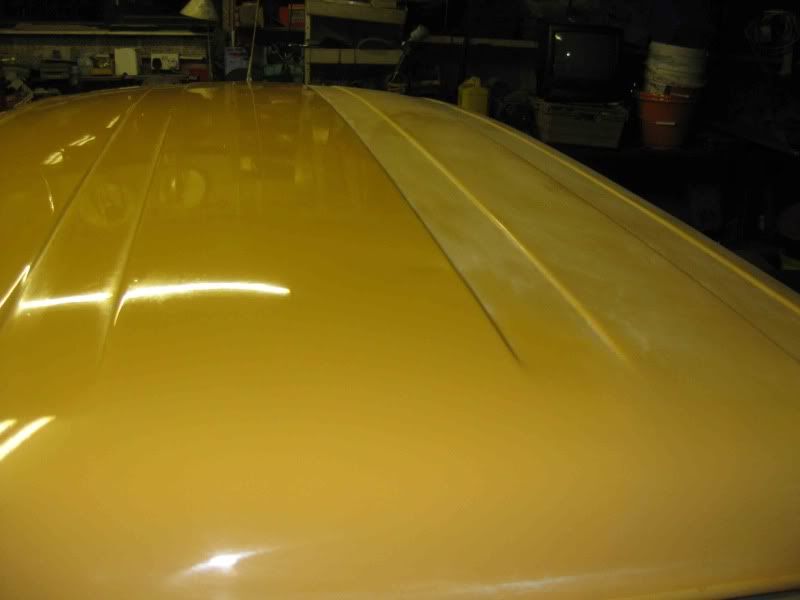
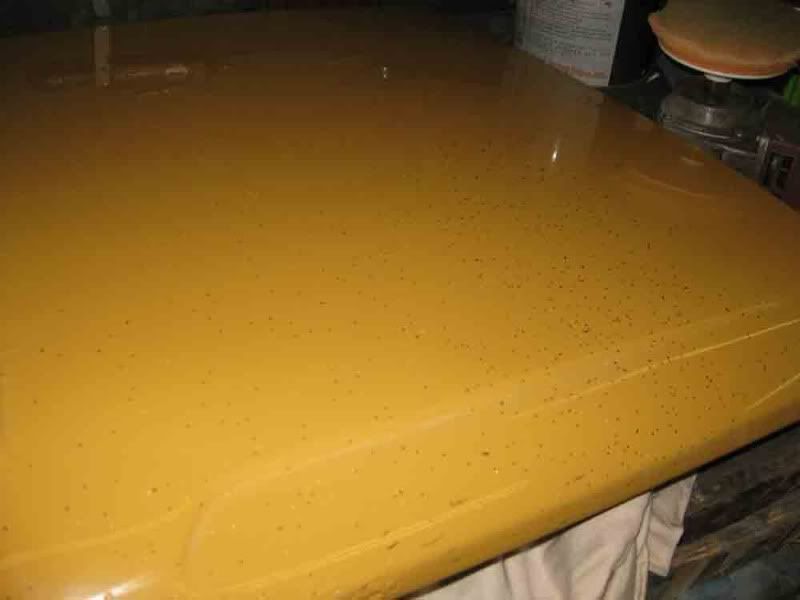
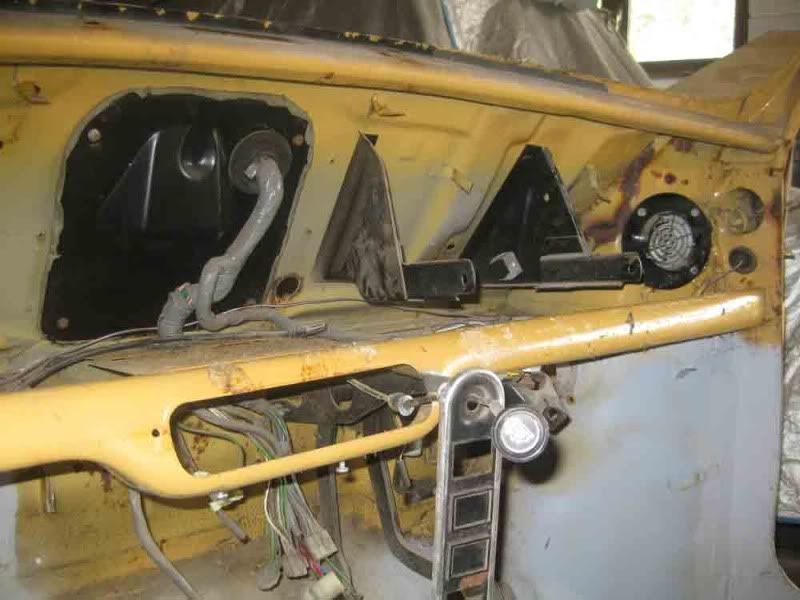
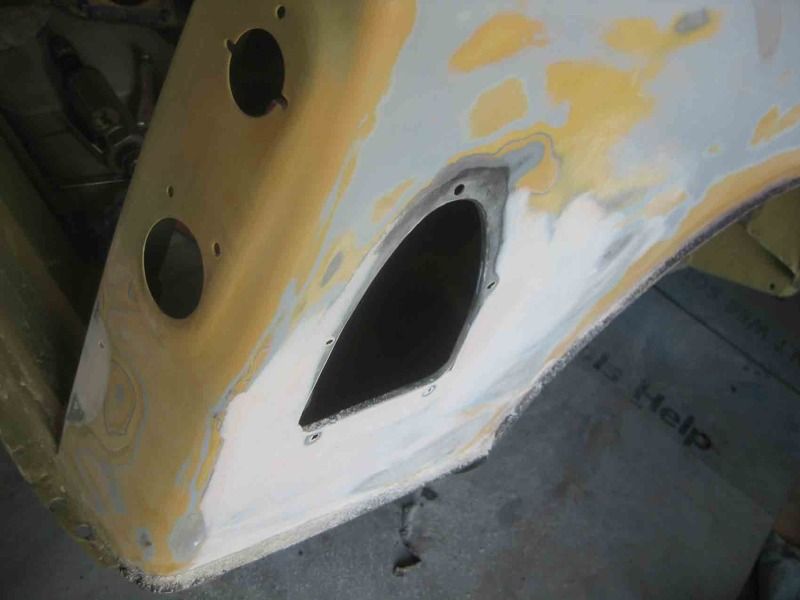
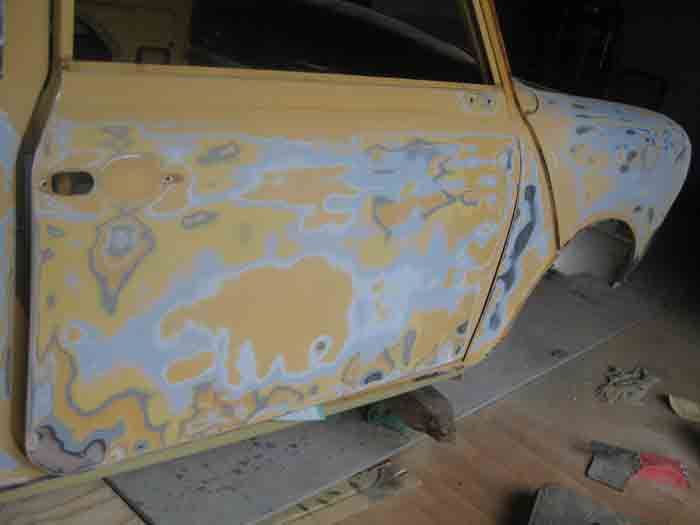
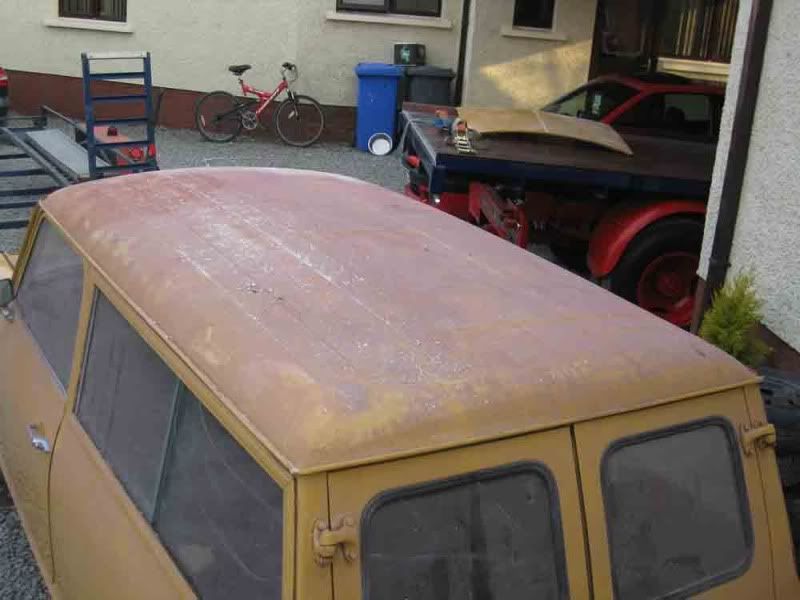
The sheet was obviously not dust proof as the roof has overspray
Posted Image

Posted Image

Posted Image

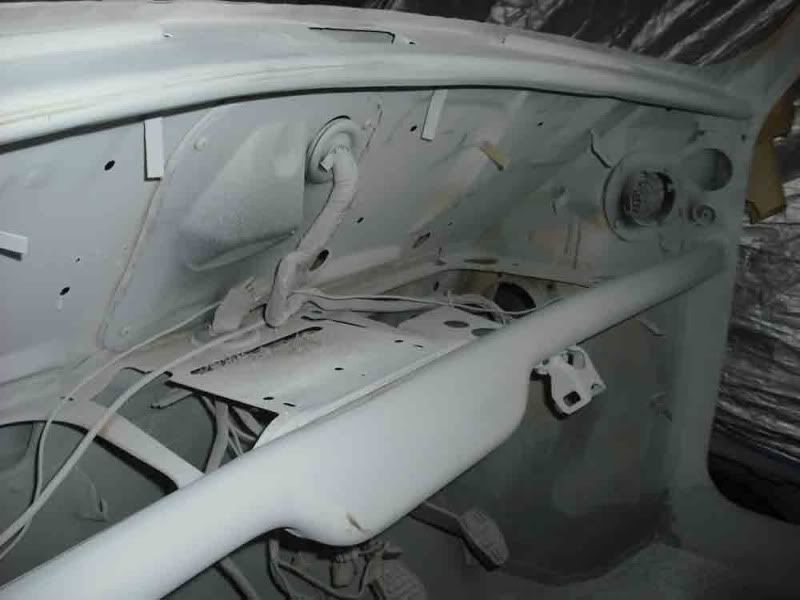
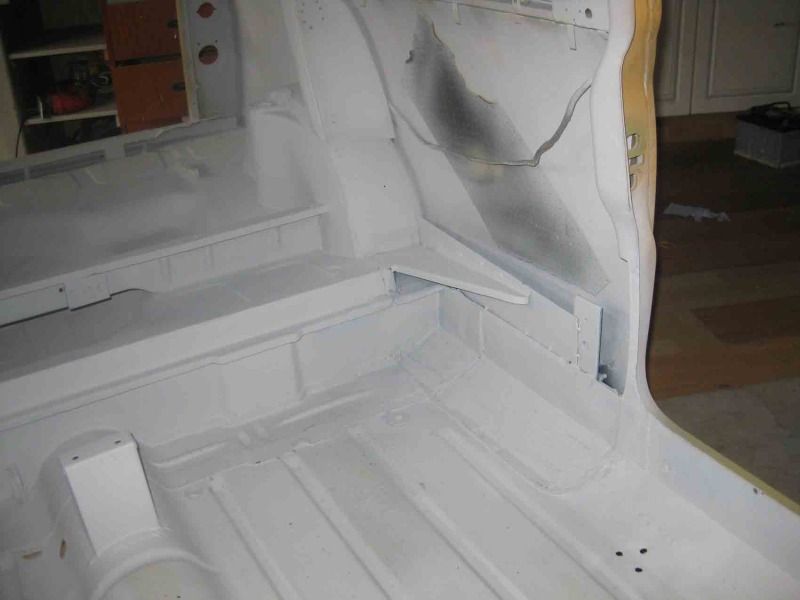
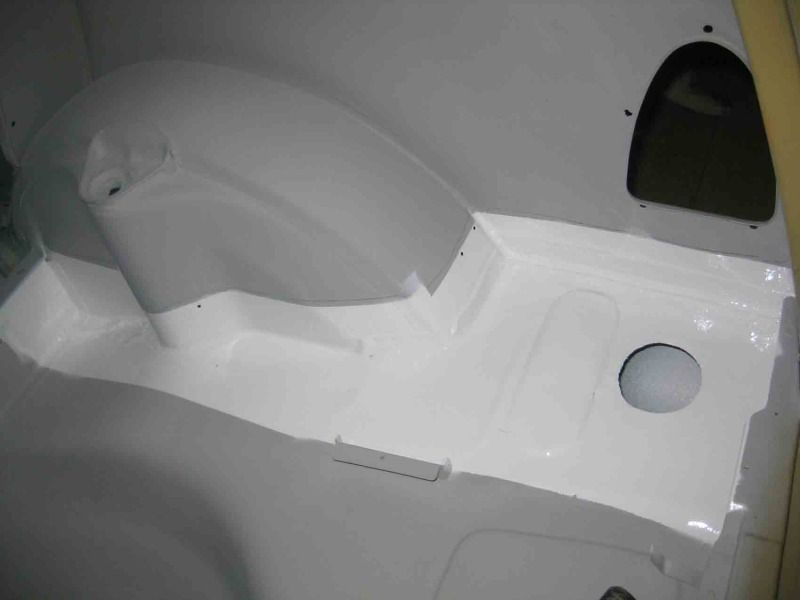
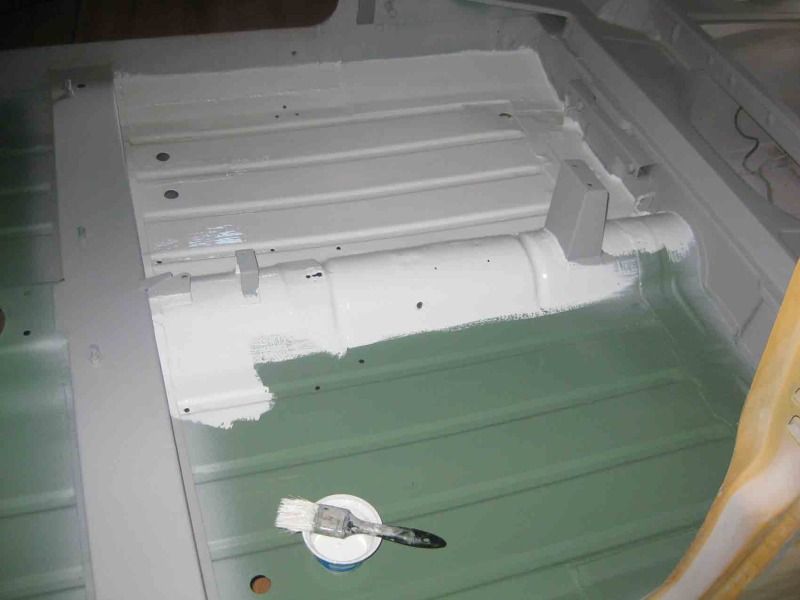
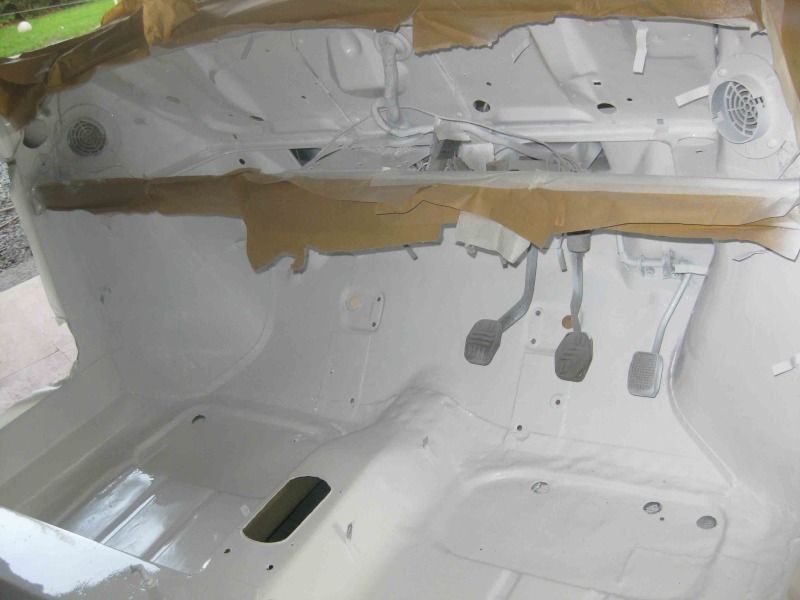
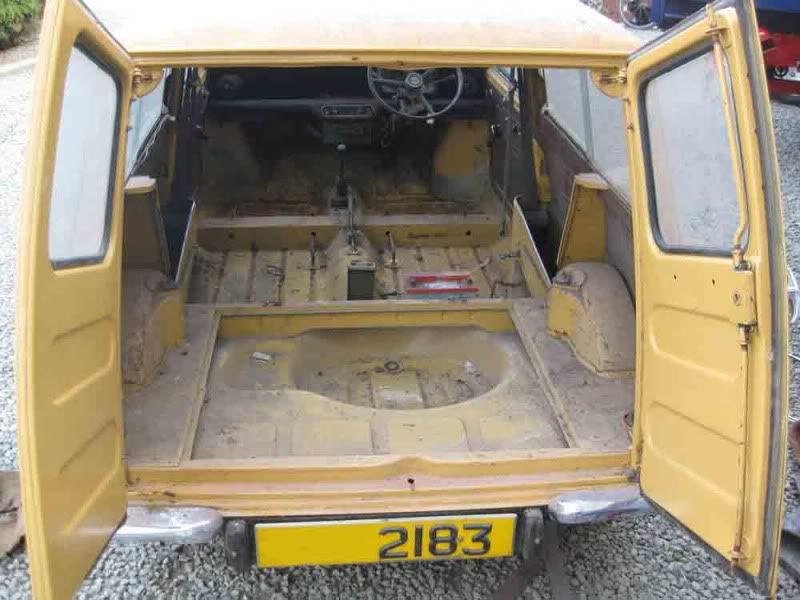
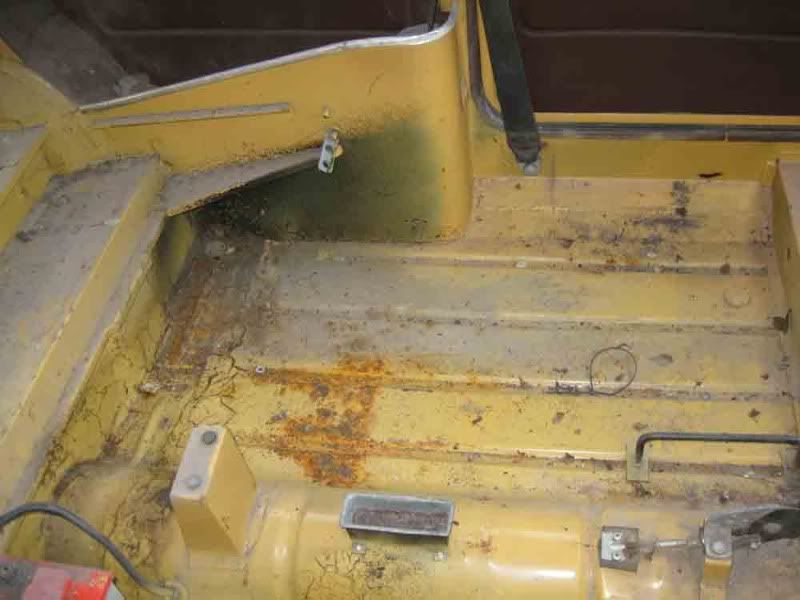
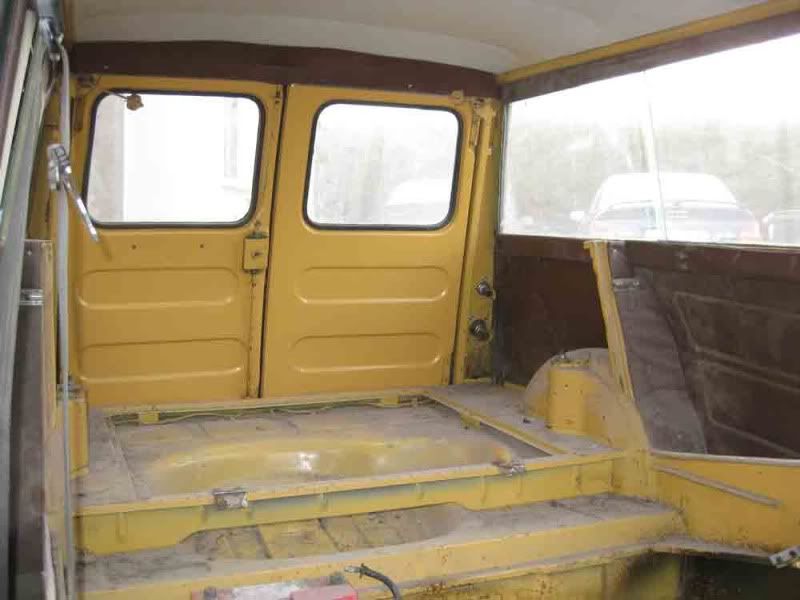
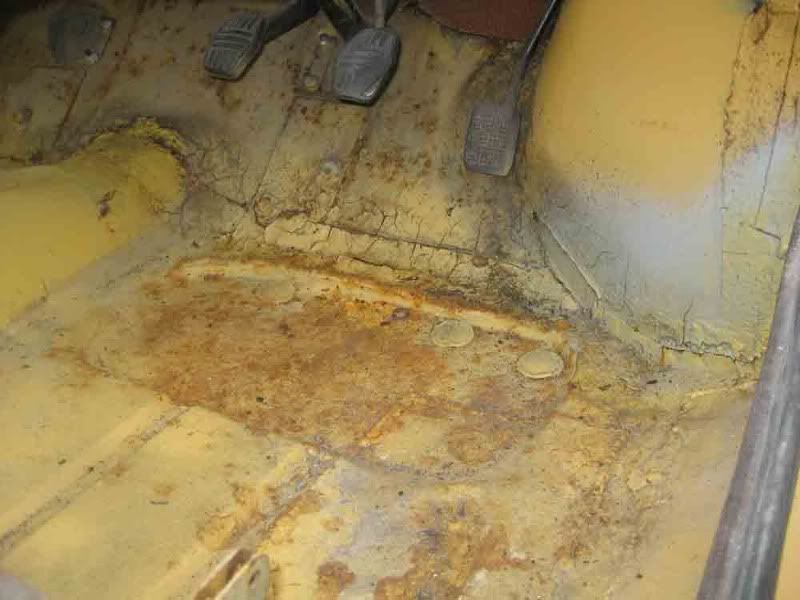
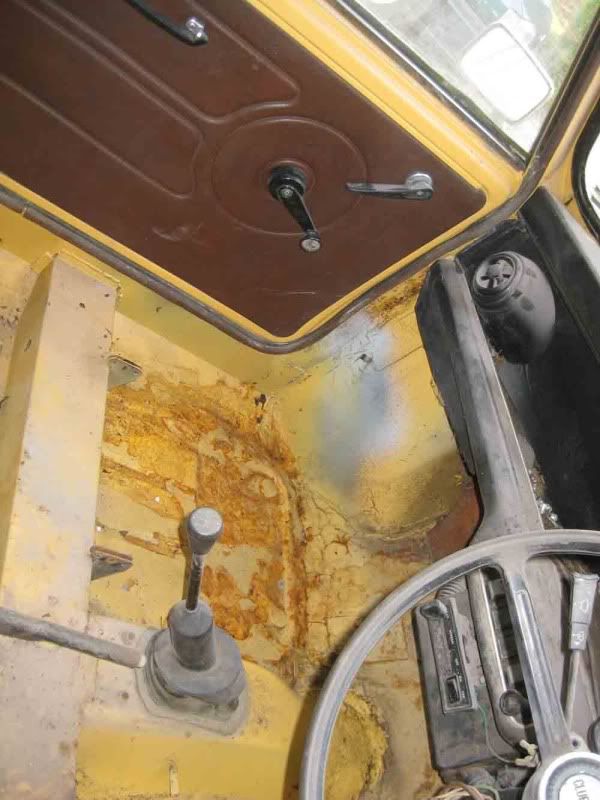
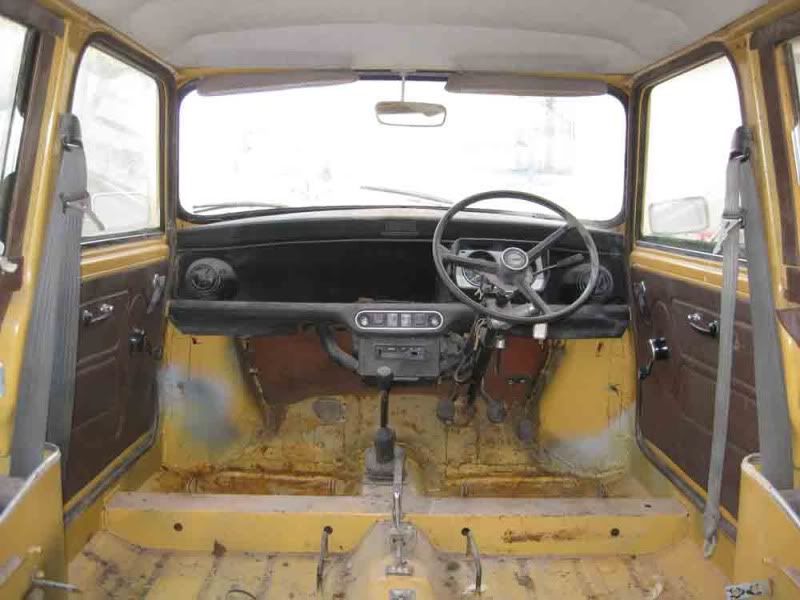
after a bit of clearing out of the interior
Posted Image

Posted Image

Posted Image

Posted Image

Posted Image

Posted Image

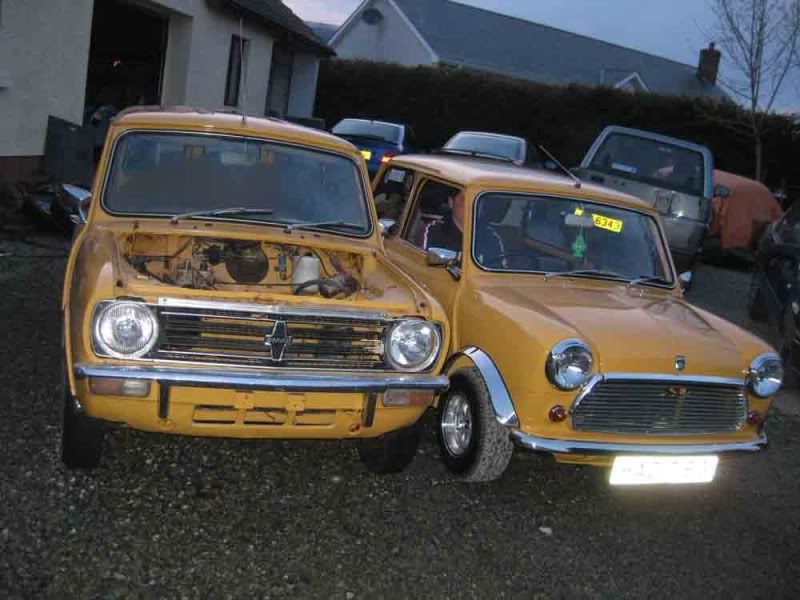
parked up beside our other sandglow mini.. 1977 1000
Posted Image

Posted Image

Posted Image

Posted Image

Edited by mini-adam, 10 November 2012 - 11:14 AM.


#2 mini-adam

mini-adam

    Stage One Kit Fitted

  • Noobies
  • PipPipPip
  • 79 posts
  • Location: Co. Tyrone

Posted 31 August 2011 - 10:29 PM

Got the paintwork washed and compounded with various grades and wasn't coming up too bad
Posted Image

Posted Image

Posted Image

Posted Image

The bonnet had black paint specks all over it..
Posted Image

#3 analogue_radio

analogue_radio

    Up Into Fourth

  • TMF+ Member
  • PipPipPipPipPipPipPipPipPip
  • 4,897 posts
  • Location: Melton Mowbray, UK.

Posted 01 September 2011 - 06:31 AM

:o

Lovely!

#4 bcjames

bcjames

    Up Into Fourth

  • Members
  • PipPipPipPipPipPipPipPipPip
  • 2,728 posts
  • Location: Leicestershire

Posted 01 September 2011 - 07:11 AM

The transformation on the paint is incredible, looks amazing. The 18 years under a sheet have been very kind to it, is there much to do? It all looks so solid!

#5 mini-adam

mini-adam

    Stage One Kit Fitted

  • Noobies
  • PipPipPip
  • 79 posts
  • Location: Co. Tyrone

Posted 01 September 2011 - 09:56 AM

The underside of the floor had surface rust, it was never treated other than paint, a few rusty bits showing up on edges of the window surrounds. Going to respray it as touch-up will be so noticable.
Besides one sandglow mini is enough

#6 Montytom

Montytom

    Stage One Kit Fitted

  • Noobies
  • PipPipPip
  • 53 posts

Posted 02 September 2011 - 11:26 PM

This brings back memories my first ever mini was a clubman estate. Never really liked it at the time but now I absolutely love the shape and would so like another one. Please keep us updated regards Thomas

#7 mini-adam

mini-adam

    Stage One Kit Fitted

  • Noobies
  • PipPipPip
  • 79 posts
  • Location: Co. Tyrone

Posted 04 September 2011 - 08:36 PM

Thanks for the encouragement.

Have tackled the engine bay, underside and the wheel arches.

Posted Image

Posted Image

floor came up very well, mostly surface rust, cills fitted 18yrs earlier were like new
Posted Image

Posted Image


Posted Image

Next tackled the front arches, cleaned off underseal and etch primed..
in process of primer
Posted Image

Posted Image

applied some seam sealer over joints
Posted Image

Posted Image

Posted Image

stonechip layer before primer
Posted Image

Posted Image

now for the underside..

took off the jacking points to reveal a hole or two
Posted Image

Posted Image

plated the hole that I cut out and plated over that as well, so it will be stronger
Posted Image

Posted Image

Posted Image

#8 Zeemax Adventure

Zeemax Adventure

    Speeding Along Now

  • TMF+ Member
  • PipPipPipPipPip
  • 301 posts
  • Location: Llandudno

Posted 05 September 2011 - 10:14 AM

wow what a find. To still be in that condition after all these years. Goes without saying you dont know whats hiding around the corner :)

#9 mini-adam

mini-adam

    Stage One Kit Fitted

  • Noobies
  • PipPipPip
  • 79 posts
  • Location: Co. Tyrone

Posted 14 September 2011 - 10:26 PM

few updates to the progress, removed the fuel tank and cleaned off underseal to the wheel arches and boot underside... what a messy job that is, although there wasn't much underseal used on the floor.. ie none

Posted Image

Posted Image

Posted Image

top of the tank had a thick layer of grease which had protected it well
Posted Image


cleaned up the tank and treated the surface with Krust prior to a coat of etch
Posted Image

Posted Image

removed the underseal and found a few holes
Posted Image

Posted Image

boot area cleaned and etch primed and joints seam sealed
Posted Image

#10 mini-adam

mini-adam

    Stage One Kit Fitted

  • Noobies
  • PipPipPip
  • 79 posts
  • Location: Co. Tyrone

Posted 03 November 2011 - 10:55 PM

tackled the dash and decided to remove the padded dash rails. Want to fit a centre speedo and new flick switches

went from this..
Posted Image

to this..
Posted Image

and finally..
Posted Image

#11 mini-adam

mini-adam

    Stage One Kit Fitted

  • Noobies
  • PipPipPip
  • 79 posts
  • Location: Co. Tyrone

Posted 14 July 2012 - 04:37 PM

moved on with the outside front and decided to de-bumper and change the look of the indicators. Bit of fettling with the holes and flushing out here and there to git rid of blemishes

Posted Image

Posted Image

Posted Image

Posted Image

#12 mini-adam

mini-adam

    Stage One Kit Fitted

  • Noobies
  • PipPipPip
  • 79 posts
  • Location: Co. Tyrone

Posted 04 November 2012 - 04:53 PM

some updates on this project...

got a bit distracted and put on a supalight 13x7 I had. Dunno might be a bit wide. Would have to cut the front wing for these.

Posted Image
Posted Image

got back into repair mode again and went to the rear panel under the bumper and found this, new piece ordered.

Posted Image

few wee ripples in the metalwork under the filler cap, although sound just needed a skim of isopon

Posted Image

went to the door skin and surprised that when finished who uneven the original finish was

Posted Image

tackled the inside surfaces and cleaned all down prepped and 2k primed. I also removed the rear pockets

Posted Image

the panels at the rear floor were removed and painted including the underside in a white 2pk. Want to refit these before applying top finish coat

Posted Image


Back to where the rear pockets were I found a rusted area and ended up with this hole cut out, before getting good metal to weld to

Posted Image

the inside got another primer coat and brush painted with a 2pk white left over from another job


Posted Image
Posted Image

Spotted these for sale locally and came out of an Evo 1, comfy as anything and plenty of colours to choose from in the pattern

Posted Image

Edited by mini-adam, 06 November 2012 - 12:46 PM.


#13 stealth05

stealth05

    Super Mini Mad

  • Members
  • PipPipPipPipPipPip
  • 625 posts

Posted 04 November 2012 - 05:00 PM

awesome work mate .

#14 MentalMini

MentalMini

    Learner Driver

  • Noobies
  • PipPip
  • 17 posts

Posted 04 November 2012 - 08:31 PM

great find and good work so far i have a 79 clubby estate......do you know where to find the paint code on an estate ?

#15 mini-adam

mini-adam

    Stage One Kit Fitted

  • Noobies
  • PipPipPip
  • 79 posts
  • Location: Co. Tyrone

Posted 04 November 2012 - 10:12 PM

Sorry I wouldnt know where the code is.. maybe the chassis plate. or post a pic on a thread and someone will know the colour


0 user(s) are reading this topic

0 members, 0 guests, 0 anonymous users