Hi All, its been a while since I have been on here and lots has changed on my car since I last showed it to anybody.
It's been 2 long years since I started my latest rebuild of my Mini city E and I thought it was about time I put up some pics of the progress so far.
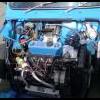
Before taking it off the road back then I was driving it everyday to work and that was steadily racking up the mileage on my 1380 engine, which had
now done about 14000 miles and was getting a little bit tired. It was definitely time for the engine to come out for a rebuild. So I started to look over
the car in preparation for taking the engine out.
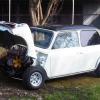
I noticed allot of rust in the engine bay and on the wings and decided to make the job of taking the engine out allot easier by opting for a removeable
front. As I started cutting I started to notice the car was showing all the usual suspects in the rust department, sills, wings, front valance, rear end,
doors and of coarse the footwell's.
What started out to be an engine rebuild had become a full on rebuild. I then decided I had to get myself a cheap runaround to keep
me going for the then planned 1 year operation.
With allot of help and encouragement from a good friend including garage space, lots of Tea and biscuits and the best thing of all, enthusiasm,
we began our now ongoing 2+ year long journey.
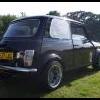
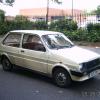
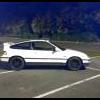
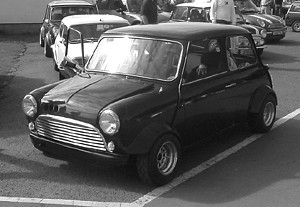
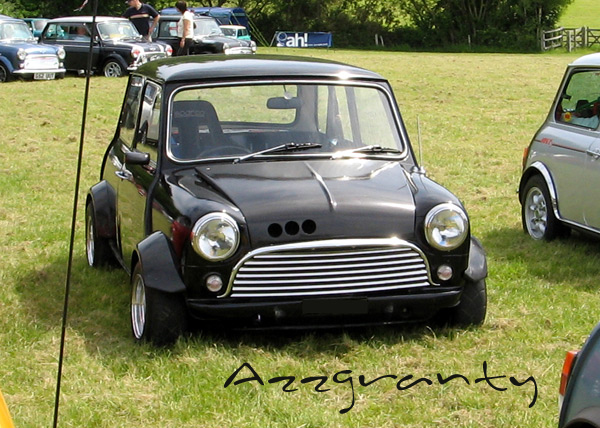
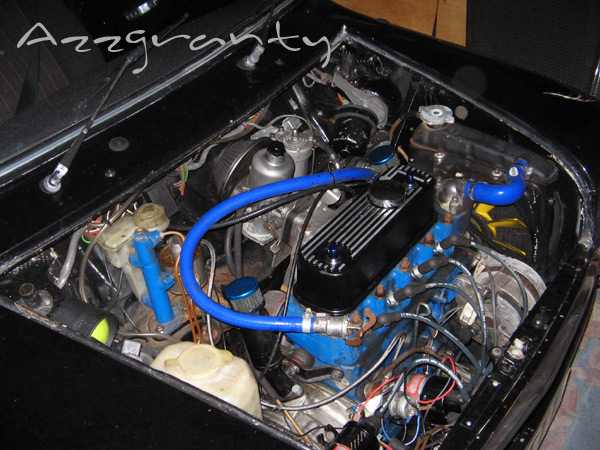
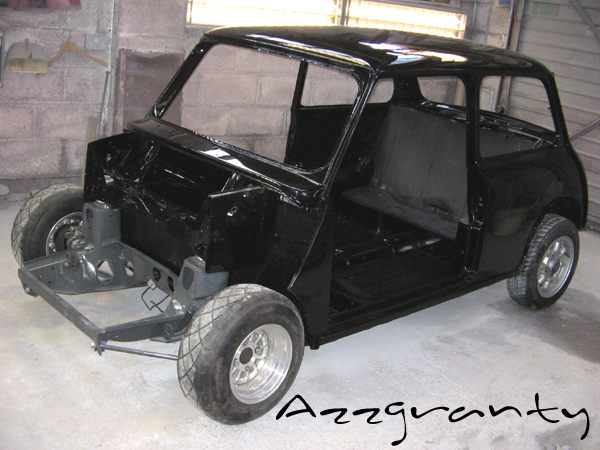
This is the car before the work started.
1.
I decided I wanted to make the car a little quicker, so sourced a few upgrades for my pretty standard 1380. I also started to think about all the areas I
could shave off weight without being too silly with the cutting discs and ruining the structure of the car. The obvious areas being boot-floor, doors and
front end. I also knew I wanted to put a weber 45 on the new engine so knew I had to make some sort of bulkhead box to accommodate it. Id been slowly
teaching myself to Mig weld and was looking for a challenge to test out my new found skills. I also knew I wanted to tub the arches and put mk1 rear
lights in, as well as a few other minor mods here and there.
Of course while doing the bodywork we were at the same time rebuilding the 1380, which had definitely seen better days.
2.
Rust Rust everywhere!
3.

All the rust id removed from the sills alone.
4.
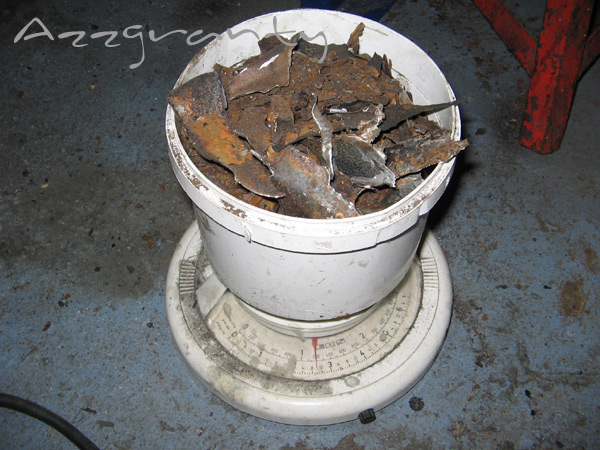
Now that's a scary pic.
5.

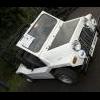
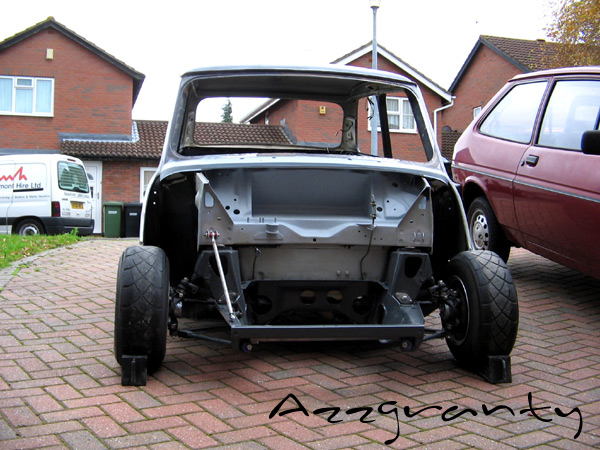
After spending 6 months in the garage welding cutting and grinding my little mini we ended up with this.
6.
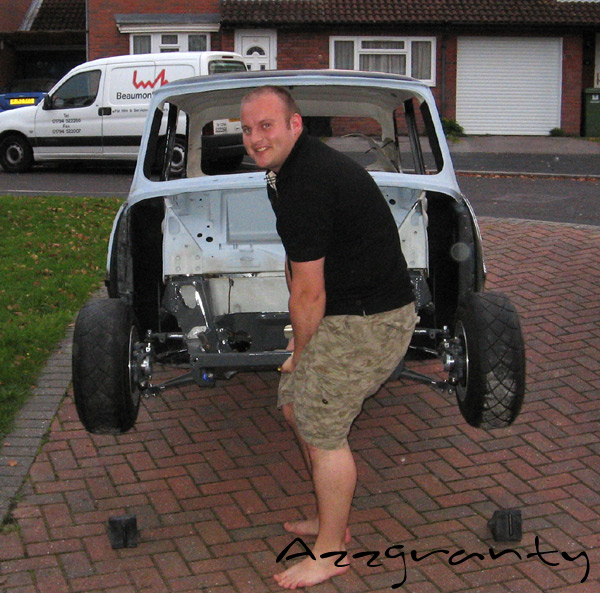
My housemate showing how light it is.
7.
And then sent to the painters before winter closed in, to be bathed in lovely new paint.
8.
It almost scares me to look back at all the work we've done even before we embarked on all the carbon work this year.
And now to the good bits...
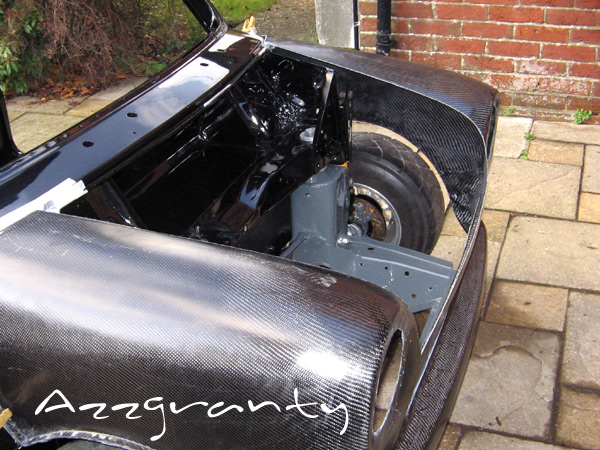
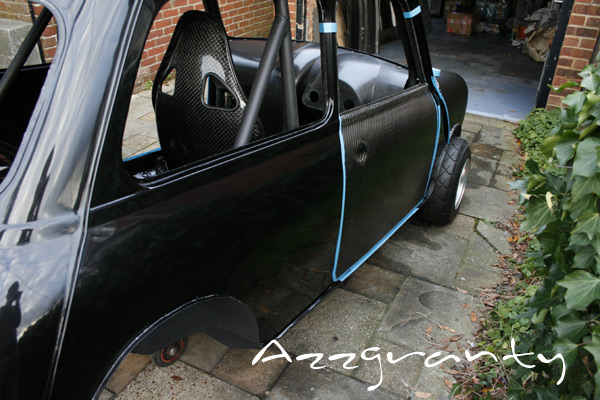
The carbon front end I am using was made from a mould that me and Nick (a.k.a. the Carbon Weezel) had made the year previously. The mould was for
a one piece hillclimb frontend, which was made to be super light and still very strong. I wanted mine to have a removable bonnet for ease of access
so we went about making the front without the bonnet area and added the guttering either side later on. The front is amazingly light about 4.5kg.
9.
With the shape of the car almost there I began deciding what to do with the boot.
I looked around for a couple of weeks deciding what sort of petrol tank to use and came across a perfect sized Aluminium Allard tank on ebay.
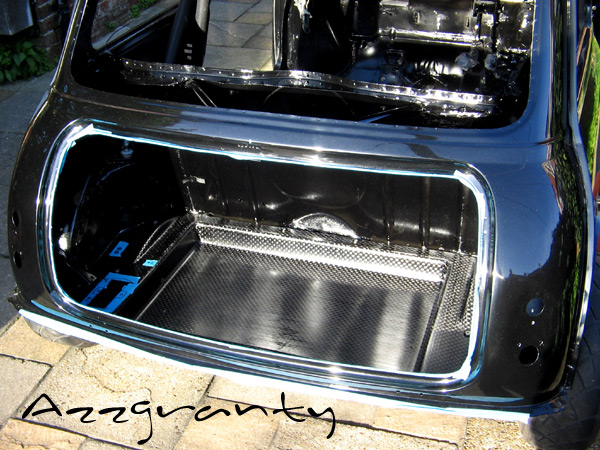
When it turned up and we had a good look at it I decided I wanted to set the tank into the boot-floor slightly, to help keep it in place and also give
me a bit of extra boot space. Nick agreed and encouraged me to make a one off mould to allow us to make a carbon boot-floor that would really do the tank
justice. After a couple of weeks of late nights after work and lots of moulding, cutting and laying up we ended up with this.
10.
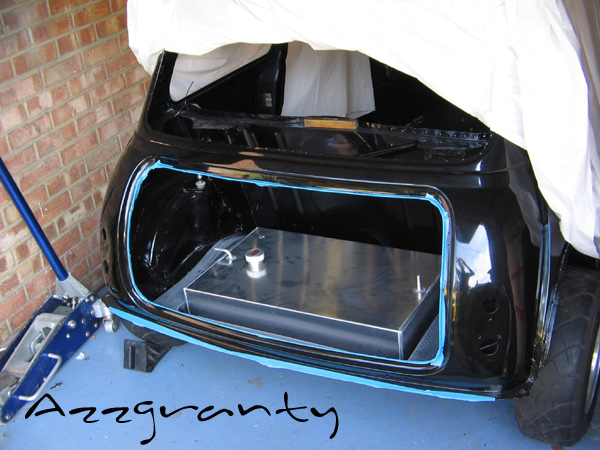
11.
During all this we were also rebuilding my engine with the new upgrades and custom bits, which was almost ready to go back in the car.
This was the point when we realized how nice it is to not have a front end on the car, as putting the engine in is 10 times easier...
Probably took us about an hour in total...
12.

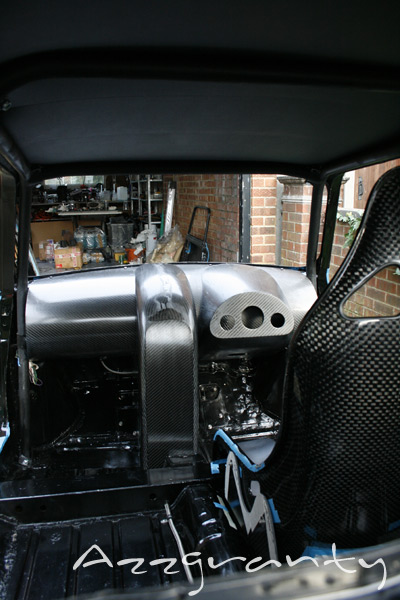
After the engine was in place we started to assemble the front and rear rollcage and once in place I modded the dash bar to hold my steering column
using 2 heavy duty rose joints for vertical adjustment, which worked out pretty good. This meant I could drop the column as low as I liked, which
allowed us to drop the new seats pretty low too...
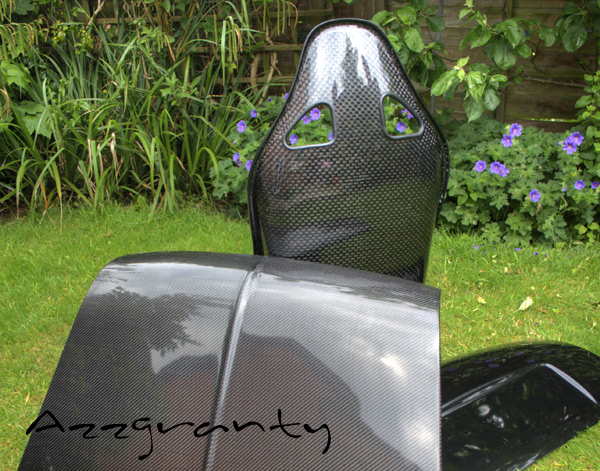
The seats were sourced from Ebay...Although intended for a caterham style car I had seen the seats in an R1 conversion a
couple of months before and knew they would look awesome in my car too. The seats were made from GRP and were very well made,
but after driving with one for a few weeks before taking the car off the road we both agreed that we could stiffen them up a bit. Nick had also
recently managed to get hold of some very chunky 6k carbon.
The back of the seats are now finished in this 6k carbon fiber which not only stiffened them immensely, made them look awesome. We were both
amazed how lovely they turned out.
13.
The next job was to think about what sort of dash to fit, Id seen a few dashes on the Miglia racers and a few custom made items at shows but
hadn't seen what I wanted anywhere. While at work I would always be doodling & sketching designs for all sorts of things. Id probably got to my
11th or 12th sketch and Id finally drawn something I liked allot. After the enthusiasm Nick had shown previously for making bespoke carbon products, I
knew he would be up for helping me make a custom dash. After showing him my sketches we decided that we were both up for the
challenge. I really wanted a curvy pod to house my dials and a separate centre pod for my switches and buttons. It was time to make more moulds.
Although I wanted the two pods to be quite simple flowing shapes I also wanted the carbon to not all flow in the same direction as I felt it may be too
overpowering on the eyes, so on the main dash pod we tried something we hadn't attempted before. We'd seen it on some F1 splitters and it looked so
good we couldnt resist trying it. The carbon is arranged in a herringbone formation as you'll see in the next pic, it looks amazing on a sunny day.
After a successful trial on the dash pod we then proceeded to do the same effect on the centre pod. Im really happy with the results.
Really original and definitely gonna be just what I wanted in a dash...
14.
There are other parts were currently working on at the moment so progress on the car will have to be updated on here at a later date im afraid.
Here's a sneak peek at one of them though...
15.
That's all for now, id better get back to work, look forward to seeing what you all think...
Azzgranty
Edited by azzgranty, 19 November 2010 - 07:39 PM.