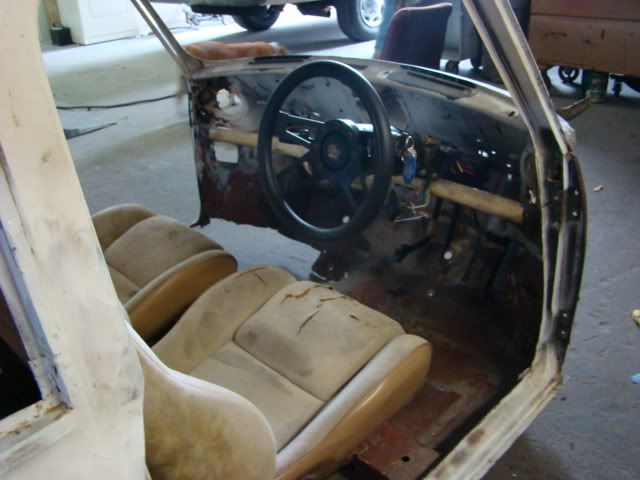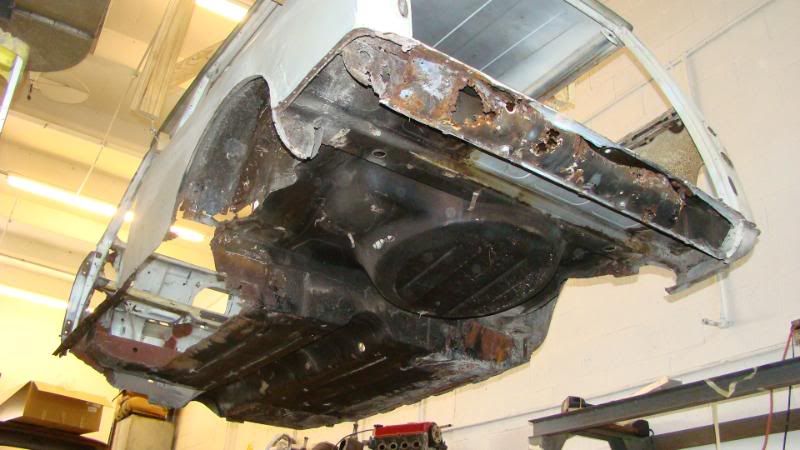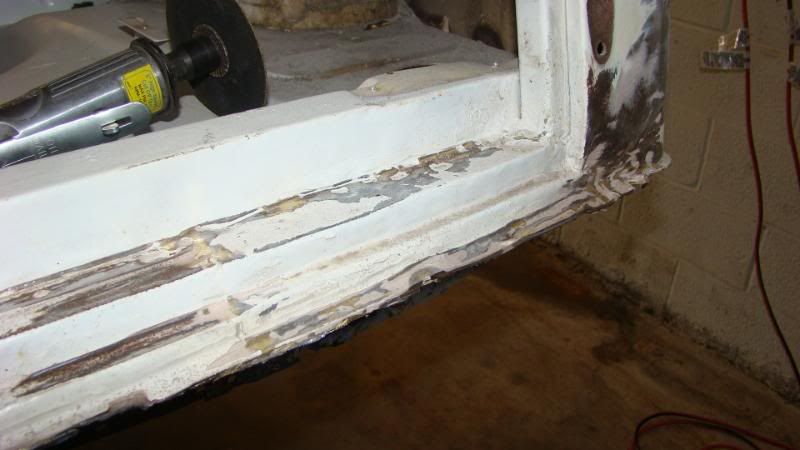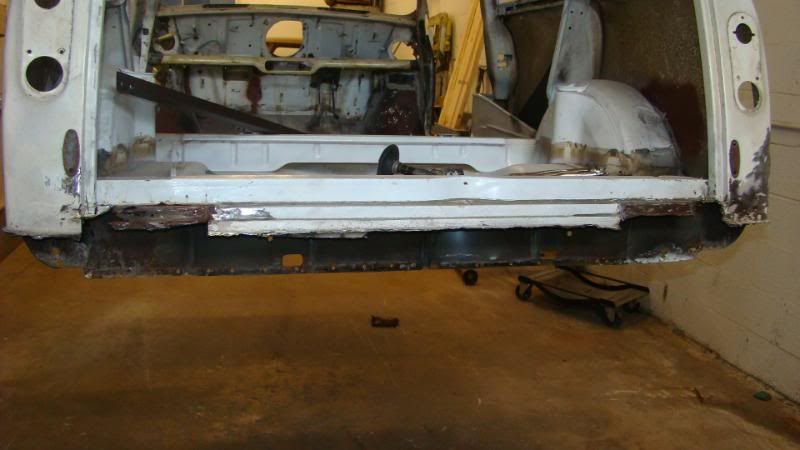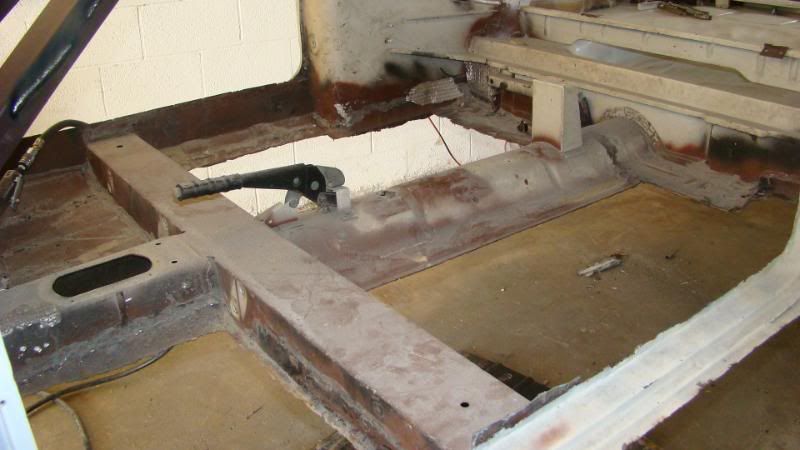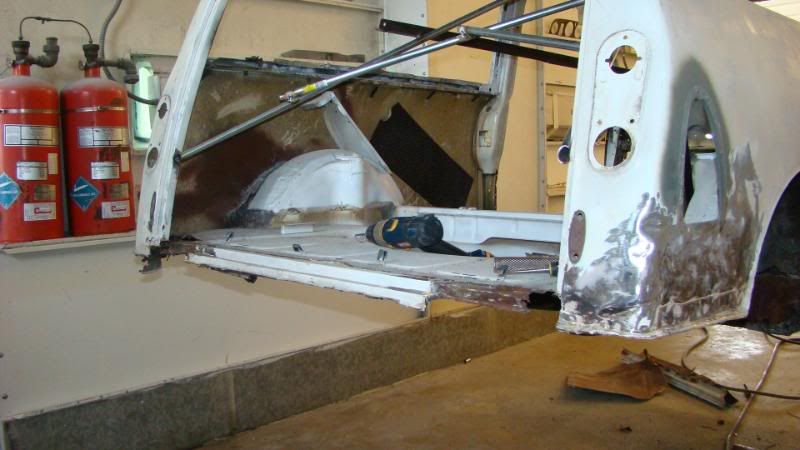


I have here a 1978 Clubman Estate that I picked up in the beginning of summer. My first choice was to restore it back to original specs and drive a BMC because all I cared about was it's wicked small size and how eye catching it was. So, I drove the thing around my neighborhood for about 20 miles, got a feeling for how it drove, felt like a go kart, and it was really neat. The only downfal was that it was dog slow. It would barely spin the 10" wheels in second gear on a dirt road. Ohwell, I didn't really care for speed and just wanted to drive it.... I brought it to my Dad's shop (Mark's Paint&Body) to start tearing it down for a full blown restoration. I'v took every thing off untill I only had a shell. Then I started cutting away the poorly welded home made floor pans the previous owner had put in. I cutt away some more of the floor on the left side because it was just to darn hacked up with metal patches over un-treated rust holes >
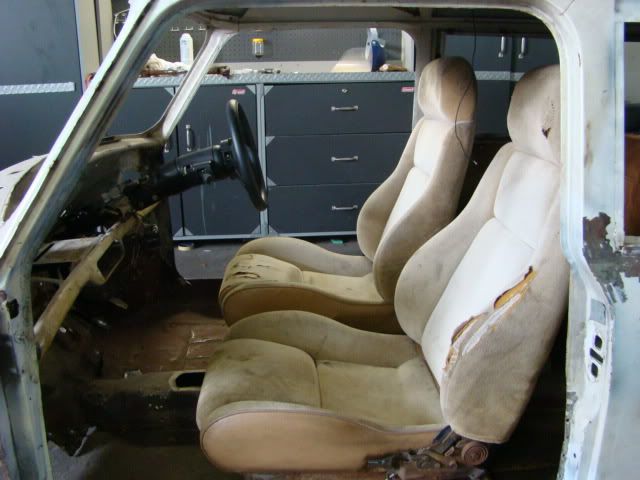
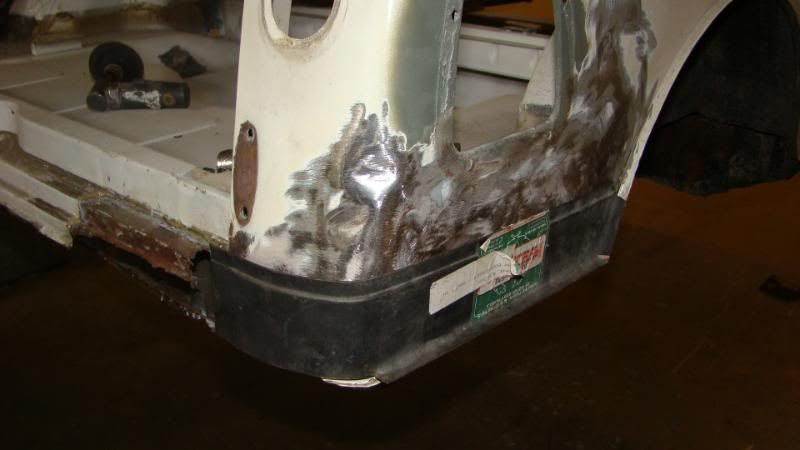
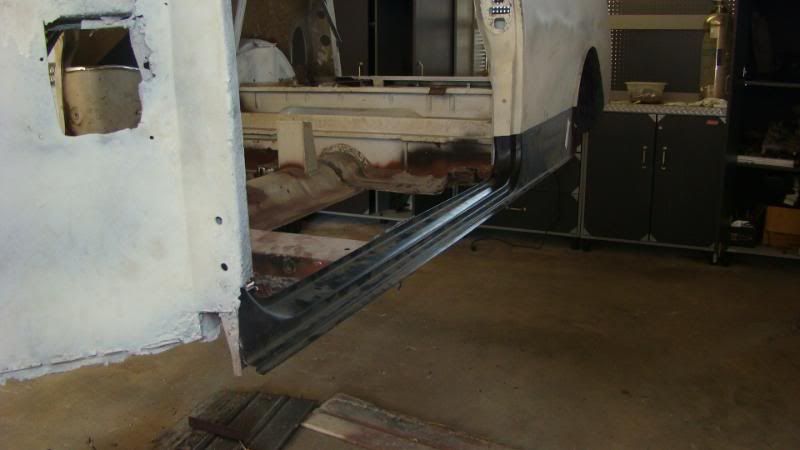
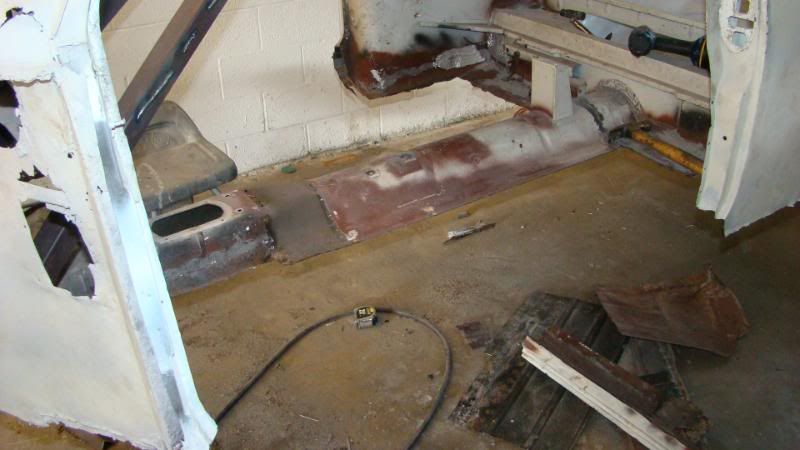
 couldn't have that in my car. So, I'm gonna pretty much replace almost the whole floor with new floor pans that I'm gonna have my sheet metal guy cut and bend for me. It's actually real simple, Just a flat piece of metal that has two bends in it, and then I'm gonna have some flutes made that I will weld to the bottom of the floor pans versus having flutes punched into the floor pan. This will make the overal floor stronger and it will be all nice and clean smooth inside. I have about $500 bucks in after market panels I need to replace, such as the door steps, rocker panels, rear lower valances, and lower quarter panel repair panels.. a few others but then I'm gonna fabricate most of the rest.
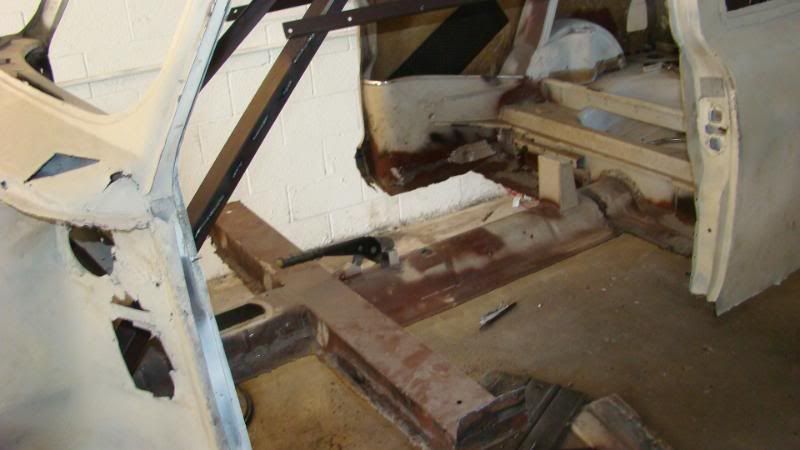
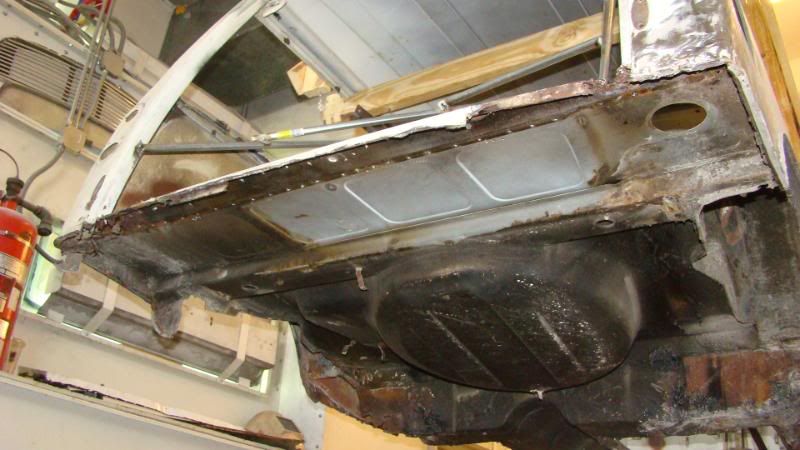
 So, I cutt soo much metal away that if I cutt any more away I'm gonna start distorting the body. So, I gotta add some metal bar reinforcments when I go to put some new panels in but that won't happen untill I earn some money or sell something.
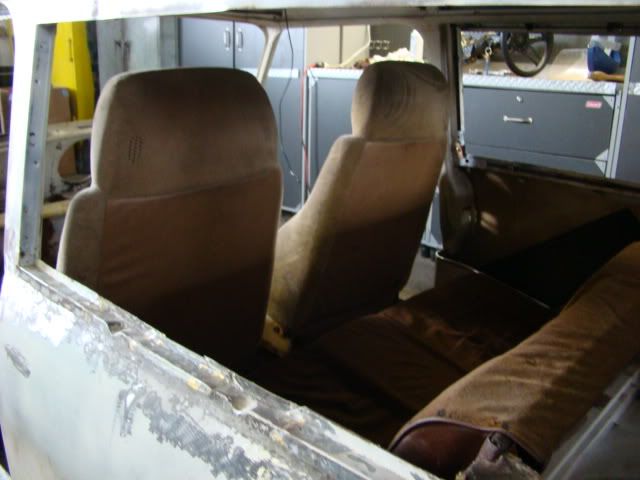
So, as I'm on a hold with my Mini wagon. I got to thinking... When I drove my Mini with the stock 1098cc engine, I drove it without any interior, only the two bucket seats and the rear seat, but they weigh nothing, and it was dog slow.. I want to restore my Mini back to tip top shape, put all the interior back in it and MORE interior then stock, and by the time I'm finished it's going to be even slower! so, I don't want that.
And I got to thinking... I want to put a bigger engine in it.
My first idea was a Mitsubishi 4G63 engine, but... A. I didn't have one and B. it would probably be to big for my new fiber glass mini front end.
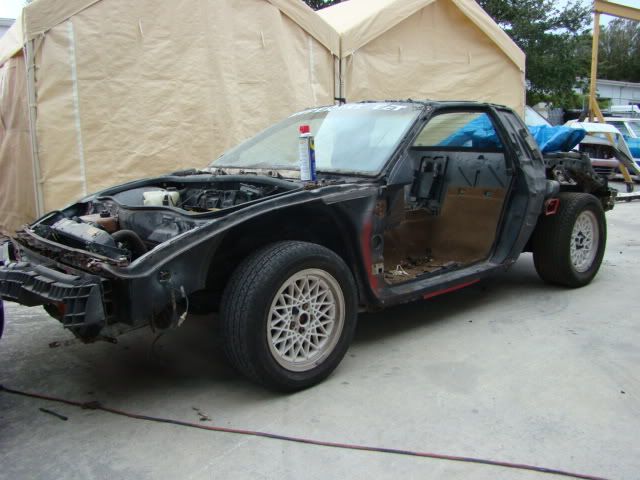
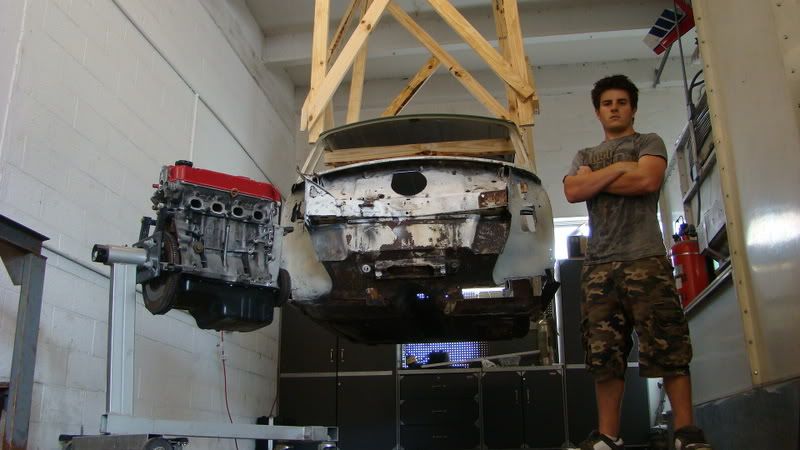
So, then I remembered my Dad had a Honda engine laying around the shop that he bought a few years ago for a Del Sol that one of my older brothers blew the engine in. The Del Sol never got fixed and went to the junk yard (I really wish I had it now) but my Dad had this engine and told me I could use it. I brought it out and started researching on it. I knew it has less then 50k miles on it, and it's a ZC SOHC 16 valve enigne. but didn't know specificaly what Honda engine it was. With the help of some people and the internet I'v come to a conclusion that it is a ZC D16A6 and that it will be good for my project. 120hp won't be enough for me so I'm gonna turbo charge it. As to my other thread, I'm going to put a TD05 turbo on it and make it a one and only awesome ZC D16 Mini ever built.
 Or atleast untill some one else uses a D16 in a Mini with it boosted. My goal is to reach 200hp and make my Mini acheive low 13s on the 1/4.
 Soo..
Here is my "TO DO" list
#1. Restore the body back to a tip top show car state (not painted yet).
#2. Buy 13x7 deep dish ultralite wheels with tires
#3. Buy sportspack arches. (fender flares)
#4. Fit arches to body and figure if I need to cutt the rear inner fenders and raise them because I want my Mini to be lower then normal Minis
#5. Make a mold off the fiber glass Mini front so I can always make another in the future.
#6. Buy a D16 manual 4speed or 5 speed tranny
#7. Convert front drum brakes to 9.1" Honda civic Disc brakes (or similar disc)
#8. Engineer and design D16 subframe.
#9 Build and weld the subframe together.
#10. Mount subframe to body.
#11. Mount ZC D16A6 and tranny to the subframe.
#12. figure if I need to build A arm suspension or use the original suspension.
#13. Suspension finished. Have custom Honda to Mini axles made.
#14. Mount wheels.
#15. Build custom turbo manifold.
#16. Mount turbo and all necessary components.
#17. Custom exhaust.
#18. Buy MSII and wire the engine for test fire.
#19. Hook up all necessary components and hoses for test fire.
#20. Start engine! Tune engine!
#21. test drive it, and make sure every thing is working.
#22. Bring it back to the shop and mount the fiber glass mini front end. EDIT: FG Mini Front is not going to be used!
#23. Take every part off the body again.
#24. Work on final body details and make it show car worthy.
#25. Prep for paint.
#26. Paint the whole body inside and out and various body parts.
#27. Re-install all parts.
#28. Wire the whole car NICELY and engine aswell.
#29. Test drive again to make sure every thing is working swell.
#30. Build a full custom dash board, cover it with simulated leather, and build full custom tan interior with a nice soundsystem, touchscreen headunite, GPS, and hopefully all engine gauges on a LCD screen aswell.
Almost forgot, I will also be making a 4 point roll bar for protection that will be mounted right behind the front seats.

And of course, I'm going to upgrade the engine with small things like injectors and lightweight flywheel and Stage2 or 3 clutch.
And that should do it. I gotta lot of work to do and alot of money to spend, but I can't wait to do it all.
I will update this thread with any work accomplished or any thing bought. I hope you all will stay tuned to this build and enjoy the pictures.
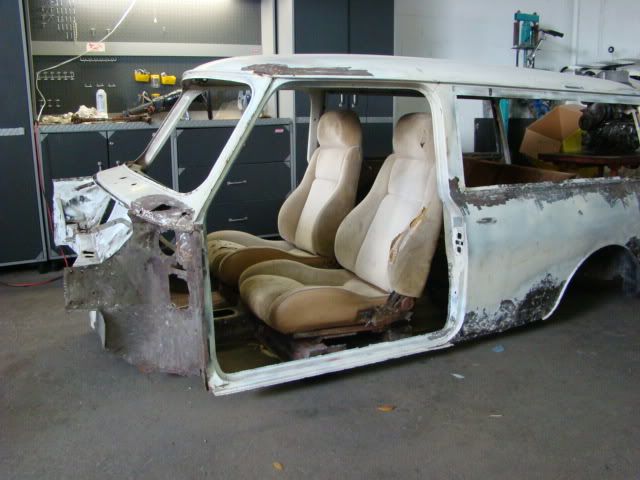
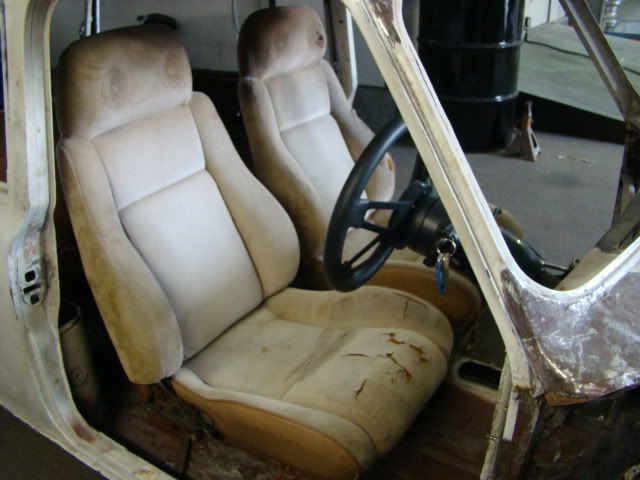
There are ALOT of pictures here > http://s49.photobuck...Cbamm/CE album/
And here > http://s49.photobuck.....20progress 2/
And here > http://s49.photobuck.....estoration 3/
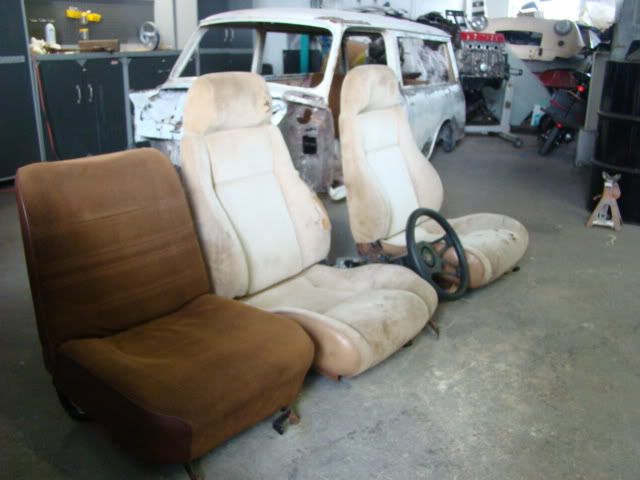
And HERE > http://s49.photobuck.....bucket seats/
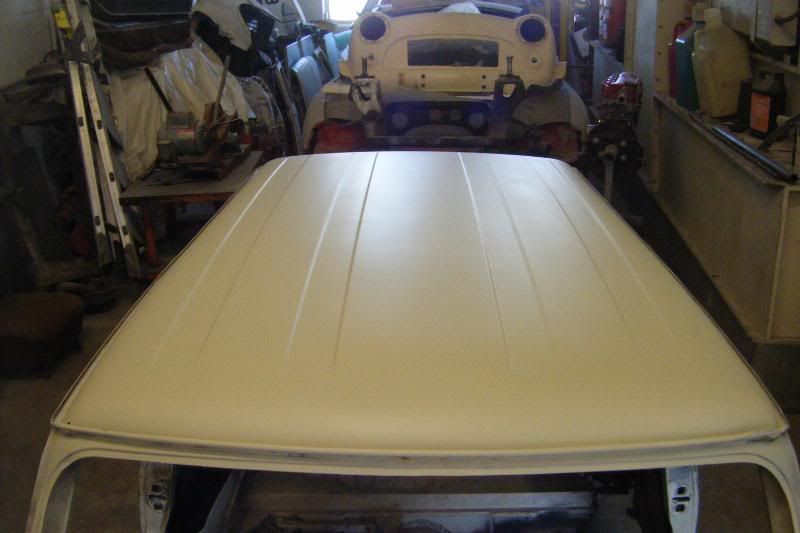
And here > http://s49.photobuck.....20roof prime/
And here > http://s49.photobuck.....20resto hang/
And here > http://s49.photobuck...b...sto hang 2/
Video of I driving my CE before I took it apart > http://vids.myspace....ideoid=49443951
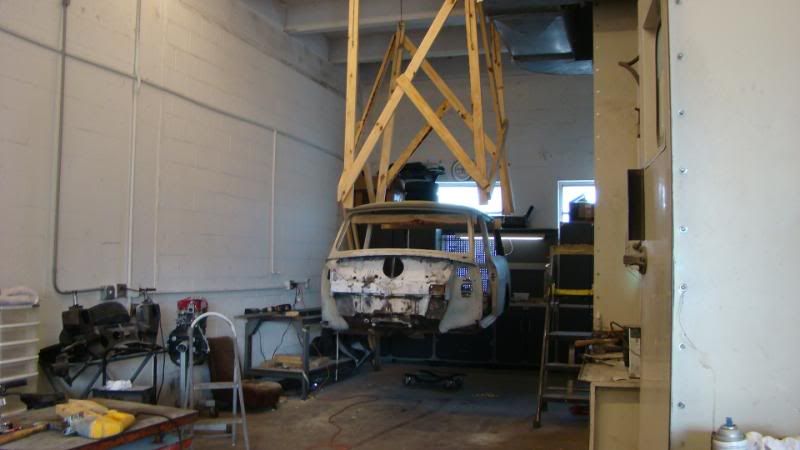
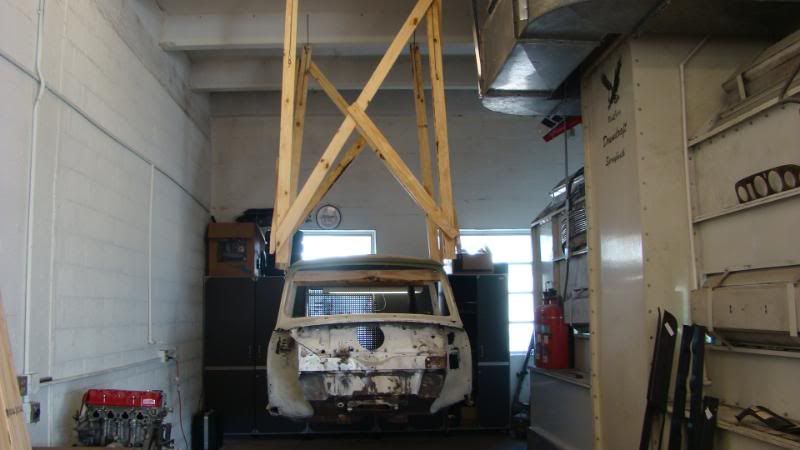
Resto hang!
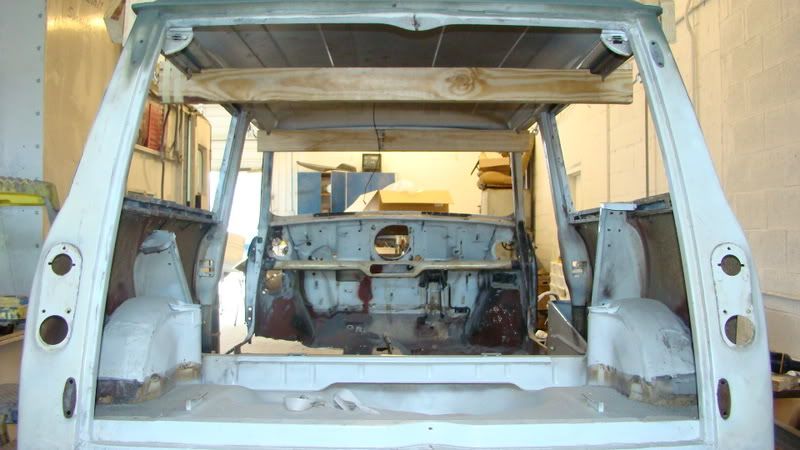
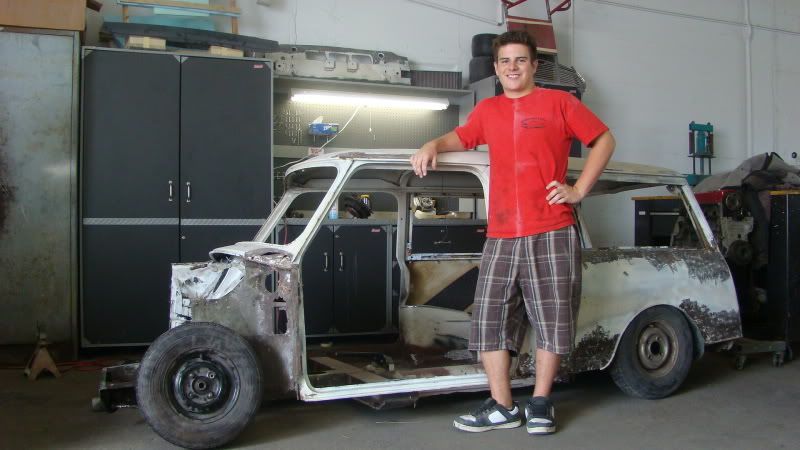
A pic to judge my car's tight size
Edited by rcbamm, 08 February 2009 - 06:37 PM.