Jump to content


Photo
- - - - -

First Mini


  • Please log in to reply
97 replies to this topic

#16 Danny_California

Danny_California

    One Carb Or Two?

  • Members
  • PipPipPipPipPipPipPip
  • 1,263 posts
  • Location: Warwick

Posted 10 April 2009 - 08:23 PM

Had a bit of a play today, fitted the coil back on (left the bloody nut in the house stupid me!) Anyway, heres a fresh pic of the engine bay, with the new filter, HT leads, chrome bits etc.

Posted Image

Posted Image

What you reckon??

#17 minimat

minimat

    Super Mini Mad

  • Members
  • PipPipPipPipPipPip
  • 690 posts
  • Local Club: anglian mini club

Posted 10 April 2009 - 08:41 PM

Looks like applejack to me.

#18 Danny_California

Danny_California

    One Carb Or Two?

  • Members
  • PipPipPipPipPipPipPip
  • 1,263 posts
  • Location: Warwick

Posted 14 April 2009 - 06:13 PM

Yep, gotta love this colour. Looks soooo much better in the sun, really funky and retro!

Not long to go now with the engine bay, going to paint the alternator and the brake servo bell next I think. Progress will be slow though, since college keeps me pretty distracted ;)

So what's everyone think of the engine so far?

#19 Down&Out

Down&Out

    The King Of Retro Cool

  • Traders
  • PipPipPipPipPipPipPipPipPip
  • 4,853 posts
  • Location: -

Posted 14 April 2009 - 06:34 PM

Loving that applejack ;). Keep on adding them shiney bits :).

#20 Danny_California

Danny_California

    One Carb Or Two?

  • Members
  • PipPipPipPipPipPipPip
  • 1,263 posts
  • Location: Warwick

Posted 25 June 2009 - 06:15 PM

Been a while since I've updated my girlfriends mini, but I've been busy with a-levels. First bit of progress is the alternator that I said I was going to paint, just got to brush paint the sides and tidy up the green bits now, but I'm enjoying the green and black colour scheme, they really set eachother off! So heres a sneek peek at the alternator as it is at the moment:

Posted Image

#21 Danny_California

Danny_California

    One Carb Or Two?

  • Members
  • PipPipPipPipPipPipPip
  • 1,263 posts
  • Location: Warwick

Posted 28 June 2009 - 11:13 PM

And here it is back in place :thumbsup:
Posted Image

#22 M44K TS

M44K TS

    Up Into Fourth

  • Members
  • PipPipPipPipPipPipPipPipPip
  • 3,104 posts

Posted 04 July 2009 - 10:51 AM

That looks awesome, love the green and black combo. Personally, I think it needs a green servo and rocker cover next. :proud:

#23 davegreory42

davegreory42

    Stage One Kit Fitted

  • Noobies
  • PipPipPip
  • 89 posts

Posted 05 July 2009 - 02:44 PM

looks amazing, wish my BOC looked like that

#24 Danny_California

Danny_California

    One Carb Or Two?

  • Members
  • PipPipPipPipPipPipPip
  • 1,263 posts
  • Location: Warwick

Posted 05 July 2009 - 11:10 PM

Thanks guys, its not really that tricky, just a lot of painting and cleaning! >_<

Yeah, plans left are to paint the servo, get a stainless res cover, tbars dashpot cover and dipstick and a couple other stainless bits. Just got a coil bracket for 99p on ebay cause I'm not happy with the one I painted.
Then give it all a good clean, and get rid of a bit of rust.

#25 mini_mad69

mini_mad69

    Let future you worry about it

  • Traders
  • PipPipPipPipPipPipPipPipPipPip
  • 5,417 posts
  • Local Club: urrrr no

Posted 05 July 2009 - 11:32 PM

Oh havn't seen this thread before, looking good. I wish my engine bay was a nice as that.


Ben

#26 Danny_California

Danny_California

    One Carb Or Two?

  • Members
  • PipPipPipPipPipPipPip
  • 1,263 posts
  • Location: Warwick

Posted 07 July 2009 - 04:56 PM

Thanks ben, its getting there lol
Got the coil bracket through today but I cant be bothered to go fit it now, not much point. Gonna order some of those replica engine bay stickers that mini smiffy has started doing, just for the nice detail.
Got an older pic of the door escutchions that we fitted too but never posted:
Posted Image

#27 Danny_California

Danny_California

    One Carb Or Two?

  • Members
  • PipPipPipPipPipPipPip
  • 1,263 posts
  • Location: Warwick

Posted 28 August 2009 - 06:34 PM

Made a start the other day and got down to making the speaker pods for the front footwells. I'm going against my better judgement and using all Fusion equipment, since its my girlfriends car and she wanted the green to match the car... ;)
Plans are as follows:
Up front there will be a set of 5.25in components, with the mid ranges in pods under the dash rail and the tweeters ontop of the dash, tucked in either side of the top dash rail.
The back shelf will comprise of a set of 6.5in coaxials in a fibreglass install, and most probably be run off the headunit.
These plans are a definate, and I'm actually about half way done, but on top of this I want to build something in the boot aswell.
I was thinking of an amp rack on the rear face of the firewall and an mdf boot floor. The reason I wanted to build an amp rack is when I opened up the components, the crossovers are like mini versions of the fusion amplifiers!! Soooo cool! So I just have to get an amp to match the little crossovers, then mount them all together in a nice enclosure. :( 
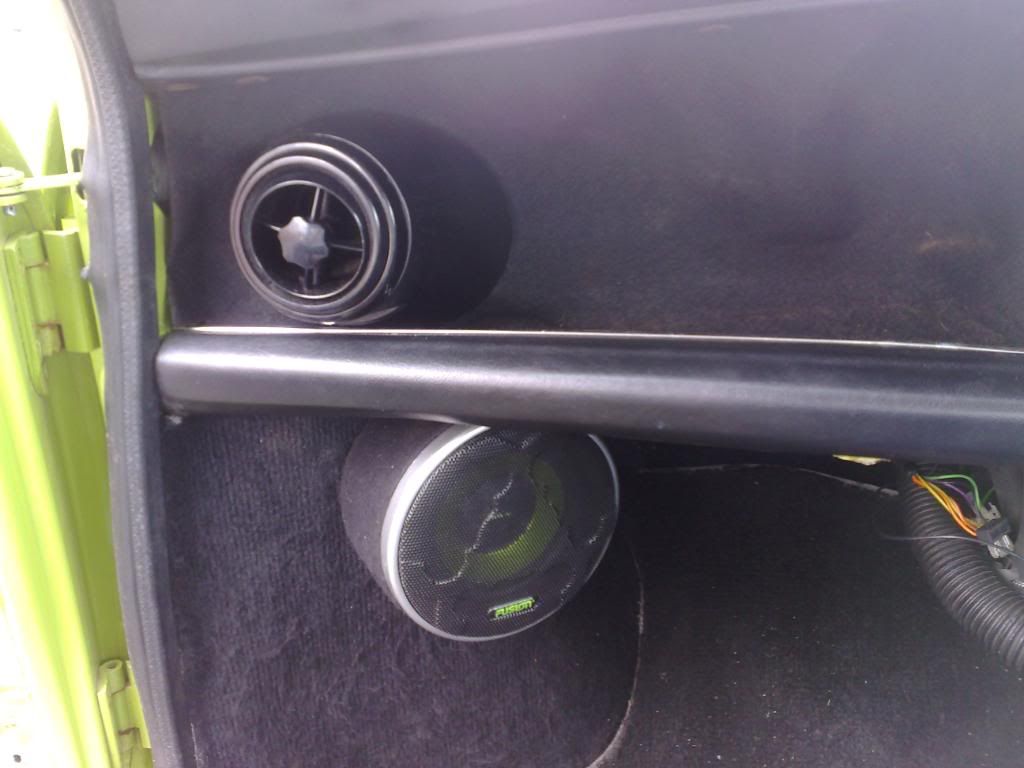
Will probably have to do loads of shielding to the speaker cables though, since the amp will be powering the front speakers from the back, so plenty of space to pick up distortion along the way
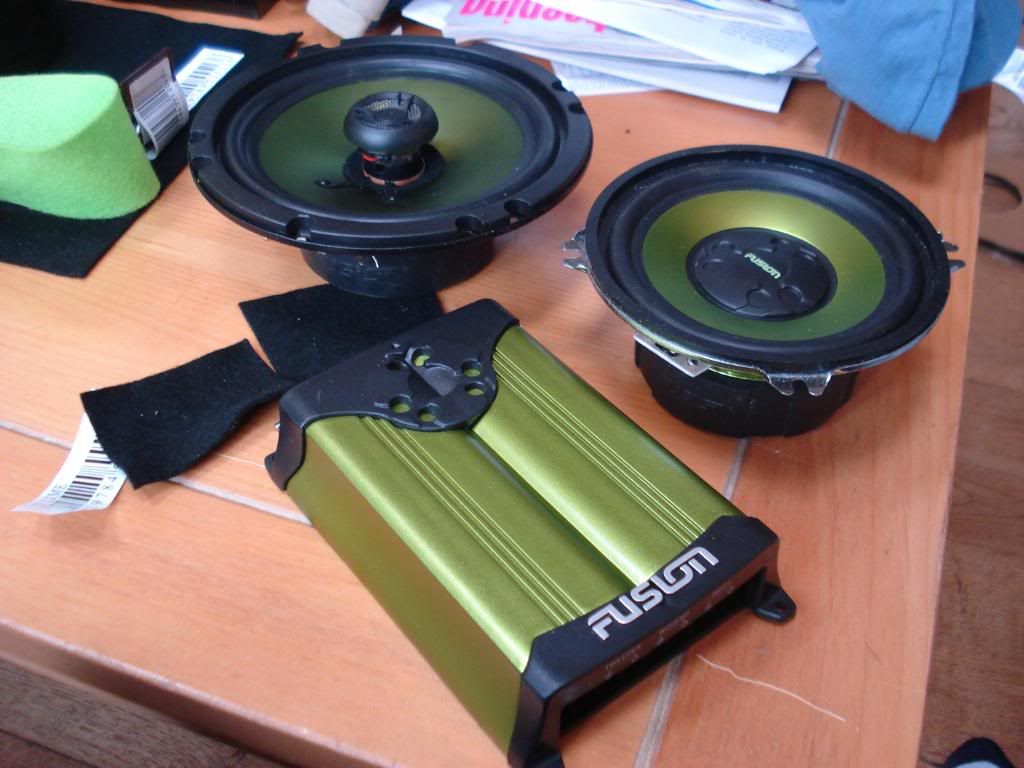
 :D
Heres some pics of bits and progress so far:
Heres the stuff thats going in, looks pretty and I know its not gonna be audiophile perfect, but it'll do the job nicely. Note the awesome crossovers!!
Posted Image

They look just like this amp only smaller:
Posted Image

Made a load of mdf rings, most of them for the front pods, then Araldited them together, I swear its stronger then fibreglass now lol
Posted Image

Then rather than self tap into the pods themselves, I got a bracket to go on the back with a bolt glued to it sticking out the top. With a penny washer it fixes to the bottom dash nicely, there is a very small amount of movement, but nothing major and not worth drilling a hole in the car to solve.
Posted Image

Here they are fitted and with the speaker resting in it, I've yet to make the other side or drill holes to screw the speaker into, but I got distracted lol

Posted Image

Posted Image

Like I said, still a bit of work to do on them, but I got sidetracked making the rear shelf!
The idea is to have a nice fibreglass install with two coaxials in it, painted the same colour as the car. So I knocked up yet more MDF rings...

Posted Image

And made a fibreboard base shelf and screwed two of the rings to it, followed by the upper rings on the supports I made up.
Posted Image

Actually that step was preceded by fiddling for ages in the car to make sure it wasnt going to foul the back seat or the window!
Posted Image

The glue is currently setting on the skeleton, but I have to work all weekend so its unlikely to be touched now until monday
Posted Image

Whats everyone think?

#28 benb12

benb12

    One Carb Or Two?

  • Members
  • PipPipPipPipPipPipPip
  • 1,483 posts
  • Local Club: Medway Mini Club

Posted 28 August 2009 - 07:13 PM

It looks fantastic, you're doing a good job! ;)

#29 B4 OAN

B4 OAN

    Stage One Kit Fitted

  • Noobies
  • PipPipPip
  • 59 posts
  • Location: There

Posted 28 August 2009 - 07:38 PM

Lovely Project - i love the Black / Green theme! ;)

#30 shorty

shorty

    Short Guy

  • Members
  • PipPipPipPipPipPipPipPipPip
  • 3,606 posts

Posted 28 August 2009 - 07:48 PM

ok so dumb question but ive never known what these things are

what is the filter thing by the brake fluid housing actually for..i know its a filter thing...but filter for what?


1 user(s) are reading this topic

0 members, 1 guests, 0 anonymous users