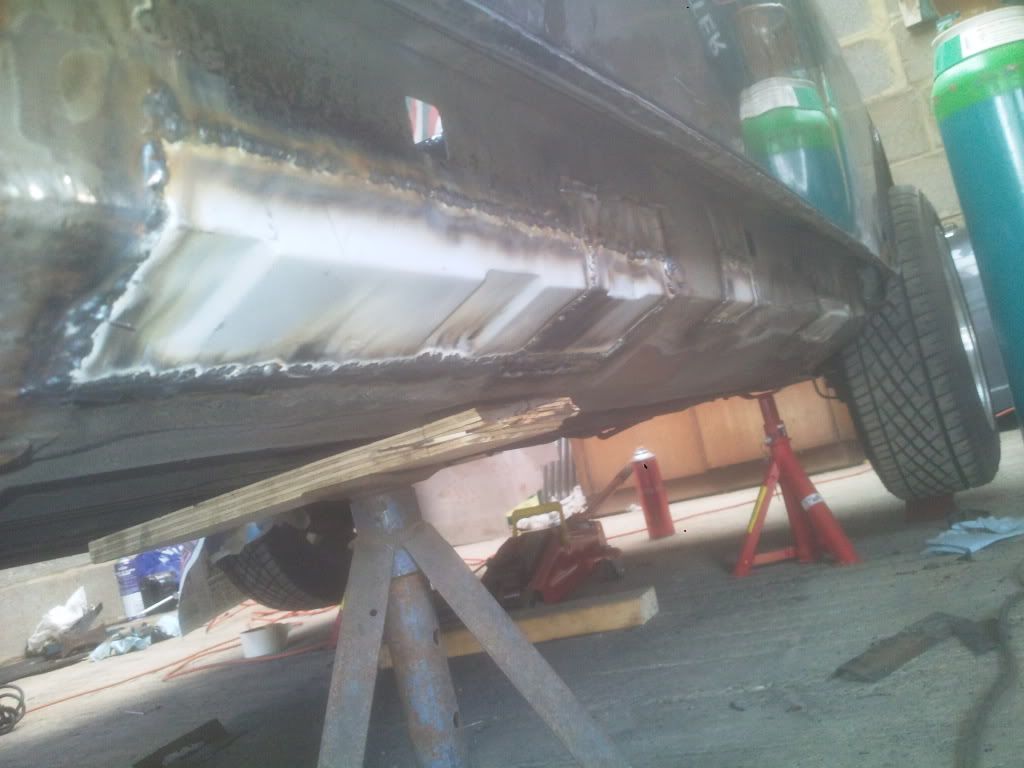

Cleaned all off and as you can see in pictures on one side the sill edge seam has spilt apart some with rust and on i think what are square drain holes rust around pretty much all of them.
Is this a bad sign of rust to come and whats best way to treat the seal and any other rust like i have on inside of wheel arch?
There is also 2 small patches where rear bumper is rubbing on rear seams where im guessing at some point the bumper has been knocked in to make it rub on seams as I dont think it should be so close normally.
Overall what is best was to treat these more under body areas to prevent further rust etc other than strip it right back to metal and paint etc??
Attached Files
-
 sill_seam_rust.jpg 158.64K
47 downloads
sill_seam_rust.jpg 158.64K
47 downloads
-
f_arch_rust.jpg 143.69K
40 downloads
-
silll_drip_hole_rust.jpg 112.76K
48 downloads