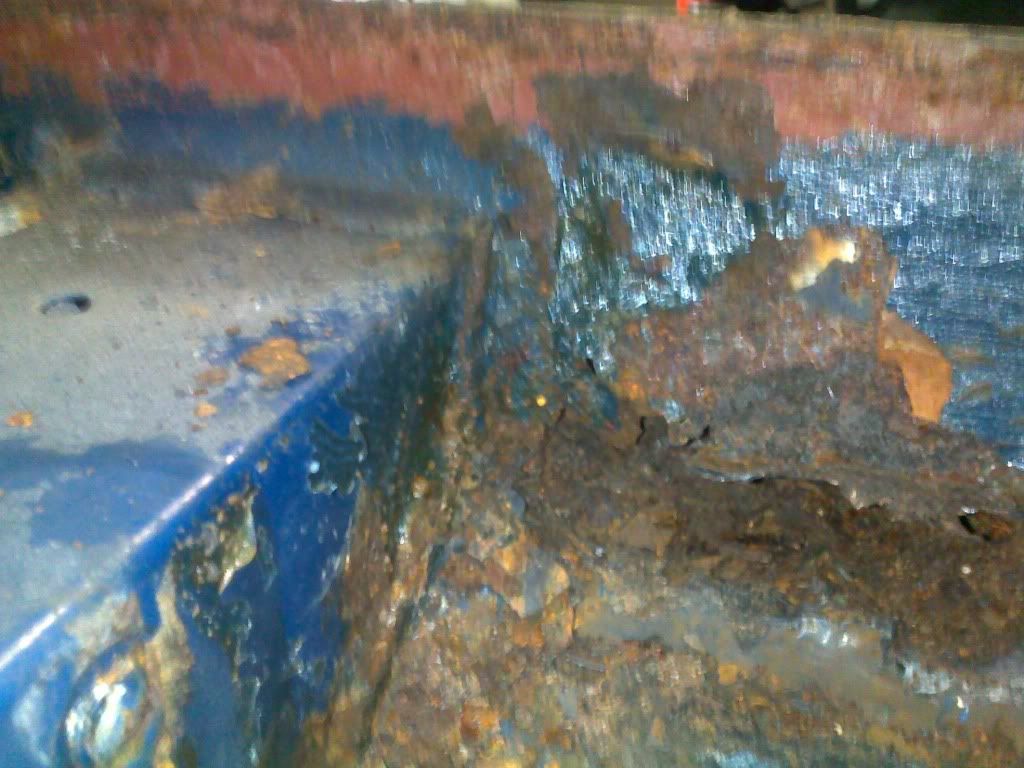
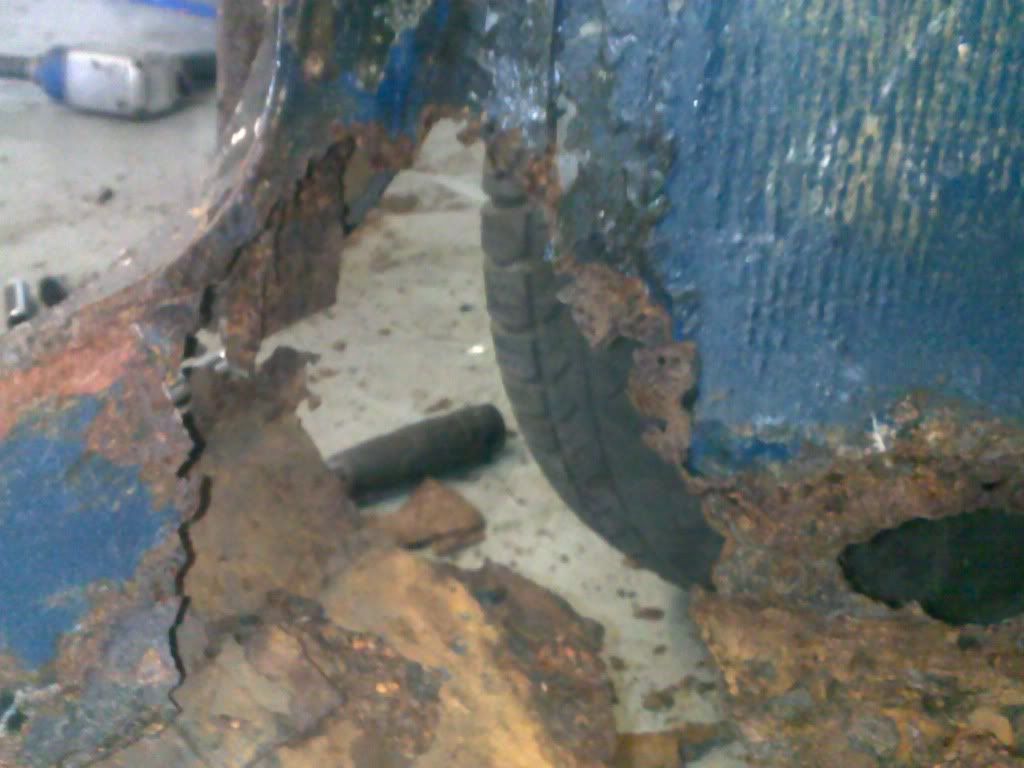
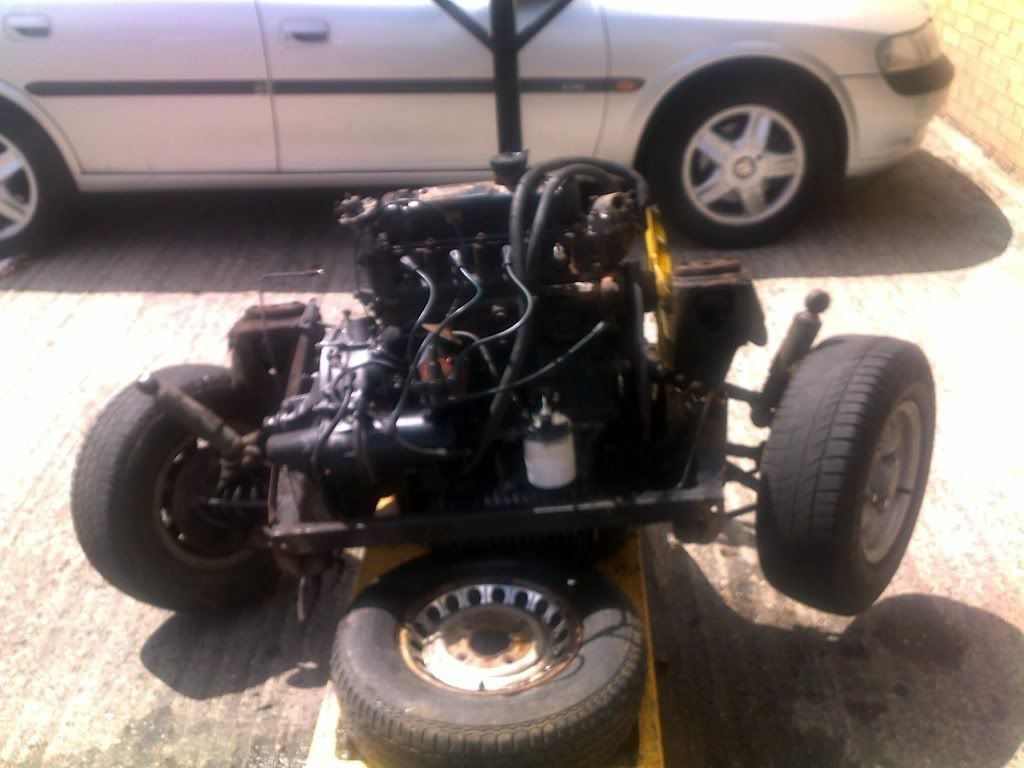
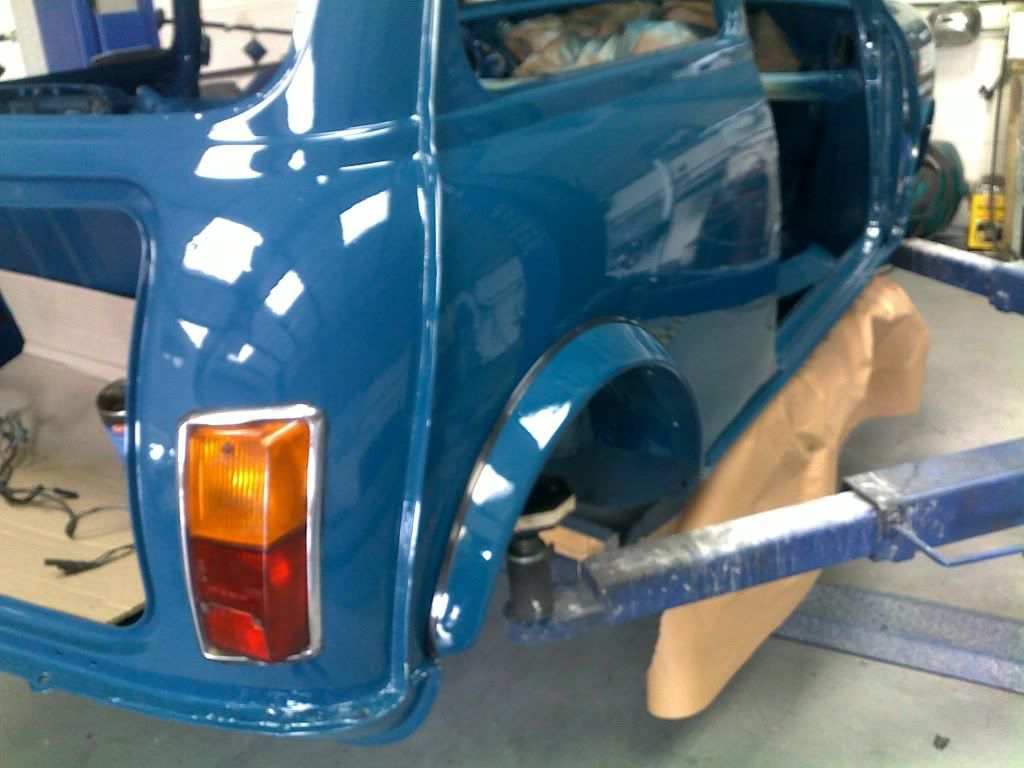
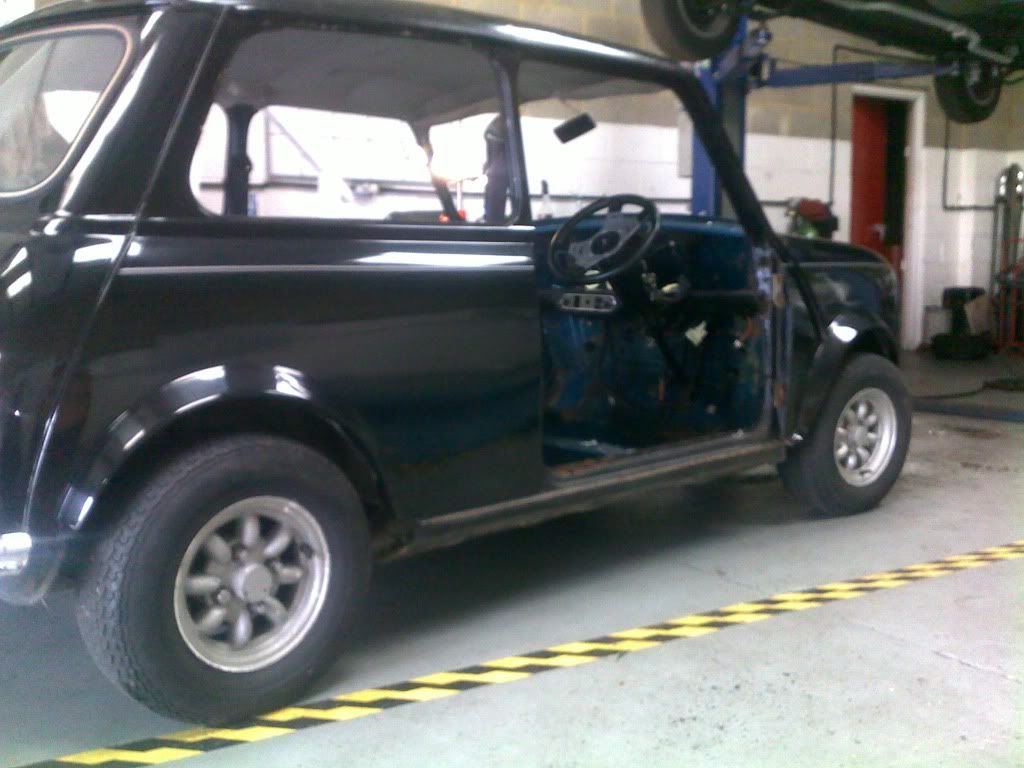
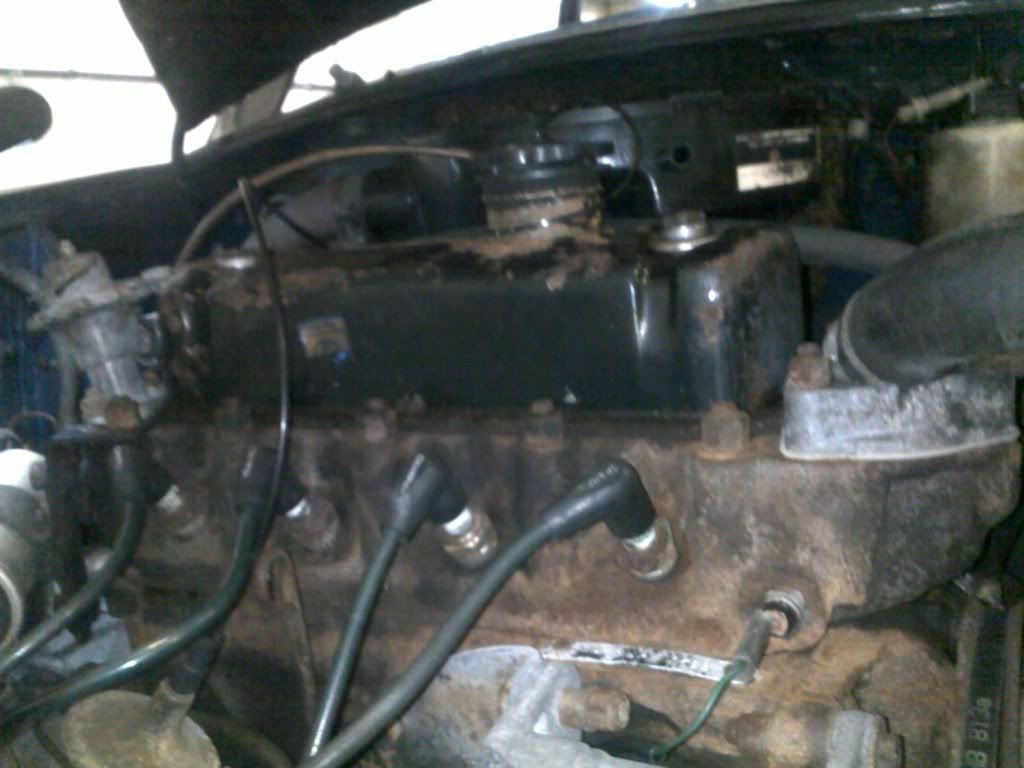
Anyway, this is the mini i acuired this wednesday from a local seller. Beautiful little motor. ITs a 998cc Austin mini which was originally Blue, but then sprayed black (god knows why). Im not sure what blue it was, but it would be nice if somebody could give me a colour code as its the colour i want to have it in when its all done. Got the usual plans for it, cut out ALL the rust and give it some proper protection (oxide etc).
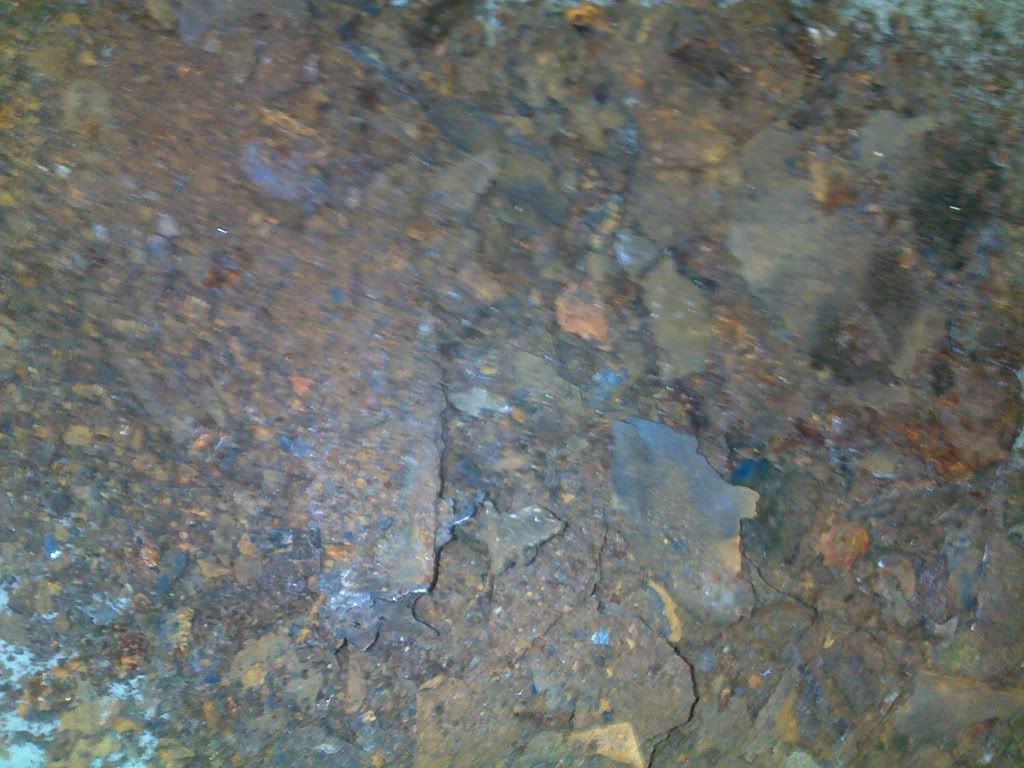
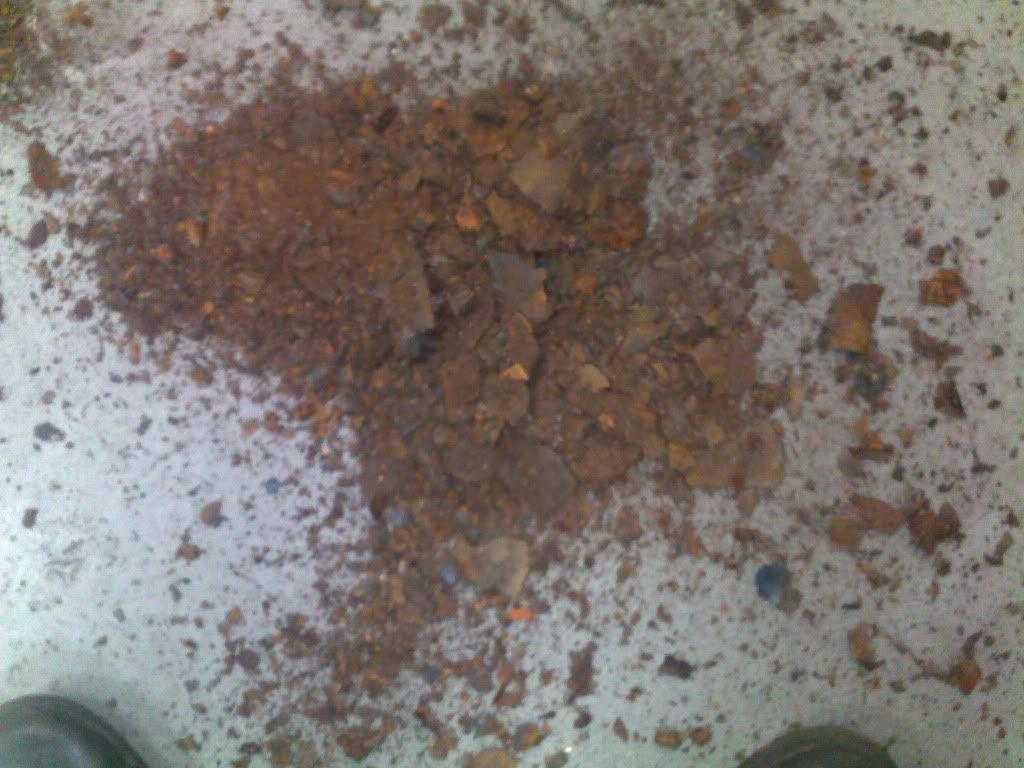
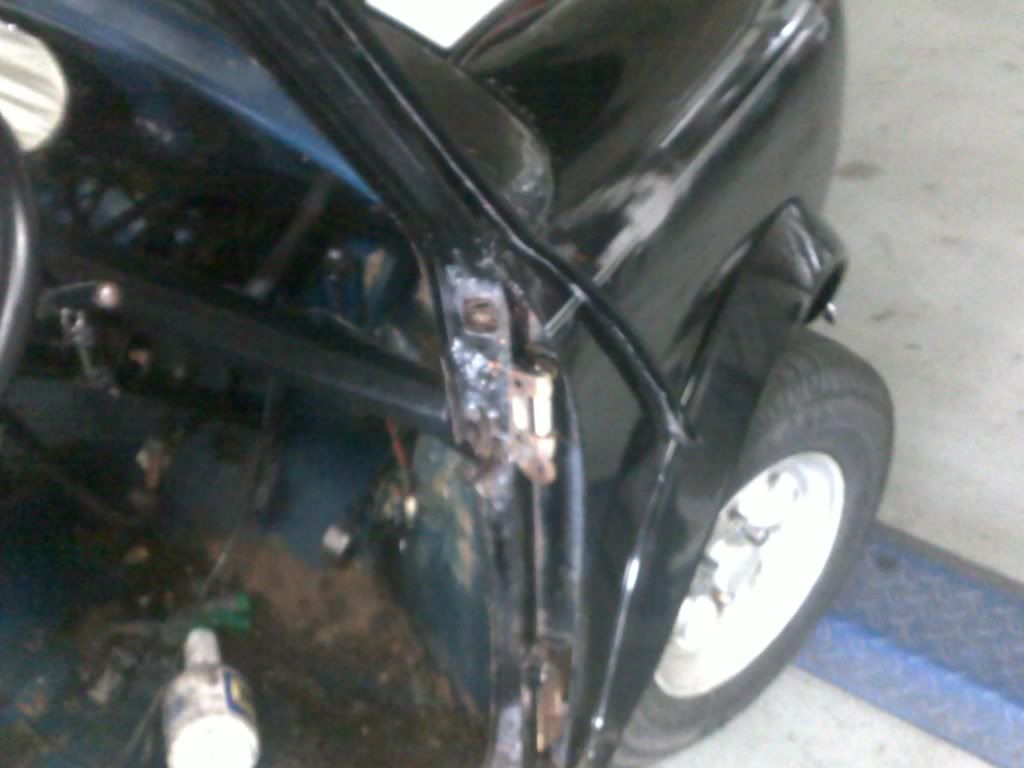
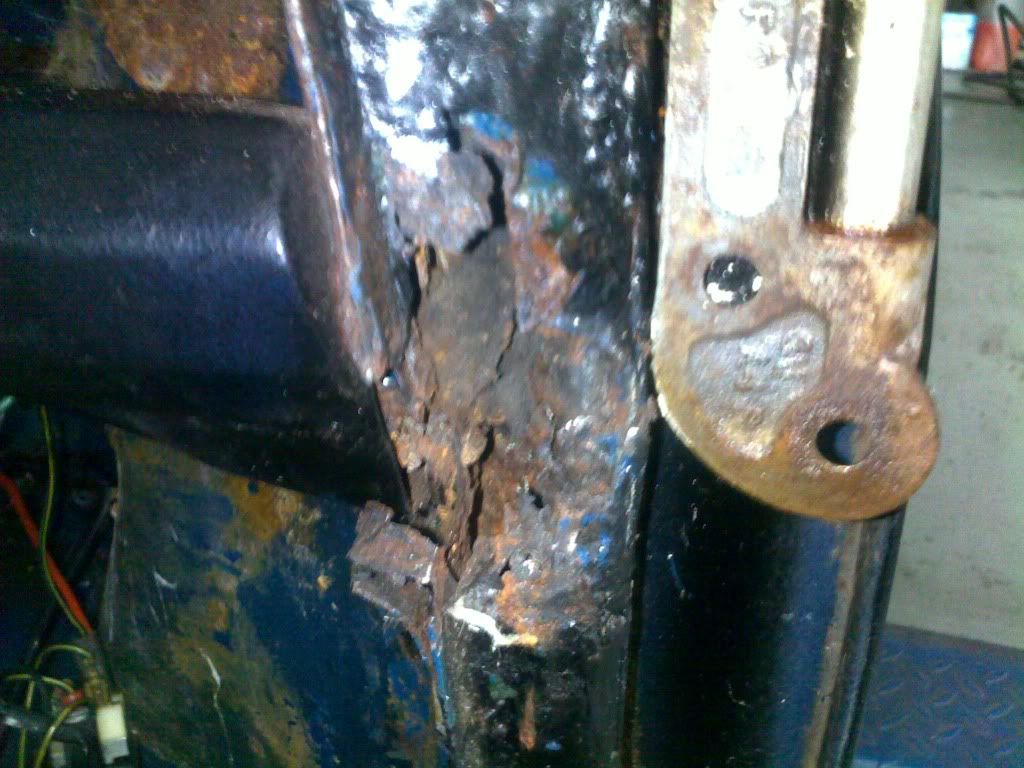
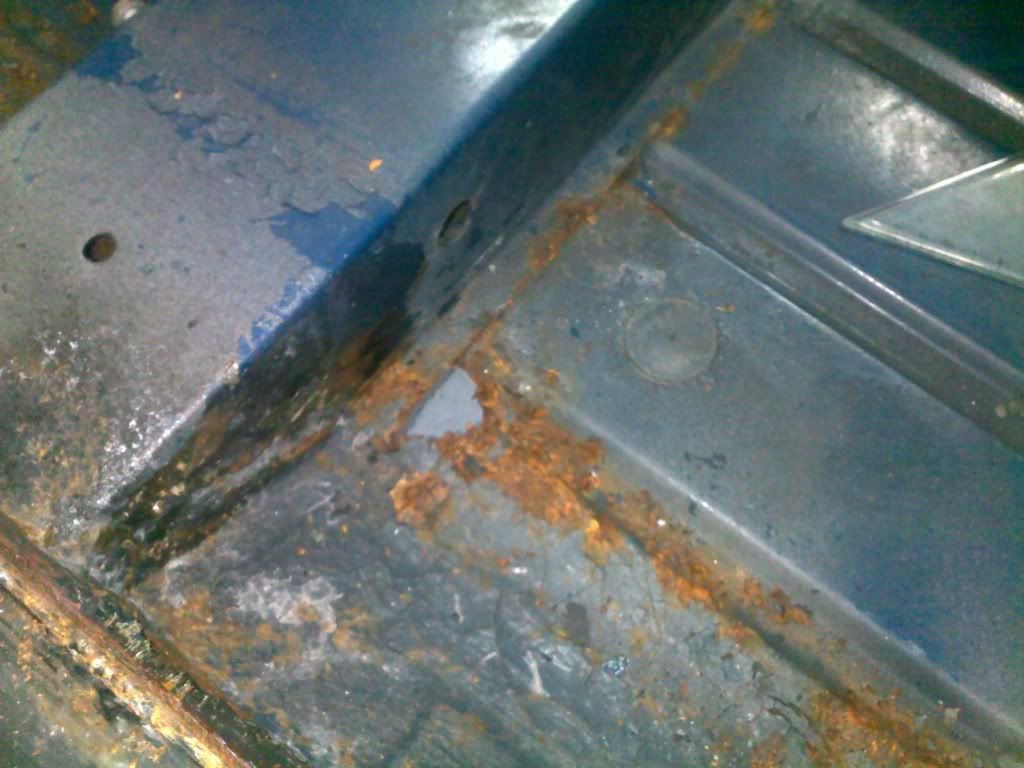
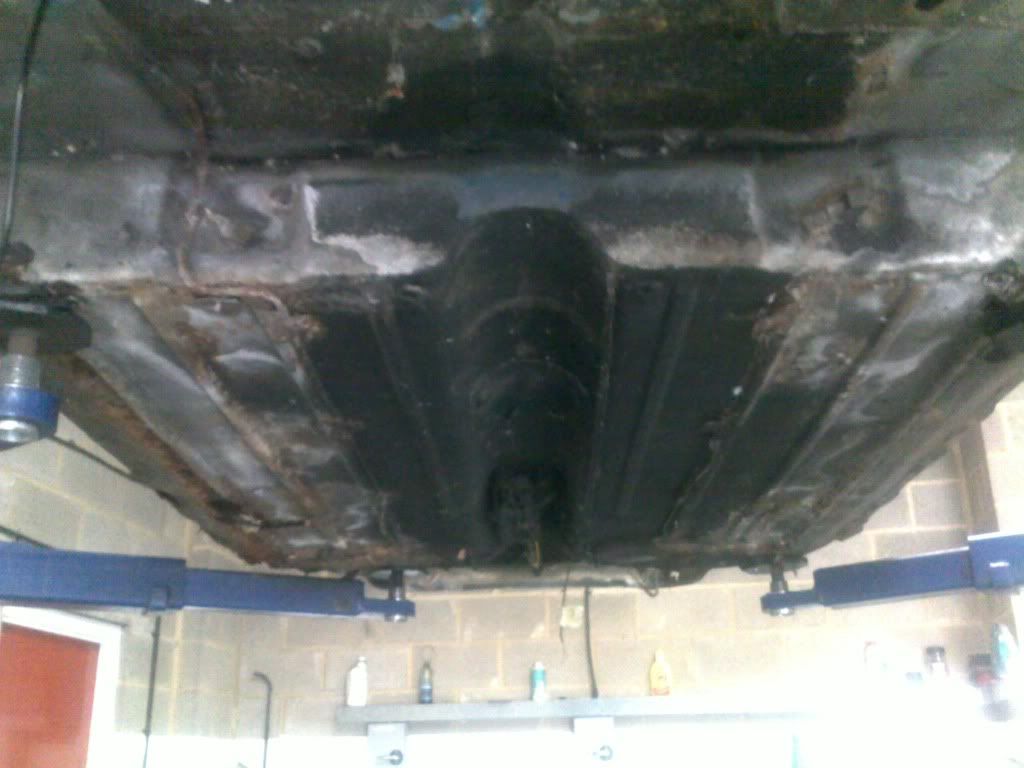
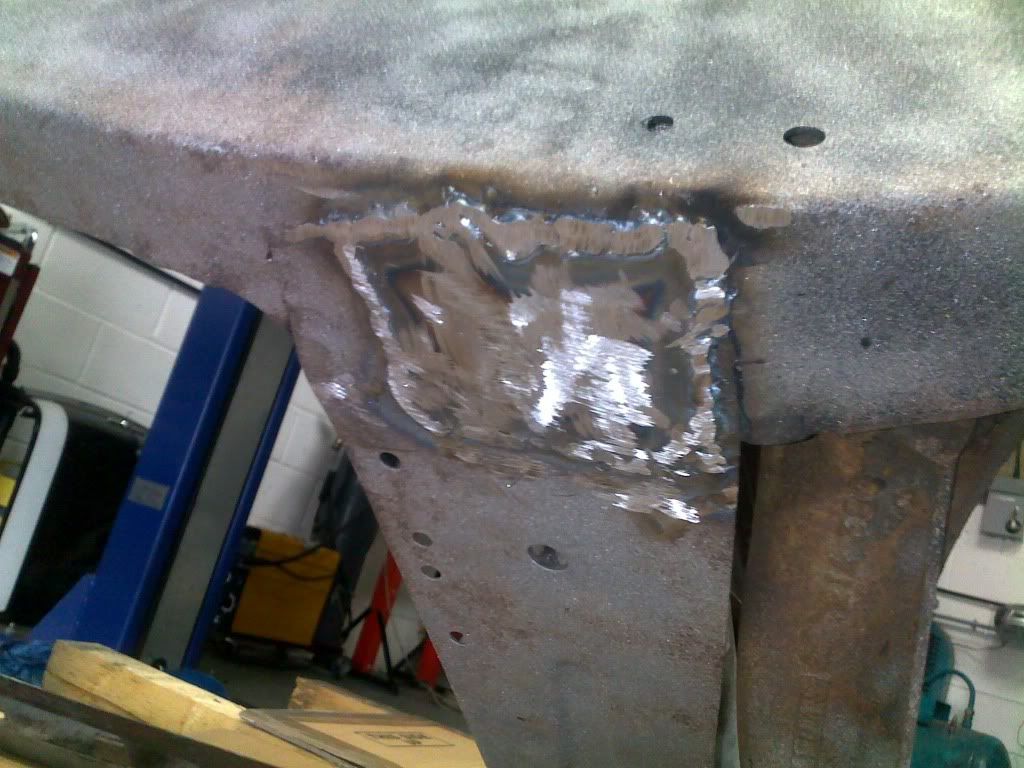
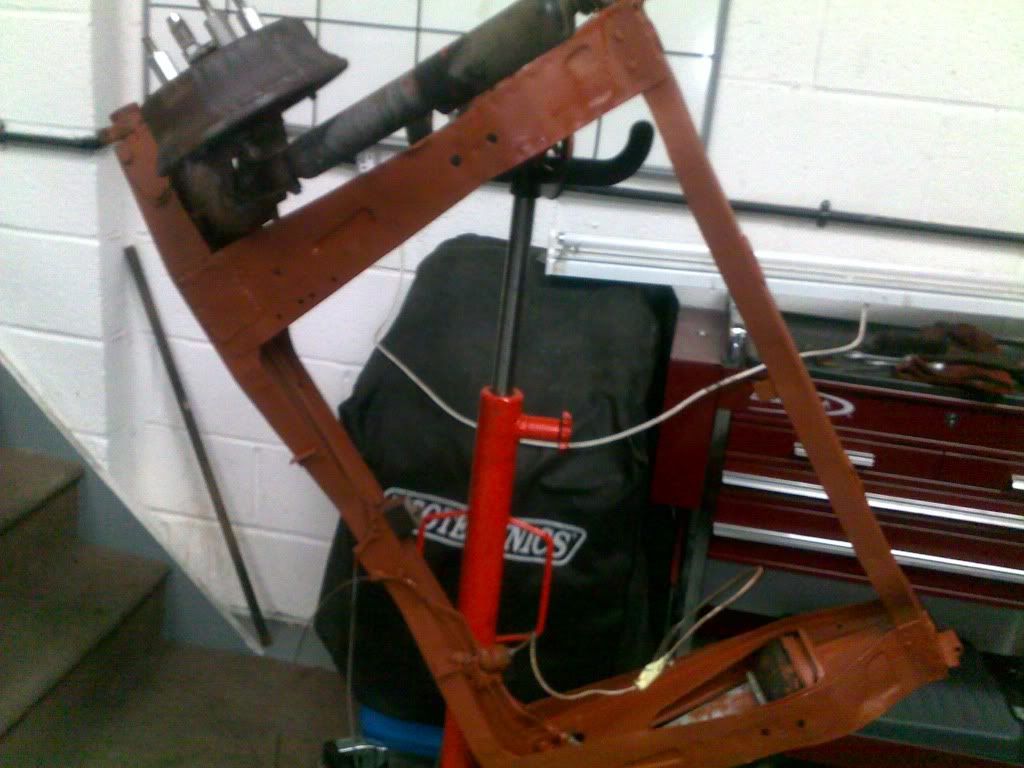
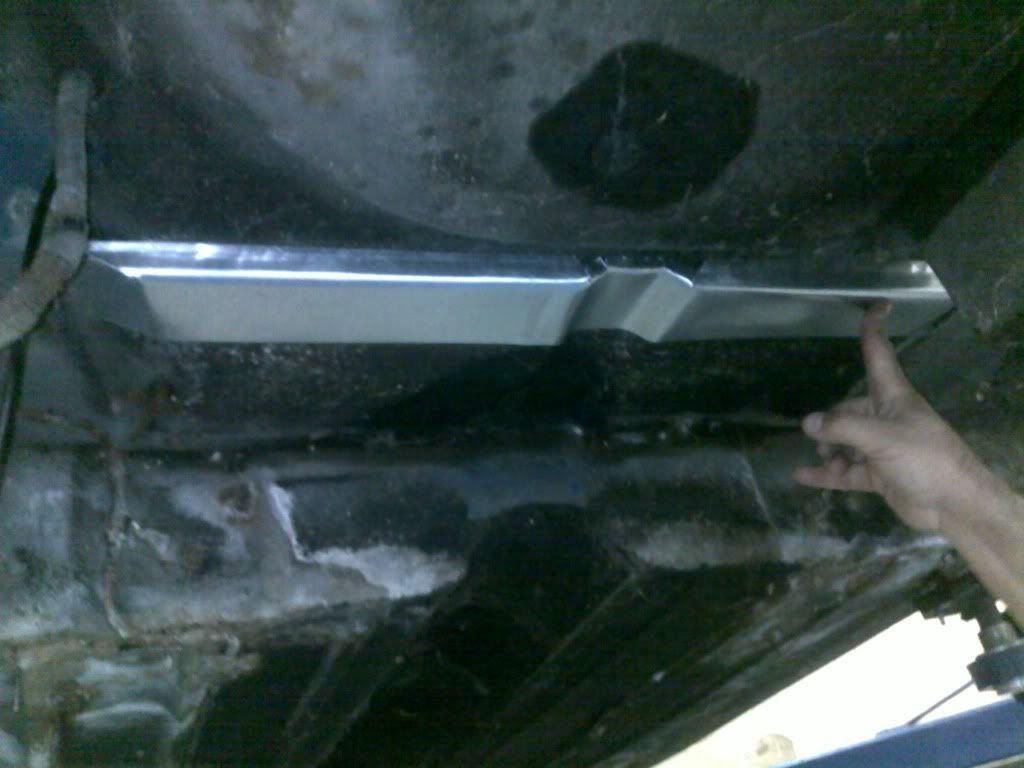
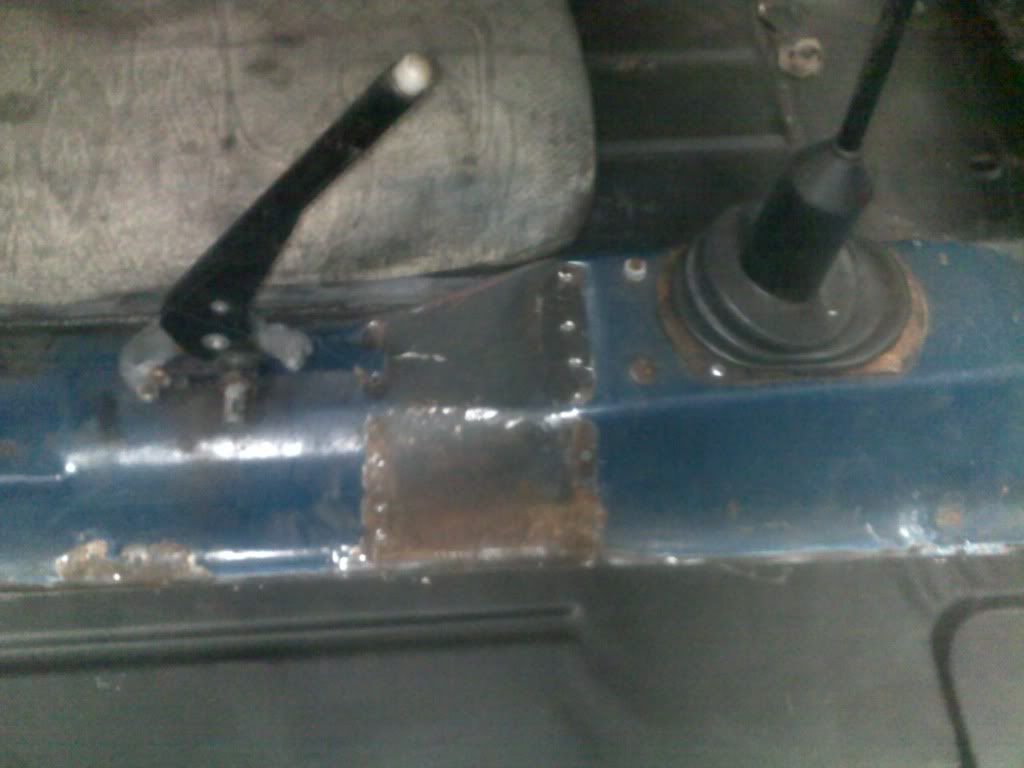
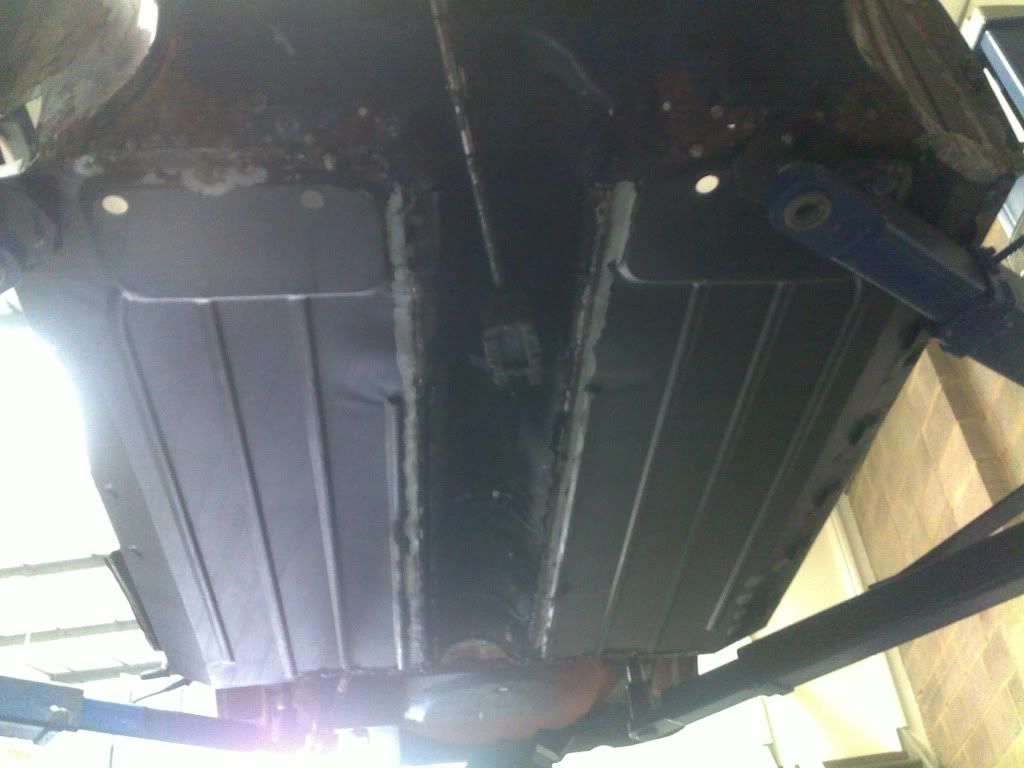
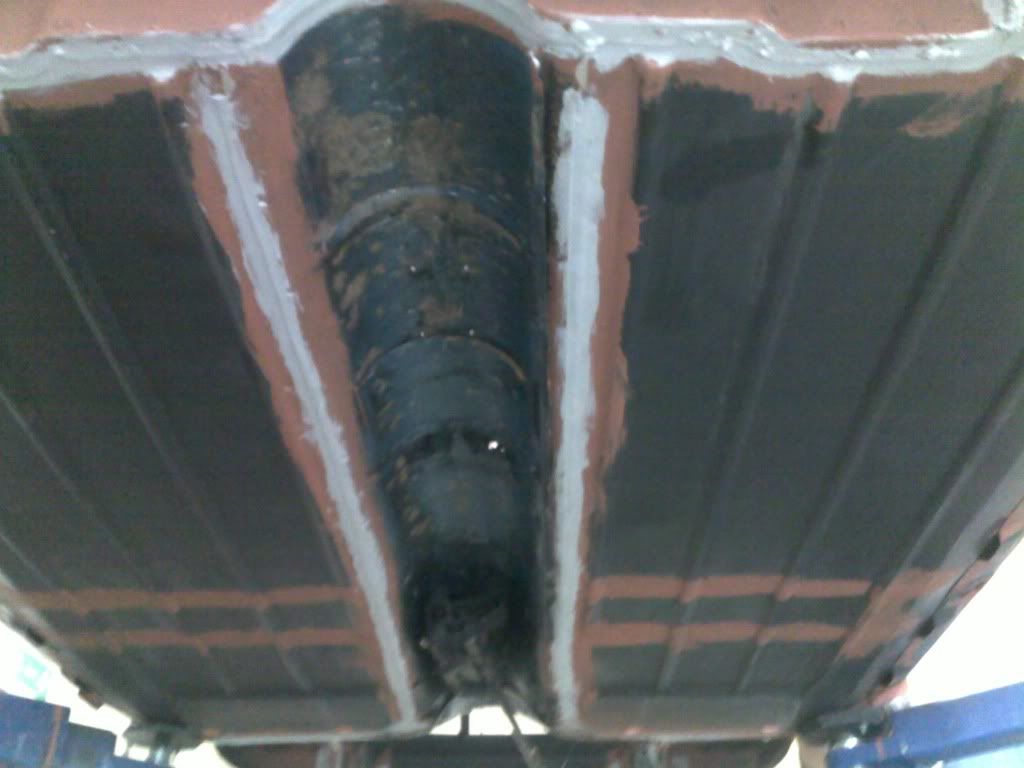
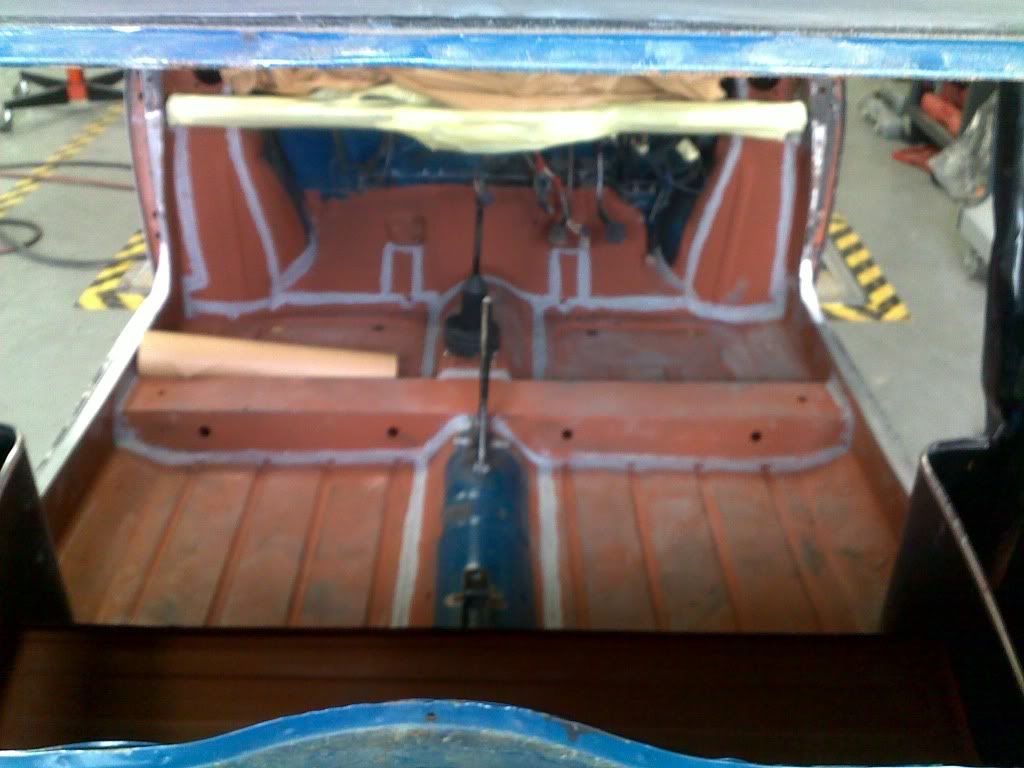
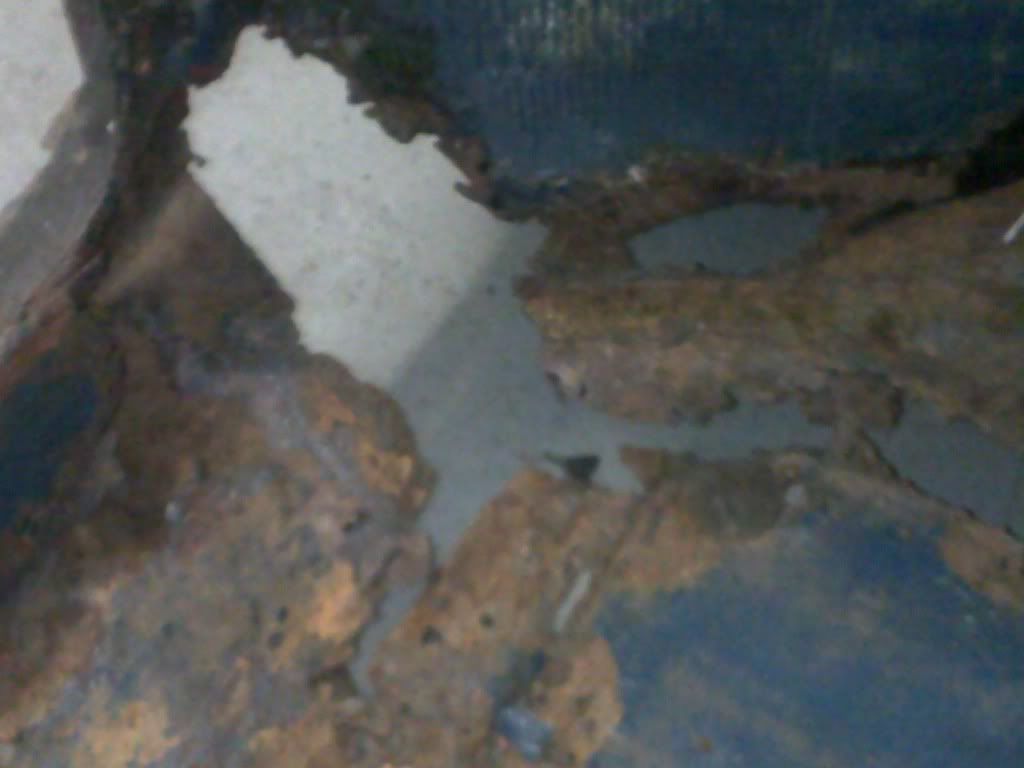
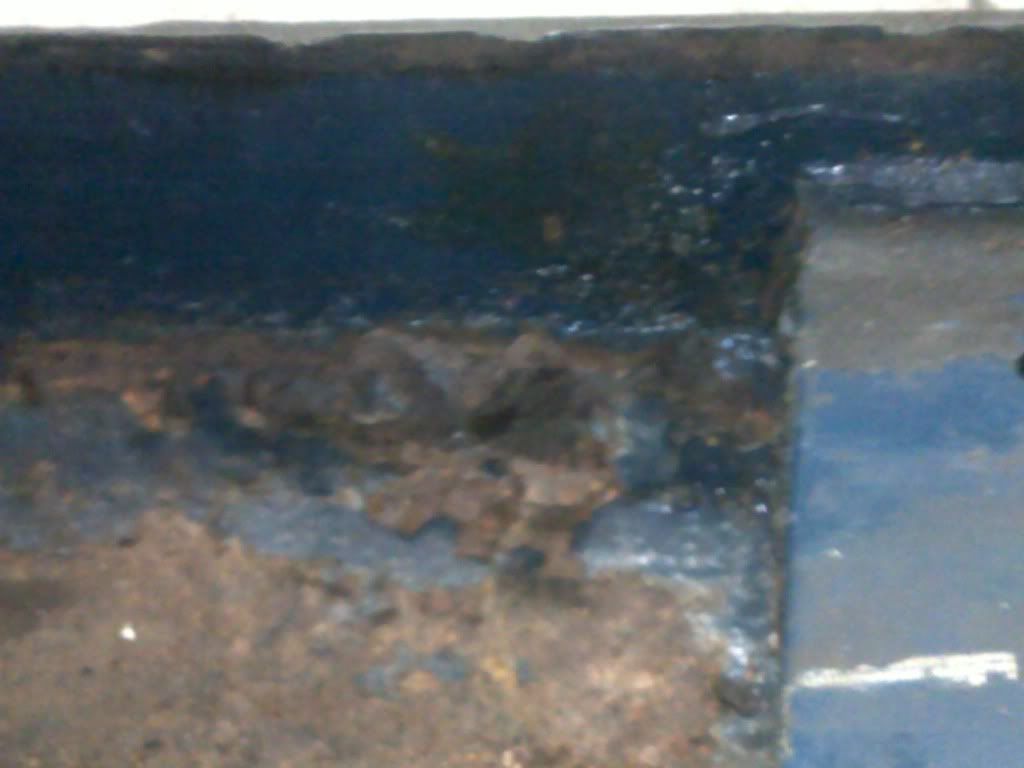
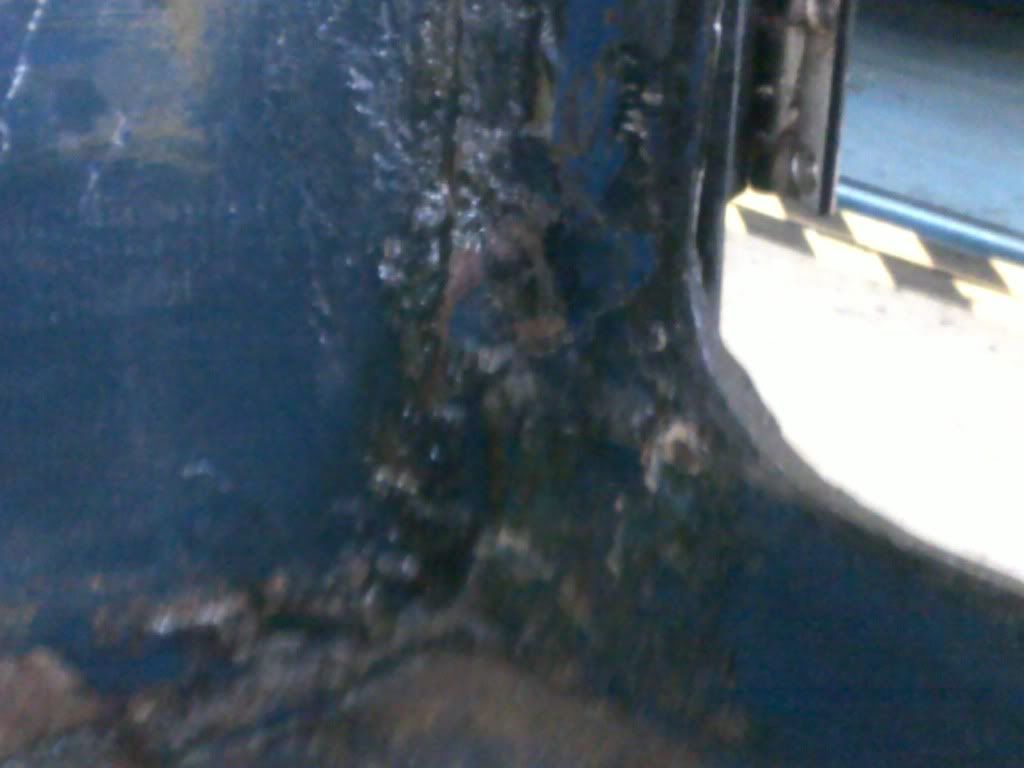
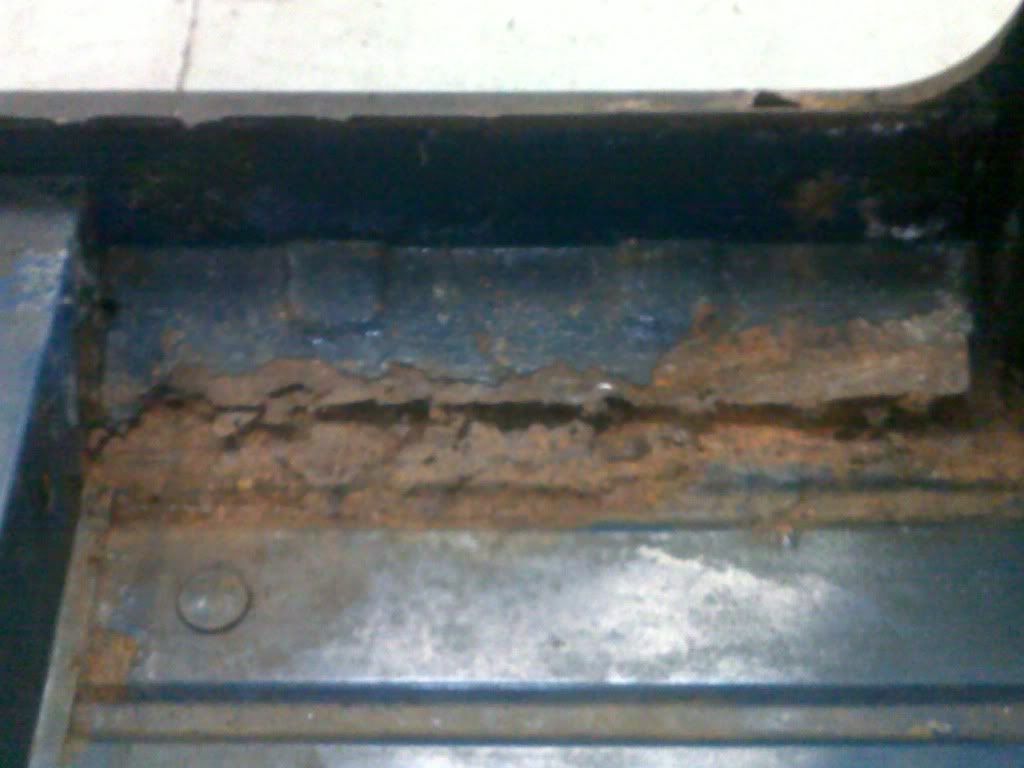
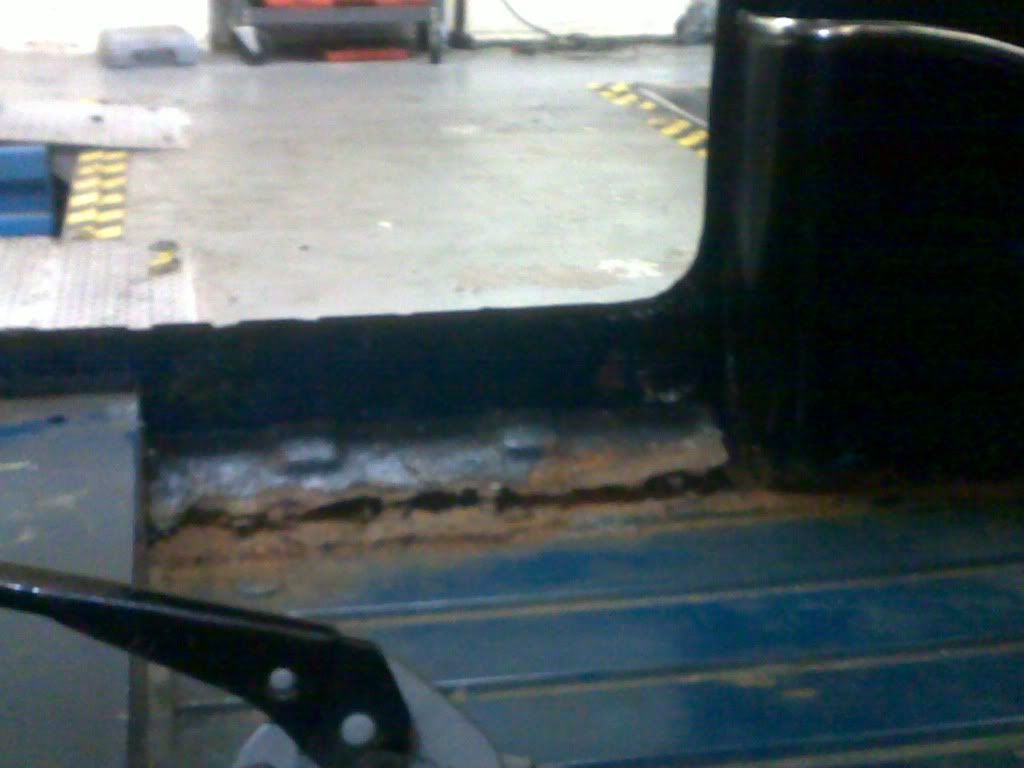
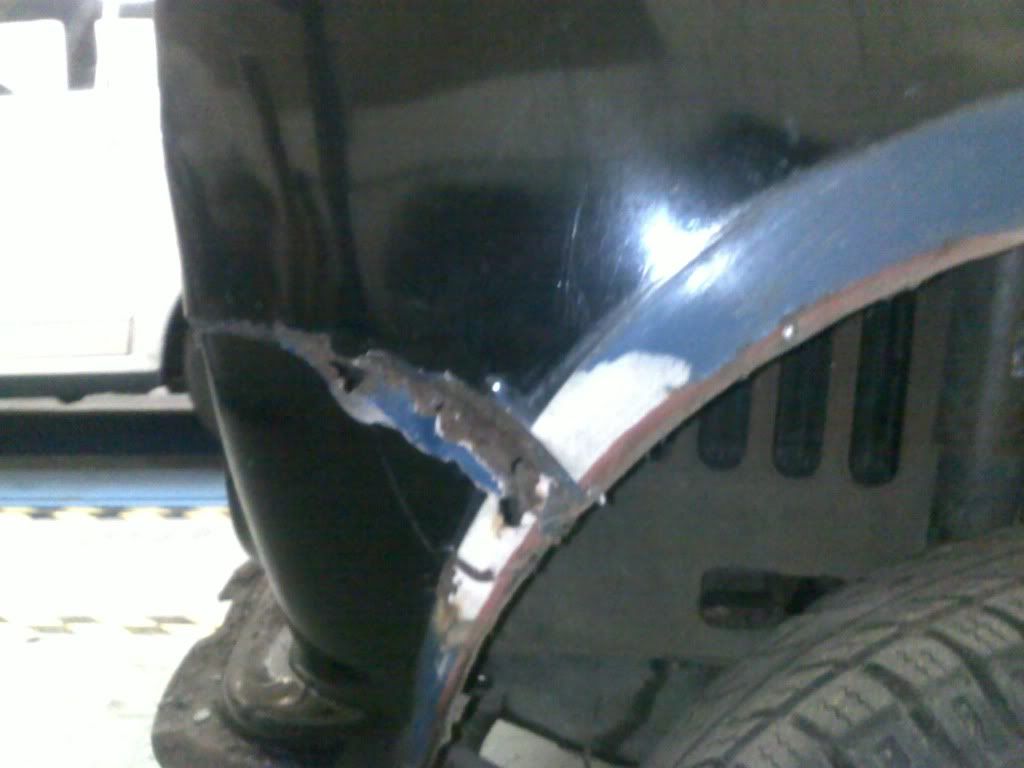
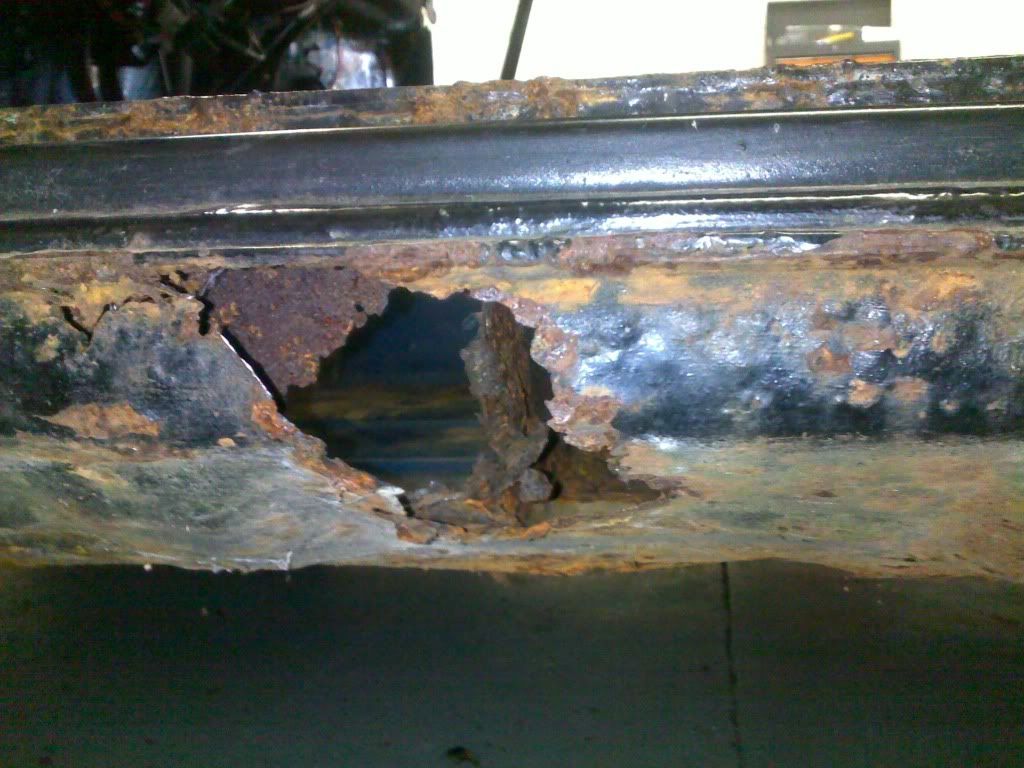
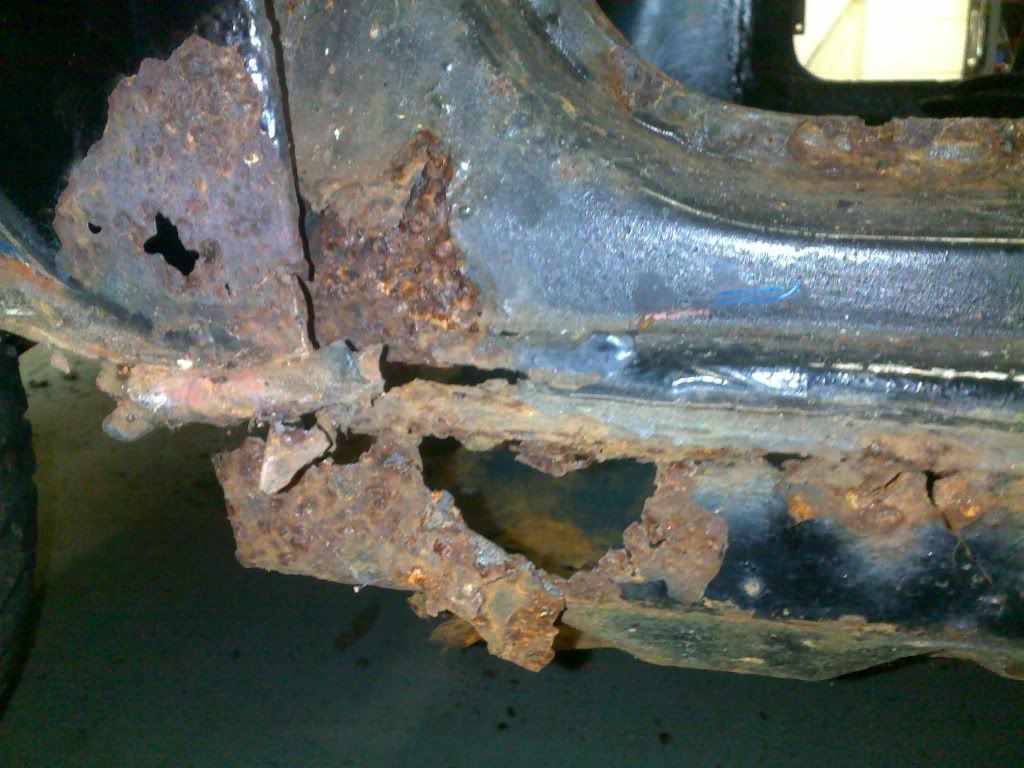
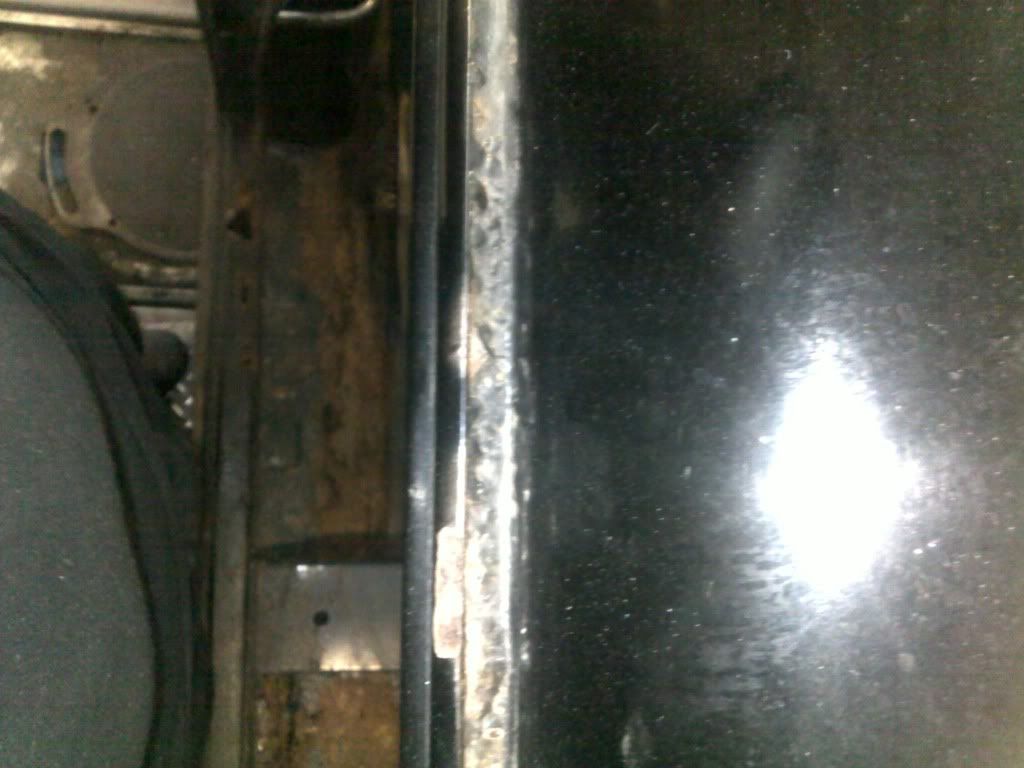
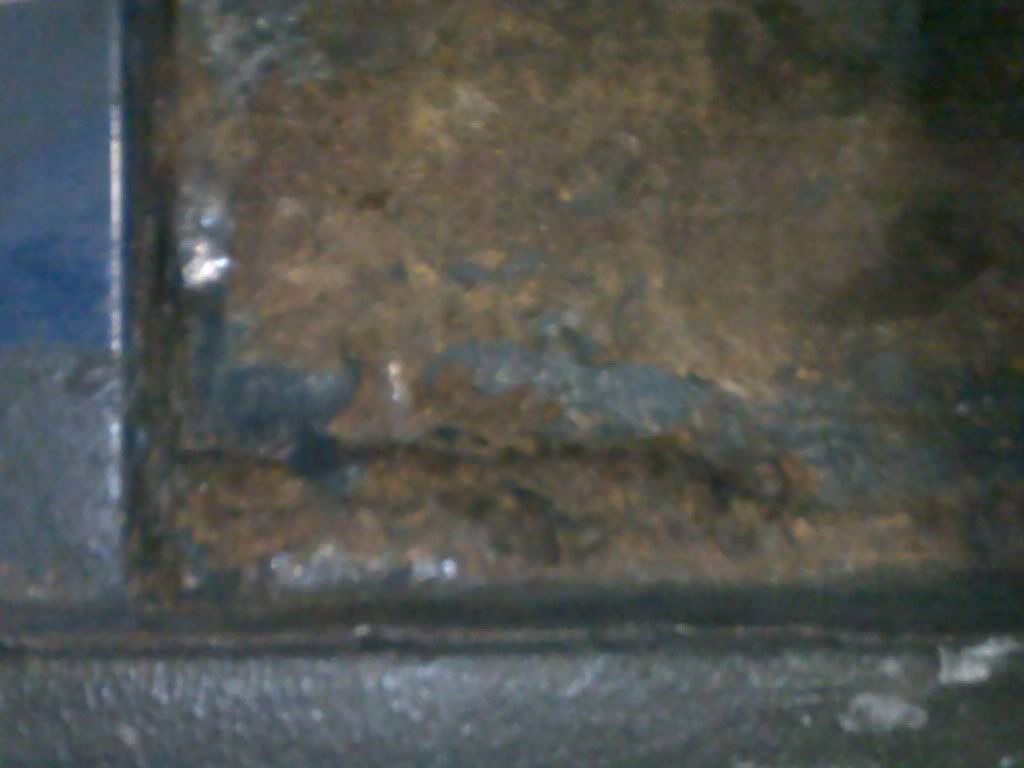
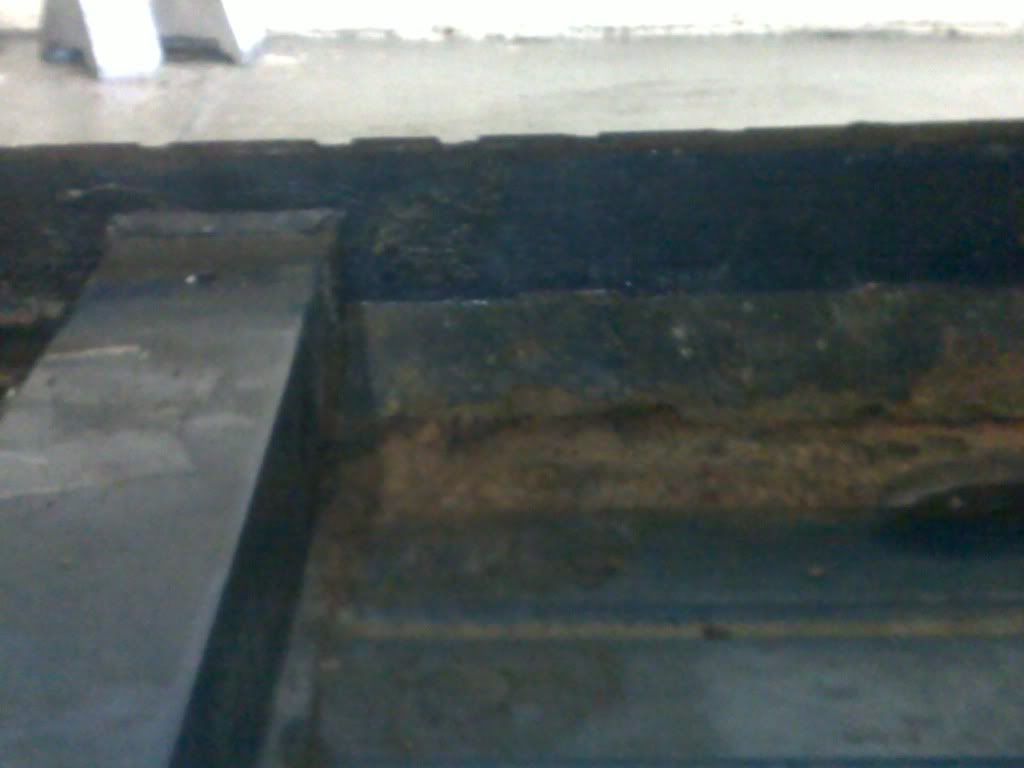
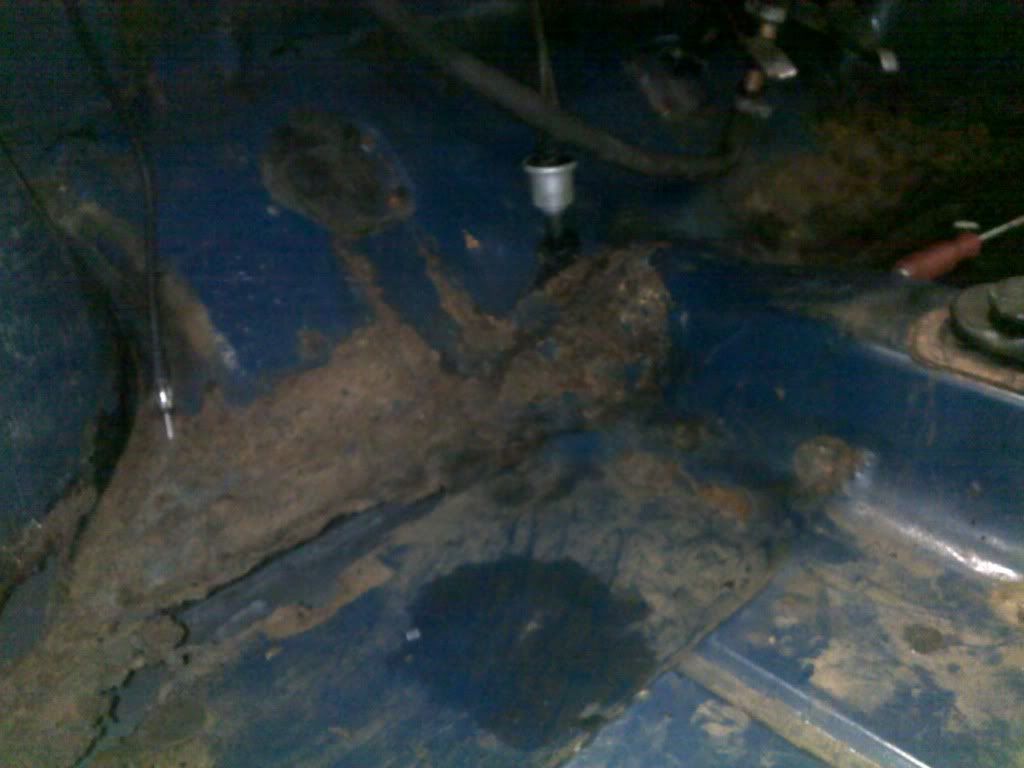
The car has had work done in the past. And this is probably the reason why its so bad. Uncovered welds have just attracted the rust worm, and theres alot of coverup work like 9" sills and bad fabrication.
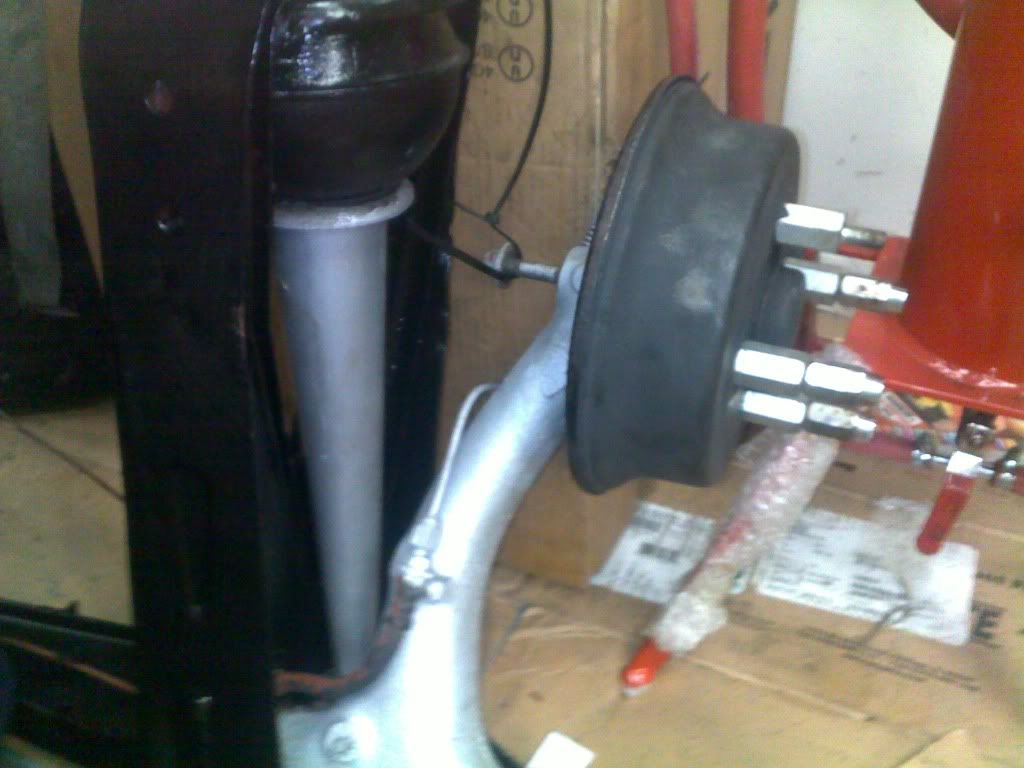
It currentley sits on 10" mini lights. I dont know if their original, but they do have "mini light" stamped on them.
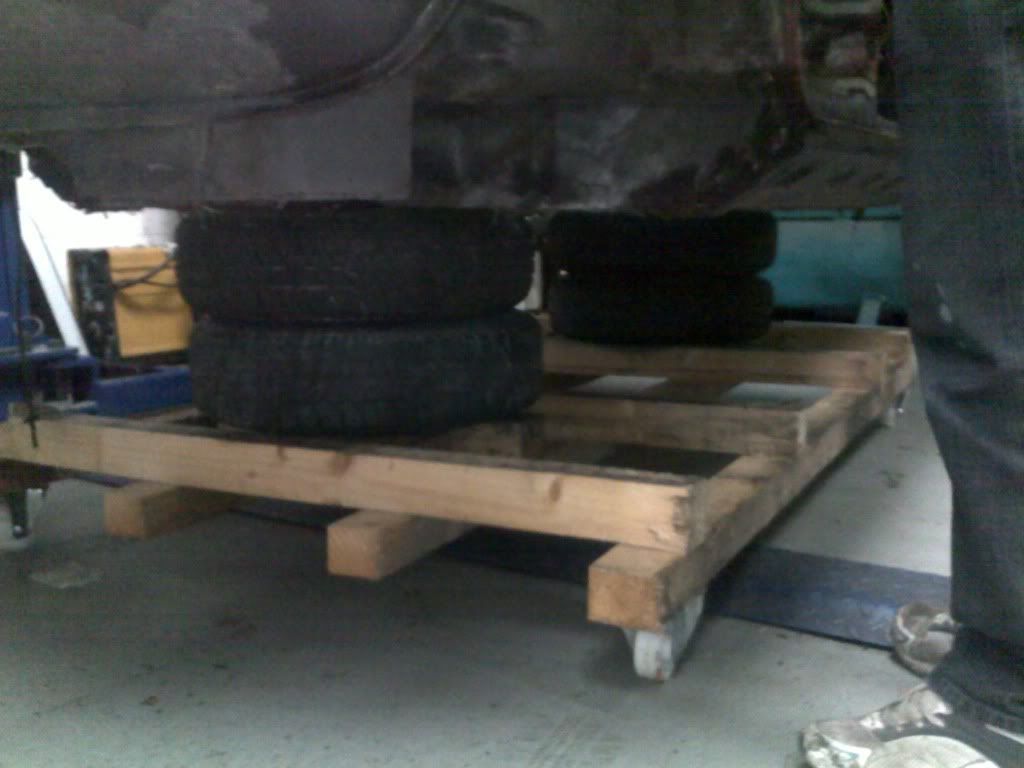
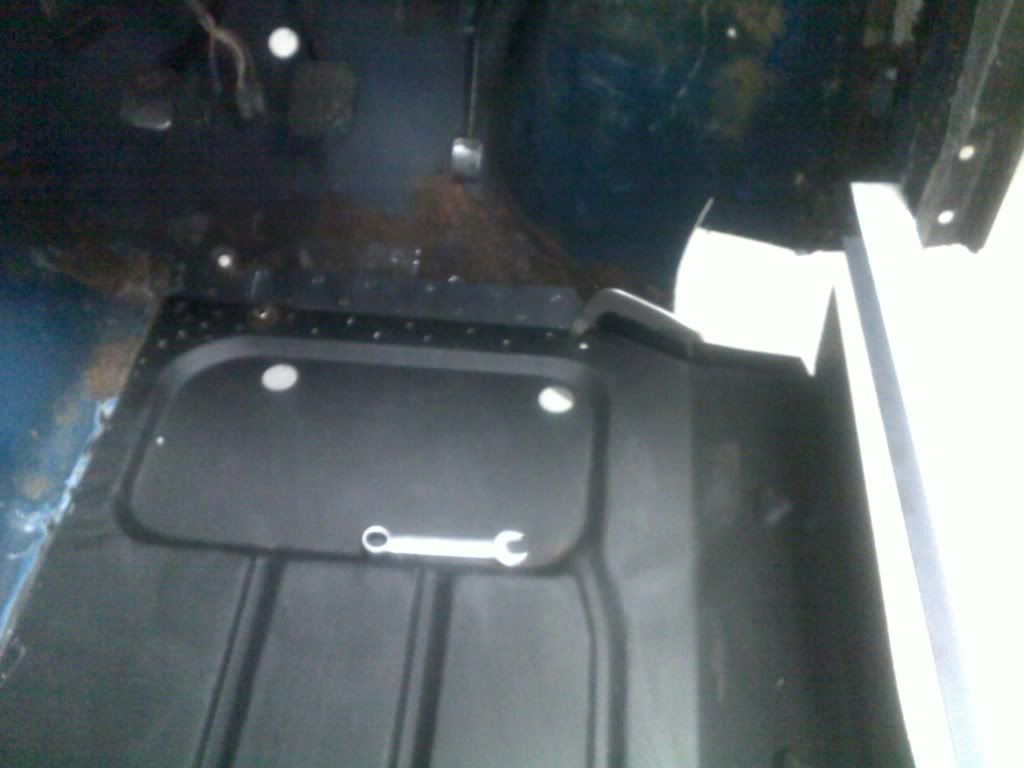
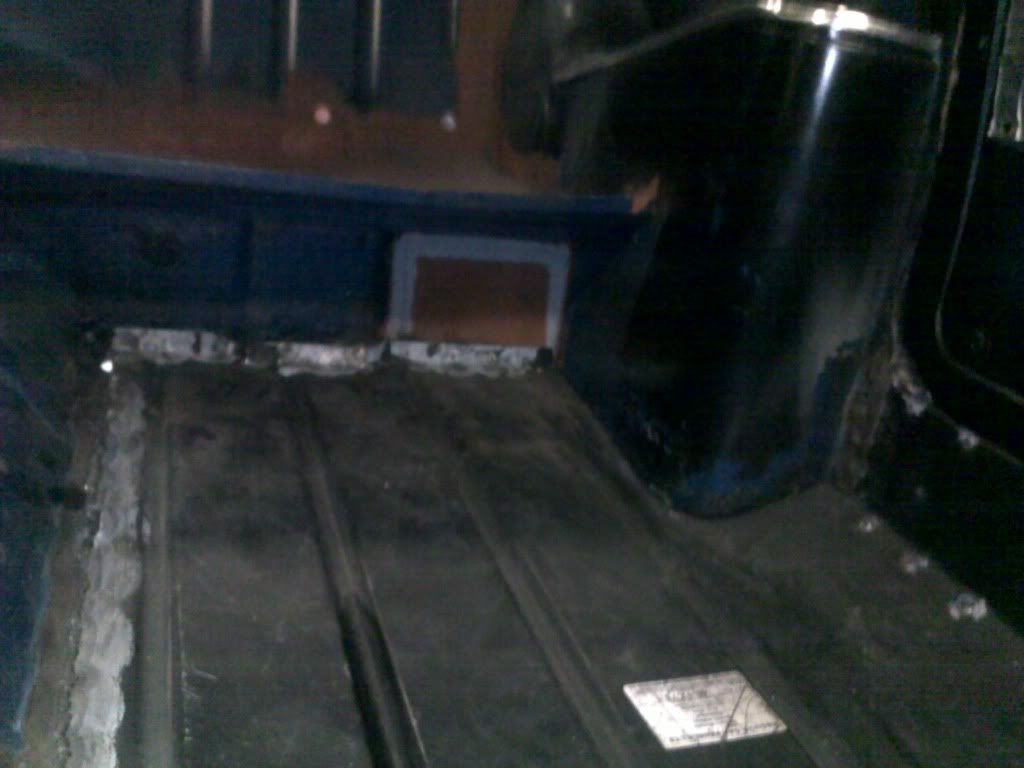
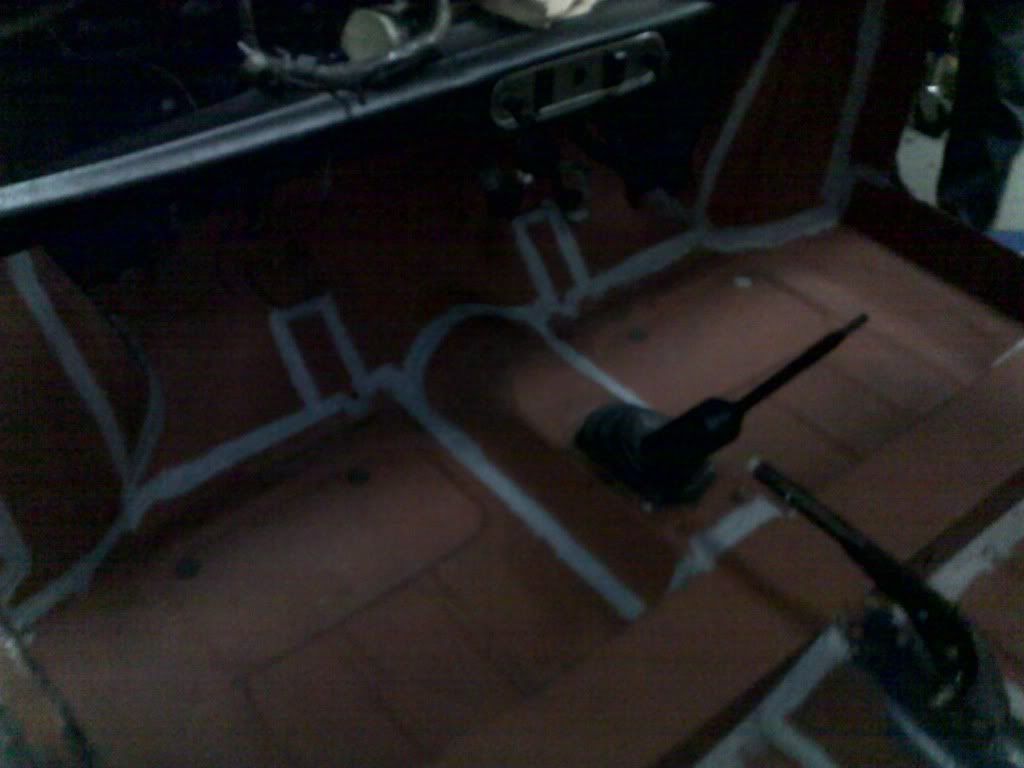
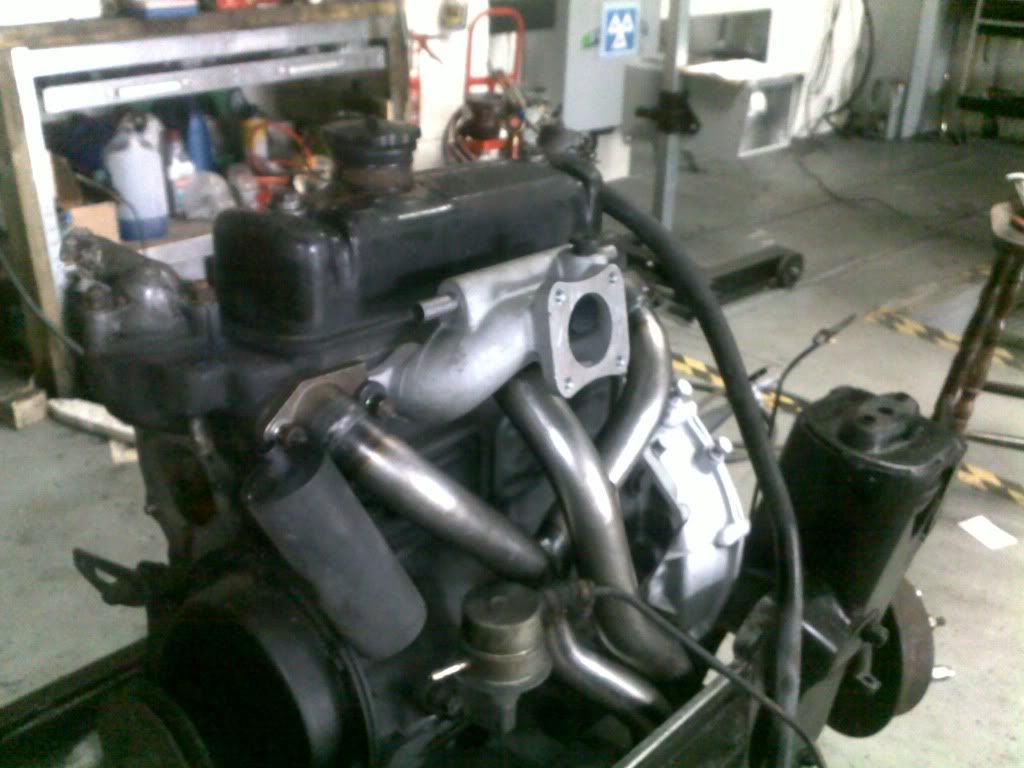
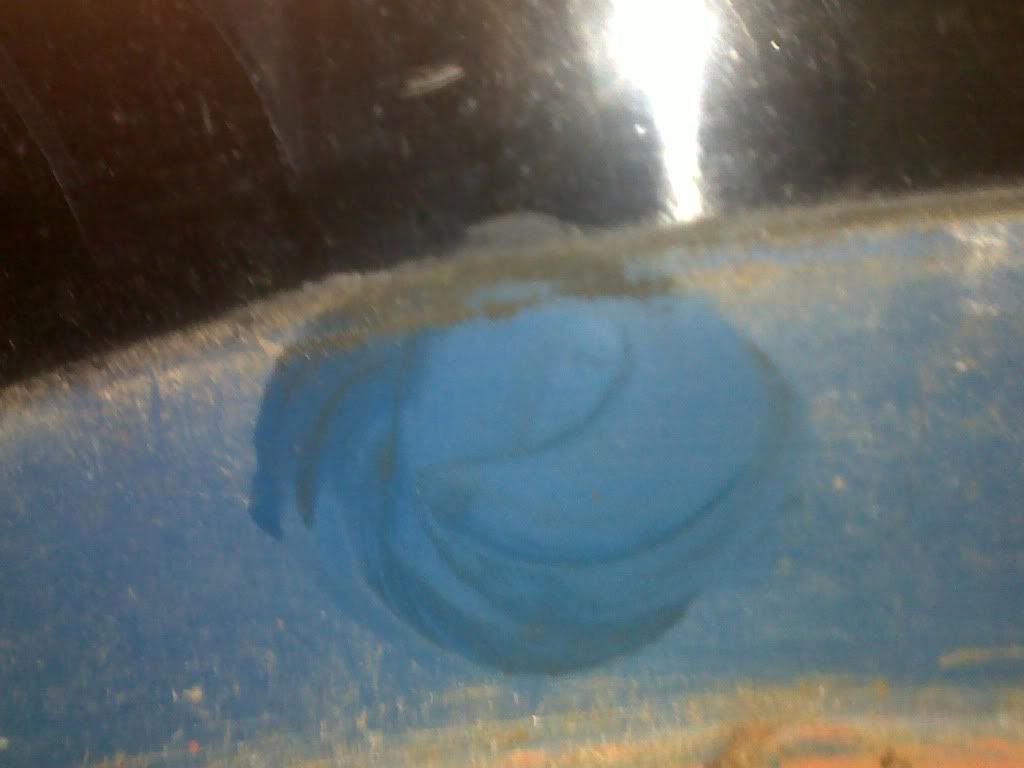
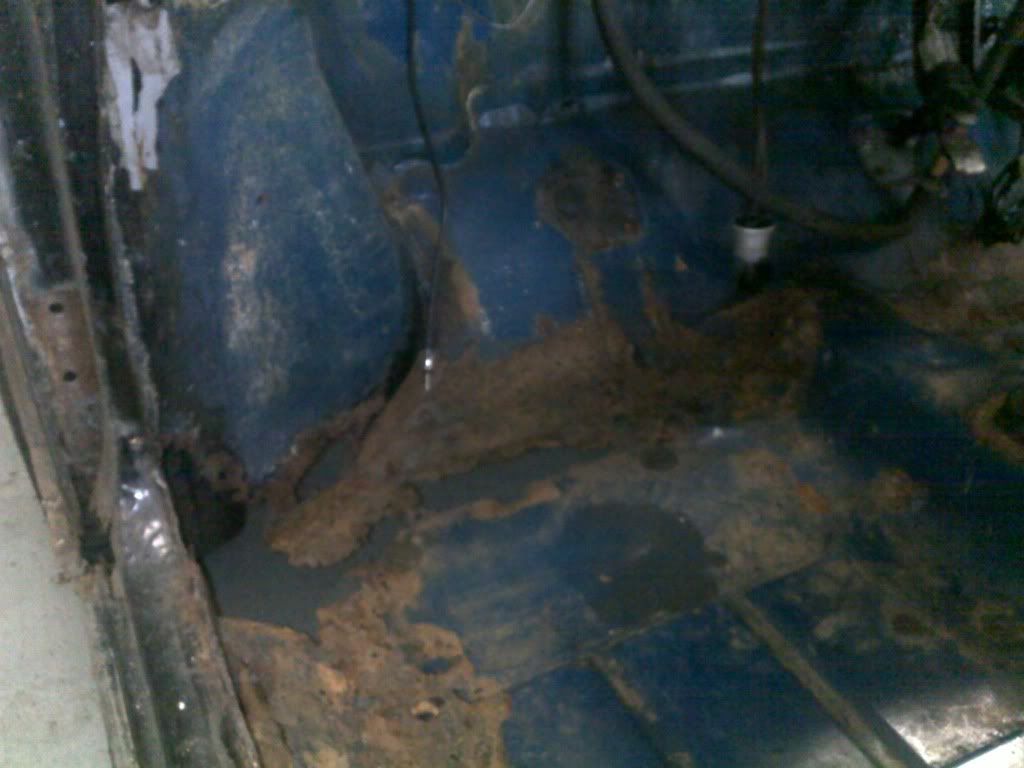
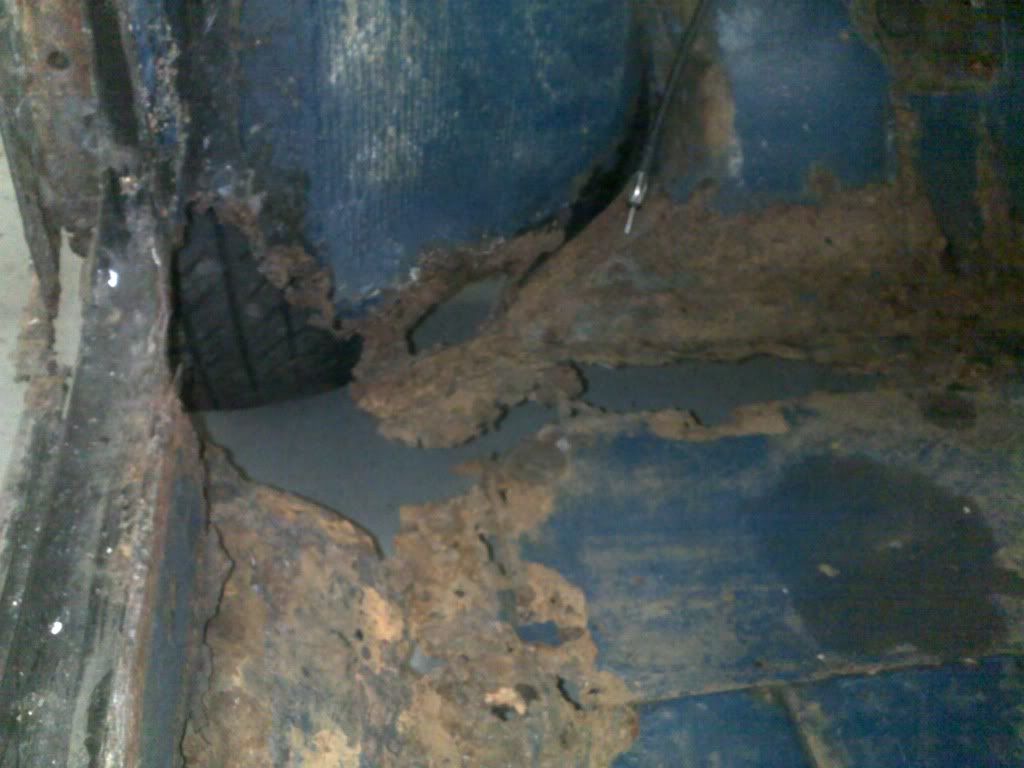
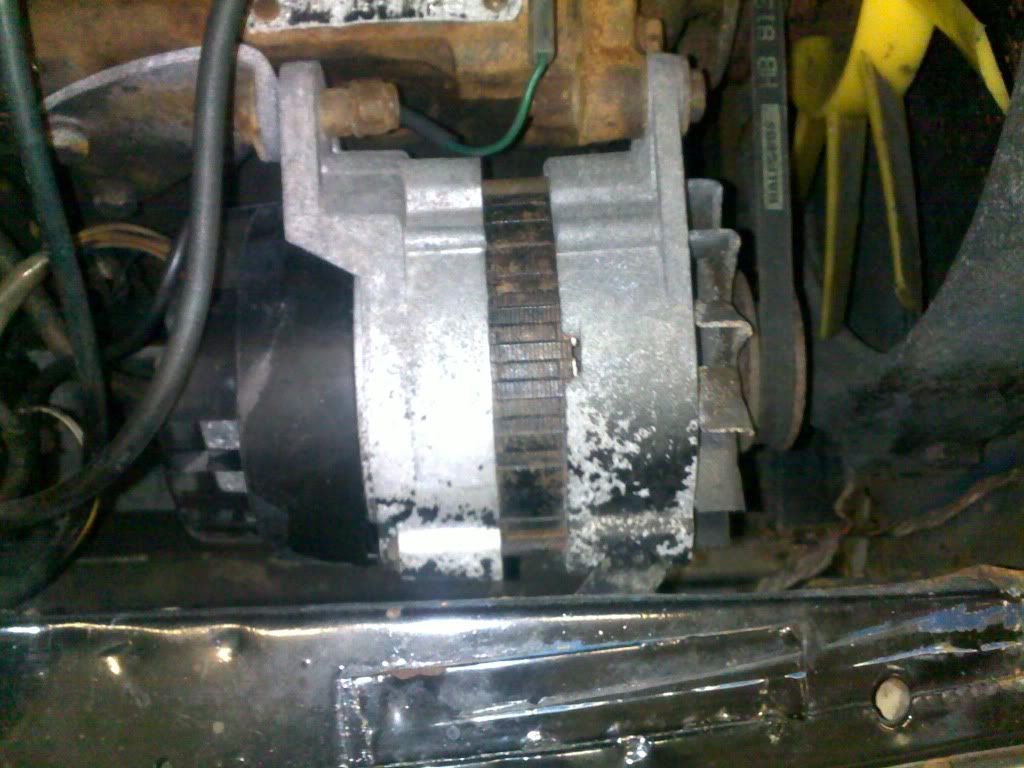
Heres some pictures to keep you busy.
The car as it stands (after having removed the doors)

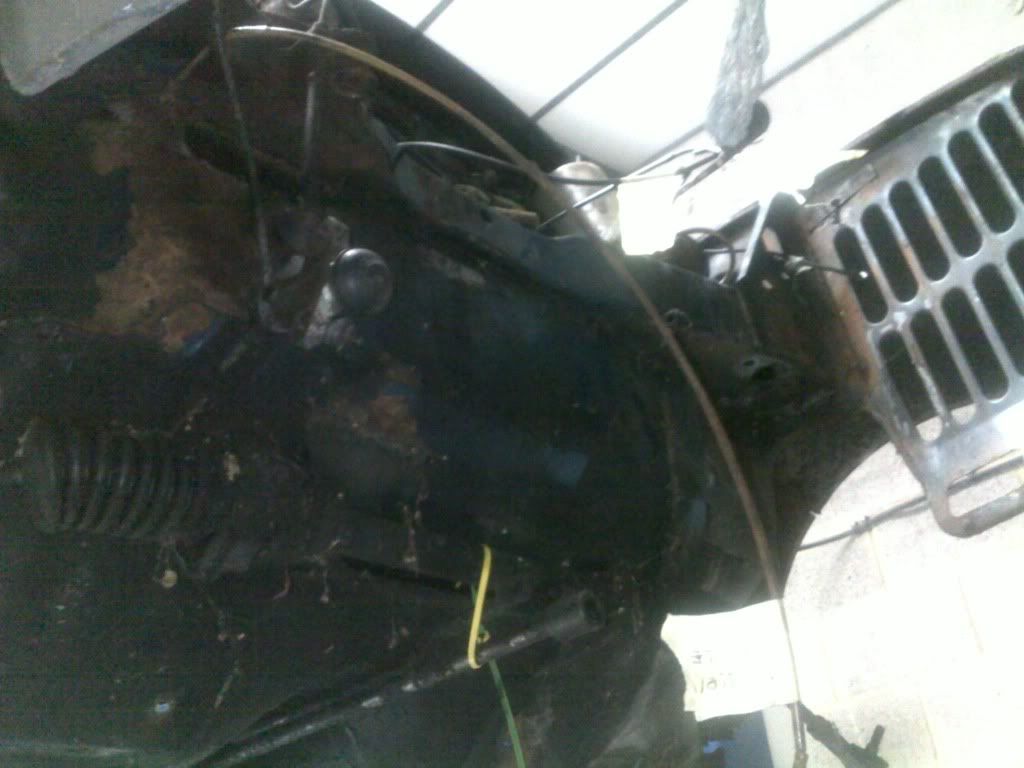
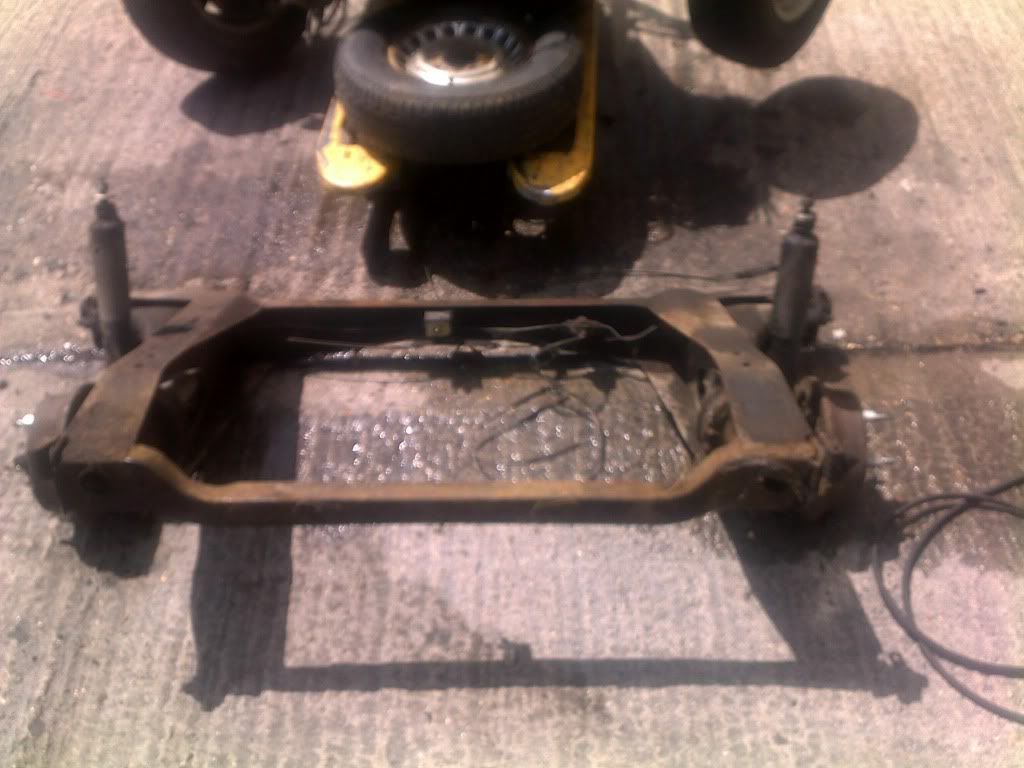
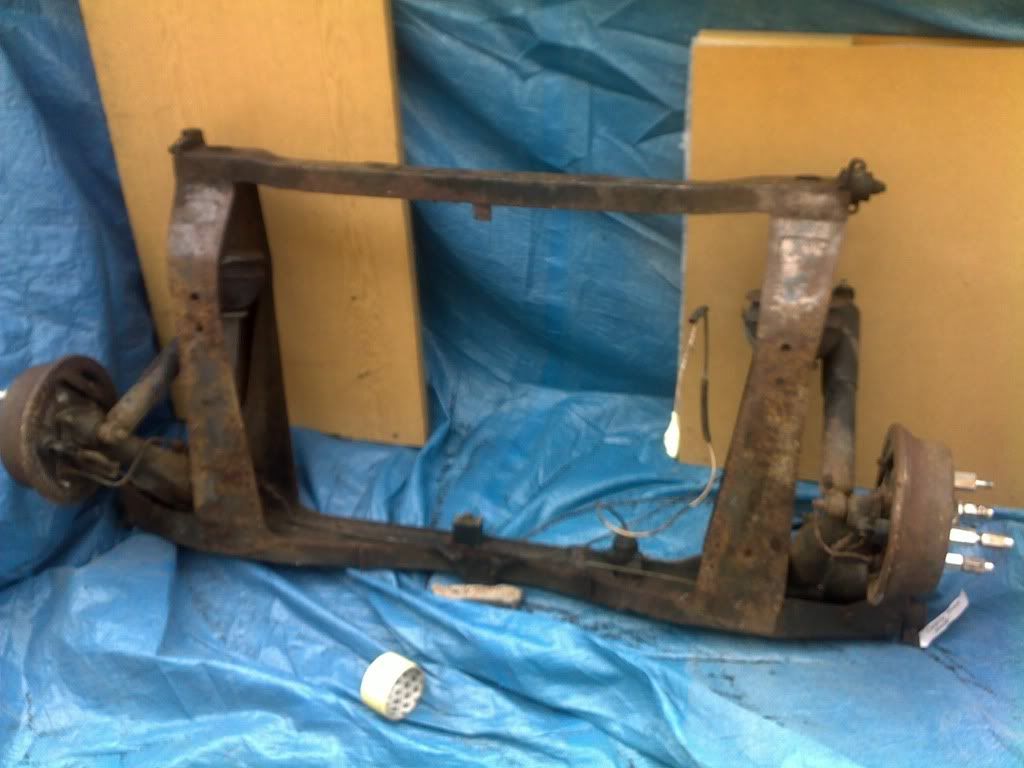
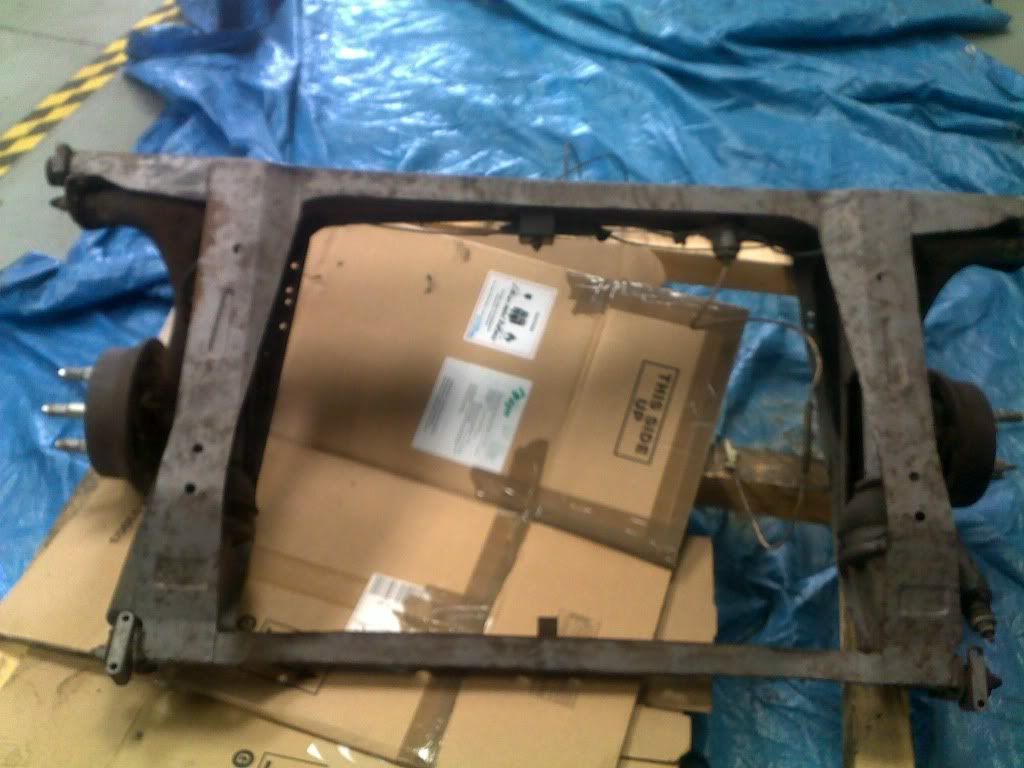
THANKS for looking. I will be dropping both subframes, and sandblasting what isnt rotten tommorow! More pics soon!