Jump to content


Photo

Ford Ka Dash Conversion


  • Please log in to reply
41 replies to this topic

#1 minibarnerz

minibarnerz

    Speeding Along Now

  • Members
  • PipPipPipPipPip
  • 479 posts
  • Local Club: torbay mc, somerset rusteez

Posted 11 February 2011 - 06:19 PM

well, got my dash today and started to try and fit it,

thought i would show my progress as i go, seems to be a bit different and getting a bit more popular.

sorry about the poor quaality of some pics - iphone cameras are *poo*

here is the dash.
Posted Image

as you can see, the dash standard is too wide!
Posted Image

Posted Image

and sits WAY to far forward!
Posted Image

so started by chopping some off the top of the dash, i decided to go with thw whole " easier to take more off, than put it back on" scenario, so was cautious at 1st. thaught maybe i could try to use the KA's de-mister vents, so chopped it just before then...
Posted Image

Posted Image

this then gave me a better idea of where to chop it at the ends.
first lined up the dash to be approx where i willl want it!
Posted Image

then marked where i want it cut off!
Posted Image

Posted Image

then cut!! :/
Posted Image

Posted Image

sits in better now, still sits too far forward tho! so more precise fitting tomorrow, ran out of daylight today!! :thumbsup:

#2 h4wx1e

h4wx1e

    Super Mini Mad

  • Members
  • PipPipPipPipPipPip
  • 553 posts
  • Local Club: sutton mini club

Posted 11 February 2011 - 07:55 PM

it will catch the heater at the middle of the tear drop bit on the inside of the drivers footwell mate, and the bottom dash rail will catch in places like the pocket on the left hand side. are you going to mod the gear lever?

#3 Ju Boy!

Ju Boy!

    Speeding Along Now

  • Members
  • PipPipPipPipPip
  • 325 posts
  • Local Club: The Beaminster Mini Massive!

Posted 11 February 2011 - 08:03 PM

love this! i have a KA dash sat in my shed for almost 3 years now! :thumbsup: and i still havent tryed fitting it yet! but because of this i might jet give it a go! top work keep it up :D

#4 minibarnerz

minibarnerz

    Speeding Along Now

  • Members
  • PipPipPipPipPip
  • 479 posts
  • Local Club: torbay mc, somerset rusteez

Posted 11 February 2011 - 09:24 PM

I haven't got a heater in me car as it was a hill-climber b4 I got it!! Think wen it comes around to putting one back in i will investigate n work my fabrication skills at that time!

I know it needs more trimming, I will get back to it tomorrow with the rest ofthe fitting guide!! (this is my 1st attempt so your all gonna see what it's like rather than some1 who doneit loads of times makin it look simple!!) haha

#5 minibarnerz

minibarnerz

    Speeding Along Now

  • Members
  • PipPipPipPipPip
  • 479 posts
  • Local Club: torbay mc, somerset rusteez

Posted 12 February 2011 - 01:23 PM

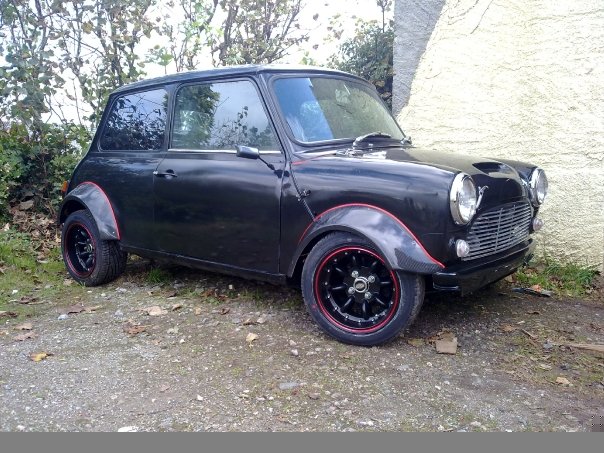
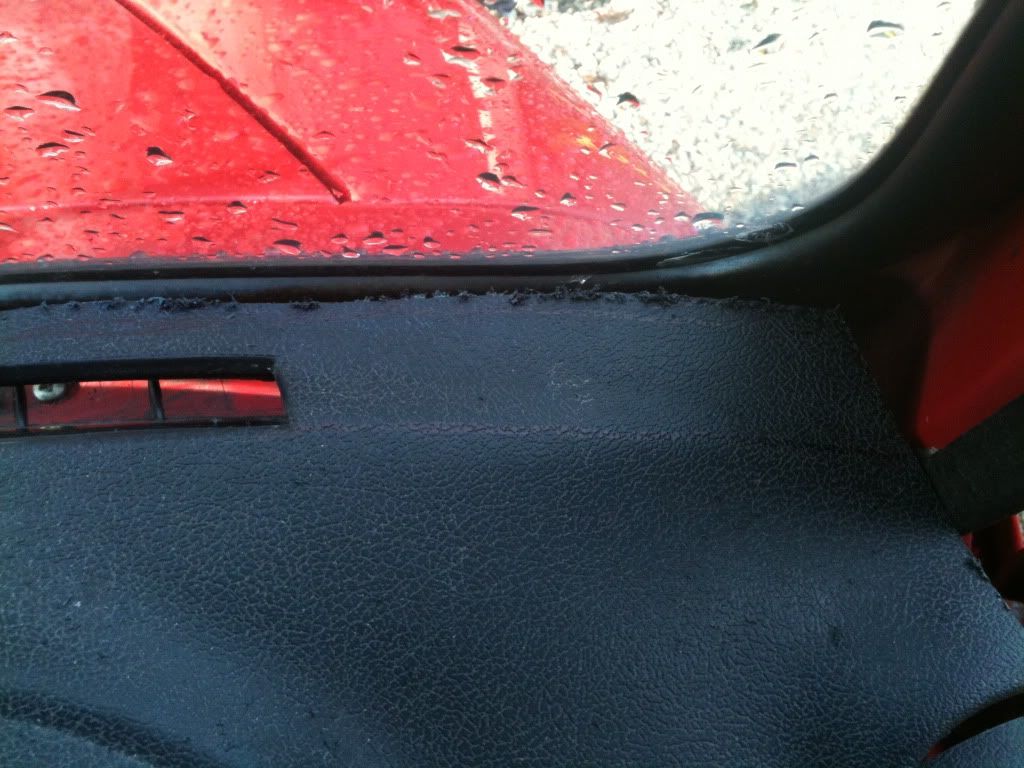
how it was sitting yesterday evening when i finished with it
Posted Image

obviously how you want it to sit is going to be completely dependent on personal choice, will be different for everyone, depending on your hight, seat type and personal preferance!
but i felt this was still too far forward! line of sight to the speedos was completely off for me and my knees would b hitting the cowling under the steering wheel!

so again marked off on the top of the dash, still on side of caution where i would cut it....
Posted Image

and cut it... decided to show both pieces i cut off, so you can see the total amount!
Posted Image

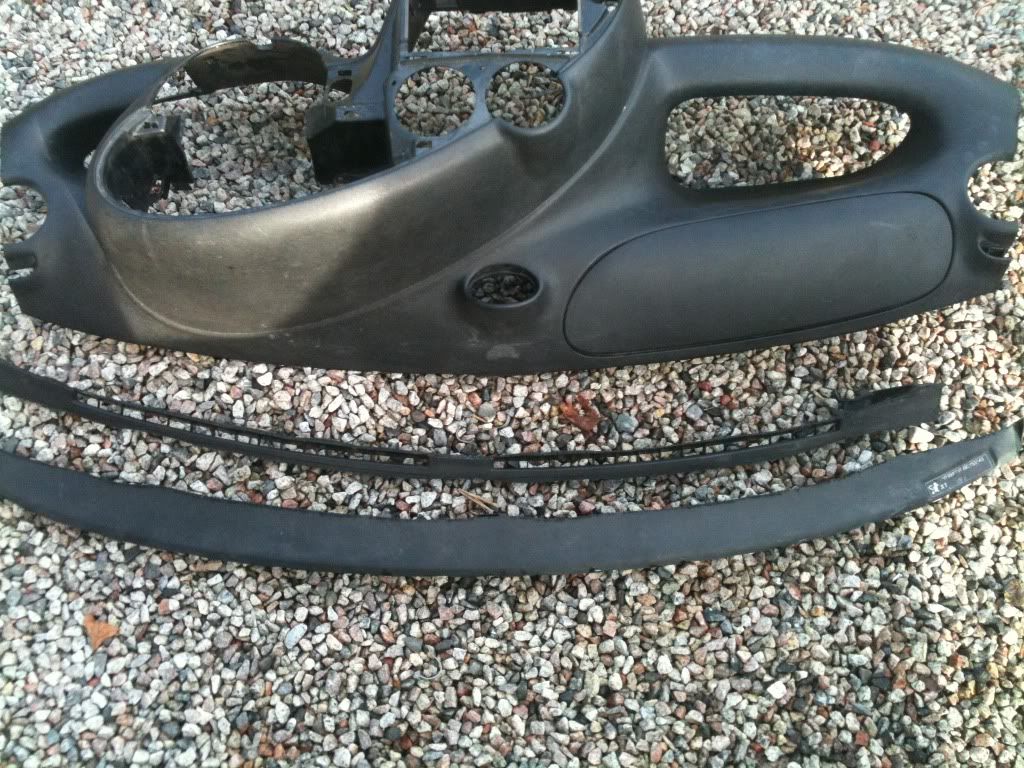
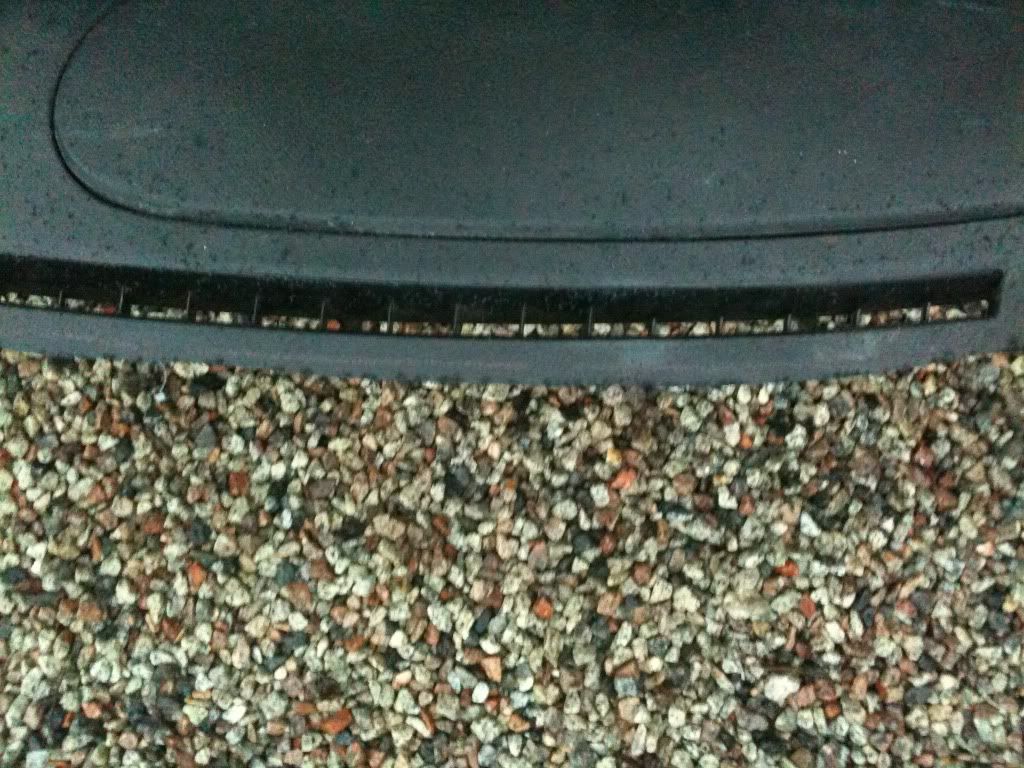
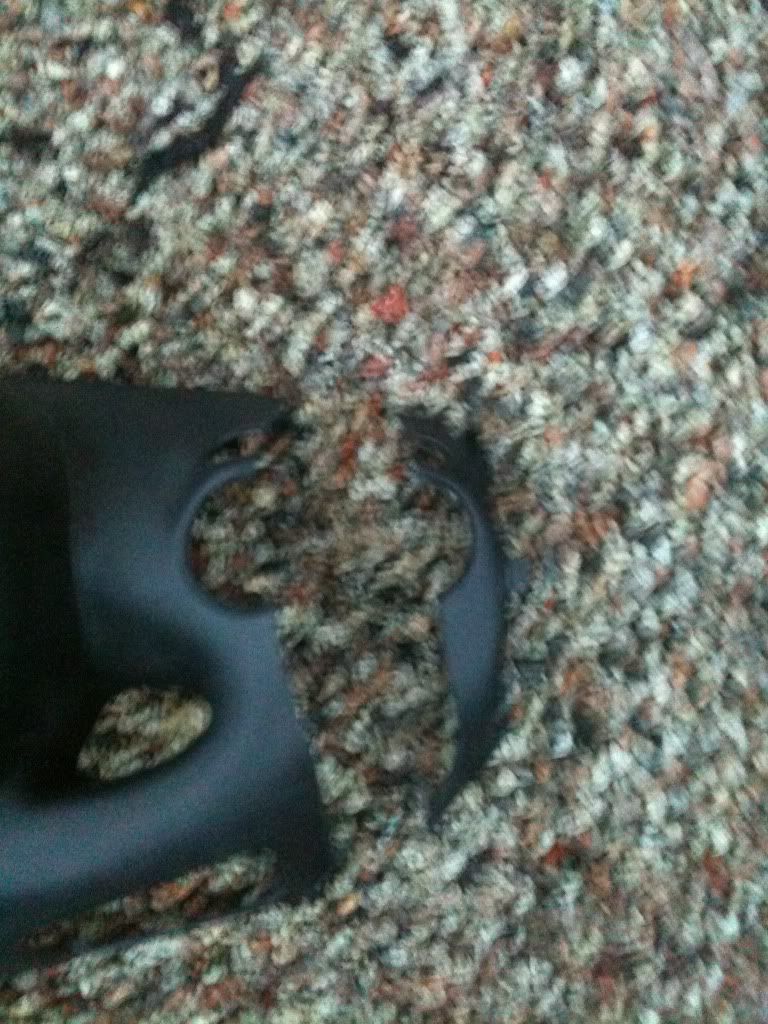
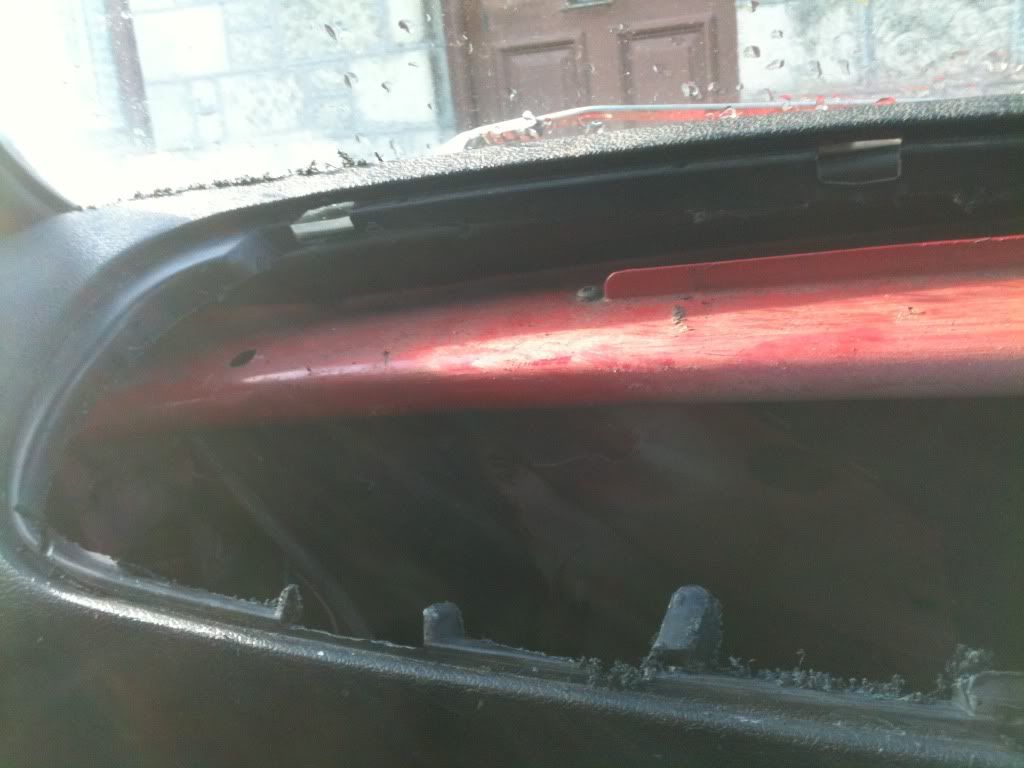
this meant that the vents for the de-mister are now covered up, so will have to do something about that later!
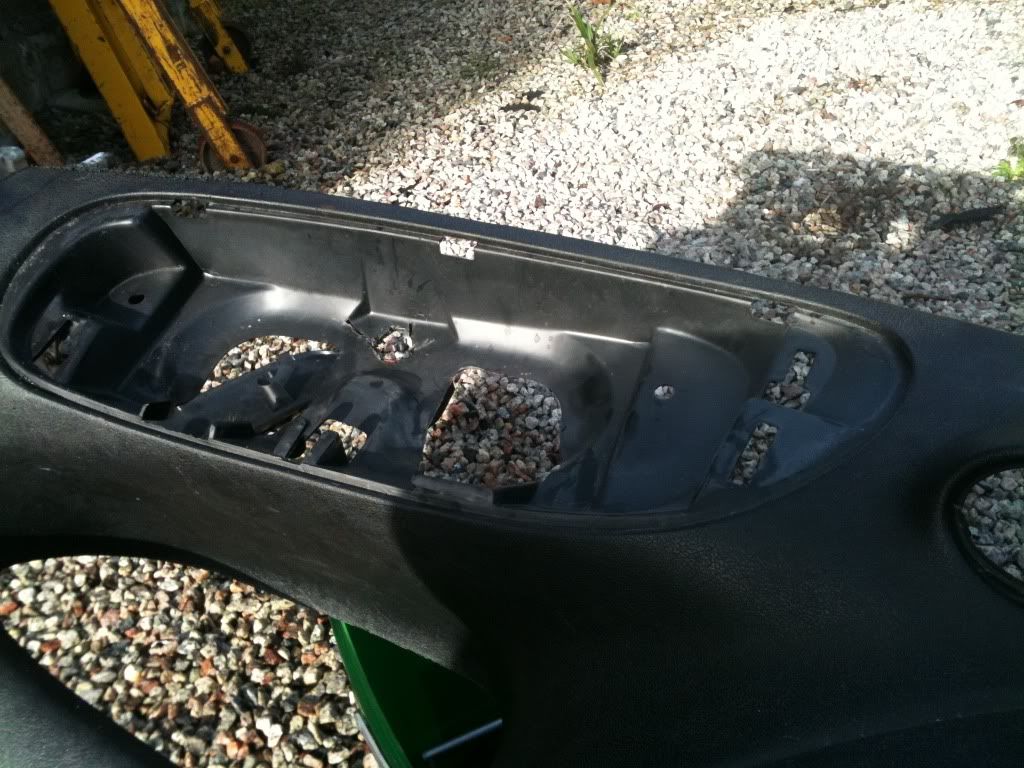
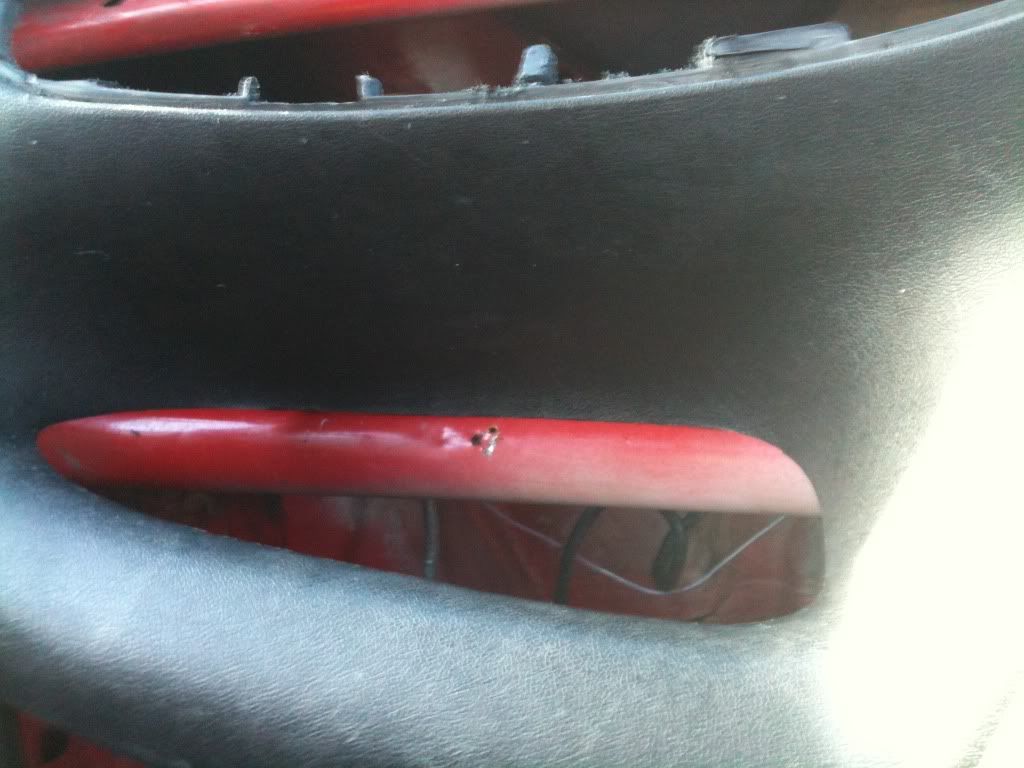
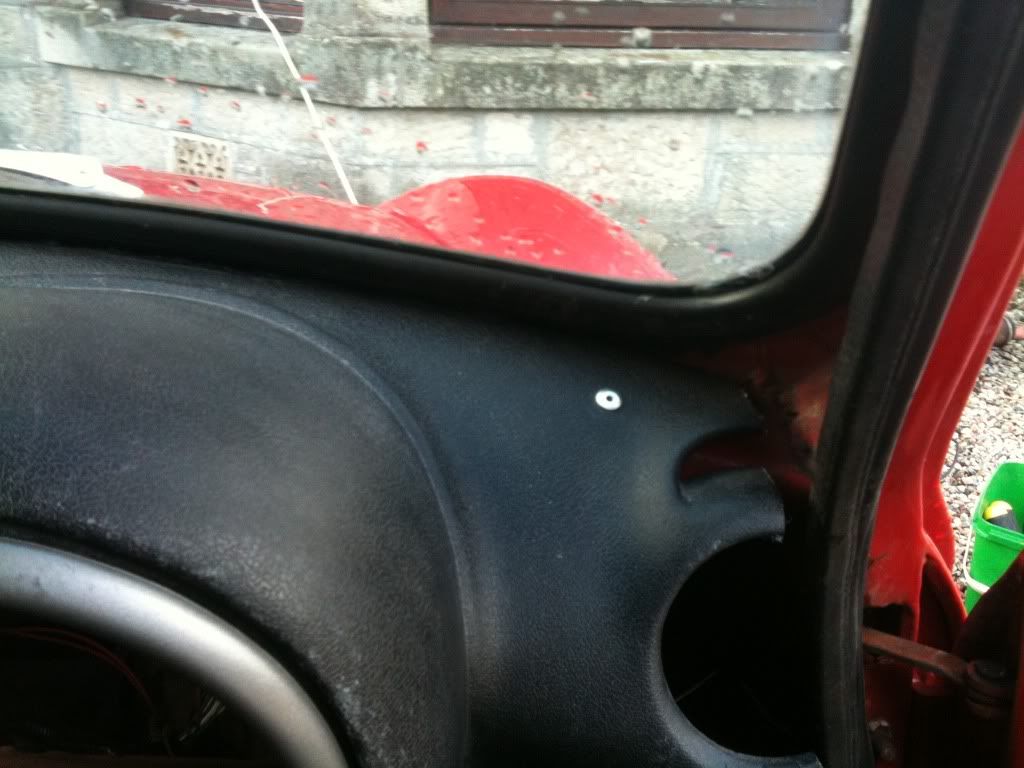
also now the dash is sat further forward, the plastic on the underside of the dash needs to be removed, it suppied air for the vents etc and also this compartment (im guessing airbag for up-market models?!?)
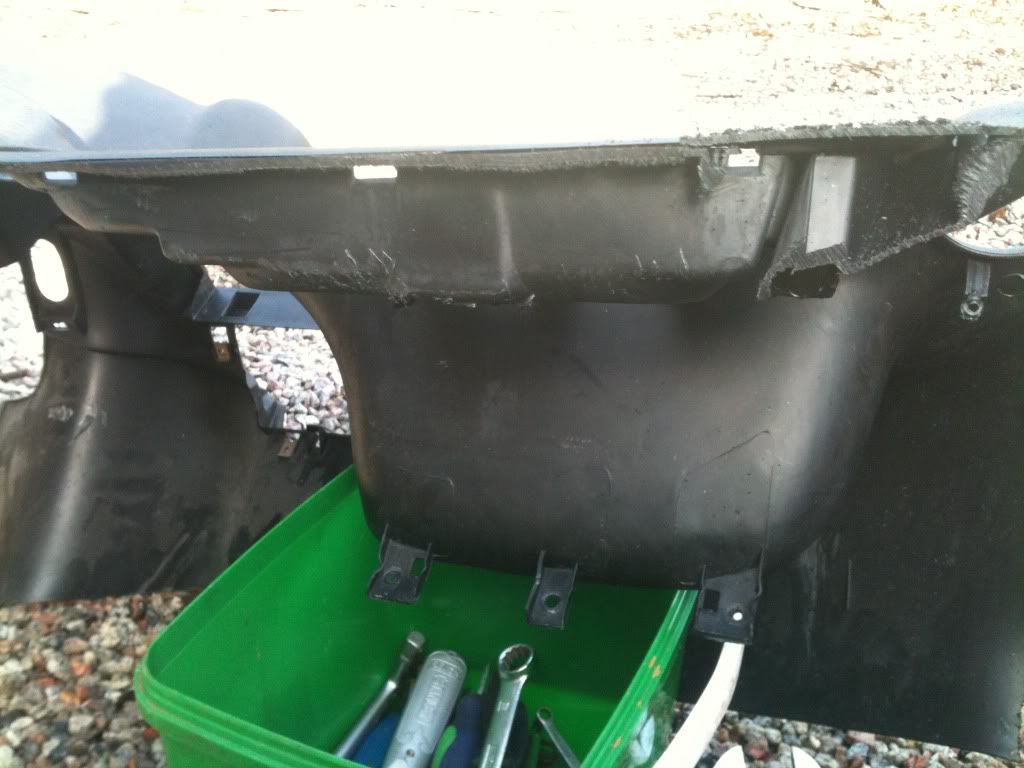
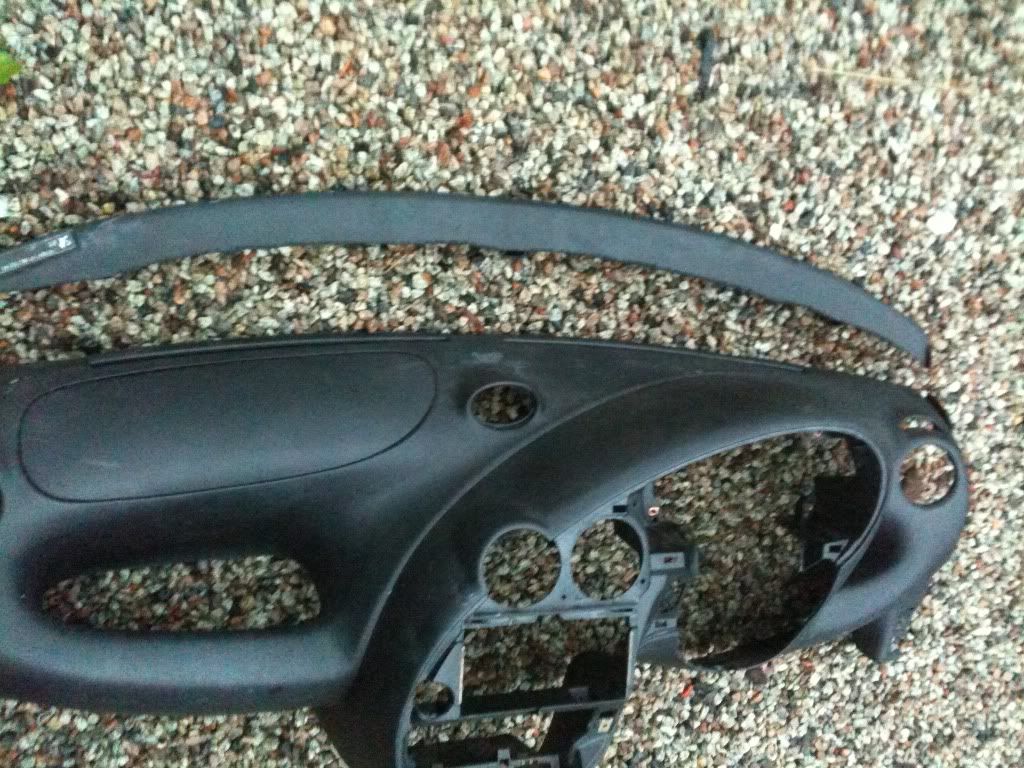
Posted Image
Posted Image
here it is all off
Posted Image
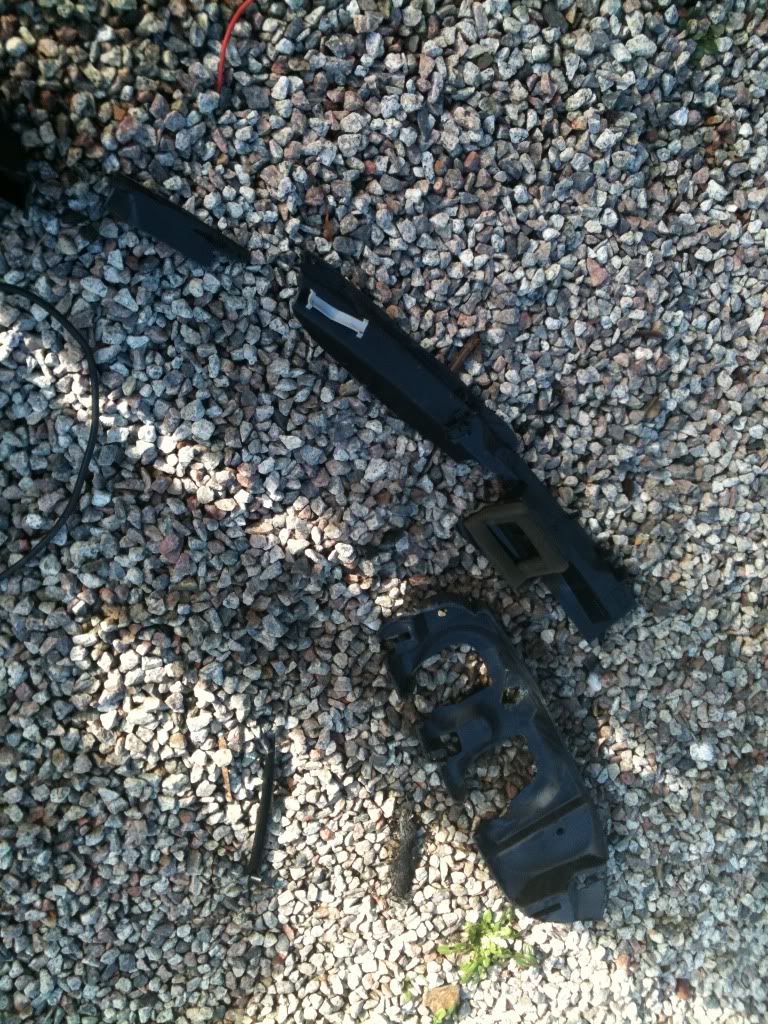
this is a pic of the back of the dash with all the bits removed (alot of it was just glued on)
Posted Image

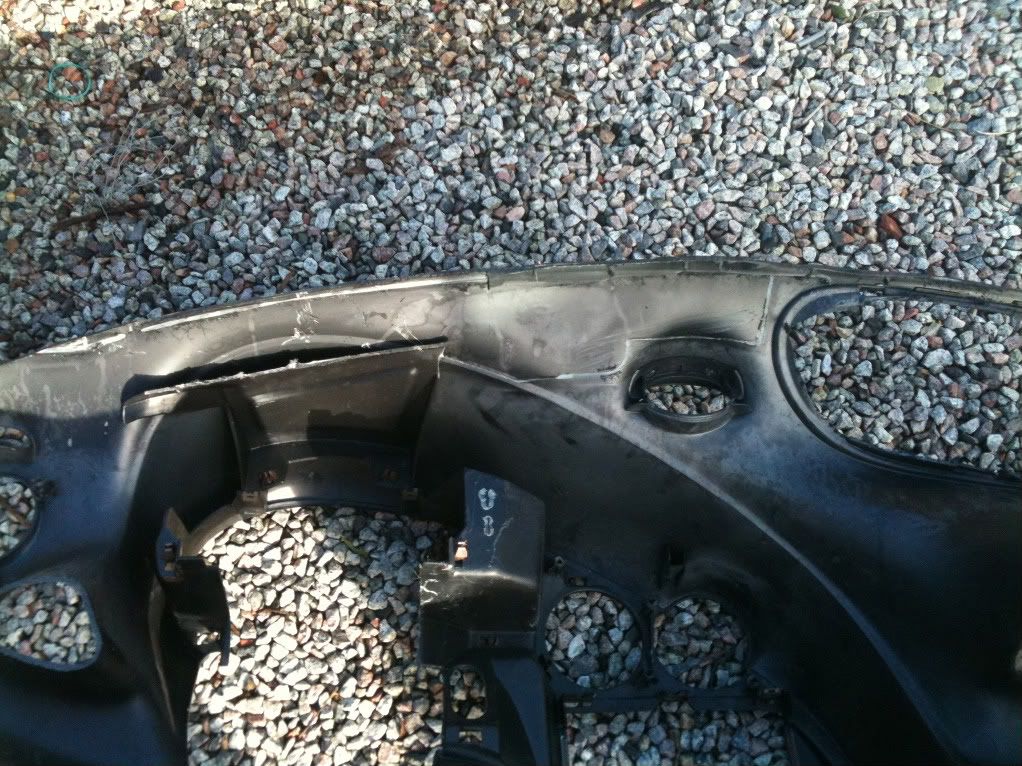
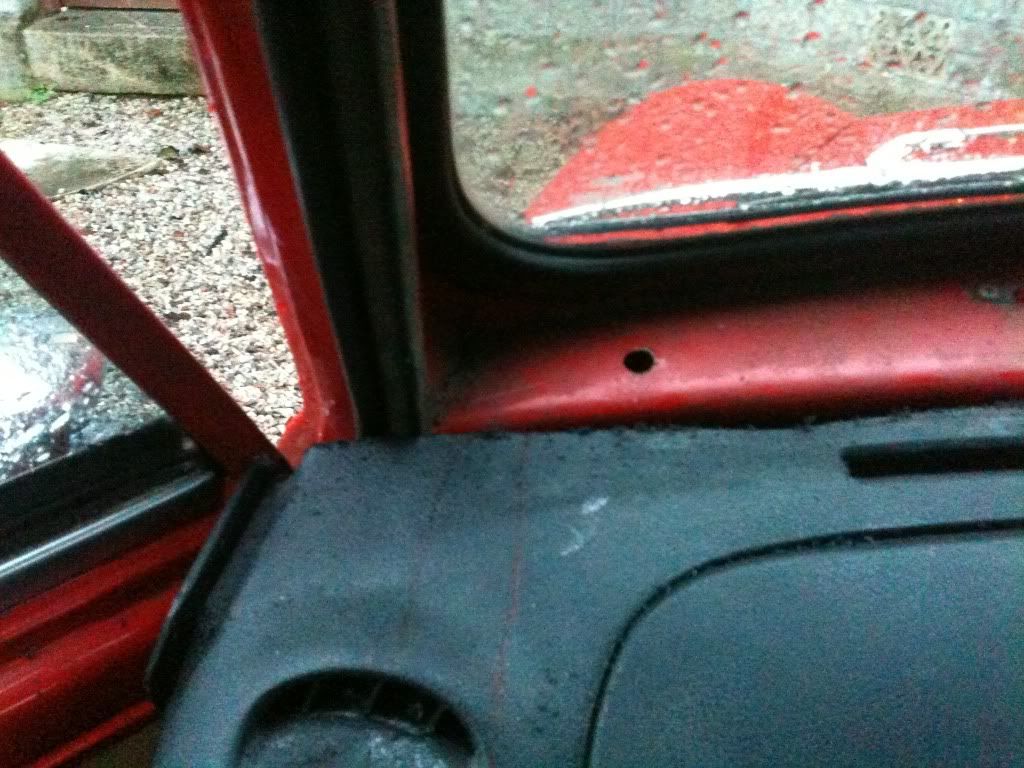
now i re-fitted the dash, it sits alot better possision but now the glove department hits on the lower dash rail, causing the top corner to lift up.
Posted Image
Posted Image
Posted Image
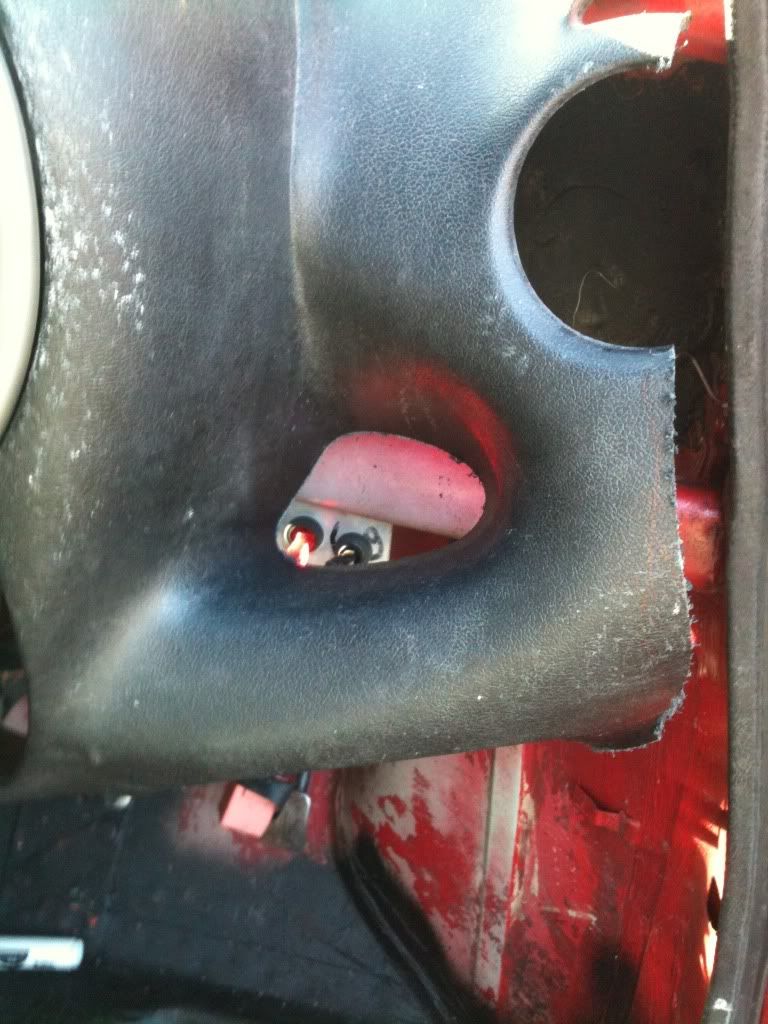
also this small compartment the other side of the dash also hits so got cut out.
Posted Image

so again, marked where it needed to be cut, and removed more plastic!
Posted Image

it now sits well, and find the dash pod is quite well lined up!
Posted Image
Posted Image

so i temporaraly held it in place just with a rivet in each top corner...
Posted Image
Posted Image

at this point decided to leave it for today... but when i came inside wondered if the mini clocks would fit inside the Ka dash pod...
Posted Image
looks like i might be able to do something with this....
this is how its looking so far:
Posted Image
Posted Image
but for now, its going to have to wait, apparently there is a rugby match about to start!! :P come on England!! :(

#6 minibarnerz

minibarnerz

    Speeding Along Now

  • Members
  • PipPipPipPipPip
  • 479 posts
  • Local Club: torbay mc, somerset rusteez

Posted 12 February 2011 - 01:33 PM

clearance of the steering wheel on the dash pod can also be an issue, mine is dished but still not too much gap!
Posted Image

#7 walkersky

walkersky

    Passed Test

  • Banned
  • PipPip
  • 34 posts

Posted 13 February 2011 - 02:22 PM

good work, keep it up

#8 blue blood

blue blood

    One Carb Or Two?

  • Members
  • PipPipPipPipPipPipPip
  • 806 posts

Posted 13 February 2011 - 02:52 PM

clearance of the steering wheel on the dash pod can also be an issue, mine is dished but still not too much gap!
Posted Image

Should get a stainless longer steering wheel drop bracket i know tomkidd has one more left. If your quick you could buy it it would lower the steering wheel and give a larger gap between dash and wheel :).

I've got one on the last page of my current build if you want to have a look:-
http://www.theminifo...howtopic=174924

Regards Blue

#9 minibarnerz

minibarnerz

    Speeding Along Now

  • Members
  • PipPipPipPipPip
  • 479 posts
  • Local Club: torbay mc, somerset rusteez

Posted 13 February 2011 - 03:43 PM

it already is dropped... its just that tight!! :)

decided to see about fitting my dials today. started with the Rev counter.
saw that H4wx1e had fitted his in the air vent closest to his dash, but i found that this would be obscured by my steering wheel so gonna try fitting it in the other one.

i had to cut back some of the casing of the dial due to curve of the dash, then with some very rough fibreglassing held it in place. gonna try it there n see what its like, might end up moving it!
if its ok will attatch it better! :P

Posted Image
Posted Image

#10 h4wx1e

h4wx1e

    Super Mini Mad

  • Members
  • PipPipPipPipPipPip
  • 553 posts
  • Local Club: sutton mini club

Posted 13 February 2011 - 04:33 PM

looking good mate :)

#11 superman

superman

    One Carb Or Two?

  • Traders
  • PipPipPipPipPipPipPip
  • 736 posts
  • Local Club: Dorset Mini Club

Posted 14 February 2011 - 10:04 AM

clearance of the steering wheel on the dash pod can also be an issue, mine is dished but still not too much gap!
Posted Image

Should get a stainless longer steering wheel drop bracket i know tomkidd has one more left. If your quick you could buy it it would lower the steering wheel and give a larger gap between dash and wheel :thumbsup:.

I've got one on the last page of my current build if you want to have a look:-
http://www.theminifo...howtopic=174924

Regards Blue


I cut around the curved section which houses the dials and switches then sunk it back into the rest of the dash about 3 inch to give more clearance for the the steering wheel and gear lever as i thought it was a bit close,
the dashboard took over 40hrs work of cutting, plastic welding and poprivets after all that work i took it out and lobbed it the back of the shed, turns out i didn't like the look of it in the shortie

#12 Dan16v

Dan16v

    Speeding Along Now

  • Members
  • PipPipPipPipPip
  • 370 posts

Posted 14 February 2011 - 07:13 PM

It looks like you have cut in exactly the same place as mine, apart from the right hand vent, which I managed to keep on there (bit tight against the door though)

I found a bit of drain pipe cut in half made a good cover for the dash rail on the passenger side, I could then keep the small glove box thing in there.

Edited by panelbeaterpeter, 24 April 2011 - 03:19 PM.
No need to quote half a page of photo's.


#13 mini-myles

mini-myles

    On The Road

  • TMF+ Member
  • PipPip
  • 35 posts

Posted 21 February 2011 - 06:39 PM

This is starting to look good. Keep us updated. Might use your idea in my project :-

#14 Dan6061

Dan6061

    One Carb Or Two?

  • Members
  • PipPipPipPipPipPipPip
  • 761 posts
  • Local Club: -

Posted 25 February 2011 - 10:20 PM

Been waiting for one of these threads for ages!
Definately something I'm going to do with mine when it goes off the road for it's full re-build. :lol:

#15 Dan6061

Dan6061

    One Carb Or Two?

  • Members
  • PipPipPipPipPipPipPip
  • 761 posts
  • Local Club: -

Posted 25 March 2011 - 11:19 AM

Any progress with this?


1 user(s) are reading this topic

0 members, 1 guests, 0 anonymous users