Since then we've had one successful year drawing crowds wherever we've taken the car, in one way or another it seems to appeal to everyone. We've attended all sorts of events from Mini Shows, Classic Car Shows and Pistonheads meets along side million pound Hypercars. When you pull up at an event and the crowd walk away from a Ferrari Enzo to see the 'old mini' that turns up, you know you've created something special.
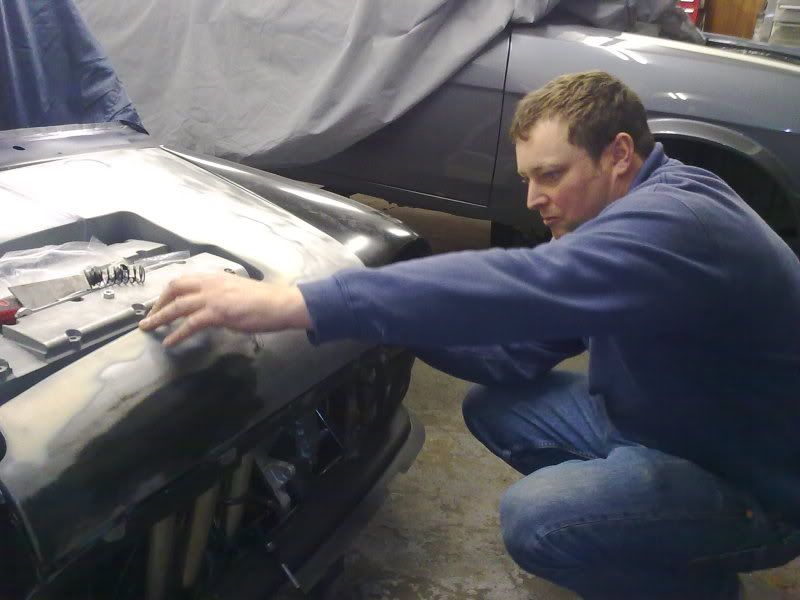
Yes the car has one multiple trophies, had 2 Magazine covers, but its all credit to the team of people who spent 2 years building it. During the build we didn't really have time to post up, plus we wanted to keep it top secret so that we could hit last years show scene with a bang, which we did! Skunkworkz, Chris, Danny, myself and a load of other mates worked very hard as you will appreciate below.
We've included as much as possible without giving everything away.
Firstly, lets answer the main frustrating questions of 2010
Is it all Carbon Wrap Vinyl?
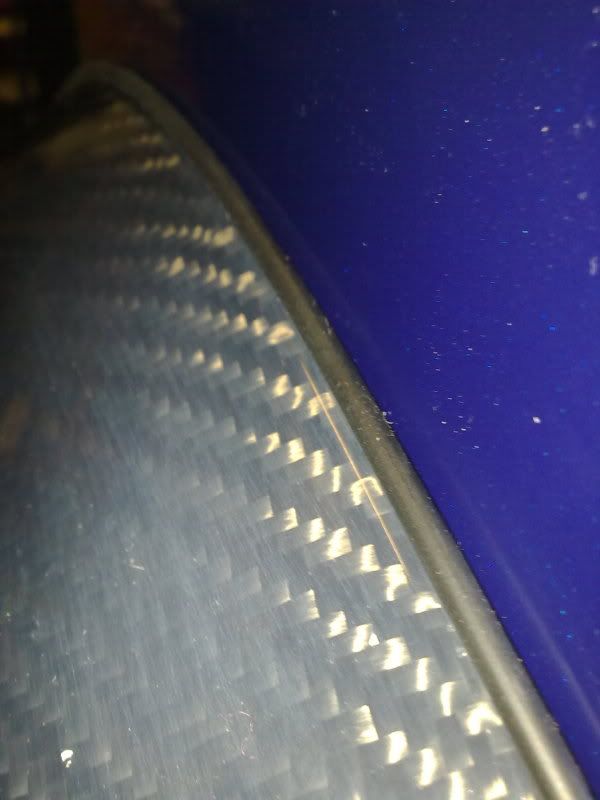
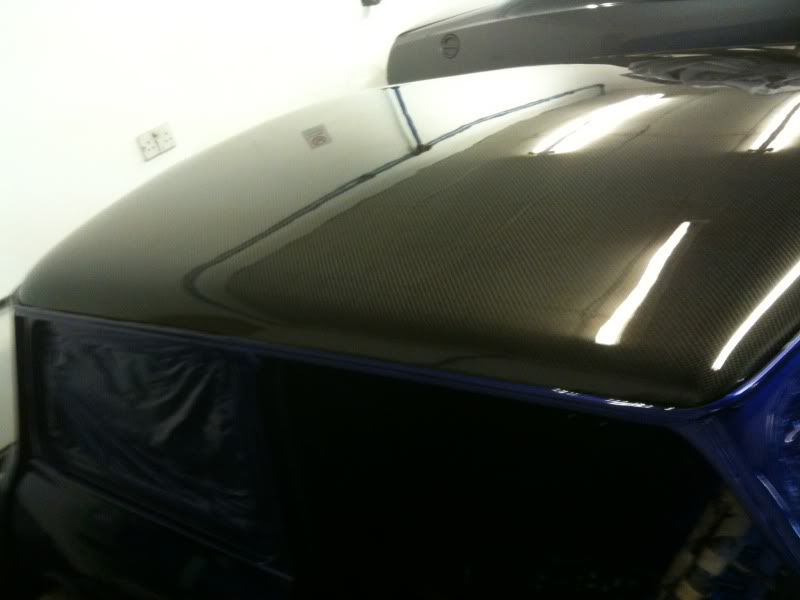
afraid not, all real Carbon Fibre
How much is the front extended by?
its not, standard length roundnose
Is it Fibreglass?
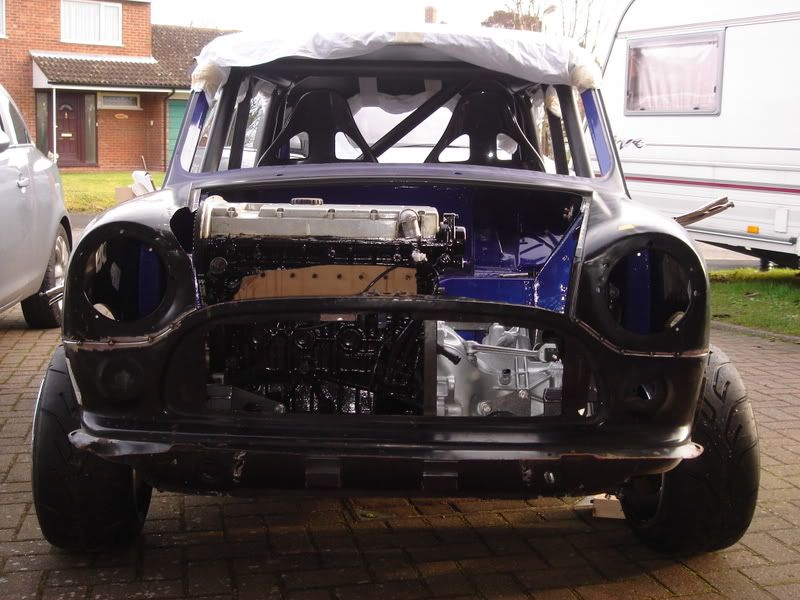
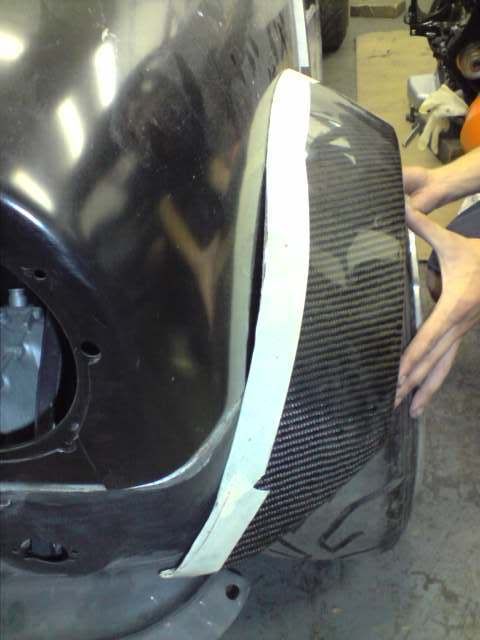
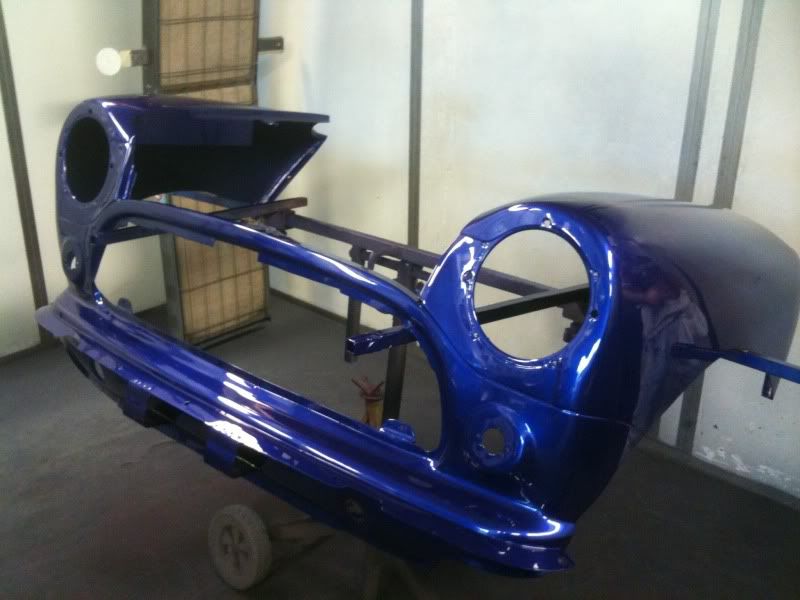
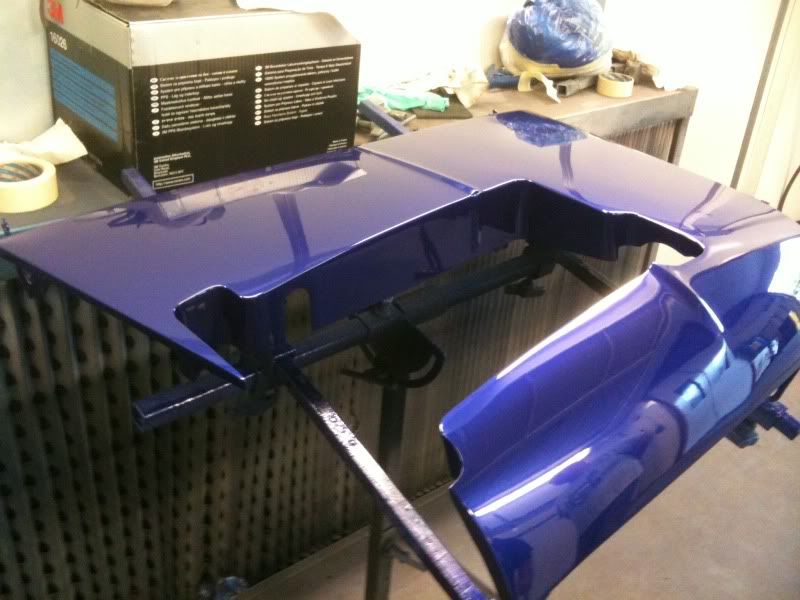
nope, all metal panels apart from the Carbon Fibre. The front is a 1 piece removable aswell
Where's your Zeus Fasteners?
we hate them, all our fixings are hidden
Is it a VTEC?
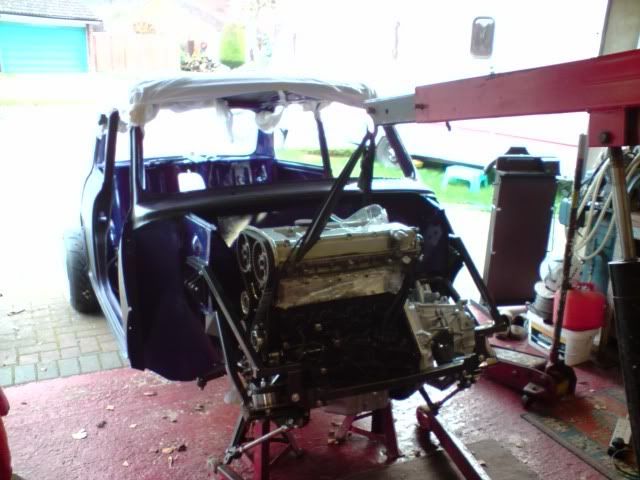
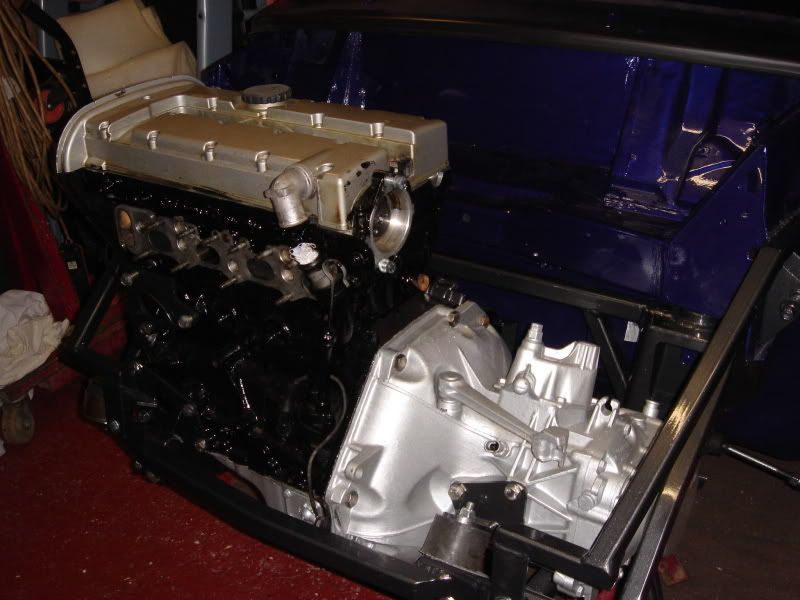
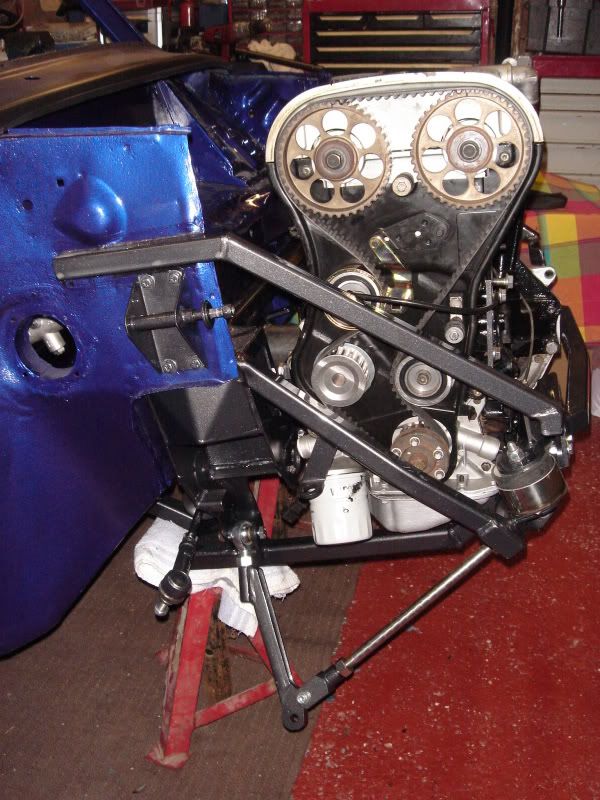
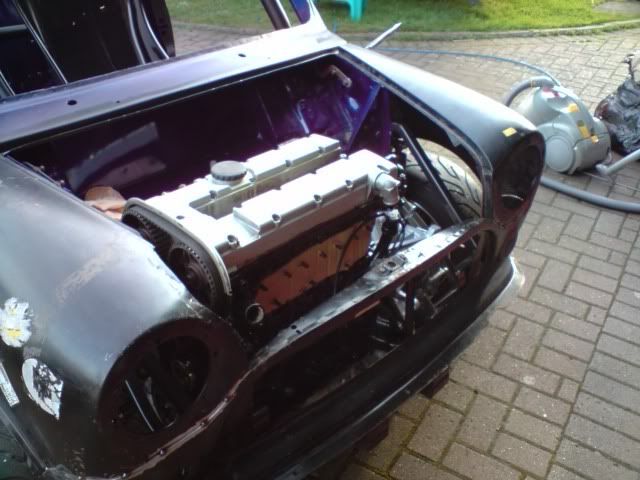
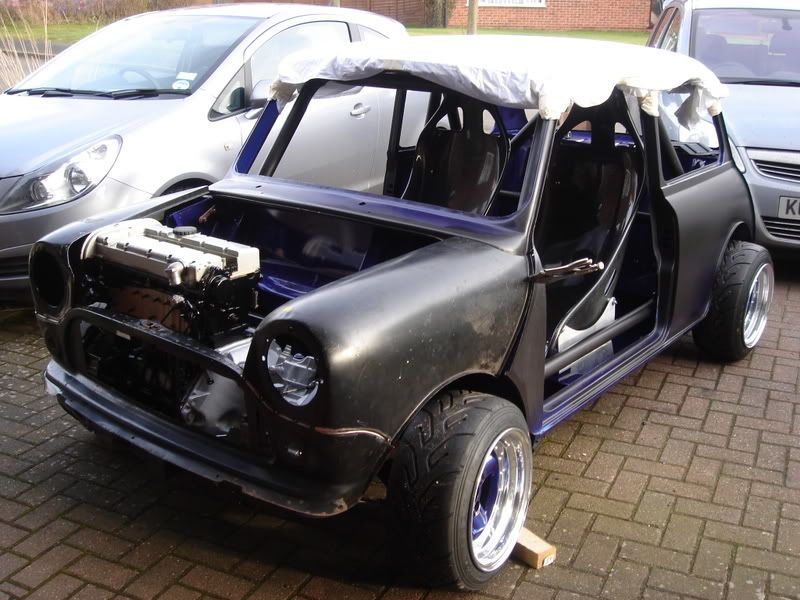
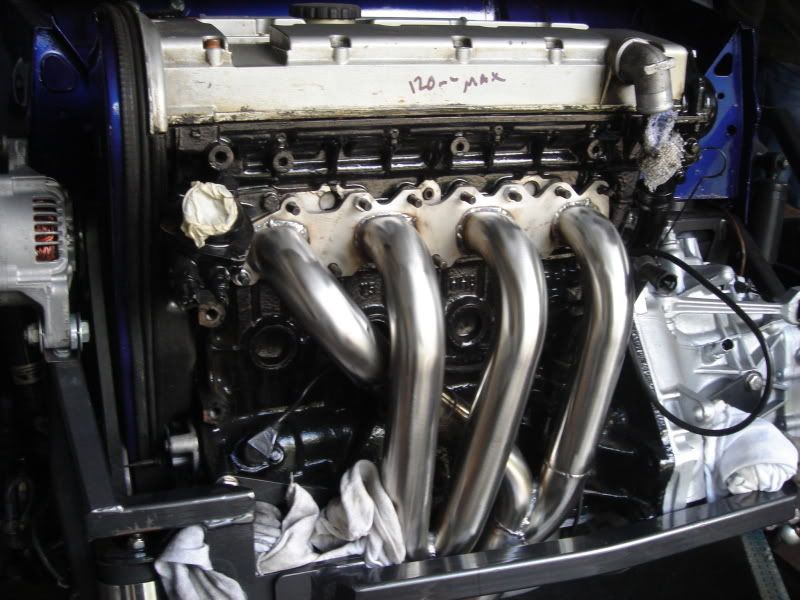
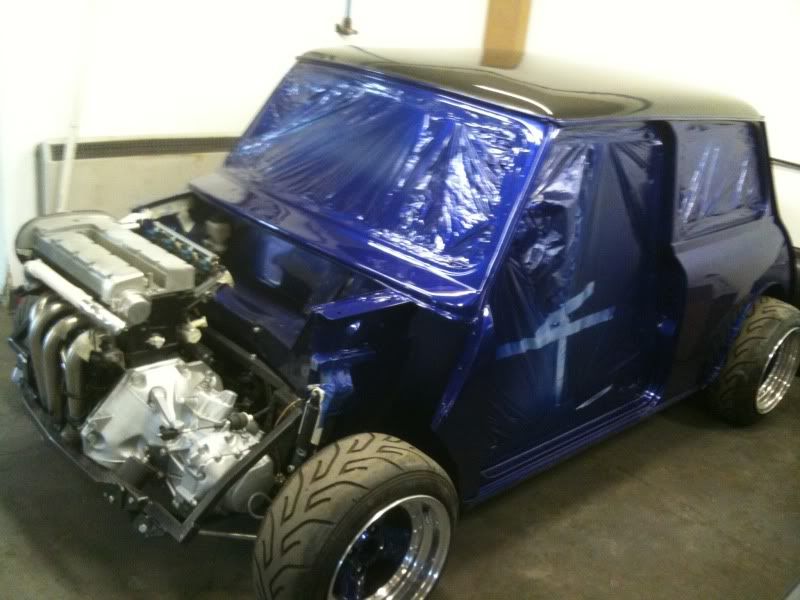
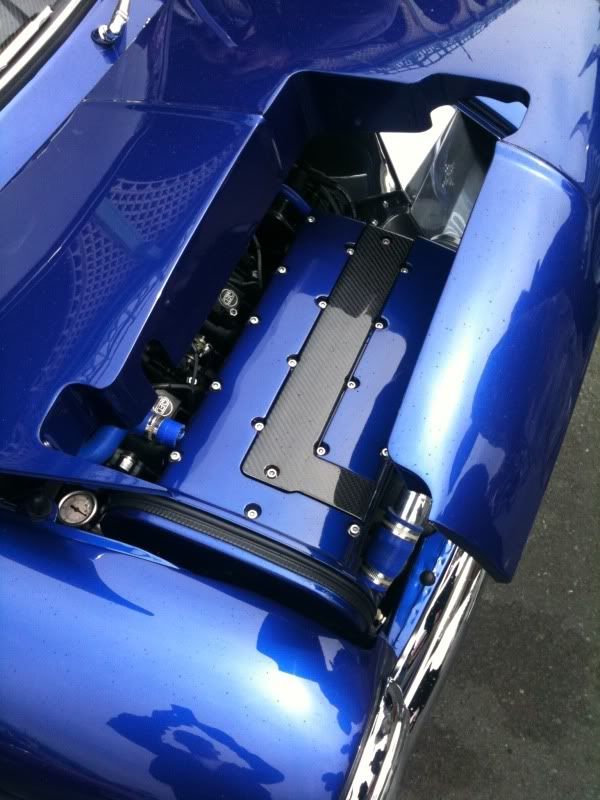
nope its an Vauxhall 2.0L 16v XE, this was partly because of our background and because i work for Vauxhall HQ
We hope this clears up any confusion
 )
)Breif history is it was my Grandfathers car from new in 1972, it stayed in the family until 1991 when I sold it after my little appearance in Miniworld May 1995.
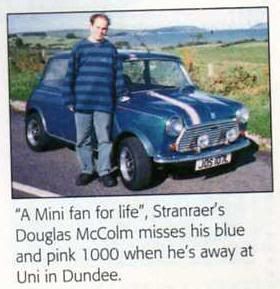
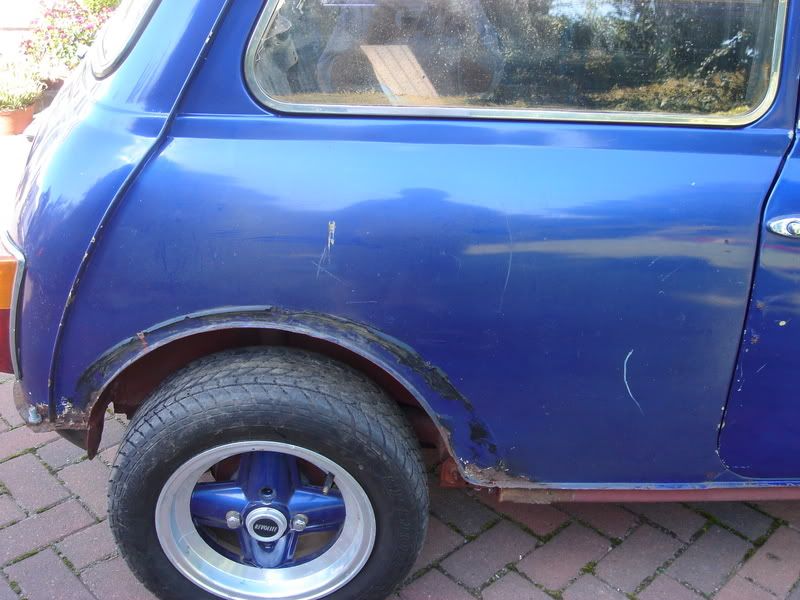
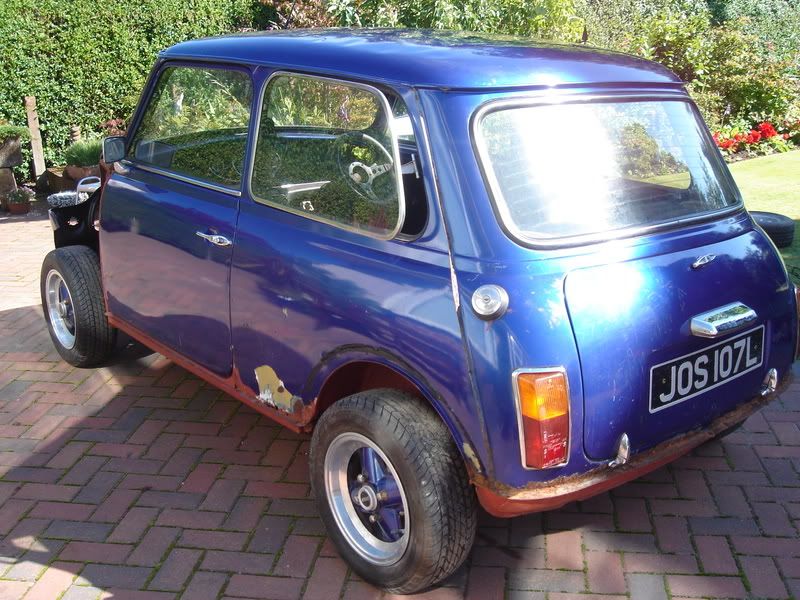
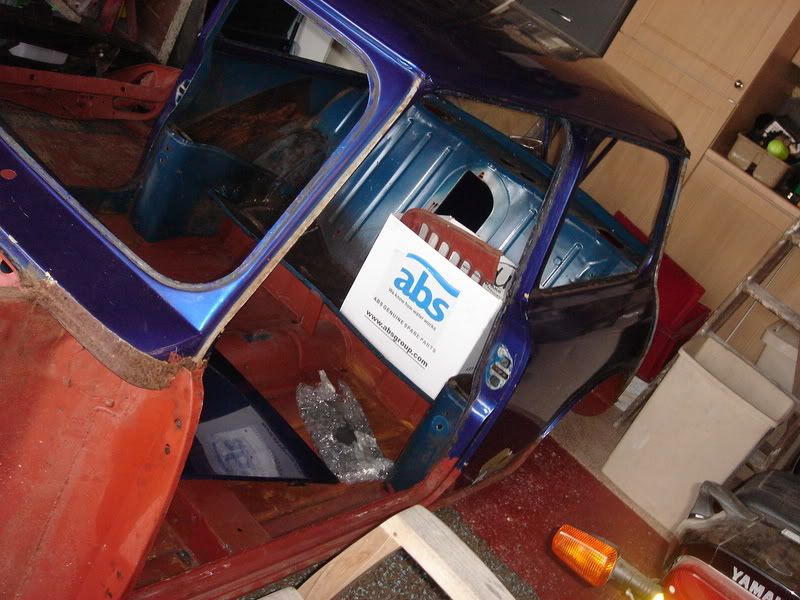
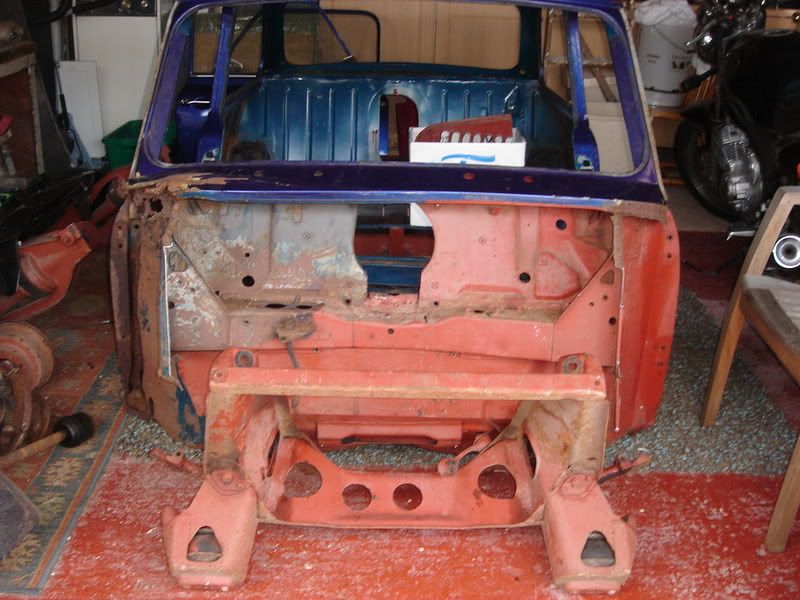
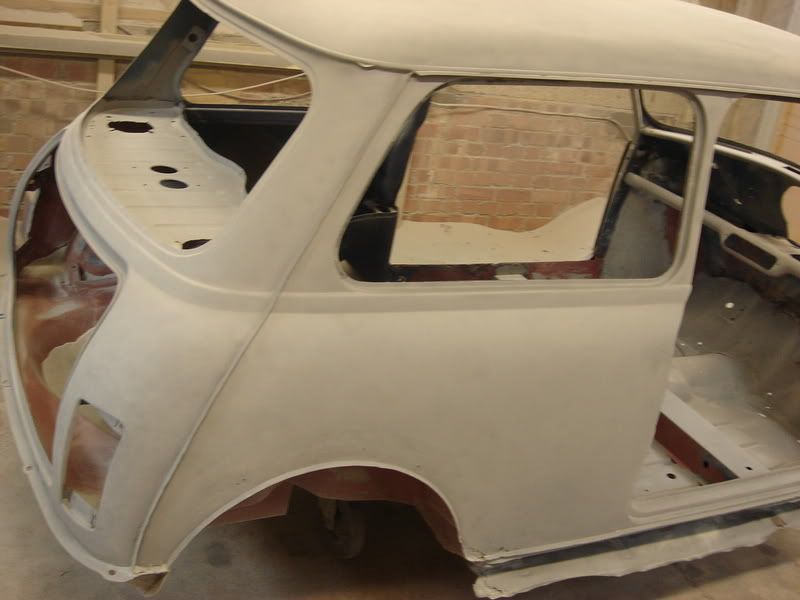
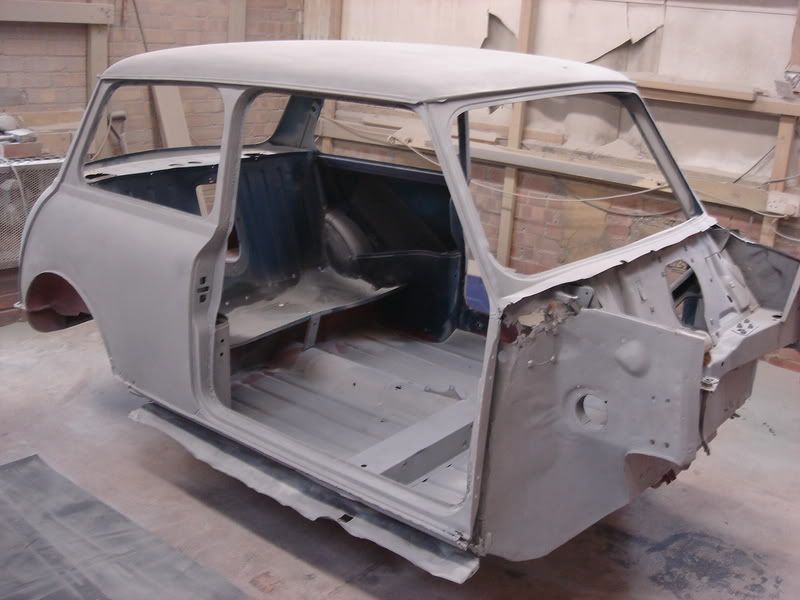
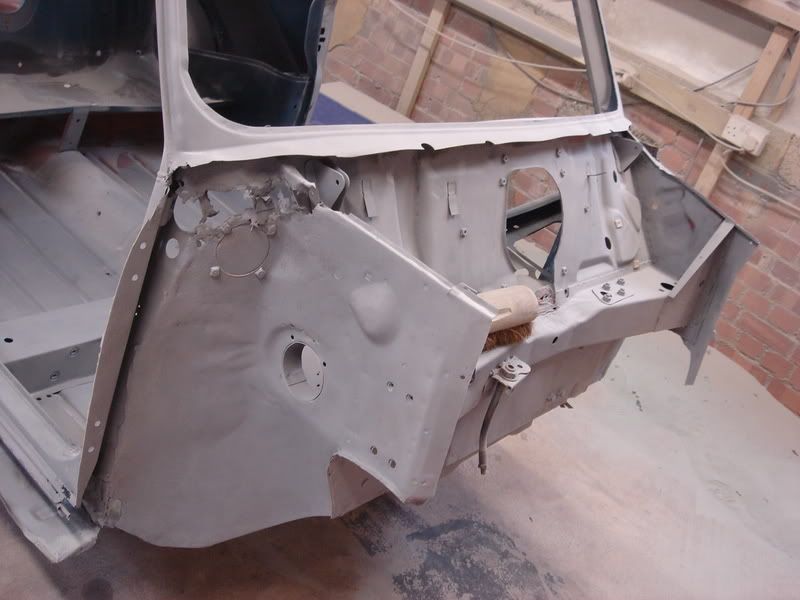
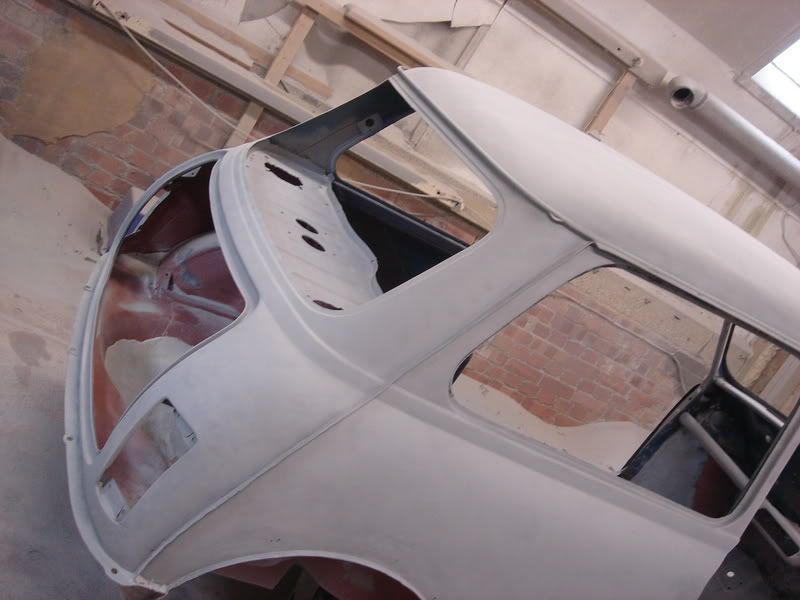
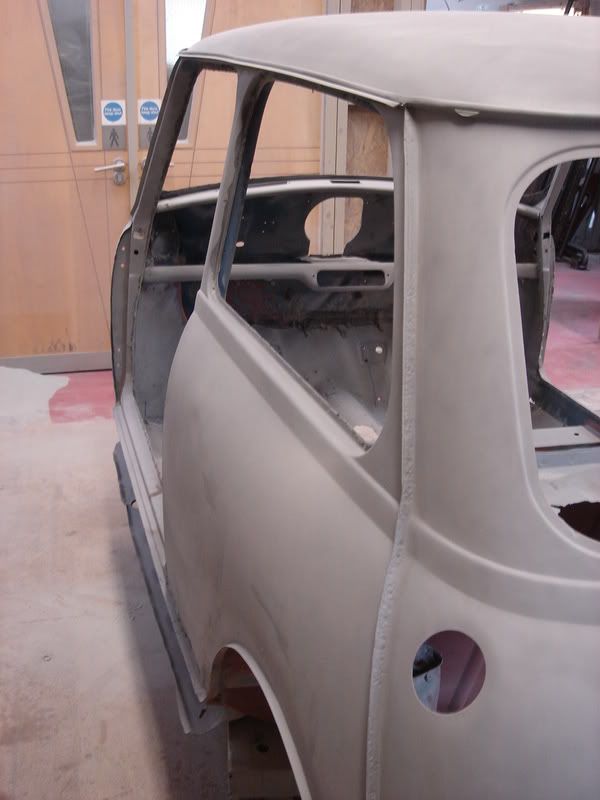
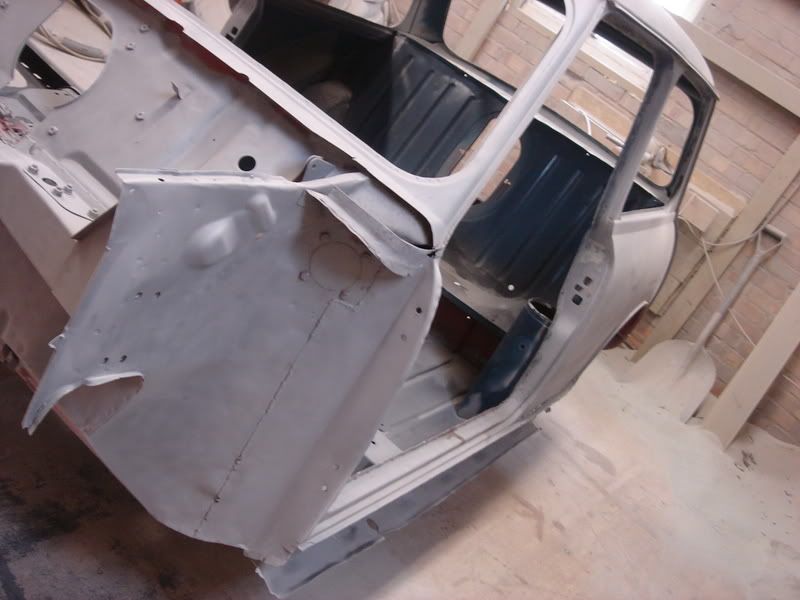
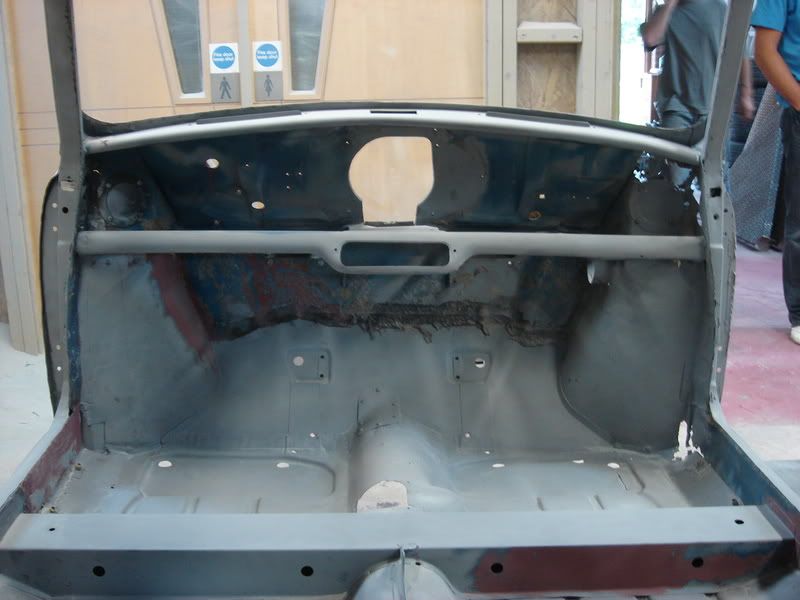
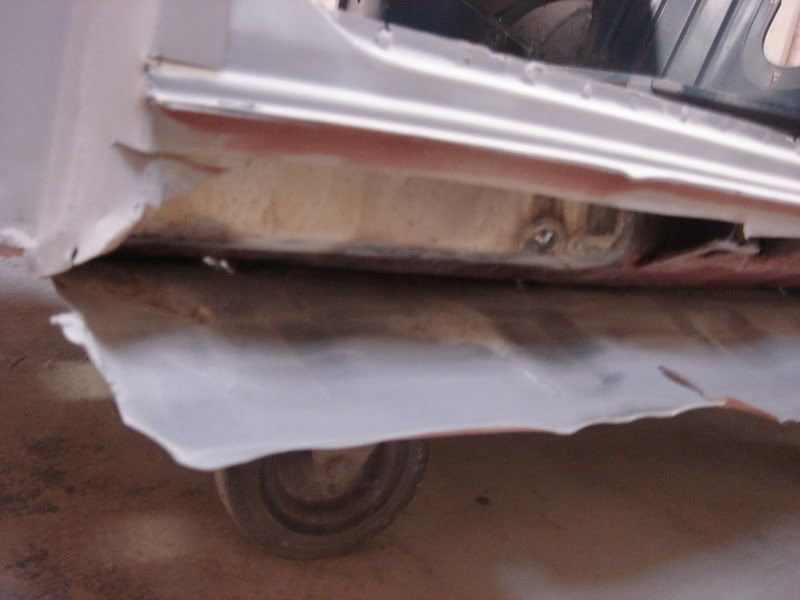
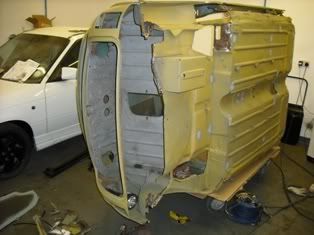
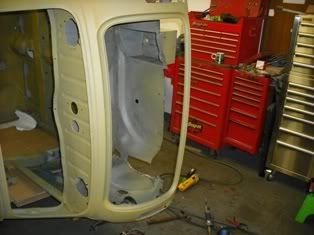
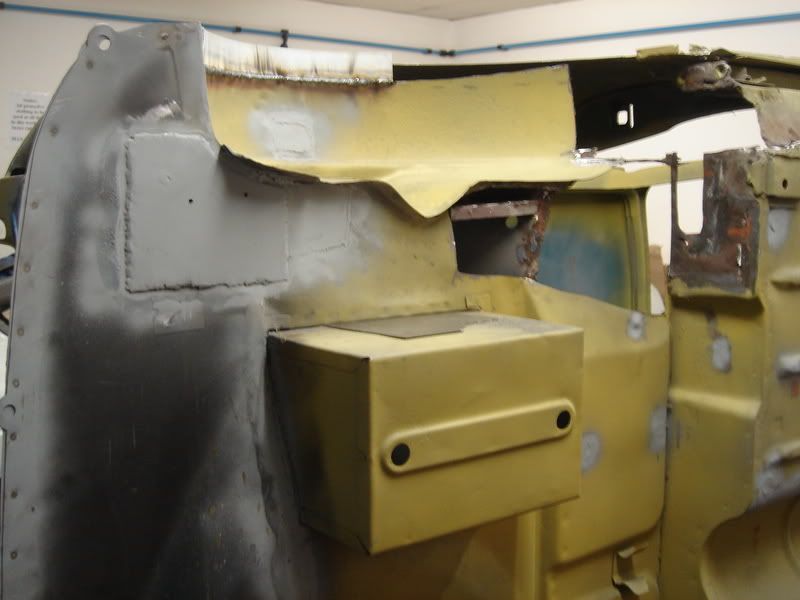
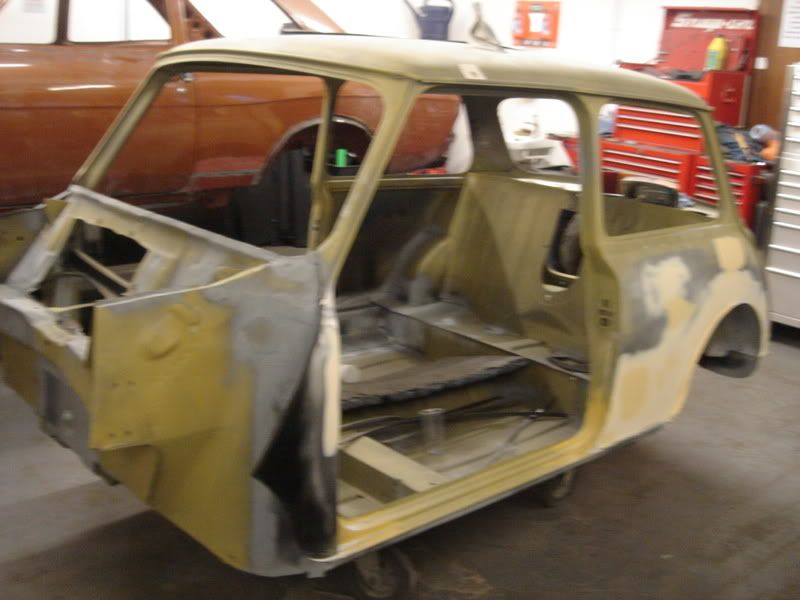
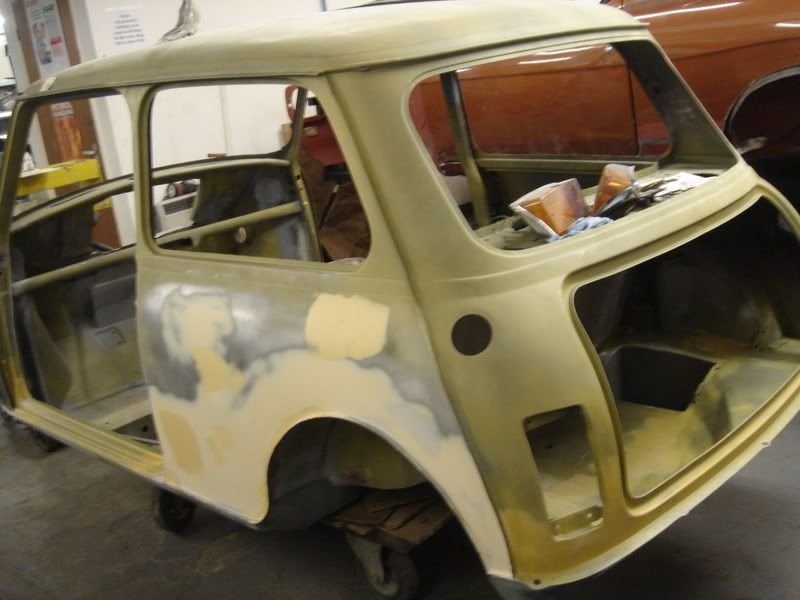
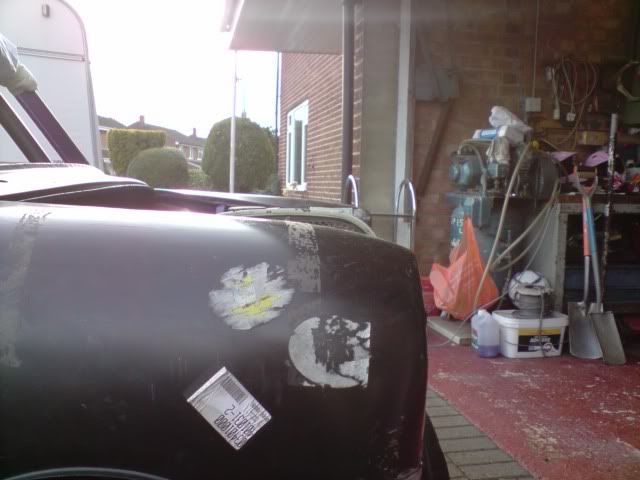
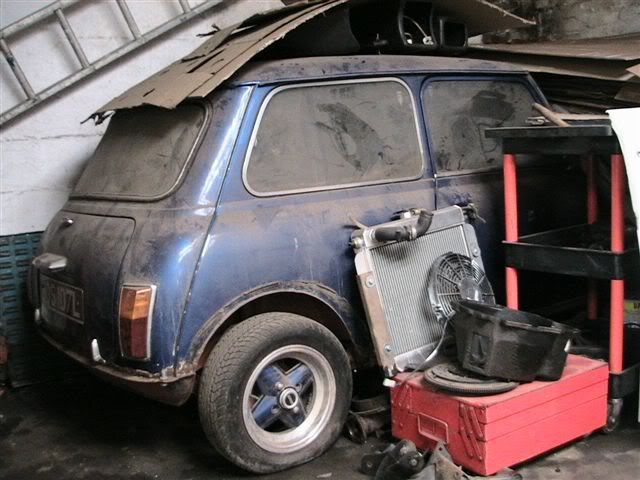
Then in 2008 I found it again with only 120miles extra on the clock since I sold it, but in a sorry state, I then bought it back, which is where the fun began.
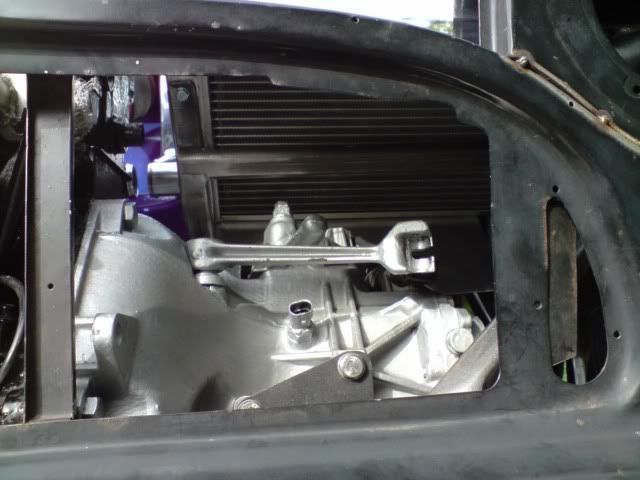
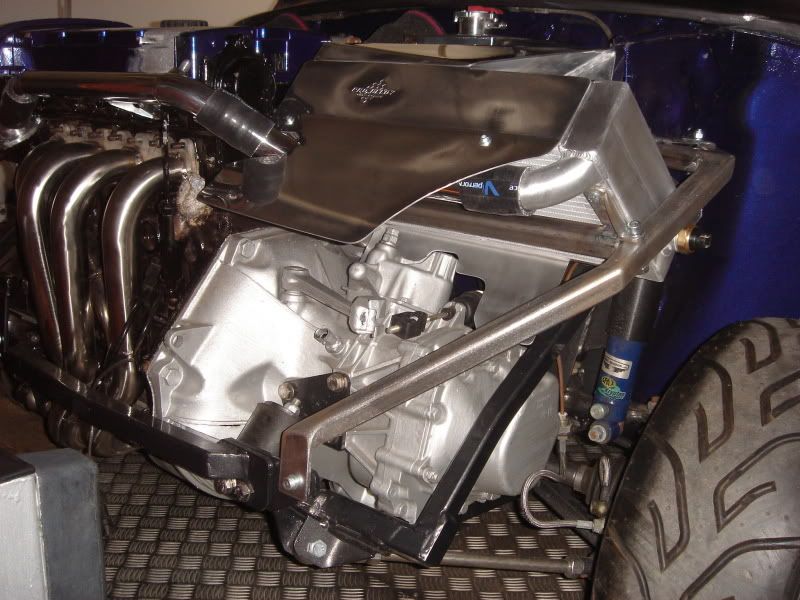
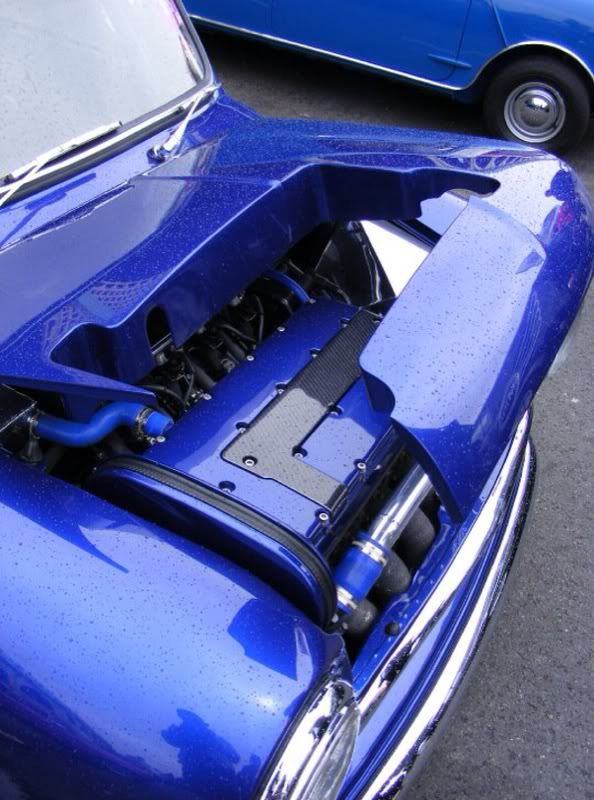
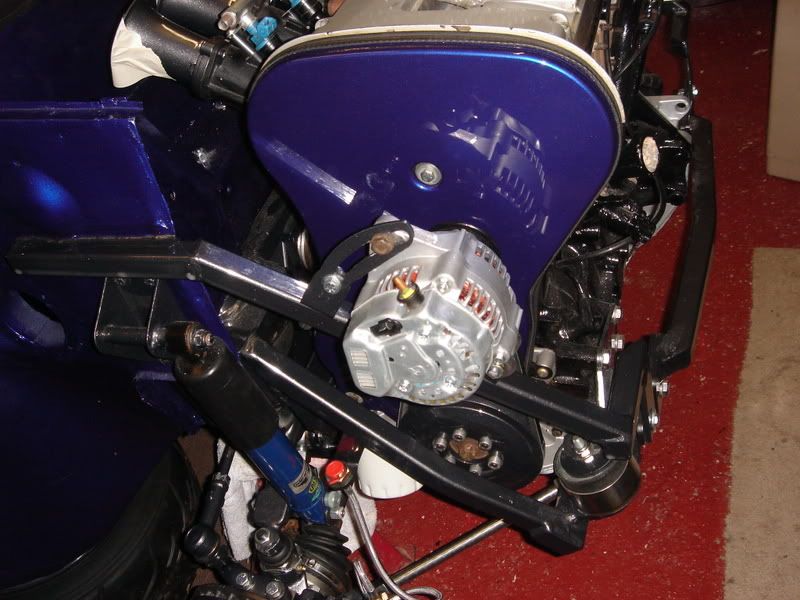
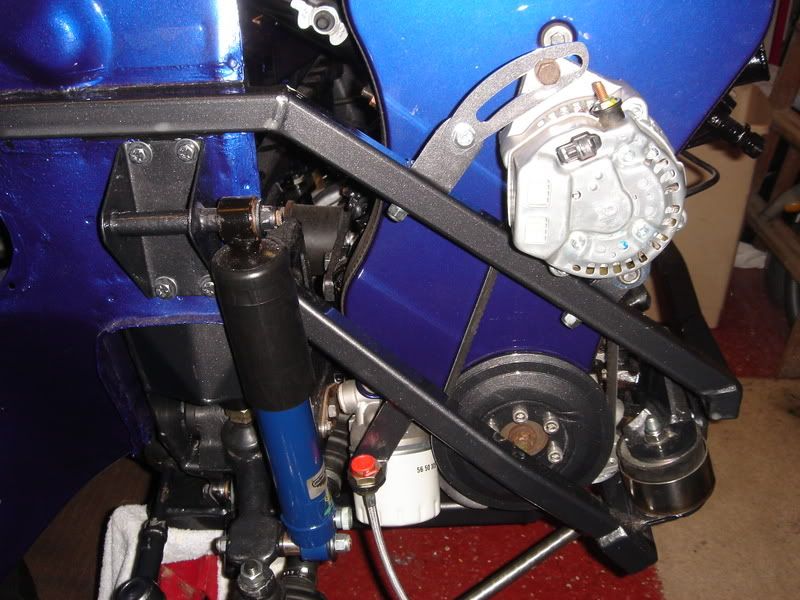
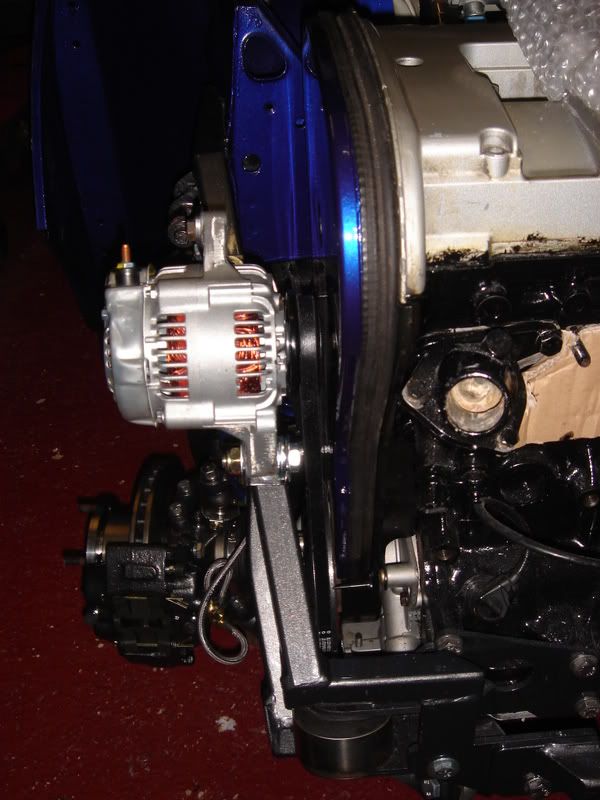
2.0 16V C20XE Allspeed Kit
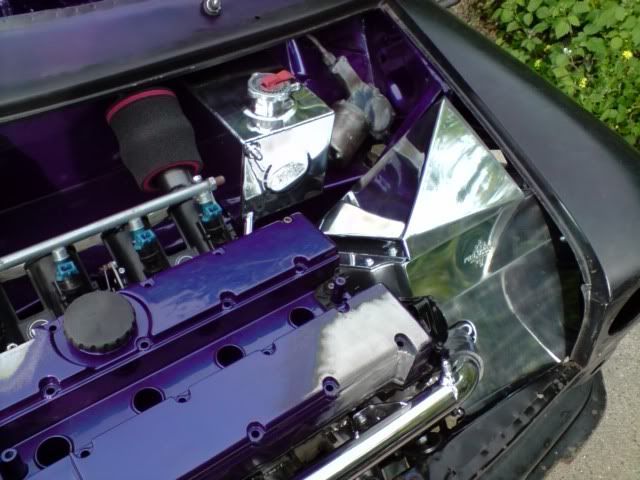
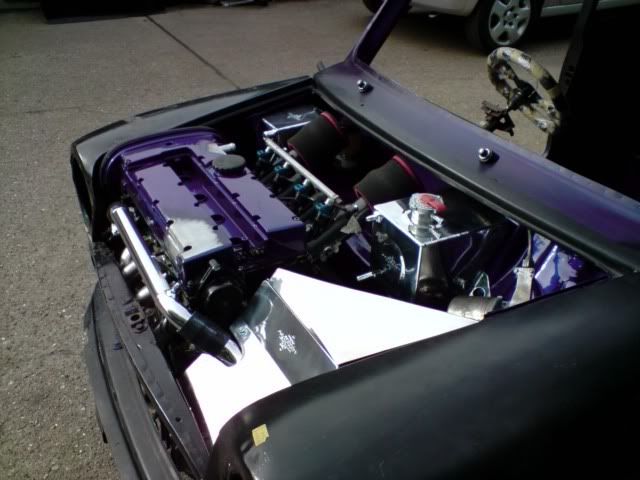
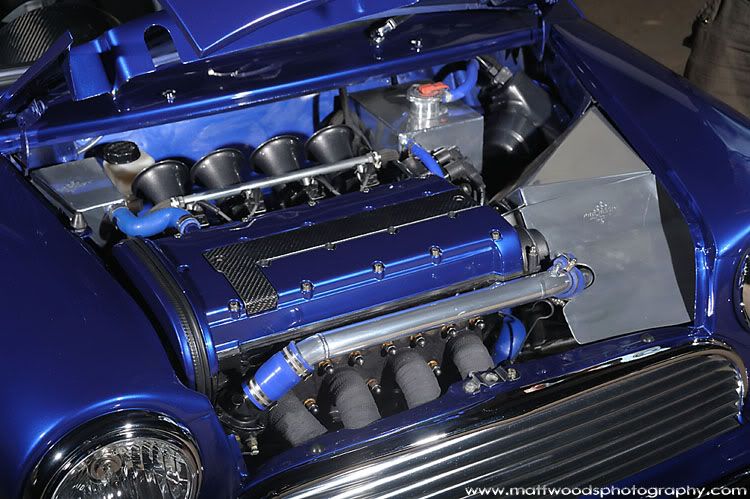
QED Jenvey Throttle Bodies
Emerald Management
Z20LET Injectors
Piper 286 Road/Race Cams
Ported, Milled & Polished Head
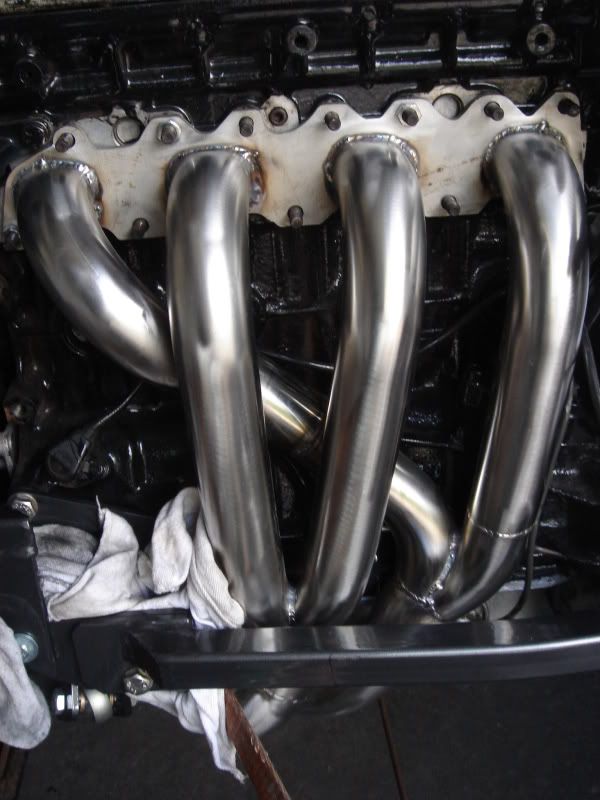
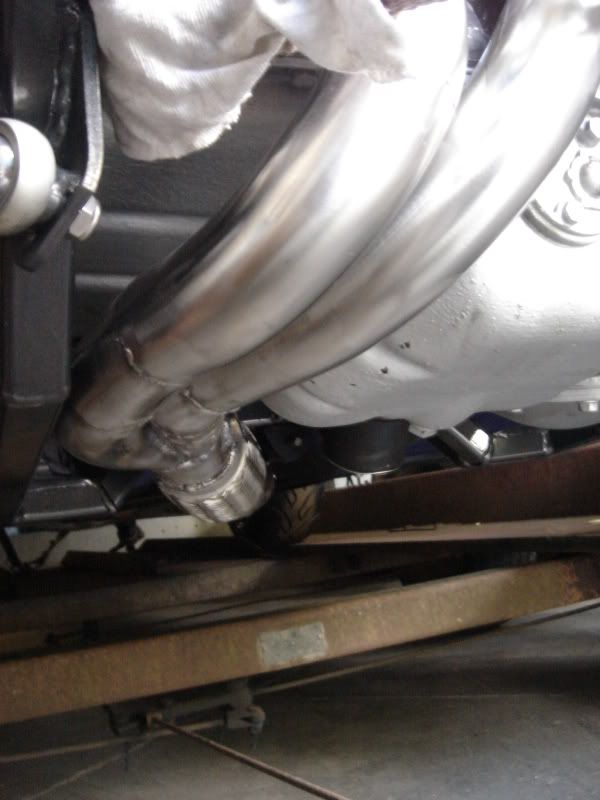
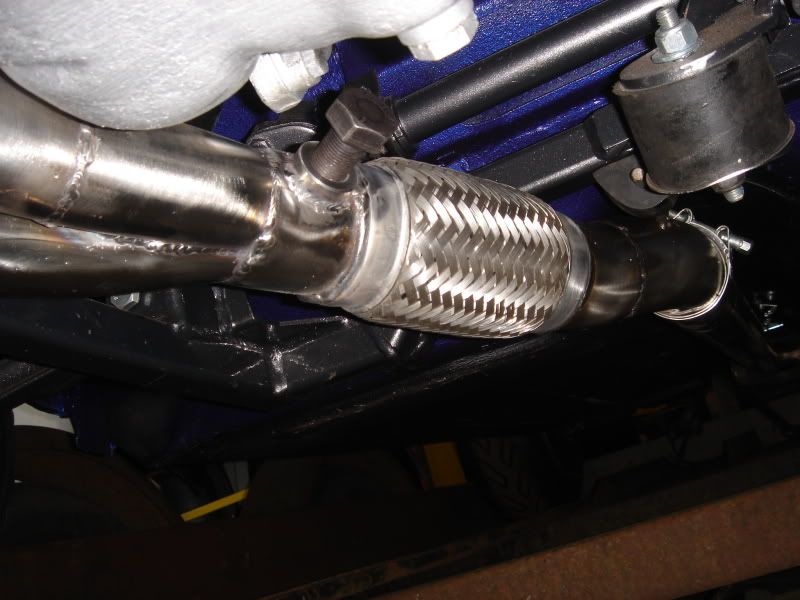
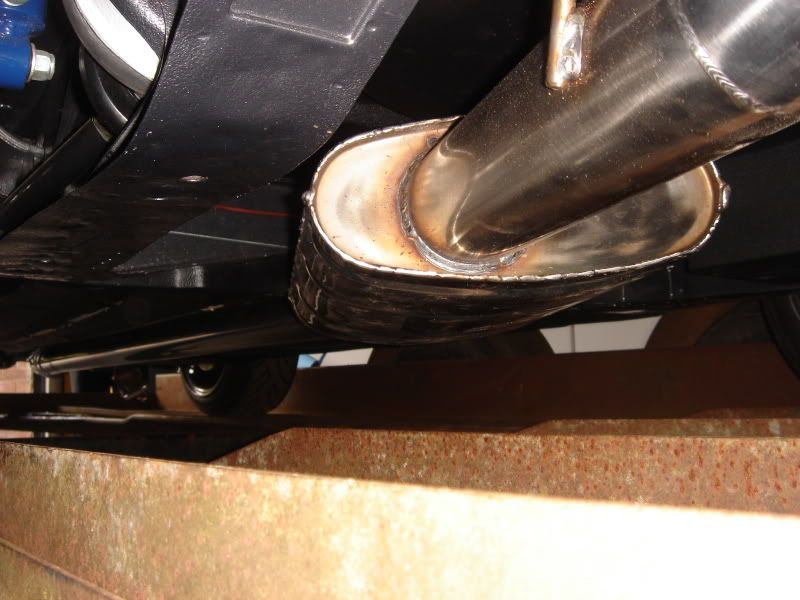
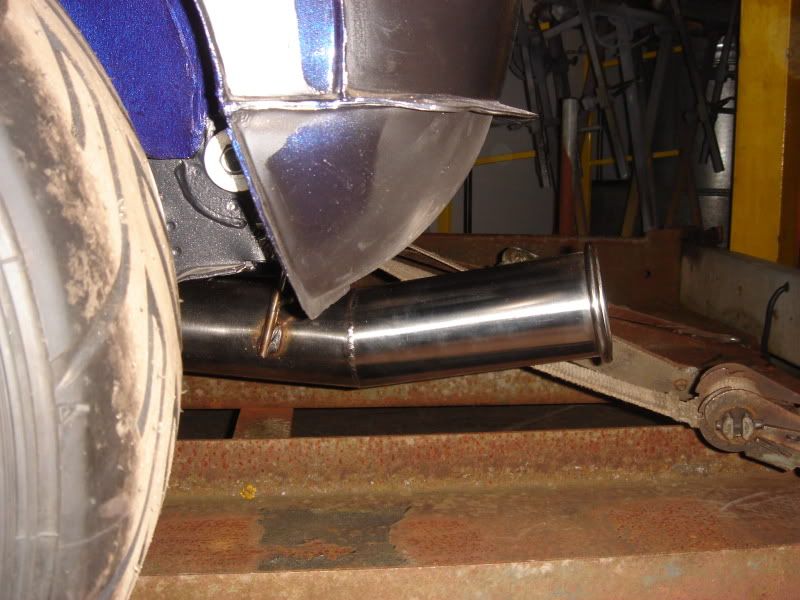
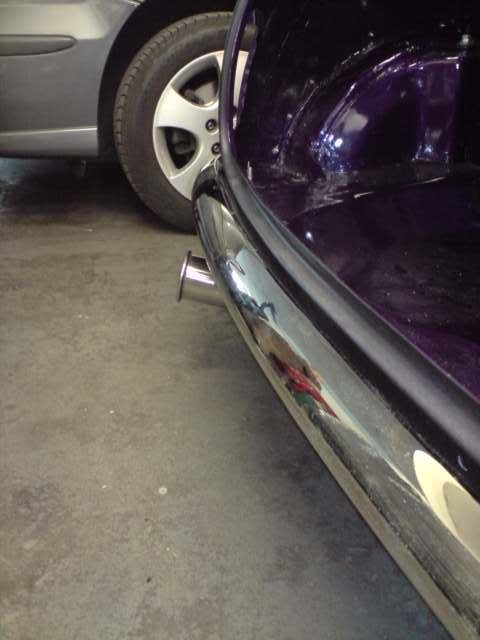
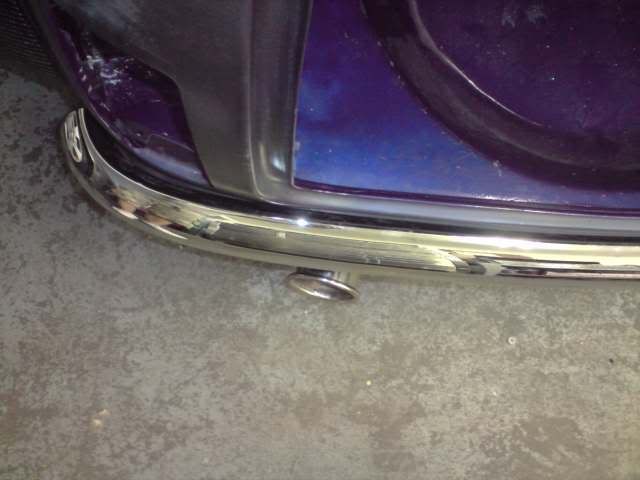
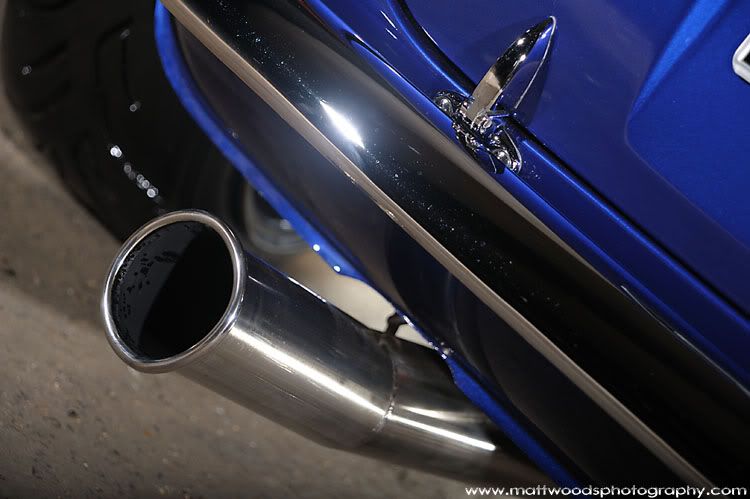
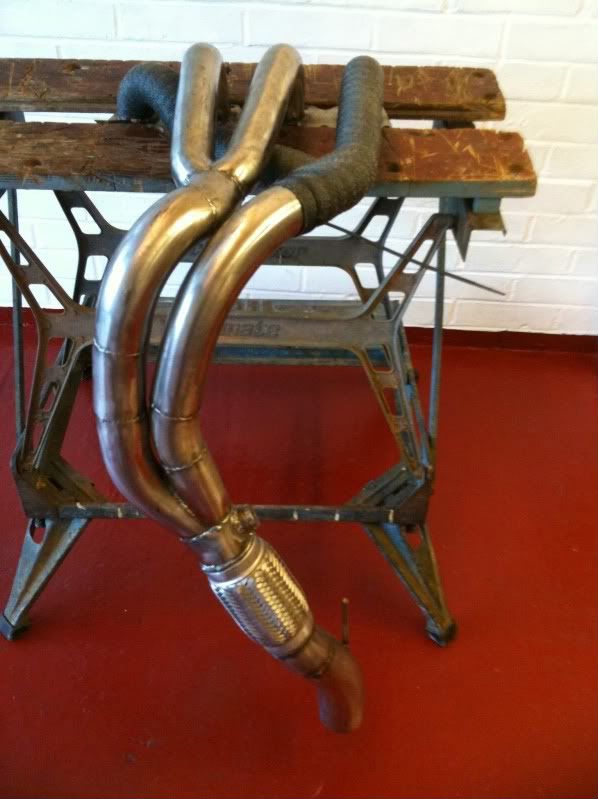
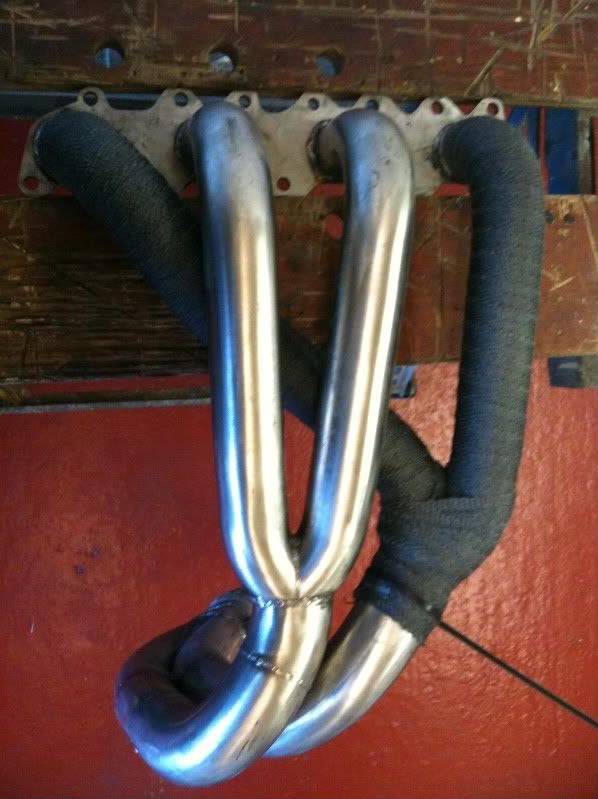
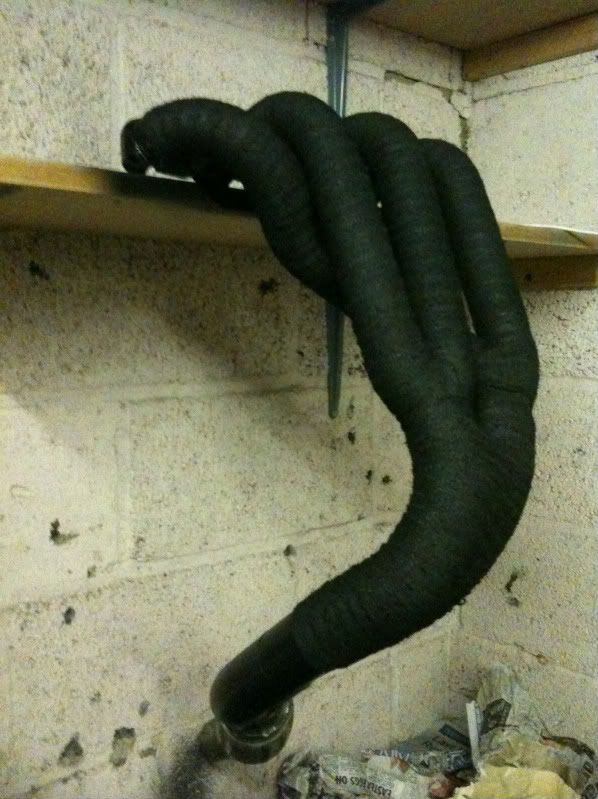
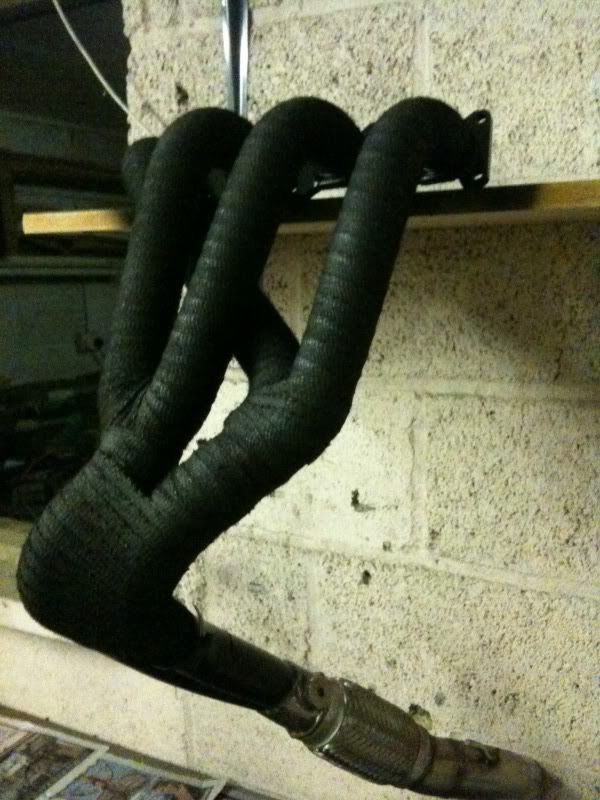
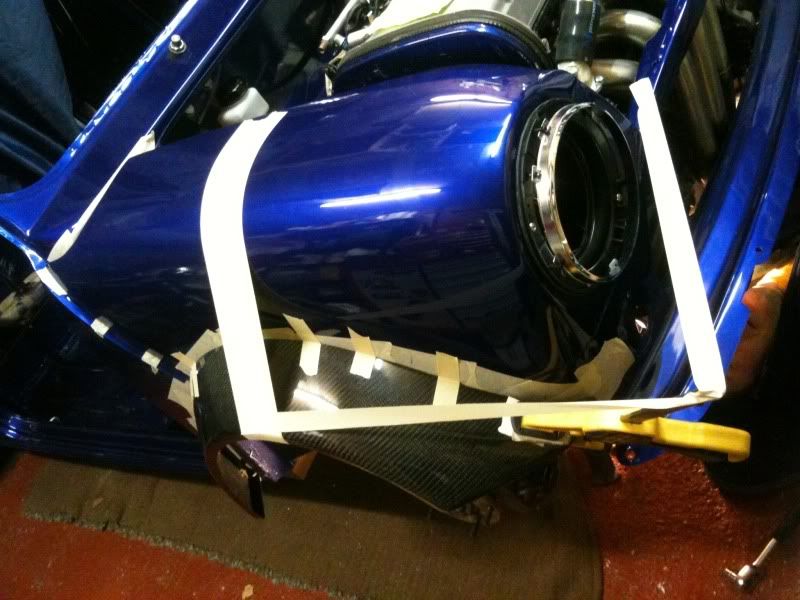
Power Speed Custom 4-2-1 Manifold, 2.5” Bore, 3” Tailpipe
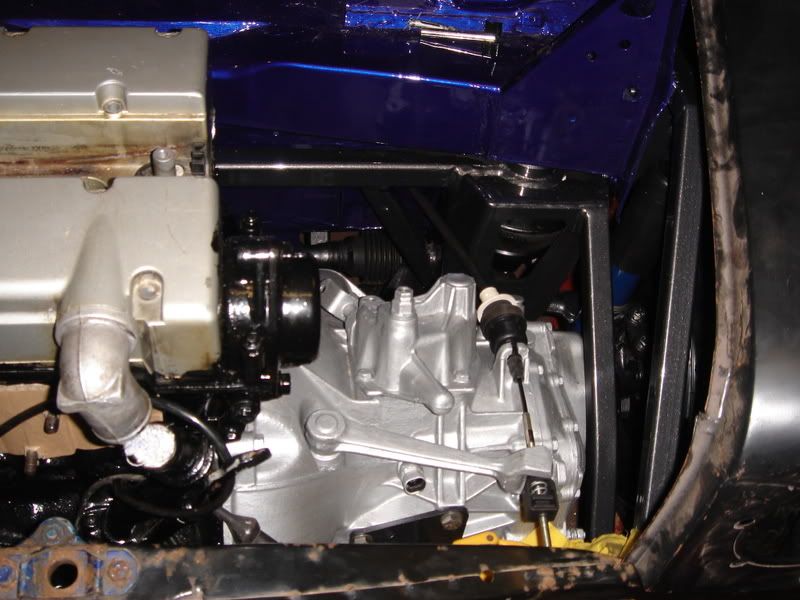
Quaife LSD
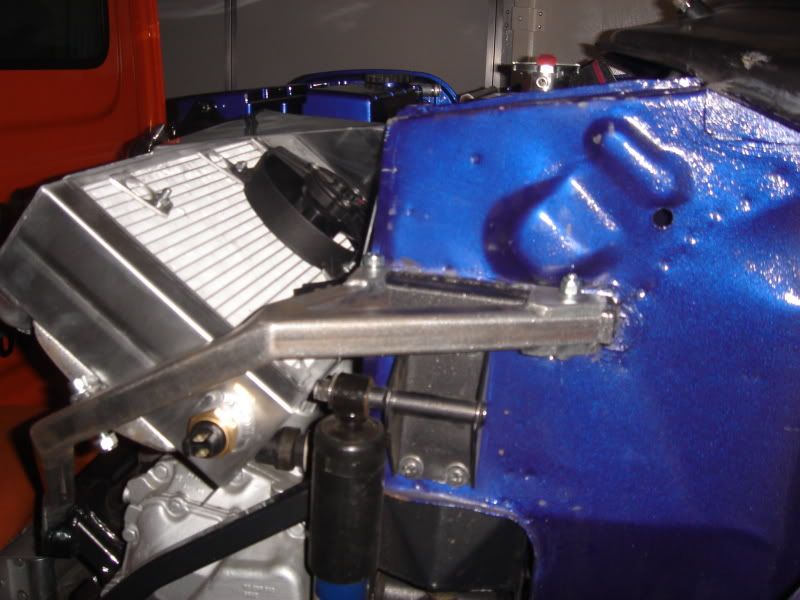
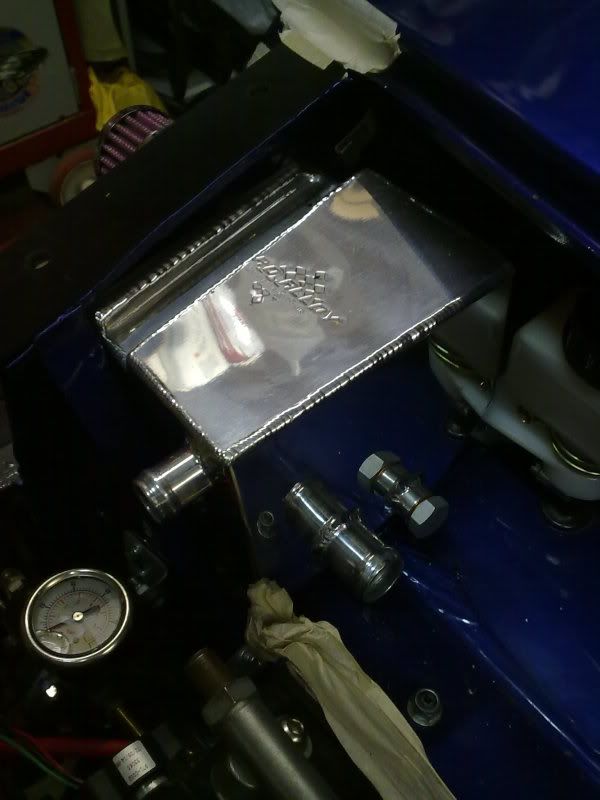
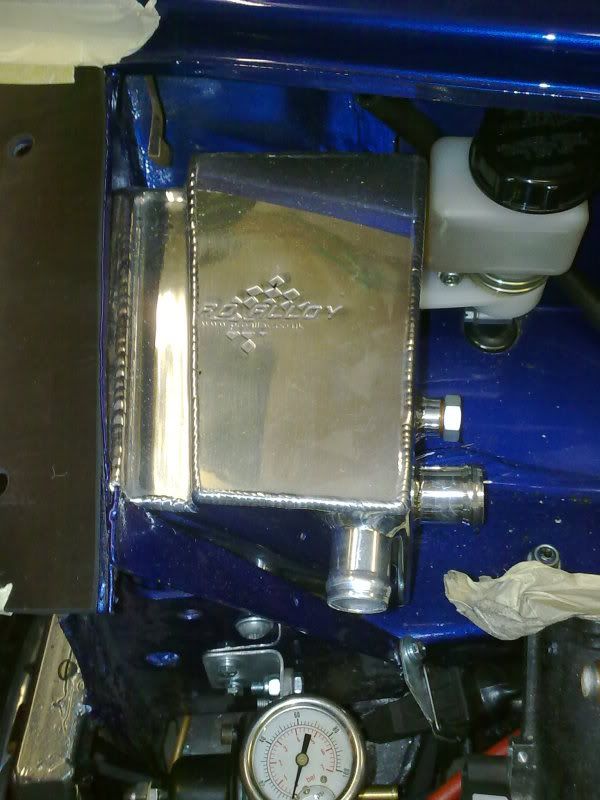
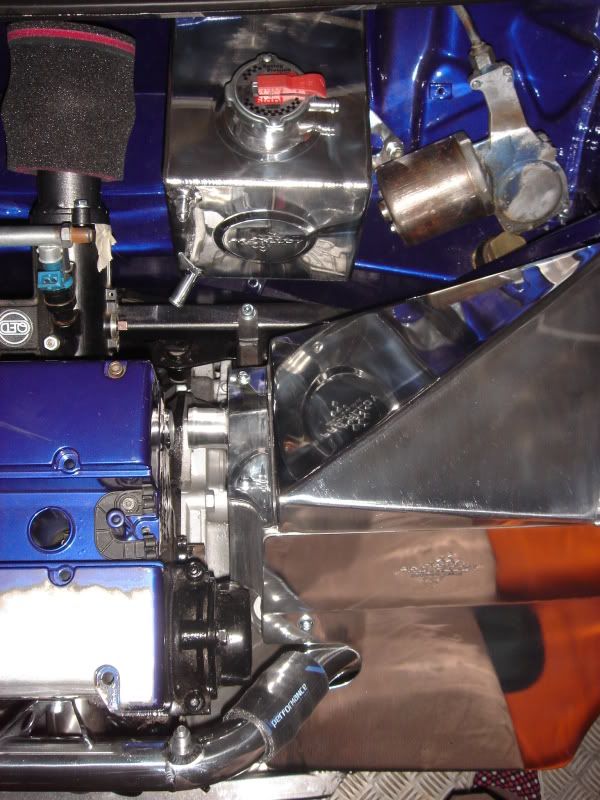
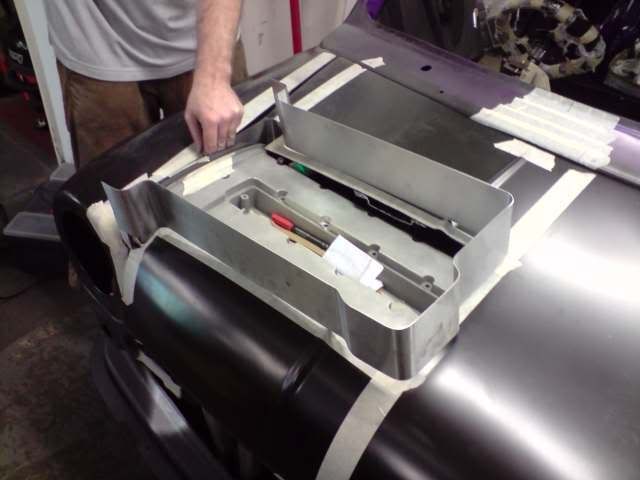
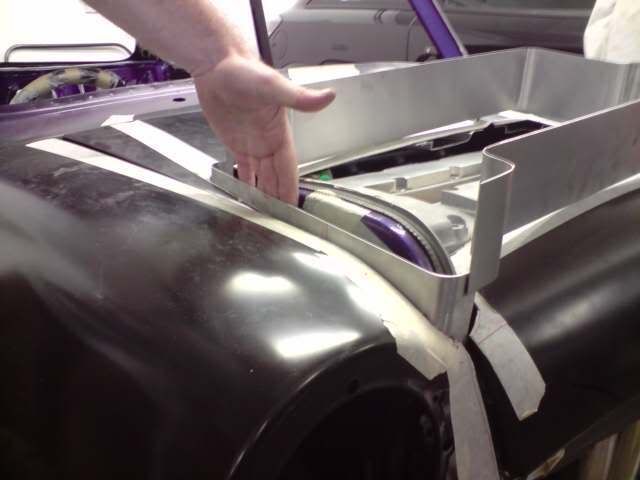
ProAlloy Custom Radiator, Header Tank, Pipe work & Oil Catch Tank
SFS Silicone Hoses
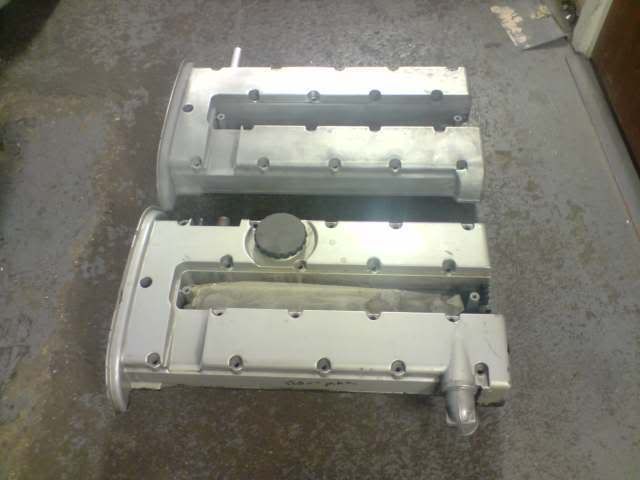
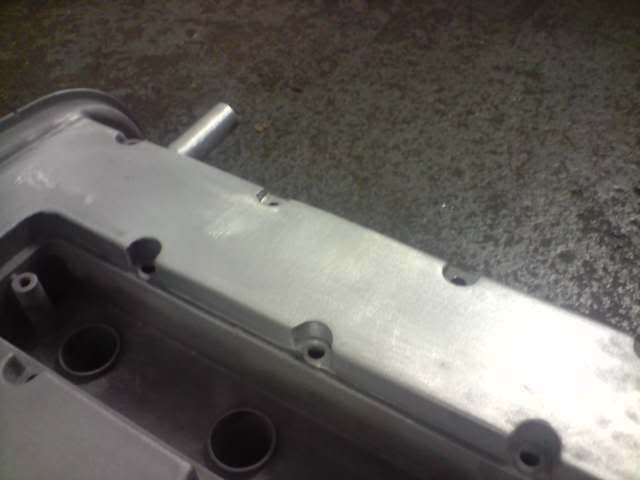
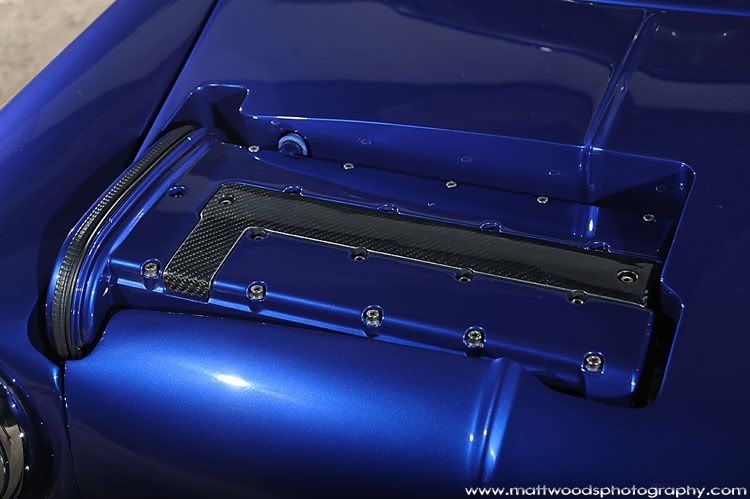
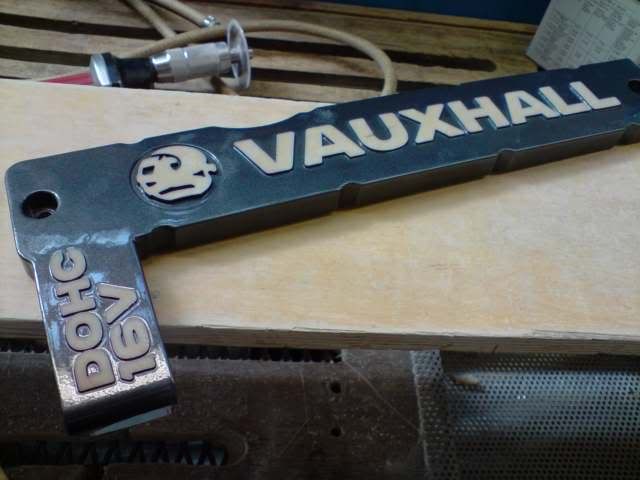
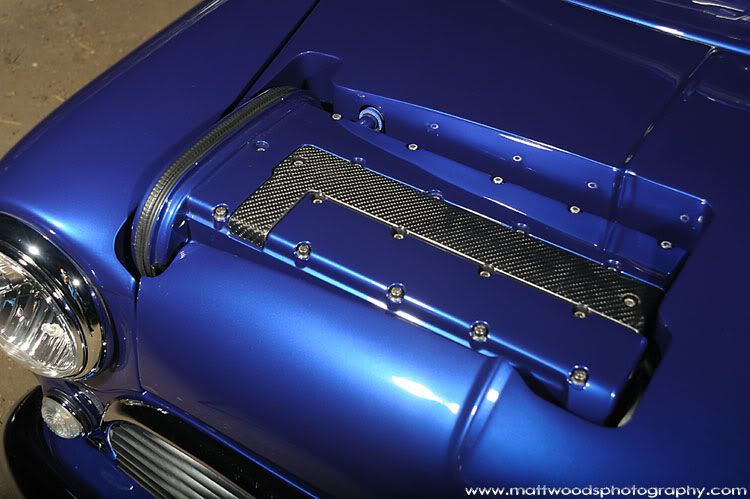
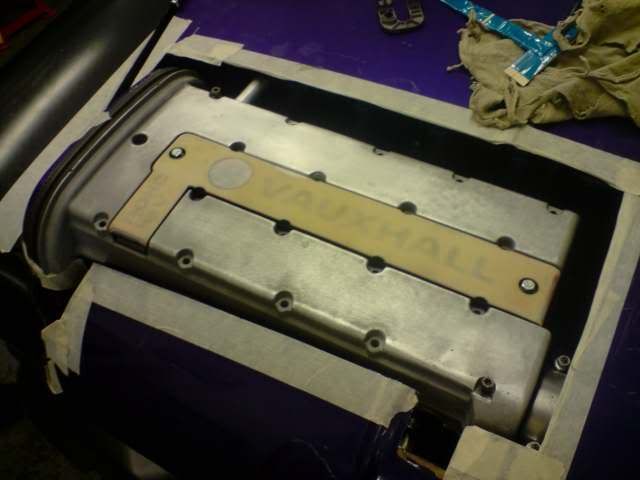
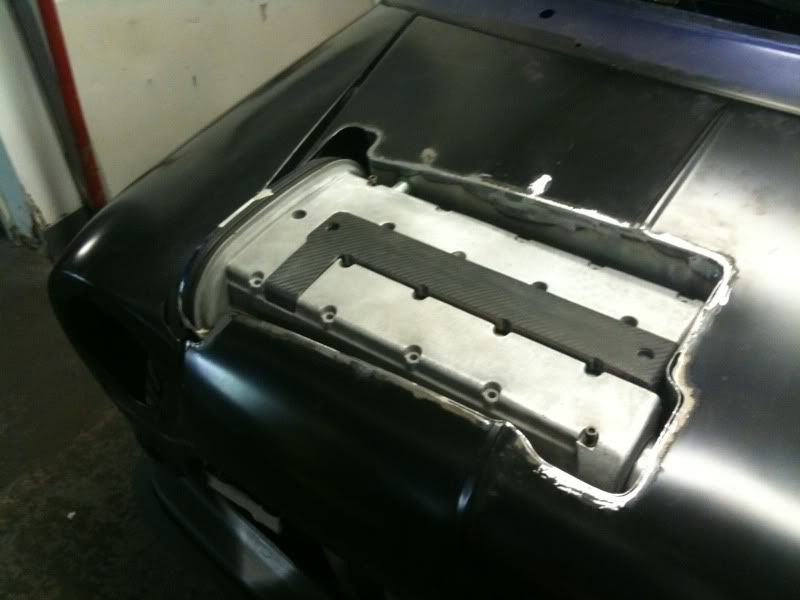
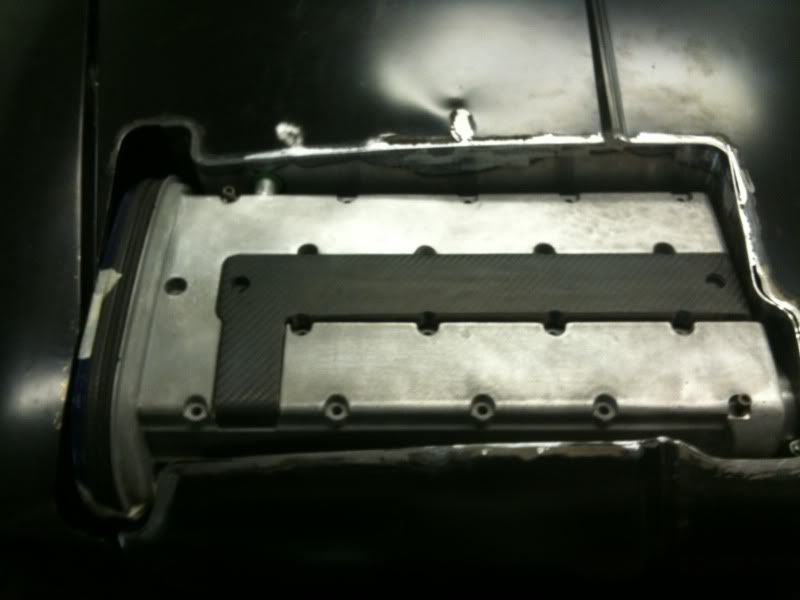
Rocker Cover Smoothed and Colour Coded with Oil Filler Cap & Removed & Breathers Rerouted
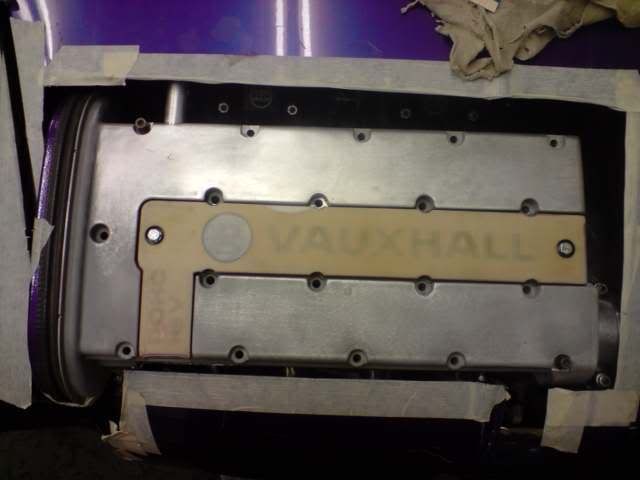
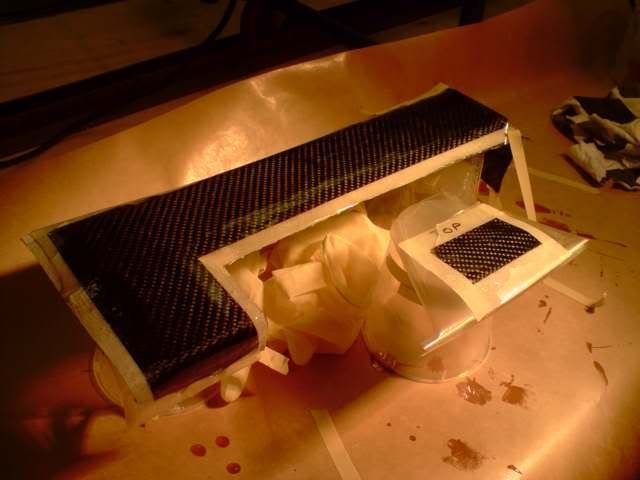
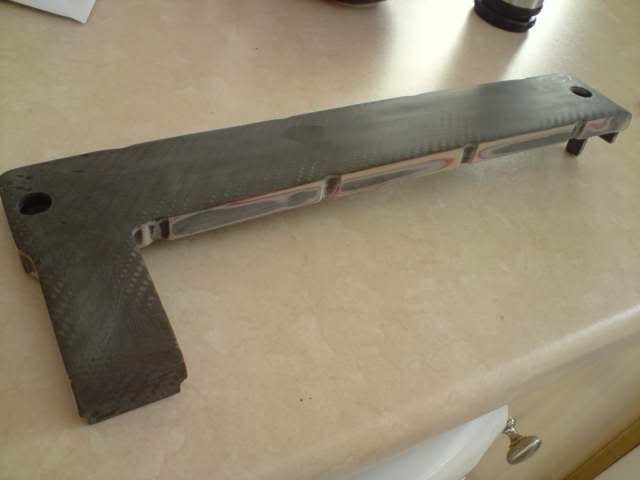
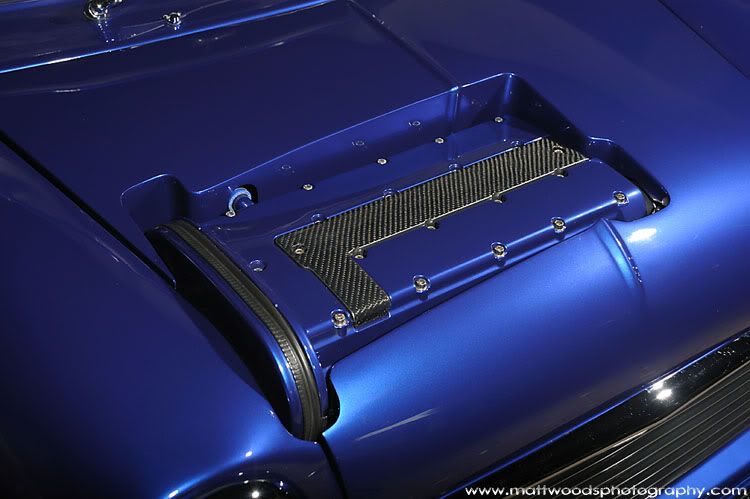
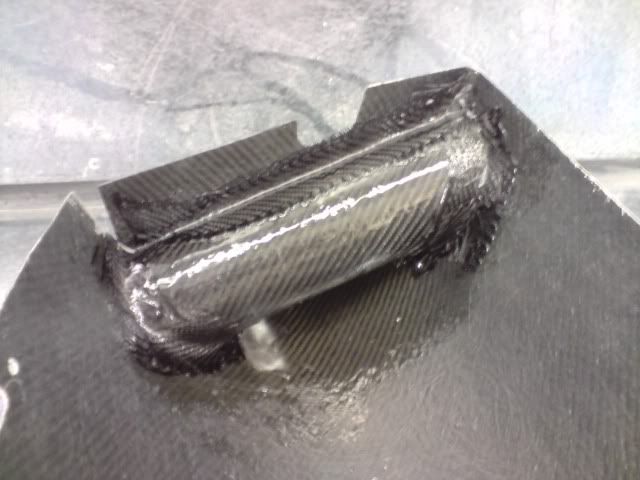
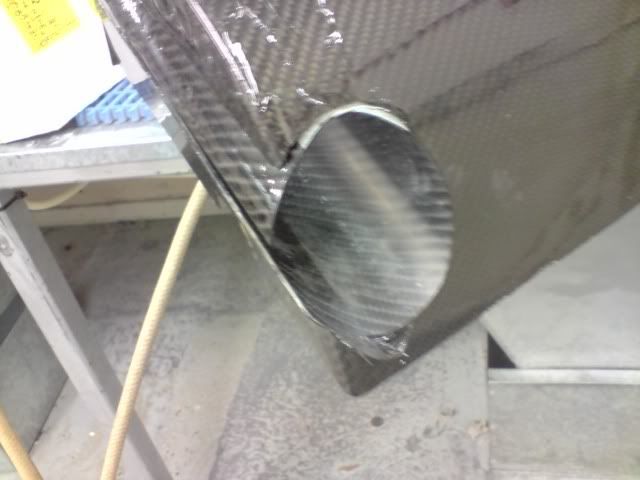
Custom Carbon Fibre Plug Cover
Custom Thermostat and Sensors
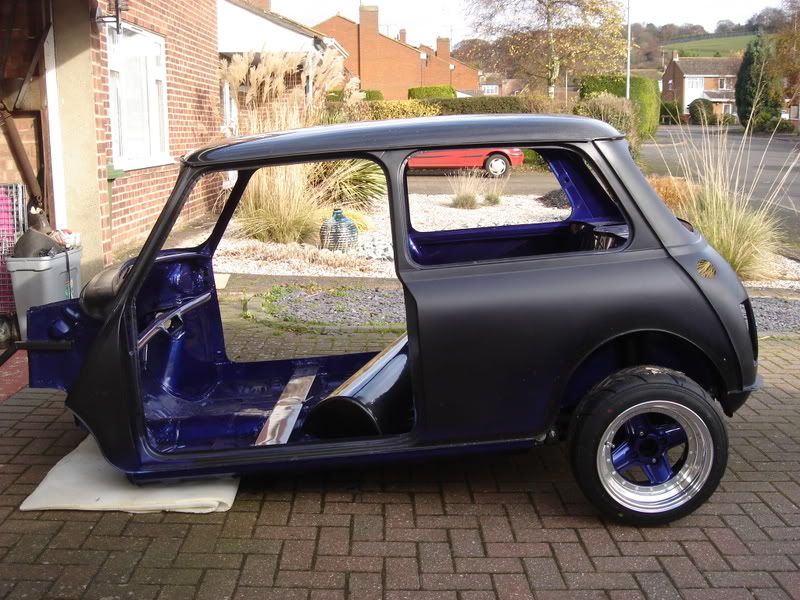
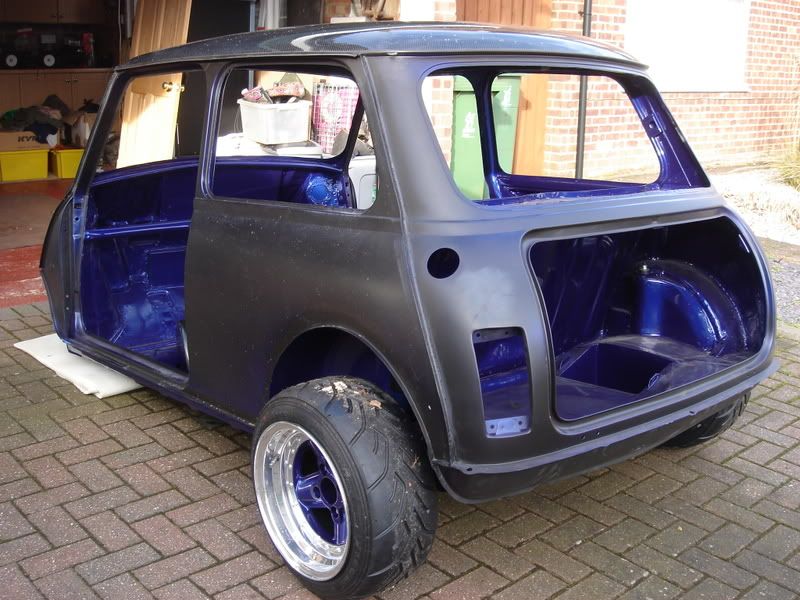
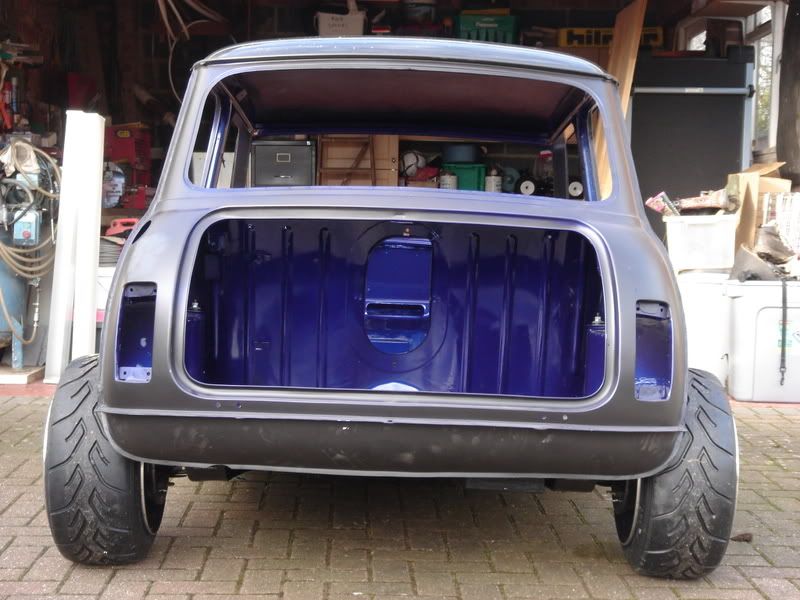
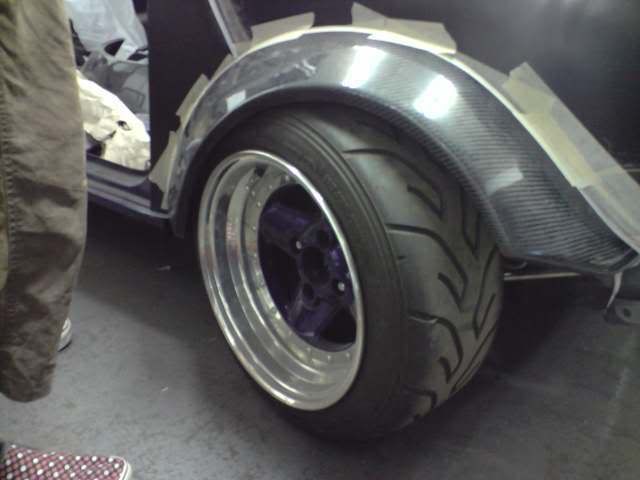
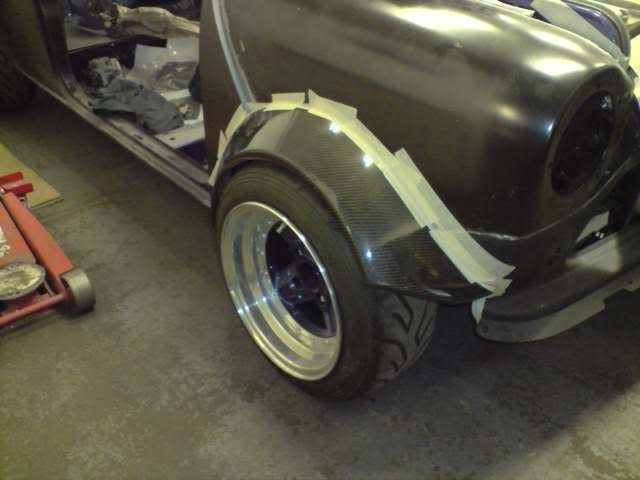
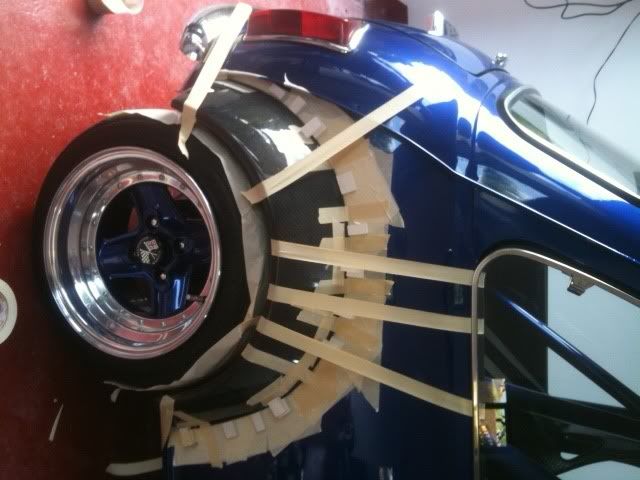
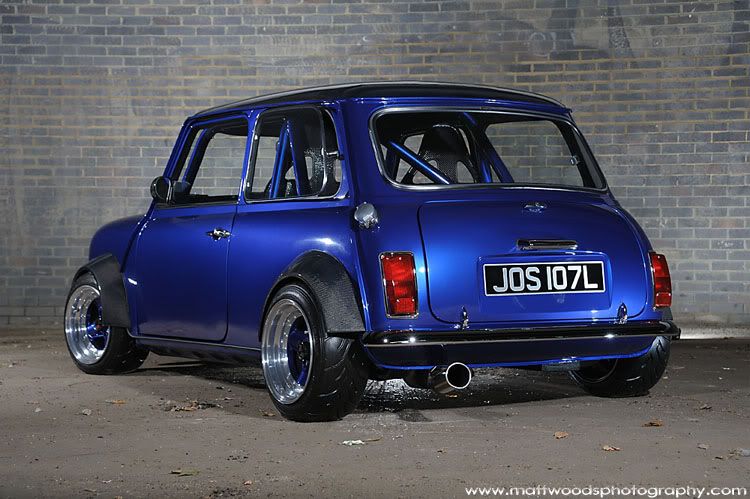
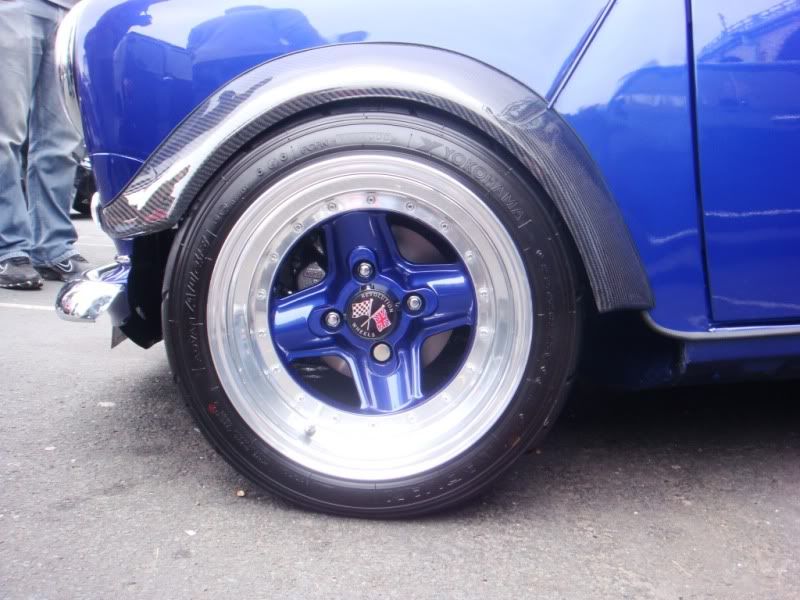
8x13 Revolution Split Rims
175-50-13 Yokohama A048
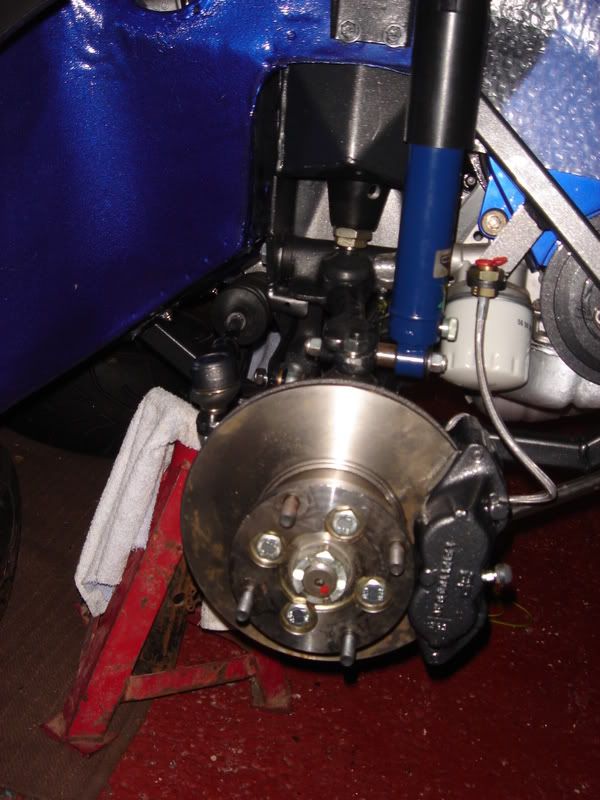
Front - Hi-Lo’s & Spax Adjustable Shocks
Rear - Hi-Lo’s & Spax Adjustable Shocks with Rear Camber Kit
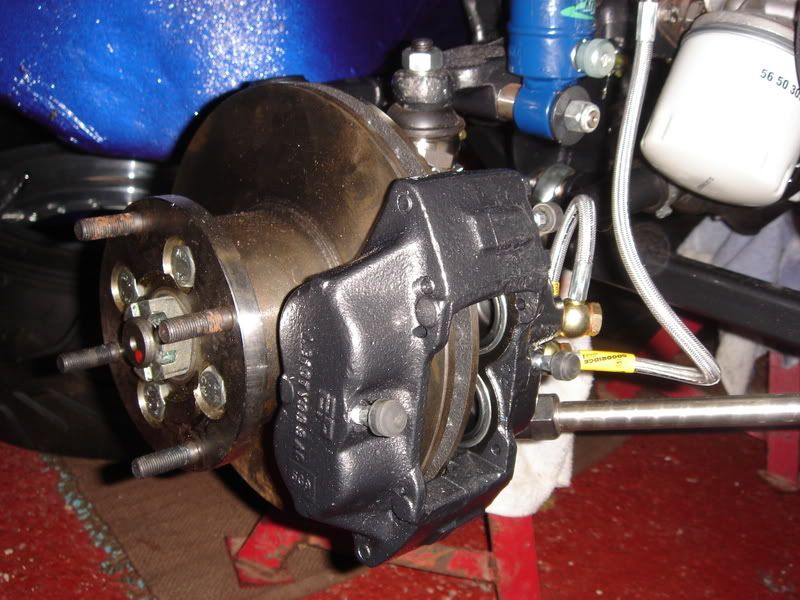
Wilwood Dual Master Cylinder / Pedal assembly
Metro Turbo 4 Pot Callipers
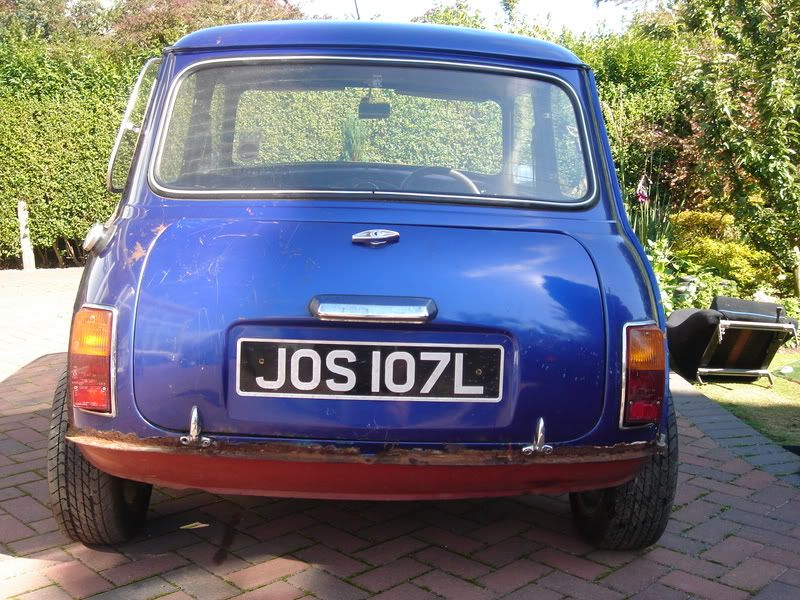
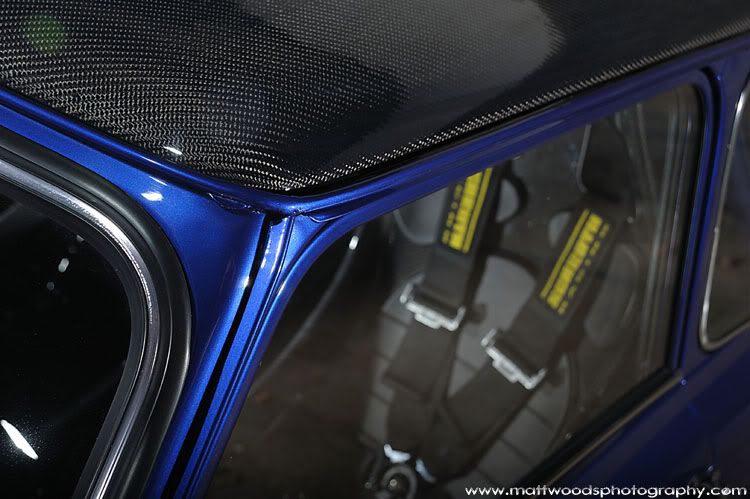
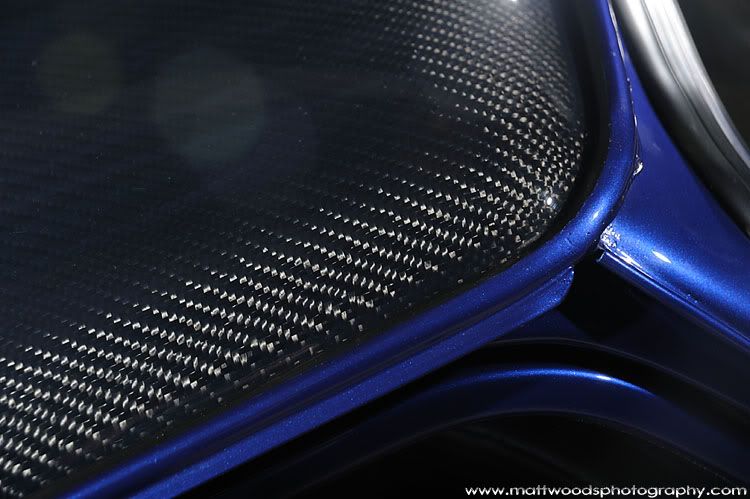
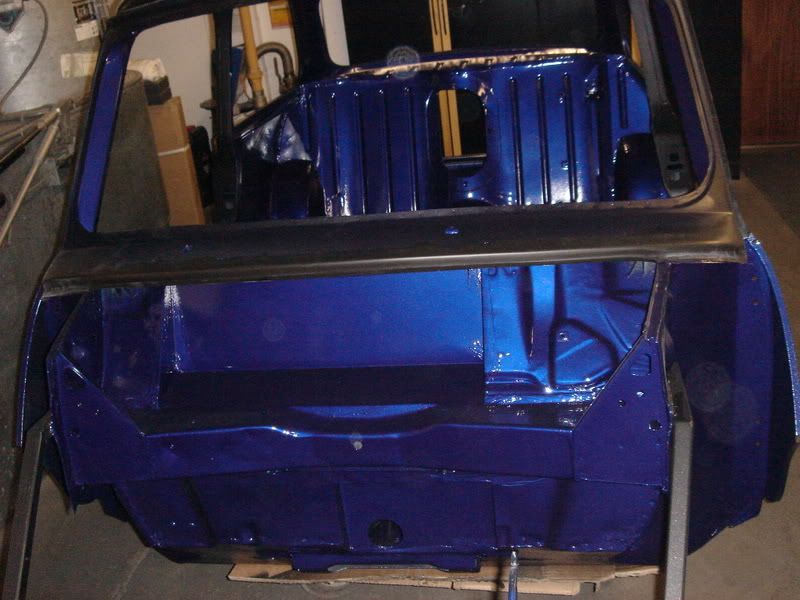
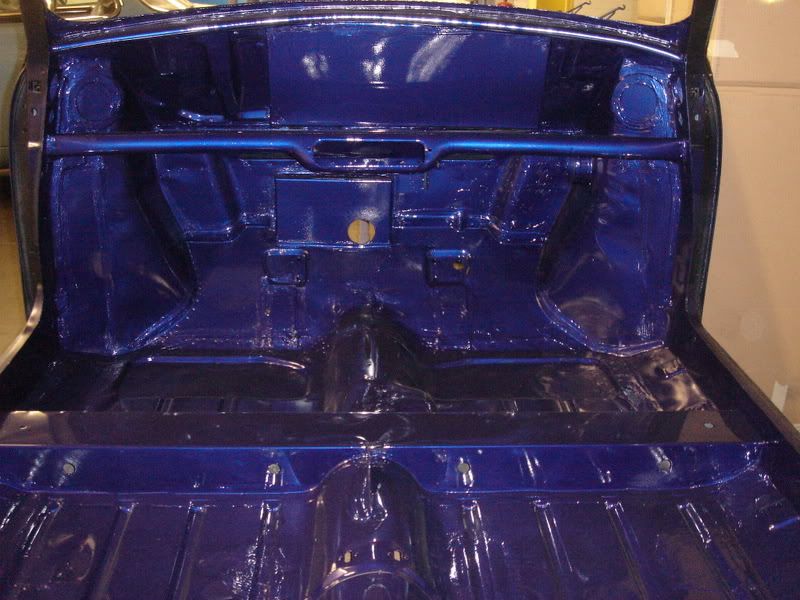
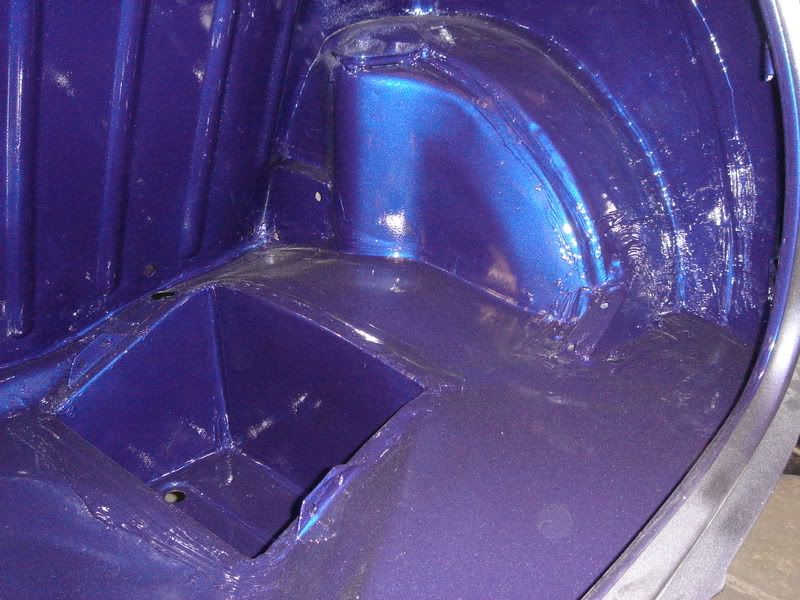
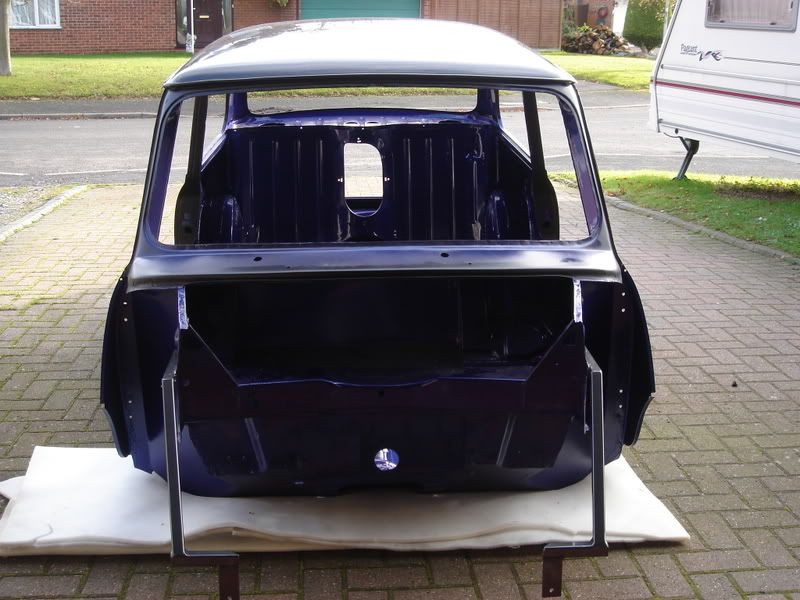
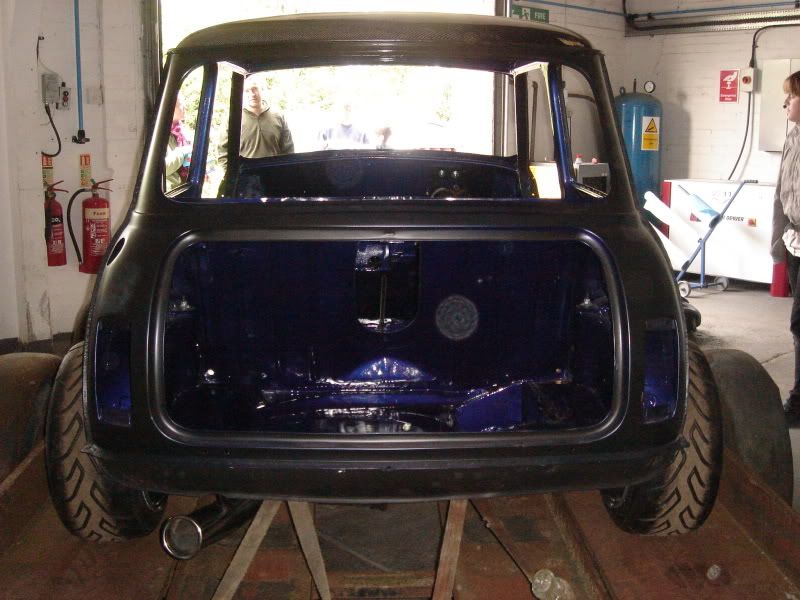
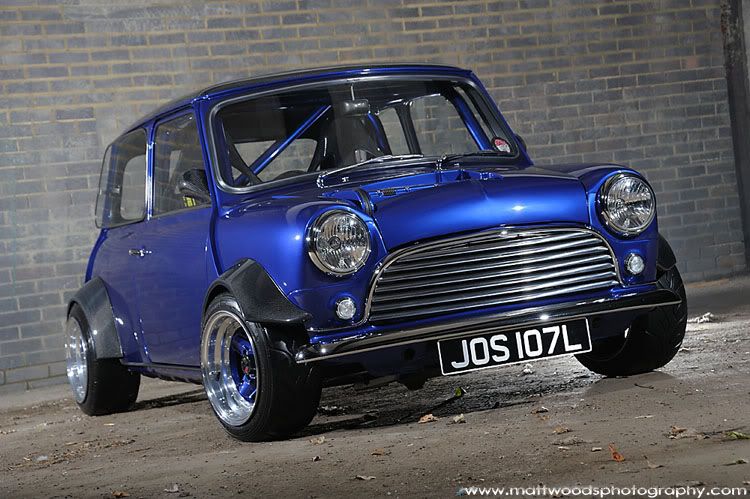
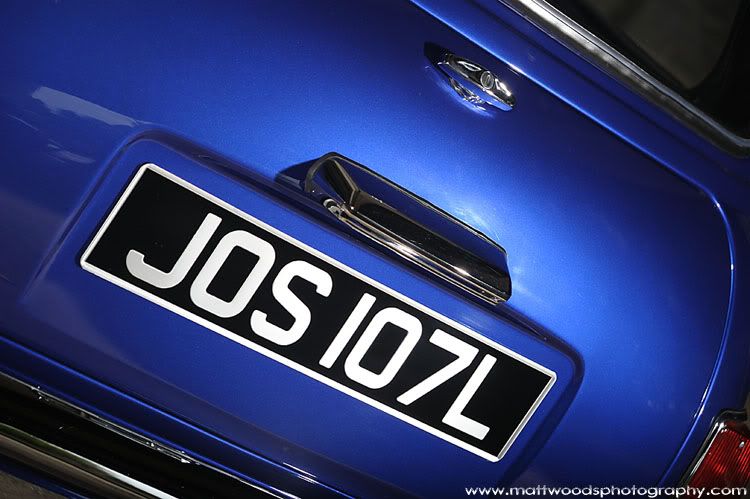
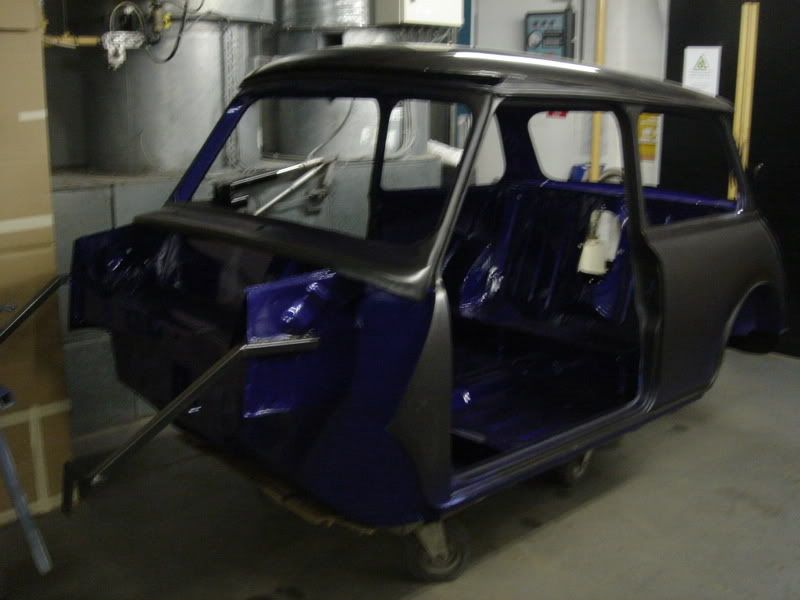
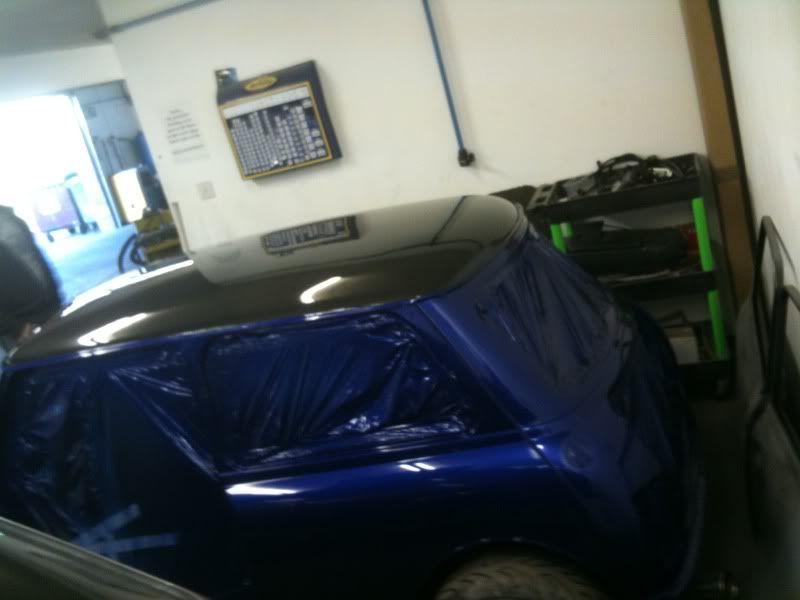
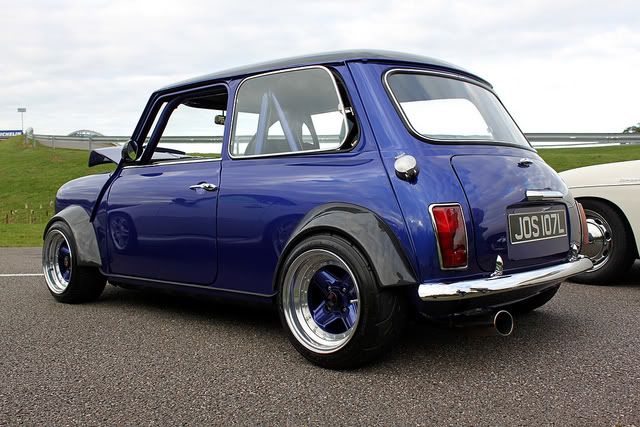
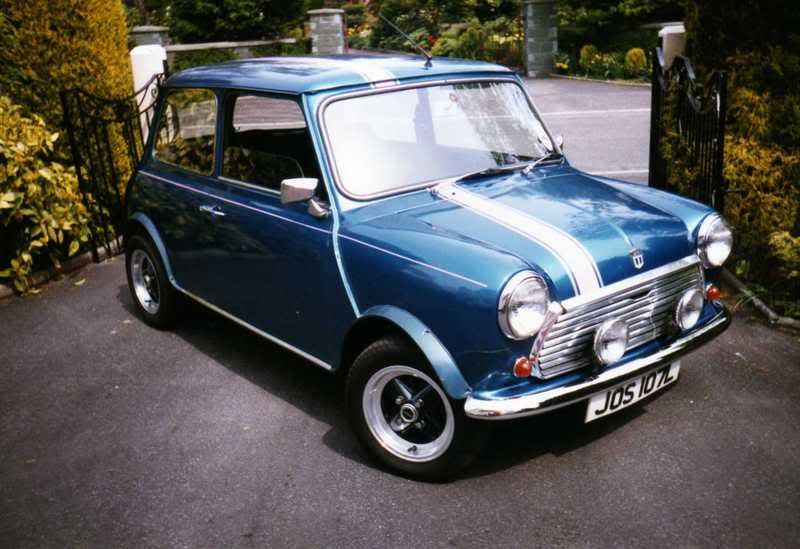
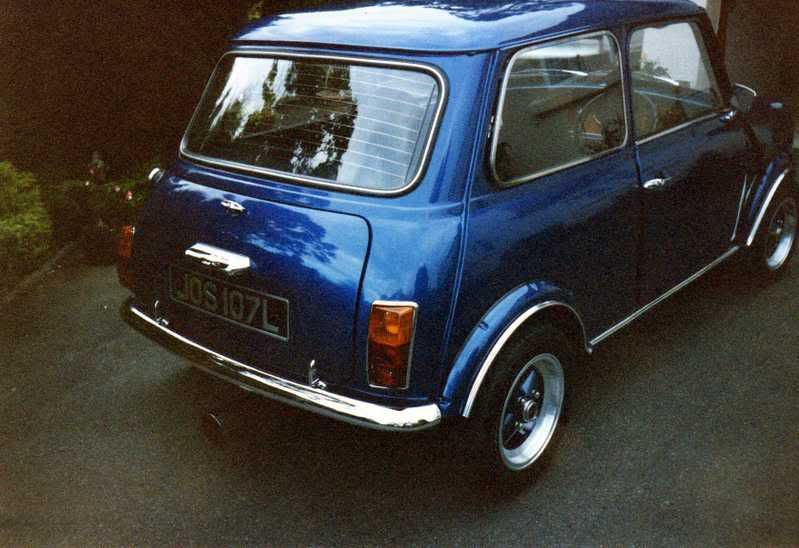
Repainted in Ford Imperial Blue
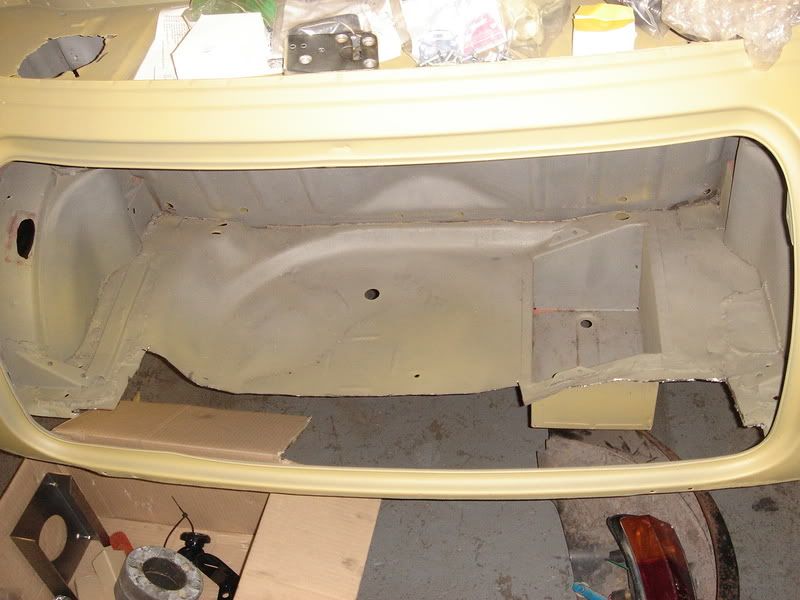
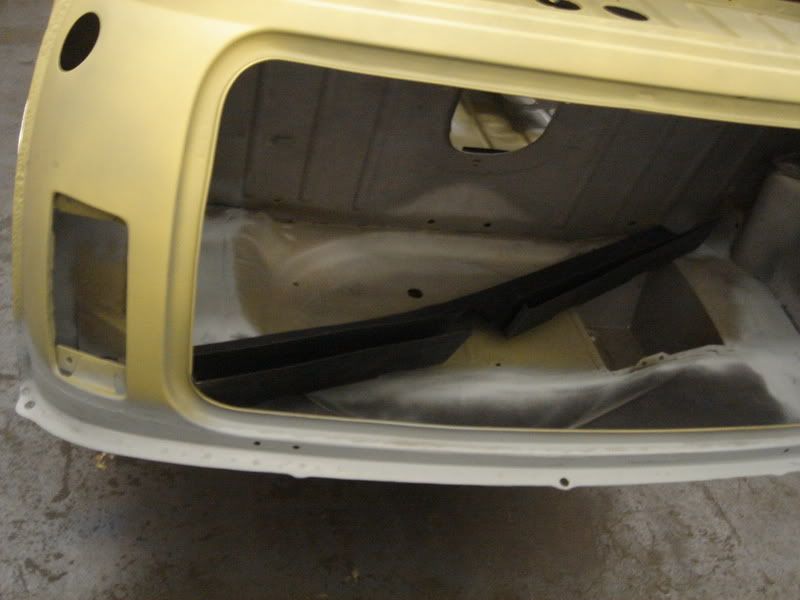
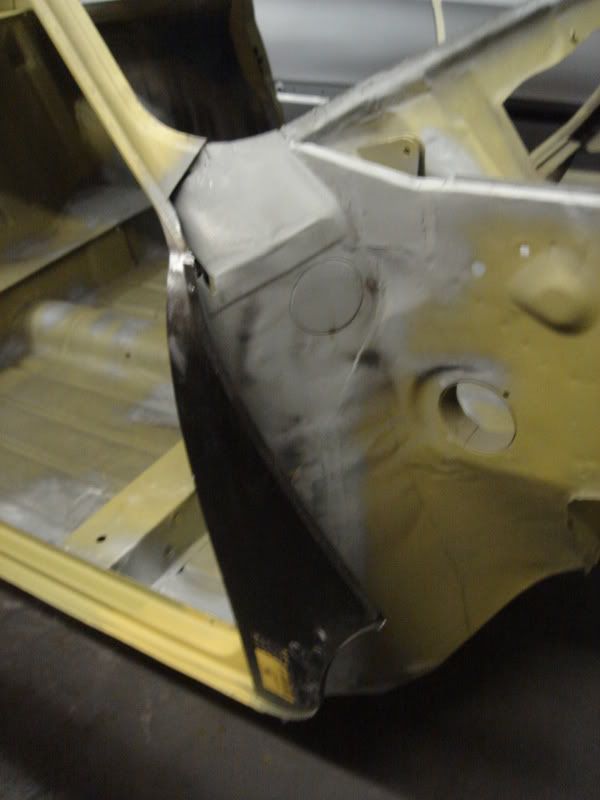
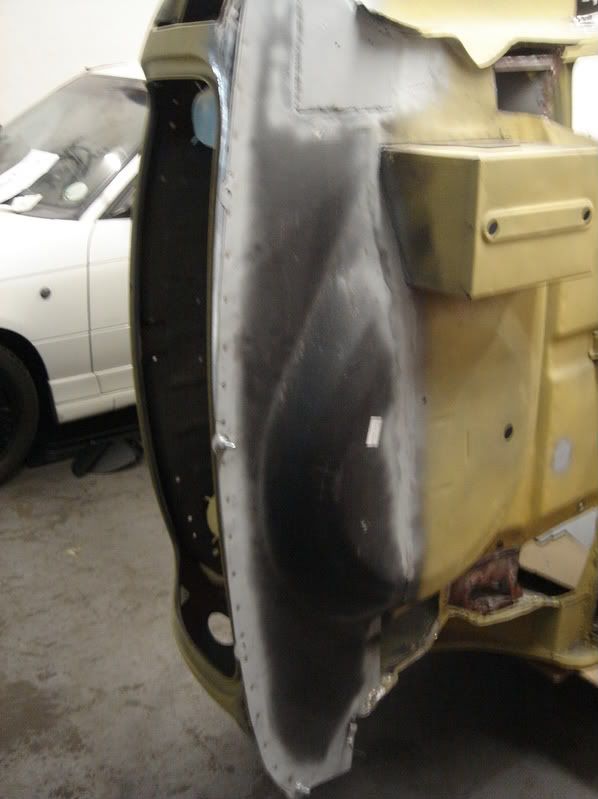
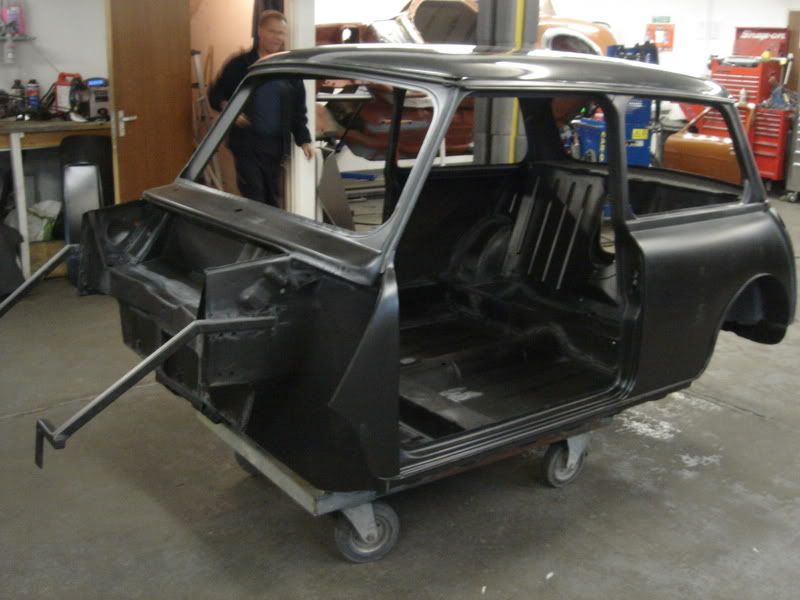
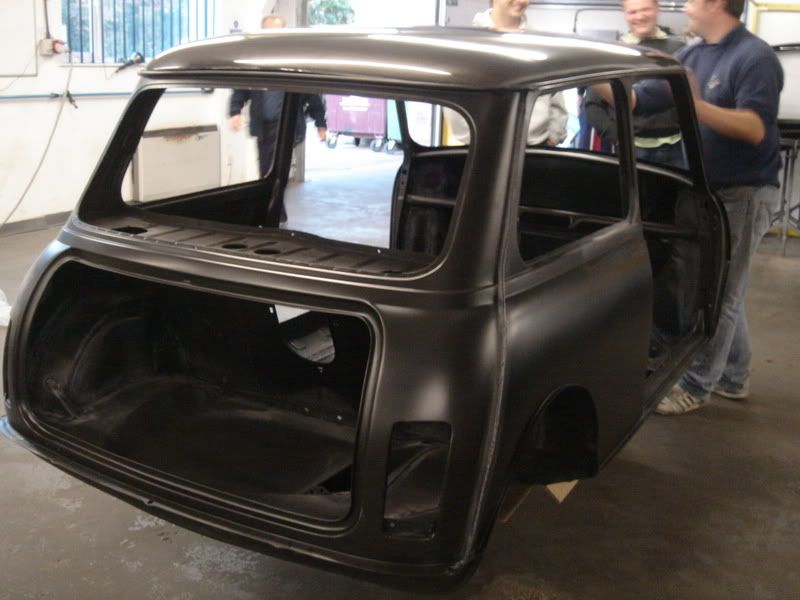
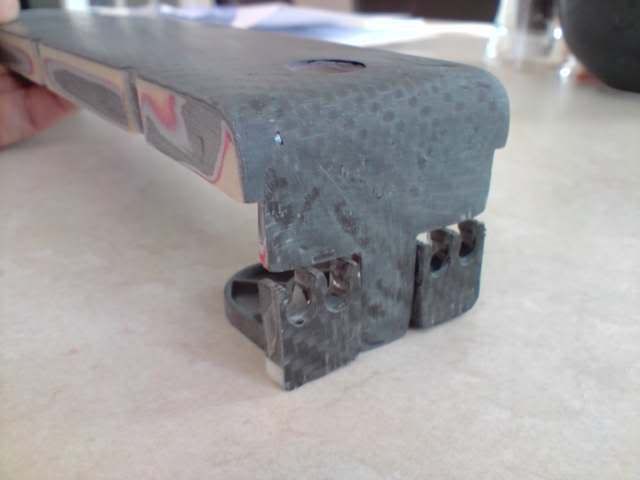
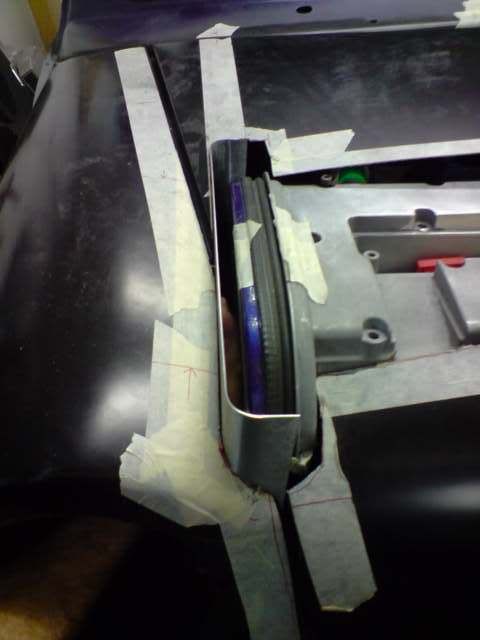
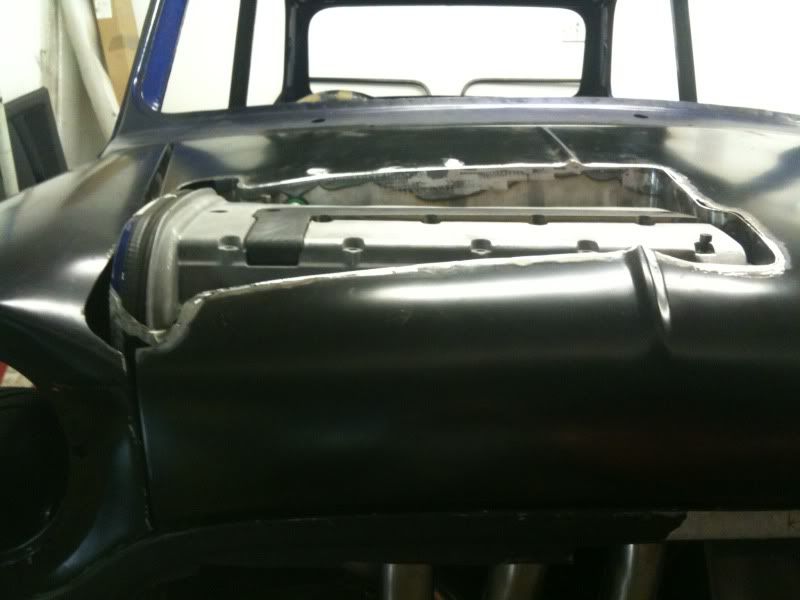
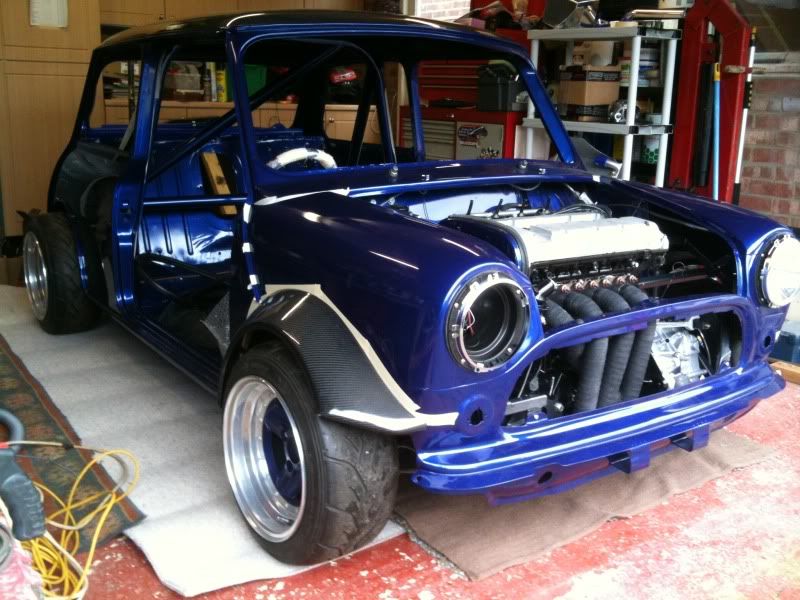
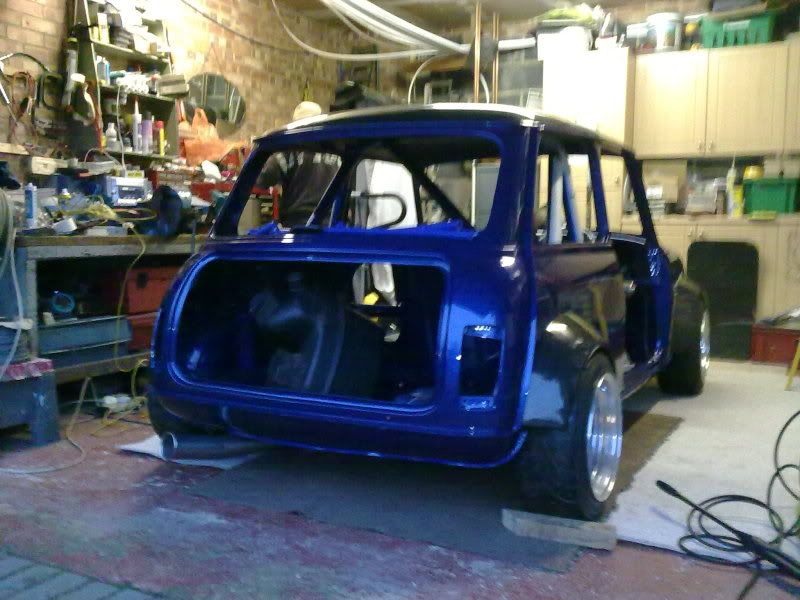
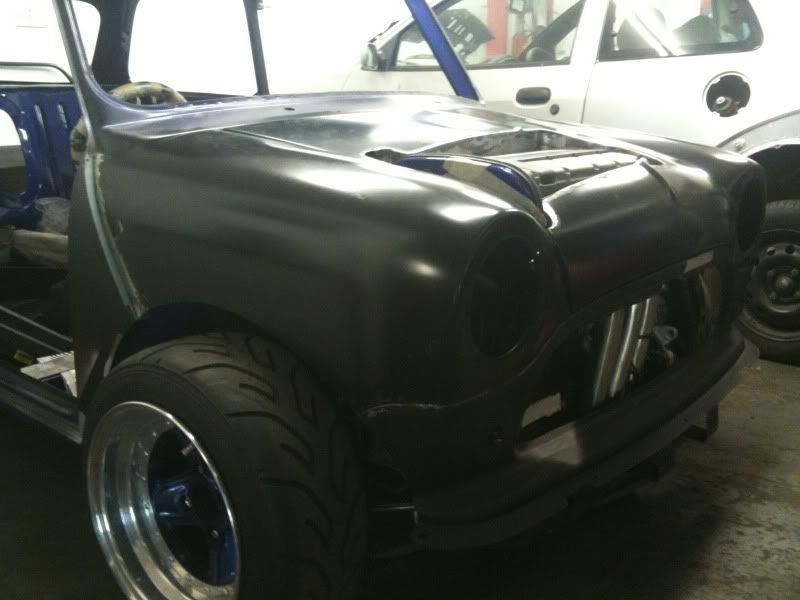
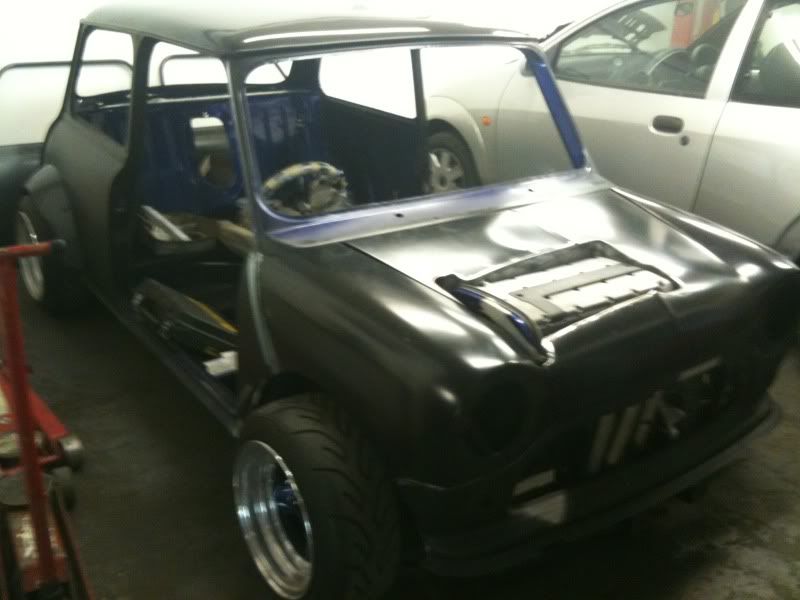
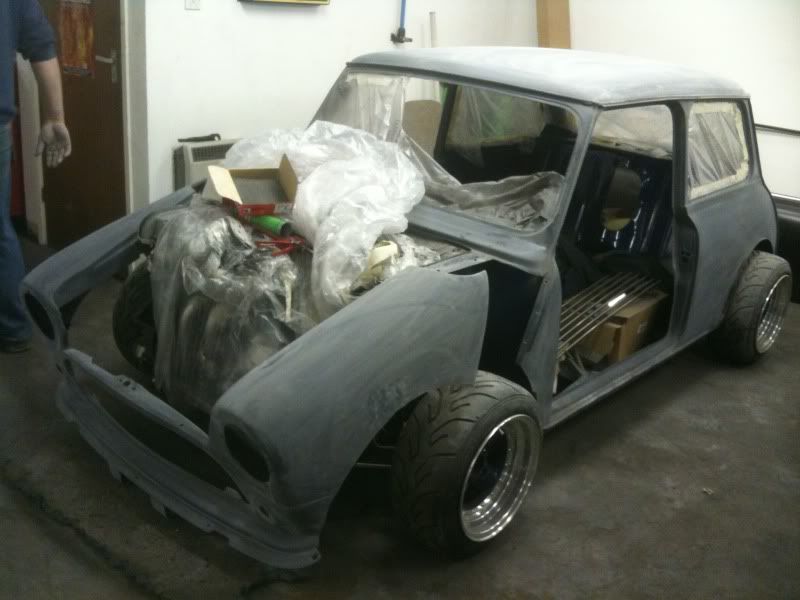
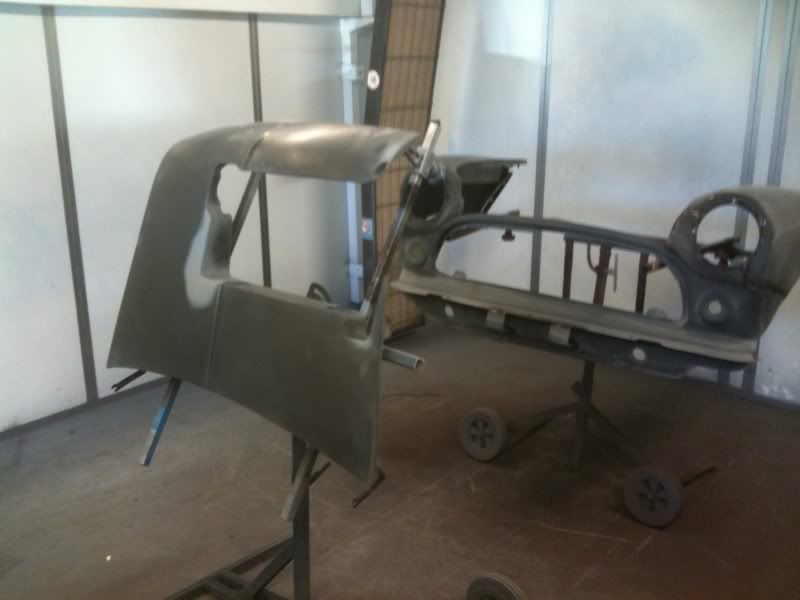
Standard Length Full Metal, Fully Removable Roundnose with Hidden Fixings
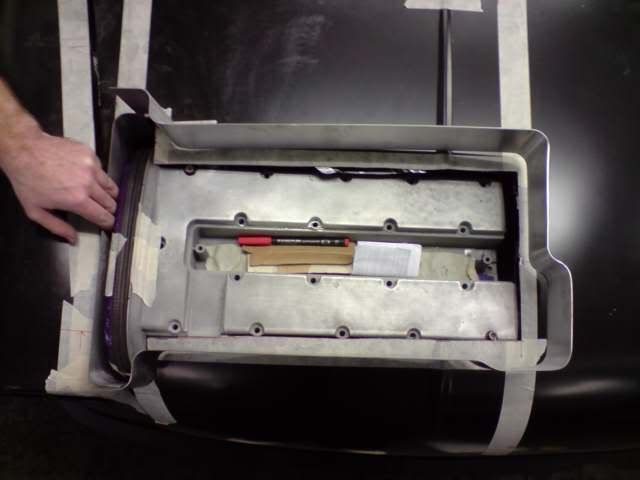
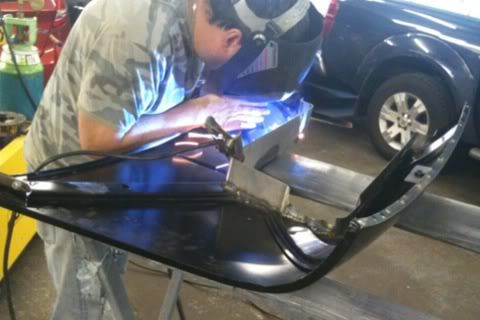
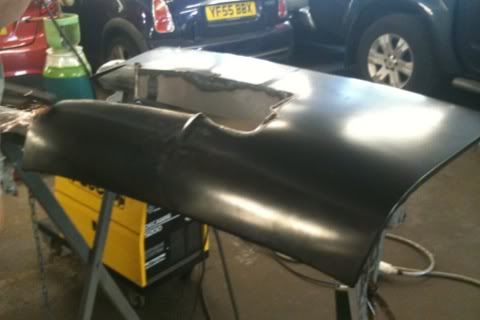
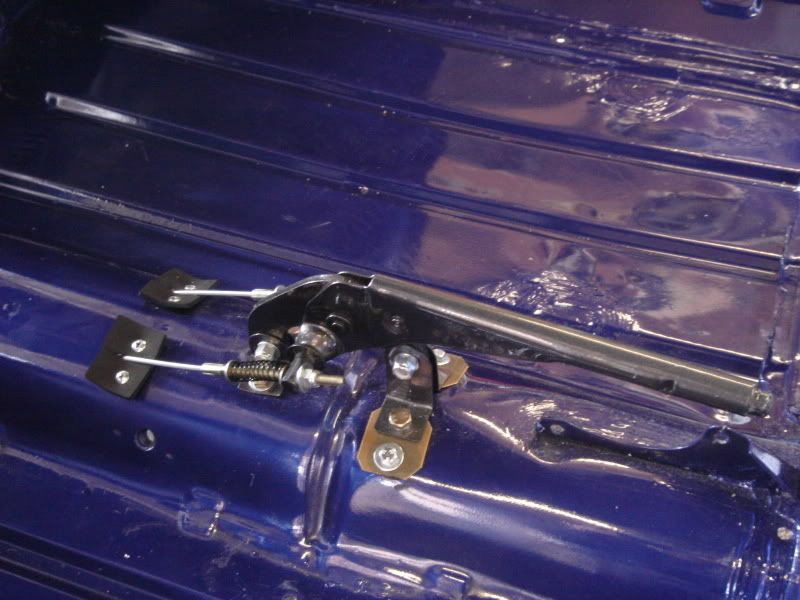
Custom Metal Bonnet with Removable Hinges
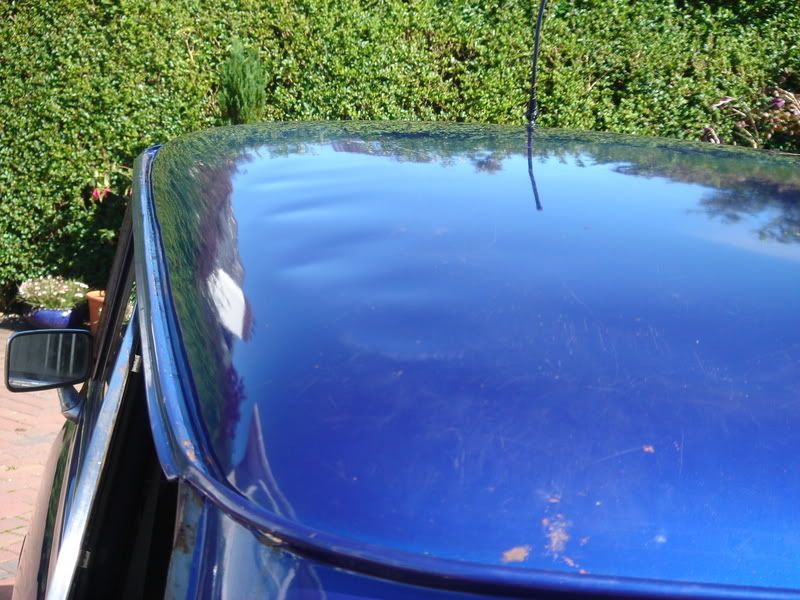
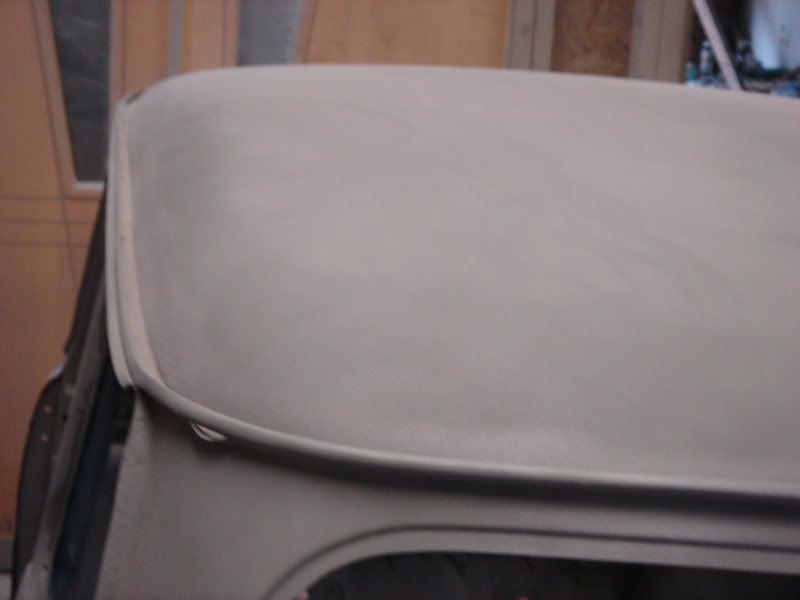
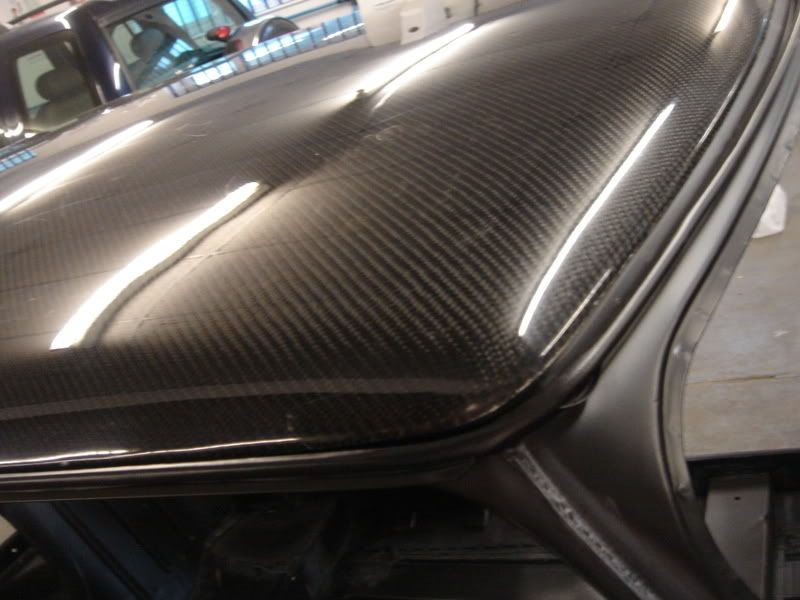
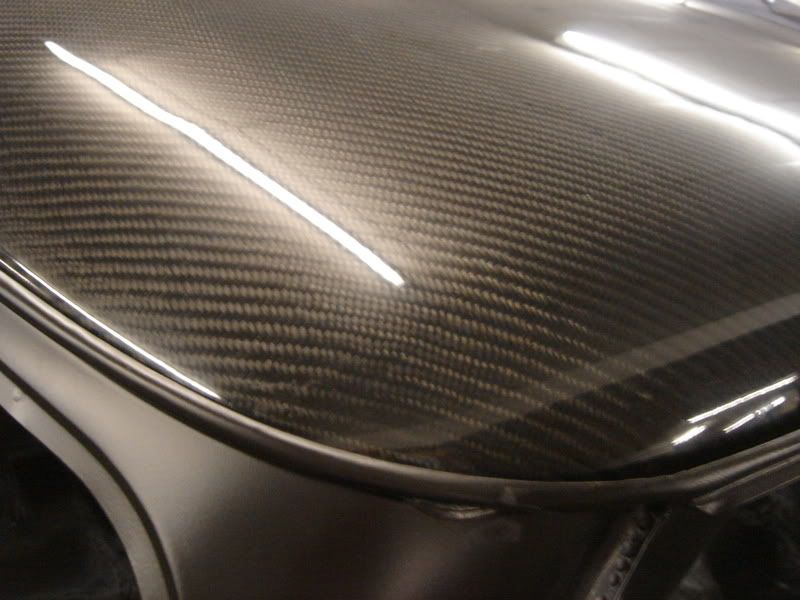
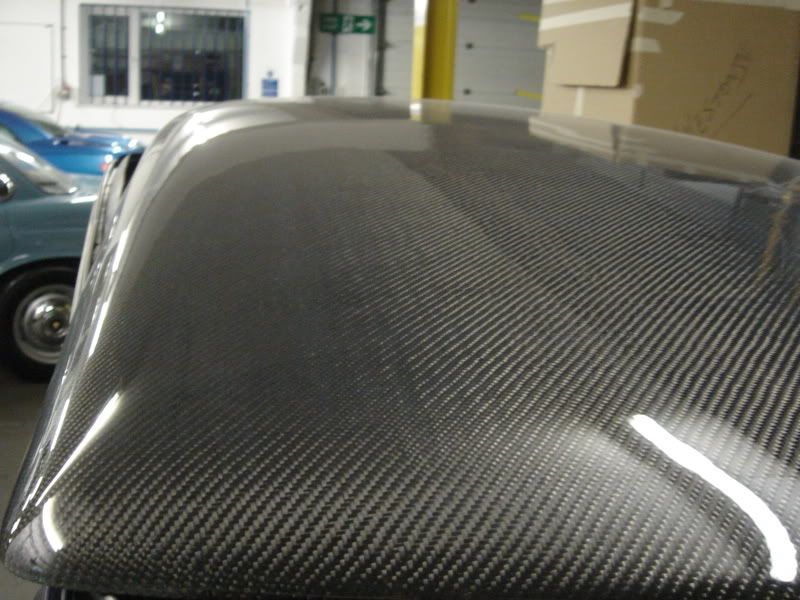
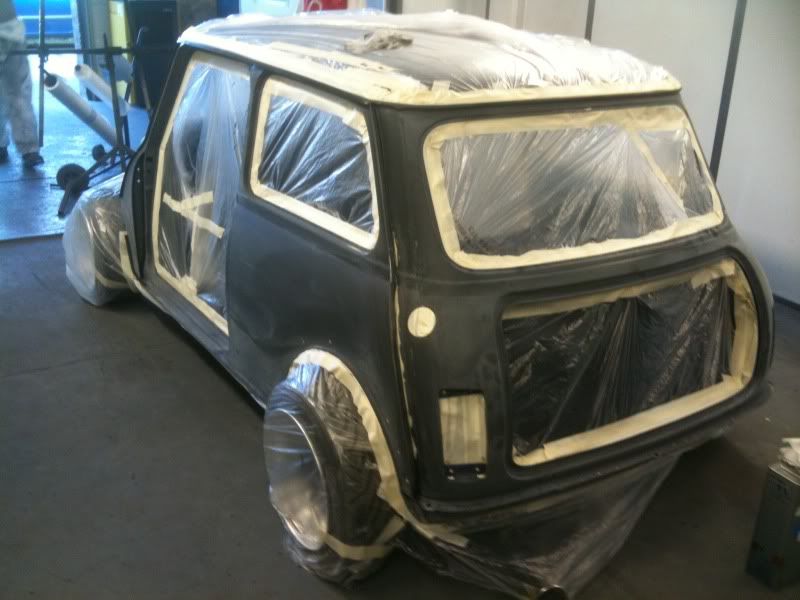
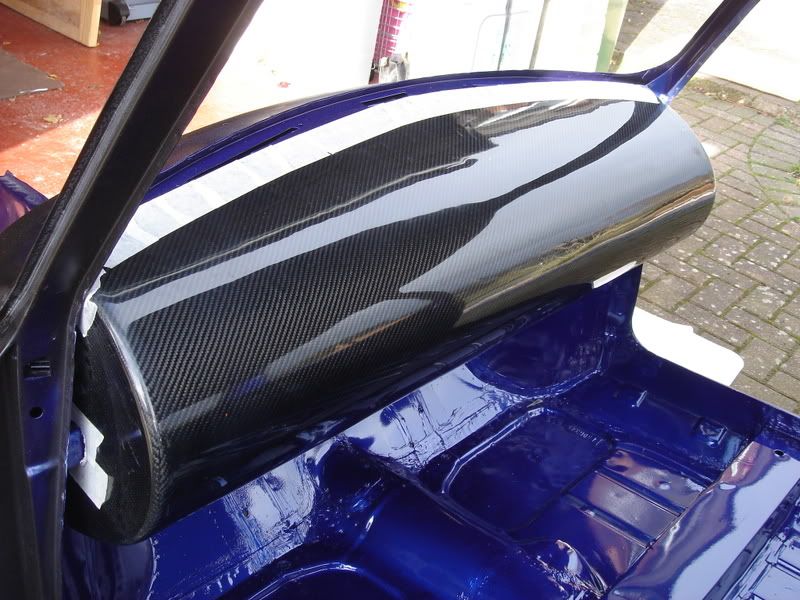
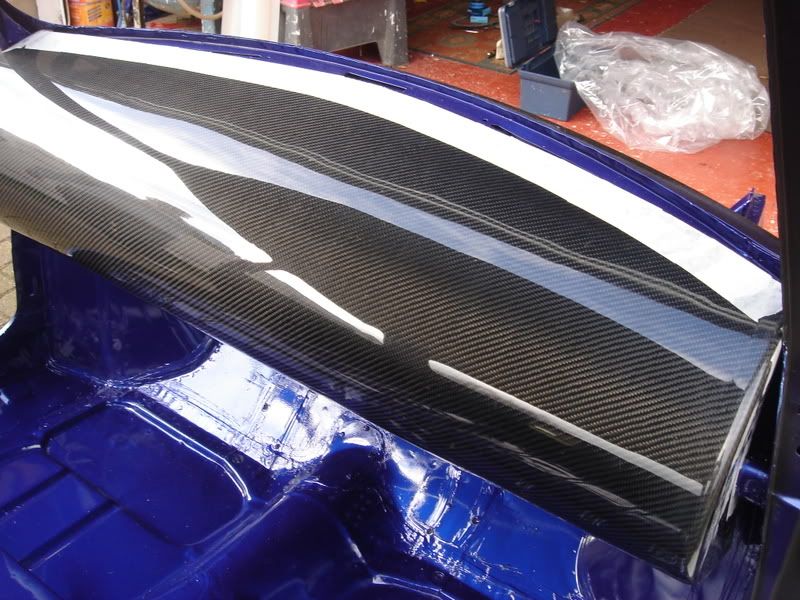
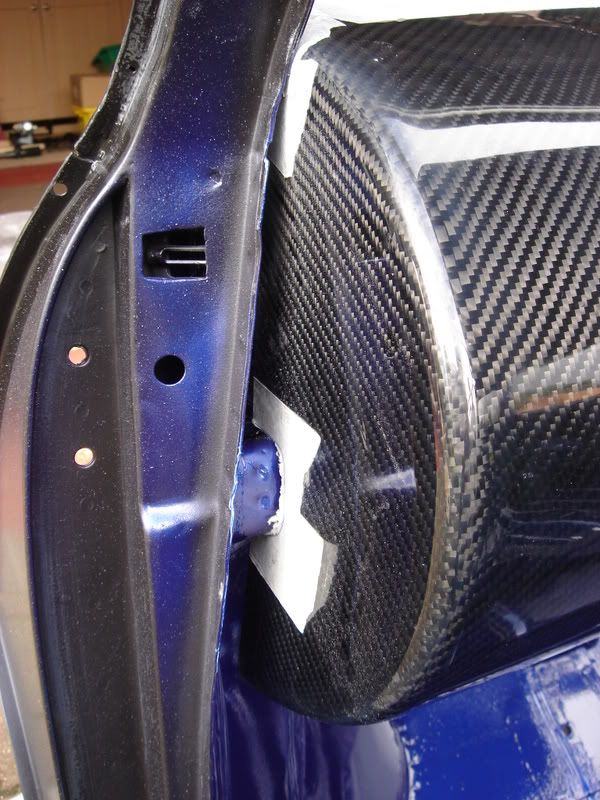
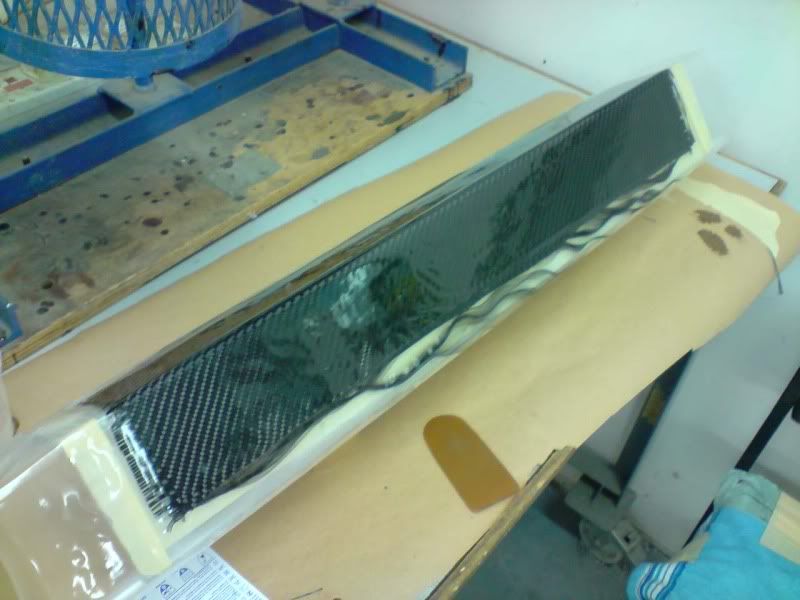
Carbon Fibre Roof Skin
Custom Carbon Fibre Mirrors & Internal Covers
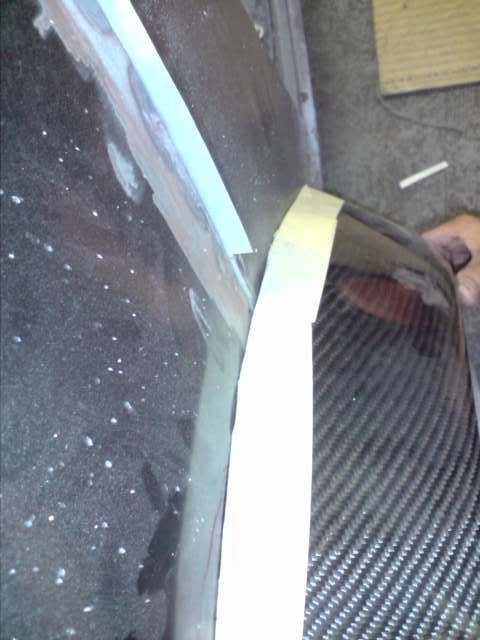
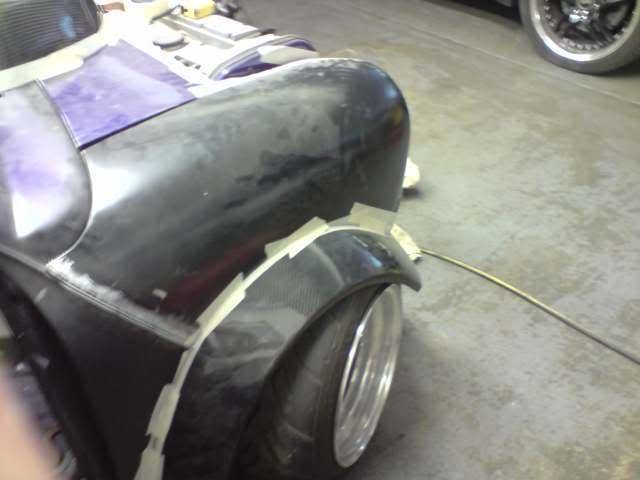
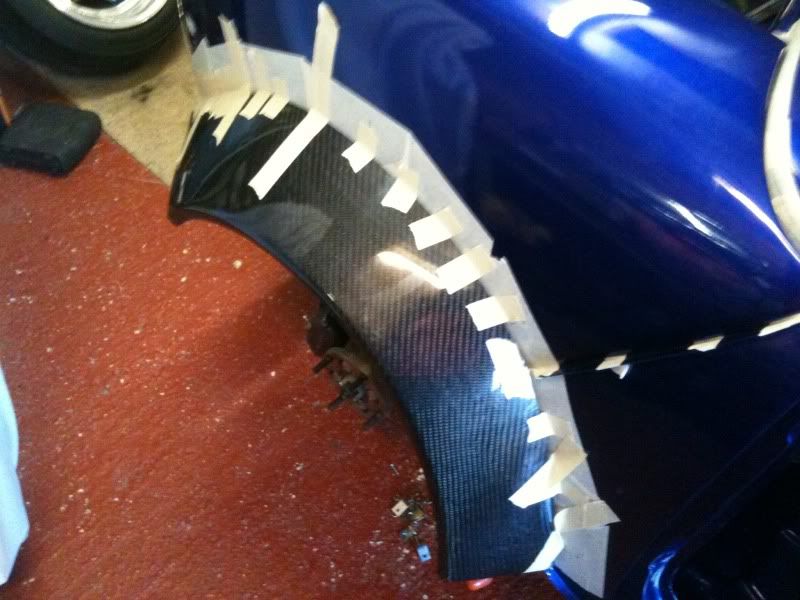
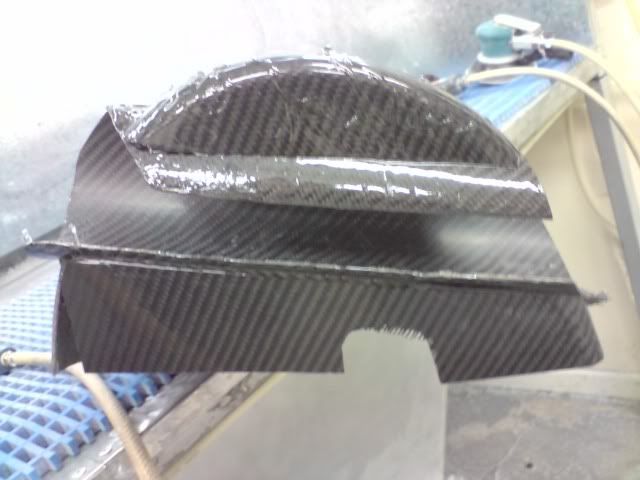
Carbon Fibre Miglia Arches
Mk2 Pop Out Rear Windows
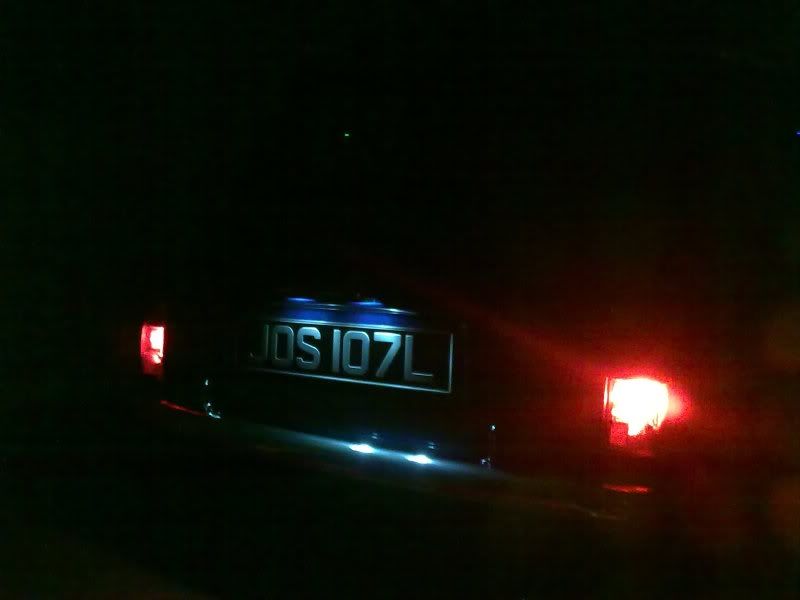
LED Number Plate Lights
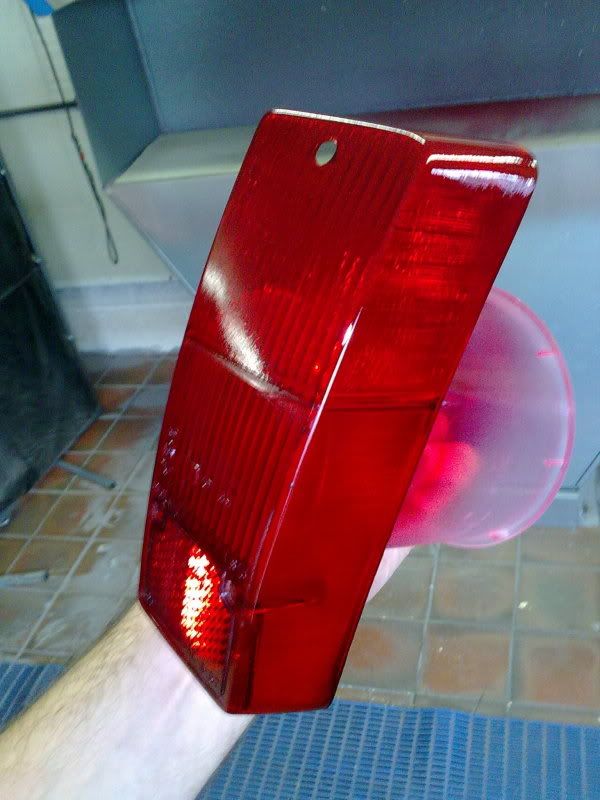
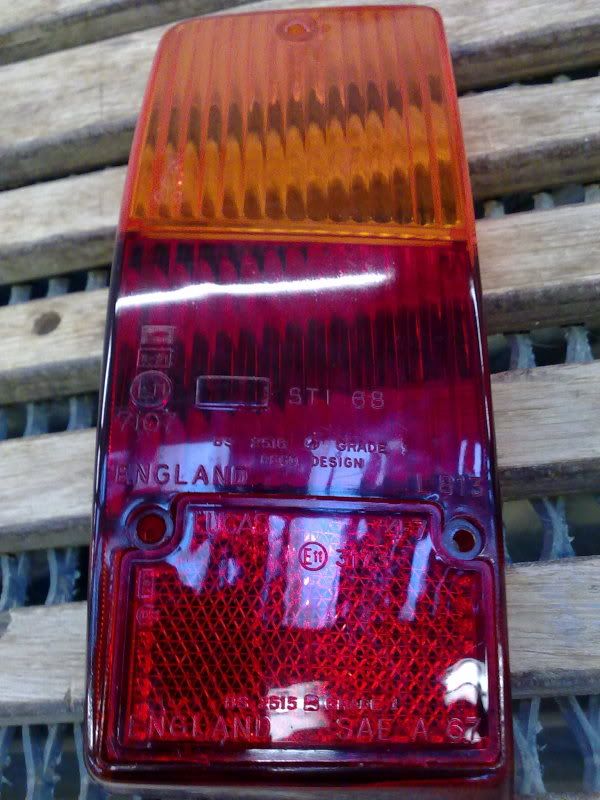
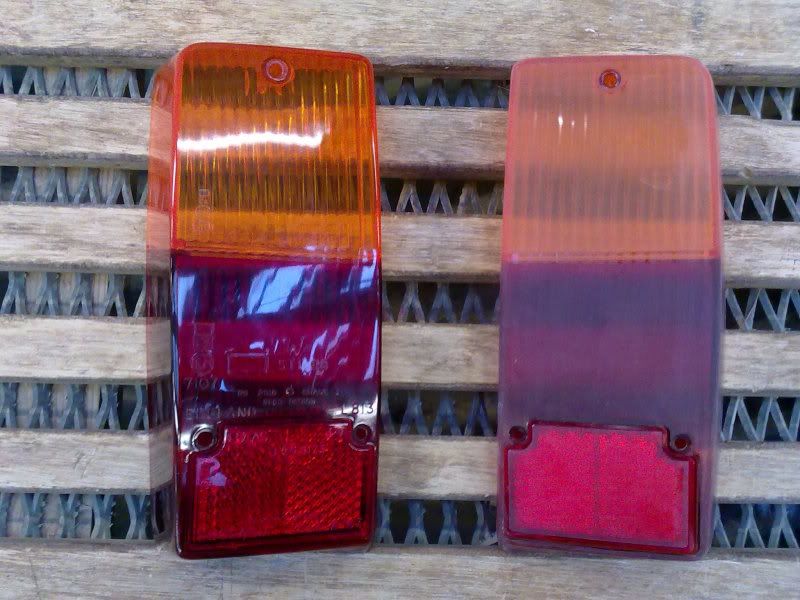
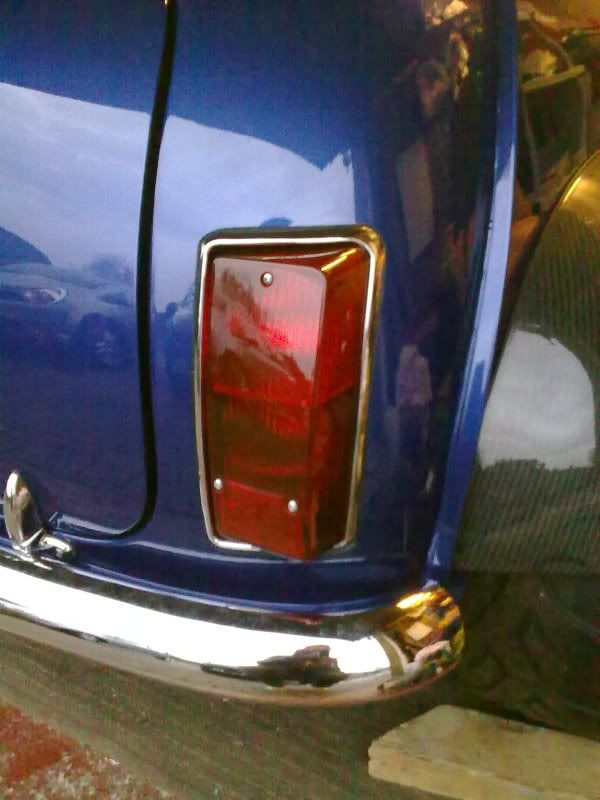
Custom Red Rear Lights with LED Bulbs
Crystal Clear Headlights
Clear Flat Glass Front Indicators with LED Bulbs
Carbon Fibre Shell Seats
Schroth 4 Point Harnesses
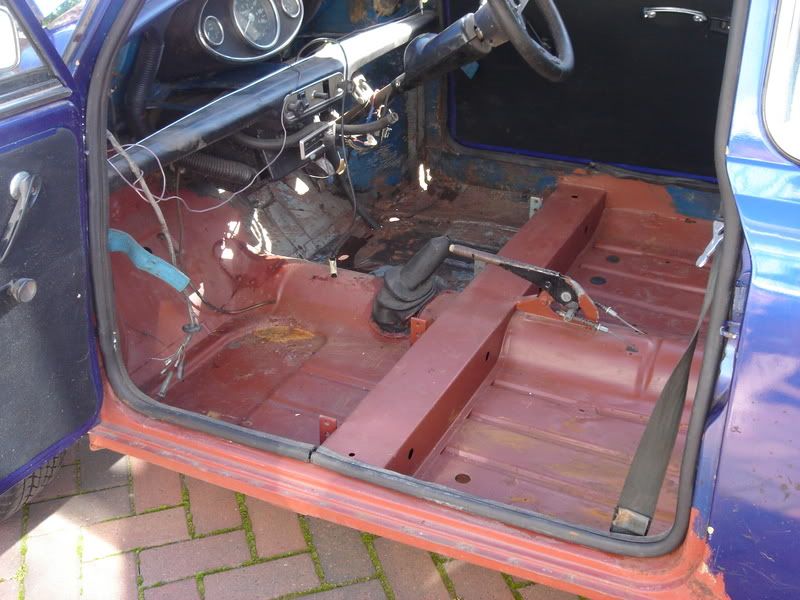
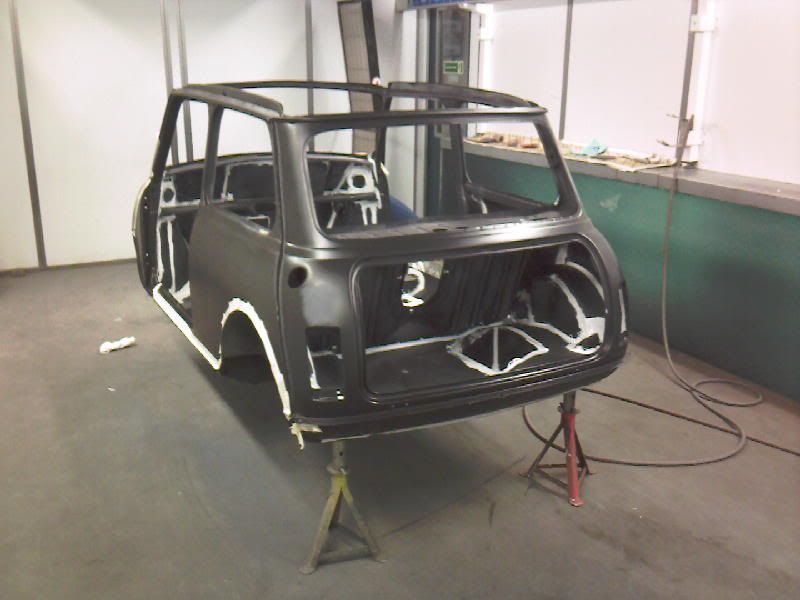
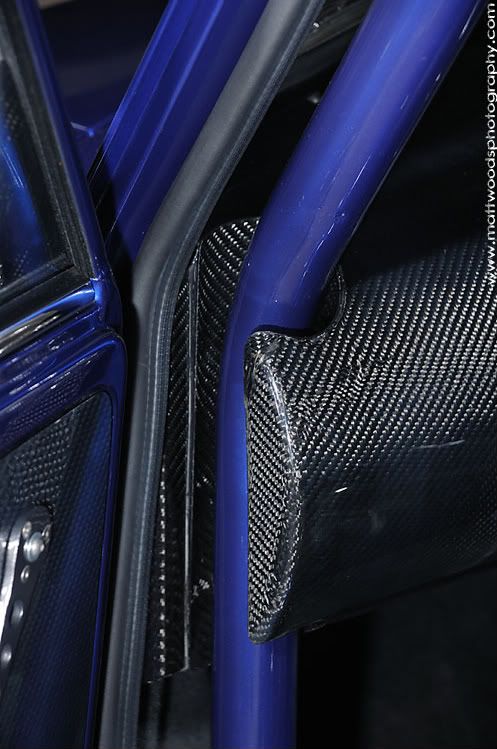
Custom 2” Diameter 6 Point Rollcage
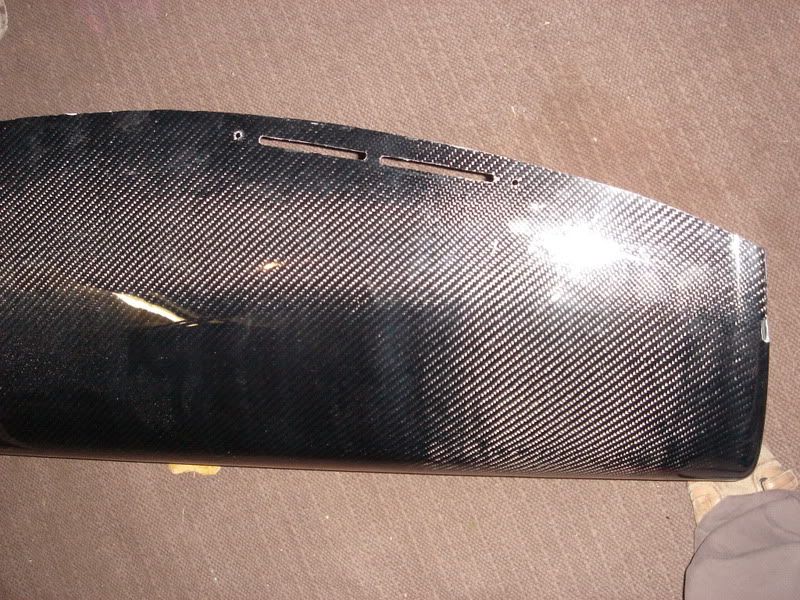
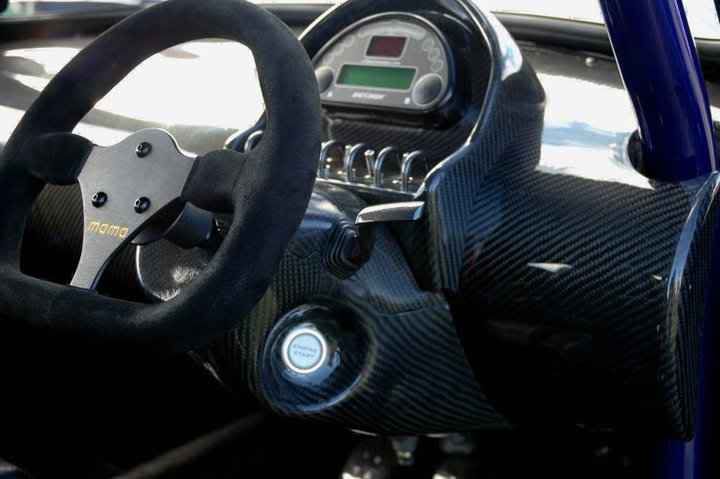
Custom Carbon Fibre Dashboard with Rollcage Fitment
Custom Carbon Fibre Steering Column Shroud with Illuminated Starter Button
Custom Carbon Fibre Instrument Surround
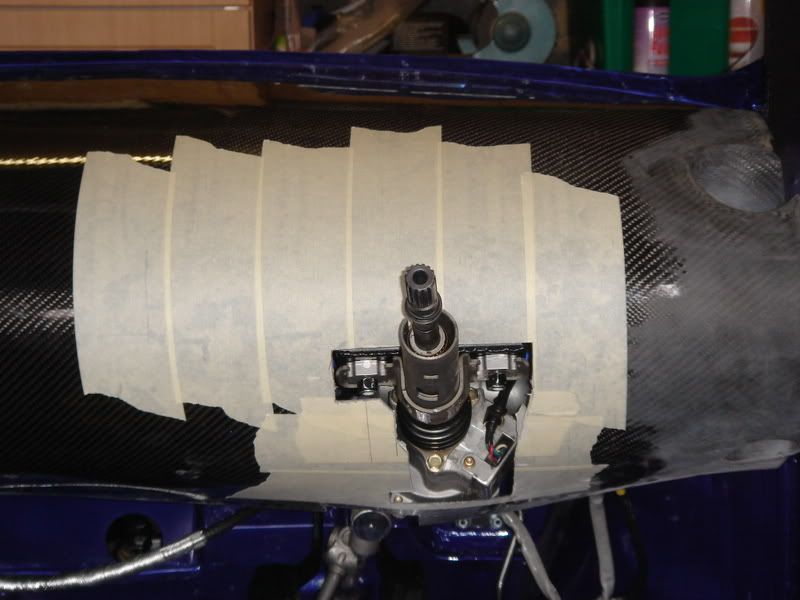
Custom Carbon Fibre Gear lever Surround & Linkage Tube
New Mini Style Illuminated Switches with Loops
ETB Digital Dash
Corsa B Electric Power Steering
Momo Quick Release Steering Wheel
Carbon Fibre Gearknob
Handbrake Moved 8” Back
Custom Carbon Fibre Pedals
Custom 2 Speed Heater with Sealed
Custom Carbon Fibre Heater Cover
Custom Carbon Fibre Door Cards
Custom Billet Door Handles & Window Winders
Custom Made Wiring Loom
White LED Interior Puddle Lighting
Retro Re-trims Carbon Fibre Leather Headlining & A,B & C Pillar Covers
Retro Re-trims Carbon Fibre Leather Handbrake & Gearlever Gators
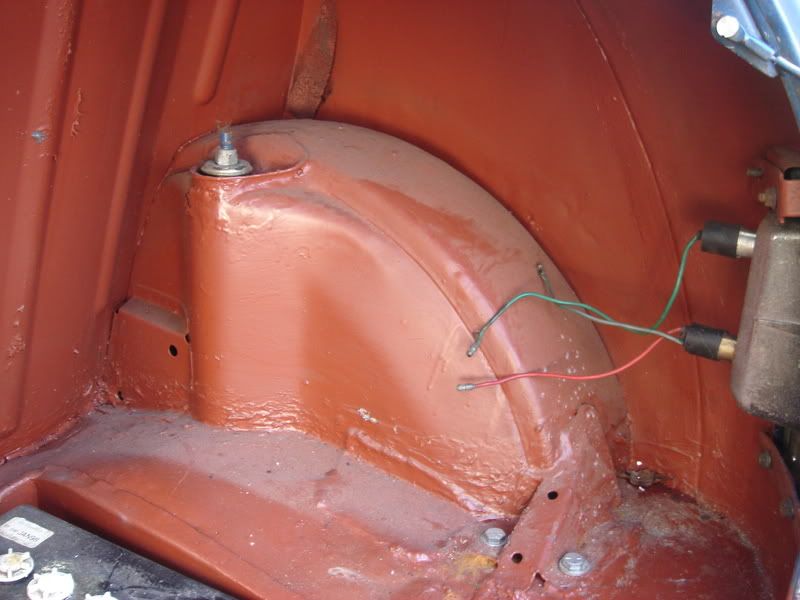
Retro Re-trims Carbon Fibre Leather Boot kit
Custom Carpet & Mats
Original Pics - 1991 (First Owned)
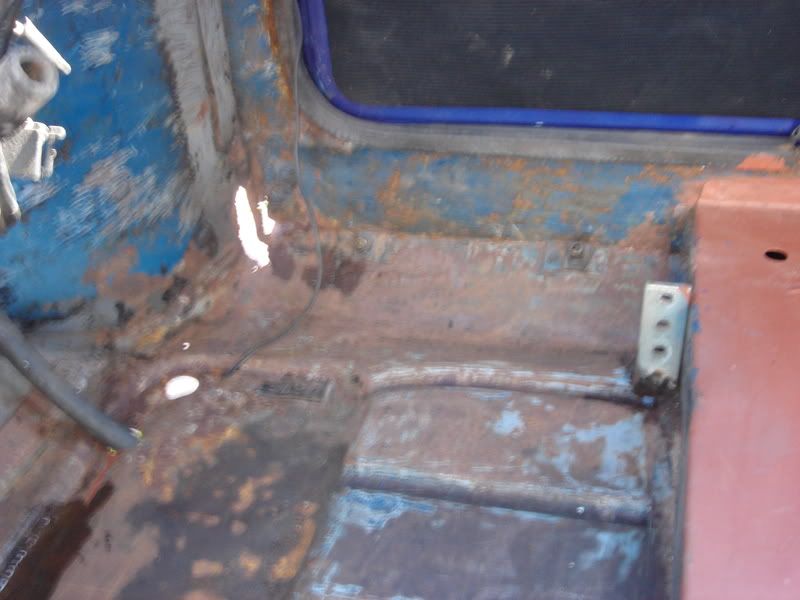
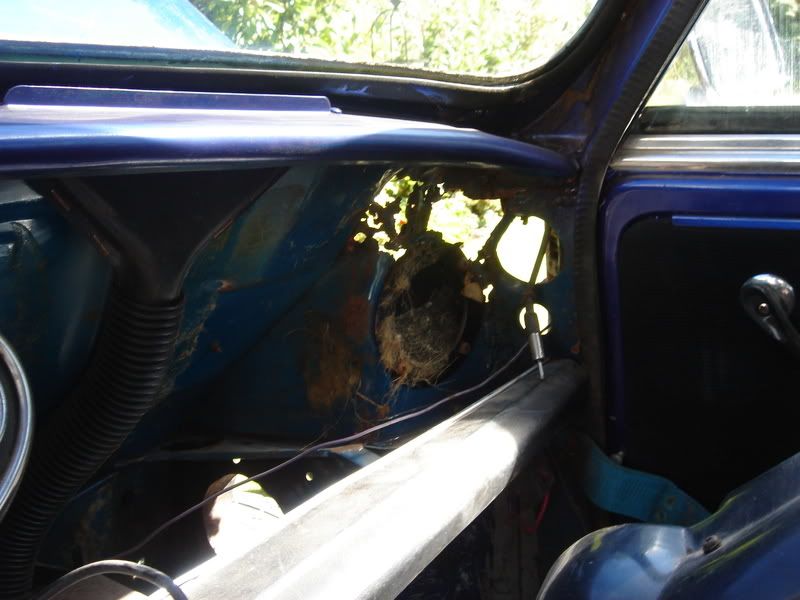
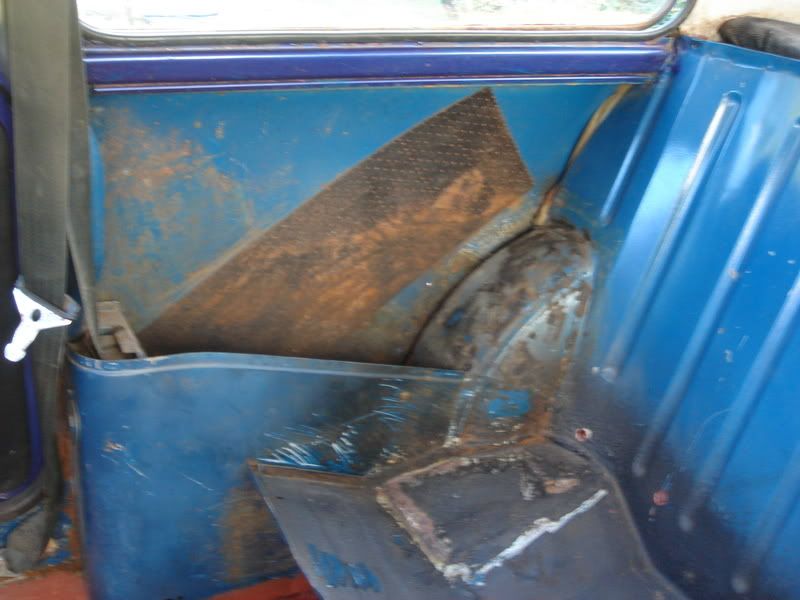
In the Barn - 2008 (Found after 13 years)
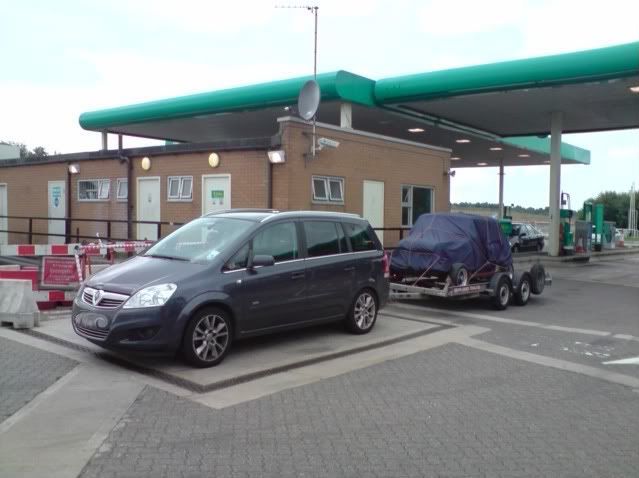
Moved to my parents house in Stranraer where we picked it up
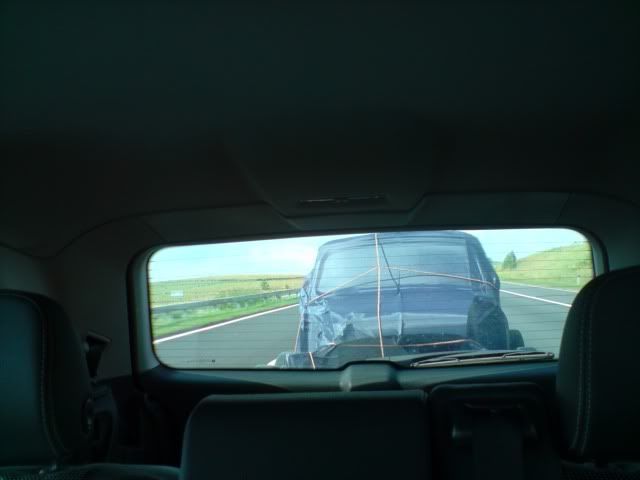
The journey from Stranraer to Bedfordshire