Jump to content


Photo

Mini Pickup Restoration Project


  • Please log in to reply
67 replies to this topic

#1 pickupmad87

pickupmad87

    Previously adampadmore

  • Members
  • PipPipPipPip
  • 273 posts
  • Location: woking

Posted 27 February 2011 - 11:14 PM

Right Guys and Gals this is my first proper posting so please bear with me as i am new to the forums malarkey!!

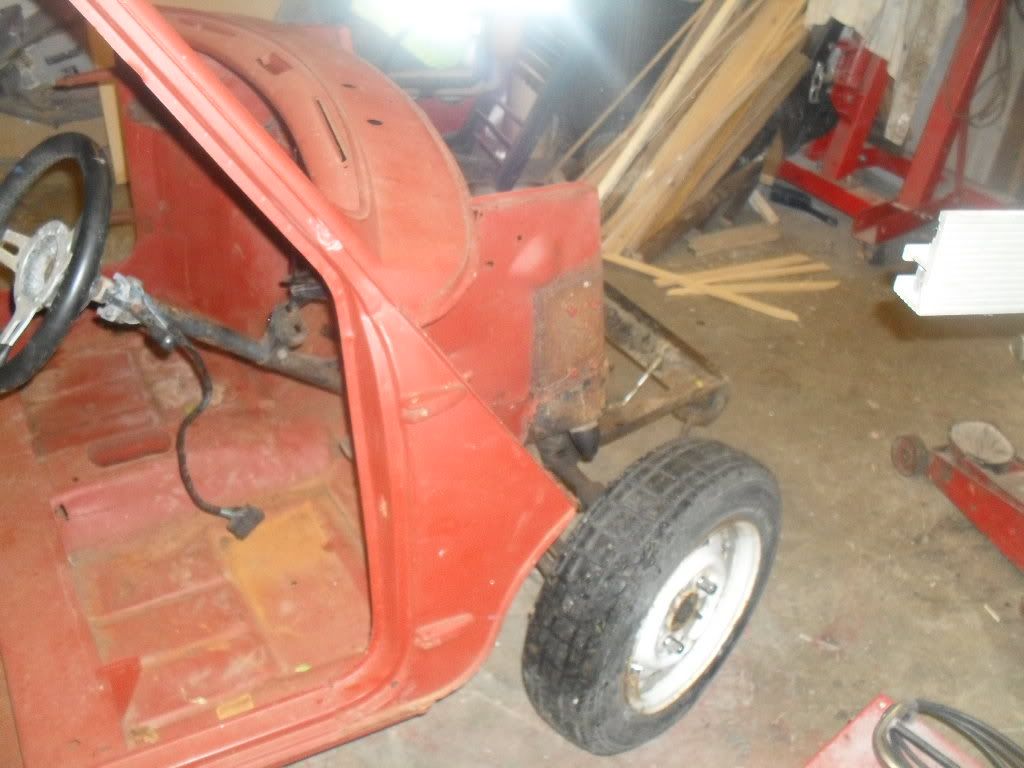
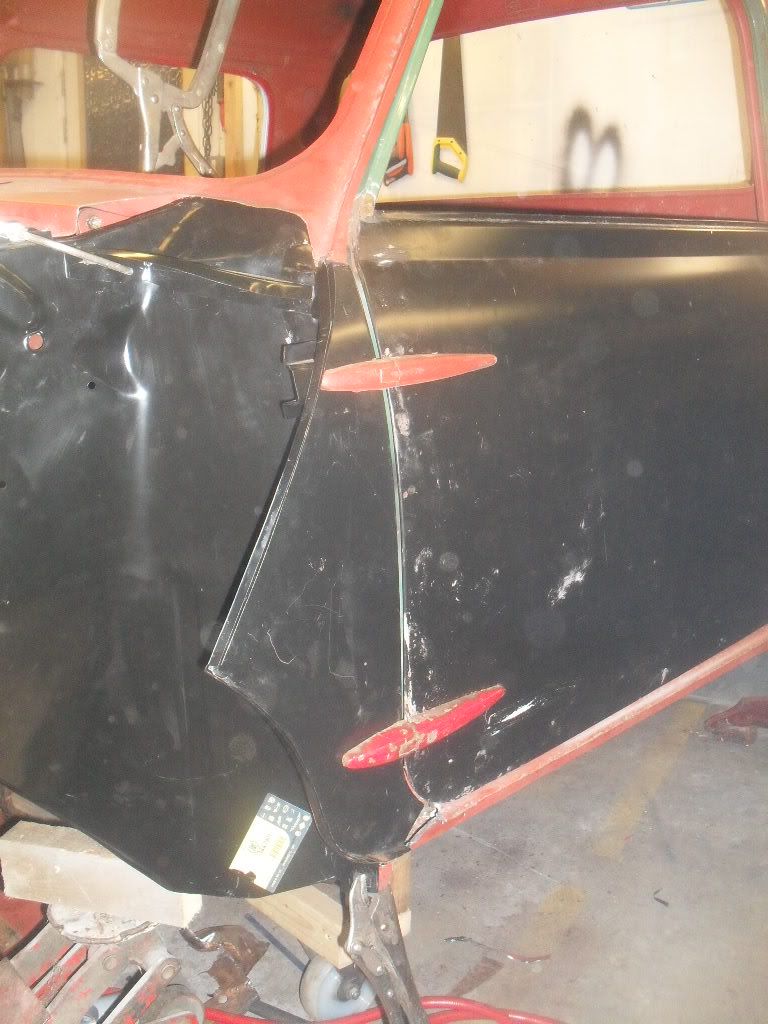
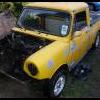
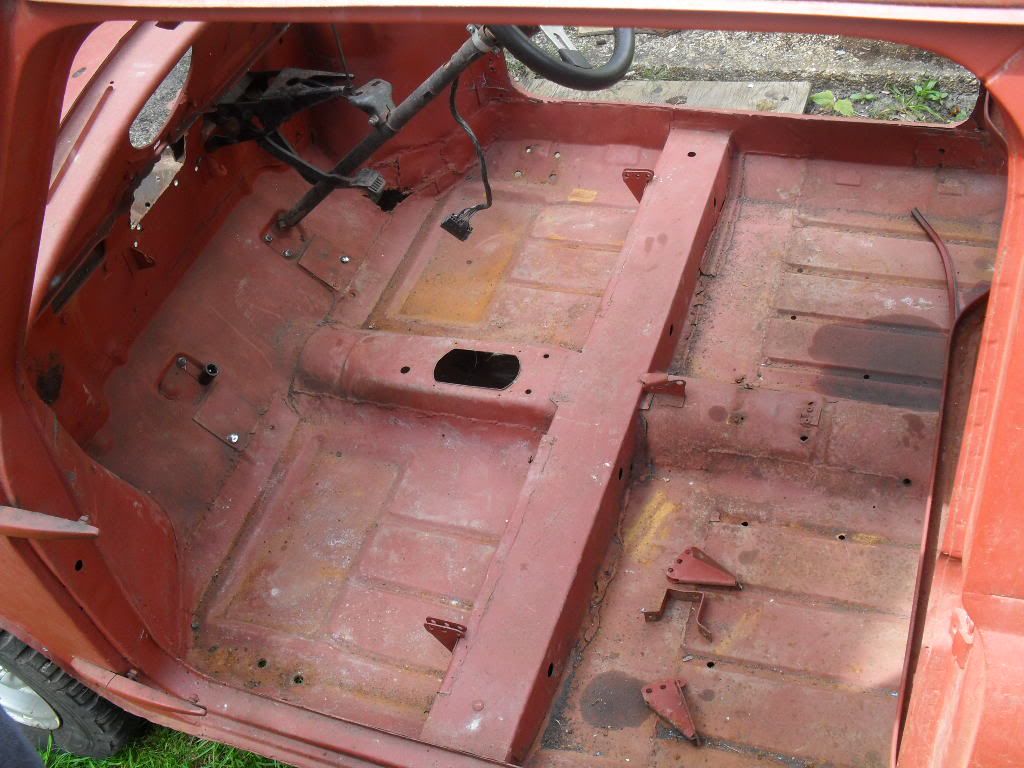
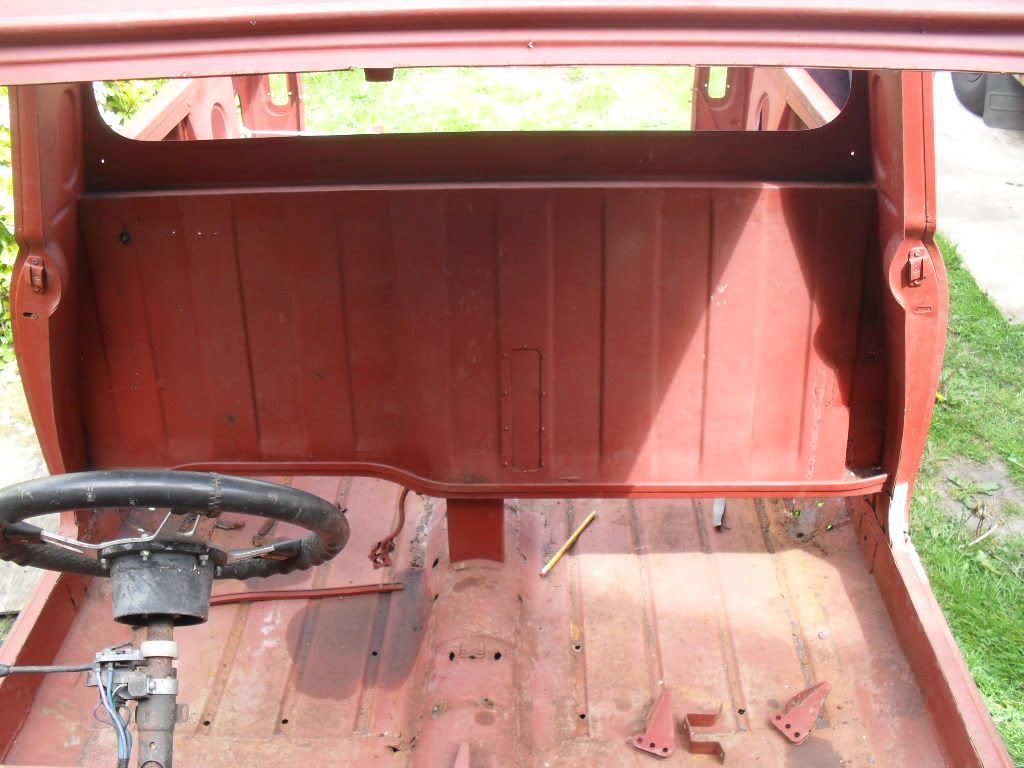
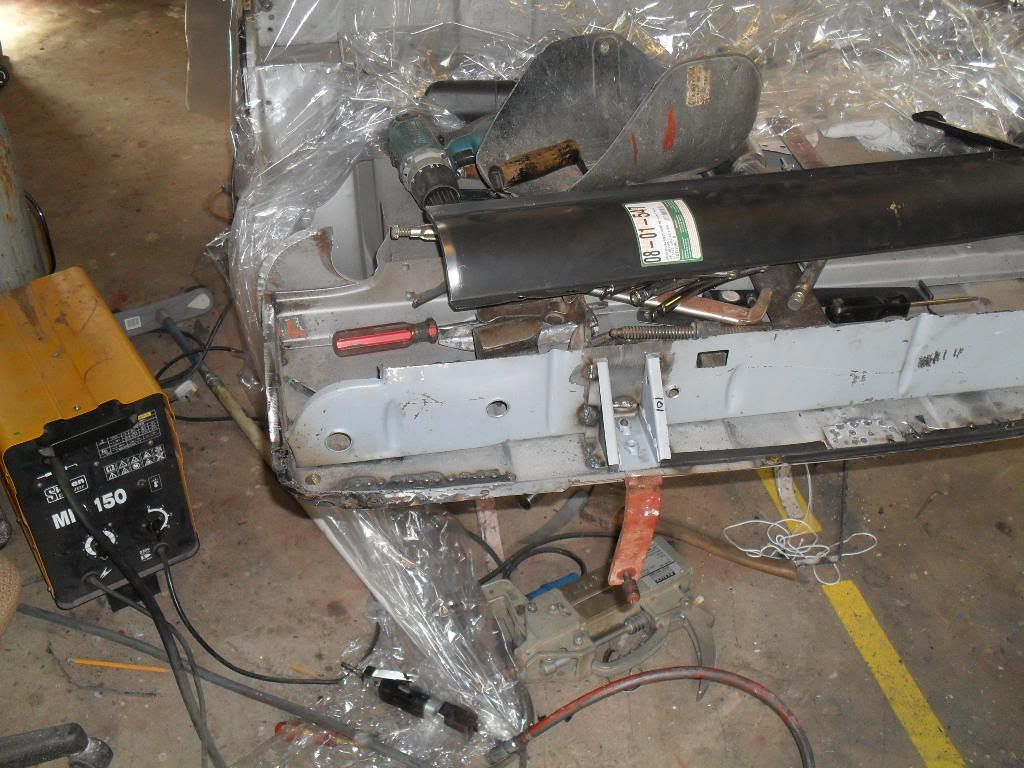
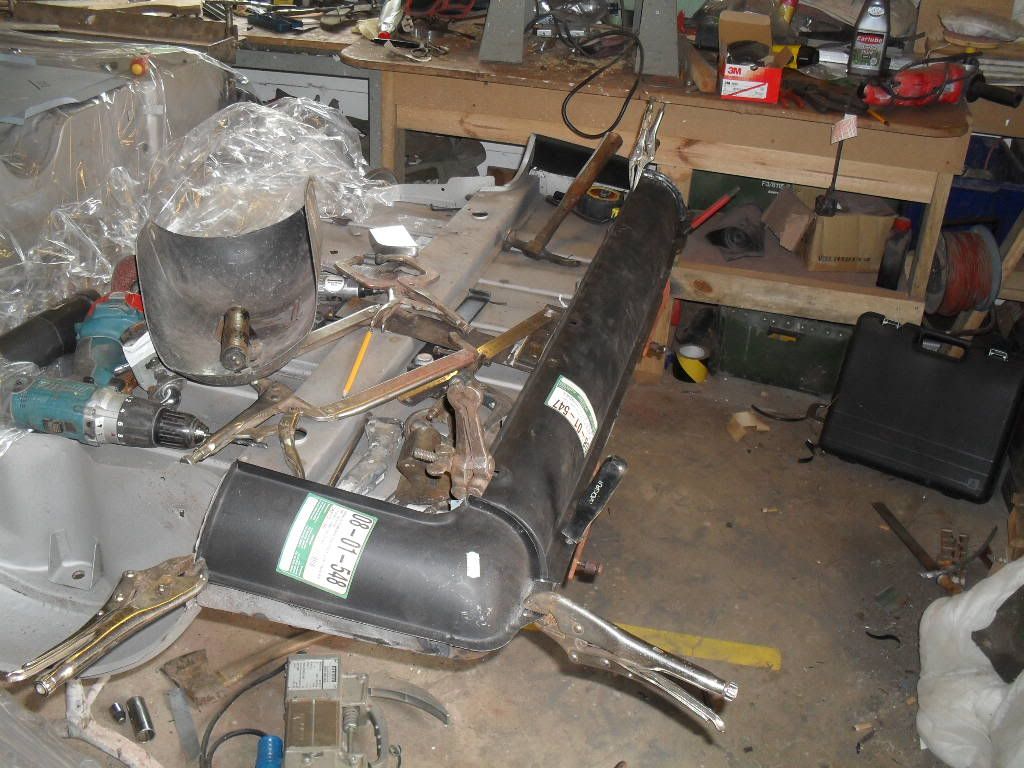
What we have here is one of two pickups we are planning to restore. this is the better one of the two believe it or not!!
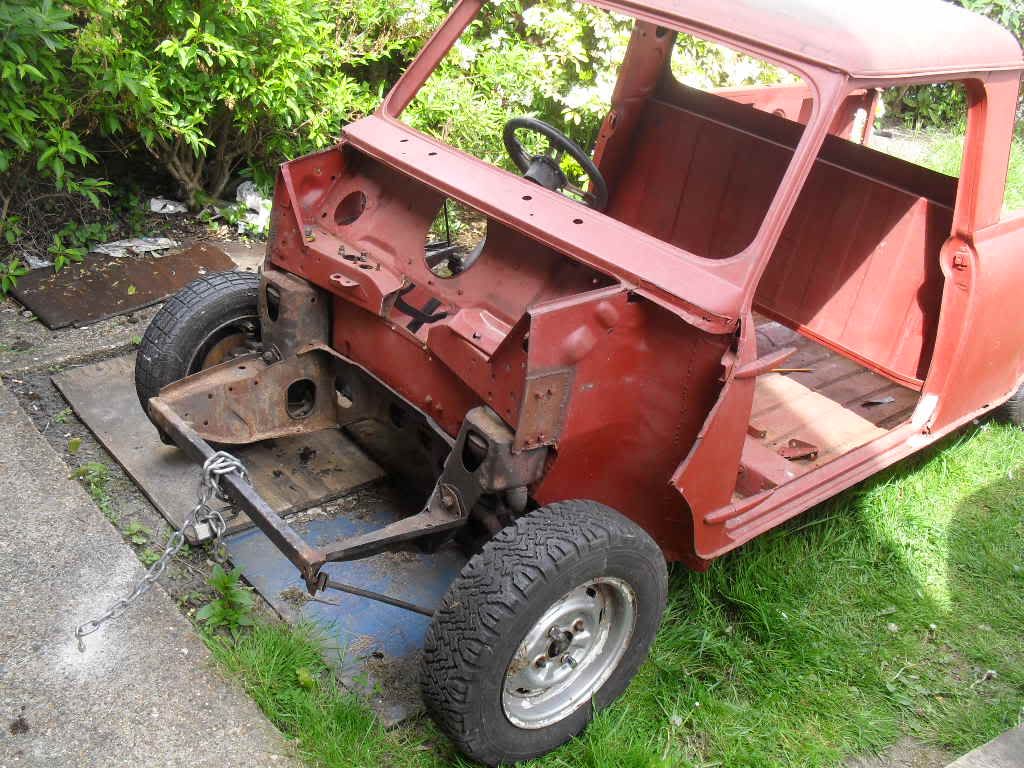
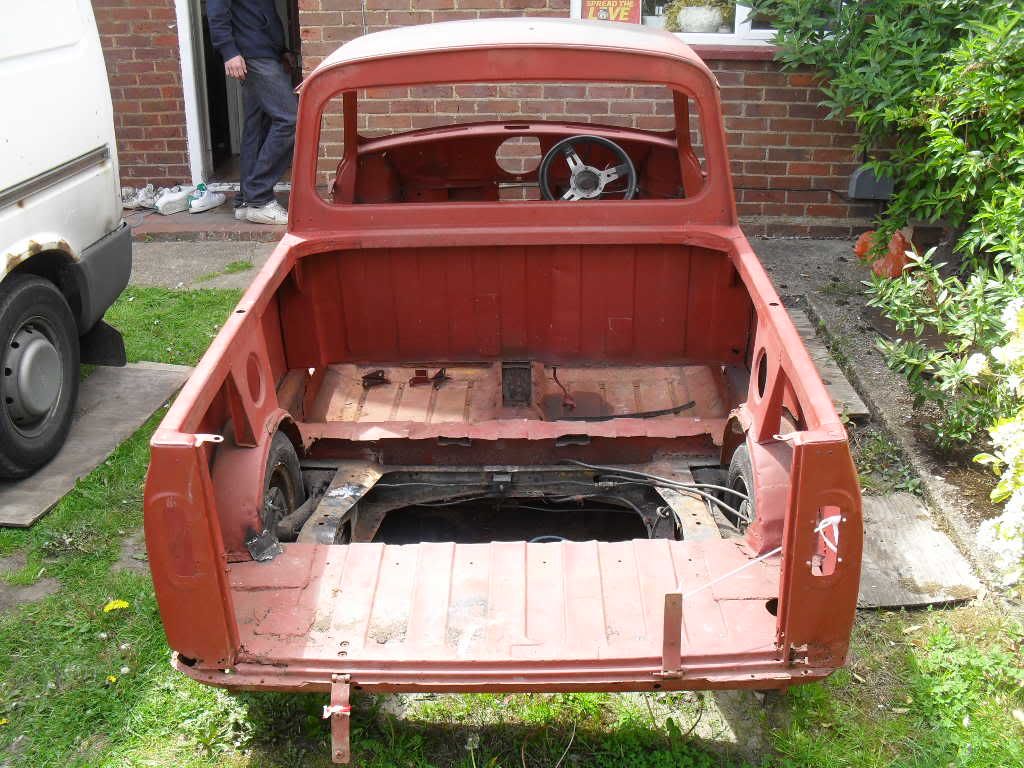
here is couple of pics of how it started we had done a few repairs to it allready but forgot to take piccys!!
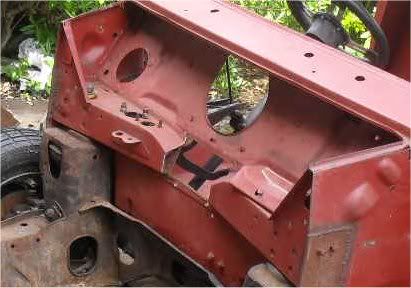
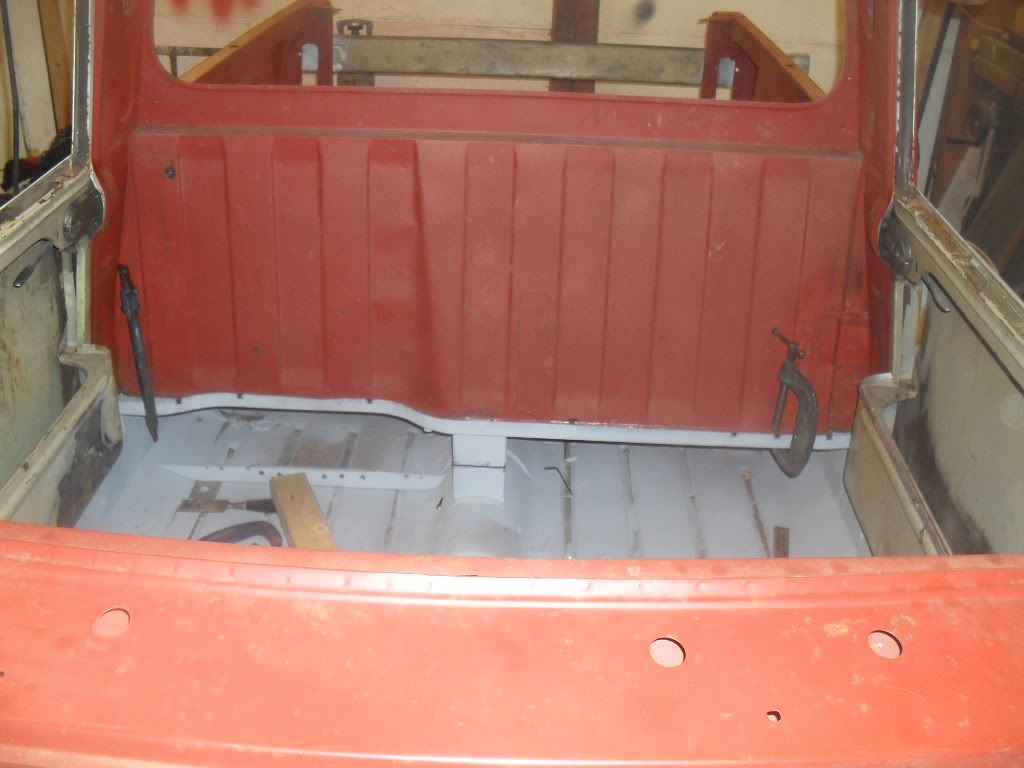
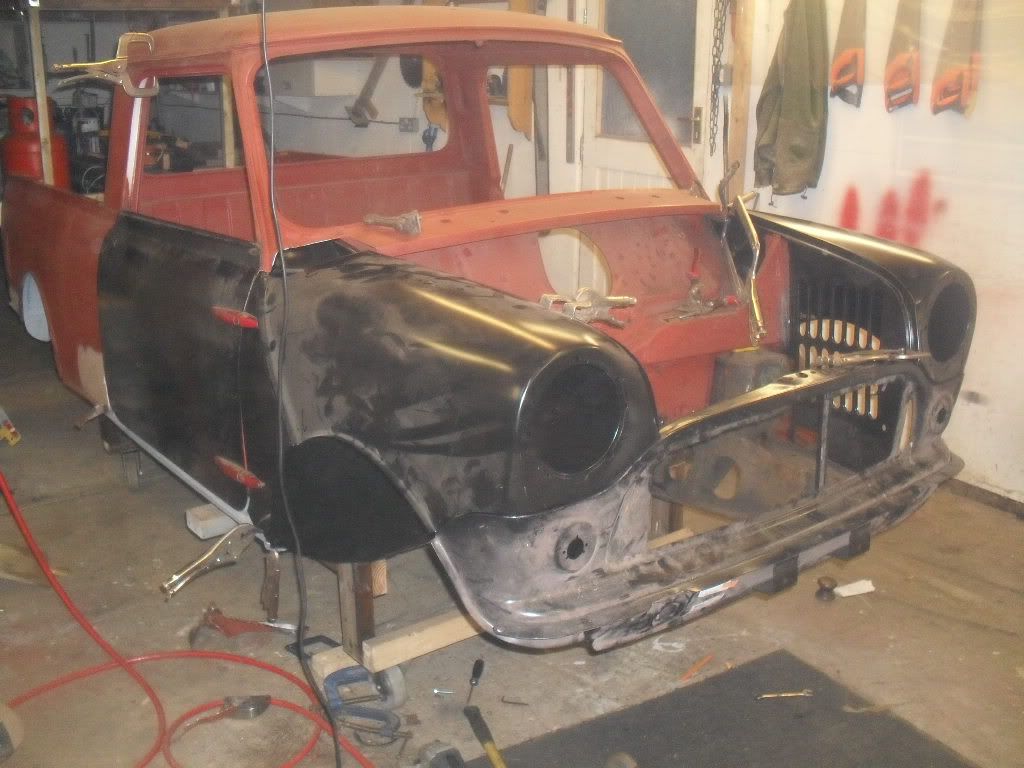
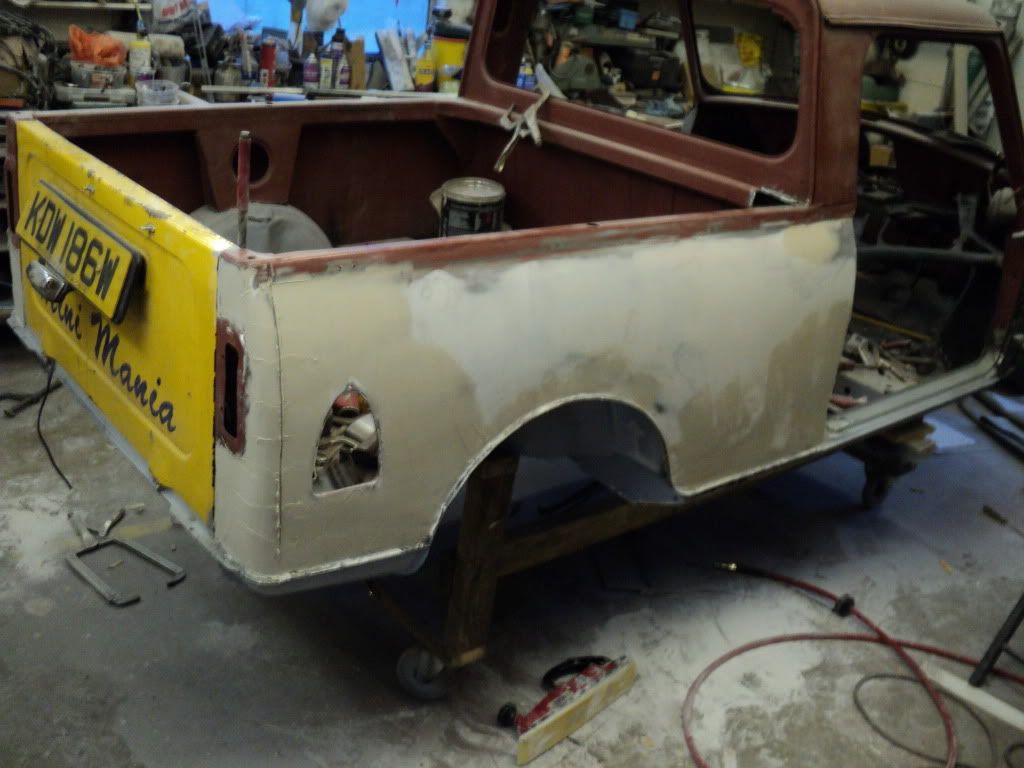
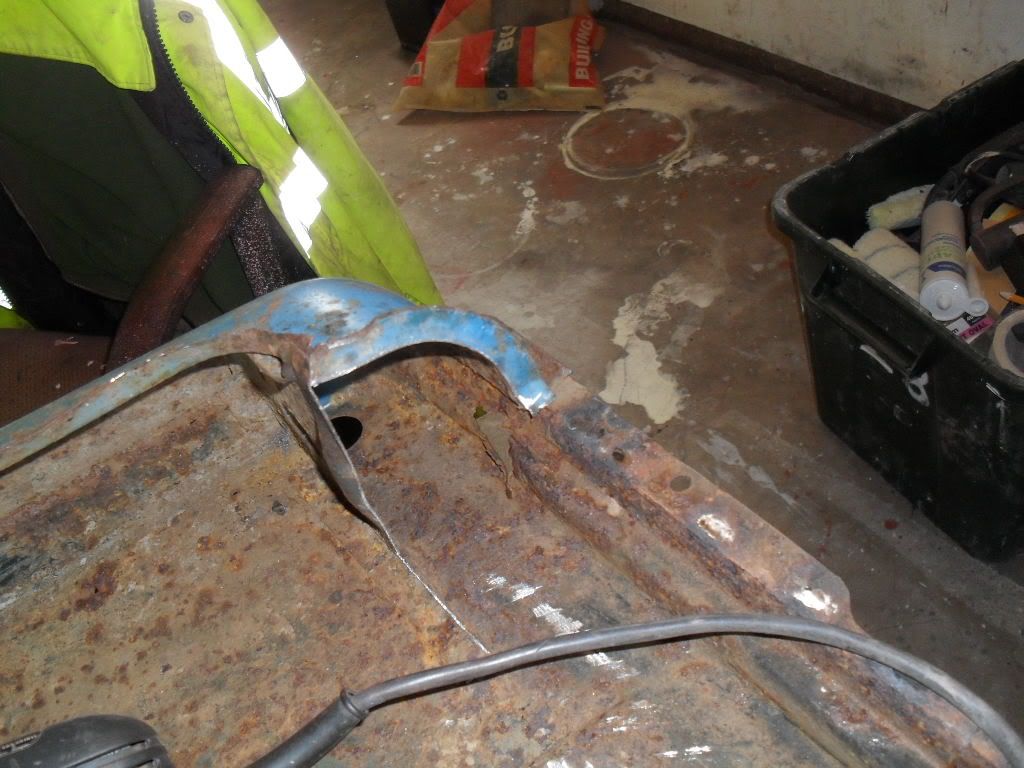
basicly this pickup had been trashed by some t**t who wanted to autograss it the decided he couldnt be botherd to finish it!!

Posted Image

Posted Image

Posted Image

Posted Image

Posted Image


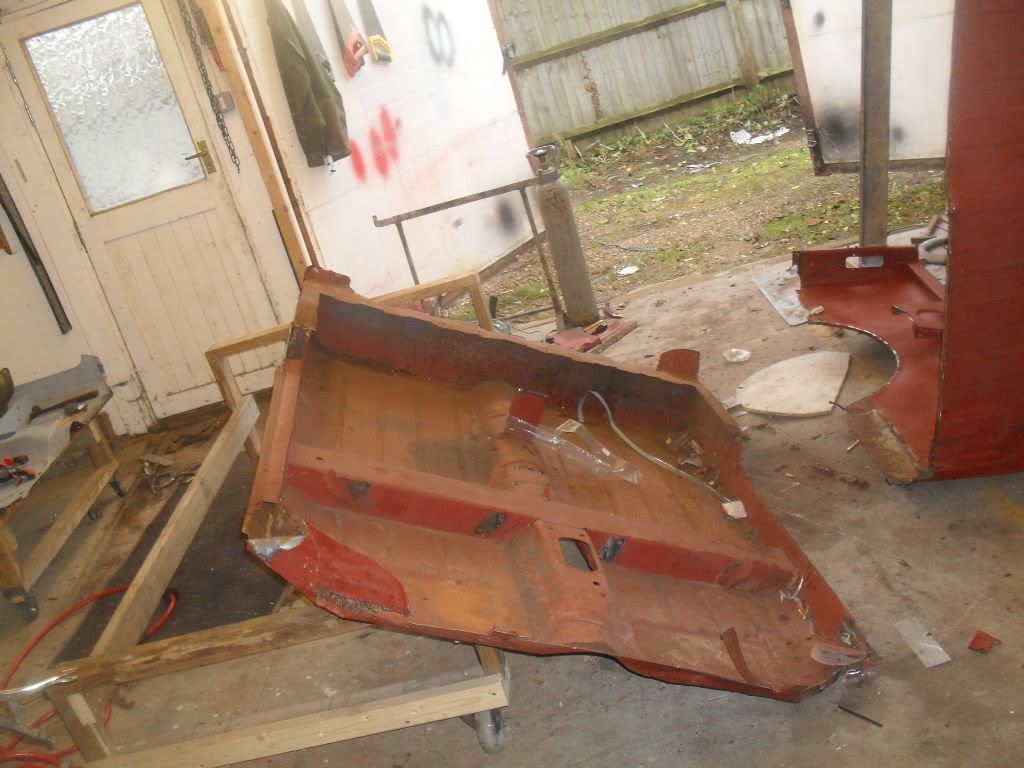
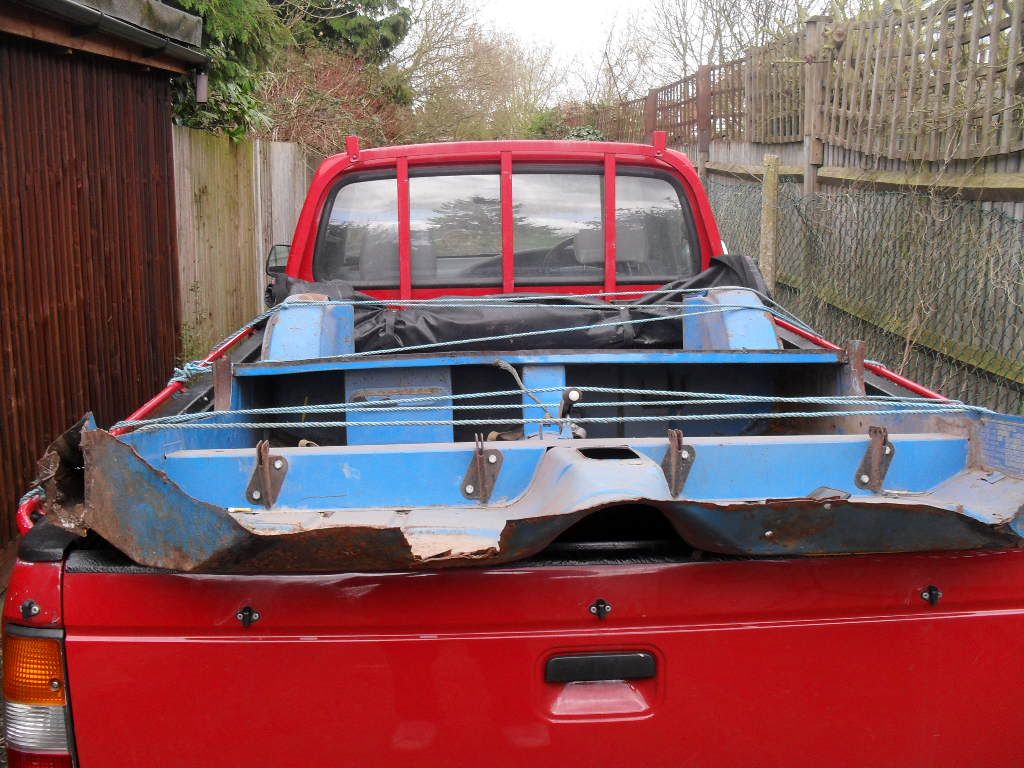
Me and me old man were unsure as what to do to sort out the load bed and floorpans, so we got searchin through the forums and world wide web! we found that there are replacement panels available but we decided against this because the floor pressing come in two halfs. we priced up the complete load bed set up from mini machine and decided we need to go another route as funds arent endless!!!

things came to a halt for a while, untill we attended the brooklands mini show last year and got talking to a few people. one guy put us on to a bloke who had a complete floorpan and load bed that was cut out of a mini van. we ended up going for the van floor pan because it is pretty much exactly the same as the pickup floor bed minus the tailgate hinges.

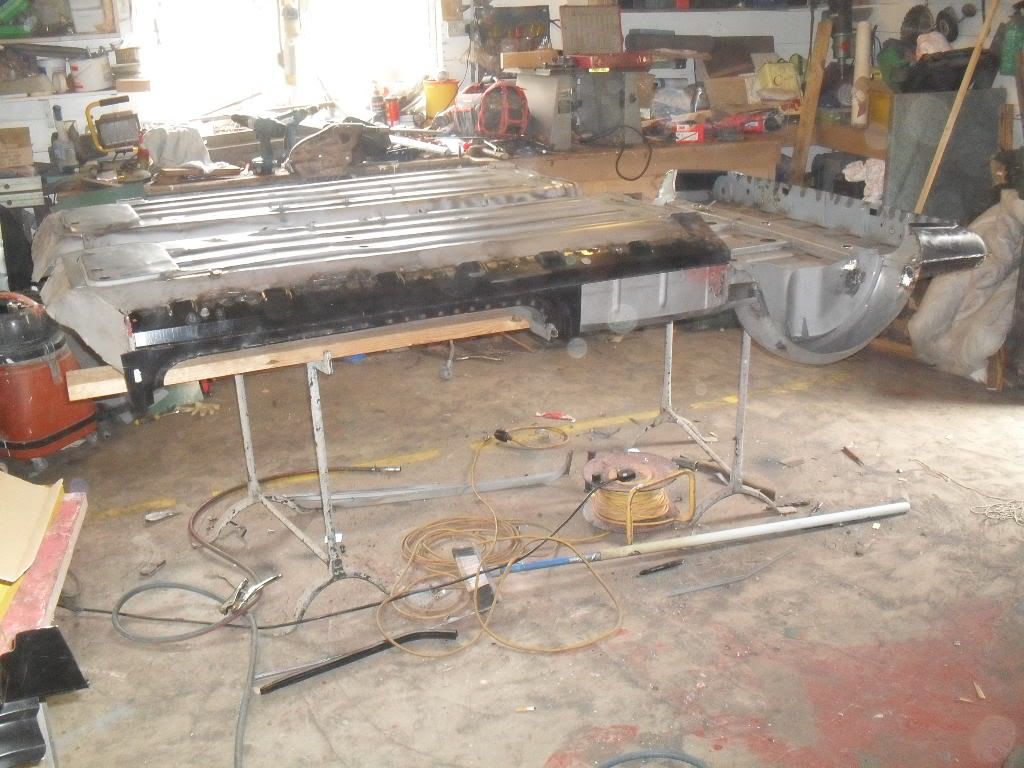
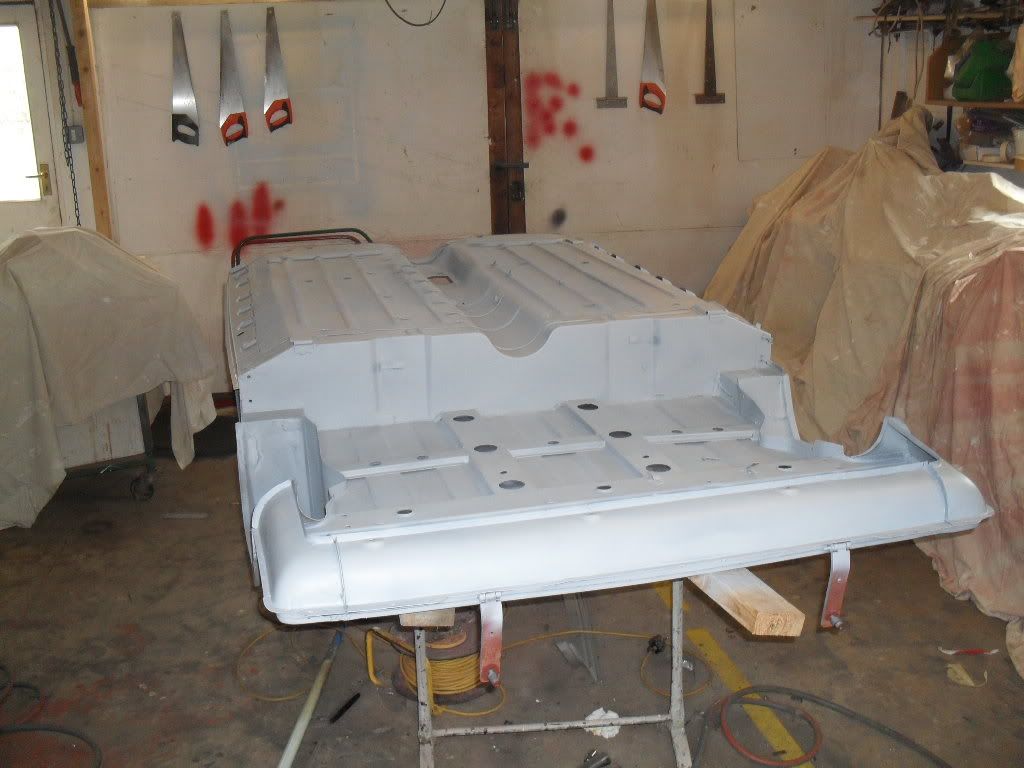
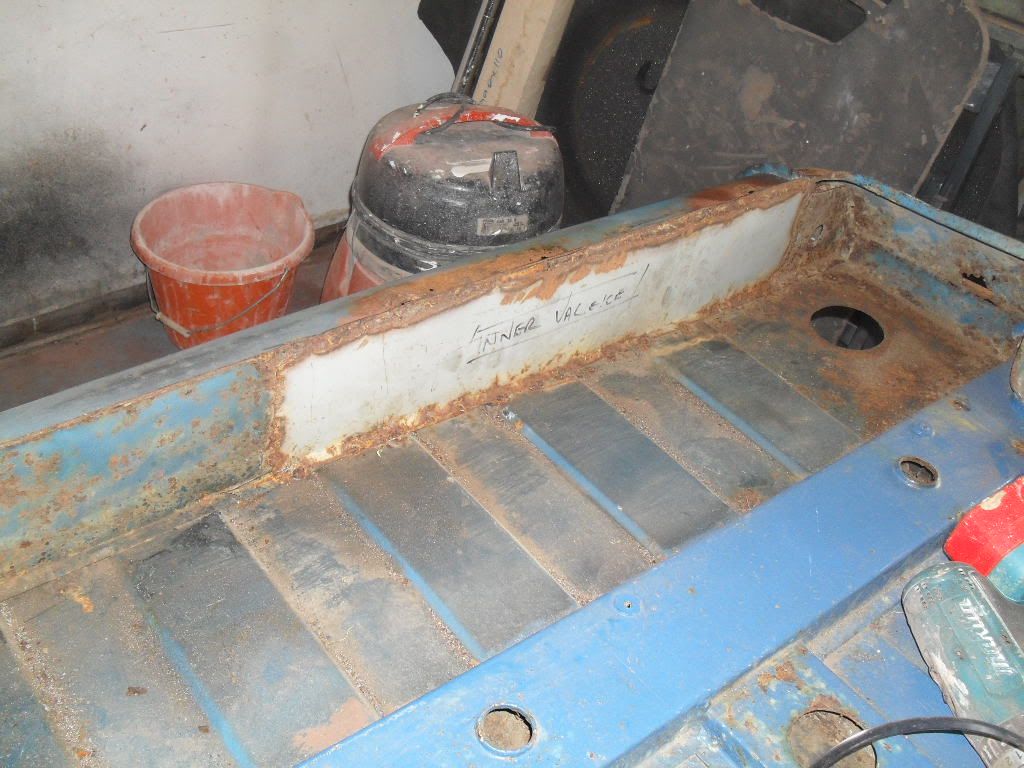
here we have a few pics of the floor pan when we first got it.

Posted Image

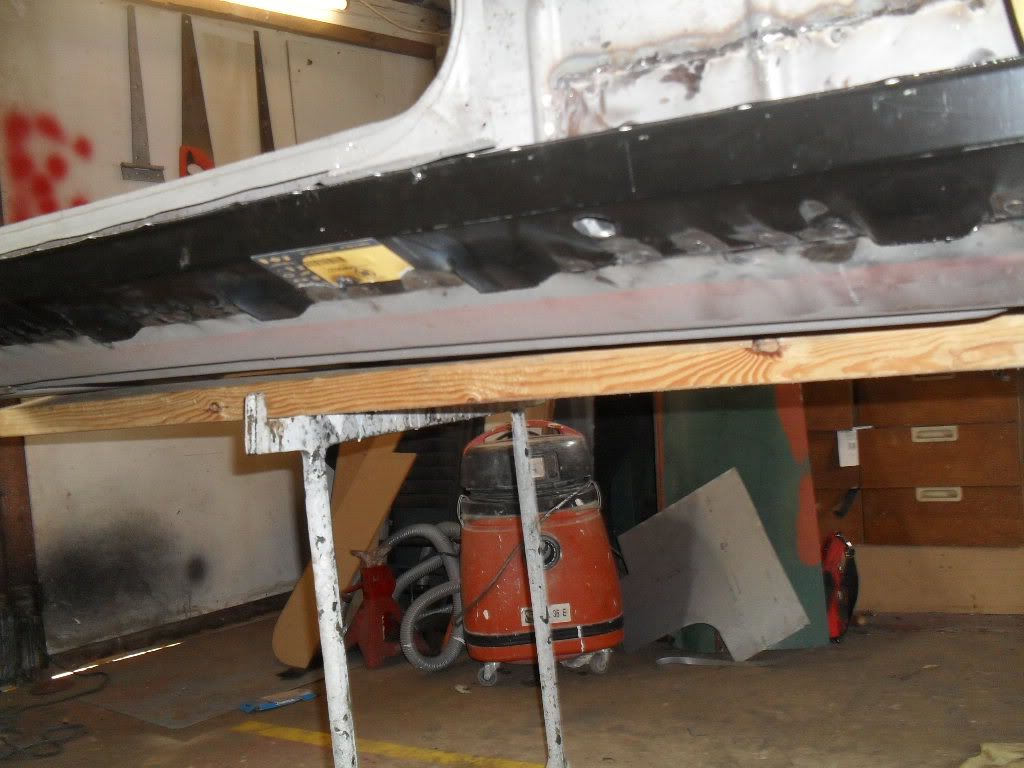
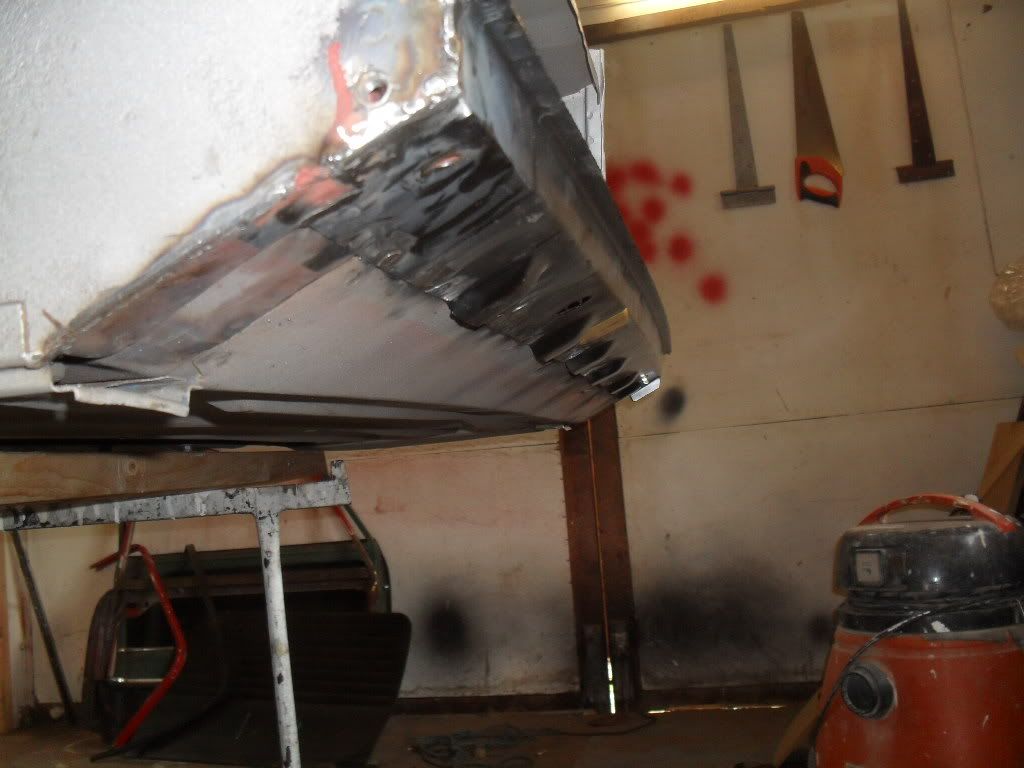
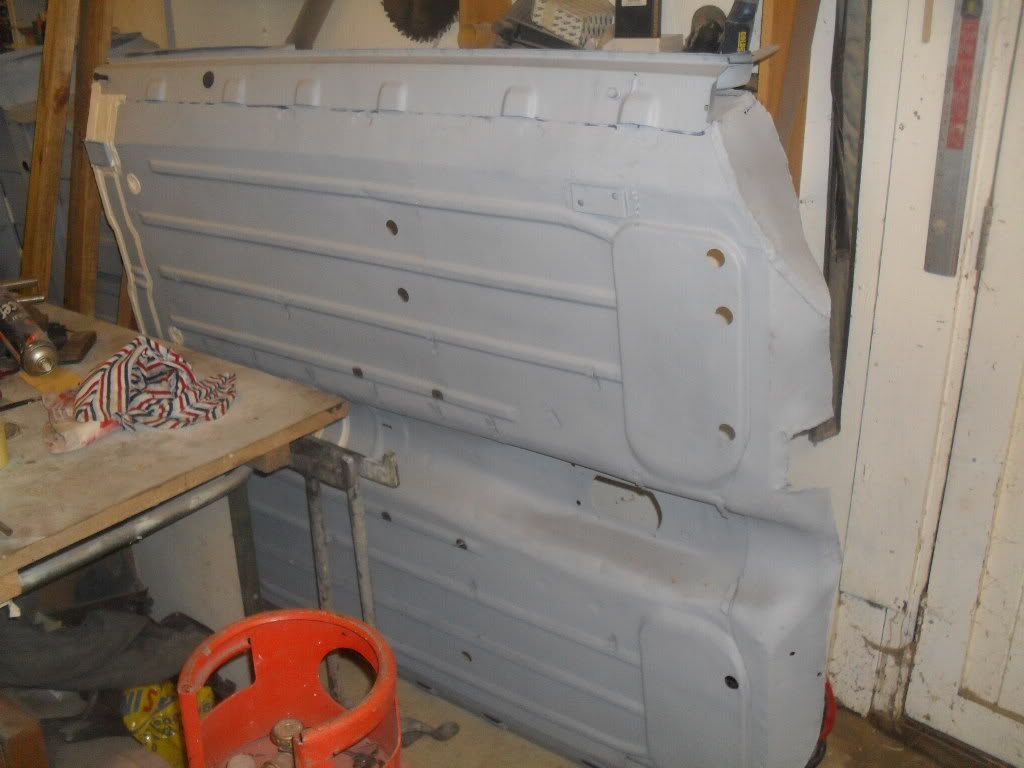
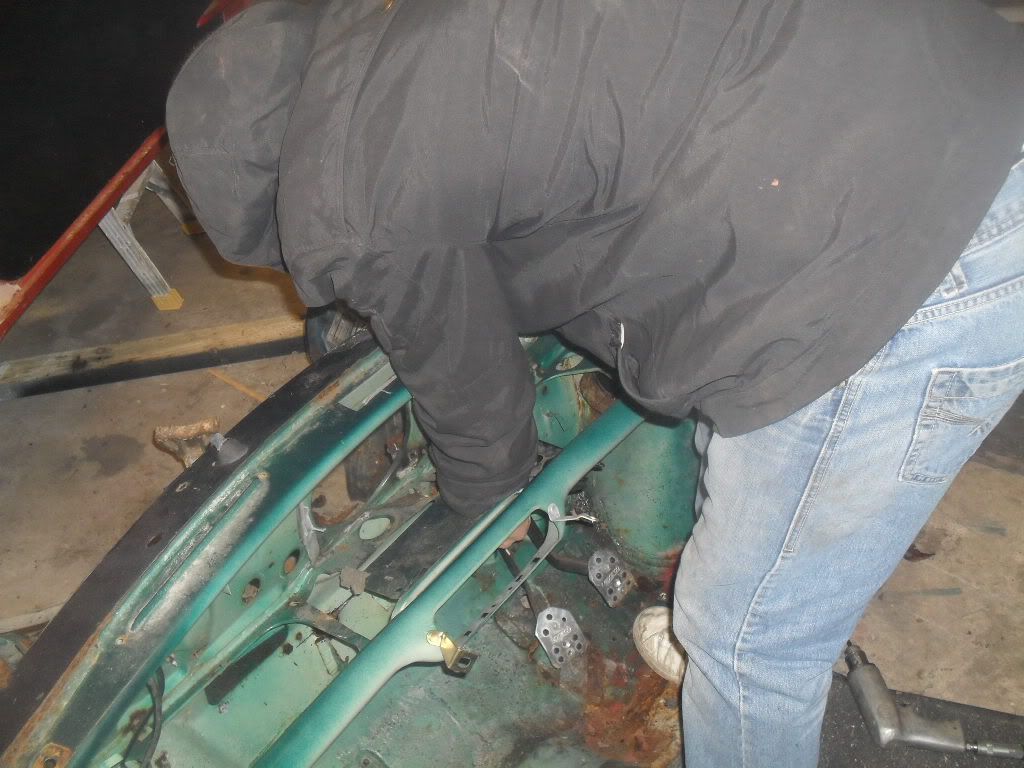
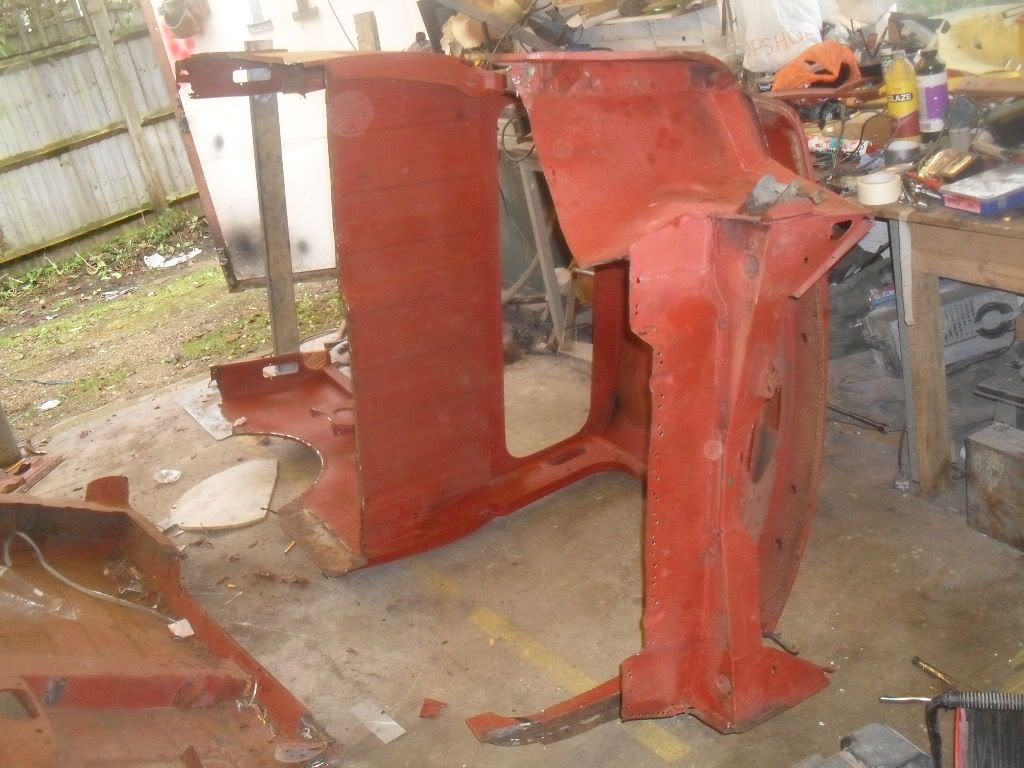
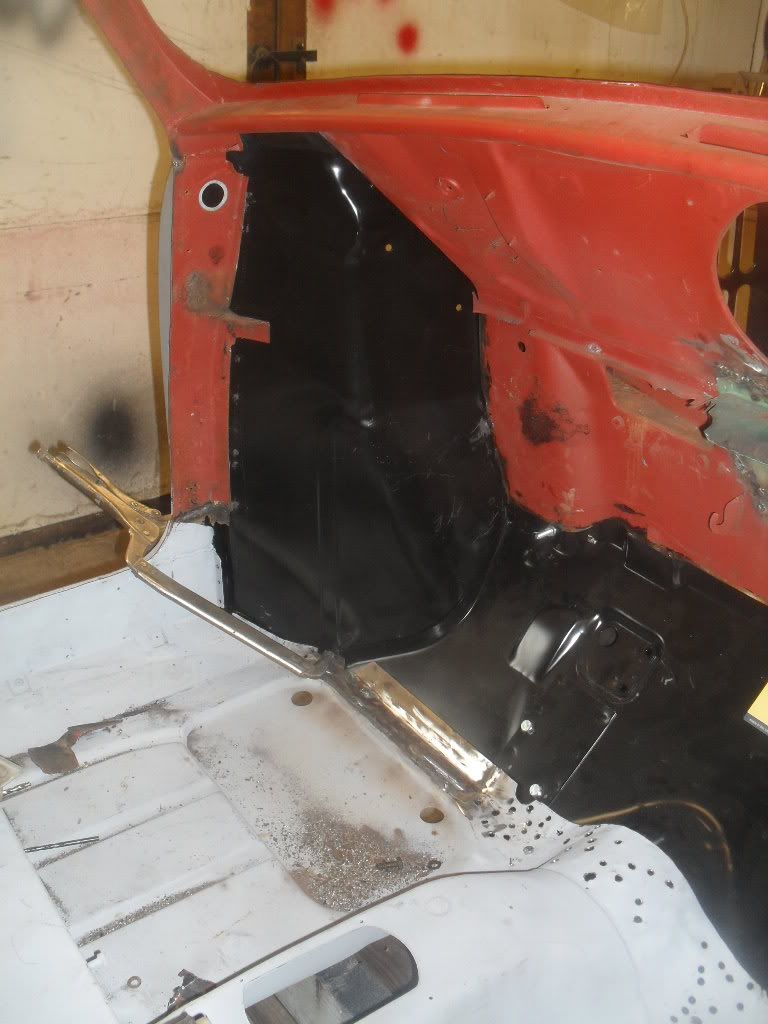
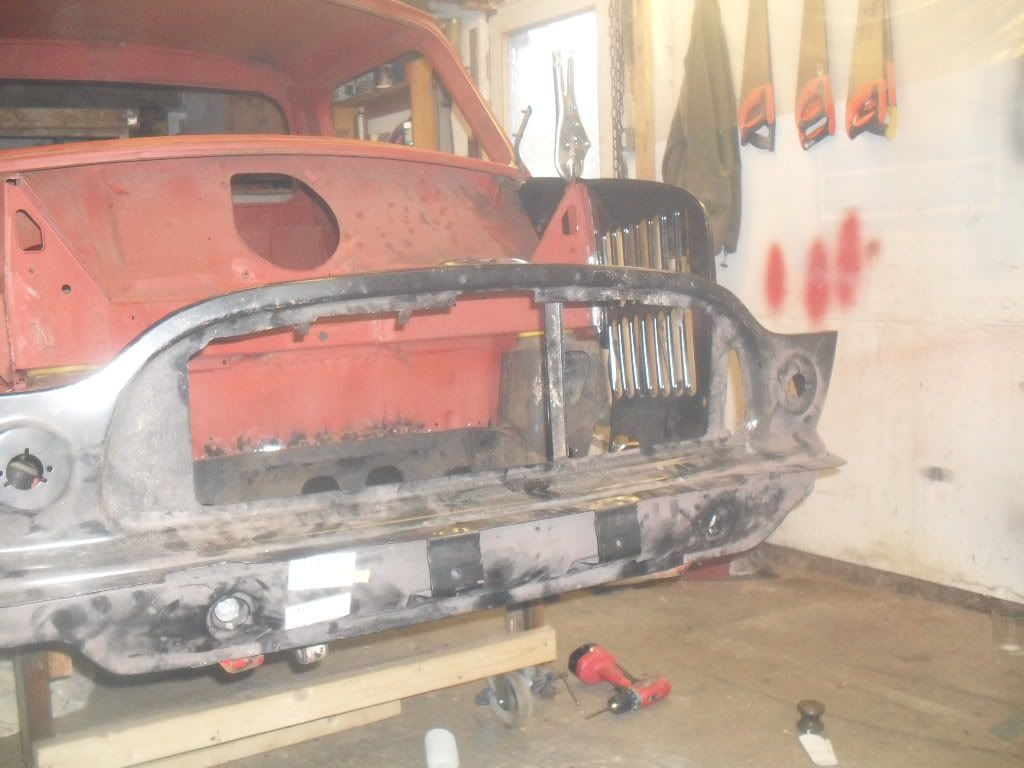
the van chassis had had a few naff repairs over the past on the sills and rear valance so we stripped these off prior to shot blasting

Posted Image

Posted Image

Posted Image

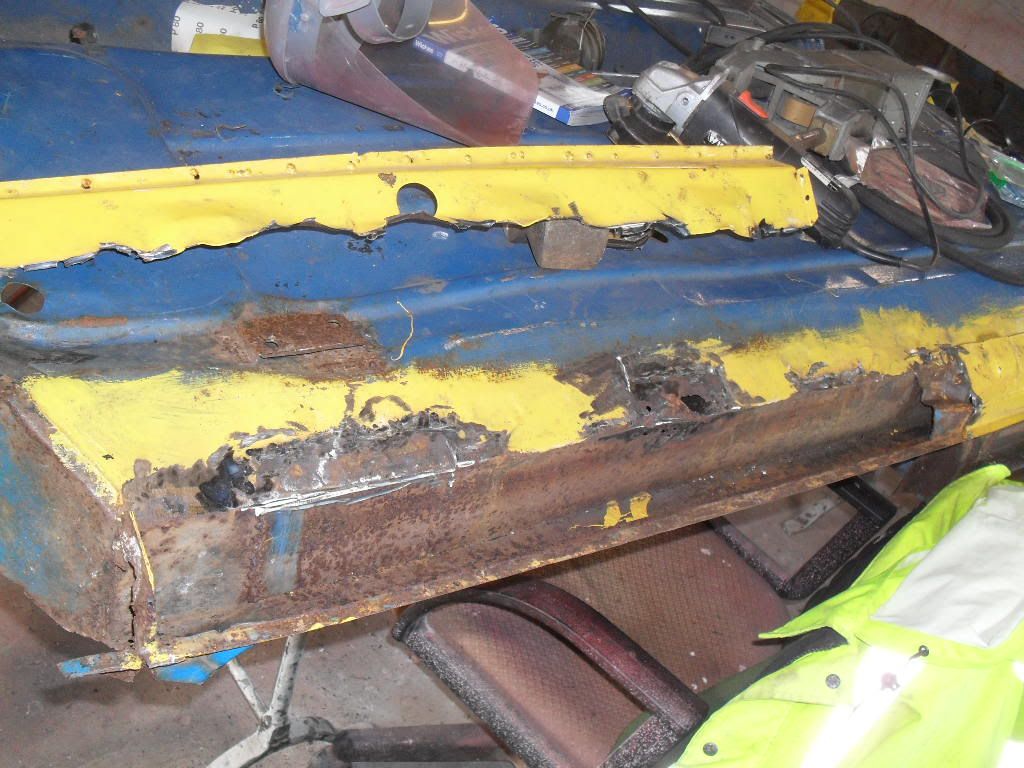
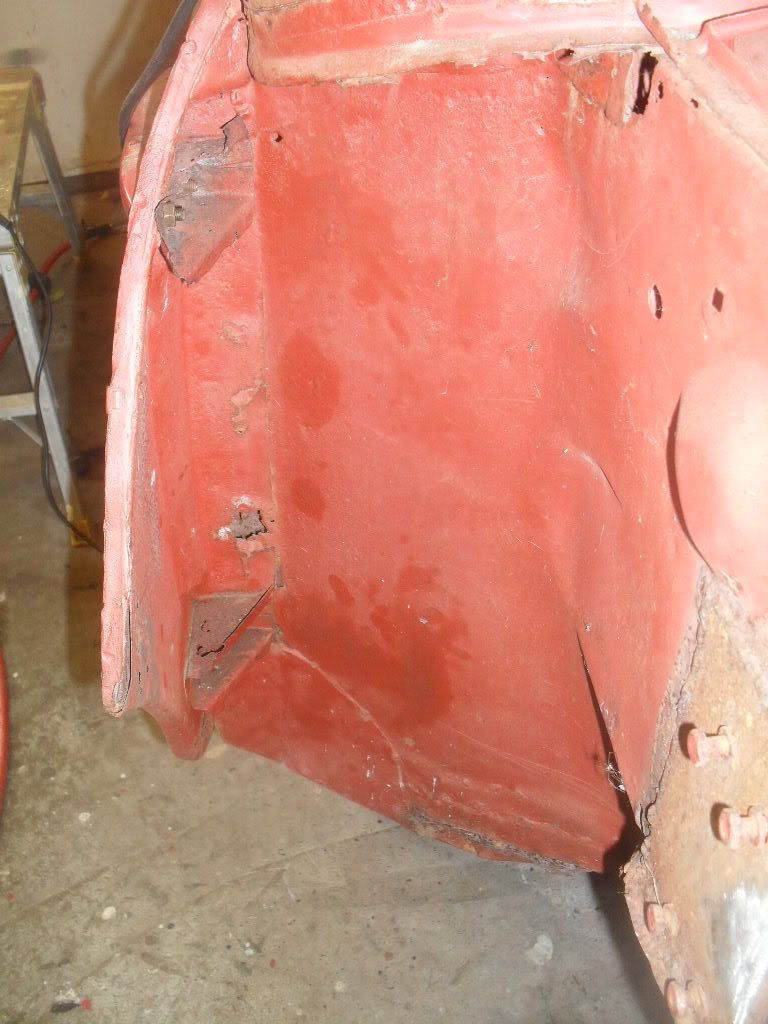
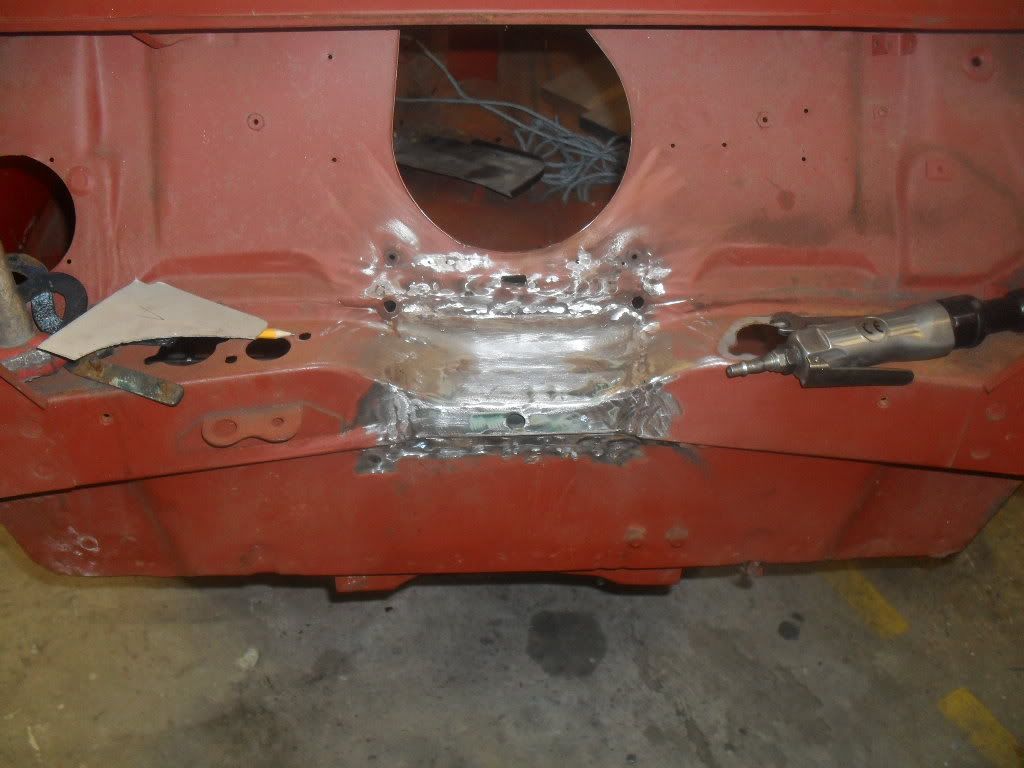
when we got the van chassis back from the shot blasters this reavled a few more repairs that needed to be done.

Posted Image

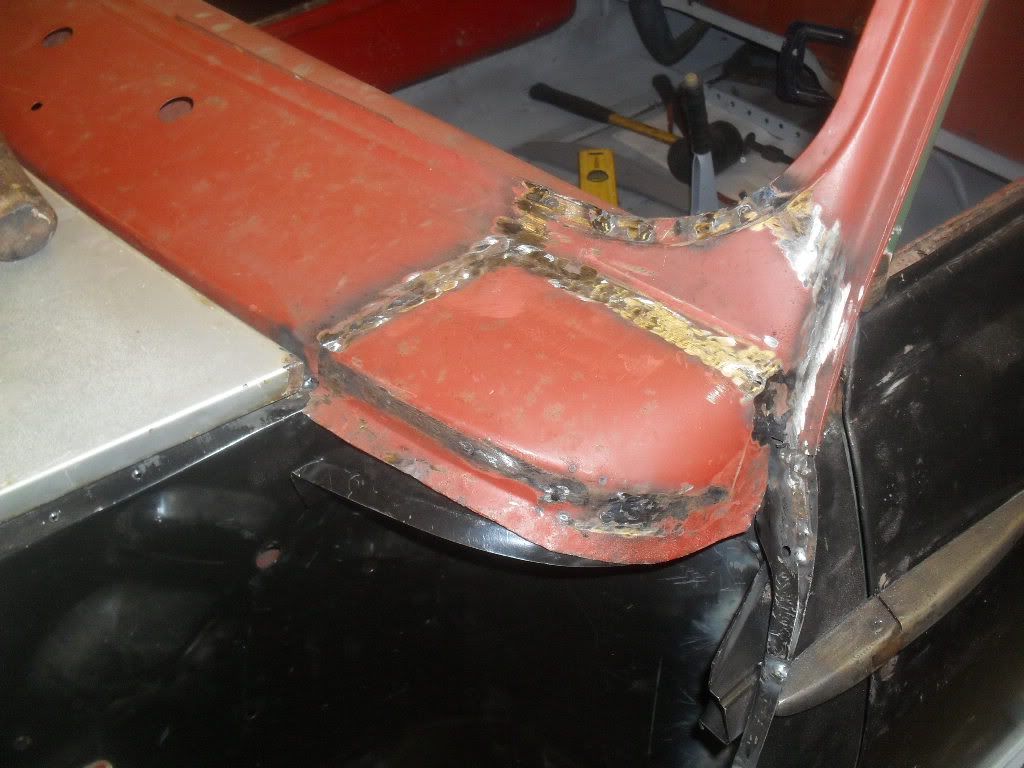
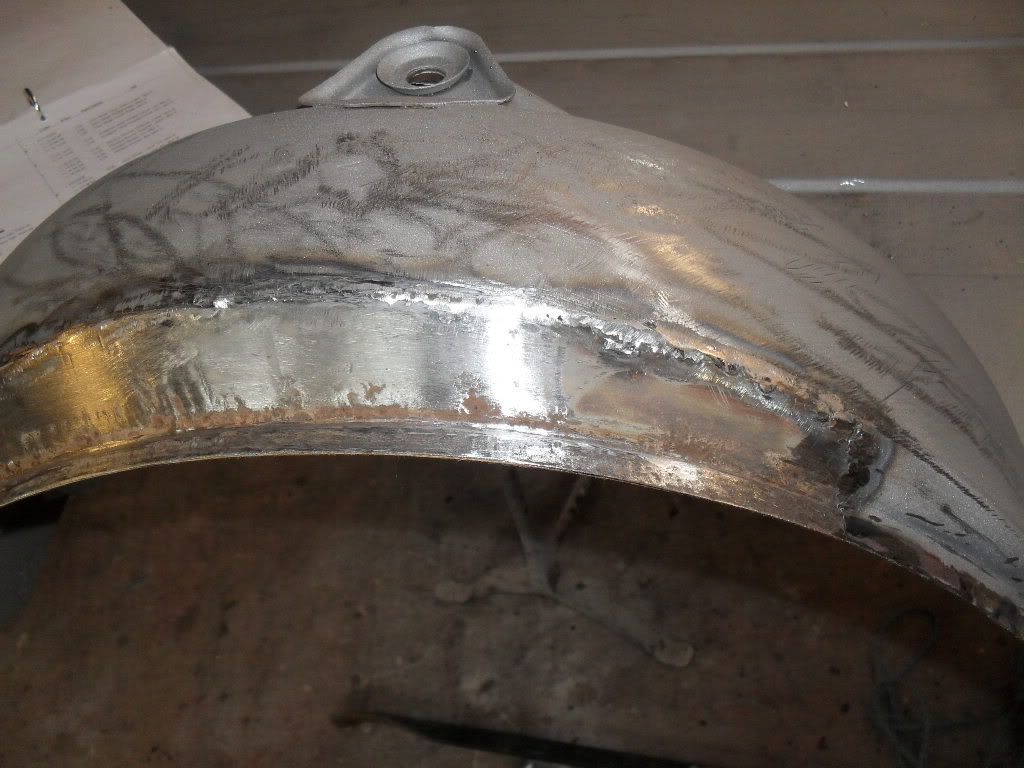
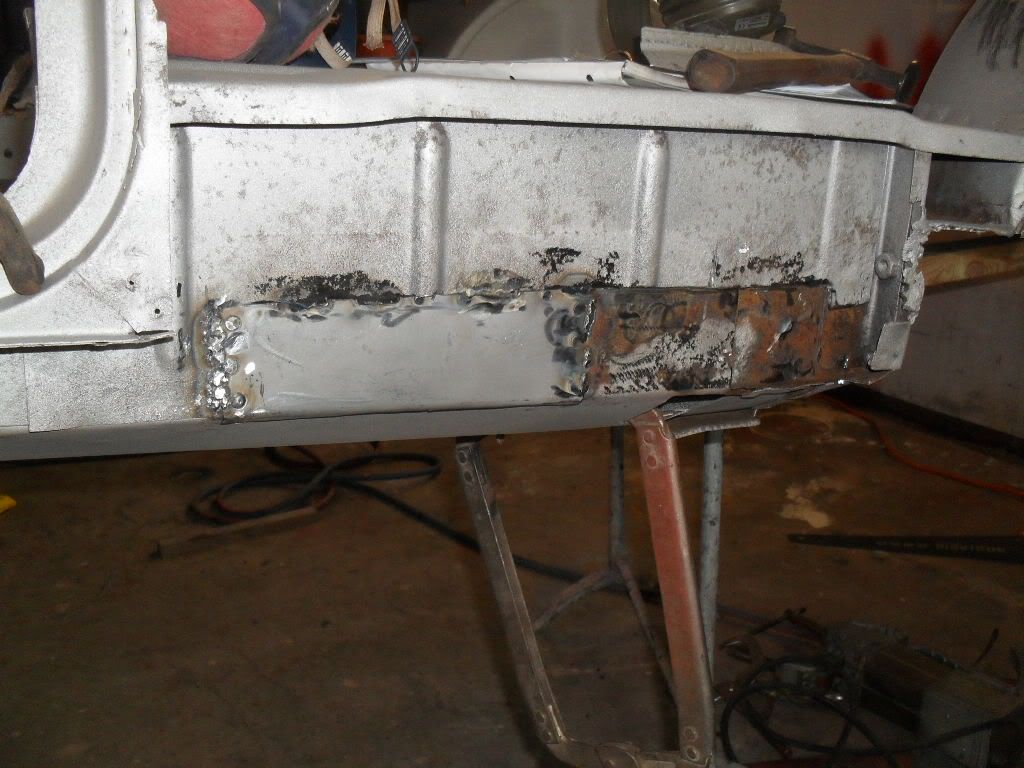
the main repair that need to be done was to both wheel arches where the metal had got so thin there was splits up the arches so the thin metal was cut out and replaced.

Posted Image

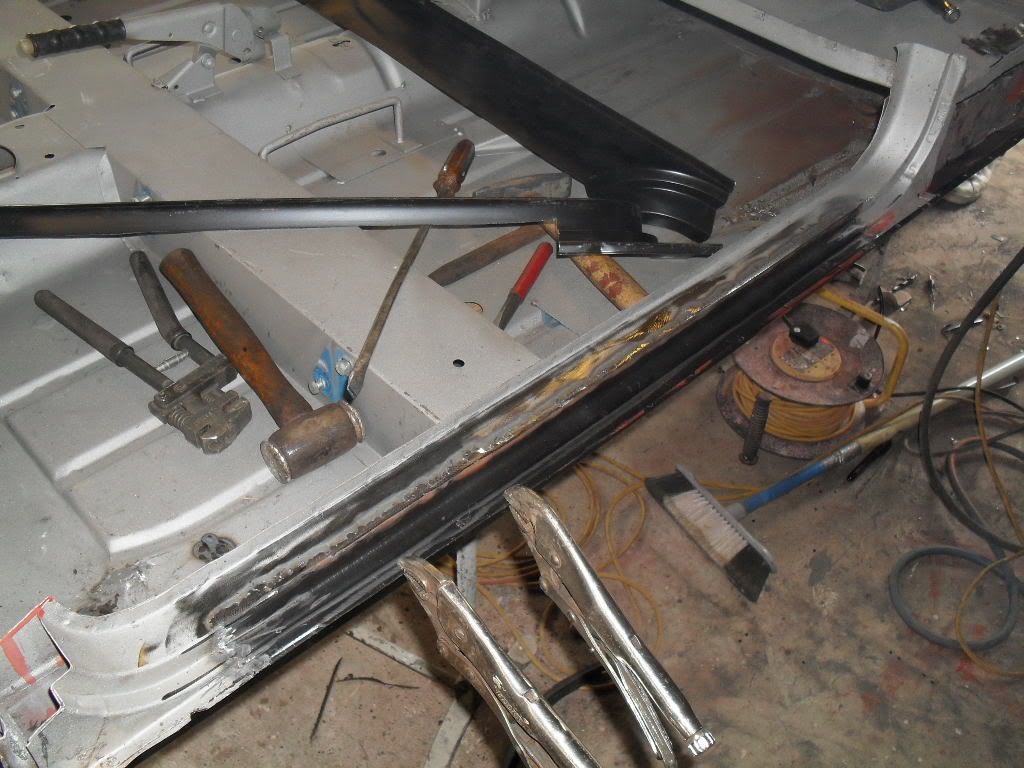
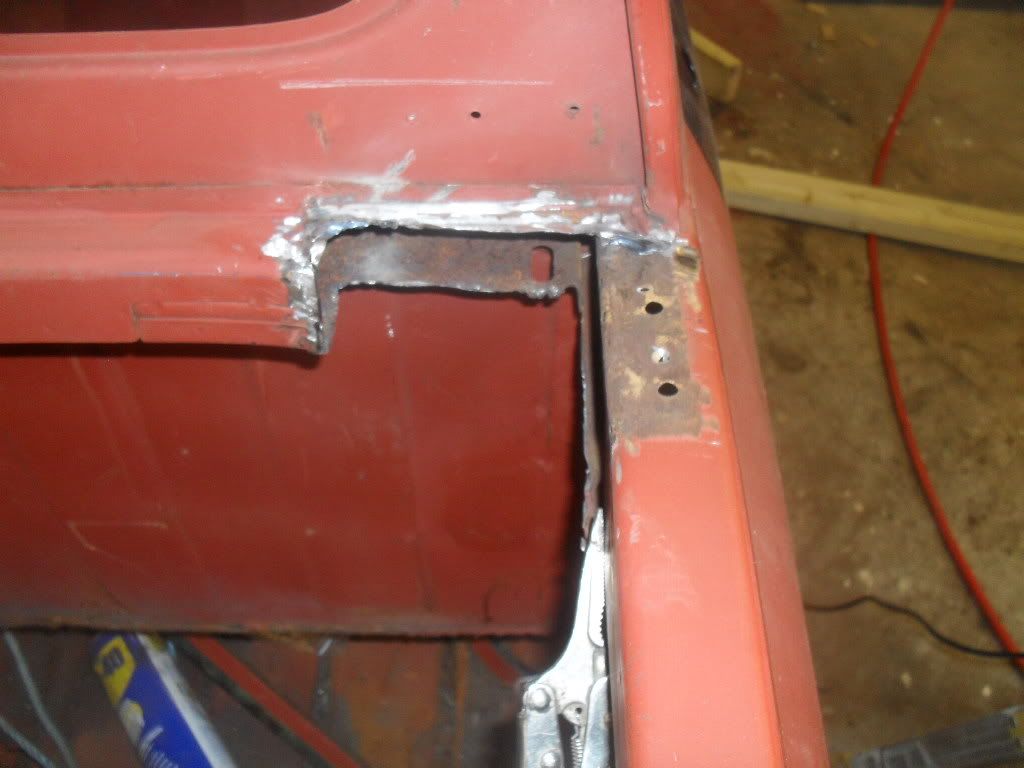
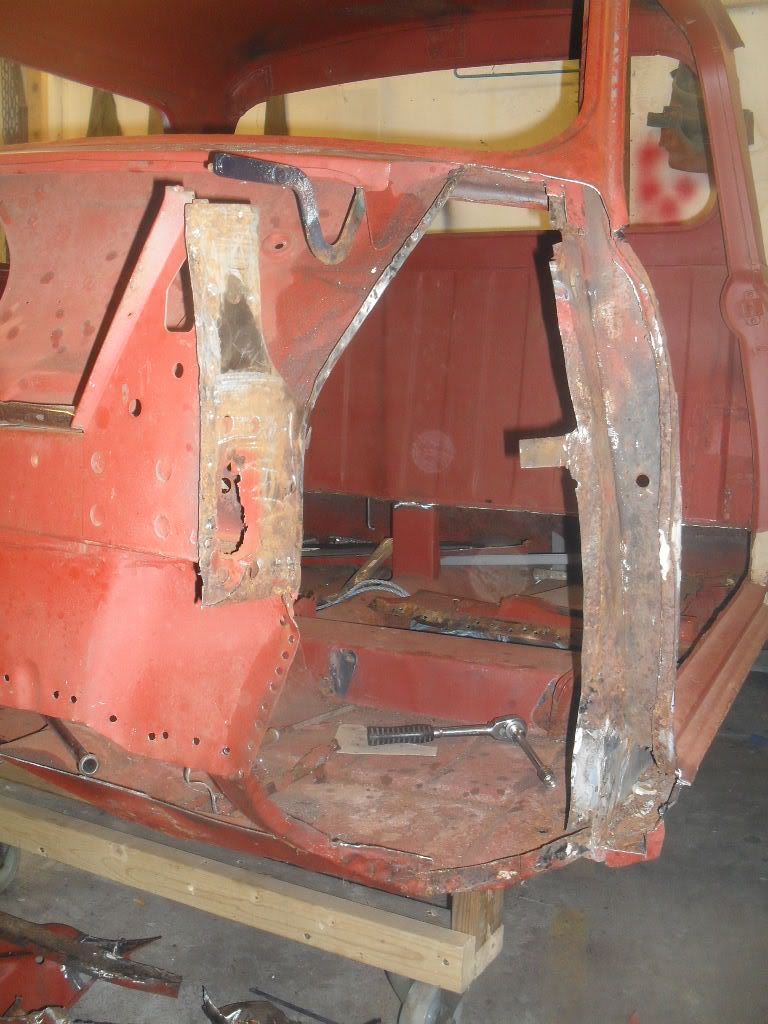
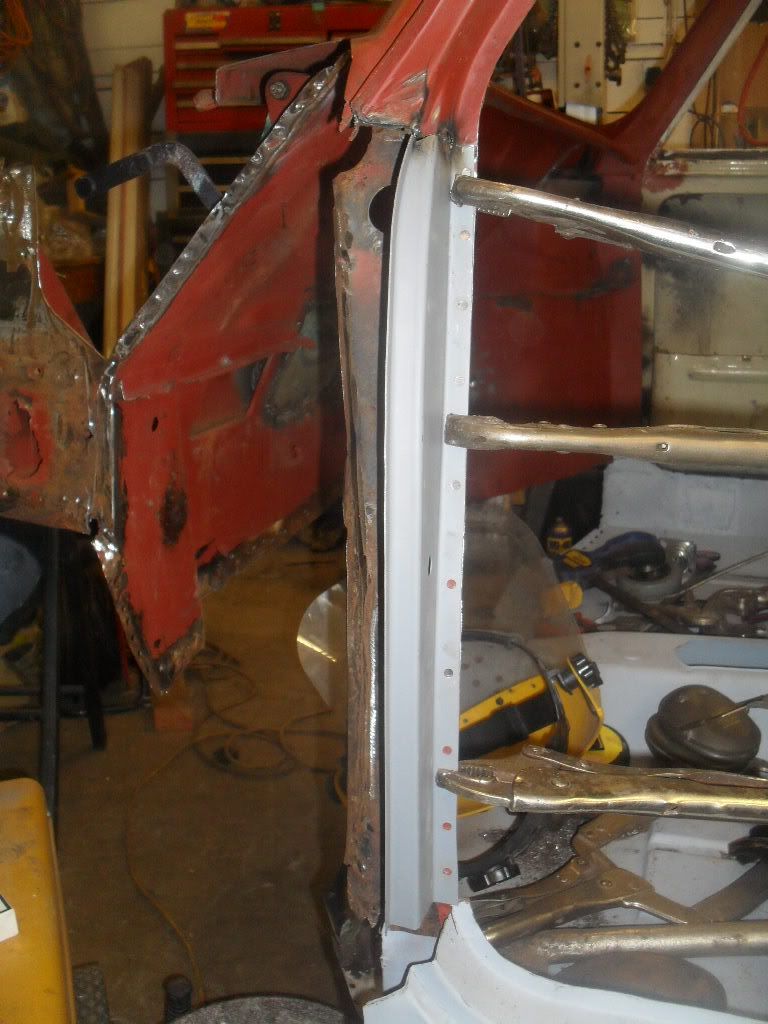
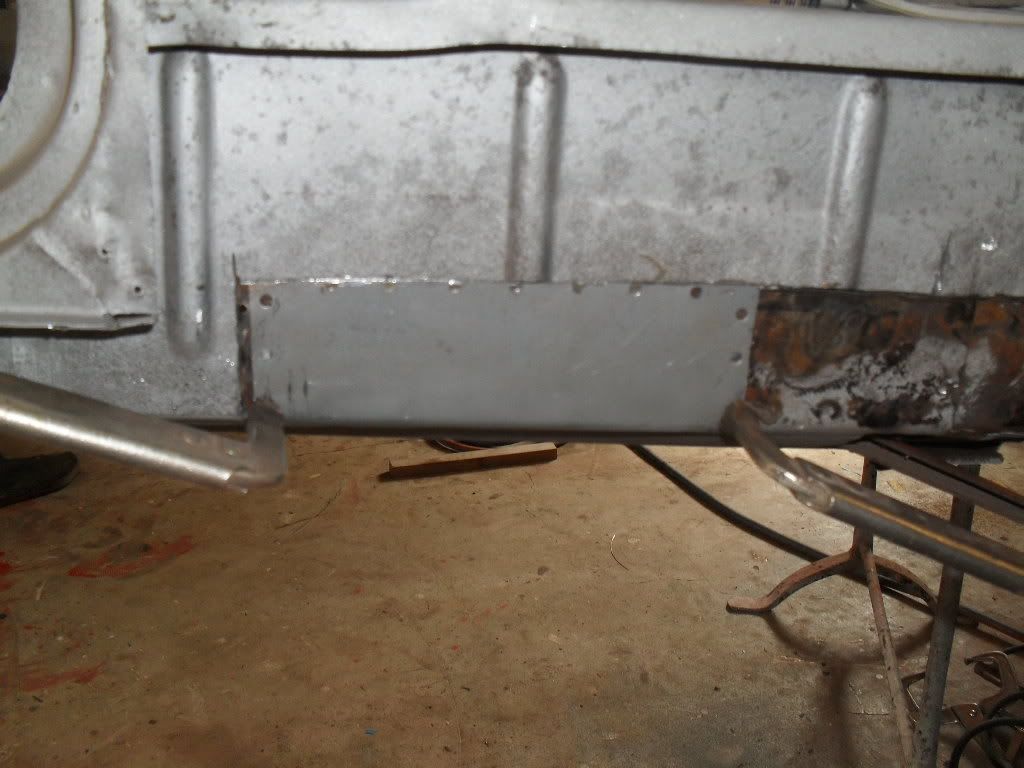
once the repairs were done on the wheel arches it was time to have a look at repairing the inner sill.

Posted Image

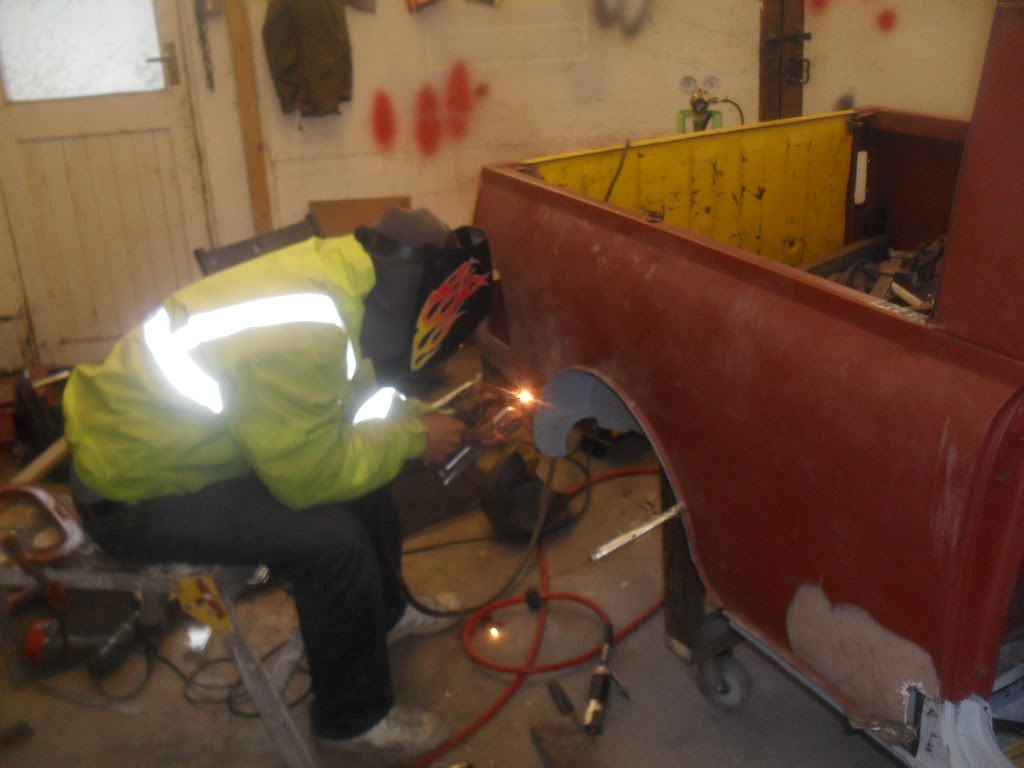
the rotten material was cut out and a series of home made panels were made to fit.

Posted Image

Posted Image

Posted Image

Posted Image

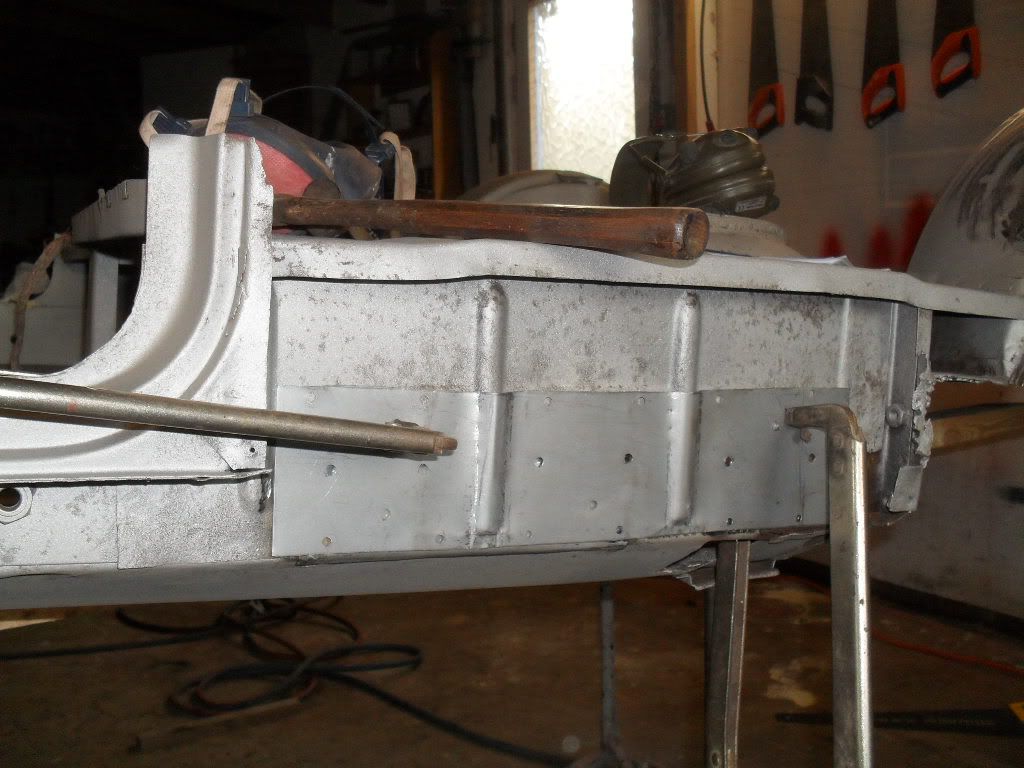
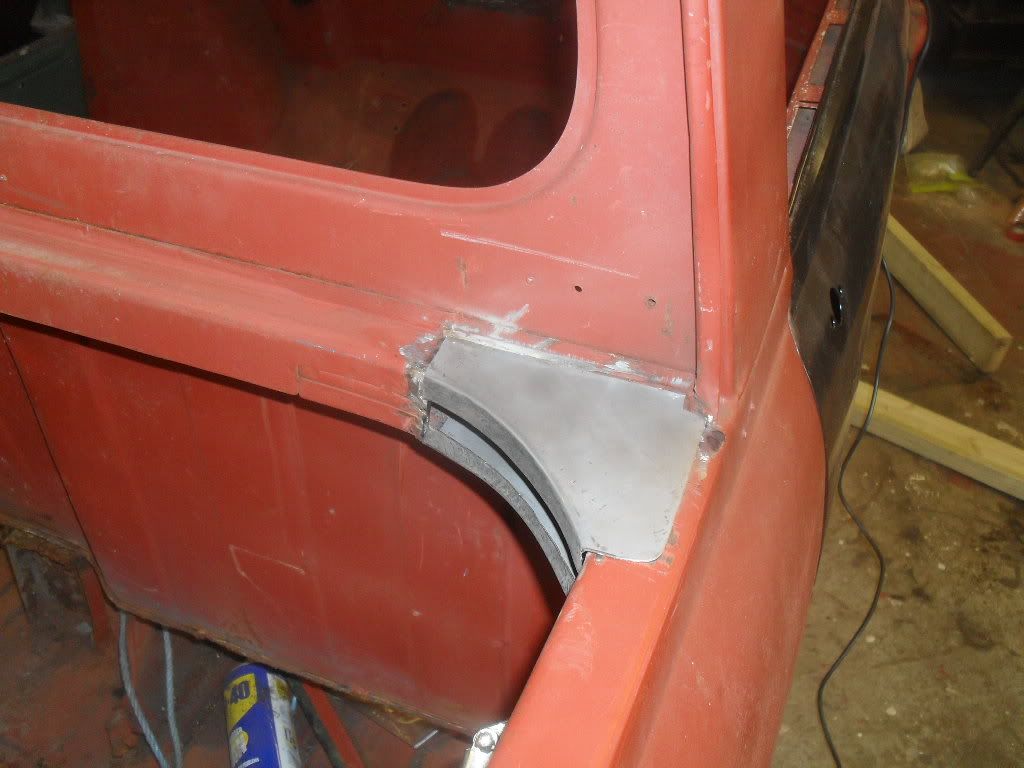
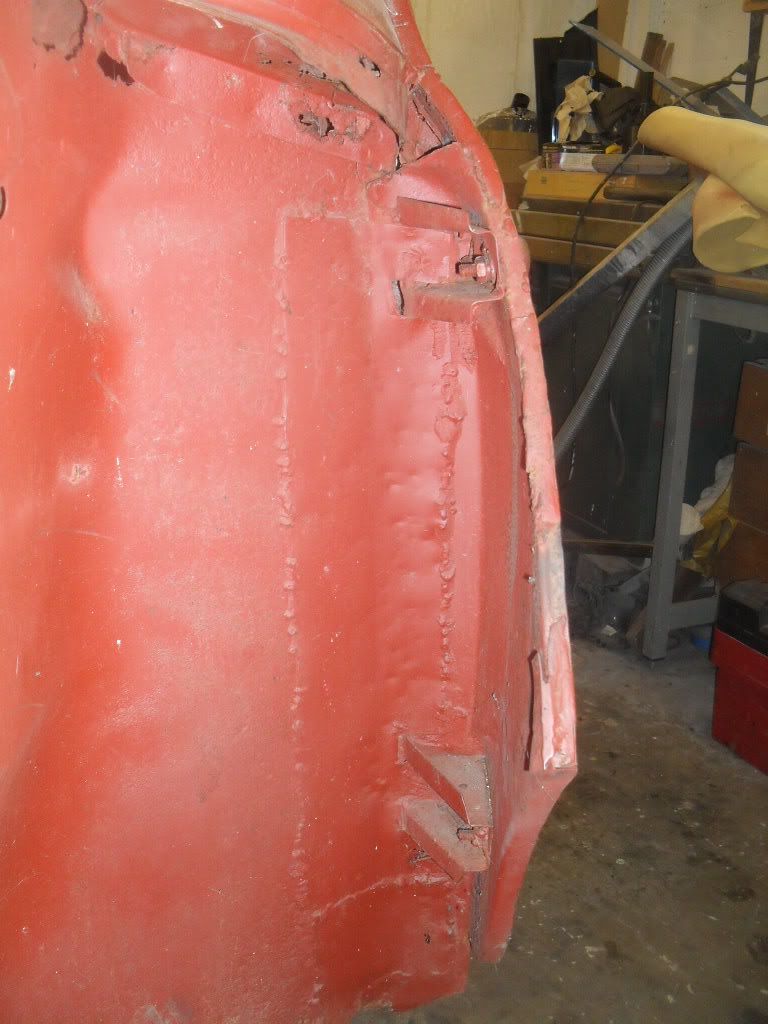
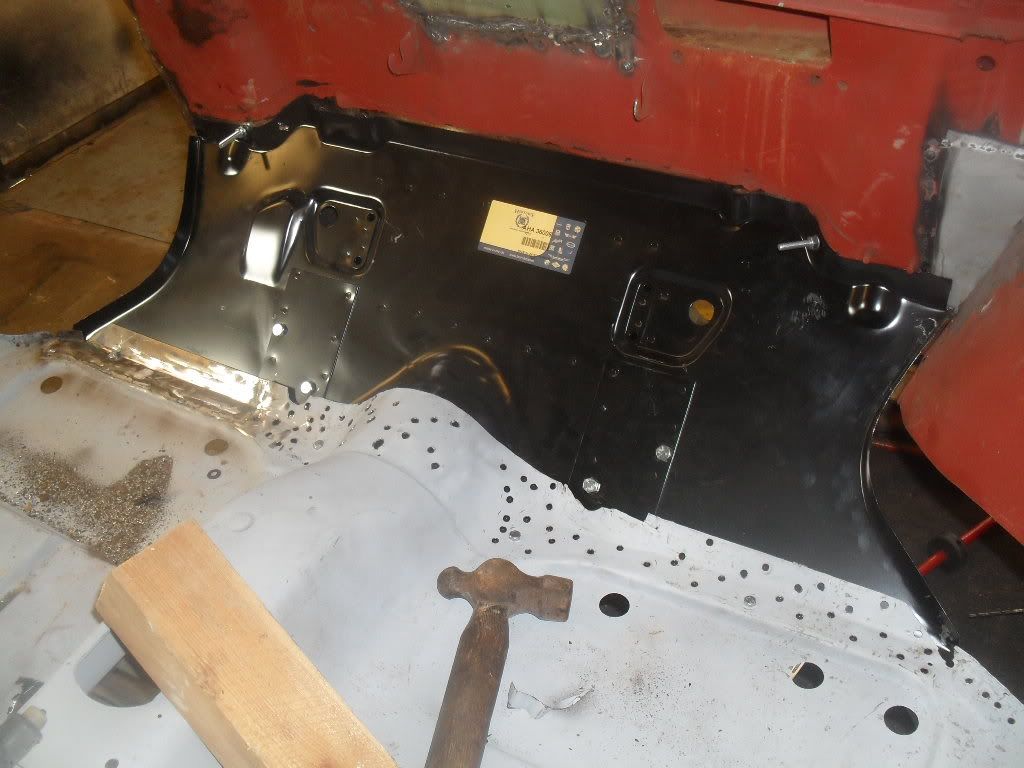
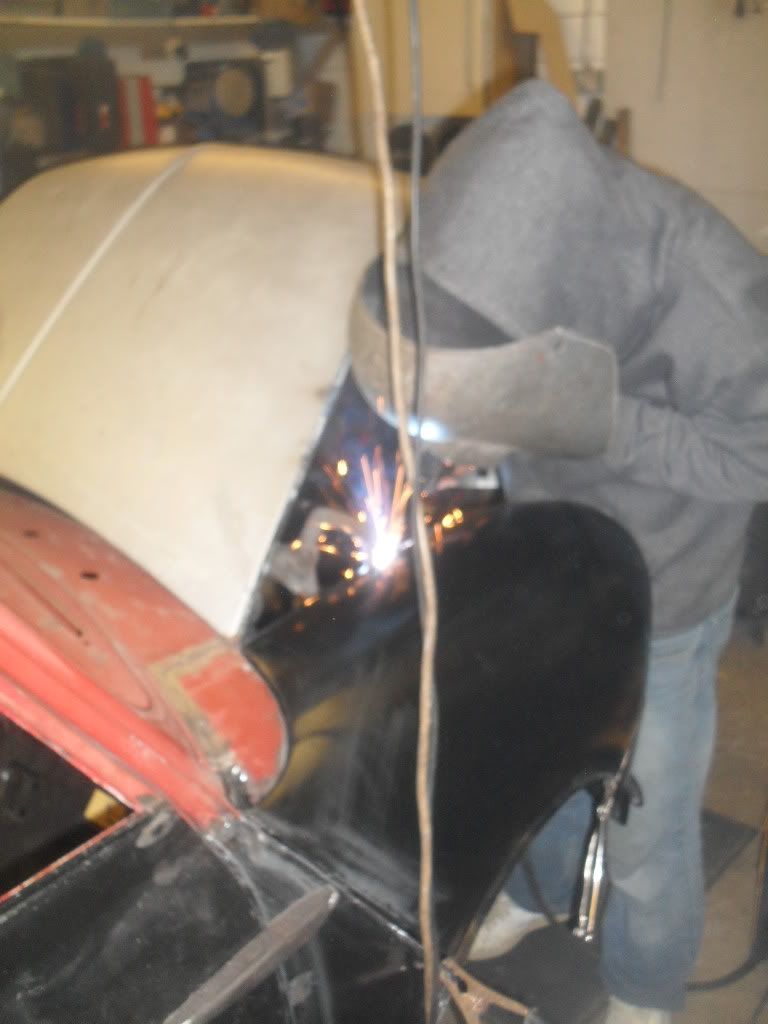
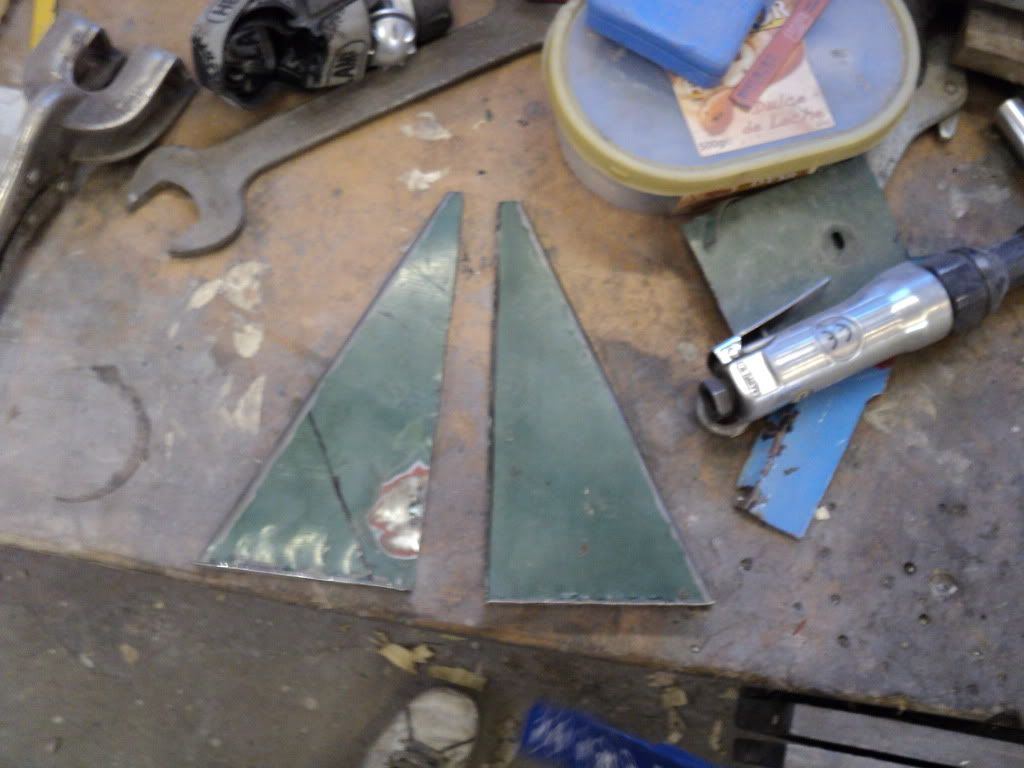
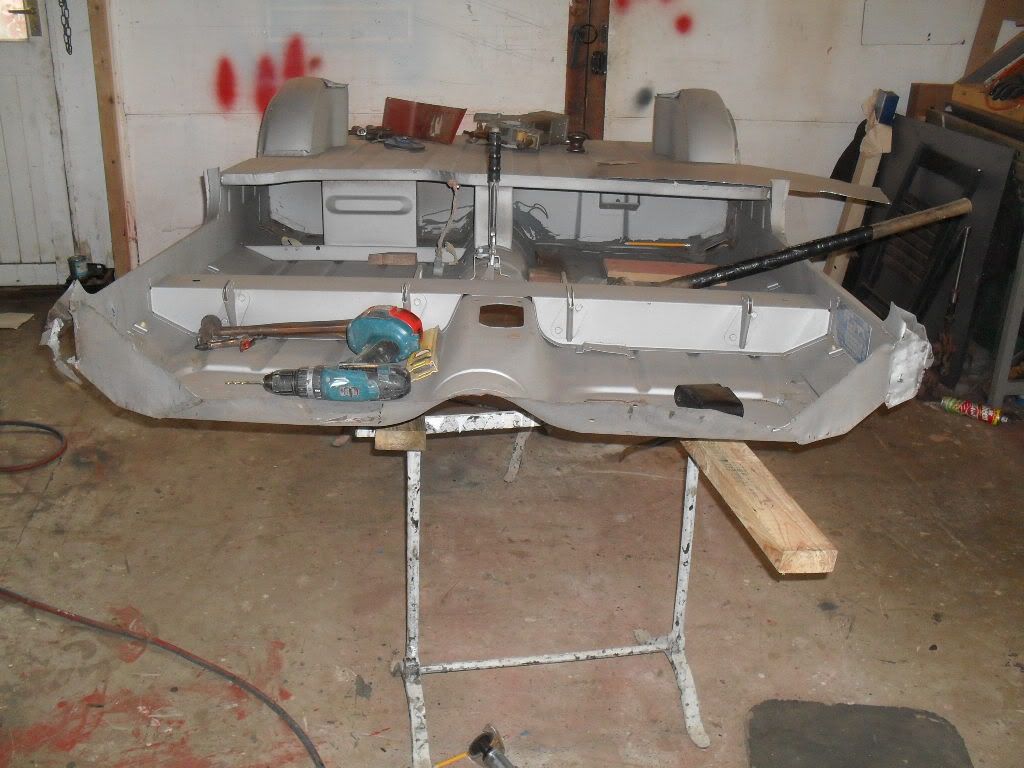
after these repairs and some other small repairs were done, we concentrated our efforts on cutting the slots for the tailgate hinges and welding in the strenthing plates for the hinges.

Posted Image

Posted Image

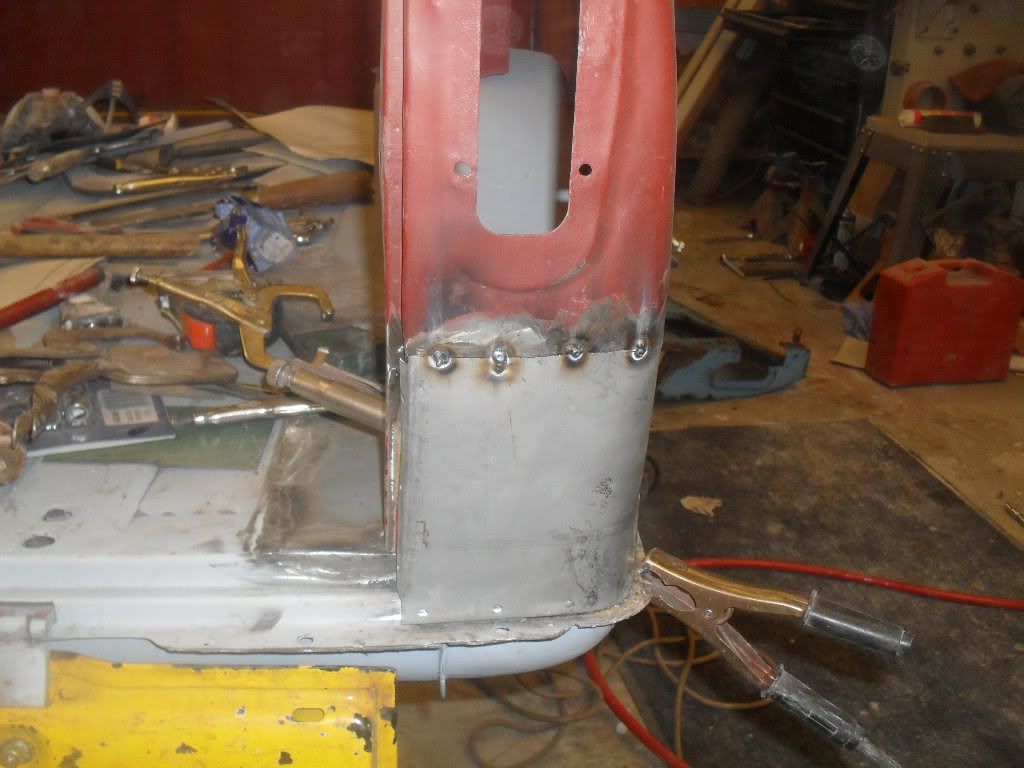
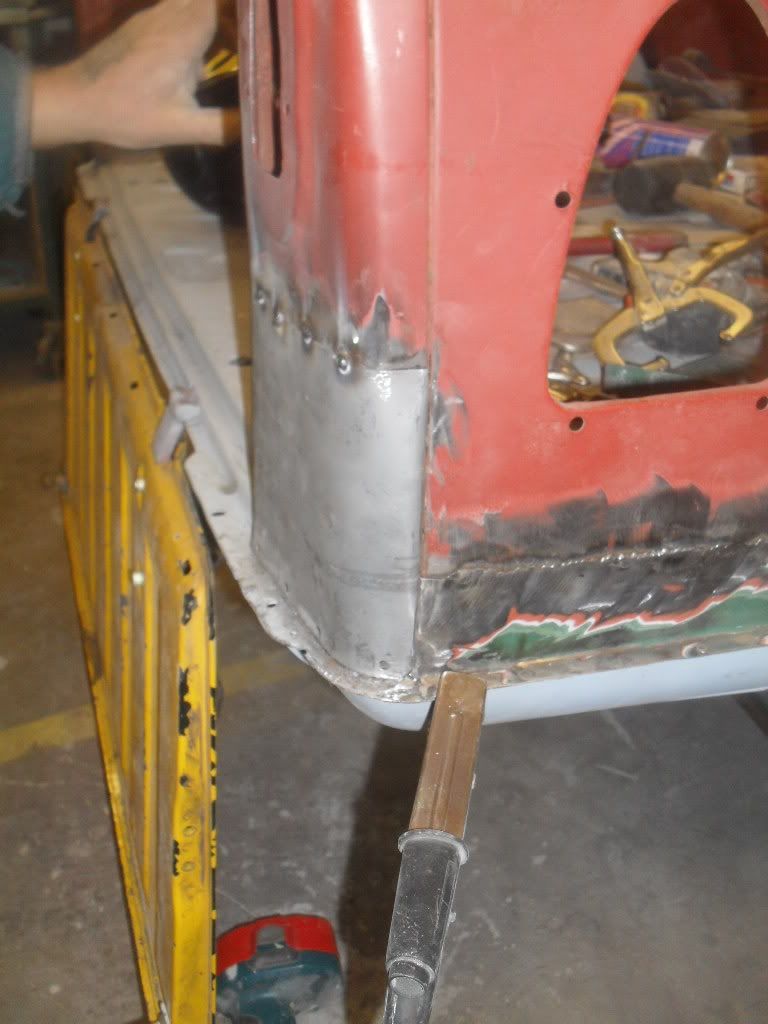
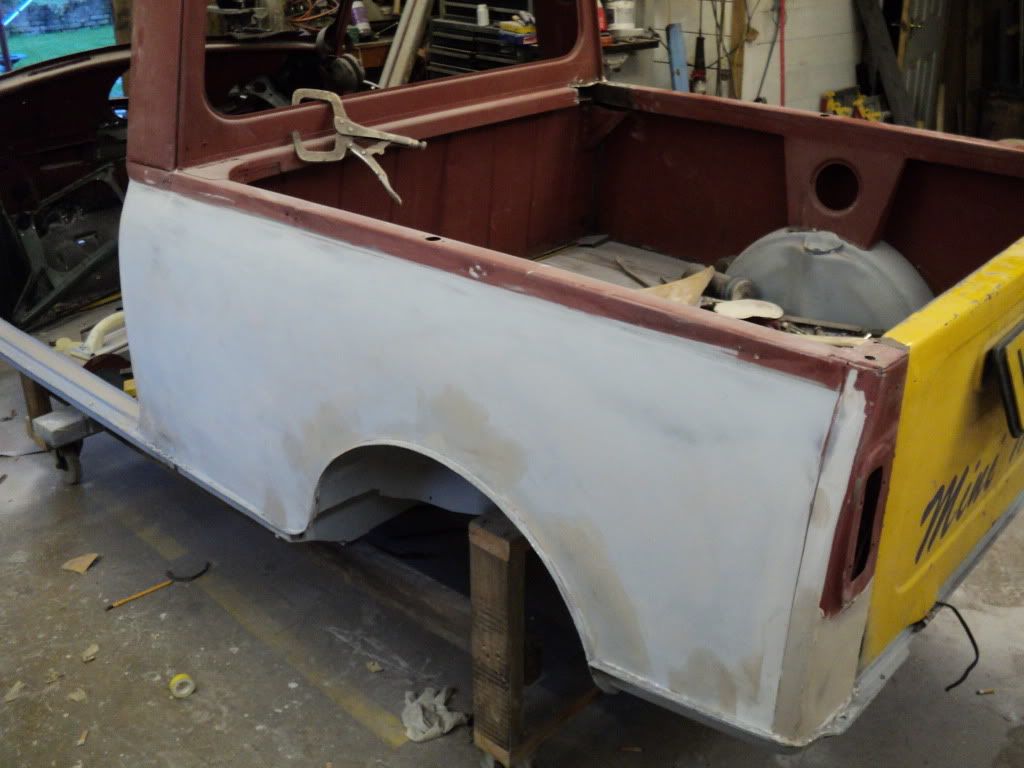
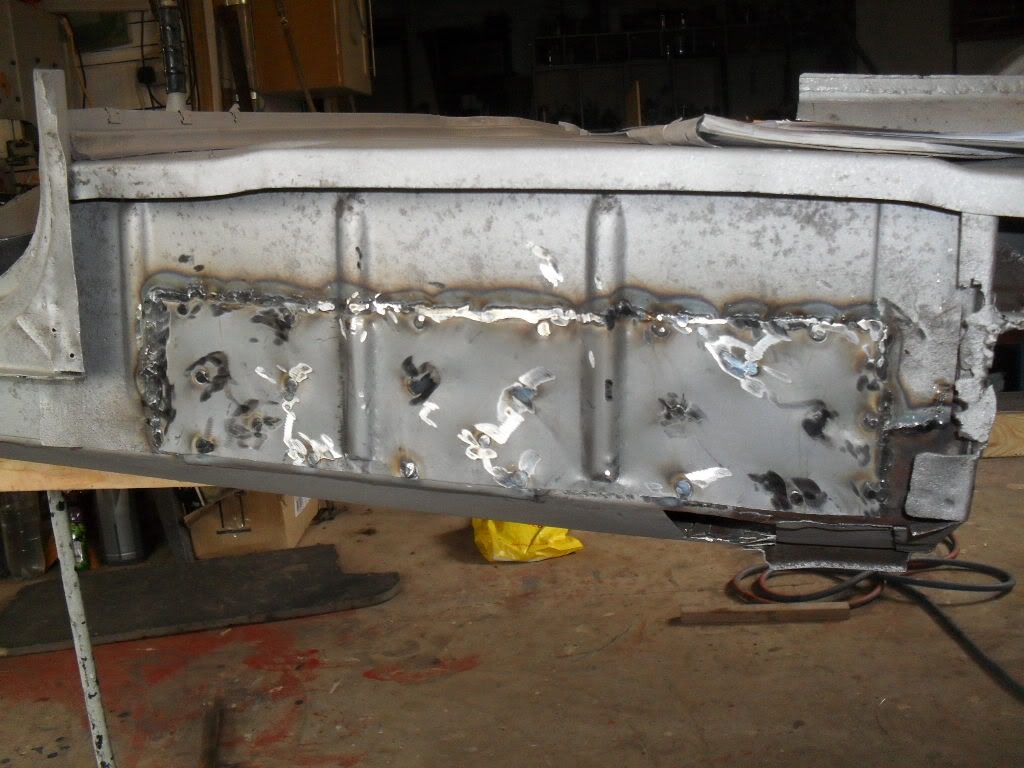
after the hinge strenghteners were finalised we started to line up and weld the rear valances back into place.

Posted Image

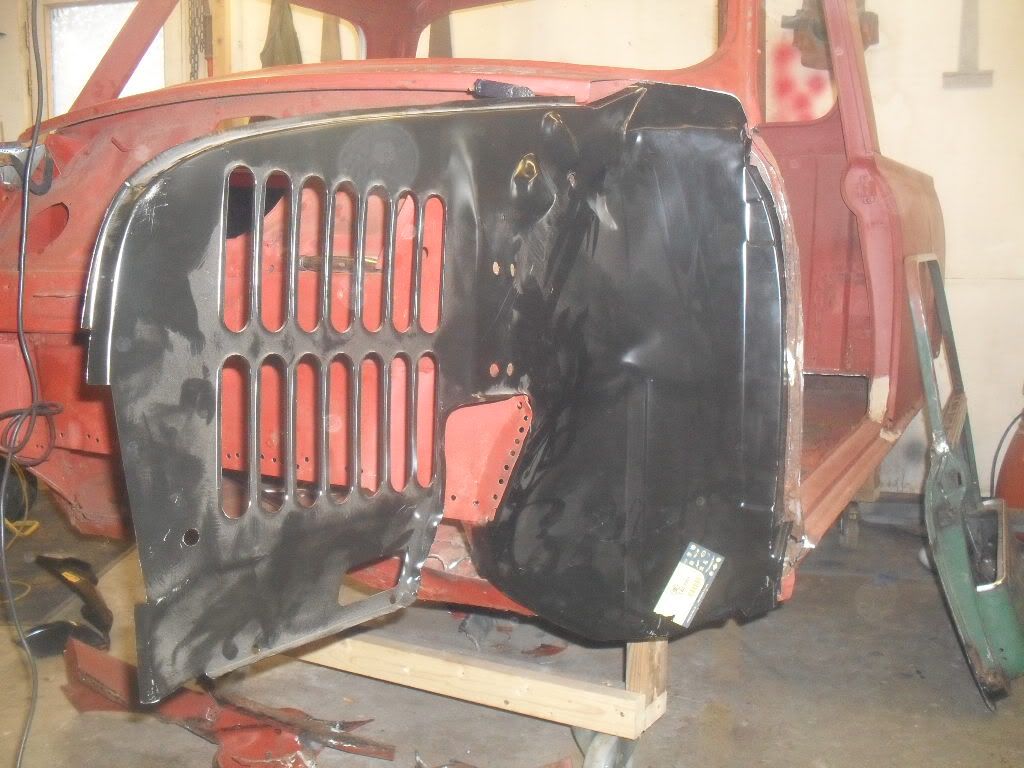
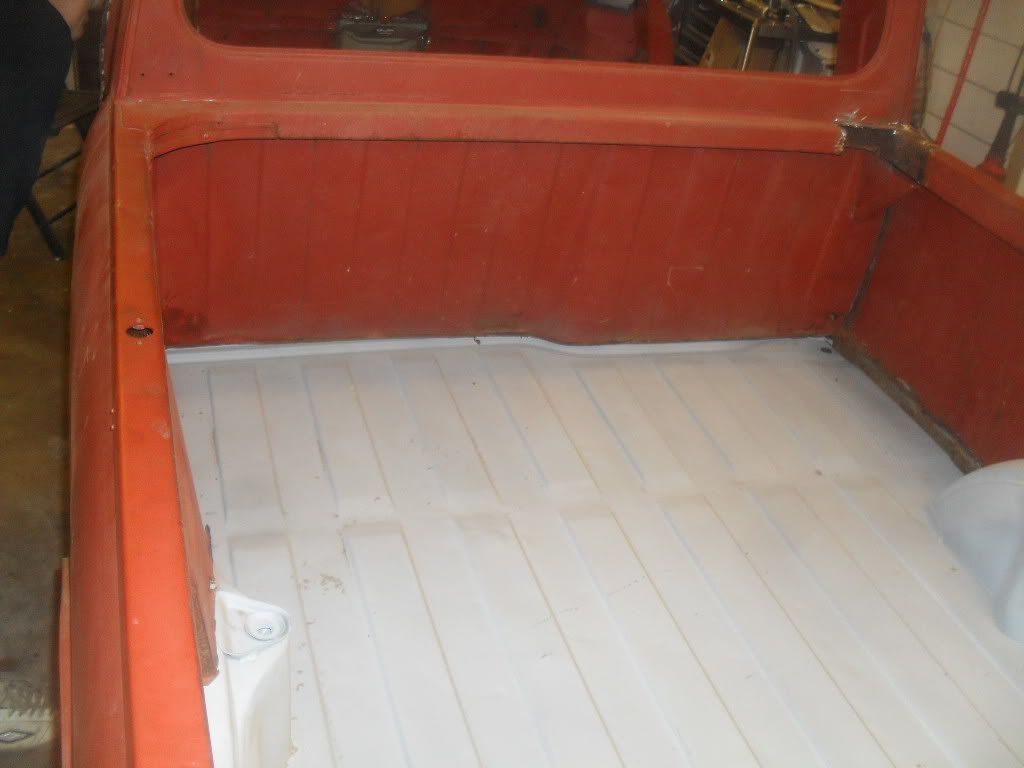
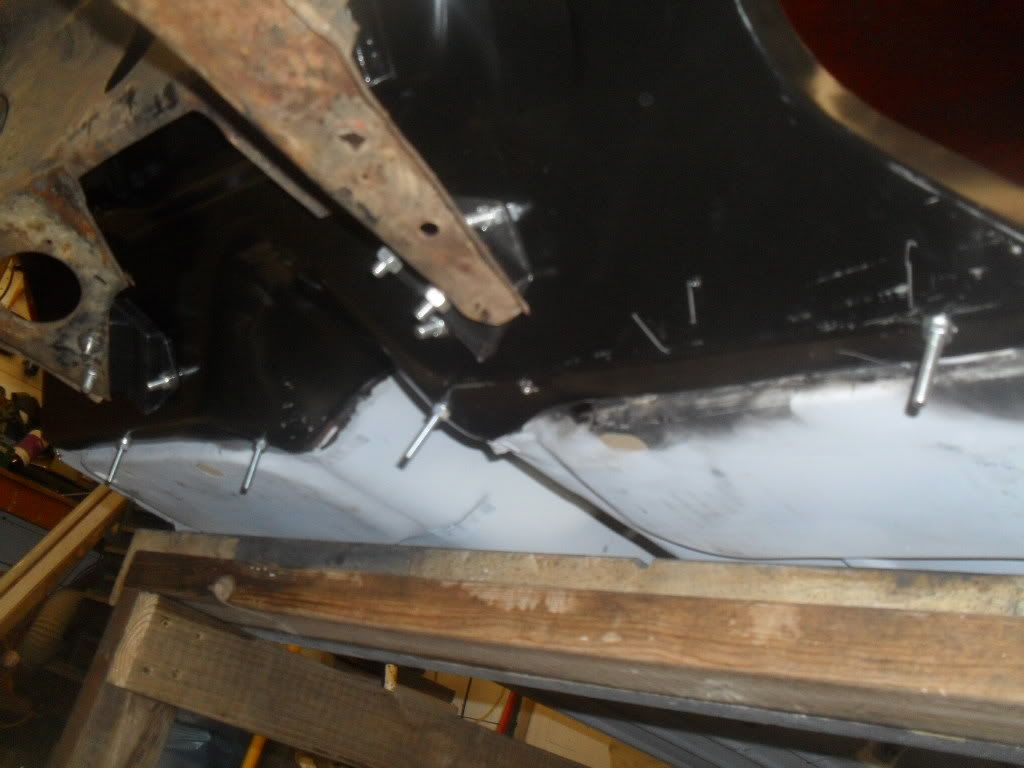
once fully welded we set about replacing the outer sills. we didnt use the coplete cover sills we want it to look as original as possible so we replaced with the proper half sill. in our mind its better to use the originalhalf sill to let all the collected water in the load bed to drain out properley.

#2 pickupmad87

pickupmad87

    Previously adampadmore

  • Members
  • PipPipPipPip
  • 273 posts
  • Location: woking

Posted 27 February 2011 - 11:15 PM

Posted Image

Posted Image

once this was completed both sides we set about making a repair to the door step on the passengers side and replaced the door step on the other side with part of an old repair panel we had used on my other project more on the other completed project in due course!!

Posted Image

Posted Image

Note to anyone that undergoes this sort of surgery work DO NOT fit the door steps to the floor pan as this causes alot of problems and headaches when you come to graft the sheel to th floor pan. oh well one will learn from ones mistakes!!!!

this was pretty much it for the repairs on the van chassis so after a clean up and blow out with the air hose we coated it in two coat of acid etch primer

Posted Image

after this was done the van base was put to one side in the work shop to make way for the pickup, a few more repairs were done to the pickup shell before the surgery was attempted!!!
i think thats enough for tonite as ive gotta be up early for work tomoz, hopefull i will get round to posting where we are upto at this current moment in time tommorow evening.
thanks for taking the time to read about our project any feedback would be appreciated!

#3 olds_kool_lews

olds_kool_lews

    Up Into Fourth

  • Traders
  • PipPipPipPipPipPipPipPipPip
  • 3,601 posts

Posted 27 February 2011 - 11:19 PM

brilliant project mate! good luck with the build!

#4 blue blood

blue blood

    One Carb Or Two?

  • Members
  • PipPipPipPipPipPipPip
  • 806 posts

Posted 28 February 2011 - 01:02 AM

you don't hang about matey ;) I have a feeling i will like reading this projects progression . Regards Blue

#5 malcs_miniturbo

malcs_miniturbo

    Super Mini Mad

  • Members
  • PipPipPipPipPipPip
  • 602 posts
  • Location: swindon

Posted 28 February 2011 - 08:56 AM

nice work mate your getting on quick with this i need to get on with mine lol

#6 darky32

darky32

    Mini Mad

  • TMF+ Member
  • PipPipPipPip
  • 272 posts
  • Location: Bournemouth
  • Local Club: Not yet !!

Posted 28 February 2011 - 01:01 PM

Great work ...keep the updates coming ;)

#7 Artful Dodger

Artful Dodger

    " I AM THE SPECIAL ONE"

  • Members
  • PipPipPipPipPipPipPipPipPip
  • 4,435 posts
  • Local Club: aint no body got time fo dat

Posted 28 February 2011 - 07:33 PM

looks like you are not gonna mess this pickup up:) glad to see more being restored! will keep an eye on this:P

#8 freaker

freaker

    One Carb Or Two?

  • Members
  • PipPipPipPipPipPipPip
  • 1,378 posts
  • Location: zeebrugge
  • Local Club: mini fun club belguim

Posted 28 February 2011 - 07:36 PM

and you have a second one aswell ???

freaker

#9 podifold

podifold

    Suck through sucks

  • Traders
  • PipPipPipPipPip
  • 376 posts
  • Location: Manchester

Posted 28 February 2011 - 10:11 PM

Good work mate - nice to see a grasser returned to it's former glory!

#10 pickupmad87

pickupmad87

    Previously adampadmore

  • Members
  • PipPipPipPip
  • 273 posts
  • Location: woking

Posted 01 March 2011 - 12:08 AM

Right Floor pan done, time to put aside to make way for the pickup!!!

Posted Image

Posted Image

before we start to cut out the redundant floor there are a few more repairs that need to be done before the surgery can commence
this consists of replacing the part of the crossmember in the engine bay that the monster cut out becasue he thought it would be
a good idea to mount the pedal box in the center of the pickup. other repairs tat need doing are the rear stiffiners for the side
panels where the meet the cab back, these were cut out to make way for a roll cage!

Posted Image

we didnt have the pieces to go back in, so it was lucky we kept the bulkhead of another mini that was used for its roof because
pretty much everything else was rotten.

Posted Image

once these parts were cut out they got welded in.

Posted Image

next is to tackle and make new panels for the rear stiffiners

Posted Image

Posted Image

thats all for tonite folks ill try and finish where we are up to tomorow evening.

#11 jagman.2003

jagman.2003

    One Carb Or Two?

  • Members
  • PipPipPipPipPipPipPip
  • 1,307 posts
  • Location: In the shed.
  • Local Club: Owner of my own club of Minis

Posted 01 March 2011 - 08:28 AM

Great job. Keep up the good work.

#12 thesidewalk

thesidewalk

    Stage One Kit Fitted

  • Noobies
  • PipPipPip
  • 52 posts
  • Location: Slough
  • Local Club: TVMC

Posted 01 March 2011 - 08:34 AM

really looking forward to seeing this one completed, keep it up

#13 pickupmad87

pickupmad87

    Previously adampadmore

  • Members
  • PipPipPipPip
  • 273 posts
  • Location: woking

Posted 01 March 2011 - 05:36 PM

Hello guys!

this is the photo that was supposed to be third from last error on my part!!!

Posted Image

next we need to turn our attention to cutting out the gash inner wings that have had loads of crap
repairs over the years

Posted Image

Posted Image

Posted Image

once this was cut out we did a trial fit of the new inner wing a panels and one of doors we managed
to repair. we wanted to check that the gaps were going to be ok with the new inner wings.

Posted Image

Posted Image

with the trial fit over with it was time for the major surgery to commence!! Yay!

Posted Image

Posted Image

Posted Image

with the old crappy floor pan cut out it was time to bring out the van base and drop the shell on
top!

Posted Image

Posted Image

Posted Image

with this done we can start to line up the toe board and inner wings. to start with we bolted the
toe board to the van base just to make sure that the inner wings would line up properly.

Posted Image

we also used the front subframe to give us an idea of where to position the toeboard to start with.

Posted Image

after that we welded in the new door post repair panel as the existing one was trashed.

Posted Image

with the door post welded in and strengthened we set about lining up the inner wings

Posted Image

with this done both side it was time to bolt the front panel to the subframe and start linig up for
the wings and a panels

Posted Image

Posted Image

once we were happy all the wings were aligned properly (also trial fitted with a bonnet) we started
to weld the wings to the inner wings.

Posted Image

#14 fordson

fordson

    Mini Mad

  • Members
  • PipPipPipPip
  • 203 posts

Posted 01 March 2011 - 05:41 PM

wow thats some serious work your putting in there :D

#15 pickupmad87

pickupmad87

    Previously adampadmore

  • Members
  • PipPipPipPip
  • 273 posts
  • Location: woking

Posted 01 March 2011 - 05:44 PM

next we welded the window scuttle panels that we cut out back in.

Posted Image

Posted Image

with this done we concetrated our efforts to the rear of the pickup. there were a few repairs
needed to the rear of the wings and the tail light panels

Posted Image

as funds are gettin a little bit thin we decided to make the repair panels for the tail light panel
ourselves

Posted Image

Posted Image

with these made, we made the triagle shaped tailgate strengtheners as the existing ones were pretty
rotten!!

Posted Image

Posted Image

Posted Image

with those made we skimmed both wings and tailgate panels in filler ready for rubbing down

Posted Image

Posted Image

now finalay thats pretty much it totally upto date now the updates will be a bit slower now as we
are only working on it at weekends as we both have full time jobs! and again thanks for reading
about our project and the feedback is much appreciated.


1 user(s) are reading this topic

0 members, 1 guests, 0 anonymous users