
one word 'Amazing'
fair play to you. amazing word as always


Leyland Mini 1000 1980 Restoration Project
Started by
minifcd
, Aug 27 2011 08:59 PM
393 replies to this topic
#152

minifcd
-
- Members
-

- 246 posts
Mini Mad
- Location: Stamford
Posted 11 March 2012 - 08:29 PM
Thanks Danny.
A few more pics for you all. I wanted to post this last night but for some reason couldn't log in to photobucket? Probably doing site maintenance. Anyway, finished off priming up the inside and seam sealed to keep the dust out and tidy it up a bit.
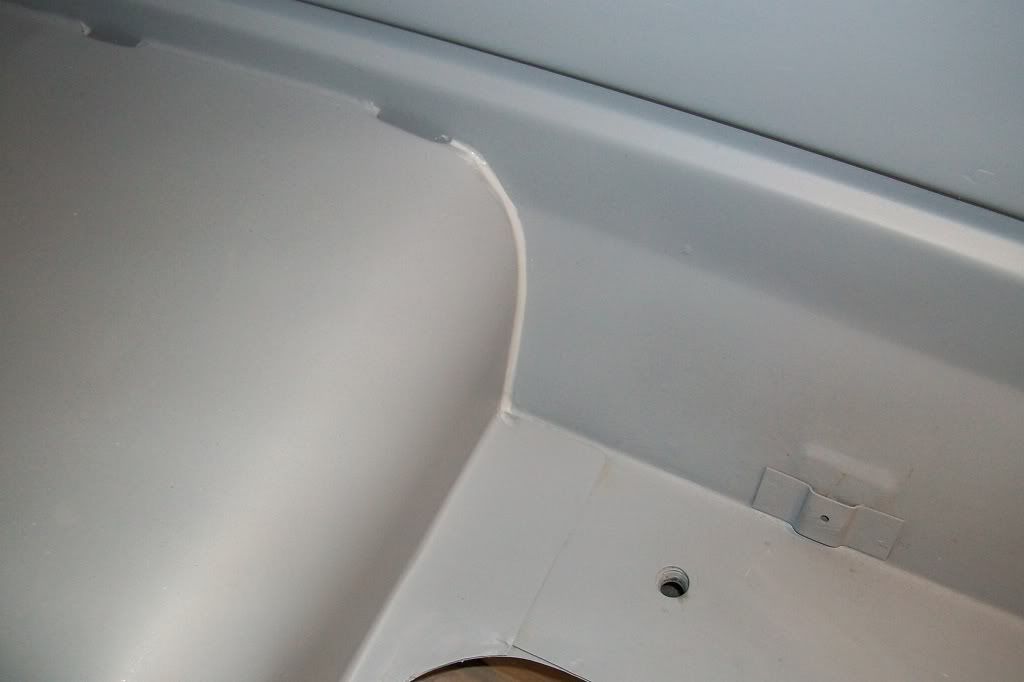
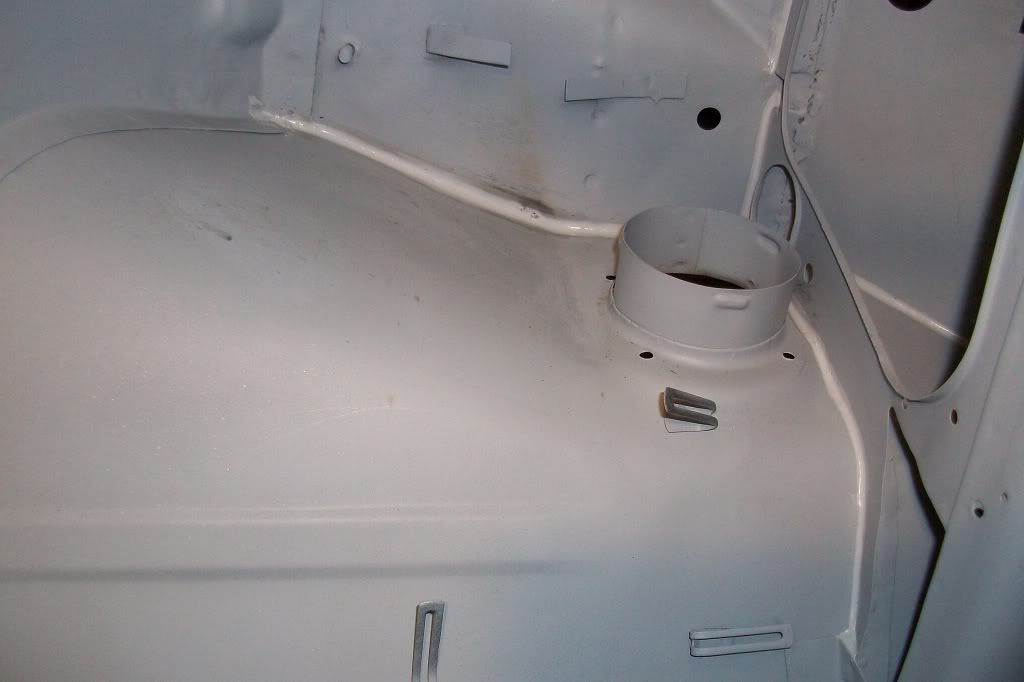
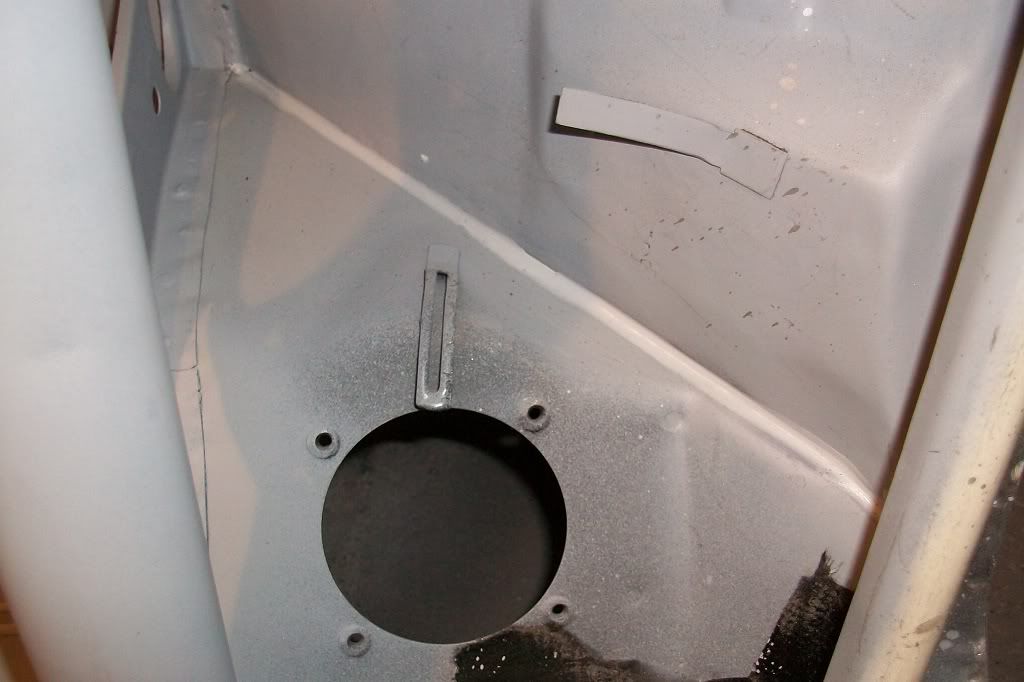
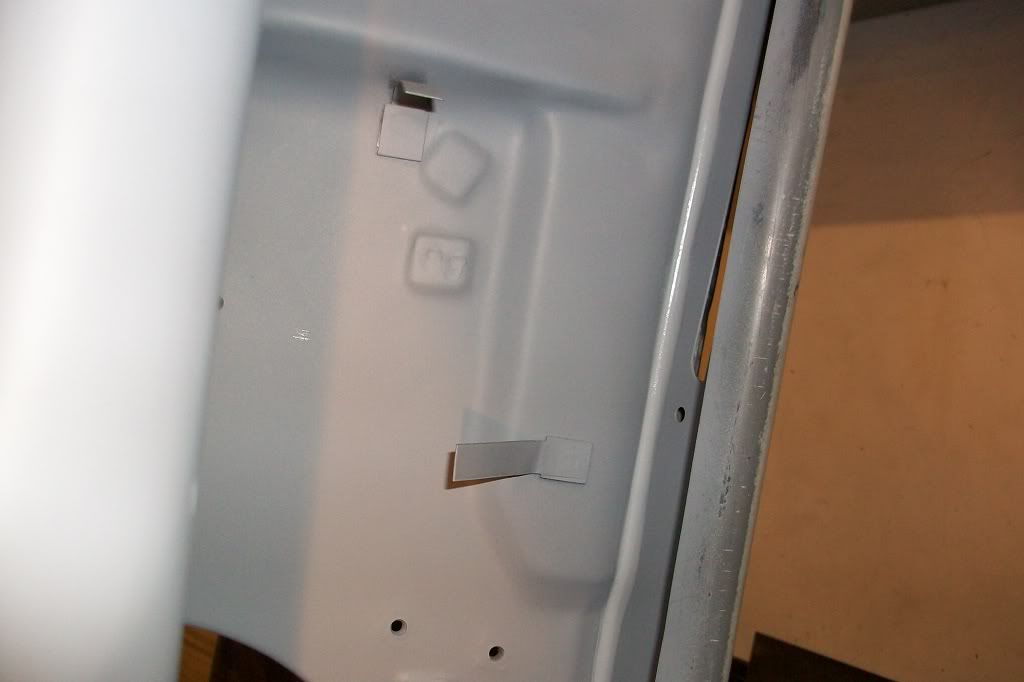
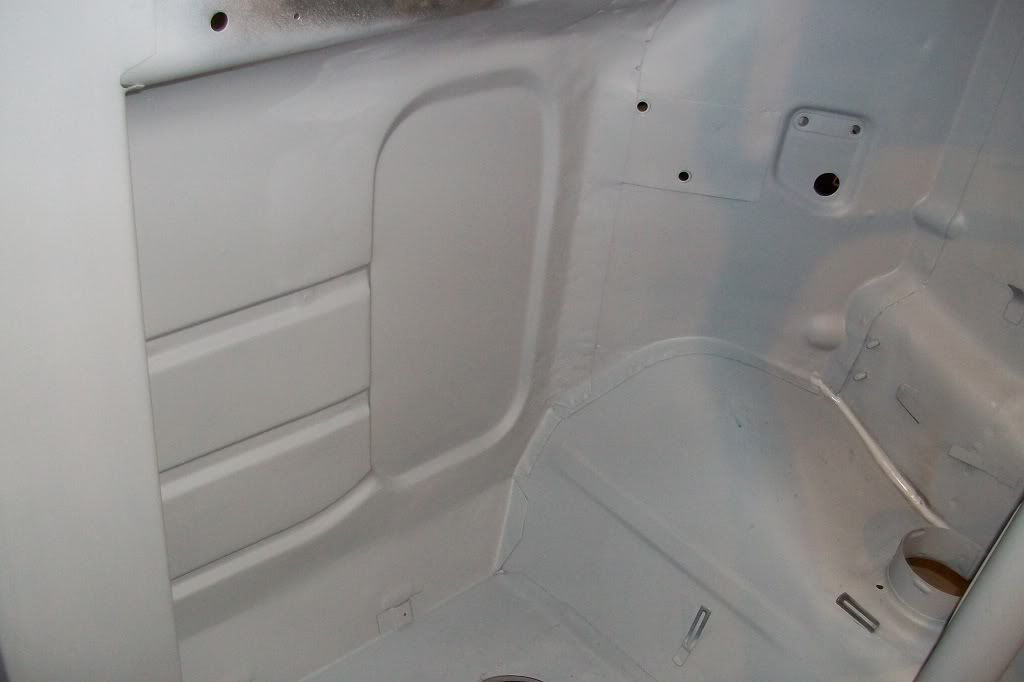
Moved to the underside next to finish off seam sealing and priming.
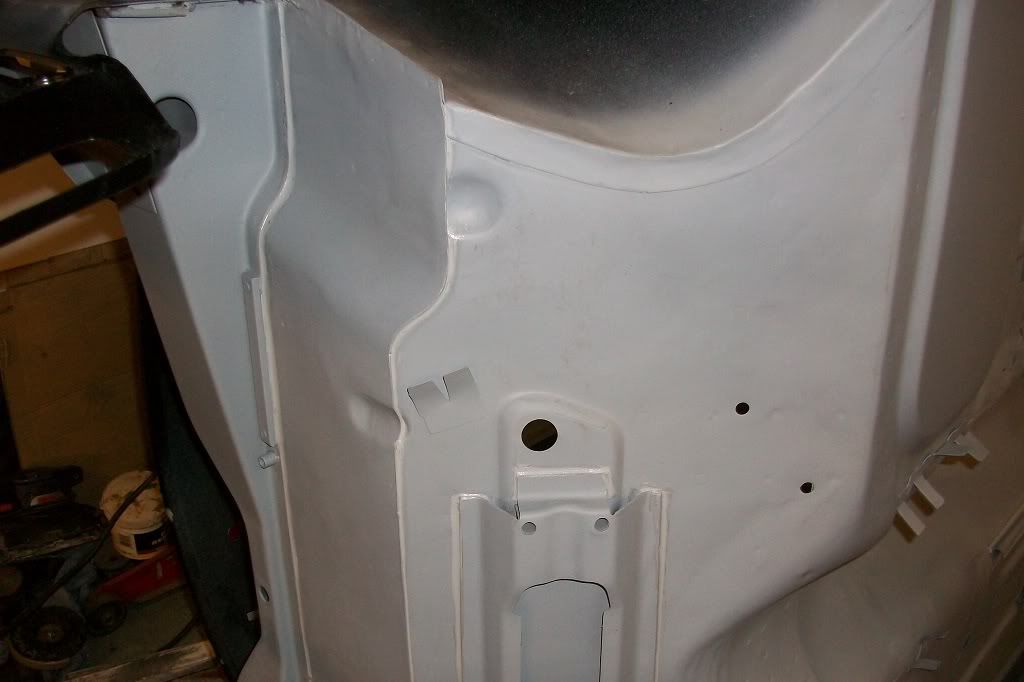
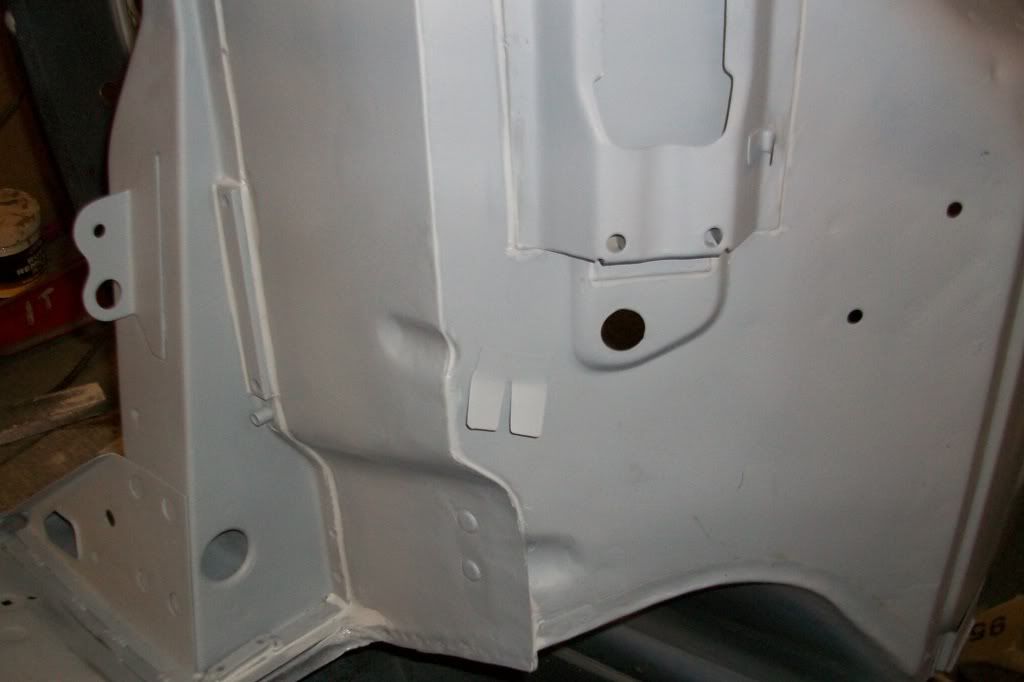
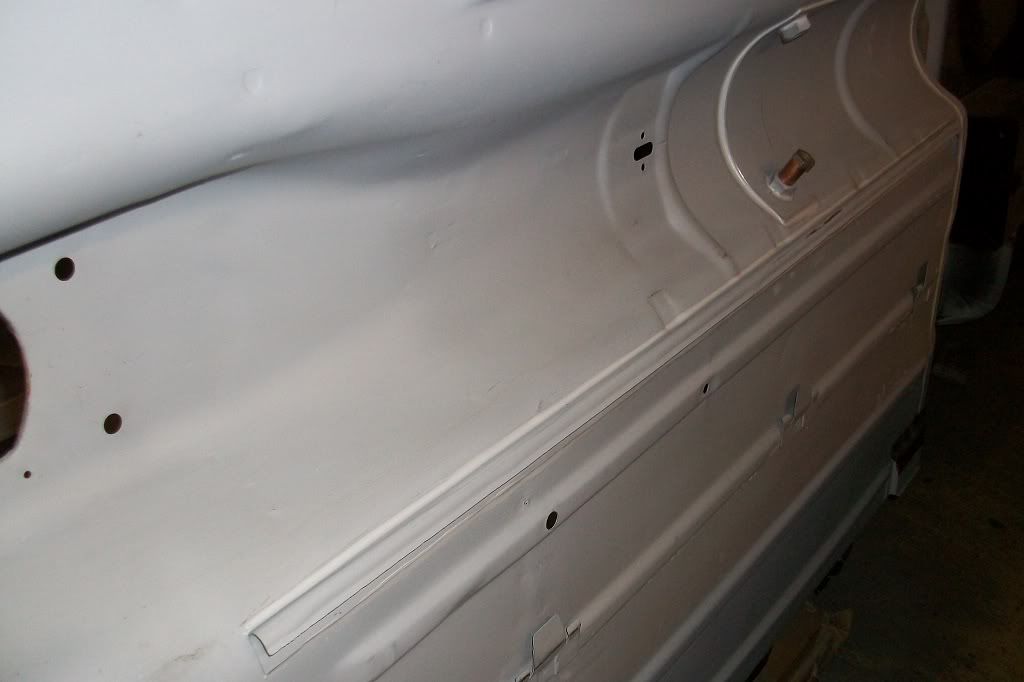
Got the shell back the right way up.
Then this happened!!
This is now only a week behind so i'll try and get another update later this week to finally get up to date.
Thanks.
A few more pics for you all. I wanted to post this last night but for some reason couldn't log in to photobucket? Probably doing site maintenance. Anyway, finished off priming up the inside and seam sealed to keep the dust out and tidy it up a bit.
Moved to the underside next to finish off seam sealing and priming.
Got the shell back the right way up.
Then this happened!!
This is now only a week behind so i'll try and get another update later this week to finally get up to date.
Thanks.
#153
grahama
-

- Members
-
- 2,442 posts
Up Into Fourth
- Location: Warrington
- Local Club: None in my area !!
Posted 11 March 2012 - 09:54 PM
Hi Scott,
nice work as always, but how are you getting back to bare metal so well in the awkward places, rear seat back for example, with all the non flat areas ??
Graham
nice work as always, but how are you getting back to bare metal so well in the awkward places, rear seat back for example, with all the non flat areas ??
Graham
#154
minifcd
-
- Members
-
- 246 posts
Mini Mad
- Location: Stamford
Posted 12 March 2012 - 12:00 AM
Hi Graham. Rear seat back was one of the easier ones to clean down. I first used a flat wire wheel in the drill to do all of the grooves. Then I used a strip and clean disc on the angle grinder to do the bigger flat areas. The wire wheel naturally follows the grooves and the strip and clean disc works well with very light pressure so as not to wear it out too quickly. I did all of the seat back and the inside floor and the disc is still not yet half worn. I'll get some pictures of what I use up at some point.
Thanks.
Thanks.
#155
Andrew O
-

- Members
-
- 1,425 posts
Previously known as Andrewo330.
Posted 12 March 2012 - 12:40 PM
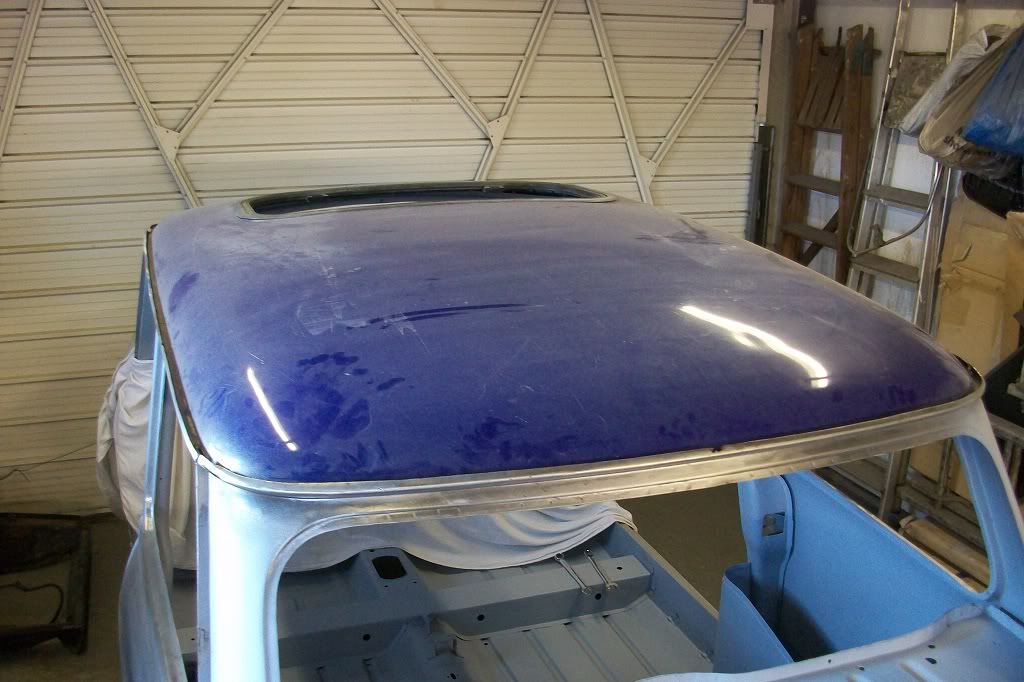
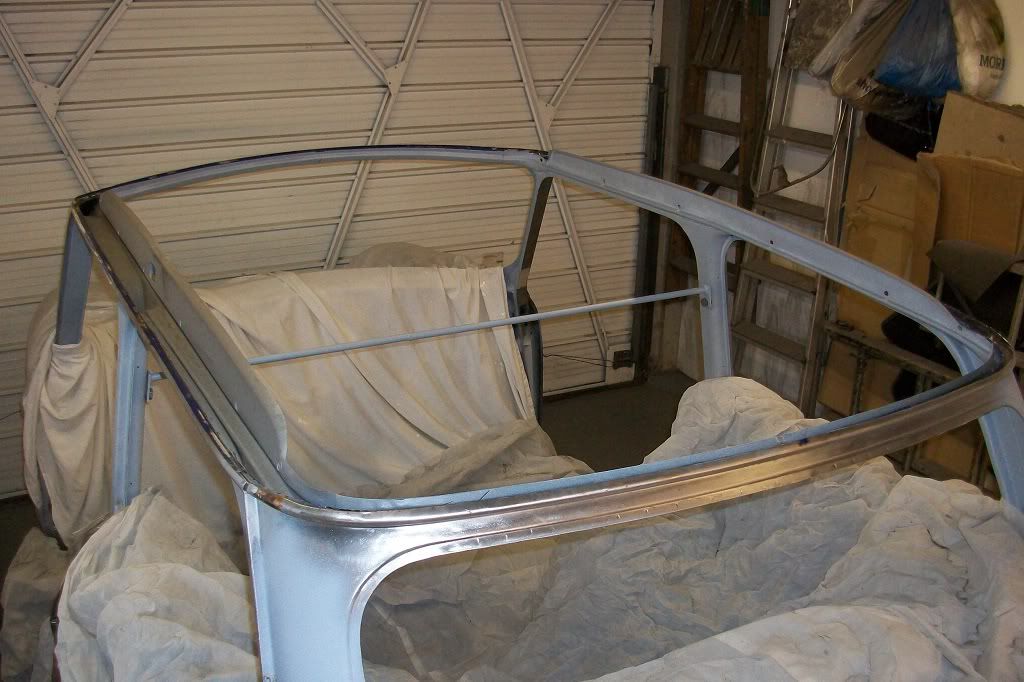
Very nice work, Why have you taken the roof off ?
#156
MR J
-

- Members
-
- 416 posts
Speeding Along Now
- Location: Doncaster
- Local Club: Doncaster Mini Owners
Posted 12 March 2012 - 03:27 PM
Very nice work, Why have you taken the roof off ?
At a guess I'd say he didn't like the sunroof.
Great work by the way!!
#157
minifcd
-
- Members
-
- 246 posts
Mini Mad
- Location: Stamford
Posted 12 March 2012 - 07:46 PM
Spot on Mr J! Hi Andrew, it was mainly due to the aftermarket sunroof but there were lots of dents in the roof as well that would have needed filling. Where the sunroof met the roof at the front and back edges, the roof had flattened out as the sunroof didn't match the curve of the roof. When looking from the side, you could see the roof dipped down where it met the sunroof, so it had to go.
#158
hughJ
-

- Members
-
- 727 posts
Soldiering Along
- Location: Highlands, Scotland
Posted 12 March 2012 - 08:49 PM
Scott - you are so patient. Having taken out the windscreen surround panel on mine I know what work went into carefully taking that roof out. Getting that roller weld all cleaned out is some going. But you know I have so much respect for your work.
Hugh
Hugh
#159
minifcd
-
- Members
-
- 246 posts
Mini Mad
- Location: Stamford
Posted 12 March 2012 - 08:53 PM
Cheers Hugh. Just wait to see what repairs i'm having to do before I fit the roof! Could take me months!
#160
Goacher65
-

- Just Joined
-
- 161 posts
Mini Mad
- Location: Maidstone, Kent
- Local Club: Medway Mini Club
Posted 12 March 2012 - 10:22 PM
Don't fancy a project down in sunny Maidstone do you?  I could pay you in tea, biscuits and bacon sandwiches! So envious of this project!
I could pay you in tea, biscuits and bacon sandwiches! So envious of this project!
#161
obiwan riley
-

- Noobies
-
- 76 posts
Stage One Kit Fitted
Posted 12 March 2012 - 10:28 PM
cool project
#162
minifcd
-
- Members
-
- 246 posts
Mini Mad
- Location: Stamford
Posted 12 March 2012 - 11:47 PM
Umm... bacon sandwiches... no, no I can't I'm affraid. Even thought the offer is very, very tempting. You would also need a lot of tea and biscuits! Its mandatory to have a tea break every 10 minutes! Thats why restoring minis takes sooo long!
#163
Down&Out
-

- Traders
-
- 4,833 posts
The King Of Retro Cool
- Location: -
Posted 13 March 2012 - 07:00 PM
I assume you're fitting a fibreglass roof in the place of the large hole?
#164
minifcd
-
- Members
-
- 246 posts
Mini Mad
- Location: Stamford
Posted 13 March 2012 - 09:45 PM
Nope, a new Heritage roof will be fitted back in place of the large hole! Its ready and waiting to be fitted.
#165
minimuk
-

- Members
-
- 1,946 posts
Camshaft & Stage Two Head
- Location: Midlands
Posted 13 March 2012 - 11:19 PM
Nope, a new Heritage roof will be fitted back in place of the large hole! Its ready and waiting to be fitted.
how do you clean the gutter before fitting the new roof?


0 user(s) are reading this topic
0 members, 0 guests, 0 anonymous users


