Jump to content


Photo

How To Get Those Tight Door/bonnet /boot Gaps


  • Please log in to reply
73 replies to this topic

#1 sonikk4

sonikk4

    Twisted Paint Polisher!!!

  • Admin
  • PipPipPipPipPipPipPipPipPipPipPip
  • 15,884 posts
  • Name: Neil
  • Location: Oxfordshire

Posted 20 October 2011 - 02:35 PM

Now as we all know no two Mini's are alike, the build quality from new was never the best and so simply swapping over doors bonnets boots etc onto your pride and joy is never quite as straight forward as you think, and when you see gaps that you can get your fingers into you wonder what you have done wrong.

In most cases some time spent with shims, slotting holes etc can work wonders and is all you will ever need, however if you are doing a full resto and want your car to have gaps that would make a Rolls Royce engineer smile then you have to go that extra mile to get it right.

Panels like door skins, A panels etc can be moved slightly but only by so much, again its the same with a door ,bonnet or boot panel.

Bonnet gapping can normally be attributed to how well the wings have been fitted and also who made the wings as well. The same can be said for most panels on a Mini.

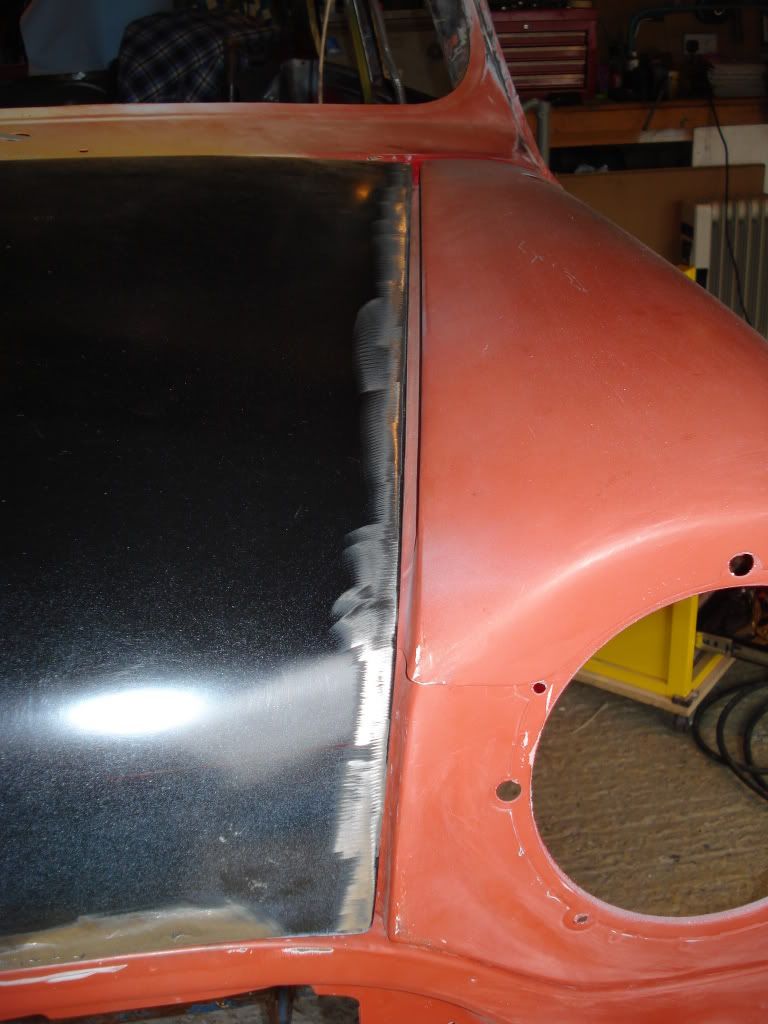
Now without removing wings etc the bonnet needs to be worked to get the gapping right. You could add a bead of weld to the edges but its such a large edge it would look rubbish. Again you could add filler but that can and will break so the best way would be to add metal to the bonnet itself.

I had this very problem with Project Erm and all of my pictures will be from this particular project. Please feel free to add any further pictures or info as this is the whole idea behind this thread.

I hold my hands up here as i boobed when i came to fitting the wings to Erm and so what i did to the bonnet is not really required if you followed what the like's of Panelbeaterpeter, Shifty etc have done.

I had bought a brand new pattern bonnet and its quality shall we say was rubbish. However nothing that could not be sorted
R/h side gap
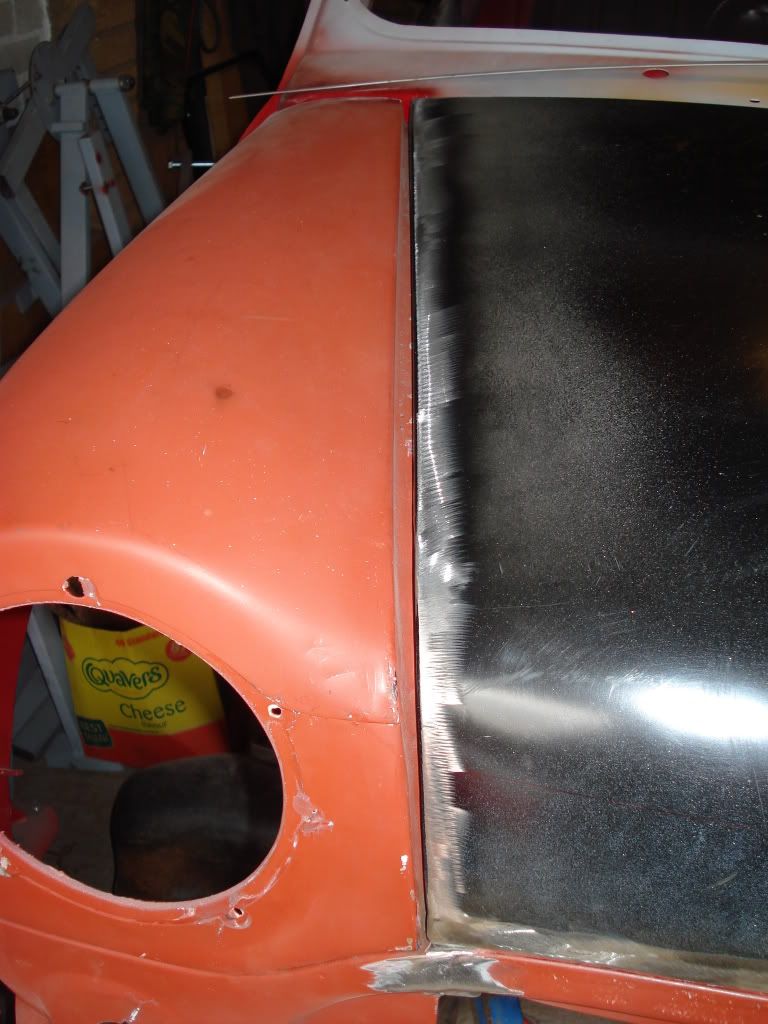
Posted Image
L/h side gap
Posted Image
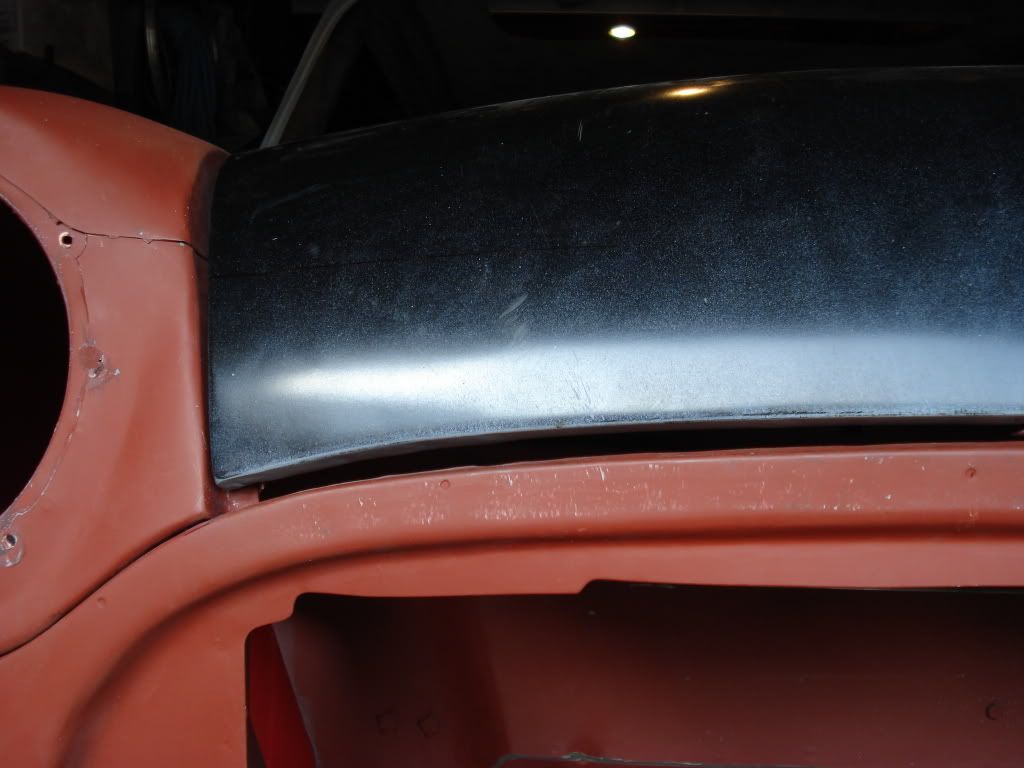
The huge gap at the front
Posted Image
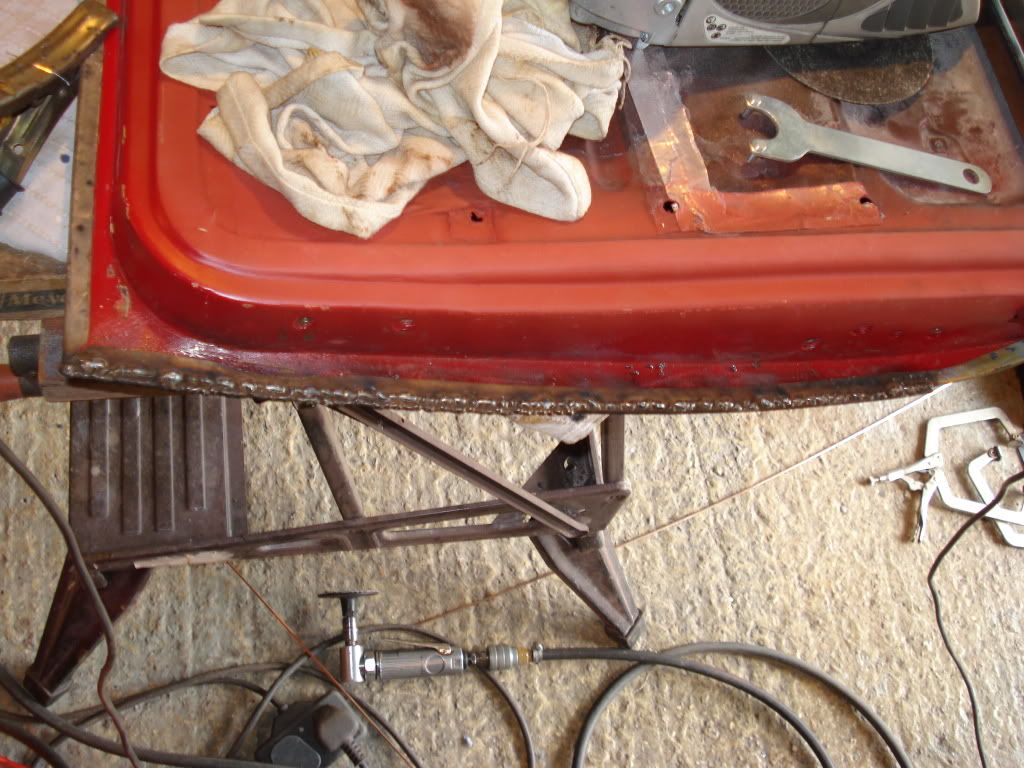
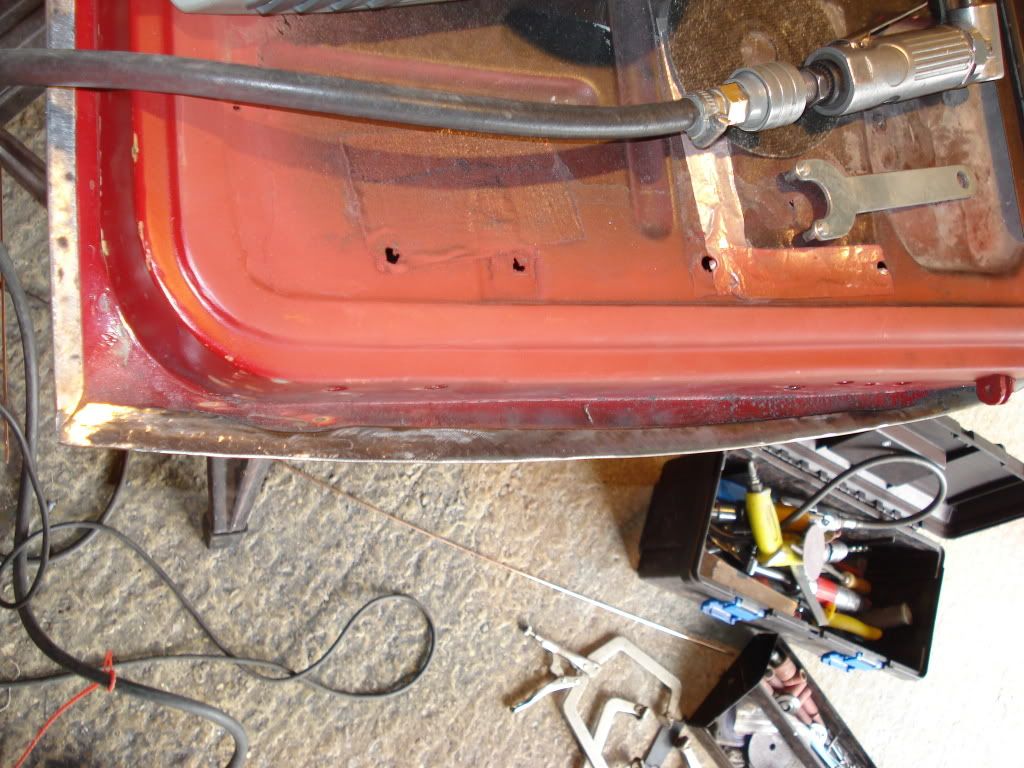
So to start with i cut myself a thin piece of steel sheet and then cut along the bonnet edge to introduce the new section like this
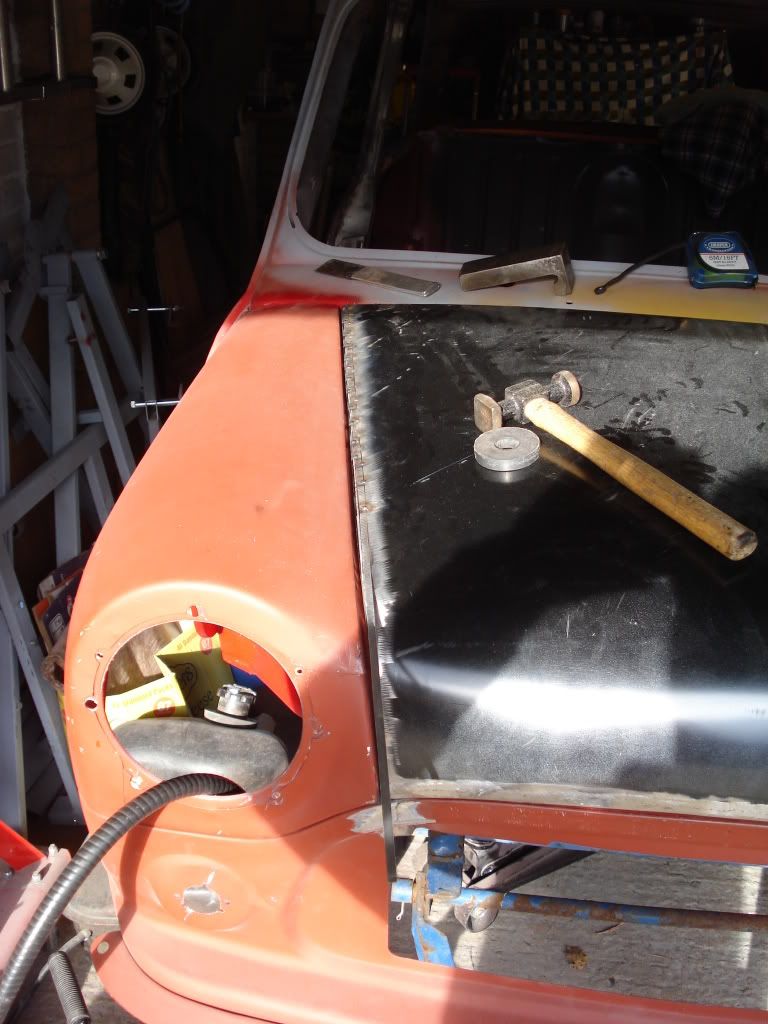
Posted Image
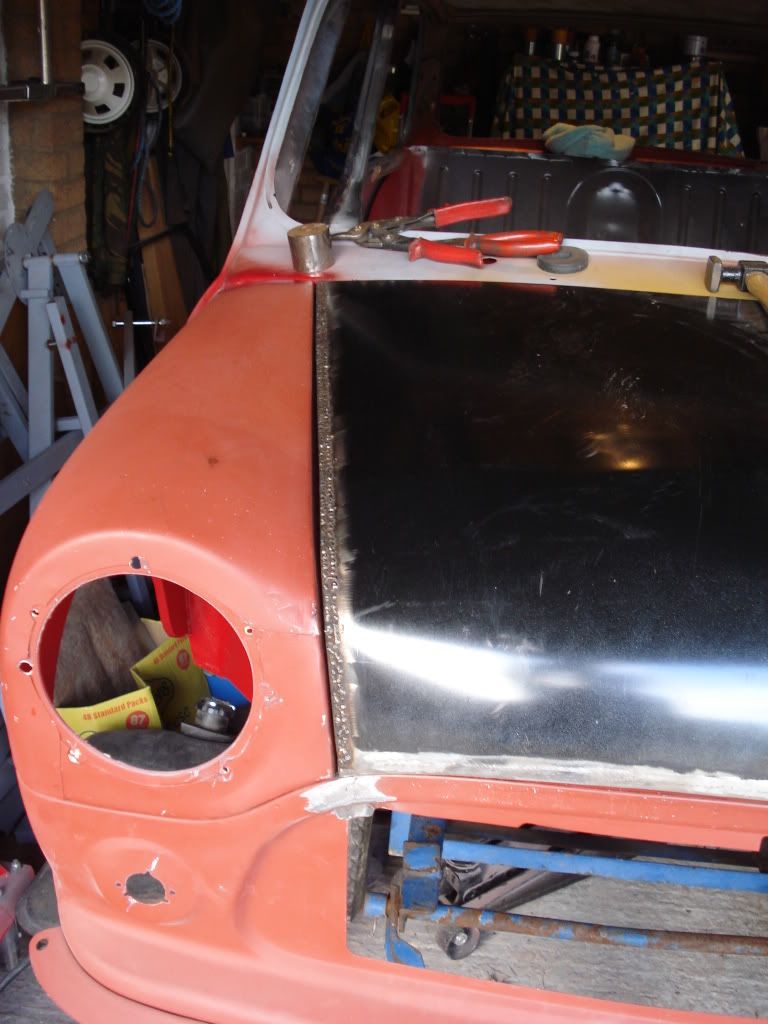
Then welded along the full length
Posted Image
Even here this was not quite right so had to be re done in a couple of places
Now exactly the same was done to the l/h side
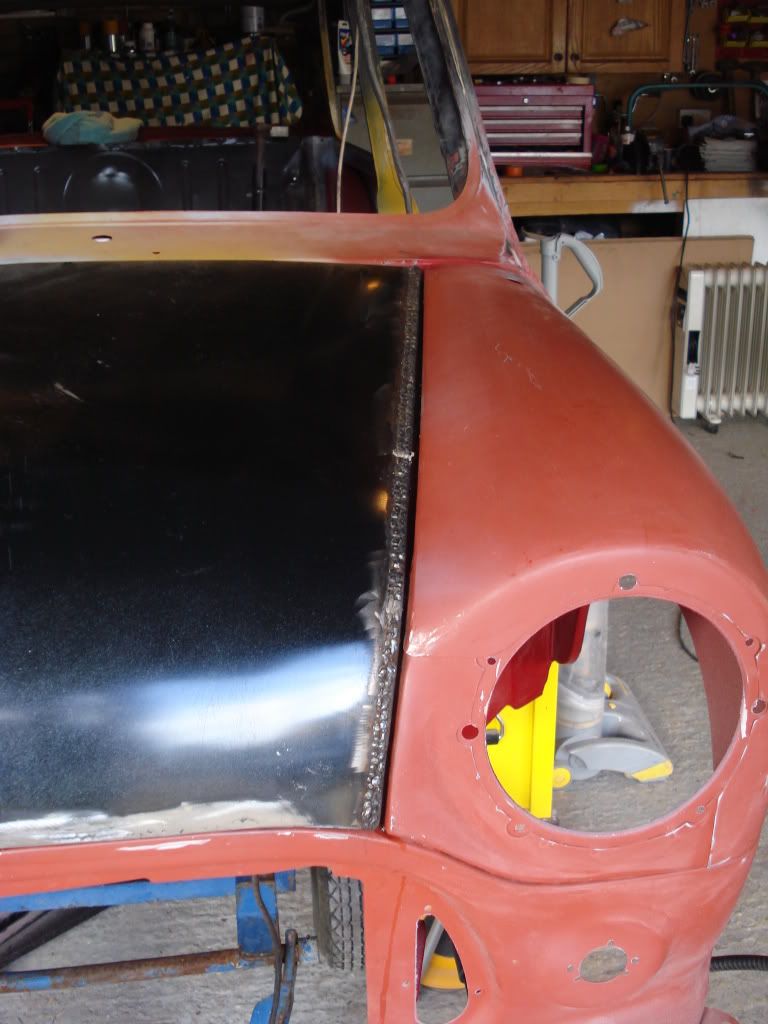
Posted Image
Then it was onto the front
I slitted the bonnet nearly full width to pull the flange down to achieve this
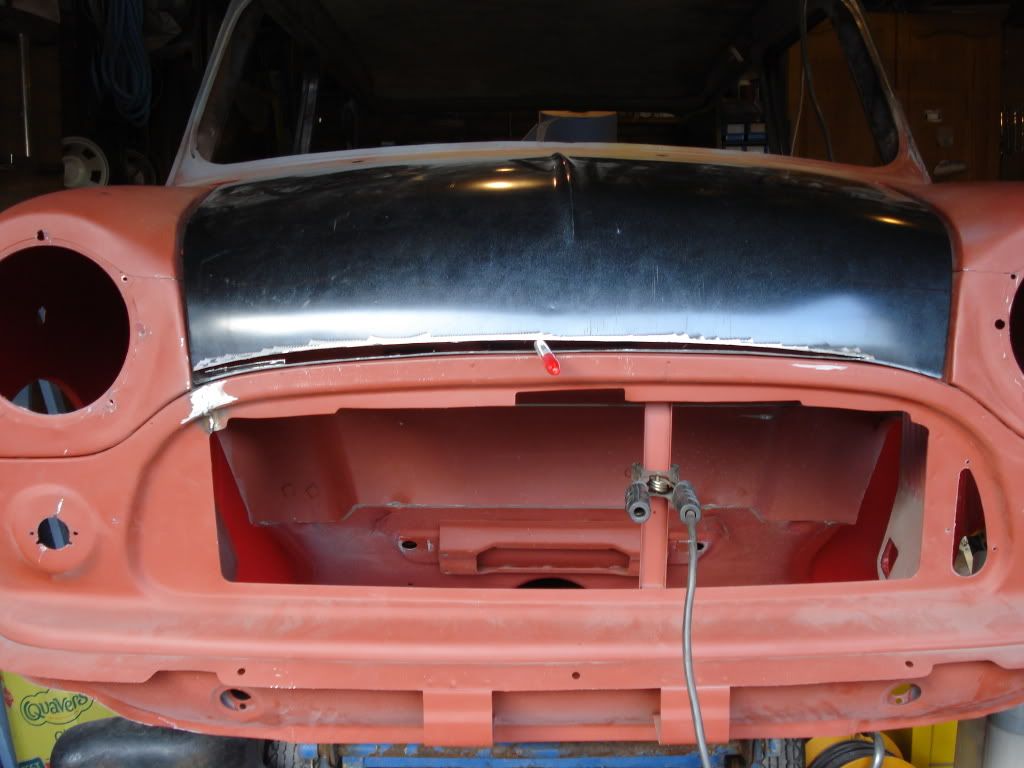
Posted Image
Posted Image
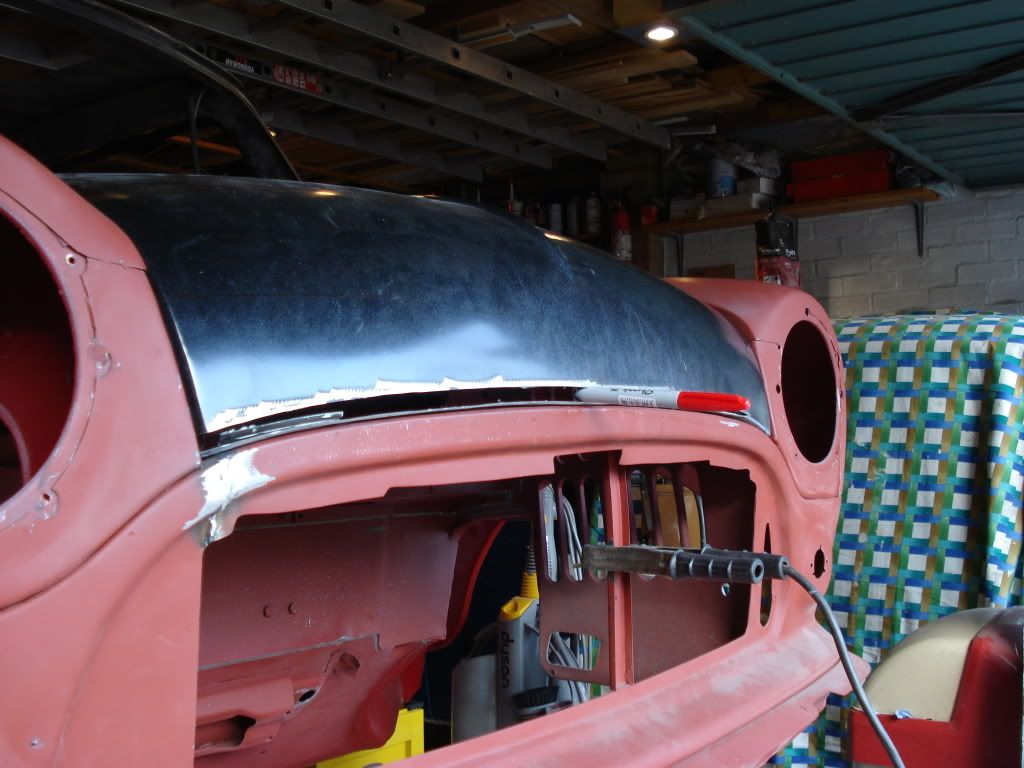
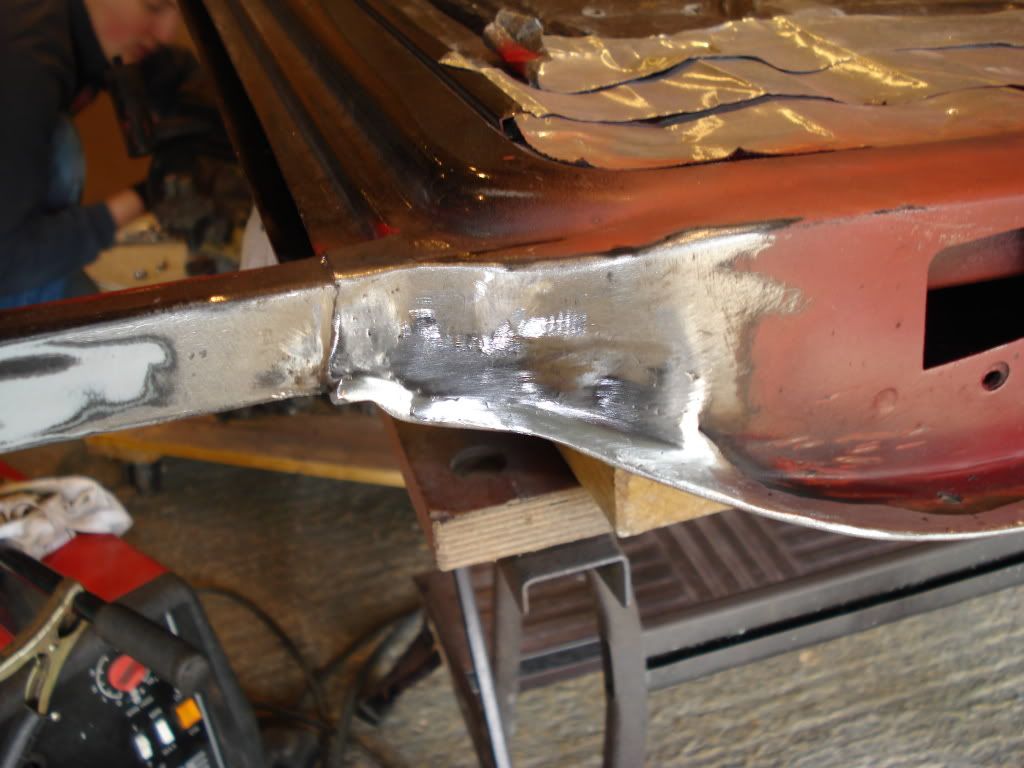
Then i cut a tapered section of steel sheet and added it to the gap like this
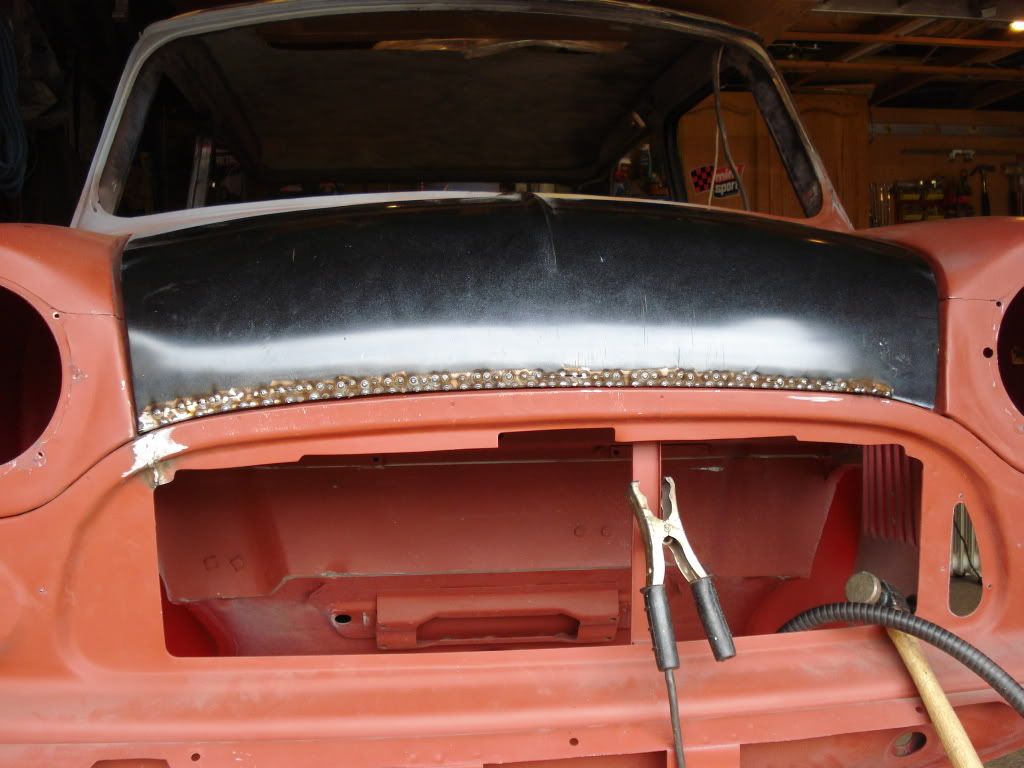
Posted Image
Once it was fully welded and ground down it looked like this just needing some minor hammer and dolly work then filler to finish on the outside.
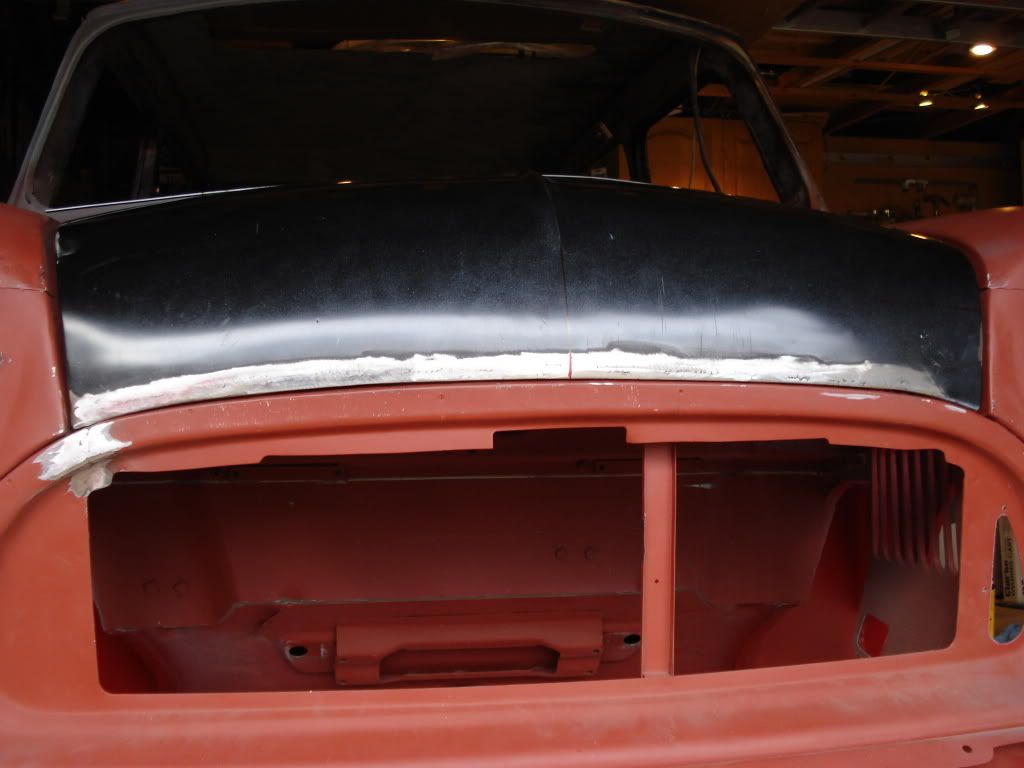
Posted Image

A lot of work but in the end it was worth it but also a lesson learnt for me.
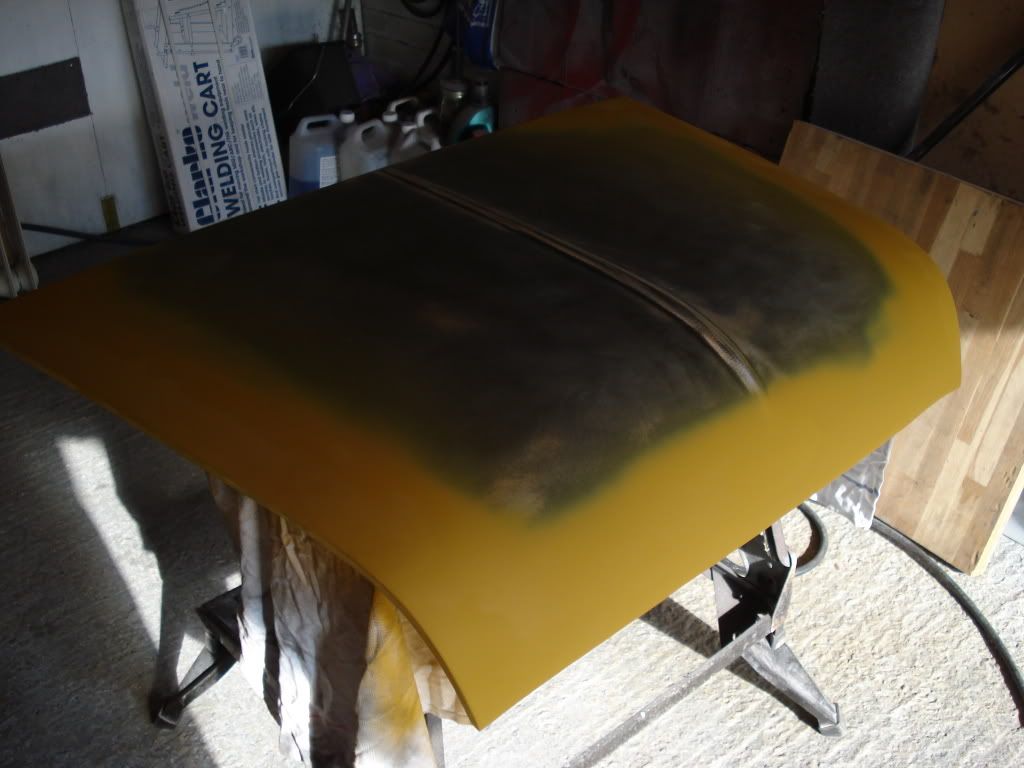
Posted Image

#2 sonikk4

sonikk4

    Twisted Paint Polisher!!!

  • Admin
  • PipPipPipPipPipPipPipPipPipPipPip
  • 15,884 posts
  • Name: Neil
  • Location: Oxfordshire

Posted 20 October 2011 - 03:12 PM

Moving onto the doors.

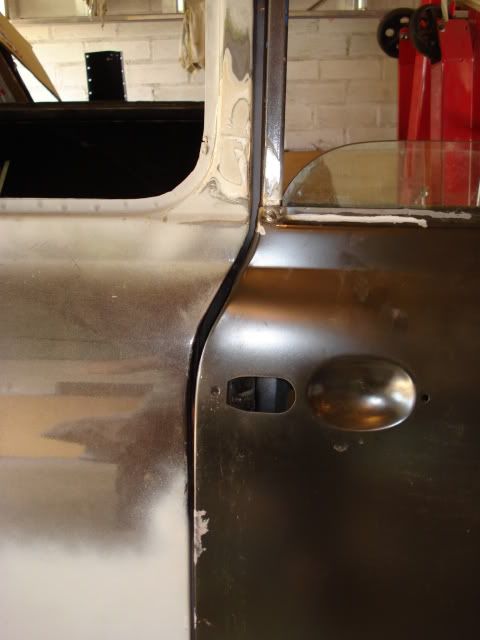
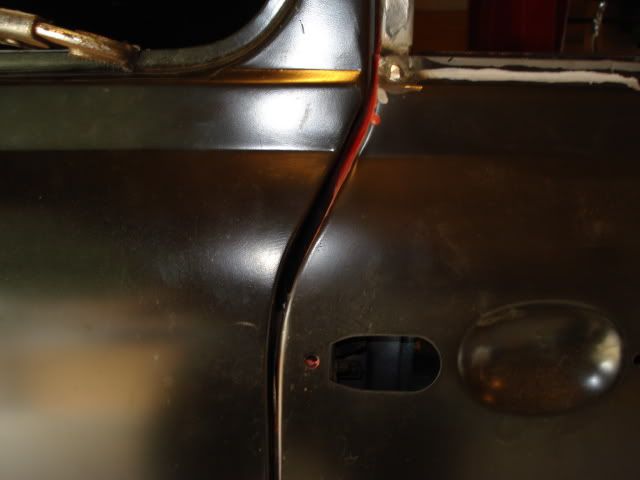
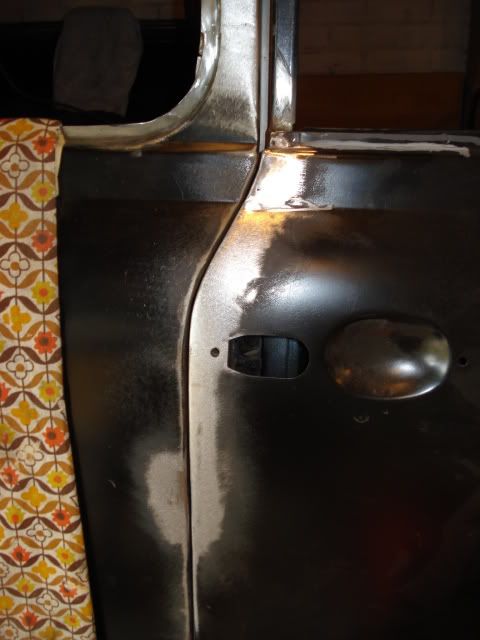
When we first got Erm the gaps were huge and as we found out later were not the original doors so after being repaired and re skinned they still looked poor.
Frame gaps
Posted Image
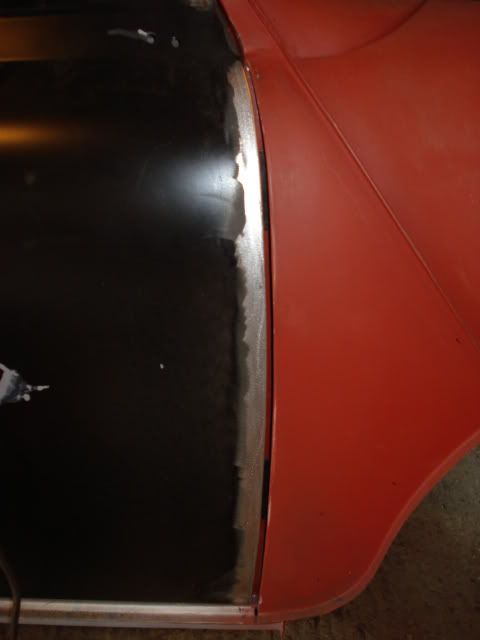
Rear of door gaps
Posted Image
Posted Image
Front of door gap
Posted Image
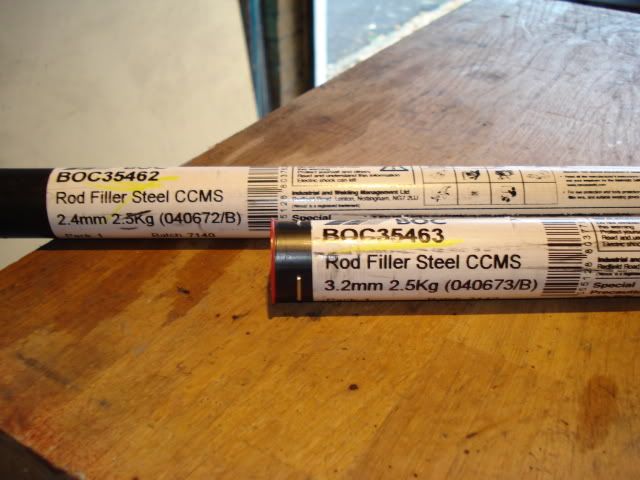
Now to sort these out i bought these welding rods from B.O.C
Posted Image
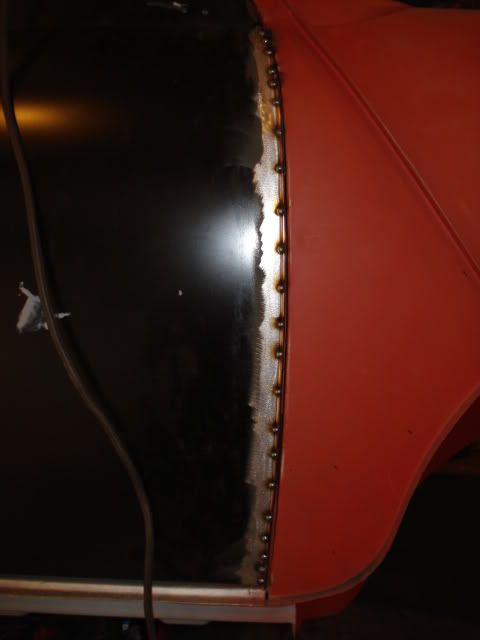
So the front got attacked like this
Posted Image
and ended up like this
Posted Image
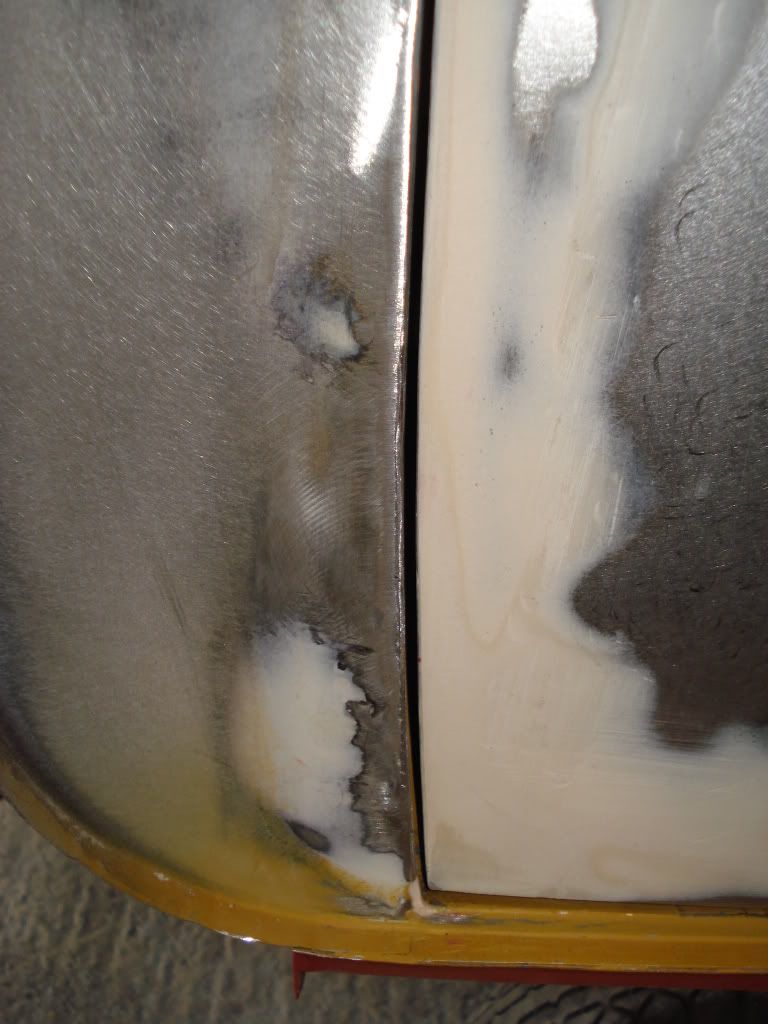
With the extra metal welded in place careful grinding evened the gap nicely along the edge
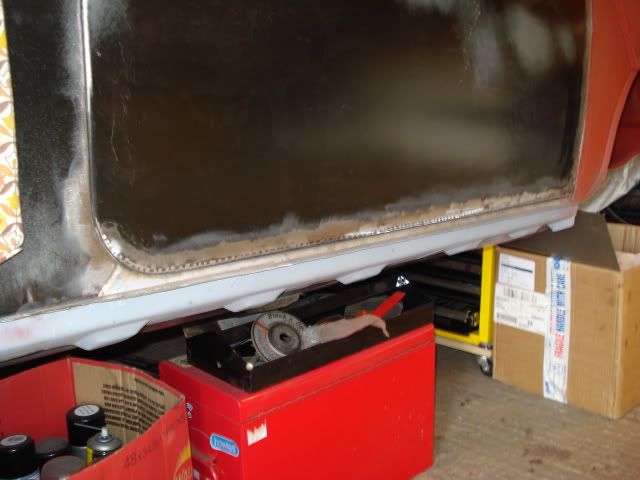
The same process was done to the bottom of the door
Posted Image
And the same to the rear of the door as well
Posted Image
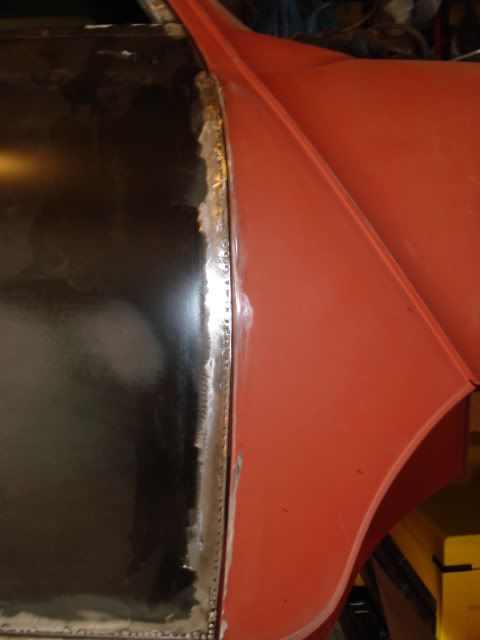
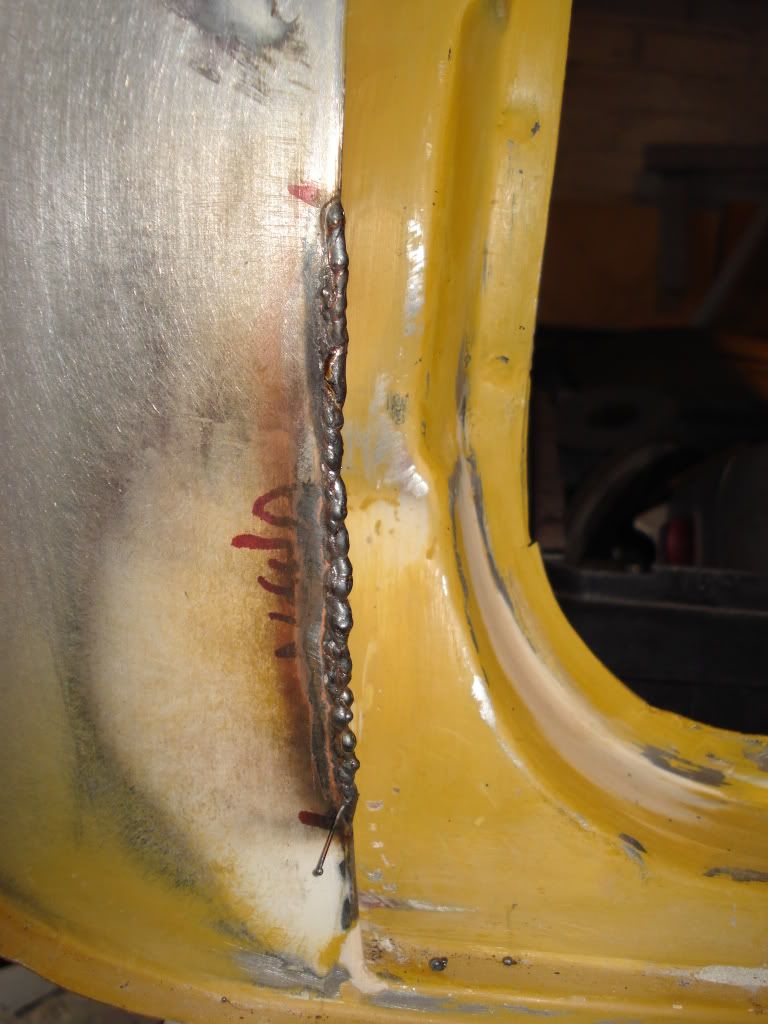
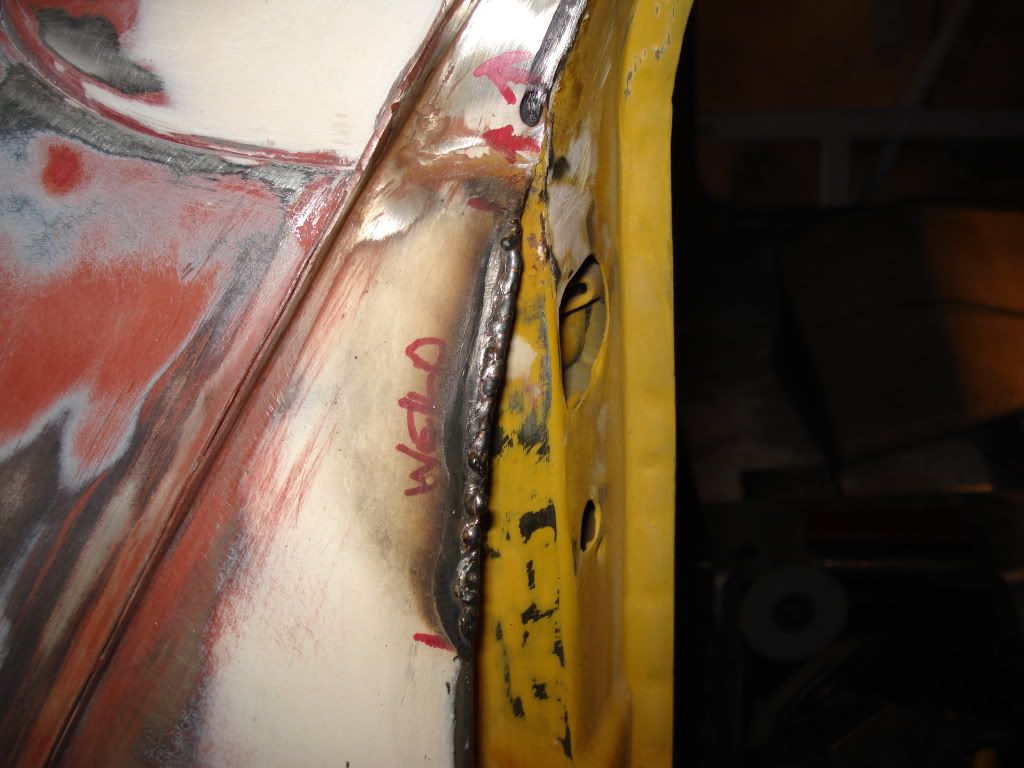
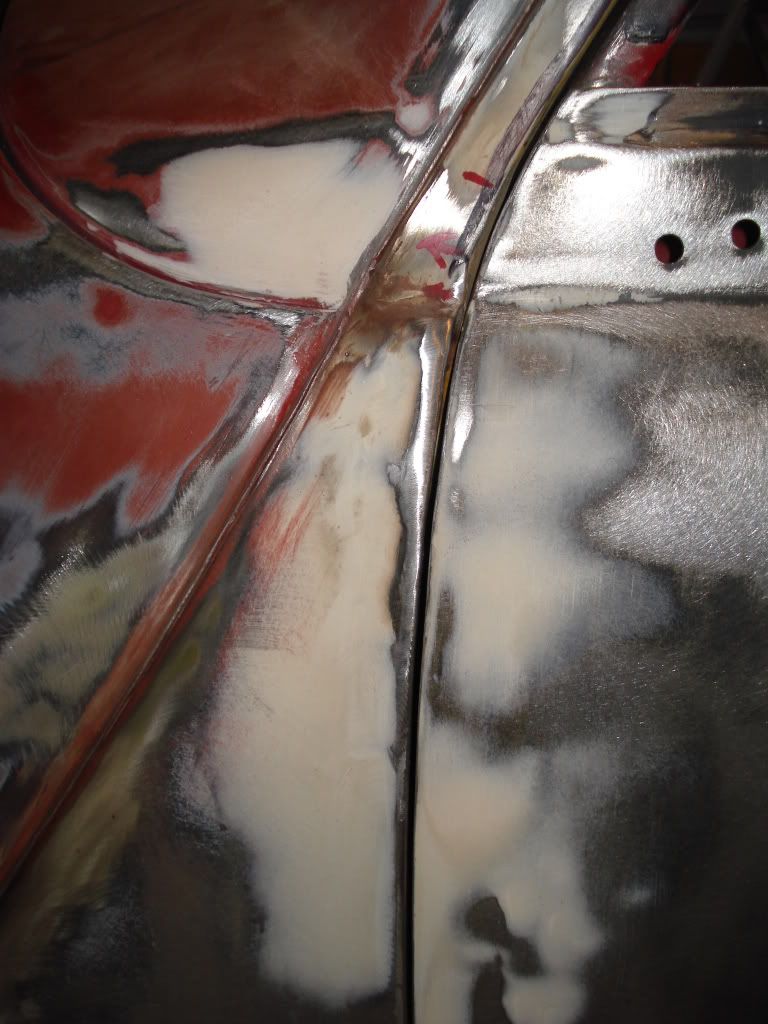
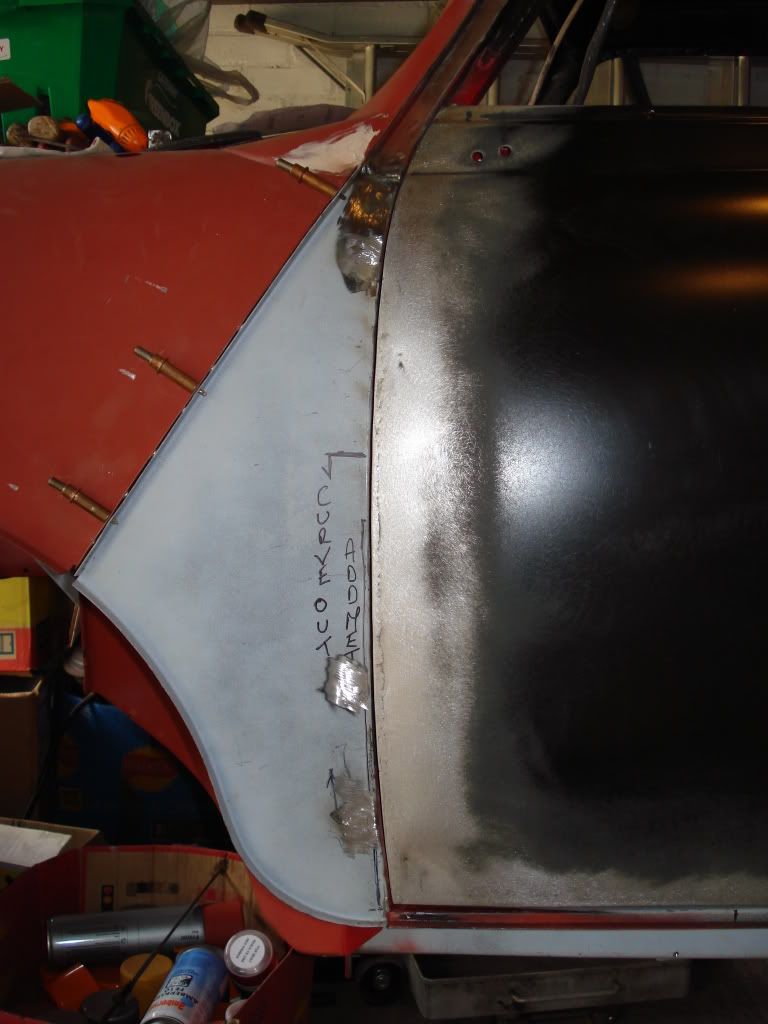
The A panels needed some work as well so ran a bead of weld along the affected areas
Posted Image
Posted Image
Posted Image
Posted Image
The last picture did need more metal adding.
Posted Image

#3 sonikk4

sonikk4

    Twisted Paint Polisher!!!

  • Admin
  • PipPipPipPipPipPipPipPipPipPipPip
  • 15,884 posts
  • Name: Neil
  • Location: Oxfordshire

Posted 20 October 2011 - 03:13 PM

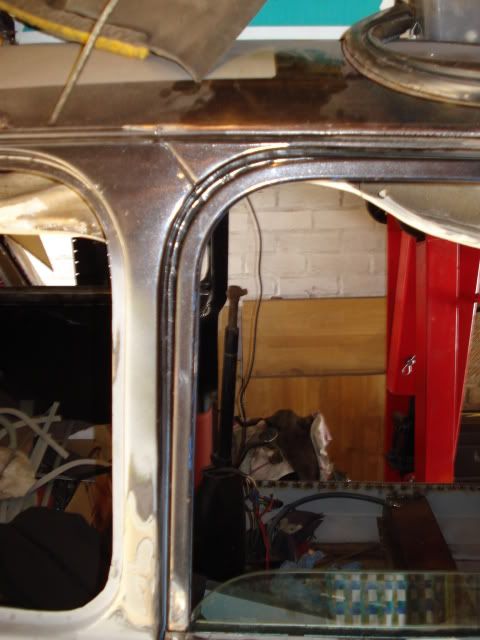
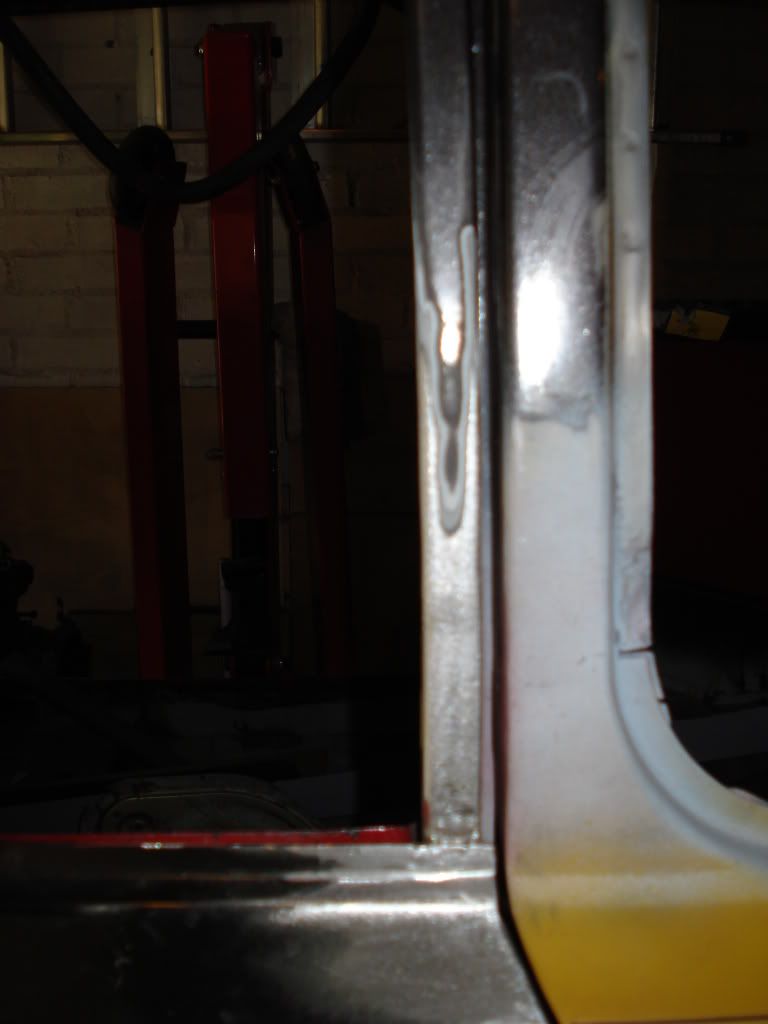
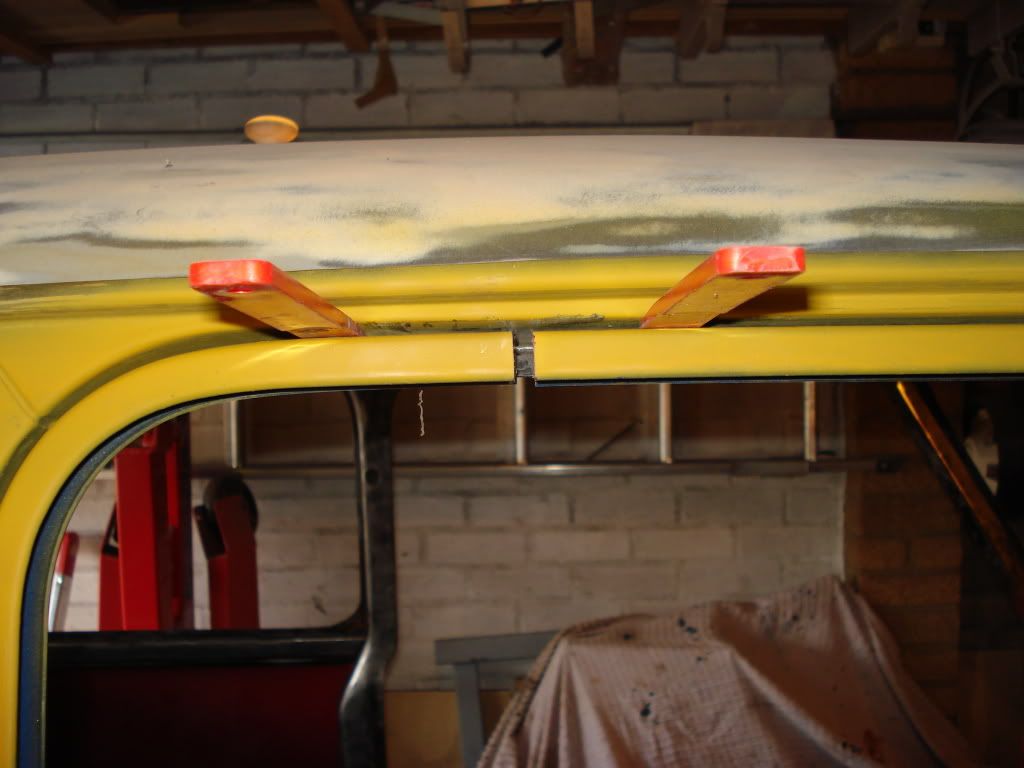
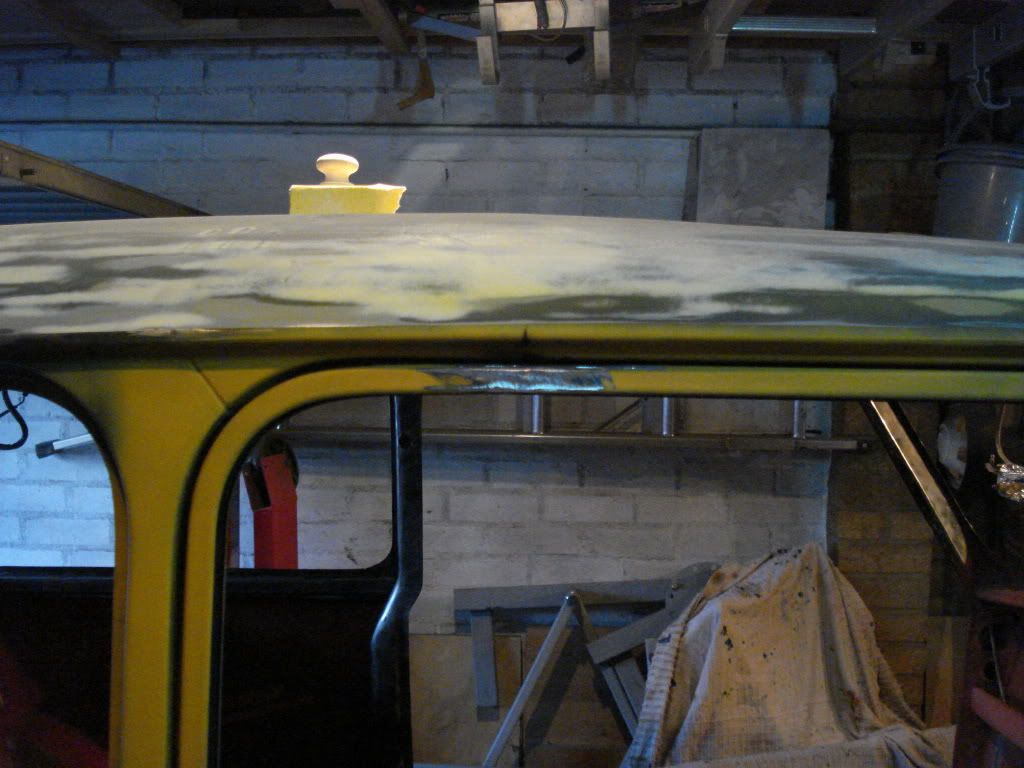
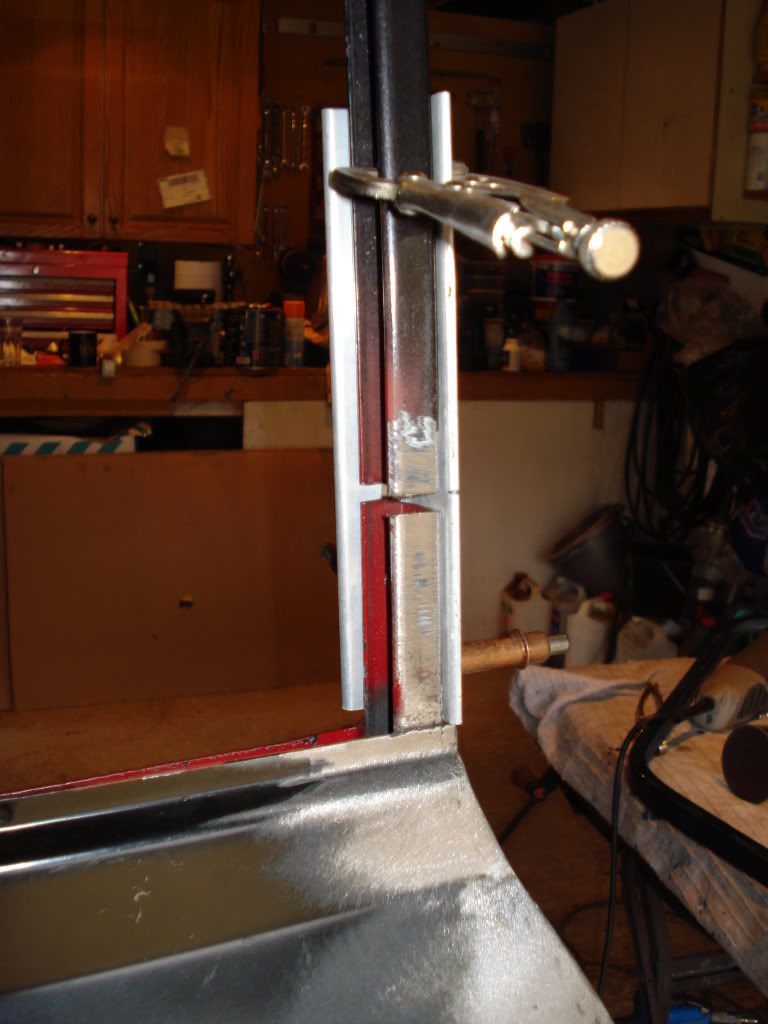
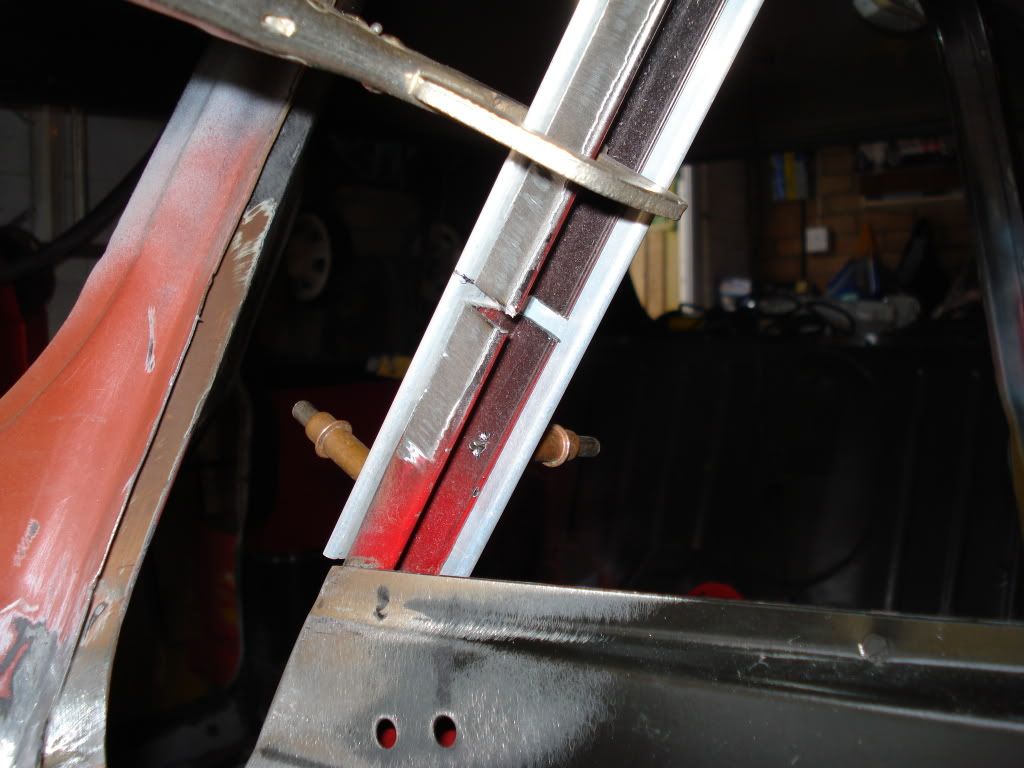
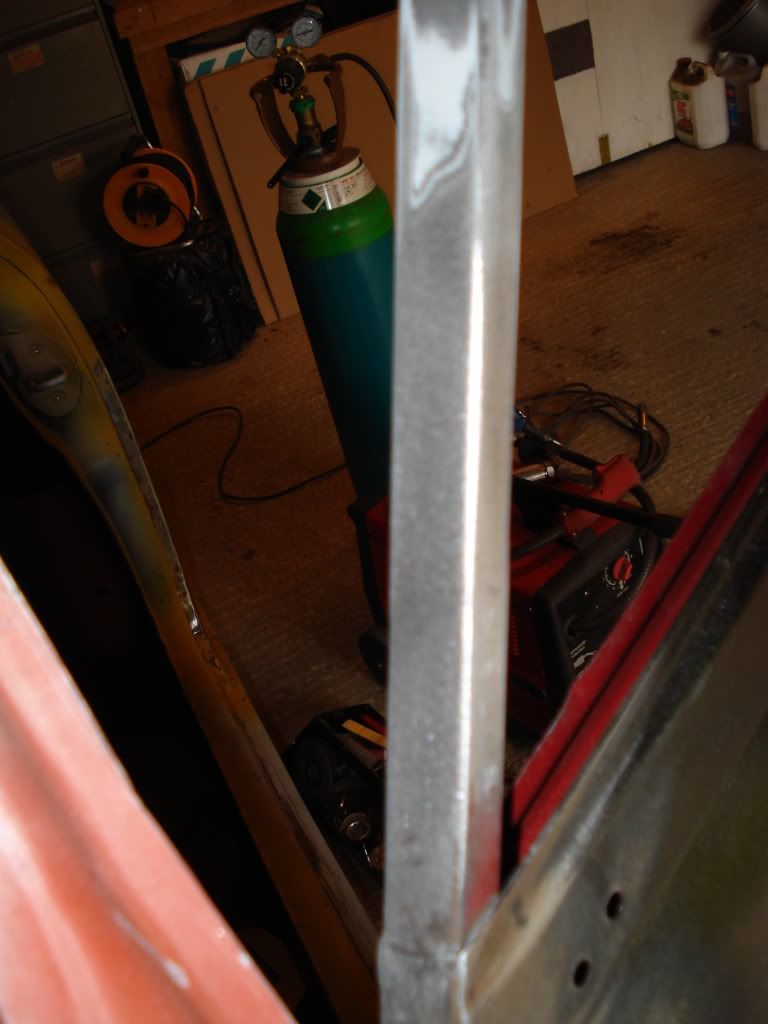
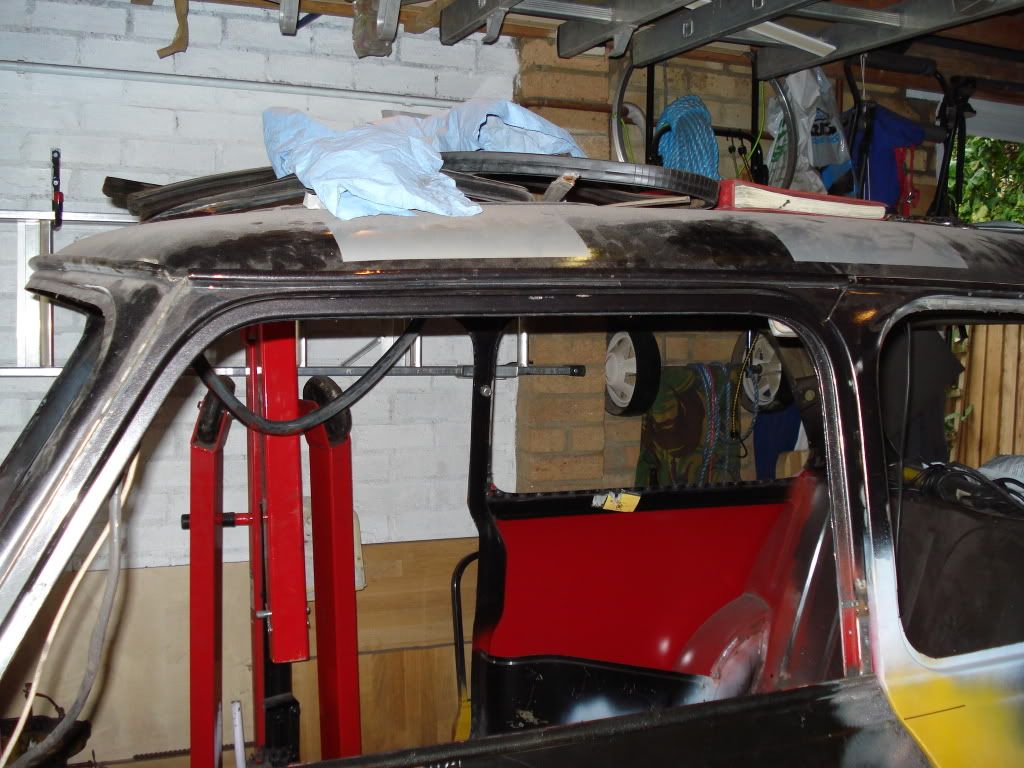
The frame gaps needed a lot of work, The area where it fits into the door itself was heavily modified on both doors to get the frame straight
Before
Posted Image
After
Posted Image
Then cut to get the frame sitting right
Posted Image
Then a new section of fame added
Posted Image
The other door needed more radical work
Posted Image
Posted Image
Posted Image

#4 myredmini

myredmini

    My Mummy Says It's OK

  • TMF+ Member
  • PipPipPipPipPipPipPipPipPip
  • 3,211 posts
  • Name: Dan
  • Location: Teesside
  • Local Club: BOG MOG

Posted 20 October 2011 - 03:18 PM

Very good guide Neil, Thank you. I will be doing this on the chelsea, don't have time to do all this on the mayfair right now, they aint to bad as they are to be honest.

#5 sonikk4

sonikk4

    Twisted Paint Polisher!!!

  • Admin
  • PipPipPipPipPipPipPipPipPipPipPip
  • 15,884 posts
  • Name: Neil
  • Location: Oxfordshire

Posted 20 October 2011 - 03:19 PM

Re profiled edge of door
Posted Image
Front door edge with added metal
Posted Image
Posted Image
Finished article
Posted Image
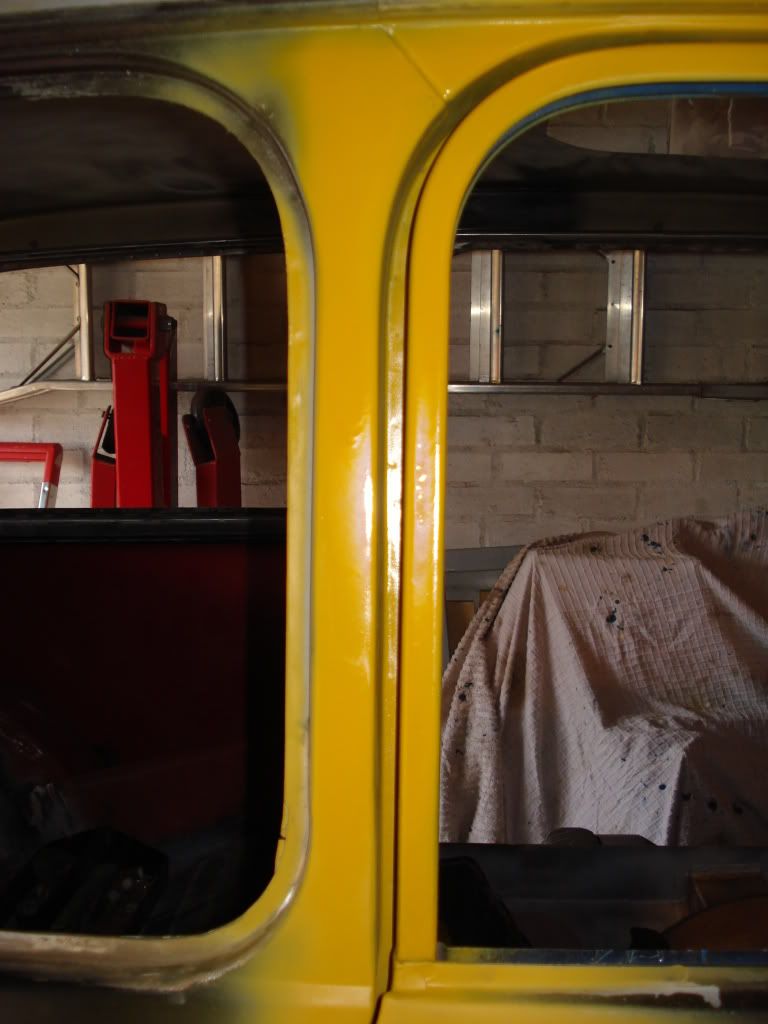
And this is how the door frame looked after all of the metal was added
Posted Image

All of this was time consuming but for me well worth it. It shows it can be done and reasonably easy if you have the patience.
As previously mentioned please add to this, i do have more pictures where i ended up cutting and sectioning other areas to make everything fit. The only area i did not add metal to was the boot lid but the principles are the same.
The one thing to remember here is the use of pattern parts can affect gaps etc. The after market door hinges for example can differ in material thickness as we found out.
DSN Classics helped in this department to highlight this issue so be careful what you buy of the stalls at the various shows. As the saying goes "You pay for what you get!"

I know everything i have done here is on the Project Erm link but its to enable folk to use this as a guide without having to trawl through pages and pages of build pictures.
Again please feel free to add to this.

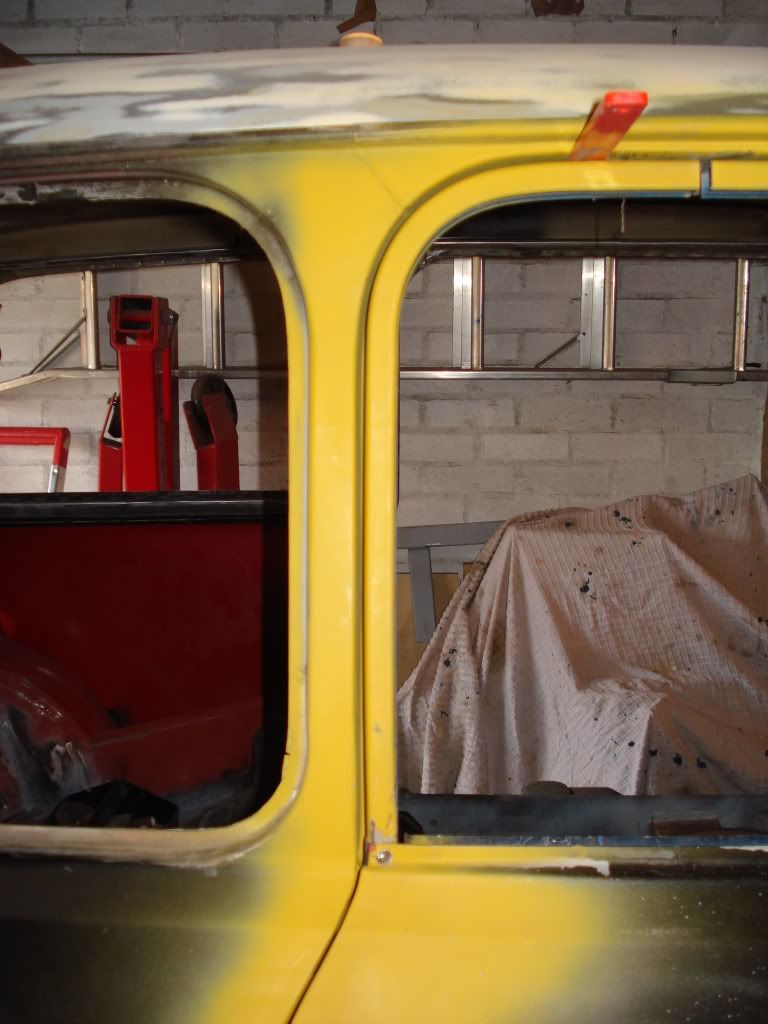
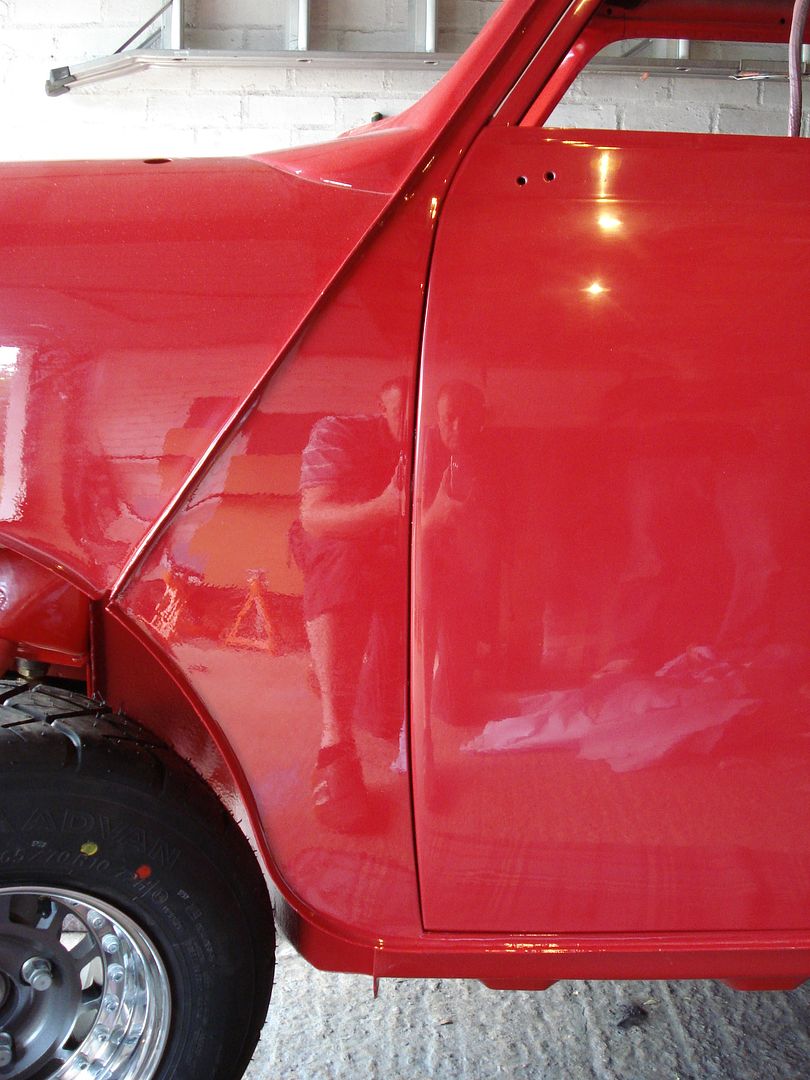
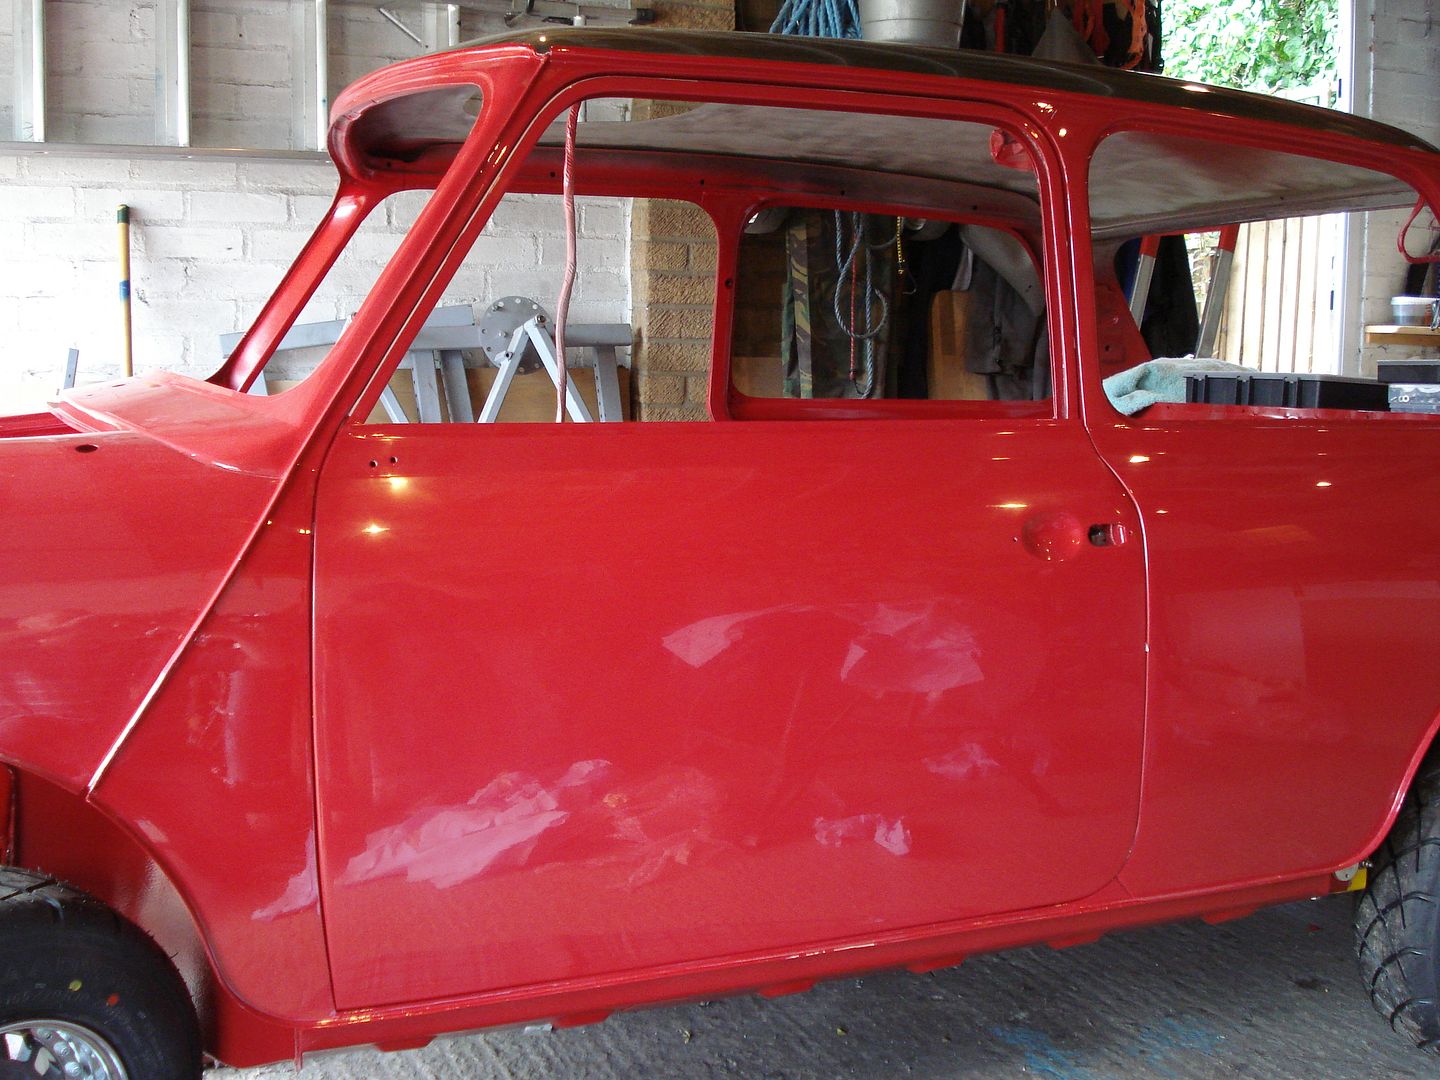
This is how the l/h side turned out by the way
Posted Image
Posted Image

#6 dasupersprint

dasupersprint

    One Carb Or Two?

  • Members
  • PipPipPipPipPipPipPip
  • 848 posts

Posted 20 October 2011 - 04:18 PM

Wow thanks a lot, I'll need to do this to the bonnet and probably the doors too.

I have a question though, I see you enlarged the door frames quite a bit, but will the windows fit? You can't weld more glass on a window, what's your plan?

#7 dasupersprint

dasupersprint

    One Carb Or Two?

  • Members
  • PipPipPipPipPipPipPip
  • 848 posts

Posted 20 October 2011 - 04:41 PM

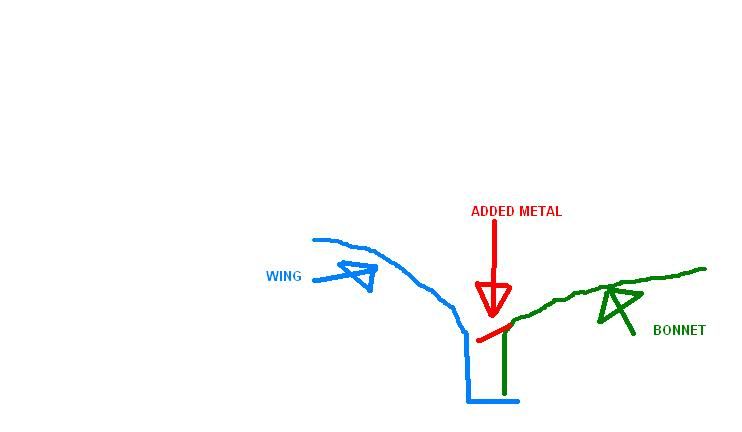
Another question here please!

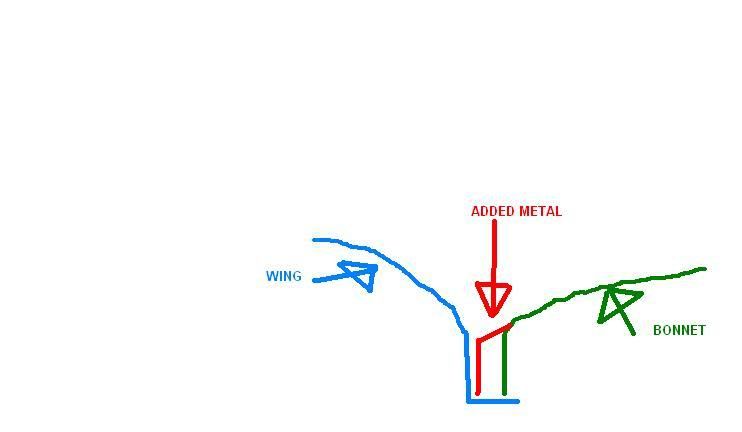
With the joys of microsoft paint, let me explain. When you added metal to the bonnet, it looked like it was only a sheet, but the picture of the finished bonnet show that there's a vertical lip added too. I don't really know how to explain this. Plus with my bad english, so:
Is it this?
Posted Image

Or this?
Posted Image

#8 sonikk4

sonikk4

    Twisted Paint Polisher!!!

  • Admin
  • PipPipPipPipPipPipPipPipPipPipPip
  • 15,884 posts
  • Name: Neil
  • Location: Oxfordshire

Posted 20 October 2011 - 05:12 PM

Ahhh iv'e been caught out now i will have to let out my secret of welding glass. Damn those pesky kids!!!!

No although the gaps look quite large they are actually less than 1/4" and the glass will still run up it quite nicely (don't forget it tapers up.) I will be fitting new seals as well.
As for the bonnet the piece of metal you see sticking out is being fed into the gap that you cannot see in the picture. I have not lengthened the bonnet only increased the width.
Hope that answers your question.

Neil

#9 dasupersprint

dasupersprint

    One Carb Or Two?

  • Members
  • PipPipPipPipPipPipPip
  • 848 posts

Posted 20 October 2011 - 05:41 PM

Hey Neil, thanks for the answers, but I think you misunderstood my question, I blame my English for that.

But I did a bit of research on your built thread and after you did the bonnet you said this:
''The inside reinforcing straps have been cut around so they sit flush to the skin and the external welds have been ground down ready for filling tomorrow. Just the internal bits to be ground down and sealed''

That's what I was looking for! So you cut these ''reinforcing straps'' (that's was I was referring as ''vertical lip'') and re-welded them on each side. What a job!

Your work is amazing really!

#10 sonikk4

sonikk4

    Twisted Paint Polisher!!!

  • Admin
  • PipPipPipPipPipPipPipPipPipPipPip
  • 15,884 posts
  • Name: Neil
  • Location: Oxfordshire

Posted 20 October 2011 - 05:53 PM

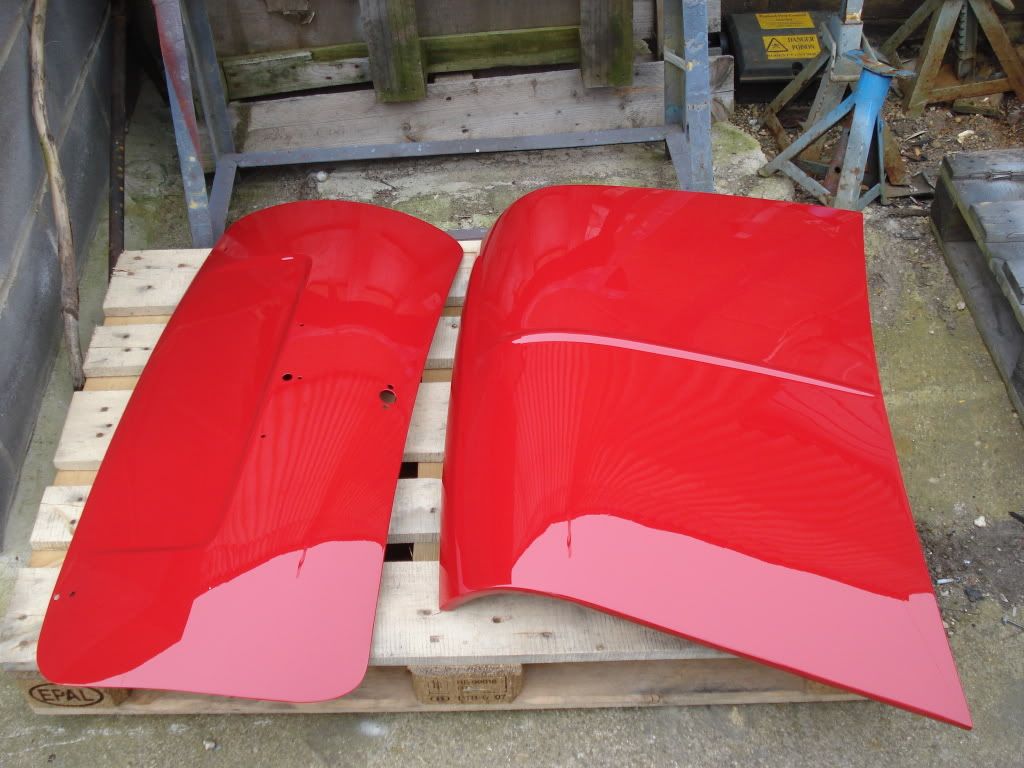
I see what you mean now. The bonnet that i bought was to be honest shocking in its build quality. Stevie Wonder could have done a better job. There was a lot of work inside the bonnet which is not all shown unfortunately.

Anyway this is the finished result
Posted Image

#11 panelbeaterpeter

panelbeaterpeter

    Crazy About Mini's

  • Members
  • PipPipPipPipPipPipPipPipPipPip
  • 5,606 posts
  • Location: Scotland
  • Local Club: n/a

Posted 22 October 2011 - 03:51 PM

Nice gaps, I have used the welding rod method before, works well! Can I just suggest that people build their doors up before adjusting the gaps, as the weight of the glass and winder mech' etc can change the doors position slightly, don't want to go through all that and have paint rubbing off when you open and close the door! ( I learnt this through personal experience >_< )

#12 sonikk4

sonikk4

    Twisted Paint Polisher!!!

  • Admin
  • PipPipPipPipPipPipPipPipPipPipPip
  • 15,884 posts
  • Name: Neil
  • Location: Oxfordshire

Posted 22 October 2011 - 06:09 PM

Nice gaps, I have used the welding rod method before, works well! Can I just suggest that people build their doors up before adjusting the gaps, as the weight of the glass and winder mech' etc can change the doors position slightly, don't want to go through all that and have paint rubbing off when you open and close the door! ( I learnt this through personal experience >_< )


Very good point there Peter its surprising how much extra weight is added when all of the mechanisms are installed including the glass. Another thing to take into consideration is to have the car sitting nice and square / level. Its surprising how much twist this is in a standard shell if say you have one corner jacked up. I got caught out when i fitted one of Project Paddy's doors with one corner of the car jacked up. Rookie mistake really but easily sorted once he was back on his wheels.

#13 tomgale

tomgale

    Super Mini Mad

  • Members
  • PipPipPipPipPipPip
  • 558 posts

Posted 10 February 2012 - 08:02 PM

also, might be obvious but remember paint does add thickness to the edges, my gaps were fairly tight before paint, but now, there a little close! >_<

great guide by the way!

#14 nomininolife

nomininolife

    One Carb Or Two?

  • Members
  • PipPipPipPipPipPipPip
  • 982 posts
  • Location: Sheffield
  • Local Club: Mini Mates

Posted 01 April 2012 - 01:34 PM

Bringing back a bit of an old thread, I am trying to fit a door, basically it sit too far back, you have to 'guide' it in so that it shuts, even then it scrapes the paint. I have taken the door back to the basic shell (removed the skin) and its still the same, Any ideas how i can move it forward, even 1/8"?

Thanks in advance

#15 sonikk4

sonikk4

    Twisted Paint Polisher!!!

  • Admin
  • PipPipPipPipPipPipPipPipPipPipPip
  • 15,884 posts
  • Name: Neil
  • Location: Oxfordshire

Posted 06 April 2012 - 06:58 PM

Have you got any shims under the hinges?? as this will affect your fit. If that does not work then you could skim some metal of the face of the hinges or something somewhat more drastic you could apply some brute force and ignorance to the door post with a block of wood and large hammer. Be very careful doing this.

Another method you could apply is where the door fouls is to either cut a slot in the rear quarter panel and tap it back then re weld it (did that to Erm) or you could do the same to the door.

Has the rear quarter been replaced at all or has the A post had some work. Either of these could affect your door.


1 user(s) are reading this topic

0 members, 1 guests, 0 anonymous users