Jump to content


Photo
- - - - -

Meg The Mini 998


  • Please log in to reply
16 replies to this topic

#1 corrado vr6

corrado vr6

    Super Mini Mad

  • TMF+ Member
  • PipPipPipPipPipPip
  • 678 posts

Posted 03 December 2011 - 12:36 PM

Well The story goes this minis not mine but my brothers and his fiance, but im going to be doing a full rebuild on the mini called "Meg" and then a full respray in.... well the colour hasnt been chosen yet! First things first is to obviously repair all the rust! so here it goes and let me know any of your thoughts and ill be making sure this is kept updated as i let my last rebuild thread slip

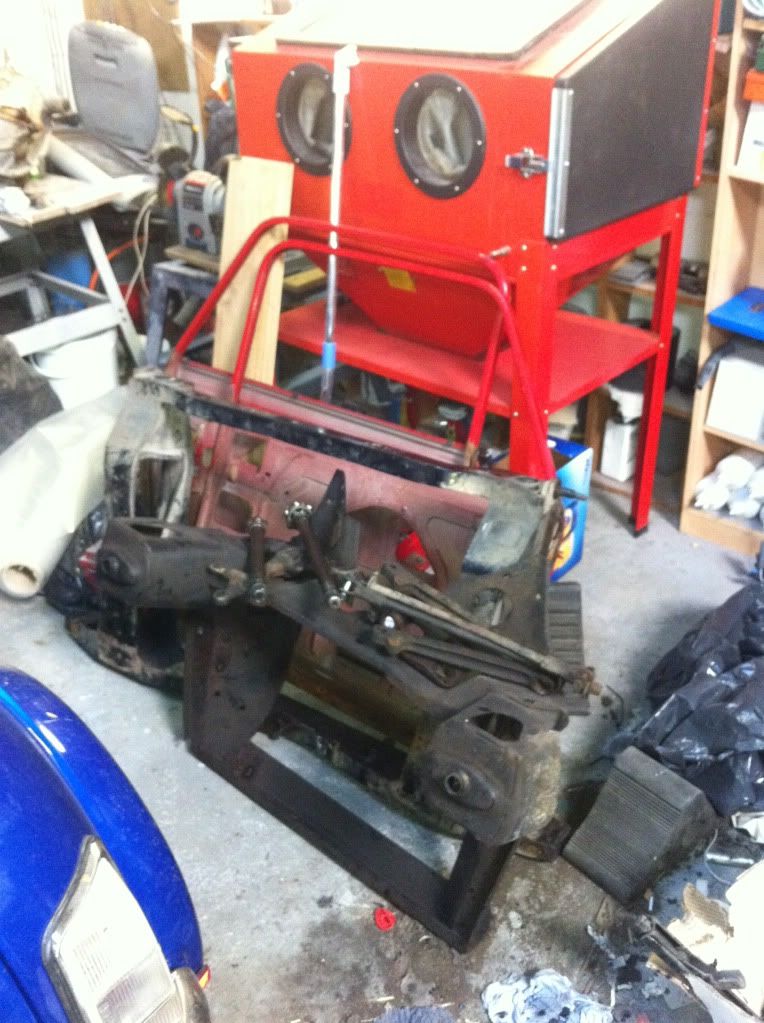
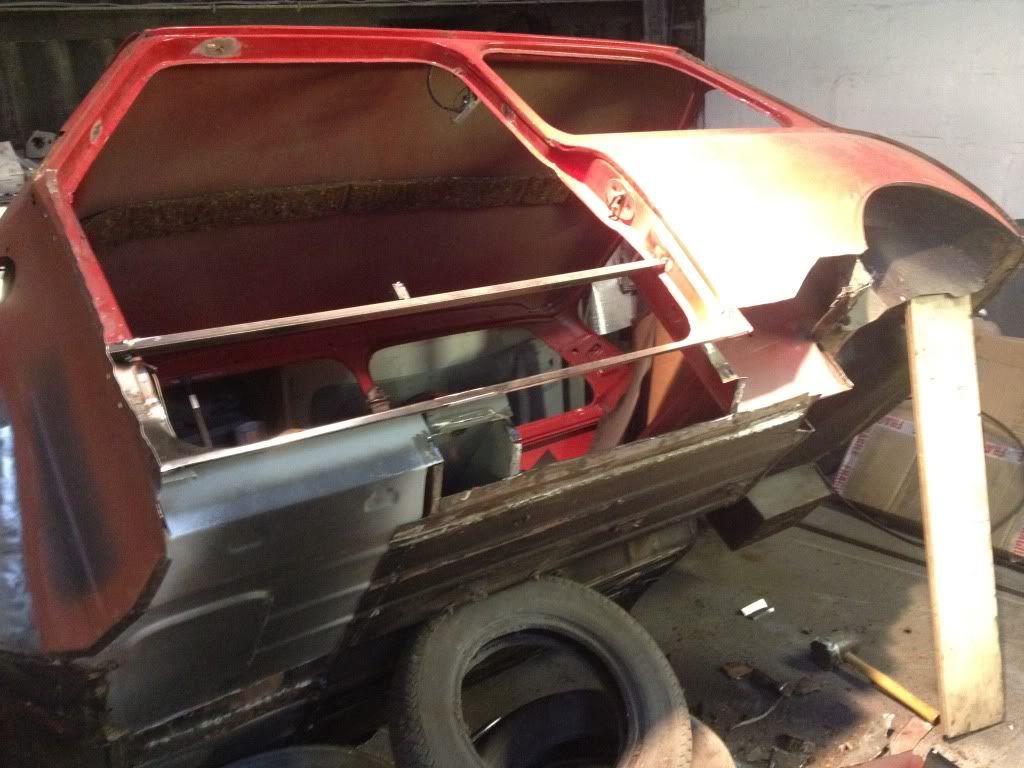
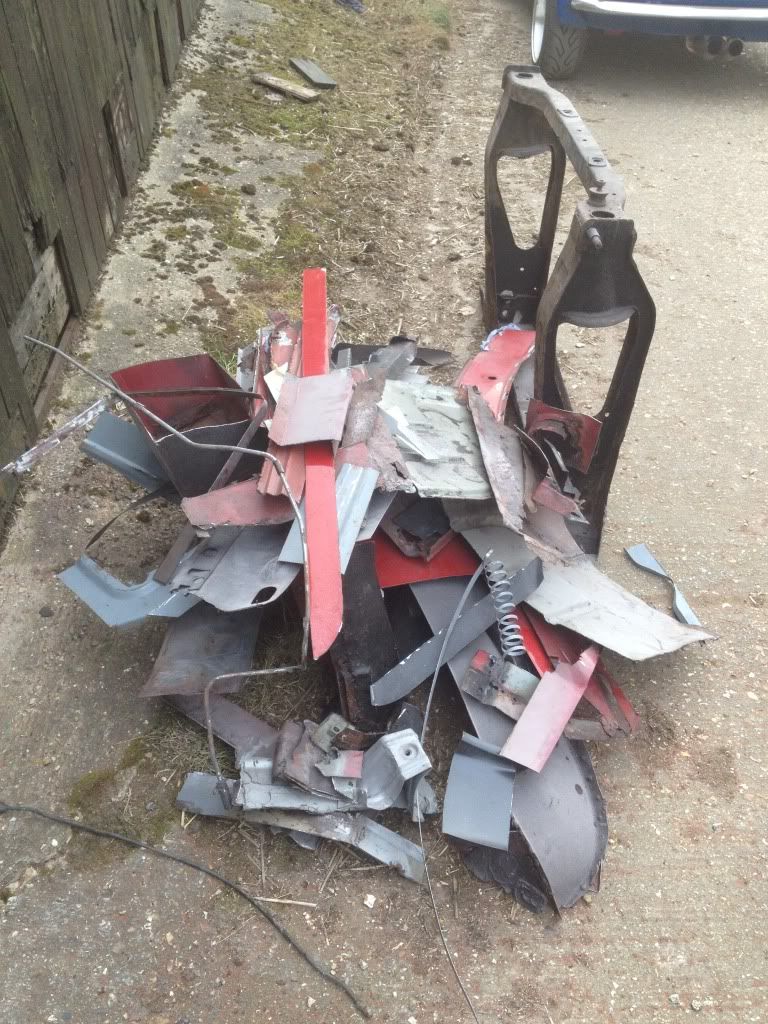
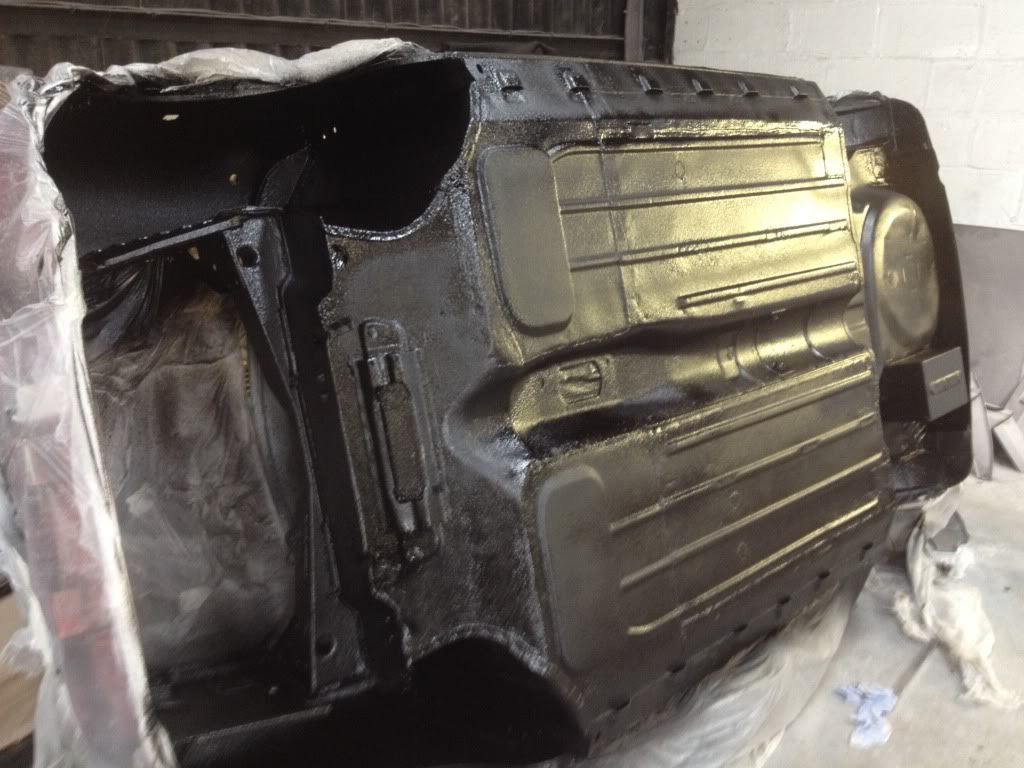
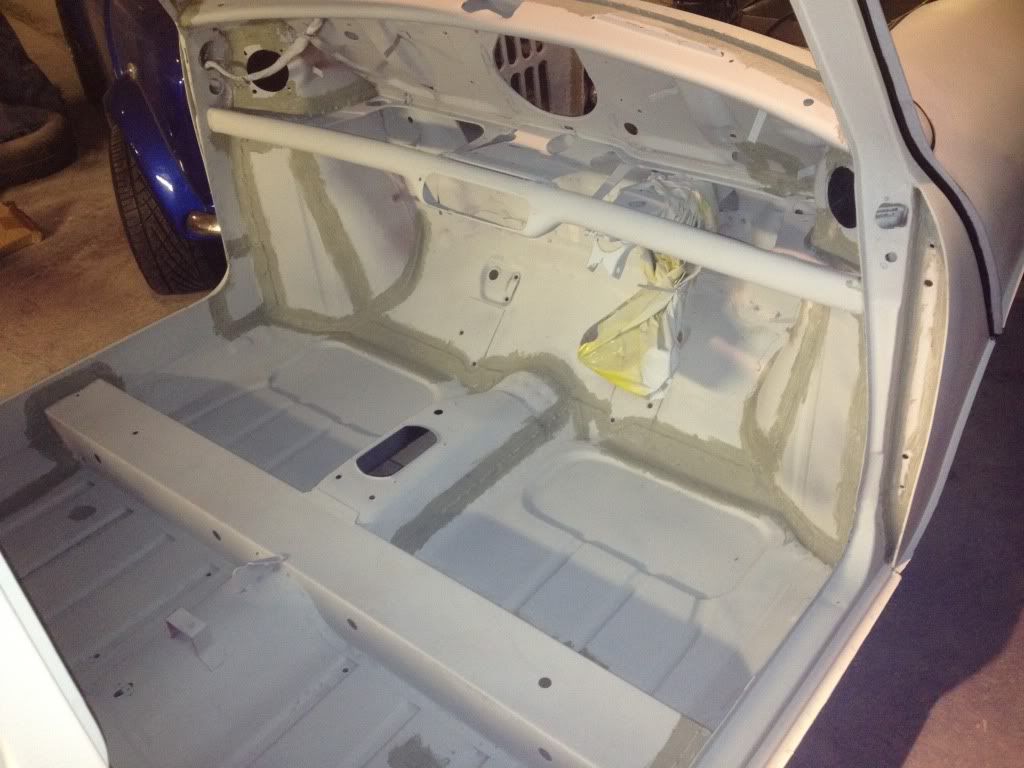
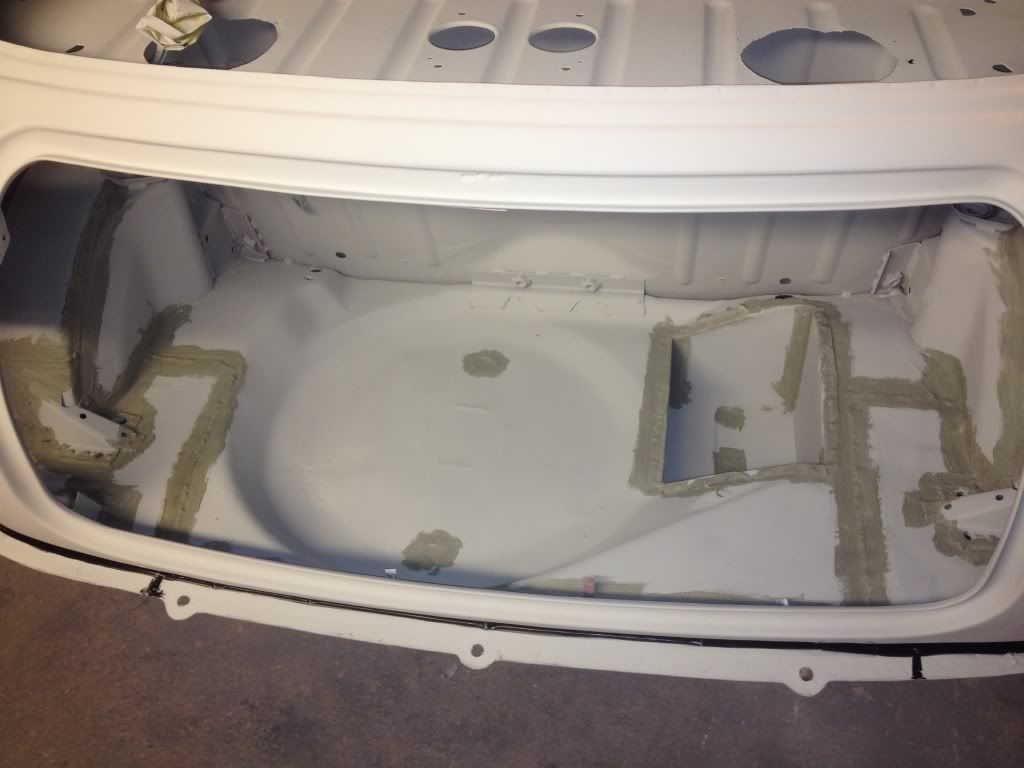
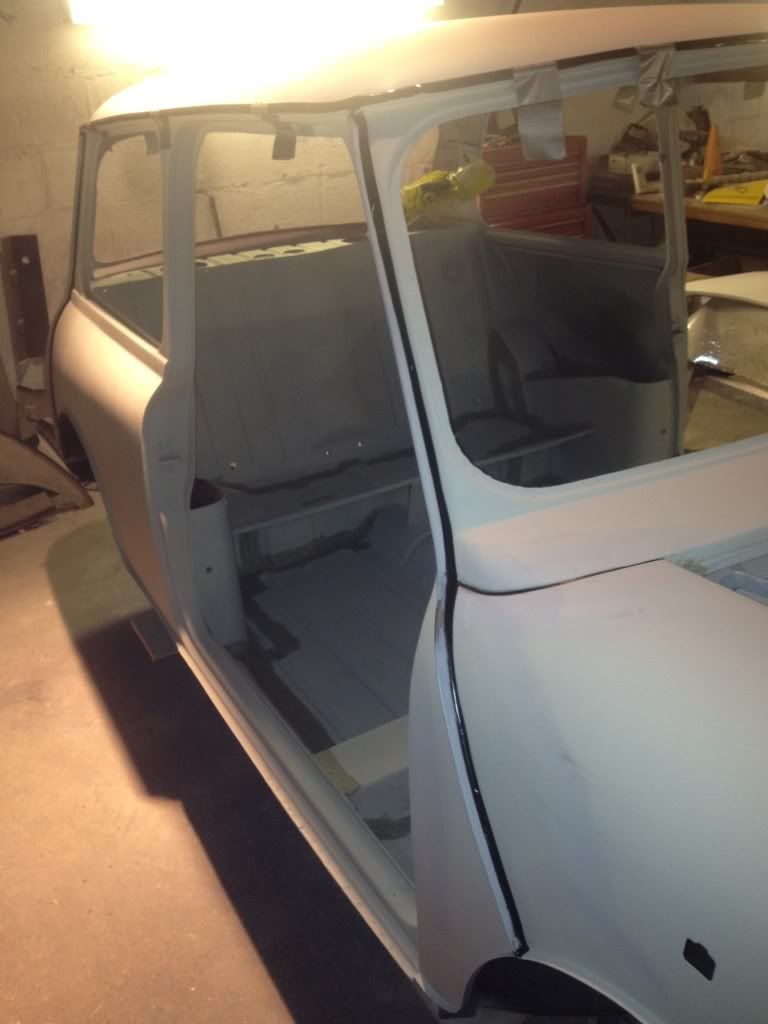
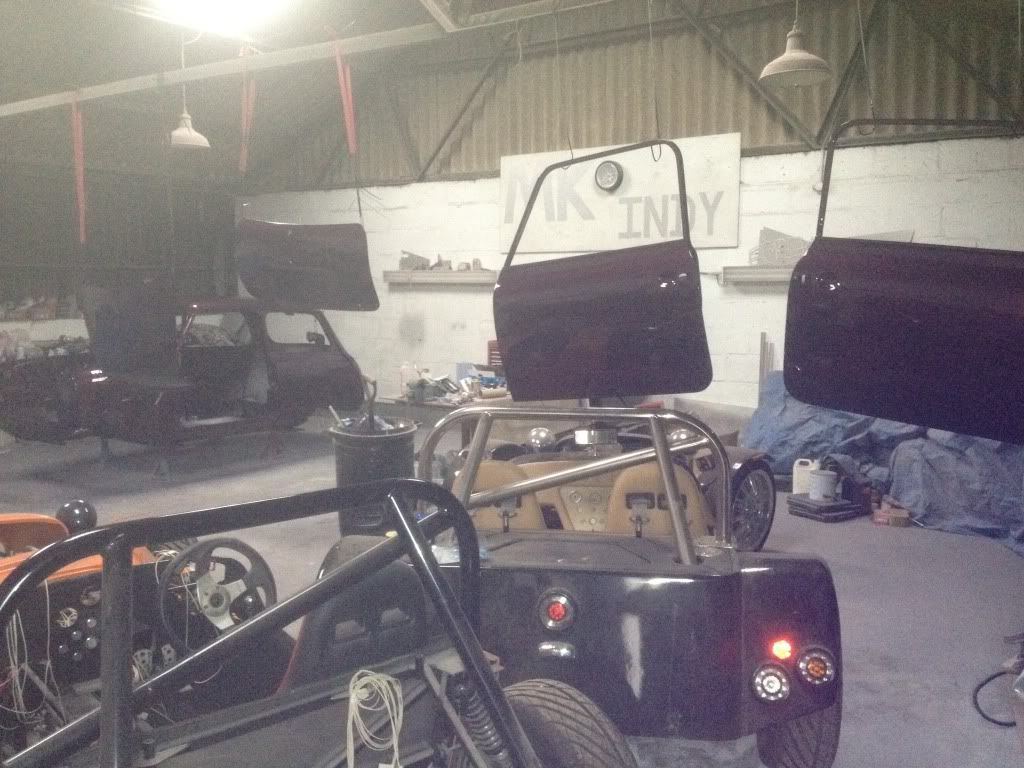
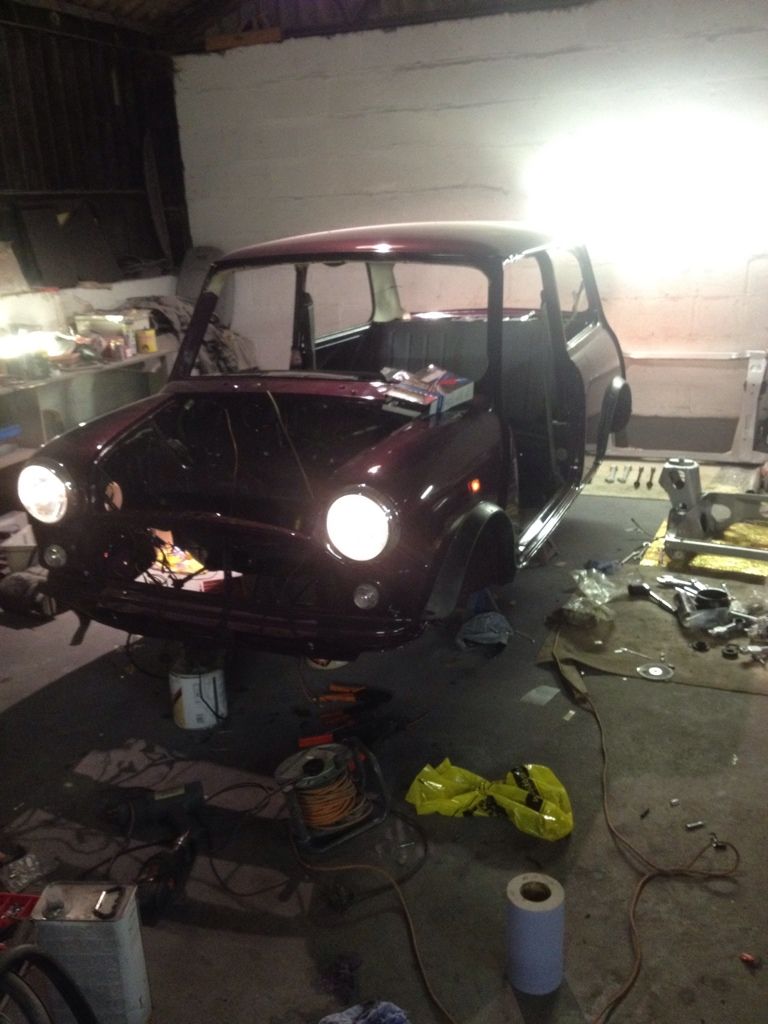
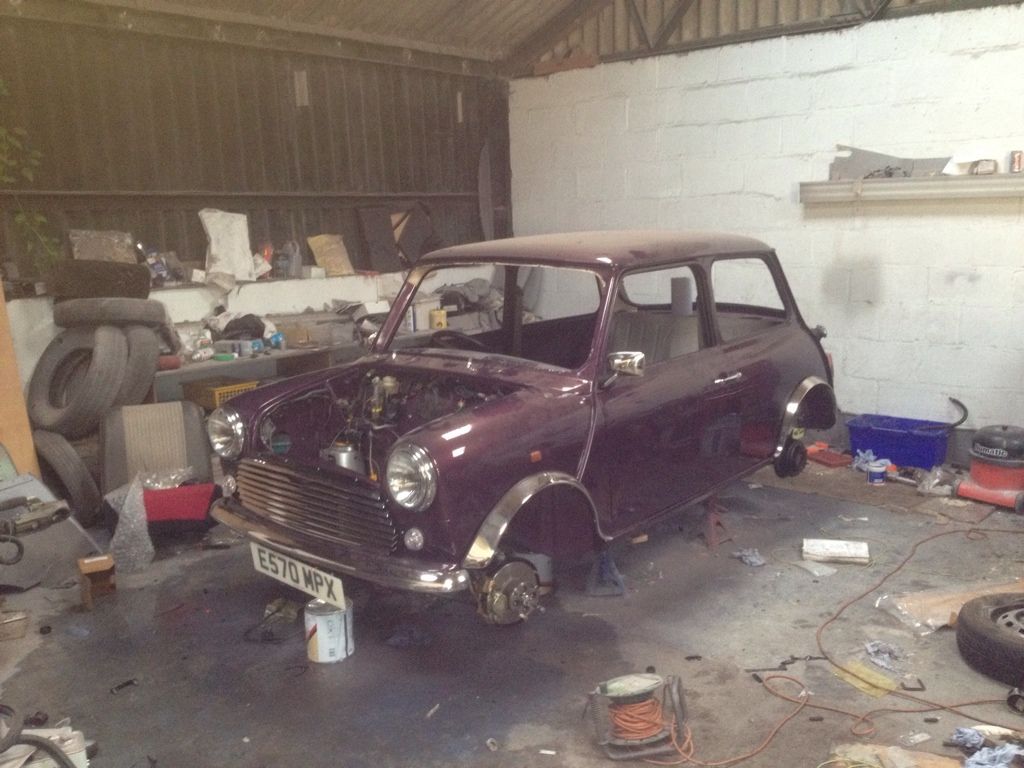
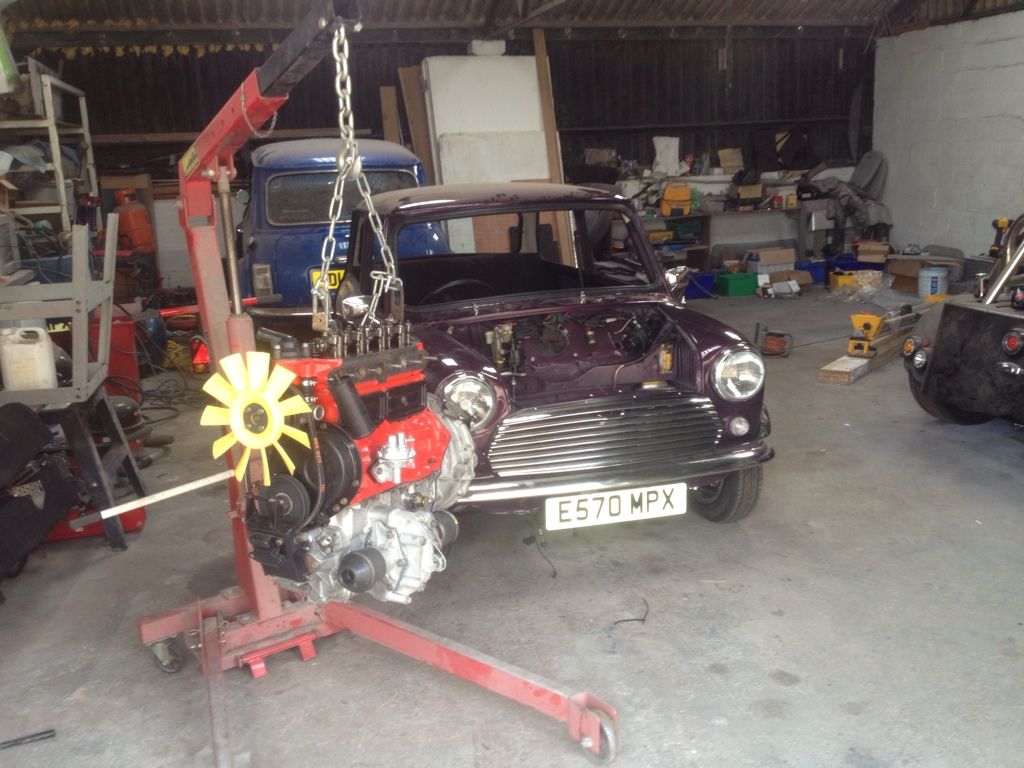
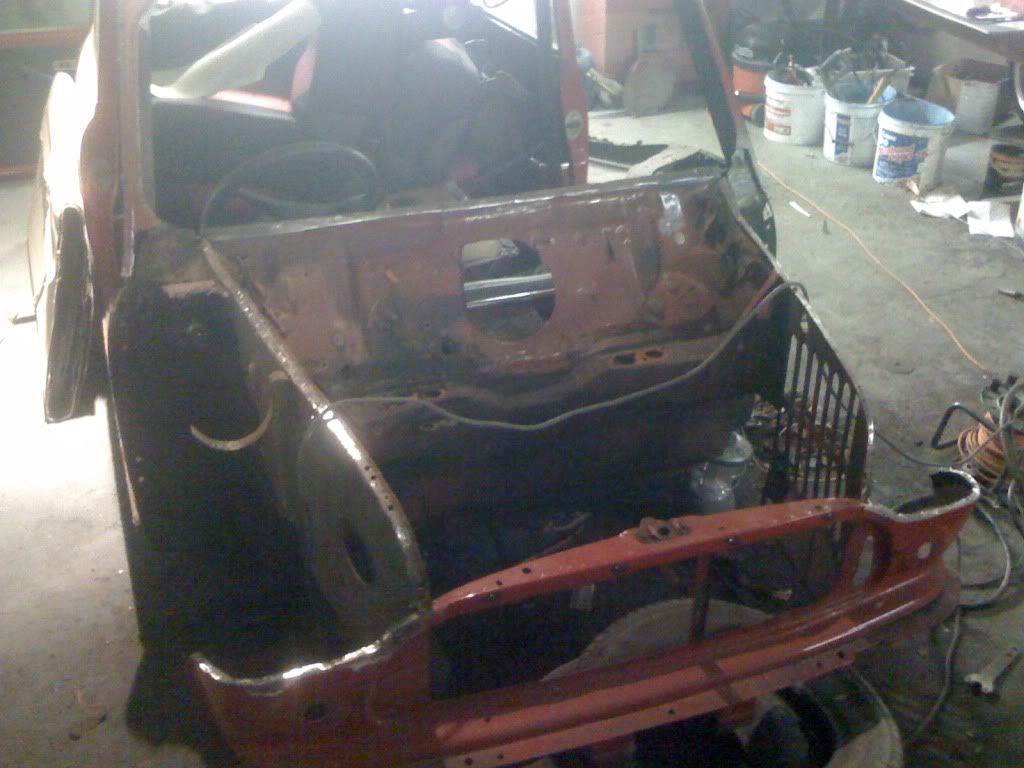
All stripped subframes and Engine all removed
Posted Image


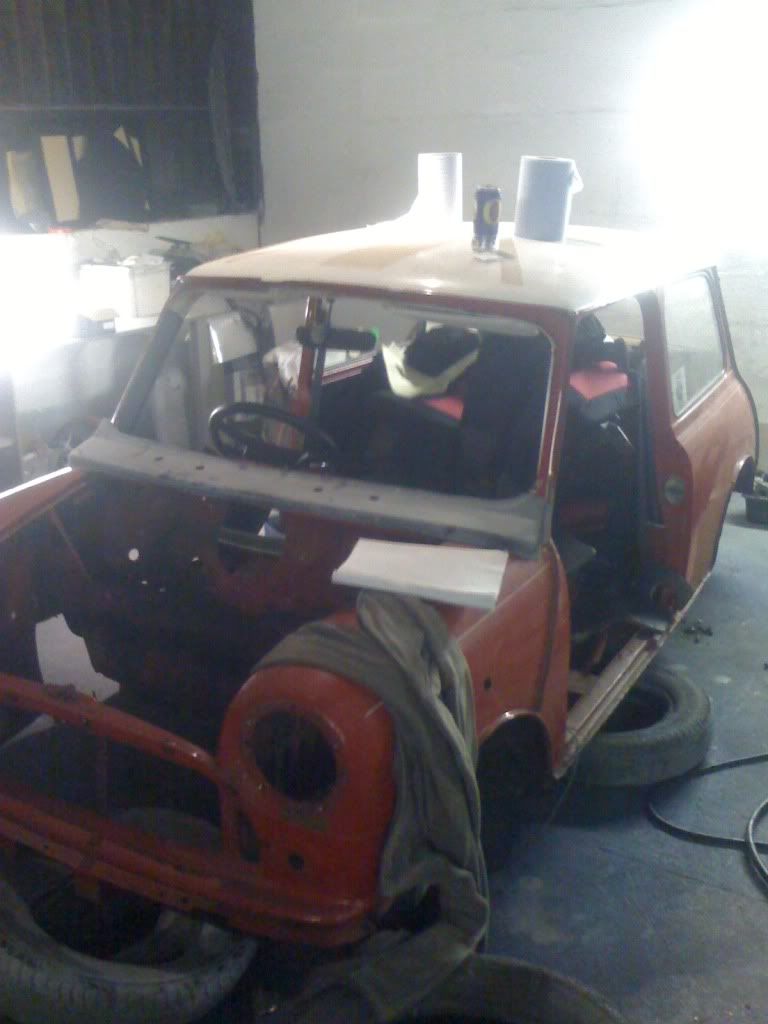
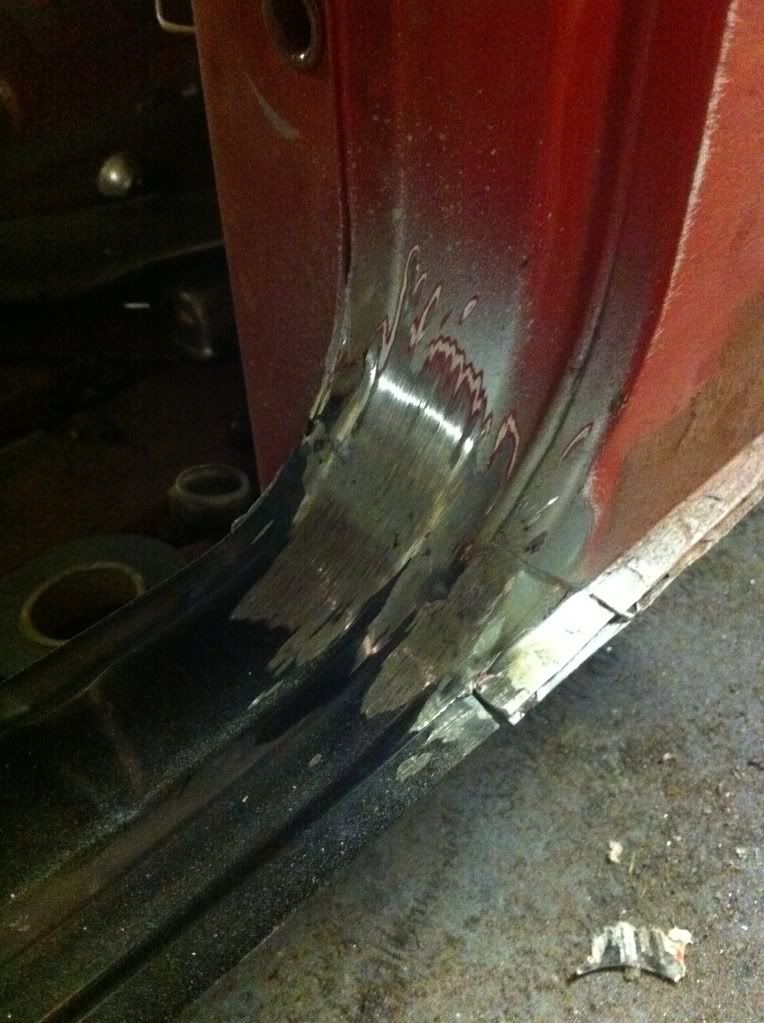
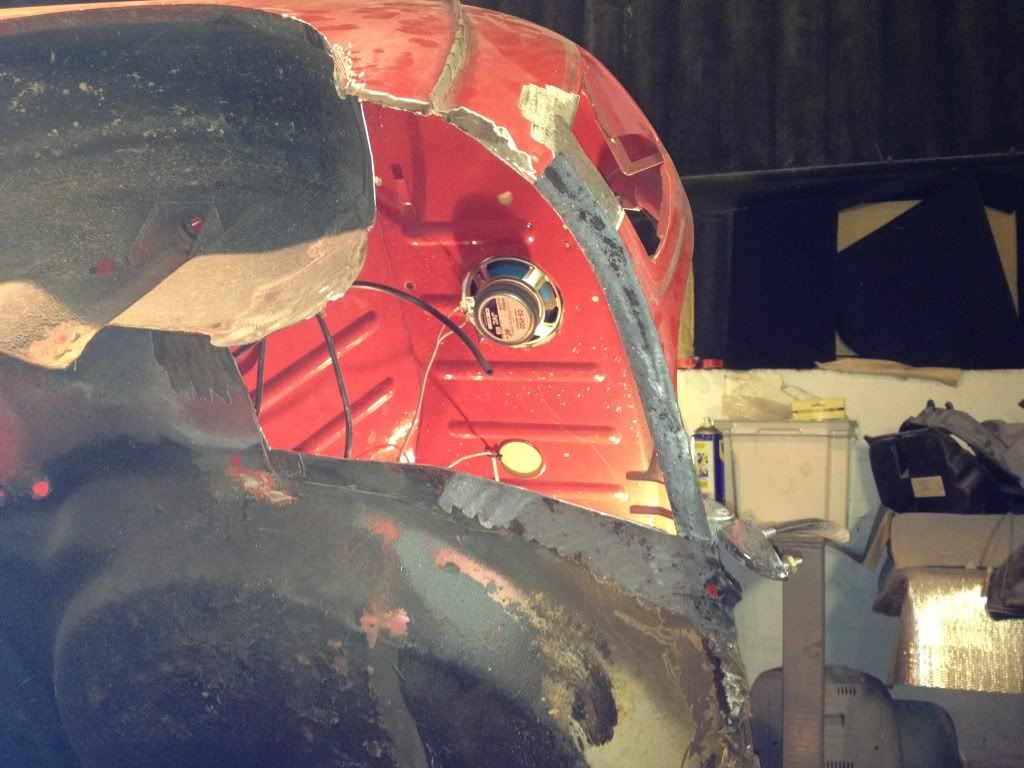
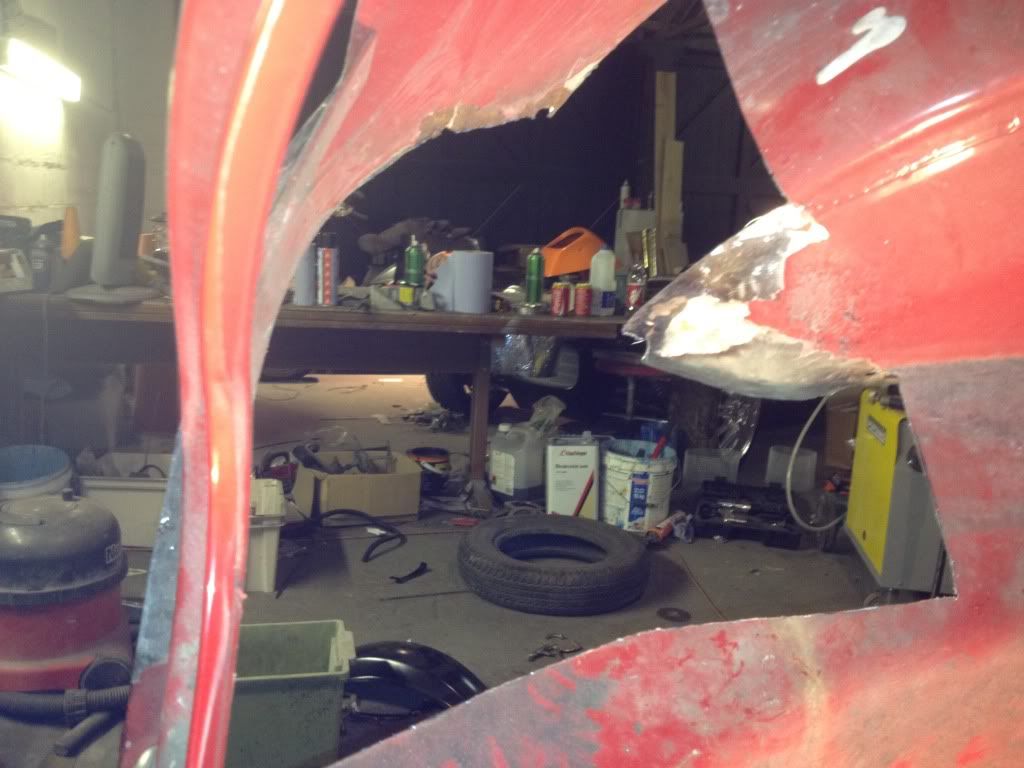
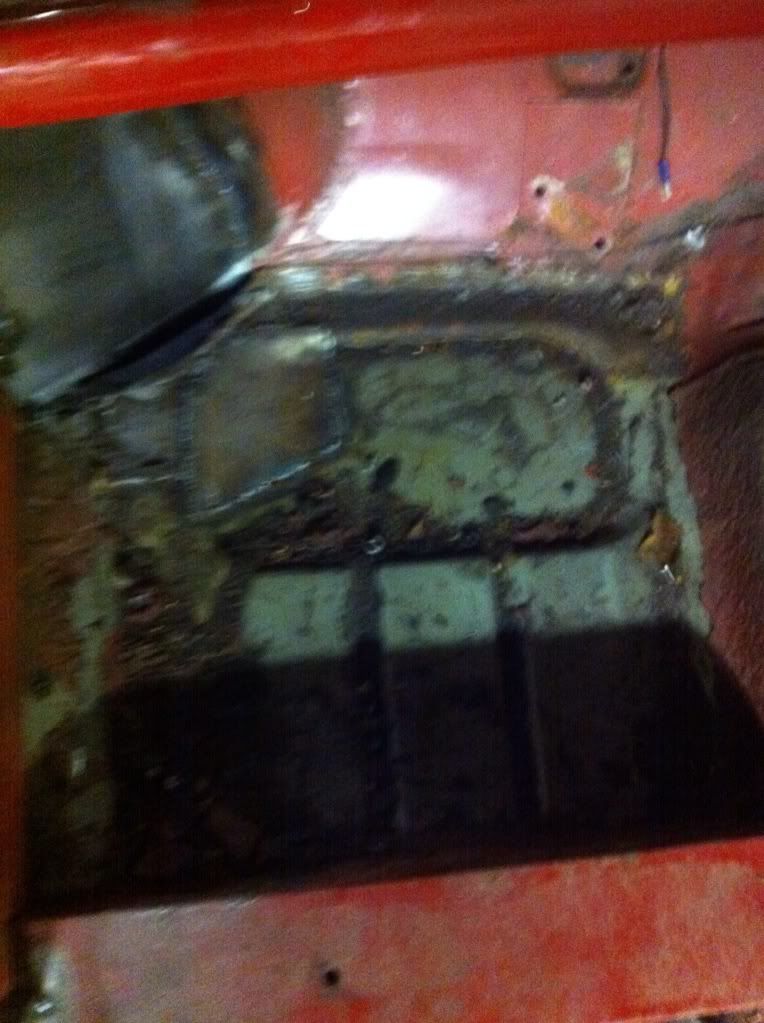
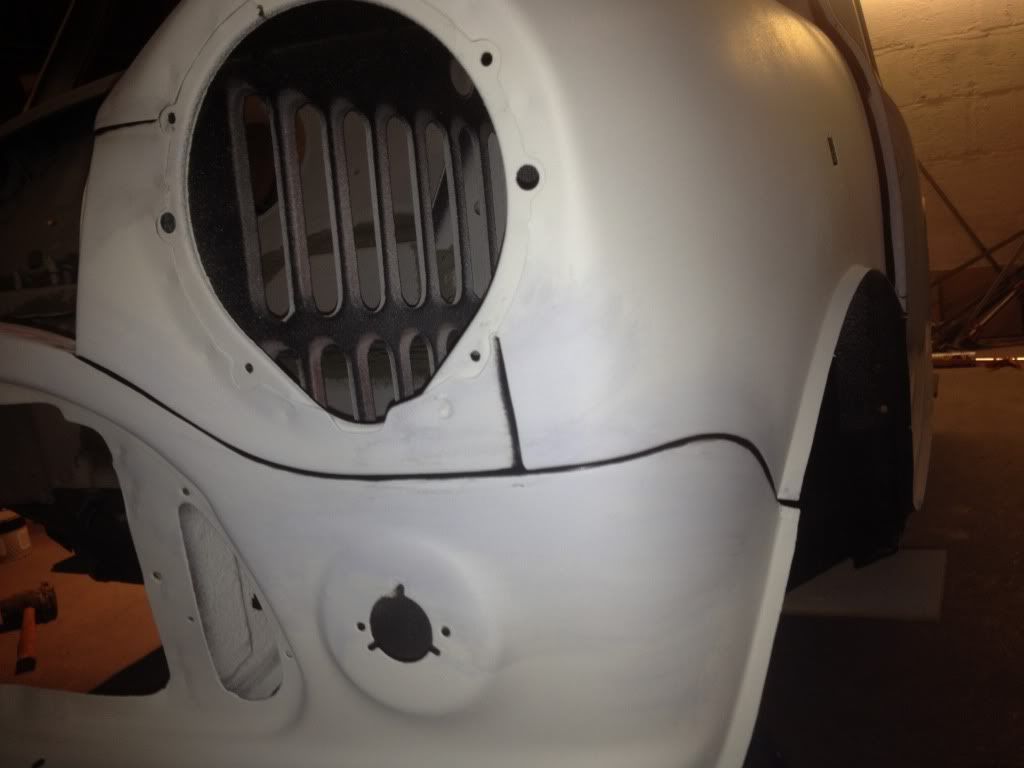
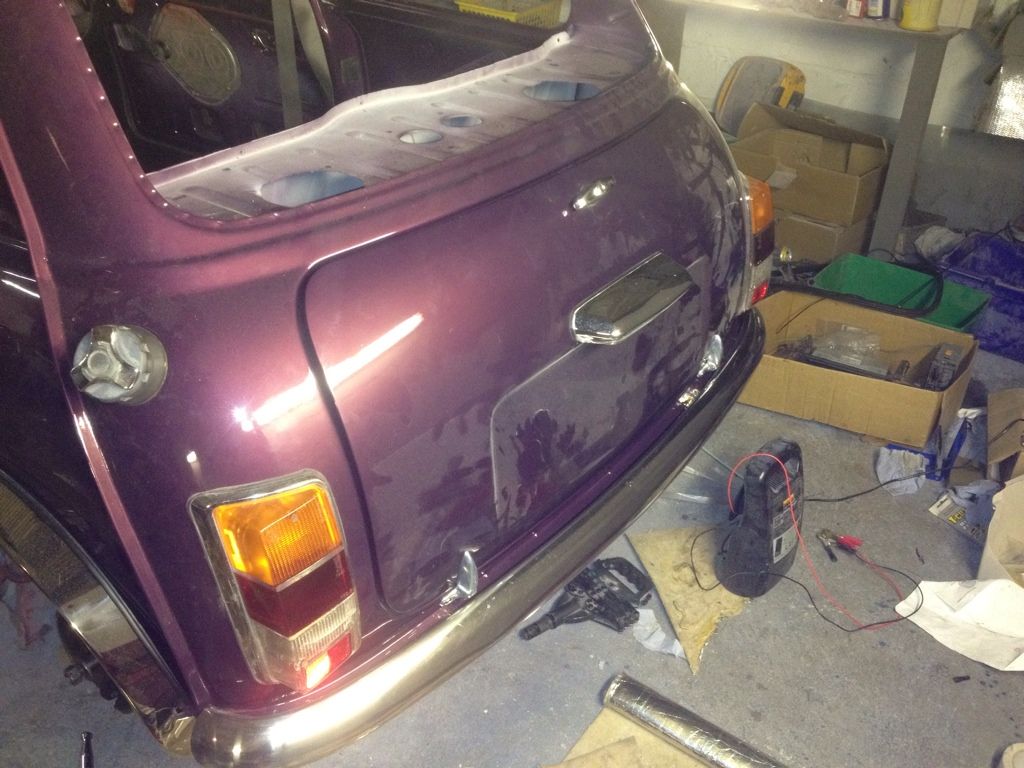
Wing removed shame as there was no rust on the wing but plenty of rust and old patches behind!
Posted Image


Posted Image

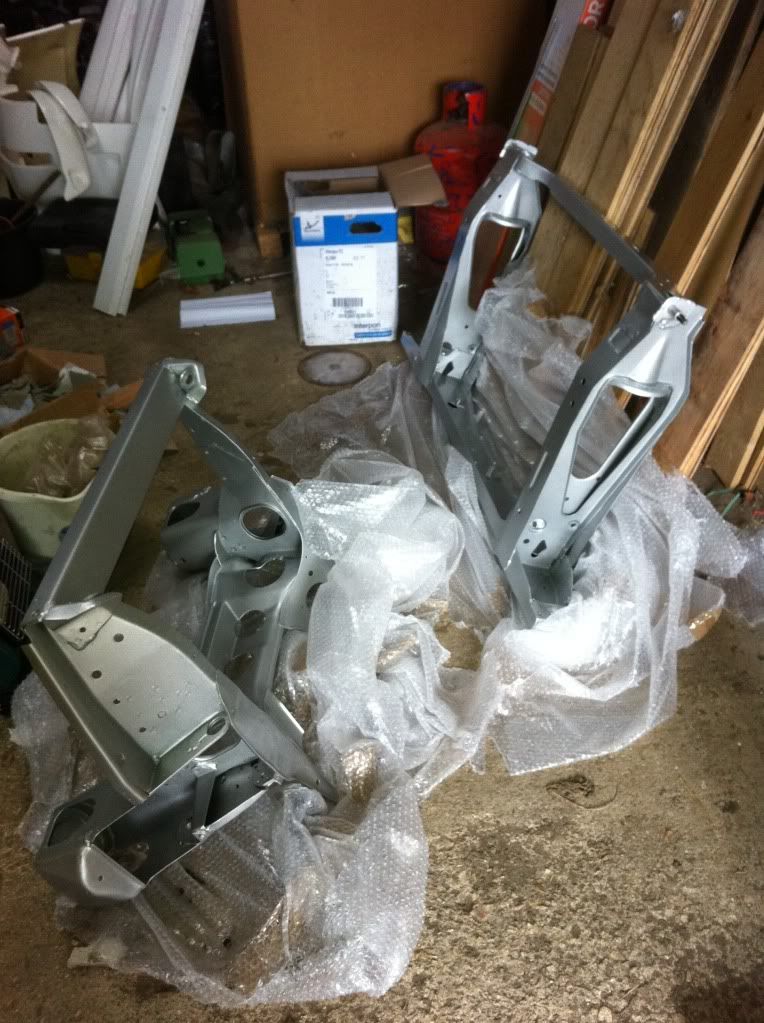
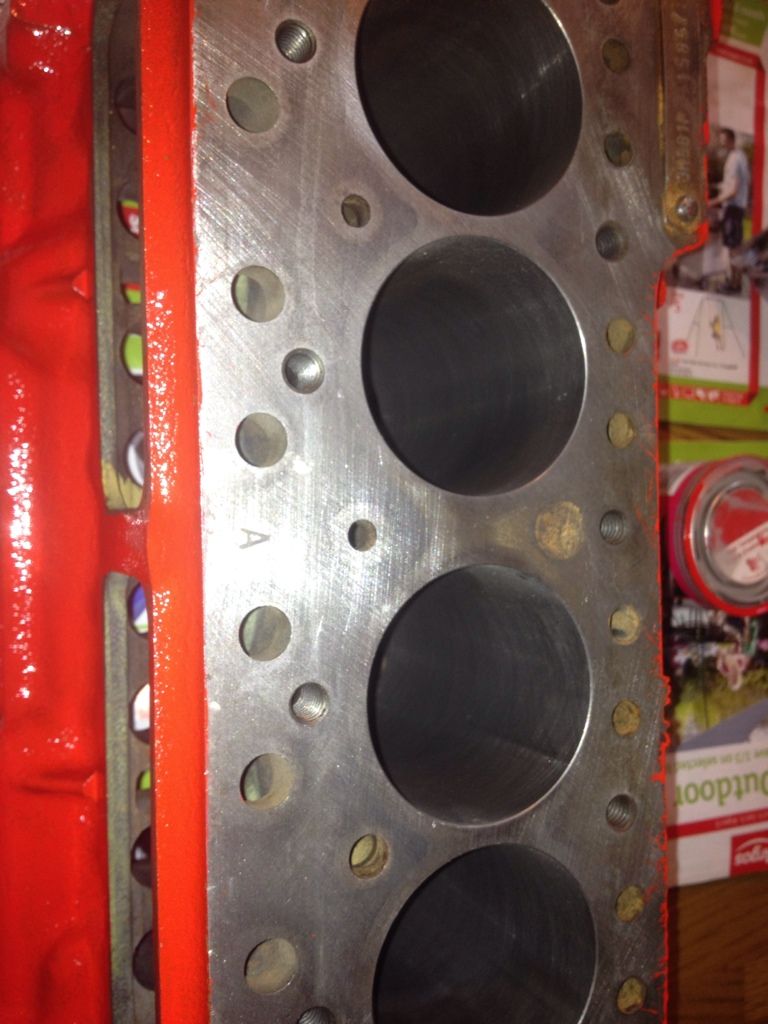
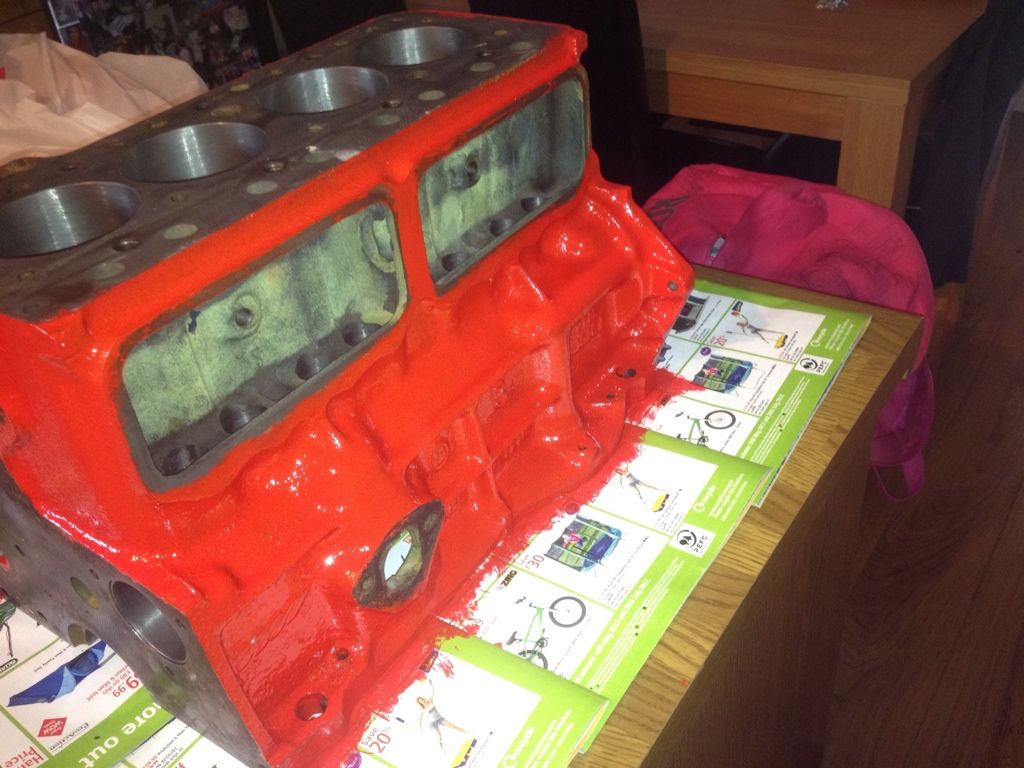
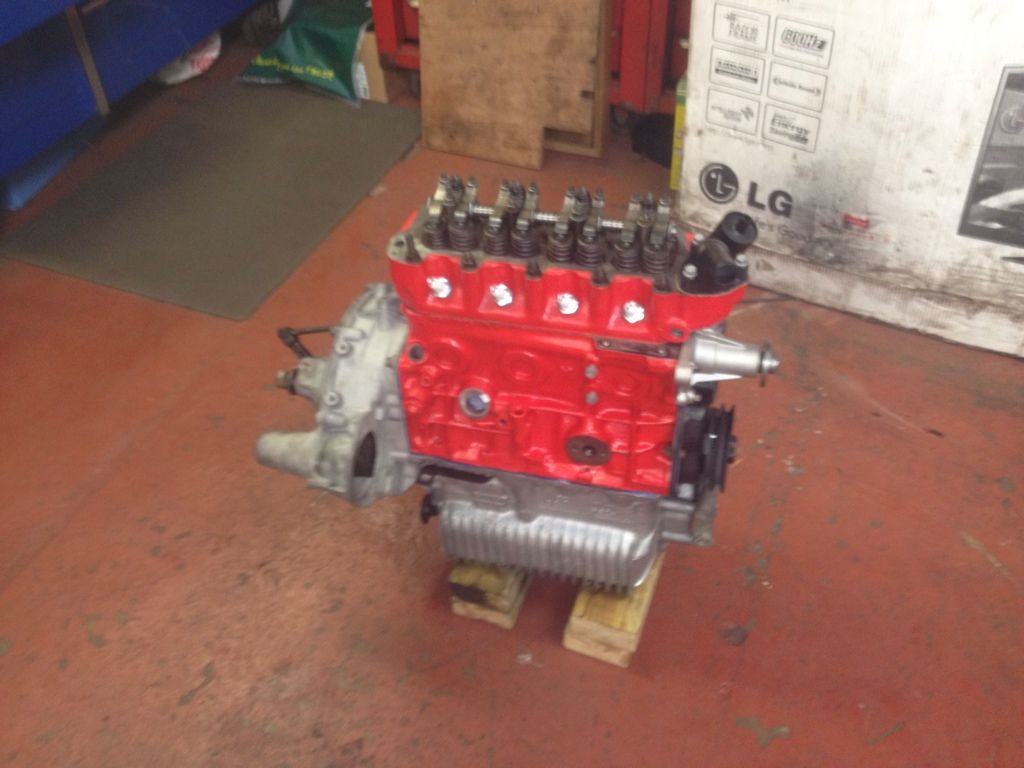
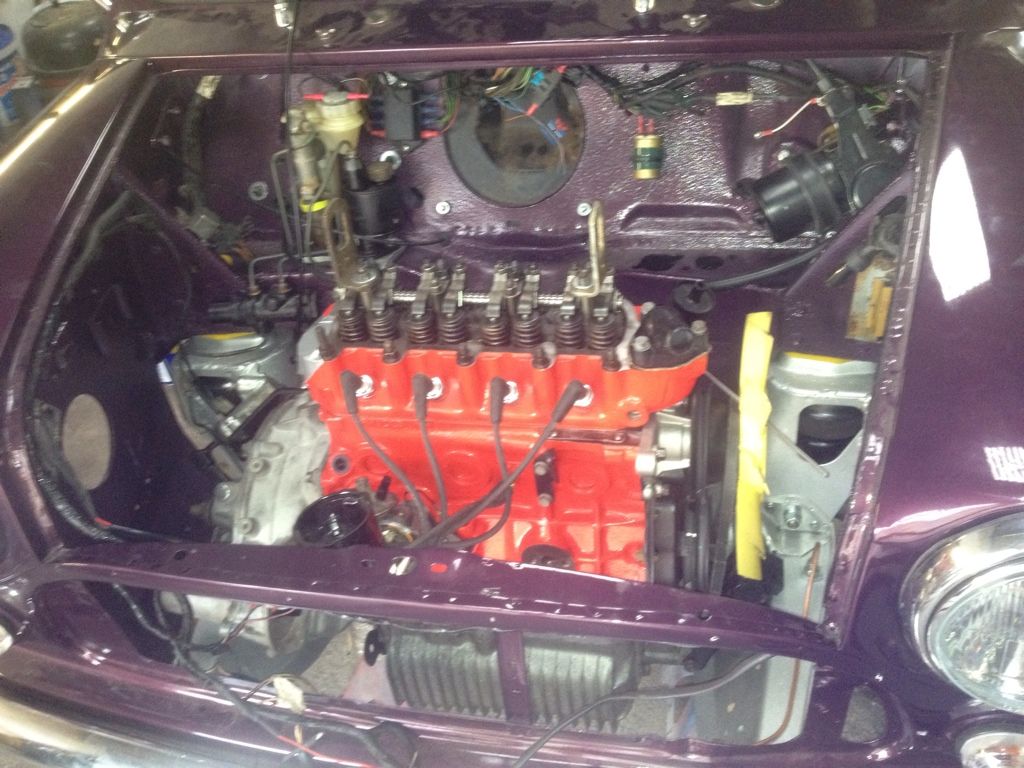
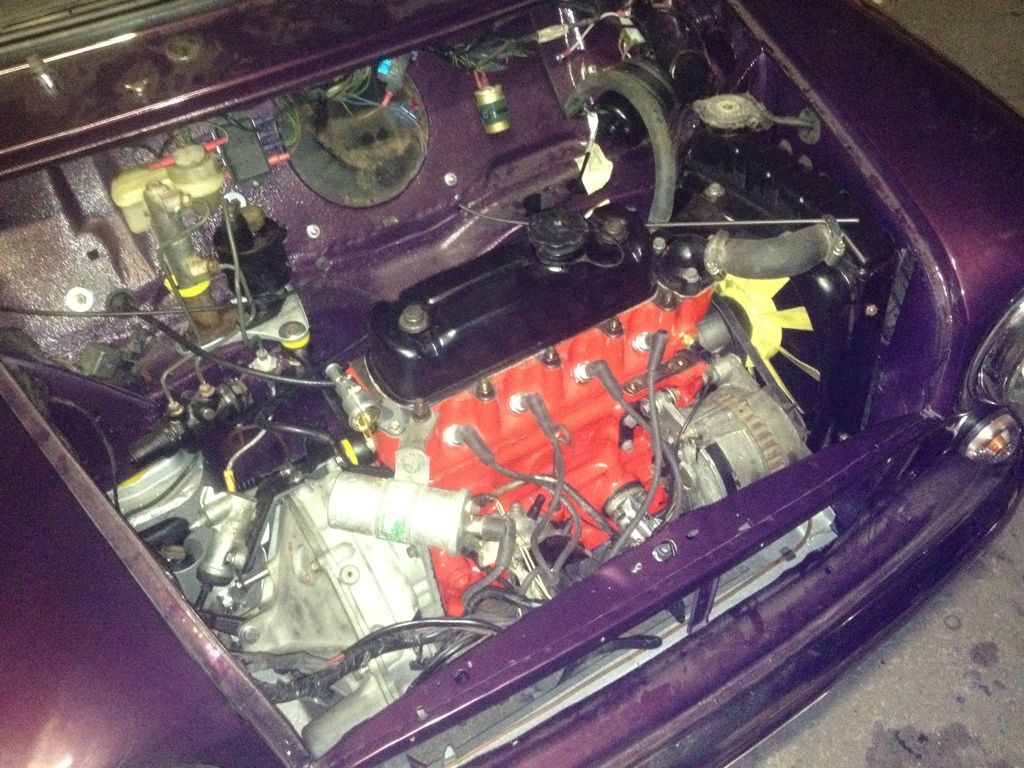
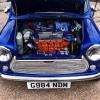
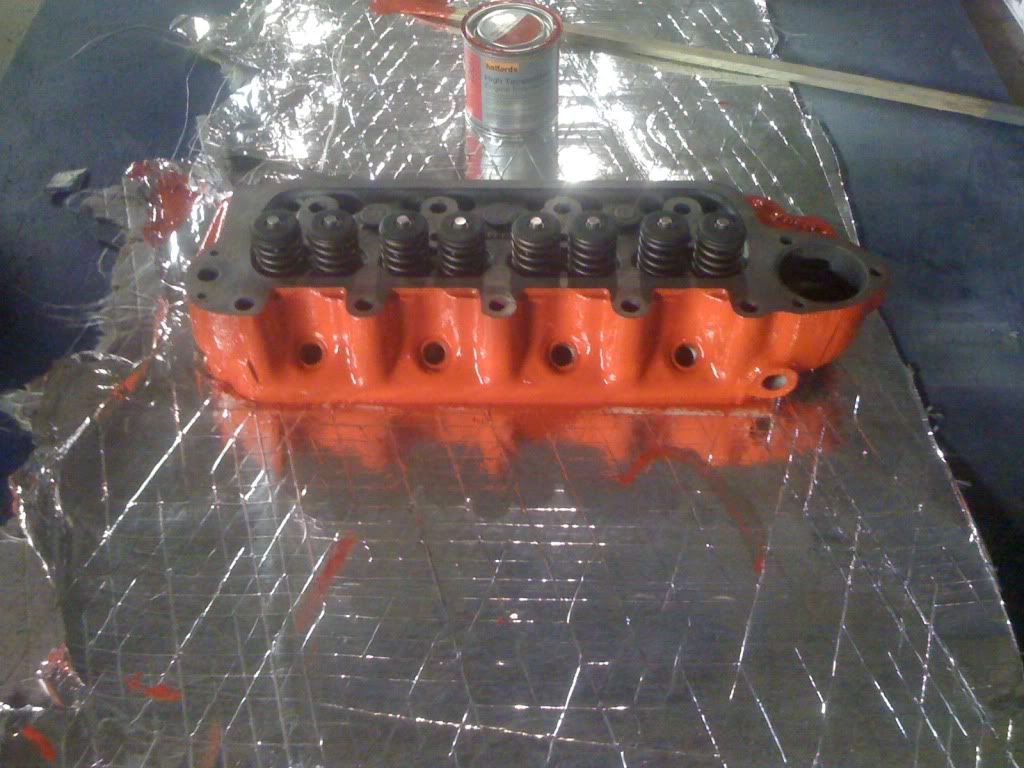
in the mean tine i have been also working on the engine, have sent the head off to be converted to run on unleaded fuel with new valve seats, when i got it back i have painted and will be doing the same with the block and gearbox later

Posted Image


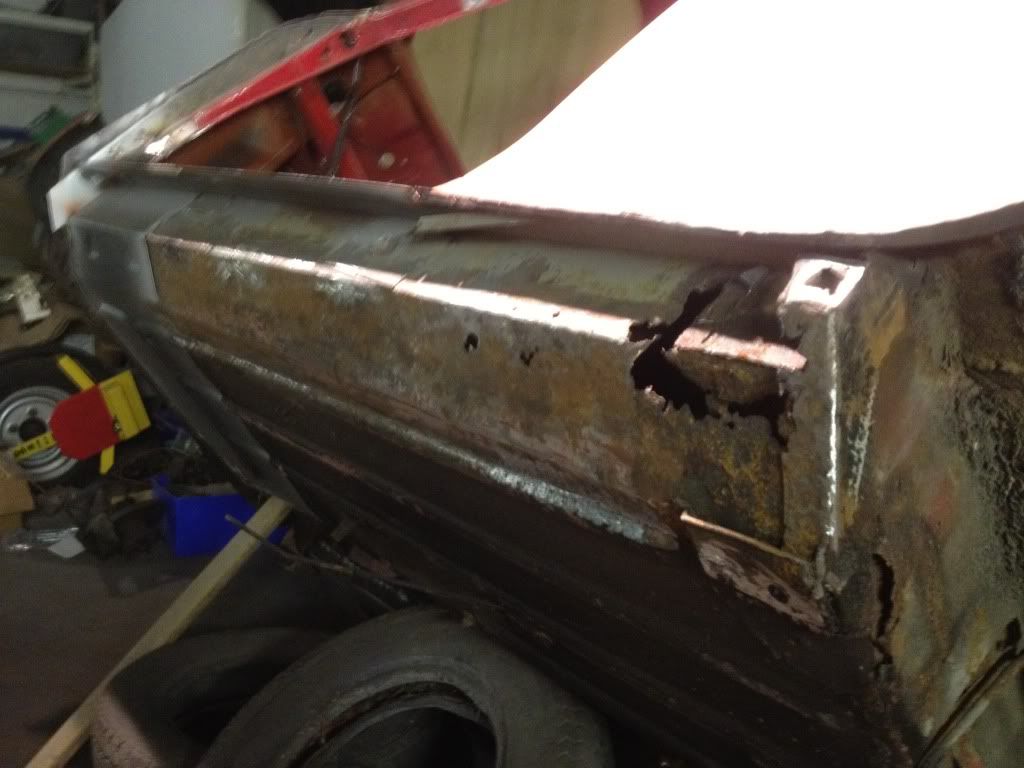
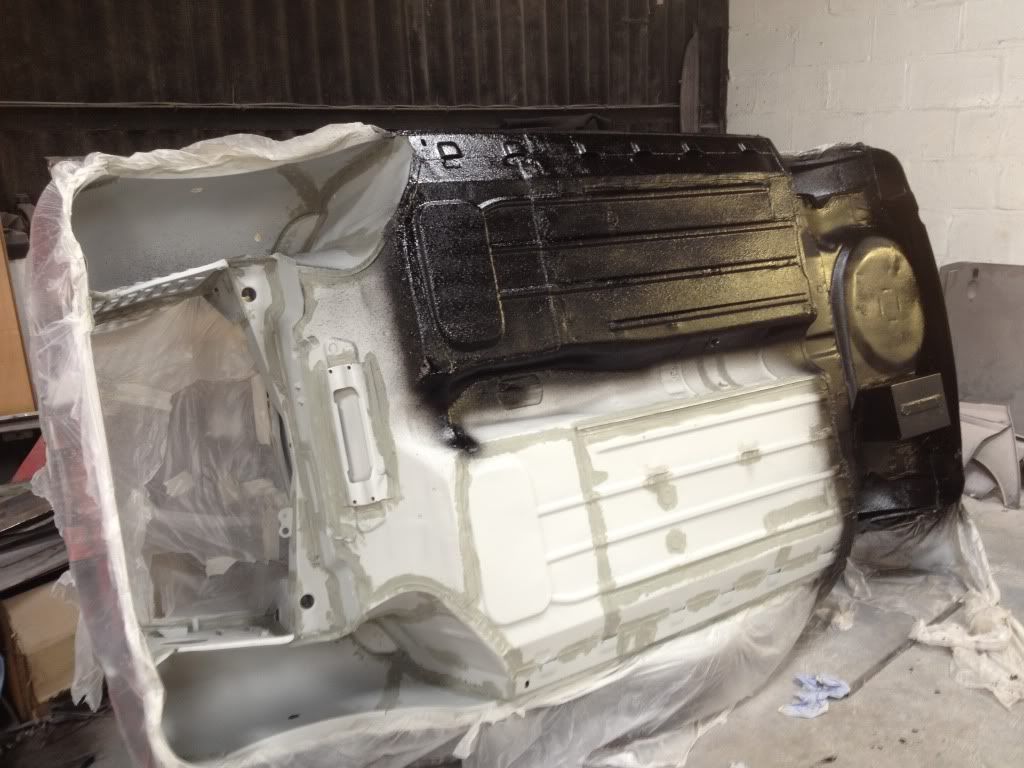
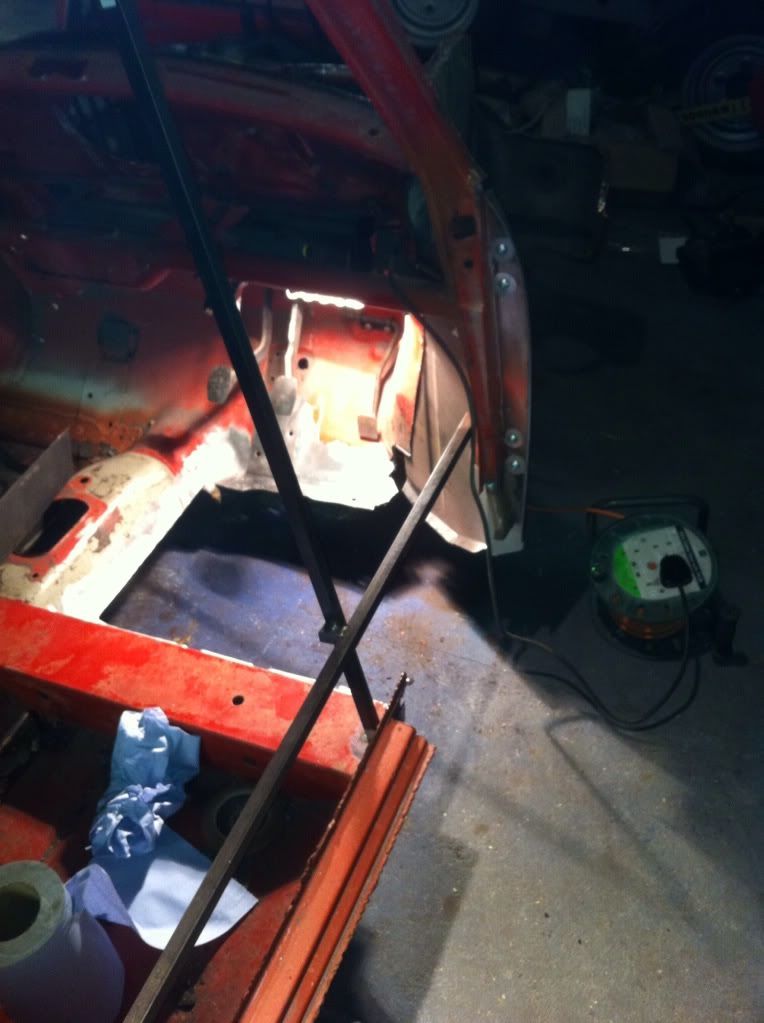
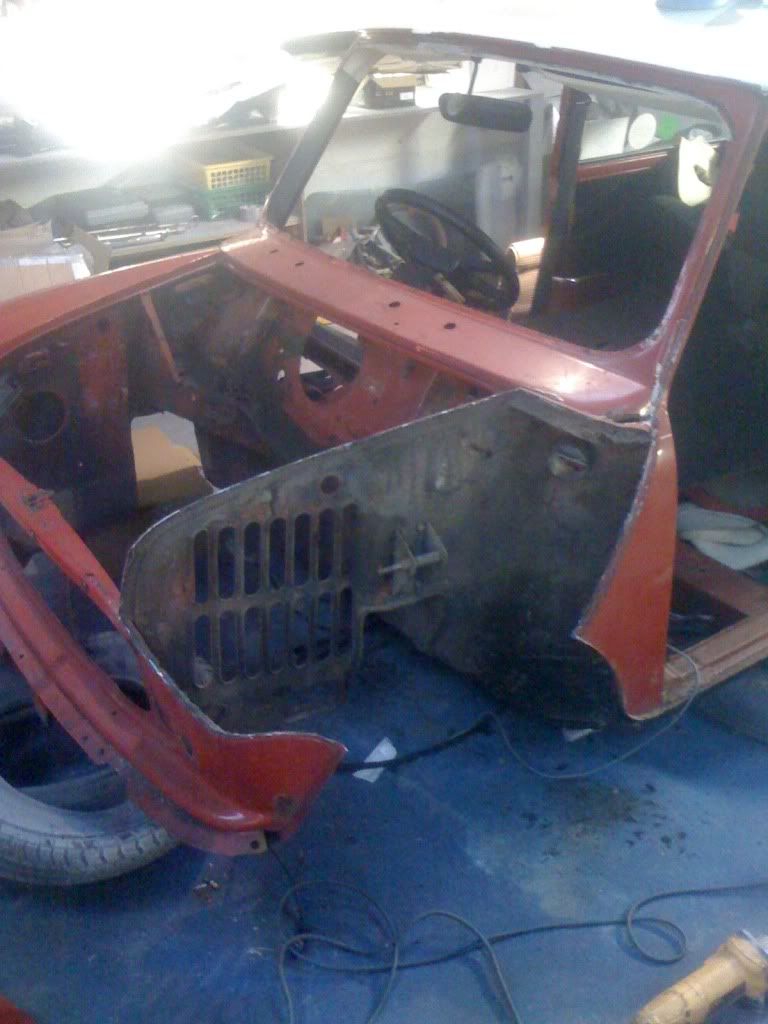
other wing removed to start work on the flitch repair i have welded in the repair on the n/s but havent got a pic of that yet
Posted Image


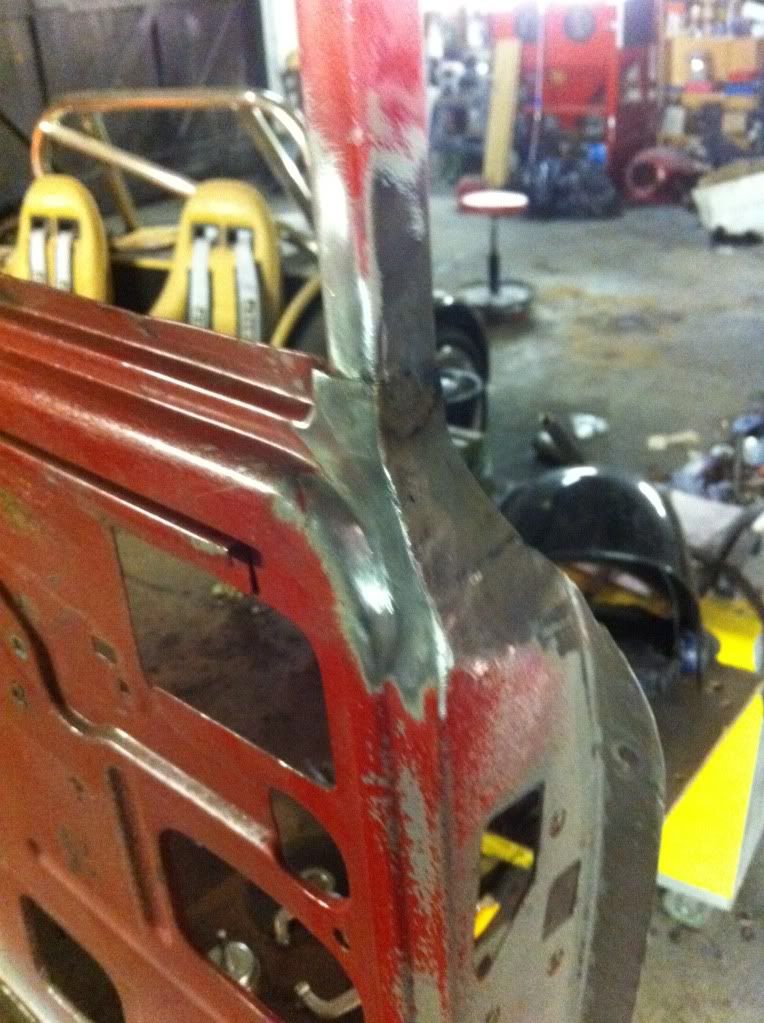
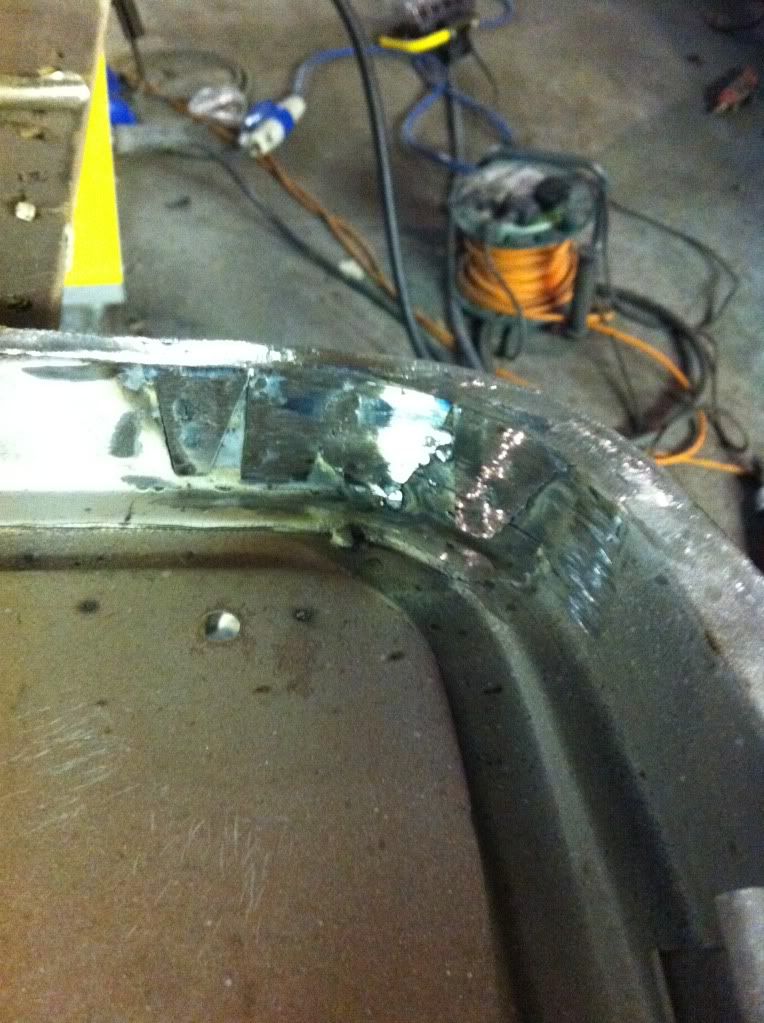
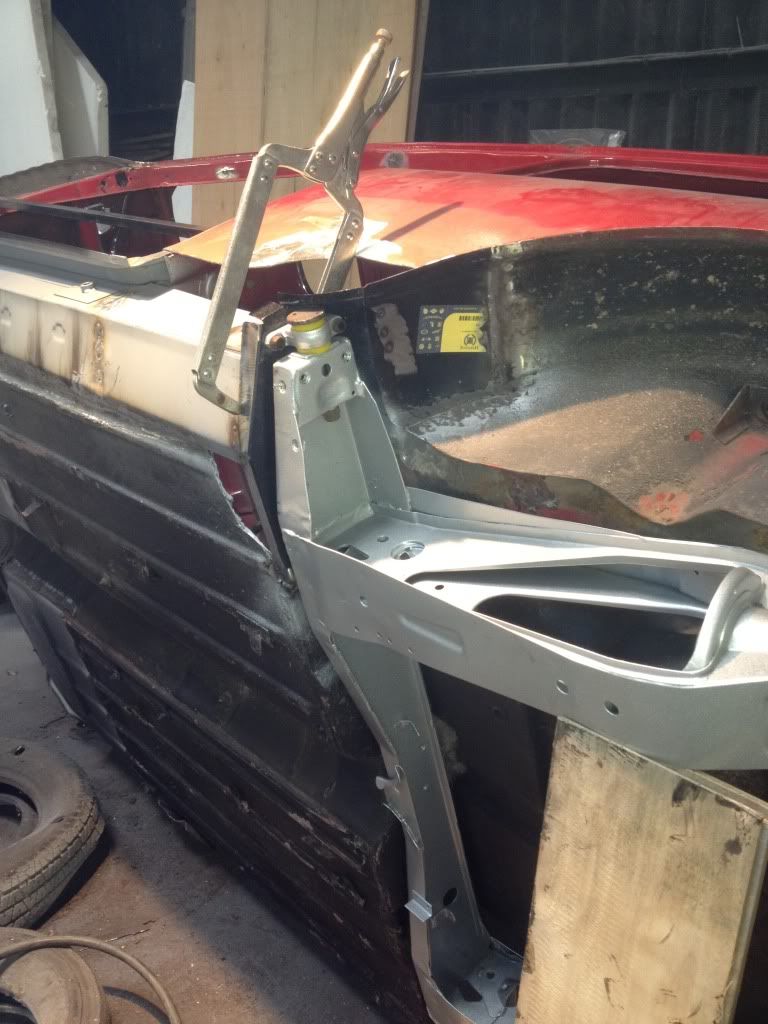
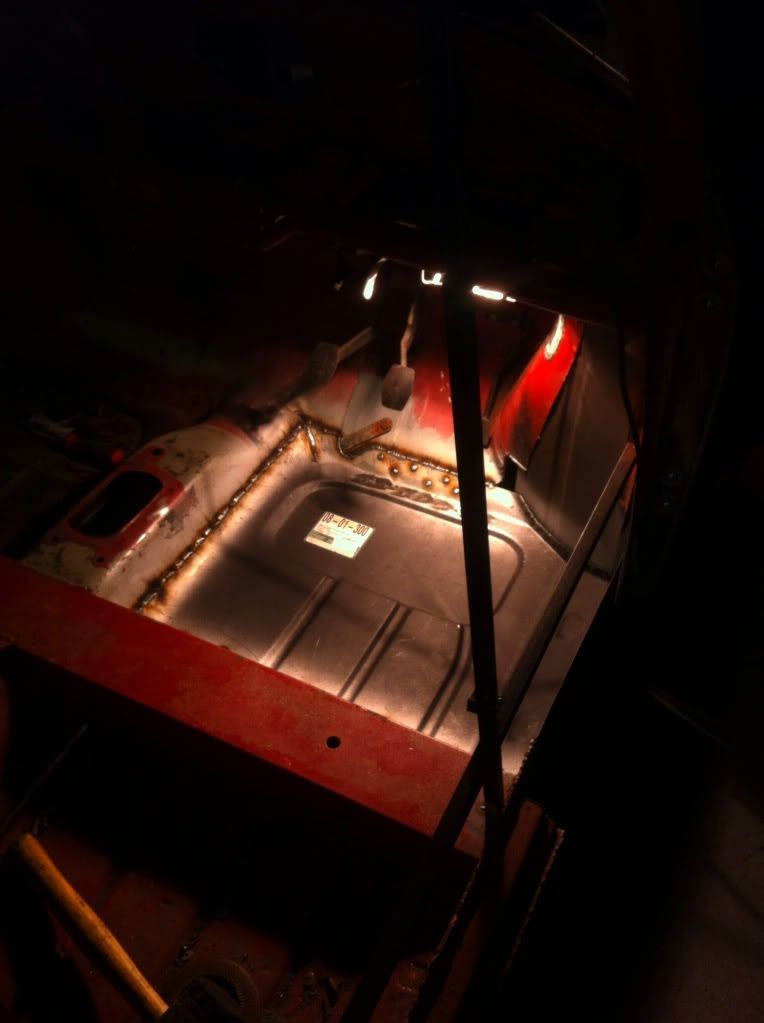
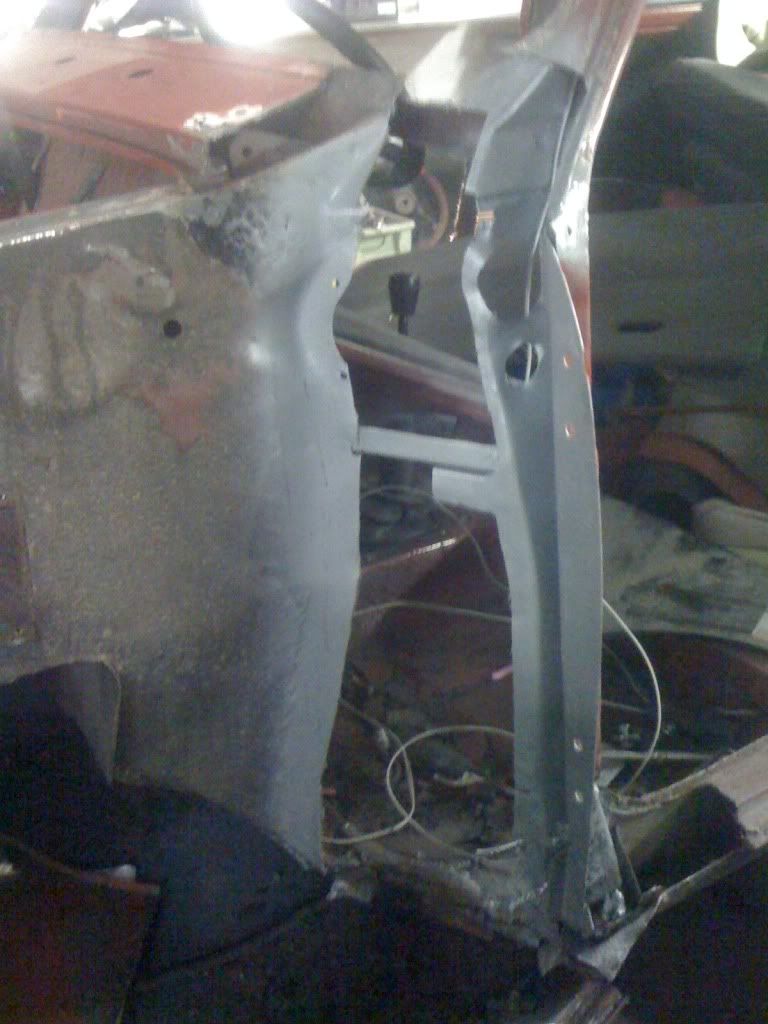
Flitch repair started on the o/s
Posted Image

#2 brad-the-bear

brad-the-bear

    One Carb Or Two?

  • Members
  • PipPipPipPipPipPipPip
  • 1,114 posts
  • Location: under the bonnet

Posted 03 December 2011 - 12:56 PM

looooookin gooood :proud:

#3 corrado vr6

corrado vr6

    Super Mini Mad

  • TMF+ Member
  • PipPipPipPipPipPip
  • 678 posts

Posted 28 December 2011 - 08:40 PM

Bit of an update

patch made to cover the air intake still not sure if im going to open this back up yet or leave closed to stop future tin worm

Posted Image

Parts ready to get shot blasted and powdercoated

Posted Image


inside of the door to be shot blasted

Posted Image


Subframes back from powdercoat

Posted Image


Door opening braced and passenger door step removed


Posted Image

#4 corrado vr6

corrado vr6

    Super Mini Mad

  • TMF+ Member
  • PipPipPipPipPipPip
  • 678 posts

Posted 28 December 2011 - 08:48 PM

Door step tacked in
Posted Image


With one end completley welded and tidied up i will spot weld the step to the inner sill after i have replaced the inner sill and front footwell then i will replace the outer sill

Posted Image

#5 corrado vr6

corrado vr6

    Super Mini Mad

  • TMF+ Member
  • PipPipPipPipPipPip
  • 678 posts

Posted 28 December 2011 - 09:00 PM

Then i started on the drivers door by replacing the bottom

Posted Image

made a patch for the top of the door frame

Posted Image

and made another patch for the lower curve lip of the door

Posted Image

and spot welded and seam welded the patch in

Posted Image

unfortunatley the passenger door is a bit past it so im on the look out for a cheap passenger door at the mo

Thanks for looking

#6 grahama

grahama

    Up Into Fourth

  • Members
  • PipPipPipPipPipPipPipPipPip
  • 2,442 posts
  • Location: Warrington
  • Local Club: None in my area !!

Posted 28 December 2011 - 10:08 PM

Hi,

some very nice work going on there. Keep it up.

Graham

#7 Tupers

Tupers

    Up Into Fourth

  • Members
  • PipPipPipPipPipPipPipPipPip
  • 4,154 posts
  • Location: Devon

Posted 29 December 2011 - 02:42 AM

Some nice welding work you've got going on there, I like the silver frames.

#8 corrado vr6

corrado vr6

    Super Mini Mad

  • TMF+ Member
  • PipPipPipPipPipPip
  • 678 posts

Posted 15 February 2012 - 10:16 PM

Well some more progress

Posted Image

On its side with the oversill removed

Posted Image

bit of rust

Posted Image

all cut out

Posted Image

Inner sill or (floor really) replaced, arch repaired, closing plate and heel board replaced, had to put subfrmae back on to make sure it all lined up before welding
Posted Image

new door step and outer sills all spot welded together so much neater than before!

Posted Image

rear arch end cut out and boot floor corner ready for repair panels

Posted Image

view of messy workshop through mini boot floor

Posted Image

#9 mk1leg

mk1leg

    Crazy About Mini's

  • Members
  • PipPipPipPipPipPipPipPipPipPip
  • 9,343 posts
  • Location: Jersey
  • Local Club: Mini Club Jersey, MCR

Posted 15 February 2012 - 10:22 PM

Nice work going on there keep pics coming................ :proud:

#10 corrado vr6

corrado vr6

    Super Mini Mad

  • TMF+ Member
  • PipPipPipPipPipPip
  • 678 posts

Posted 02 June 2012 - 10:26 AM

Thanks for all the comments
unfortunatley my iphone crashed and had to be rebooted which meant i lost alot of pics of the build upto this point which is a shame :(
but hey ho heres where im at

off cuts and bits removed, its scary theres actually more if you include the door skins and wings


Posted Image

#11 corrado vr6

corrado vr6

    Super Mini Mad

  • TMF+ Member
  • PipPipPipPipPipPip
  • 678 posts

Posted 02 June 2012 - 10:28 AM

underside all etch primed, primed again, seam sealed and stonechip
Posted Image

#12 corrado vr6

corrado vr6

    Super Mini Mad

  • TMF+ Member
  • PipPipPipPipPipPip
  • 678 posts

Posted 02 June 2012 - 10:32 AM

Posted ImagePosted ImagePosted Image

#13 corrado vr6

corrado vr6

    Super Mini Mad

  • TMF+ Member
  • PipPipPipPipPipPip
  • 678 posts

Posted 16 June 2012 - 07:58 PM

going back in time slightly but have found some of the old pics i thought i had lost

Posted Image

Posted Image

Posted Image

Posted Image

Posted Image

#14 corrado vr6

corrado vr6

    Super Mini Mad

  • TMF+ Member
  • PipPipPipPipPipPip
  • 678 posts

Posted 16 June 2012 - 09:02 PM

and some photos taken today finally sprayed

i put the windscreen back in quickly to make sure it still fitted after fitting a new scuttle

Posted Image

in primer

Posted Image

seam sealed which i then primed over again Posted Image


Posted Image

fitted the gutter trim to colour code it

Posted Image

stainless steel seam strips fitted and sealed in along the edges

Posted Image

sealed in the joins

Posted Image

Posted Image

IN COLOUR!!!

Posted Image

Posted Image

Posted Image

Posted Image


Posted Image


Just got to put it all back together now then :)

#15 corrado vr6

corrado vr6

    Super Mini Mad

  • TMF+ Member
  • PipPipPipPipPipPip
  • 678 posts

Posted 24 August 2013 - 08:38 AM

Bit of an update, just realised I never finished this topic, however I finished the mini in time for the wedding ;)

Headlining in

BCDC3D93-612E-44B8-BF35-8B75532B3AAB-563

4C602412-CF7A-46BD-92AA-1F8E41401684-563

Getting her face back

317B0679-CD94-402C-9897-11BD86A8E1FB-563

Ready for an engine

FAB1109C-0AC7-40C9-A40D-601CC2EAFB89-563

Very happy with the door shut lines

F17BD748-E857-46FF-AF11-2579B12D3806-563

New brakes

04C0AF76-B7E2-4B0E-87F7-E34D8AC34B77-563

Engine having a full rebuild

06E39B2D-1647-407D-B07A-AFEC88D01365-563

B5DABBA6-6215-46C6-8EAA-1E1AEB25947A-563

C7DEFE7D-35B2-4EBE-B93F-5D5F03A909A3-563

4209E762-2BB0-4066-9699-49BE428AB8EE-563

76A6A08D-7FA7-4466-8C47-8A10DACFBE40-563

A78A63DC-B932-48F9-99CE-D356AFC423B9-563

804B8C9E-C5CA-4000-877A-00E98AA2D416-563

Parked next to mine

E0D1B4B0-7093-49EA-B310-0B04EBC80334-563

BCAB80DF-1240-4203-A680-6F12C5FB9C2E-563

1B5891B1-AC48-42B3-A2BD-ACC0E9C6472C-563

8423AC98-B509-44E9-8B7E-10C5DFEBC9DA-563

76299668-3D0B-4EDB-9F5A-E126D7E7202A-563

2B056BAE-D619-47C9-B34A-1EF369DBFADD-563

<a href="http://s177.photobuc...E09746AA5E.mp4" target="_blank"><img src="http://i177.photobuc...E09746AA5E.mp4" border="0" alt="Photobucket Pictures, Images and Photos" /></a>

Passed mot first time :D

221AA693-FAAC-4BCD-8DF3-23BB63BCDF3E-563

E54E33FD-0573-4833-BEB1-B250A68C0F87-563

238E1FDA-93BE-4ECA-831B-0308AEBFD39B-563

FC4EF776-2438-4426-B6C9-B6AAFDD8BEE8-563

So there we have it all finished!


1 user(s) are reading this topic

0 members, 1 guests, 0 anonymous users