Because the smaller core plugs complete the oil galleries, I am not replacing them as all being well they shouldn't be corroded! (not to mention my local motor factor didn't have them in stock
 )
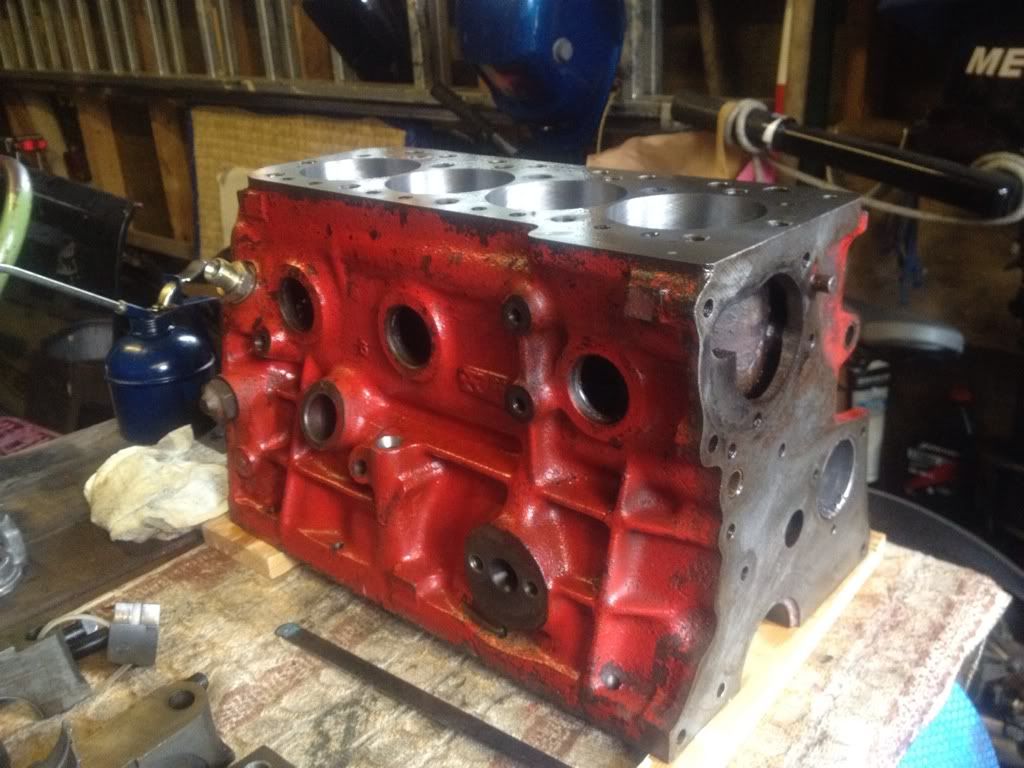
)Firstly, to remove the old core plugs, using a small punch, hammer one side of the core plug in, until the core plug rotates in the block like a throttle butterfly. You should now be able to use a pair of pliers to pull them out of the block. Sorry don't have any pictures of this process as didn't have my camera with me at the time.
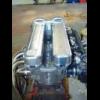
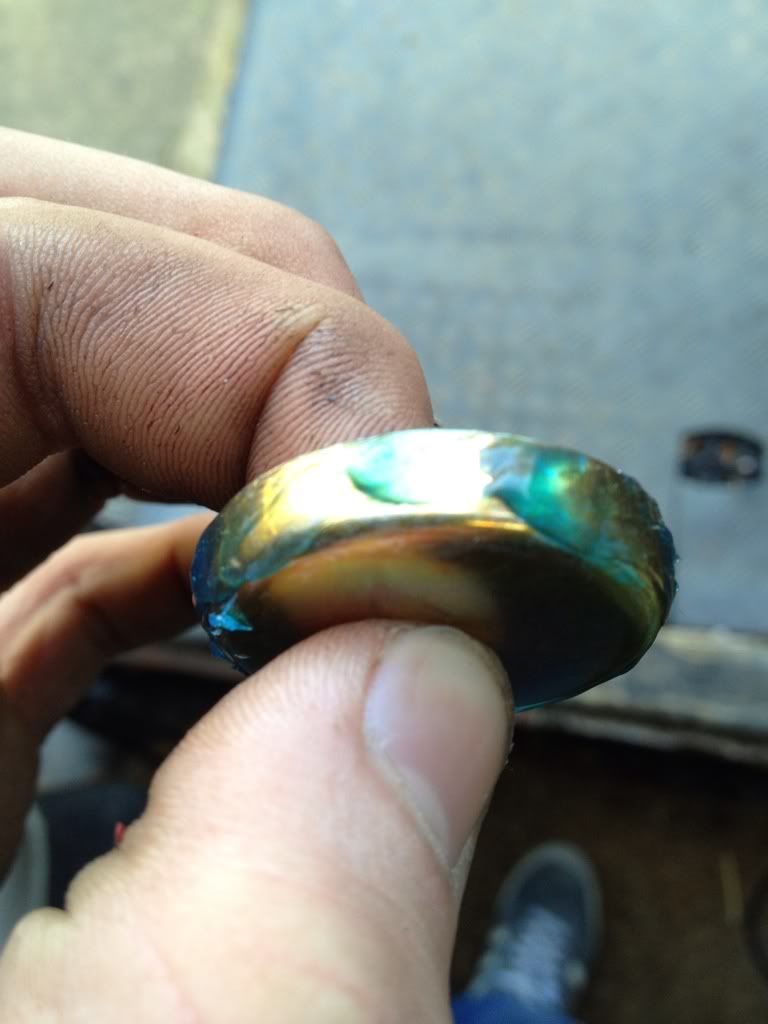
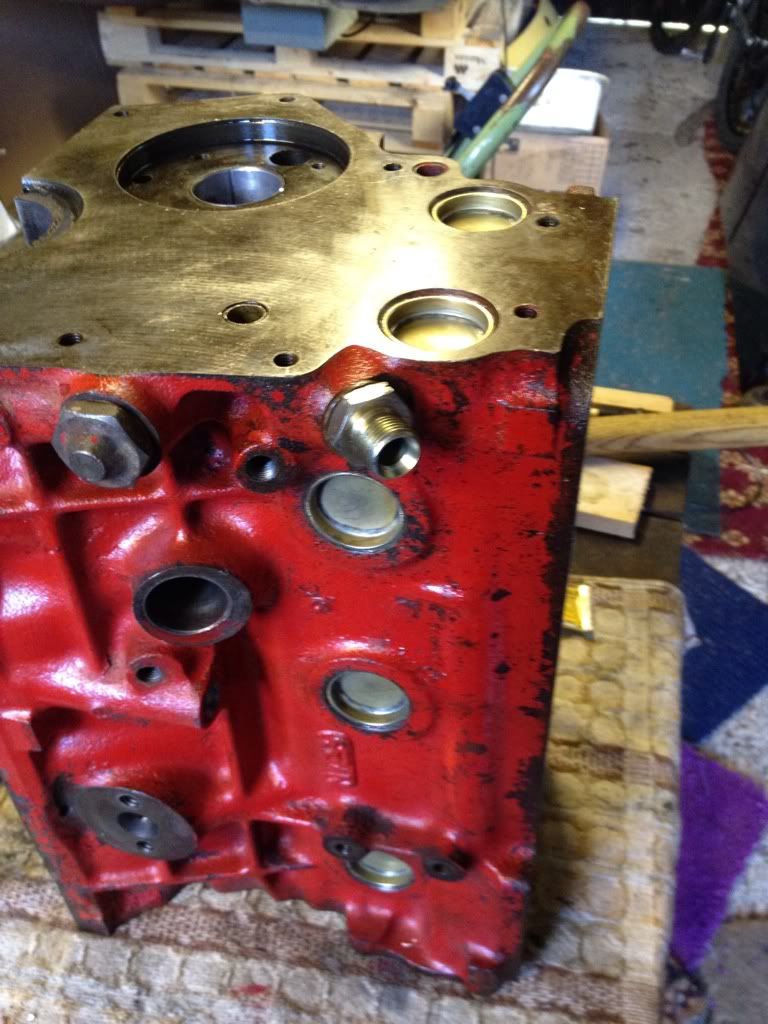
Right, the A+ block has 9 core plugs, 4 small 1/4" plugs, and 5, 1 5/16" water gallery plugs. On earlier blocks, i believe they had convex discs and solid brass plugs instead of the cups on the later A+. For fitting, I also bought a tube of 'Hylomar', a reasonably thin silicone gasket sealant.
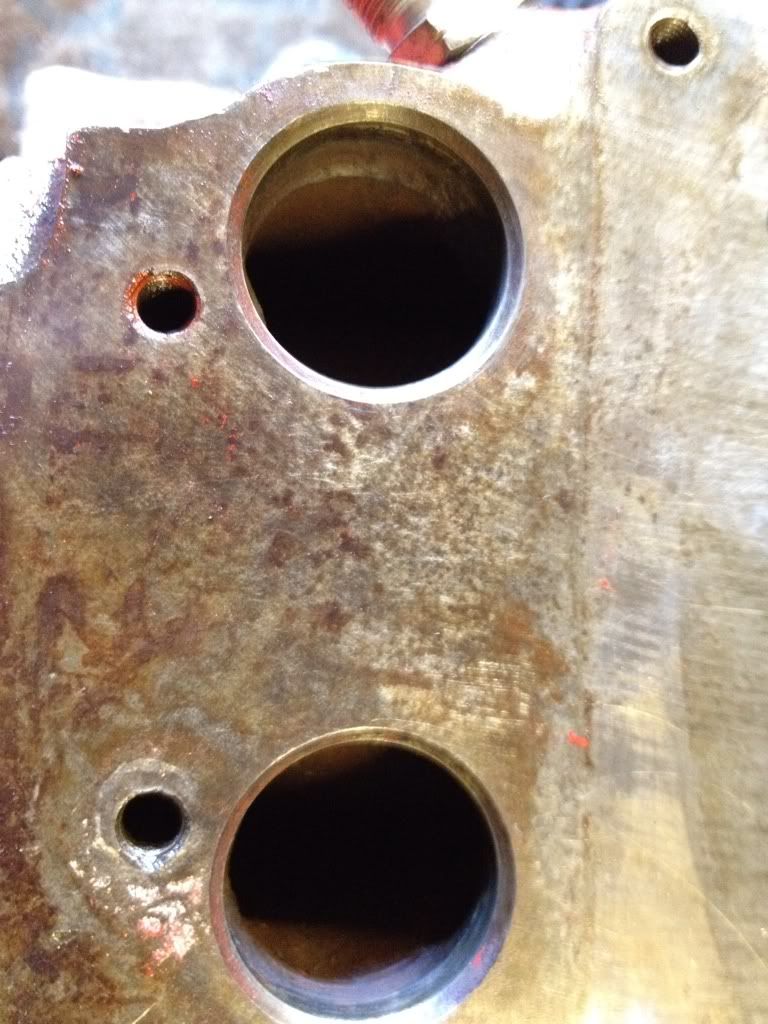
Firstly, make sure that any corrosion is removed (using light abrasive) and free of any lubricants (using brake cleaner).
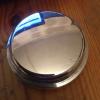
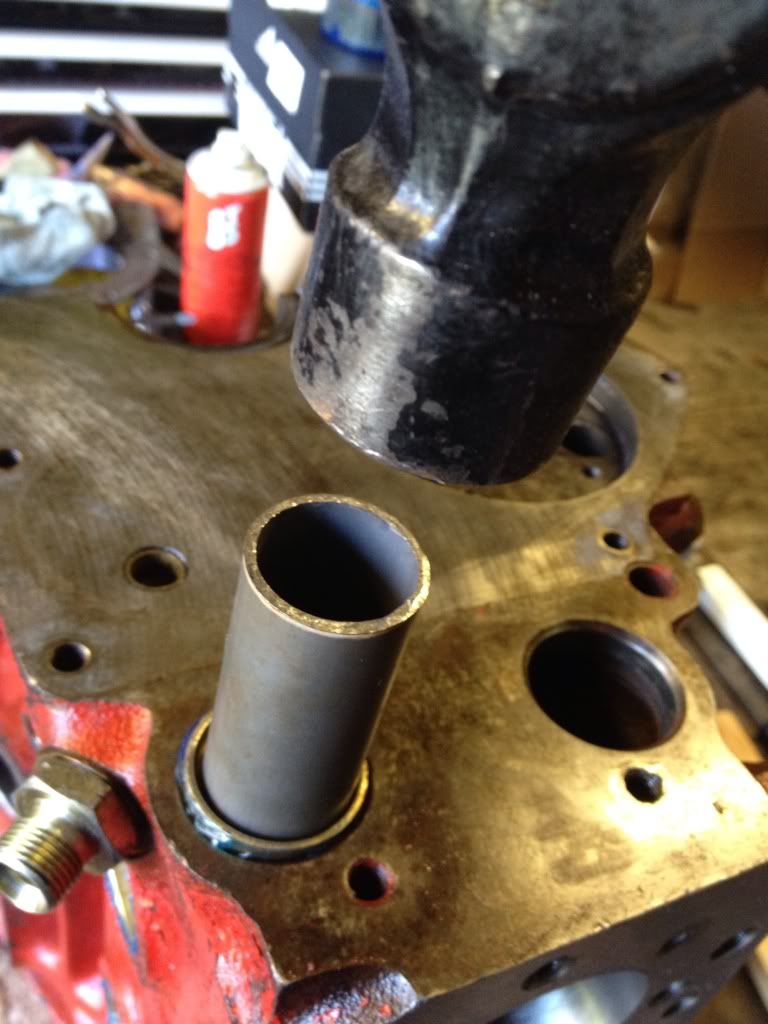
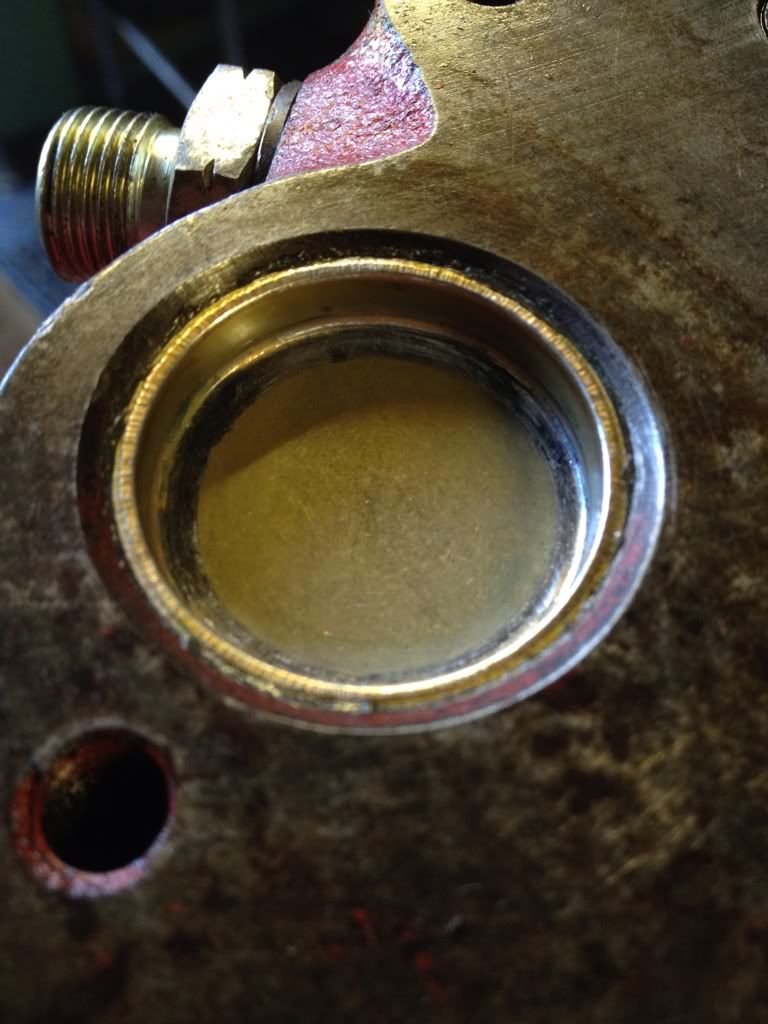
Before putting any sealant on, find a socket, or similar, which is a close fit inside the core plug. I used a short length of bicycle steerer tube (1 1/8"). N.B not too close a fit, or as the core plug enters the block it will pinch the socket and all will become one!
Next, apply a thin film of Hylomar to the outside edge of the core plugs.
Place on the hole to be filled, and using your socket/drift, hammer the plug into the block, making sure it is going in square and evenly. There is no stop on the plugs, but the plugs should sit just shy of the surface, on the end plugs, there is a slight chamfer which i have stopped at.
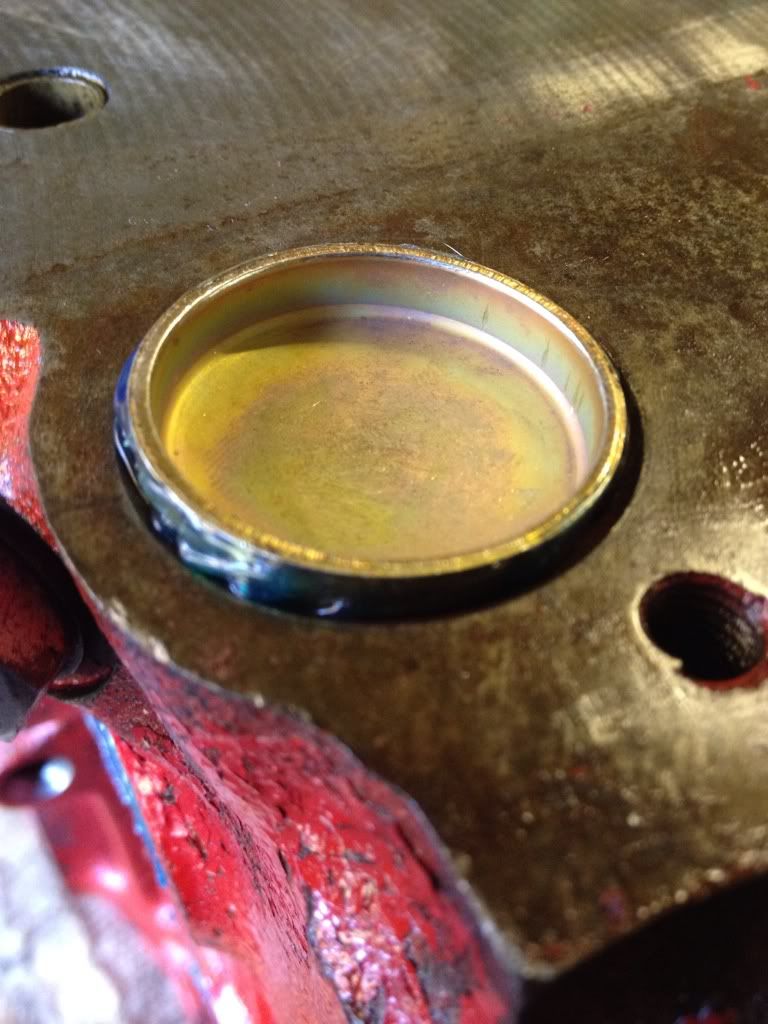
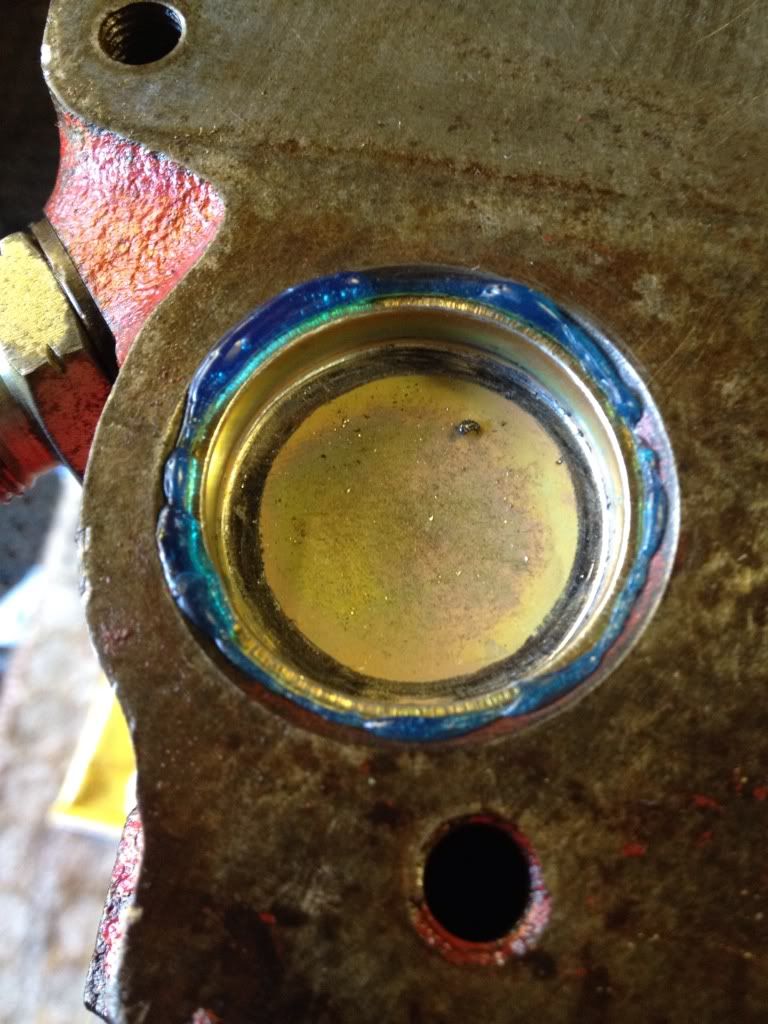
Use a rag to wipe away excess sealant.
Bob's your uncle!
Hope this helps, may even make it into the "How to" guides......
If you have any questions let me know, and any feedback welcomed.
Howard