HOW TO FIT SOUND DEADENING
First things first you need sound deadening! There are many brands/makes out there that do this. Dynamat is generally considered to be the best for car installs, however it is at the top end of the price range. I have seen people use flashing tape that you can get from general DIY stores. Its not meant for deadening so I have heard mixed reviews about it. It is very cheap though!
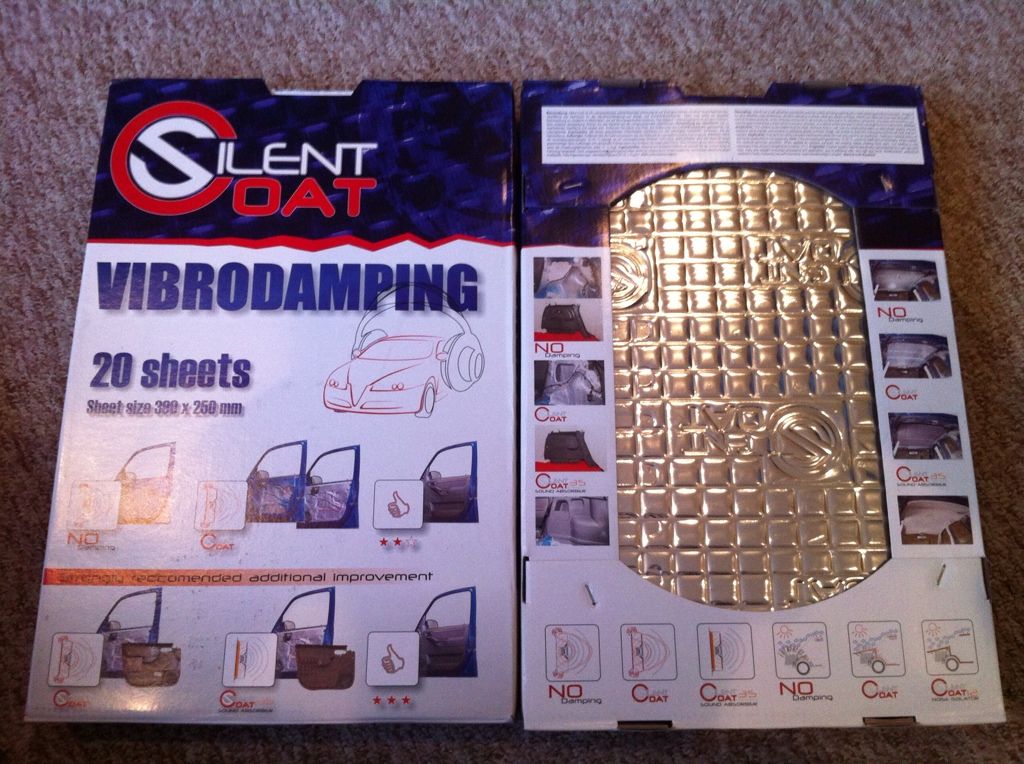
I personal went for SilentCoat deadening. Its a 2-3mm thick bitumen based product with metal top to help reflect heat as well as reduce sound and vibrations. It is middle of the road price wise at £79 for a bulk pack containing 40 sheets of product.
Heres what it arrives like!
TOOLS
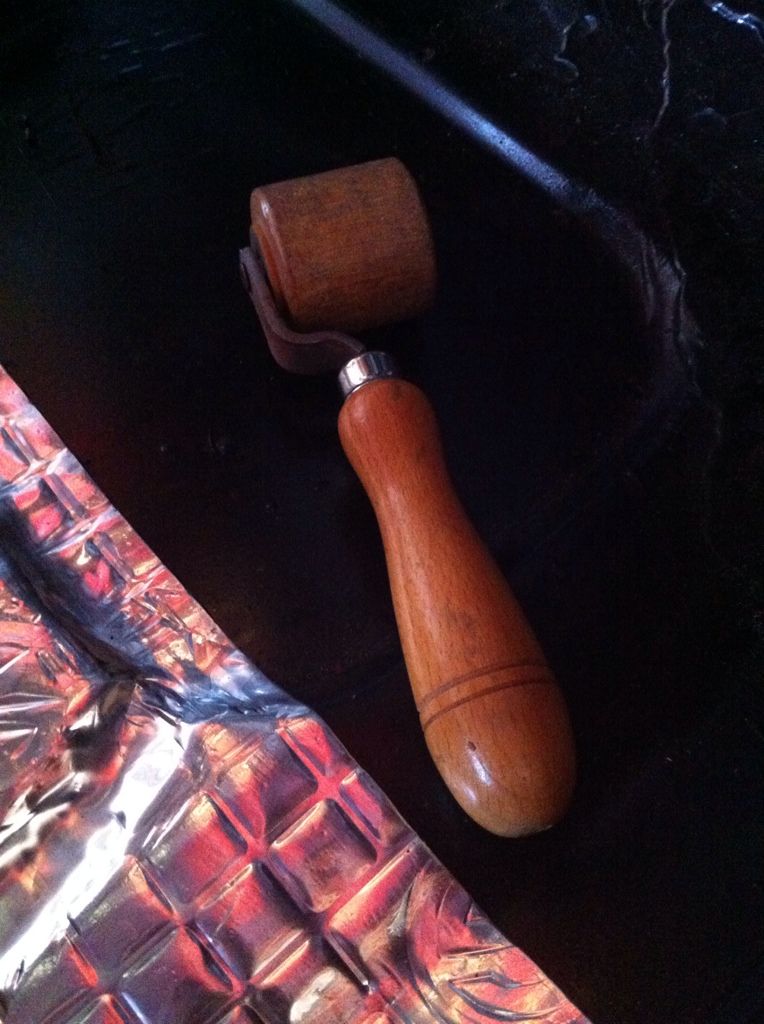
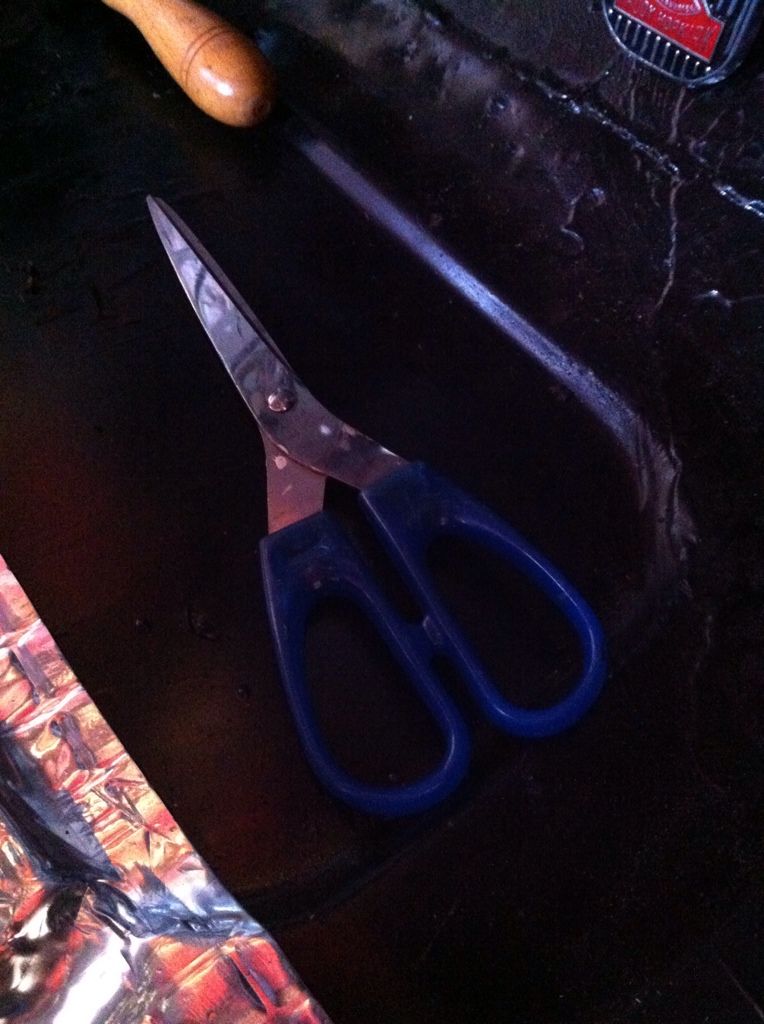
Next you need to prepare to fit it all. You will need a few basic tools to complete the job.
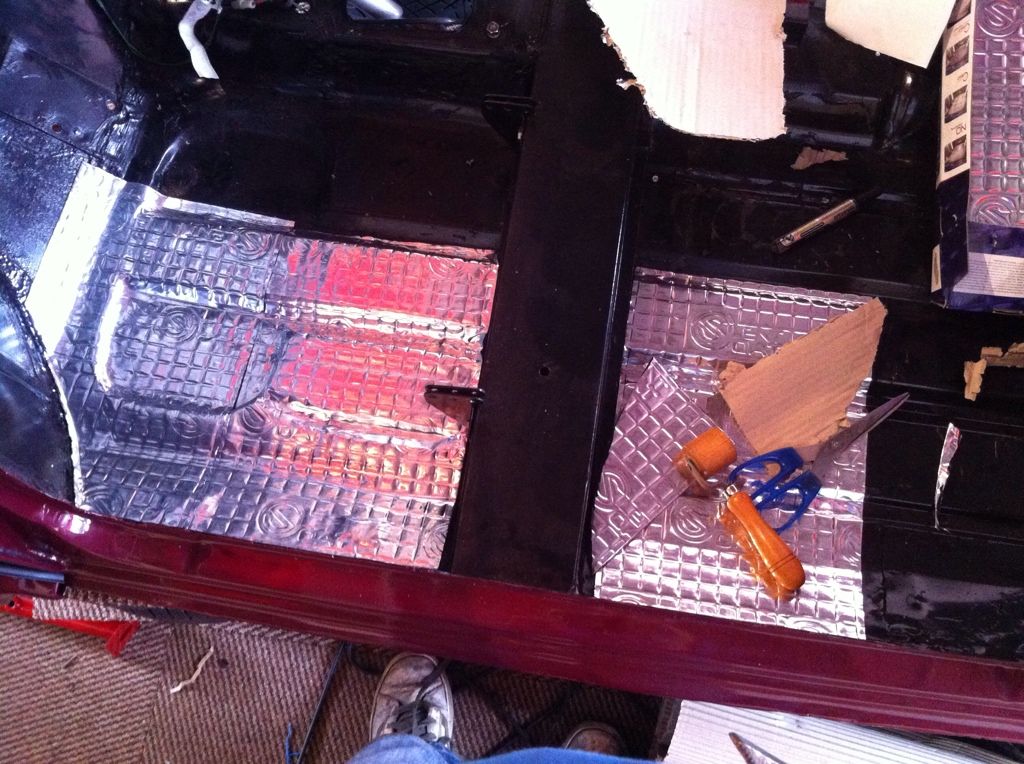
A small sized wallpaper roller
Some large scissors
A few stanley/craft knife blades and a good permanent marker are also required.. (no picture of these)
It is also highly recommended to have many pieces of cardboard packaging. The reason for this will soon become clear......
THE FITTING
First tip is very important so PAY ATTENTION TO THIS BIT! Any ridge or overlap you create will only get bigger as you stick down carpets above. Over time these overlaps will wear and become very apparent. Not what you want! So take your time and be as neat as possible!
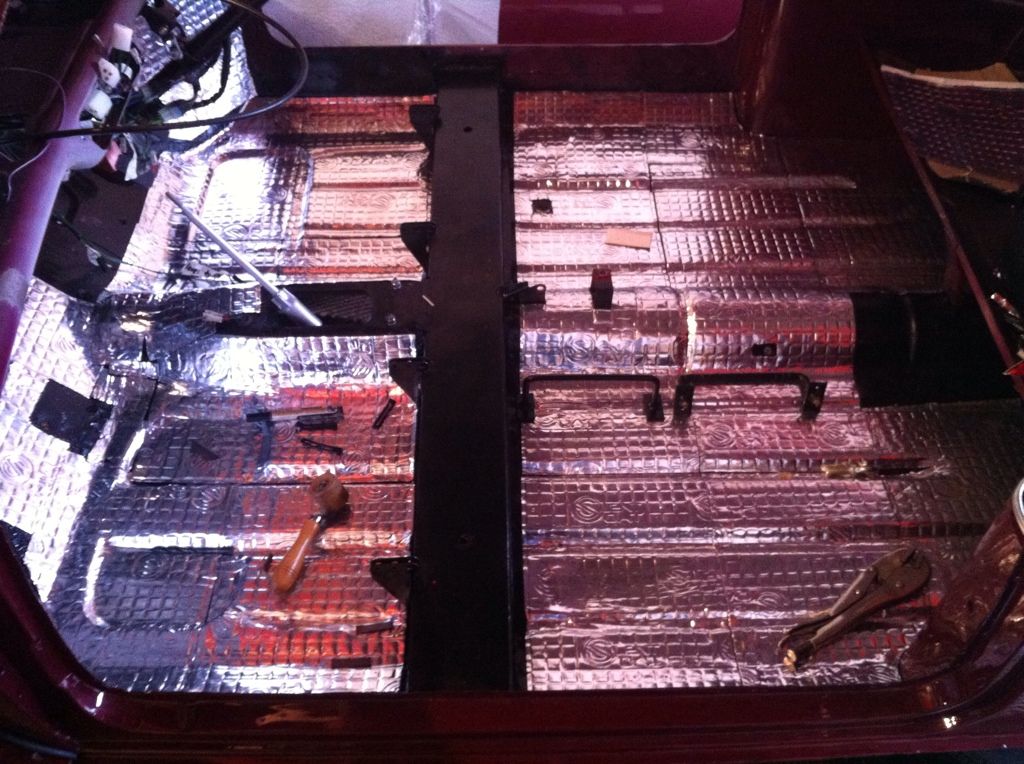
I began by applying the the sheets in areas that did not require any trimming so as to reduce waste and maximise coverage. For these it is easiest to fully remove the backing from the sheet and lay it in place. Starting at one edge roll with some good pressure until you get to one of the ridges in the floor. At this stage it is far easier to use the top of your finger nail and physically push the sheet gradually into the ridges making sure not to simply cover over it, rather follow the curve of the ridge. Easy way to make sure this has happened is to push it. If it moves inwards its not properly stuck down. Thankfully its not overly sticky and you can remove it with care and reapply it. Just try to get it right first time for maximum adhesion.
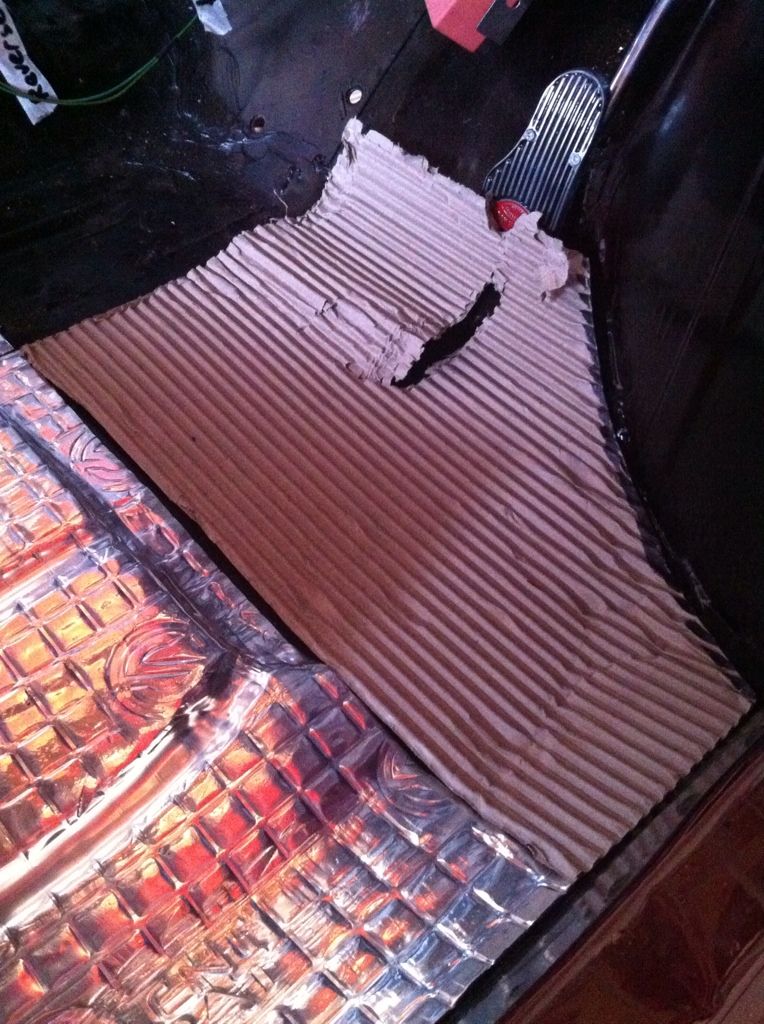
Once you have exhausted all the bits that don't require trimming its time to move onto the more tricky bit. You obviously don't want to waste any product so its time to grab your cardboard and marker pen!
Line the cardboard up to the sheets nearest the area you will need to trim to. Then push the board into the curve you need to trim. ONce it is in place draw your marker pen along the bit you will need to trim and then remove the board and cut it along the line you just created.
You should be left with a bit of board that fits the space perfectly.
Then place the board onto your sheet, being careful to line up the straight edges first! Then trace the boards shape onto the sheet.
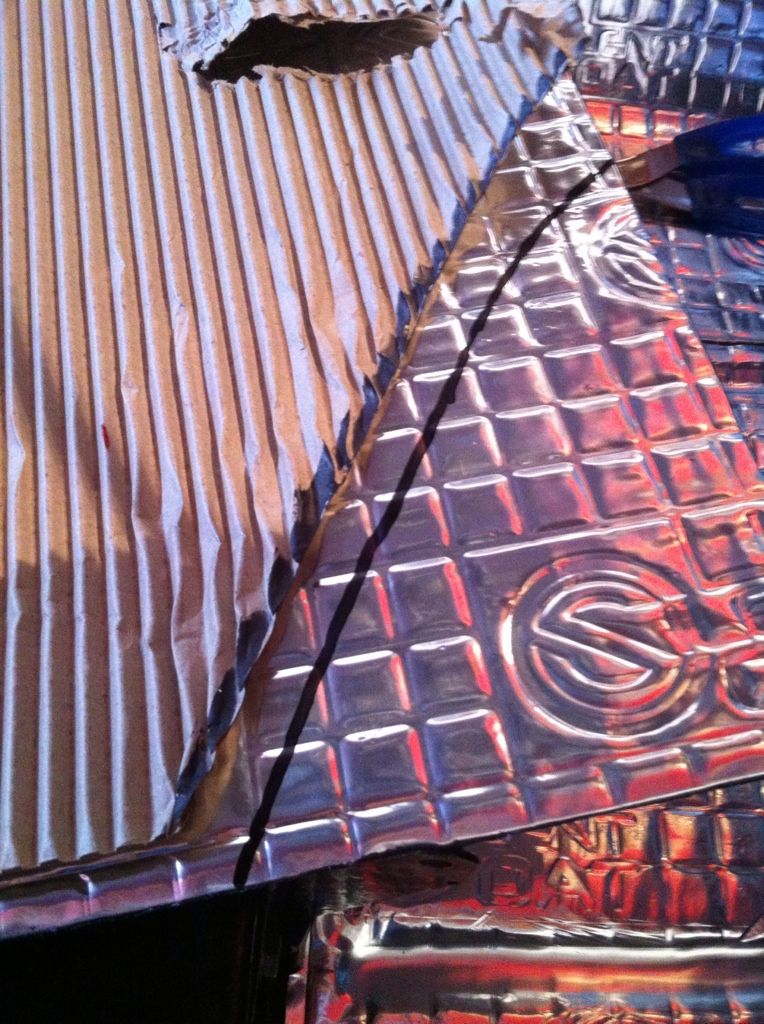
Then using the same technique as before, apply your perfectly shaped sheet.
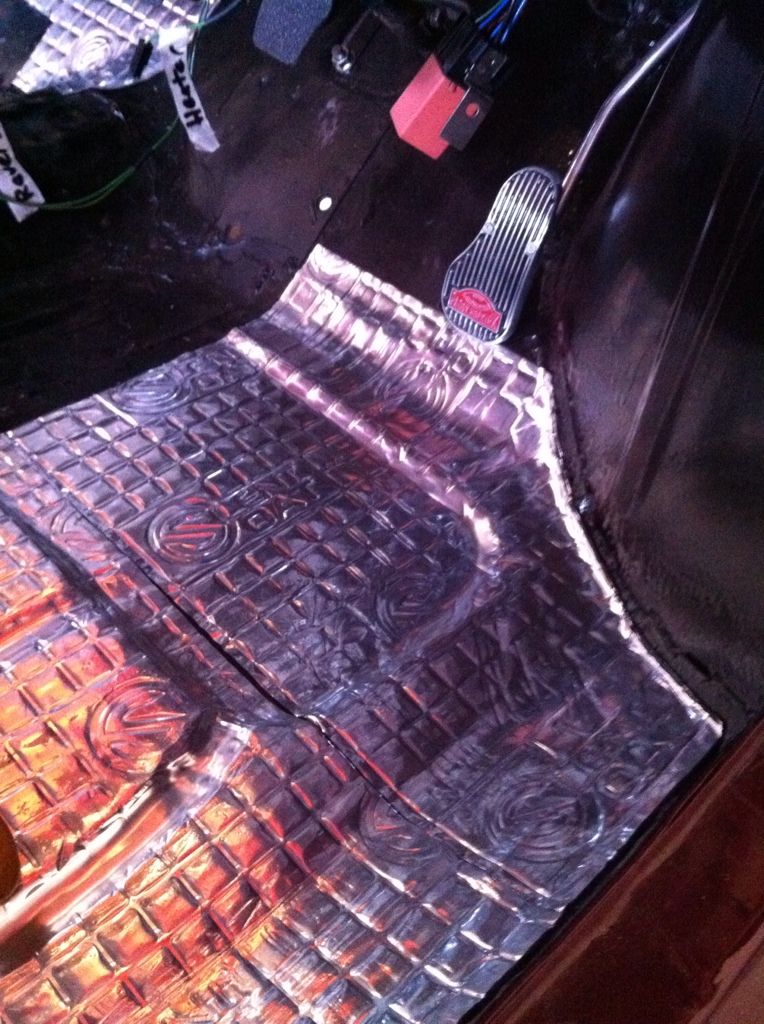
Continue this process until you have the main floor, heel board, rear seat back and parcel shelf complete.

Now that the car was done I took a couple sheets for each door to deaden them too. Should give it a satisfying shut sound.

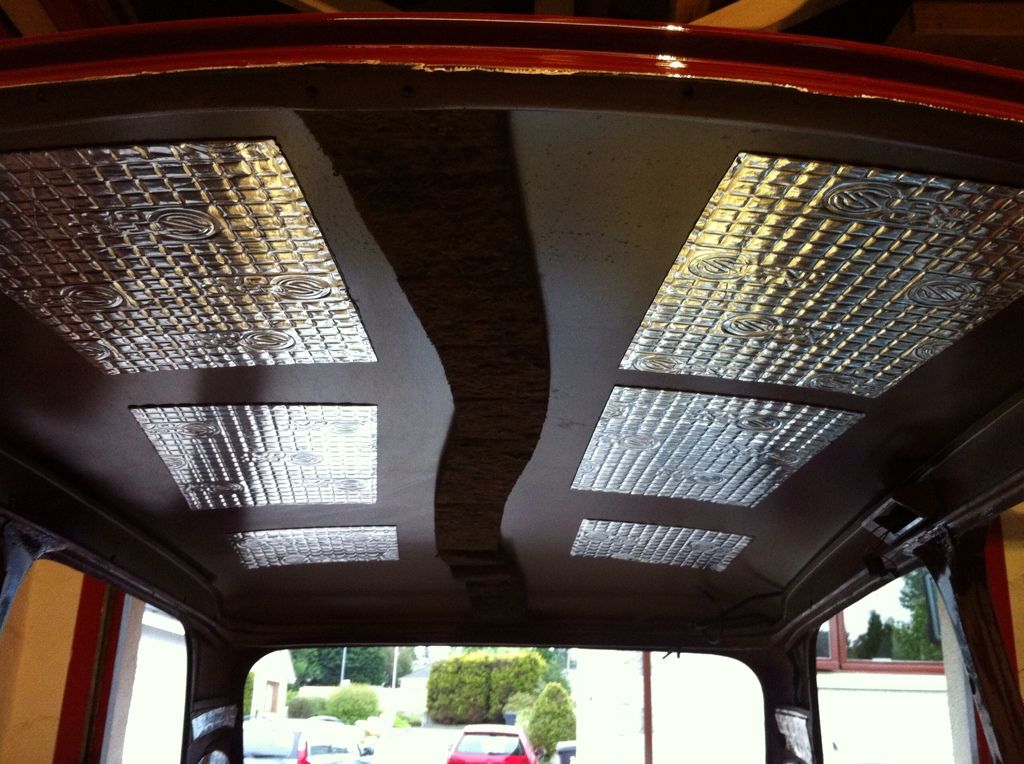
And then I found I had around 5 sheets spare. So I decided to place these on my roof spaced apart. Ideally this would be fully covered but this will definitely help reduce the tinny sound that it creates.
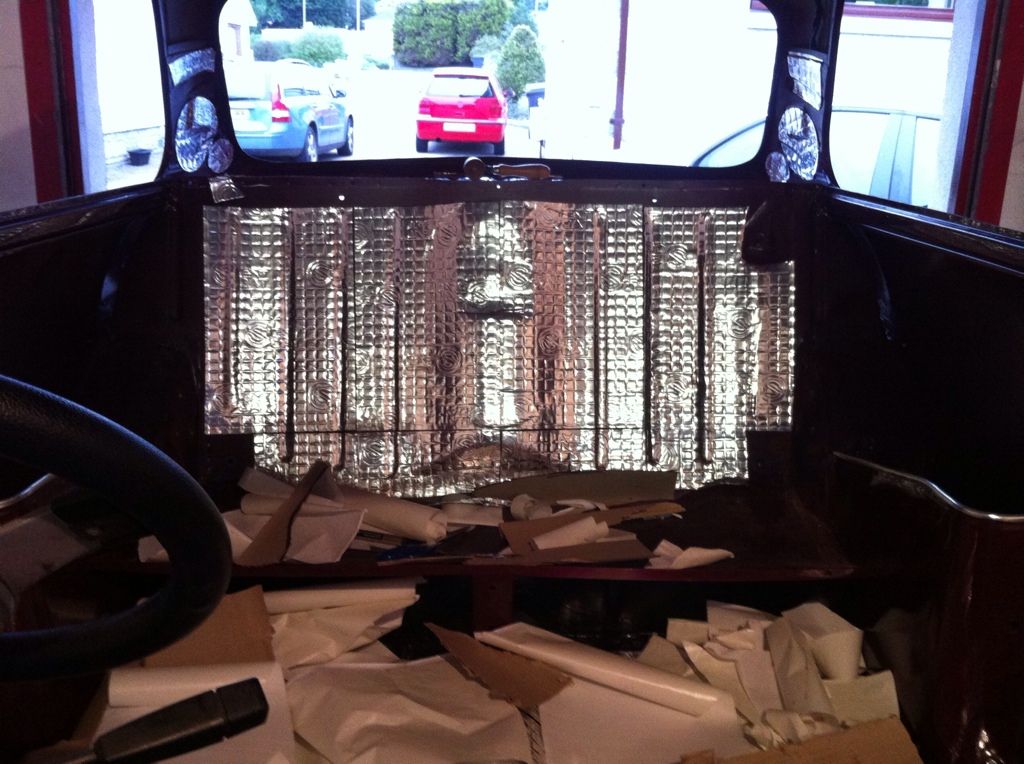
Then you will find you have lots of off cuts going spare! So instead of wasting them use them on the front bulked to reduce engine noise/vibrations in the cabin!
Seeing as this is a hidden area on all cars with dash liners/dashboards it doesn't need to be neat and tidy. Its a bit of a jigsaw but its very easy to get all your spare pieces onto the bulkhead.
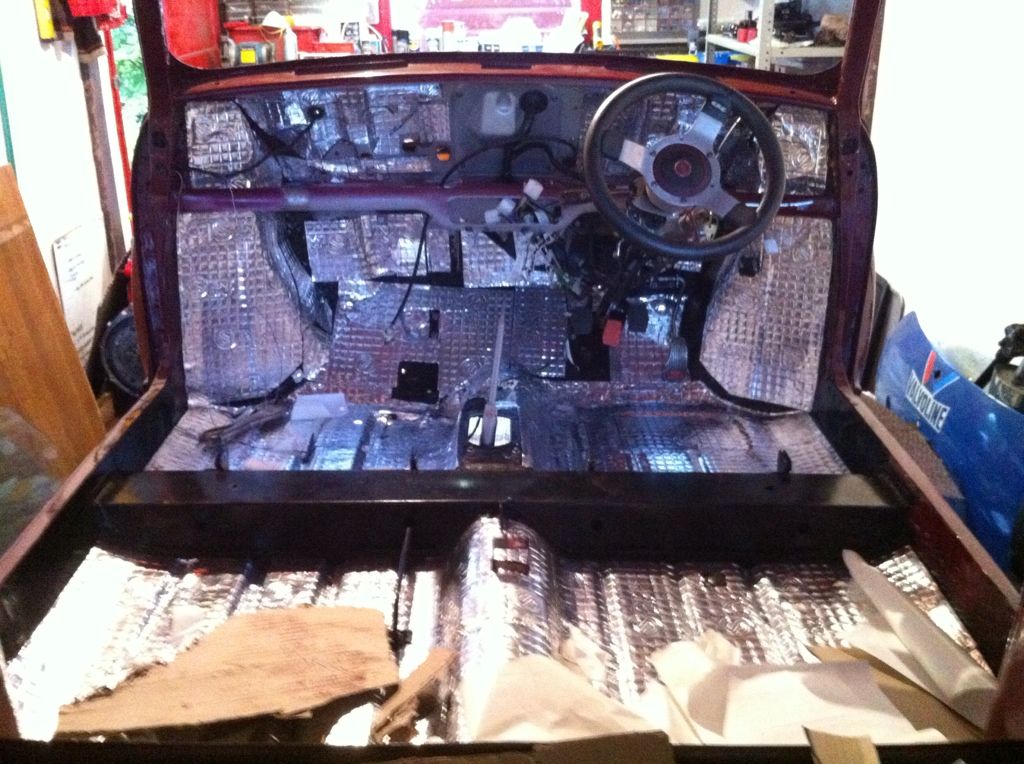
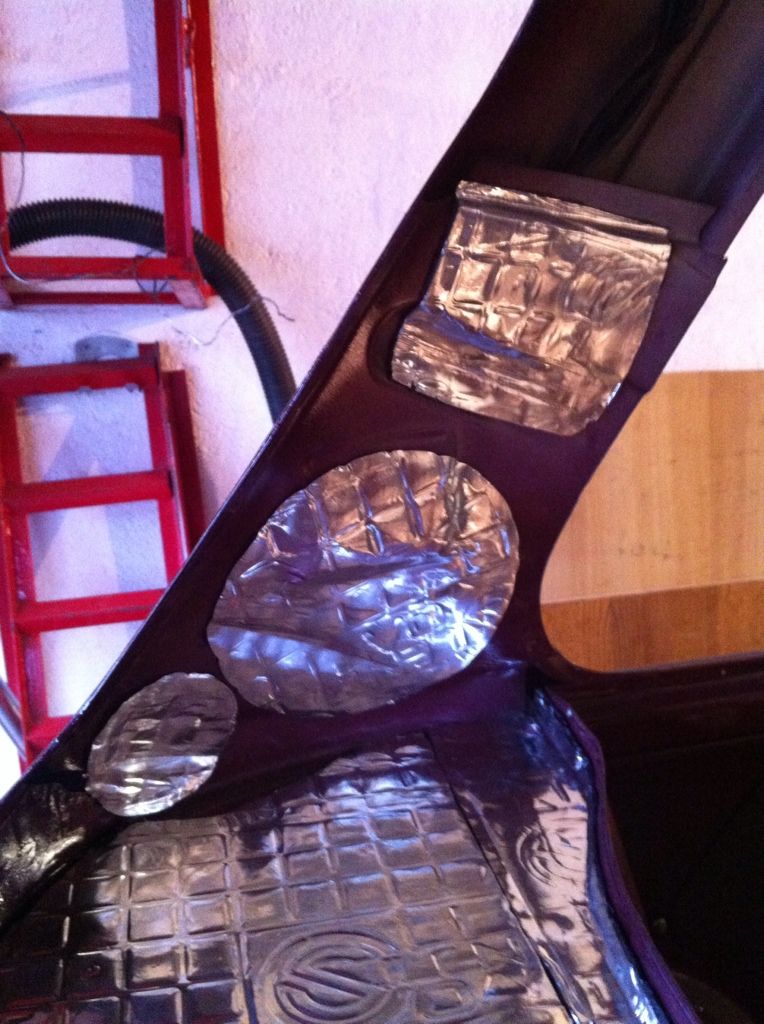
I even had a few circles from the parcel shelf speakers and boot closing vents so i put them onto the C pillar. Waste not want not! One thing to note here is Im not using rear belts so I covered up the belt bolt holes. You can trim the deadening to accommodate this though.
So there we have it! One fully deadened car ready for the layers of carpet to go onto it. This stage is often overlooked and dramatically changes the interior noise in the car and also aids audio quality as well. It is a reasonably inexpensive thing to do as well and takes roughly an afternoon to do it all.
Hope you like and hope you can get some use from the guide!
Andrew (Mini 360)
Edited by Mini 360, 30 May 2012 - 09:55 PM.