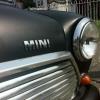
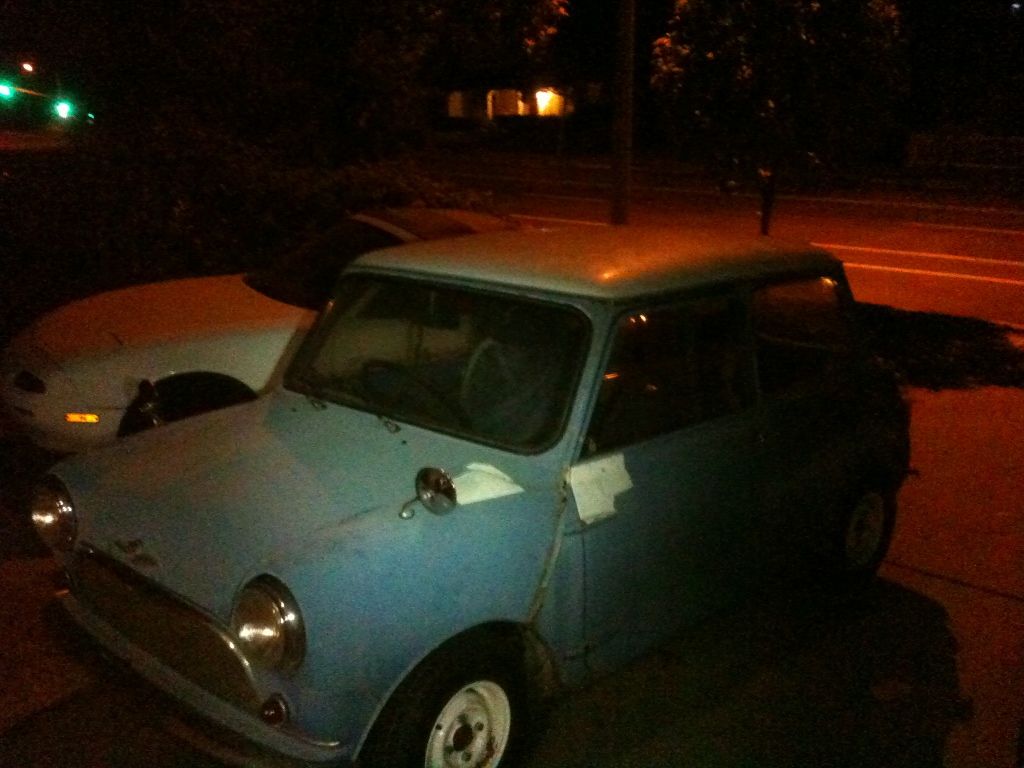
. I got the car this summer, it’s a 1963 Australian made morris 850, not sure if it’s a cooper or not but it has the badge haha.
I describe this project in quite boring details so feel free to ignore the text and look at the mediocre iphone pictures. I’ve never actually restored a car properly, Ive done a couple motorcycles and fixed up my mx-5 but this is by no means a professional job, I really should do a complete shell restoration but it seems to be in such great shape and I cant wait to drive it so this will do for now.
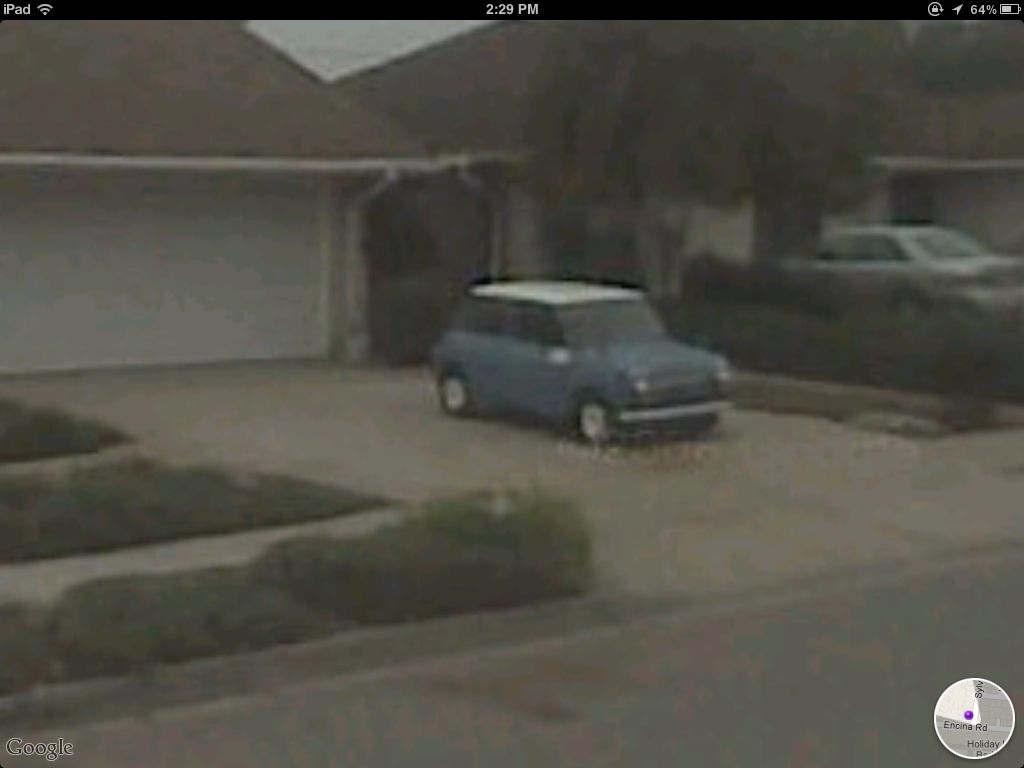
My mini project started out with the hunt, here in California finding a mini that is cheap, older than ’68 (import laws), and registered is a pretty tall order. Luckily I had seen one on the side of the road for several years in my neighborhood. So after a couple months of trying to find something online or in local papers I finally just left a note on this guys car, here’s how it stood back in 2006 on google street view and it was in the exact same place when I went to see it this summer.
About a week after leaving the note I got a call from the owner who said he would willing to sell, he was pretty confident it started and wanted $3k for it as long as I promised to restore it which was perfect for me because that was far cheaper than any I had seen for sale before. I went down but the car wouldn’t start, it cranked and I could here the pump but wouldn’t fire, so I offered him $1500 which he accepted. Luckily after seeing this
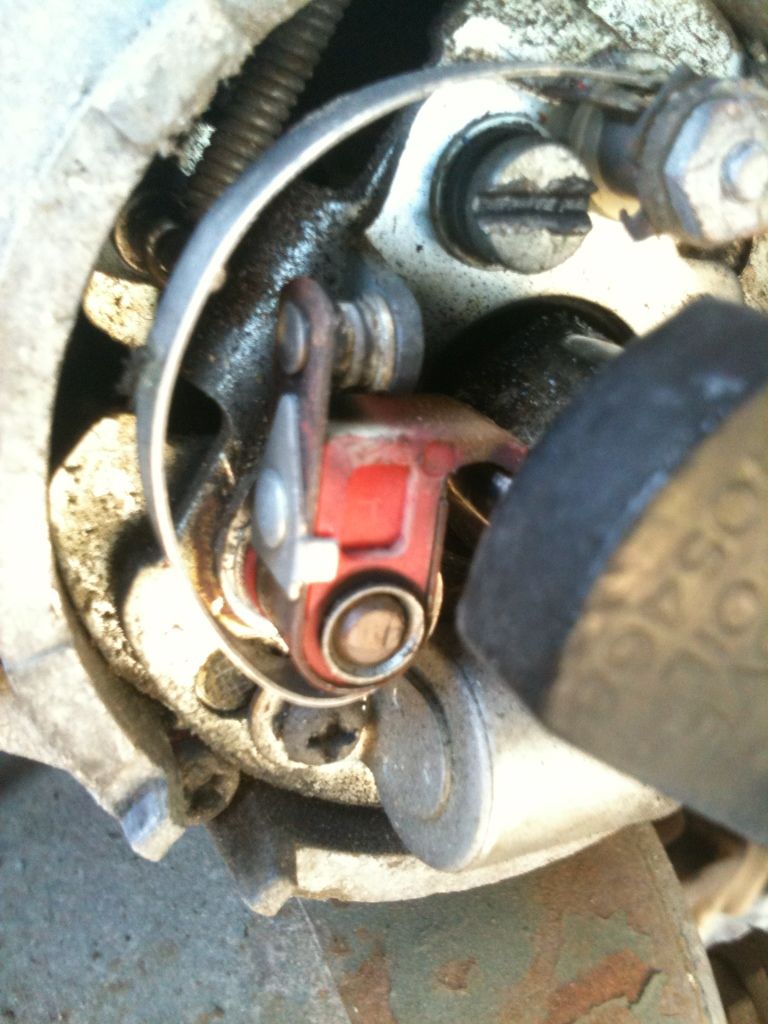
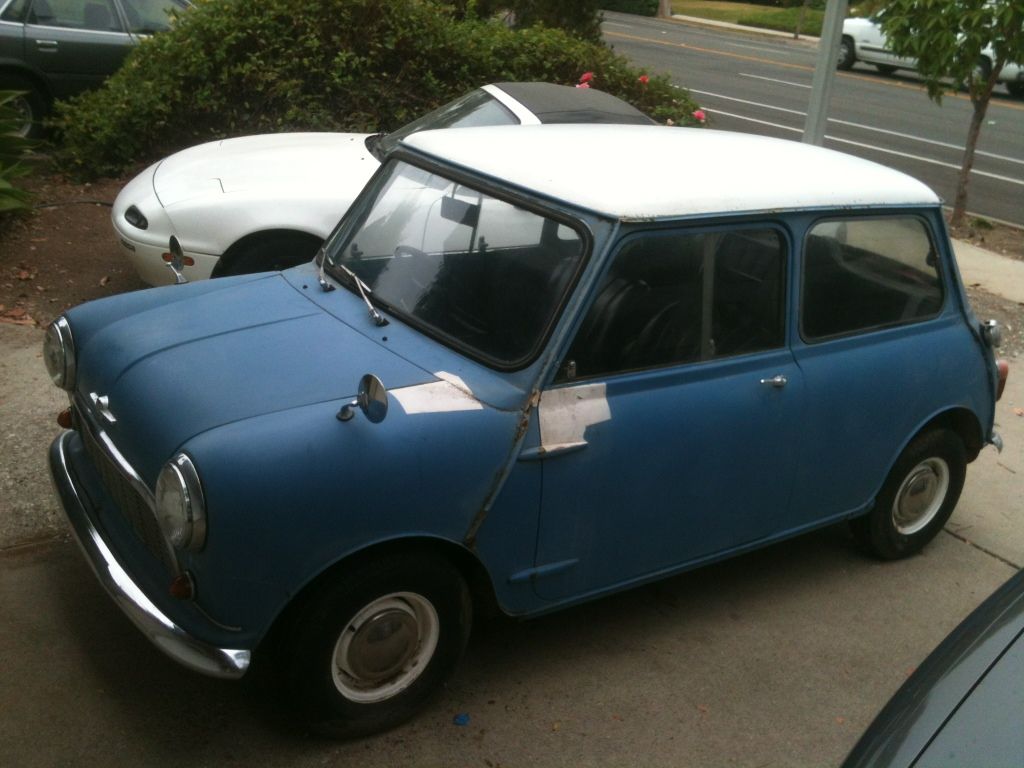
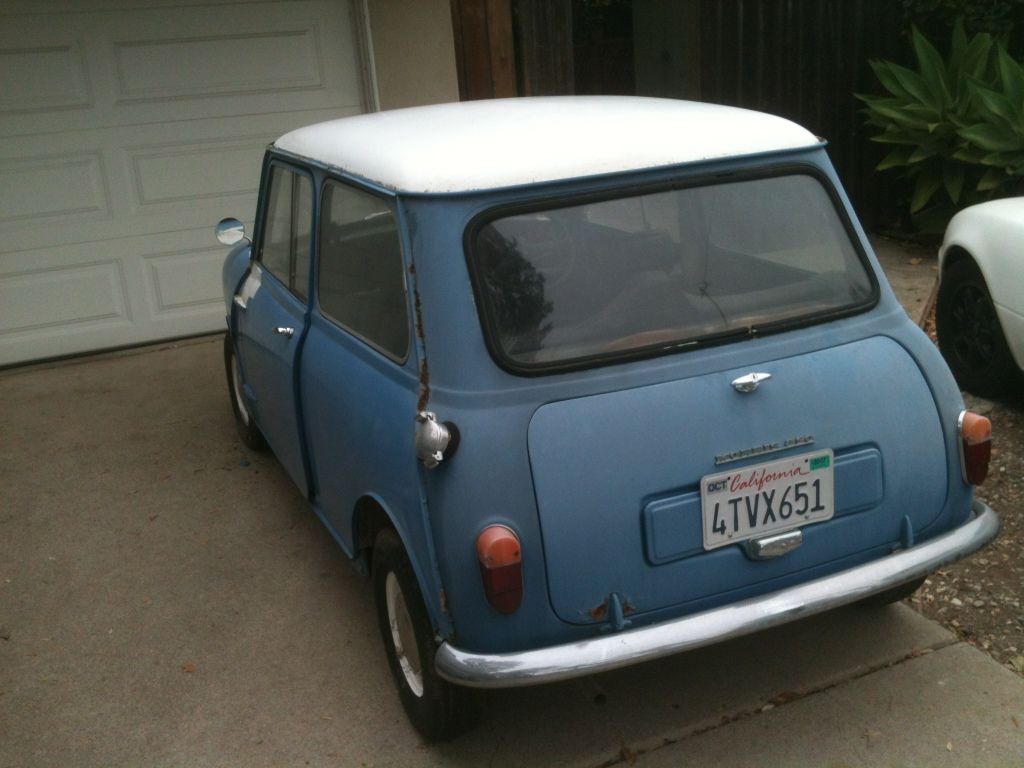
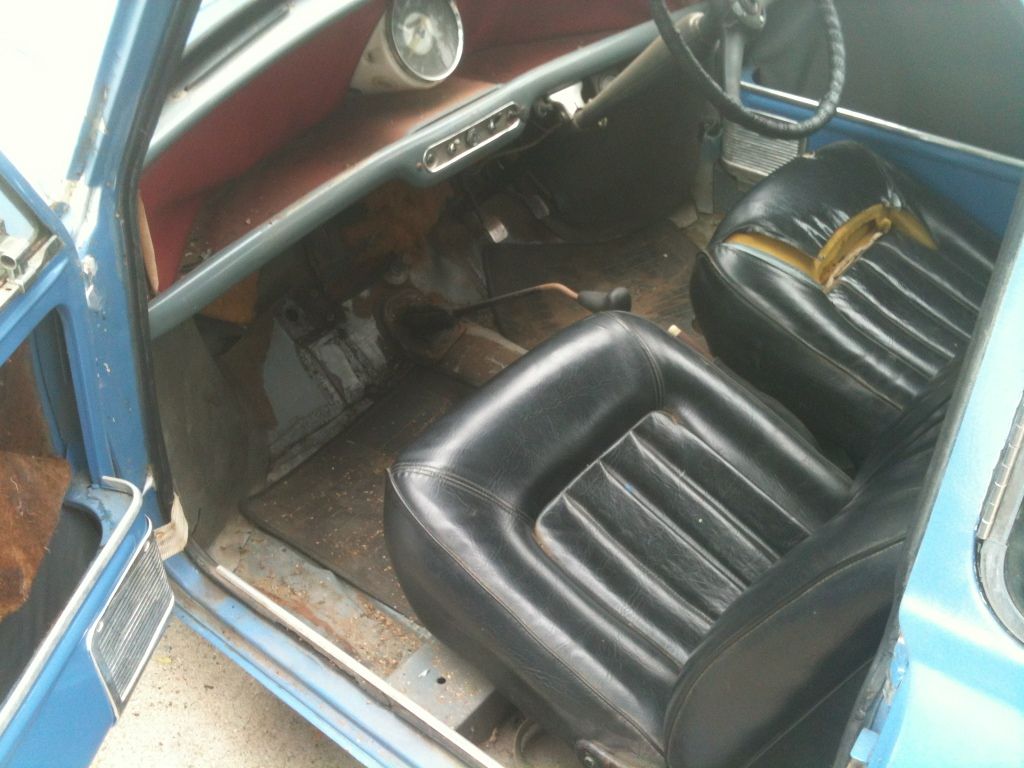
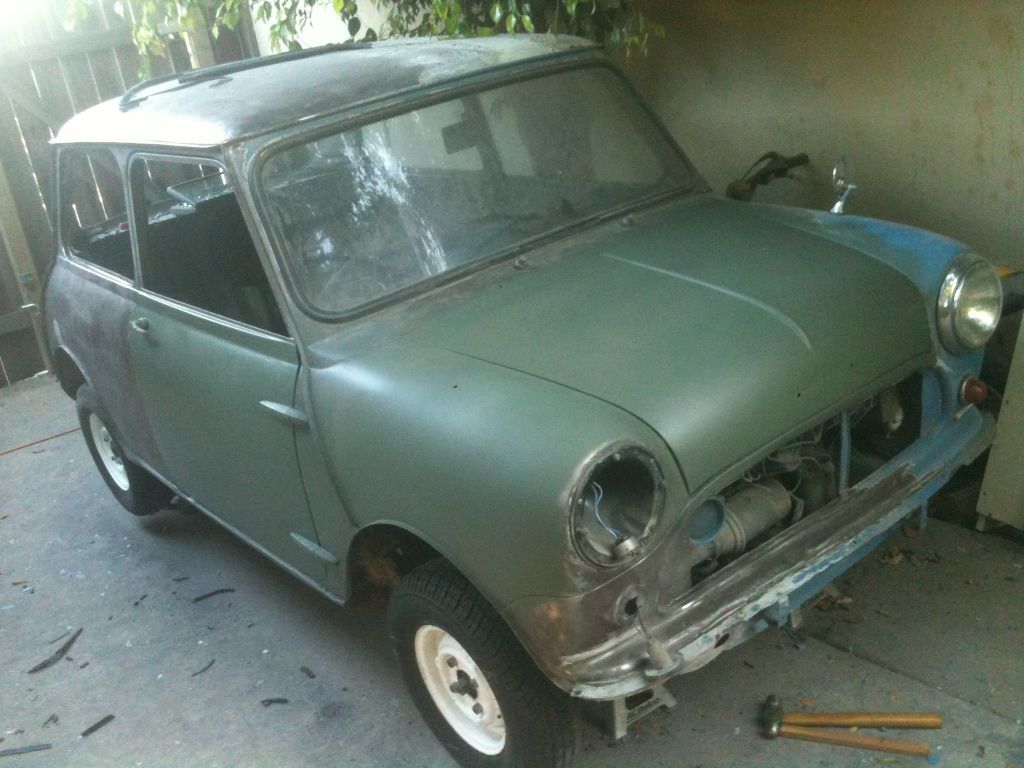
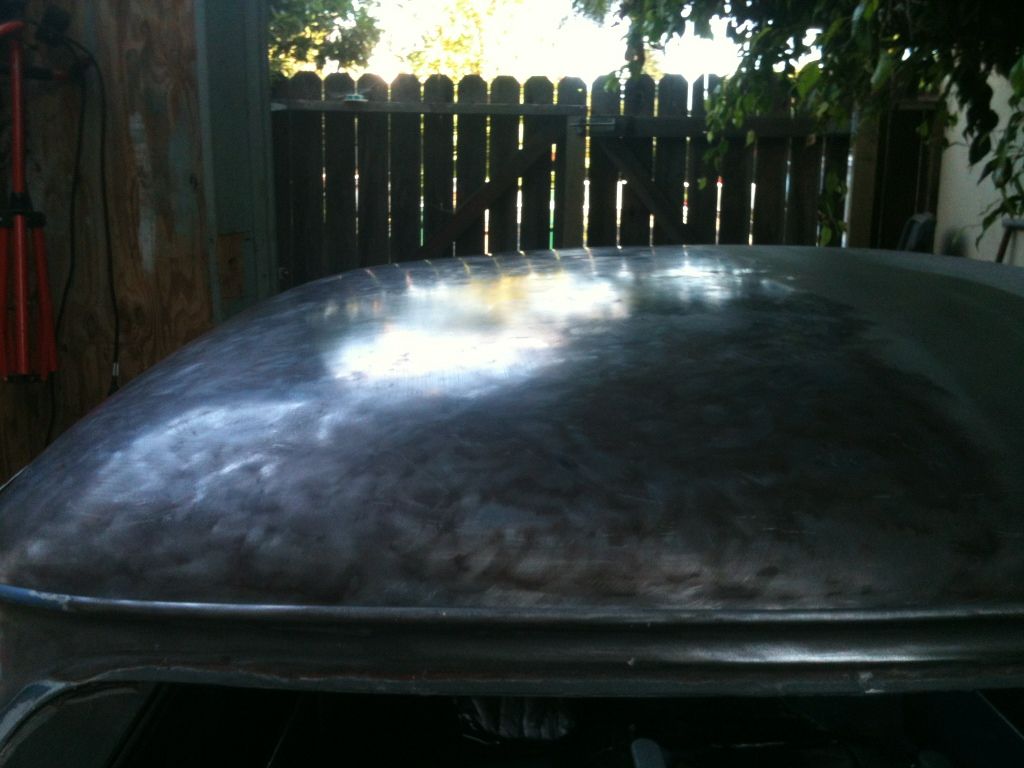
I realized it most likely just needed a new set of points so I grabbed a set from moss motors which happens to be local for me and drove the car off his driveway the same day. Here’s how the car stood when I first got it and after cleaning the 6 years of grime off, it became pretty obvious that the respray was pretty low quality and there was no point in trying to save any of the paint so I decided I would have to take it back to bare metal. The original colour according to the VIN was slate grey which can still be seen on the dash and under the carpets; this is what I plan to respray in.

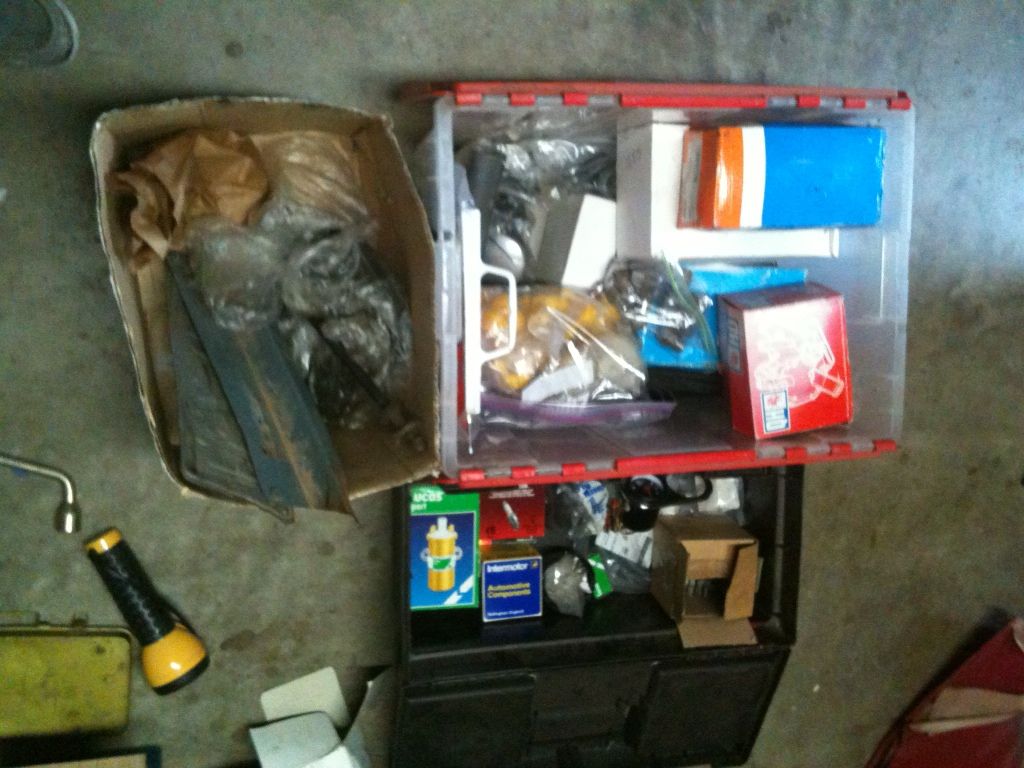
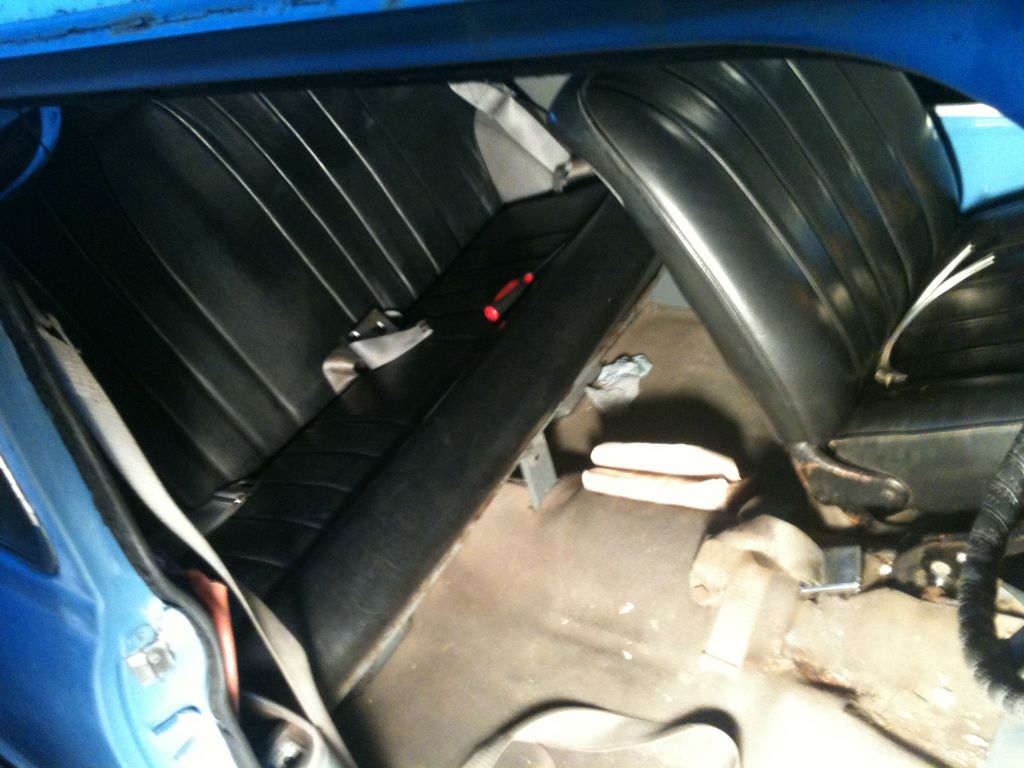
The passenger and back seats were taken up with these boxes of parts which have been very helpful in keeping the cost down as I am on a student’s budget.
I then moved the mini to little space between my shed and house so I could get to work on it.

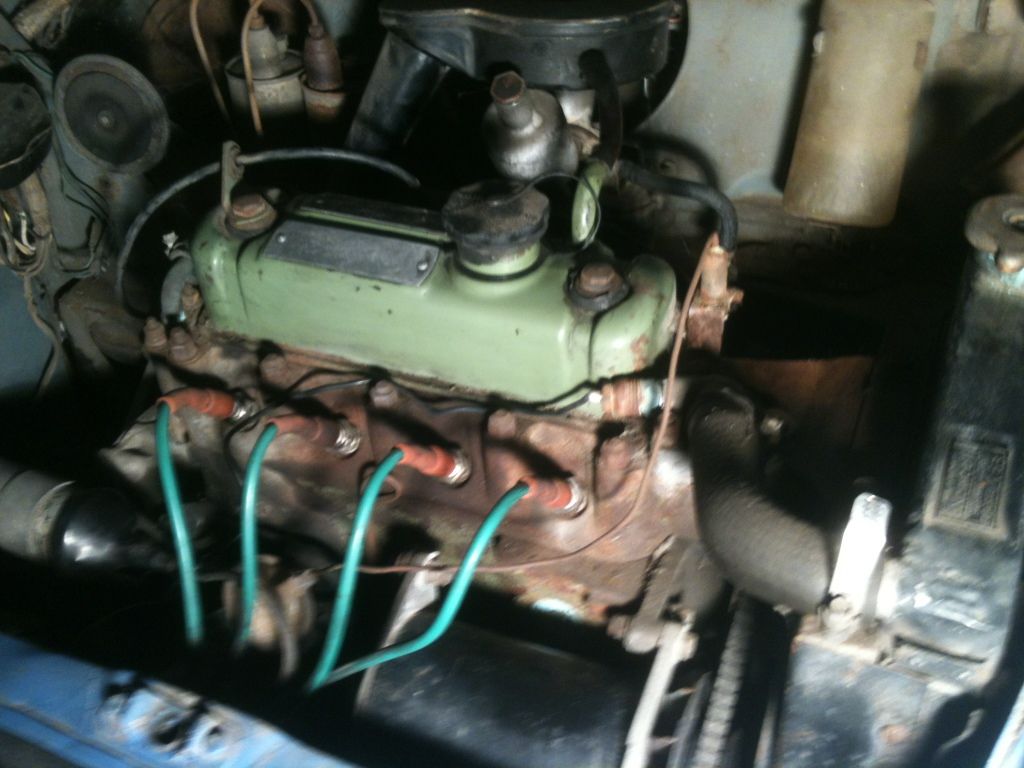
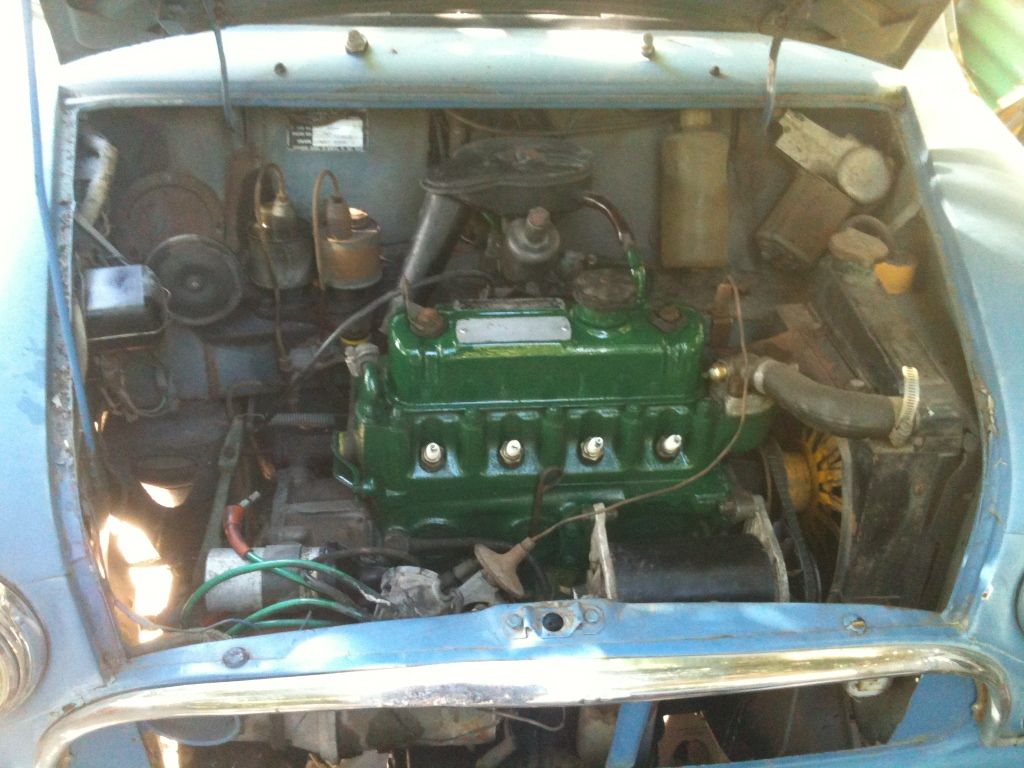
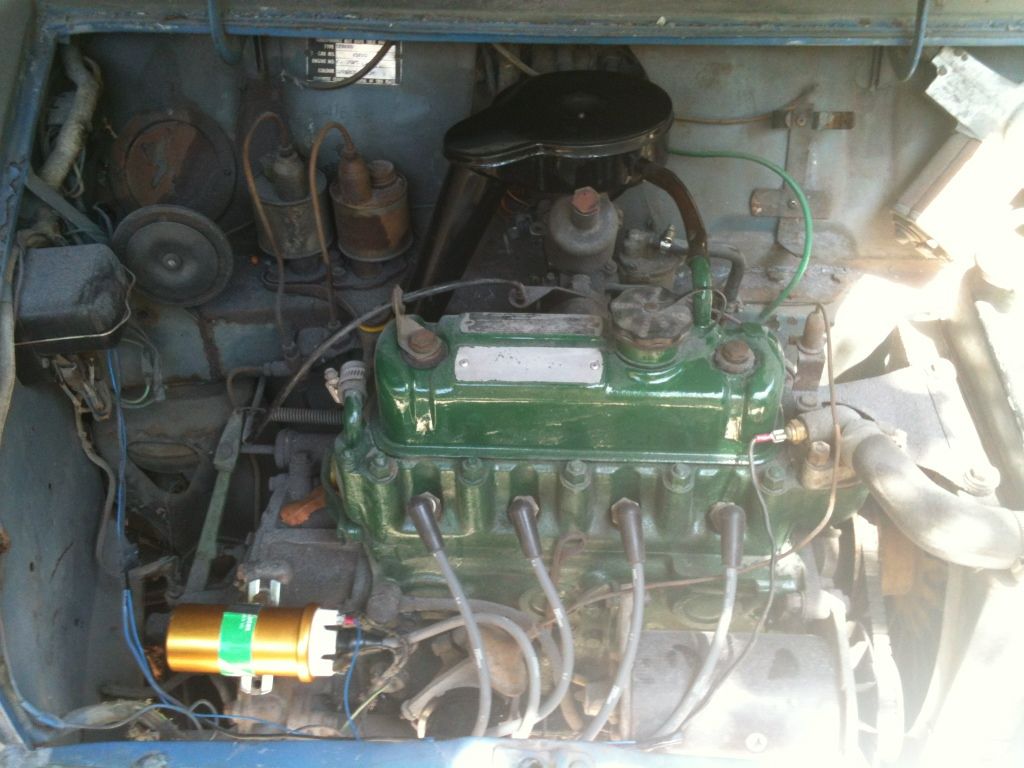
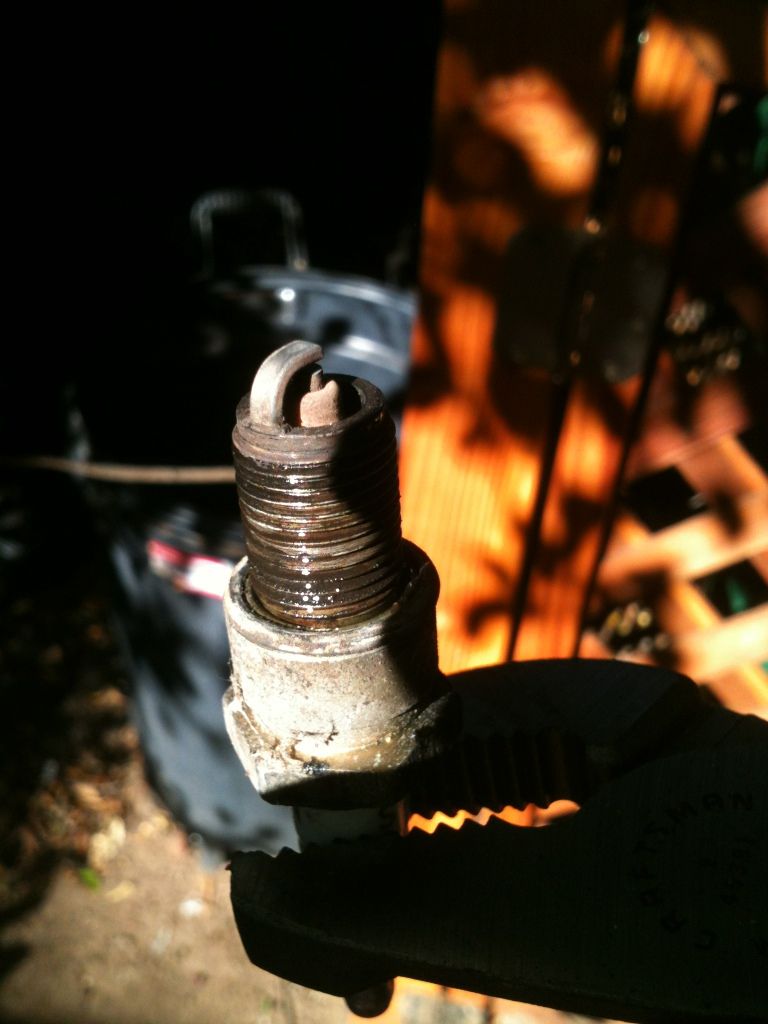
I started with the engine as I wanted to get it running right before I went any further so I removed and cleaned the internals of the carb, and figured out that the started problem was that the jet had varnished to the carb so pulling the choke did nothing but increase the throttle slightly. After fixing that it started up and ran quite nicely (having never heard a mini in person I can only assume this is running nicely haha). I put a new dizzy cap, leads, and a coil on then threw some of the completely wrong kind of paint on haha, this will be changed as soon as I pull the engine.
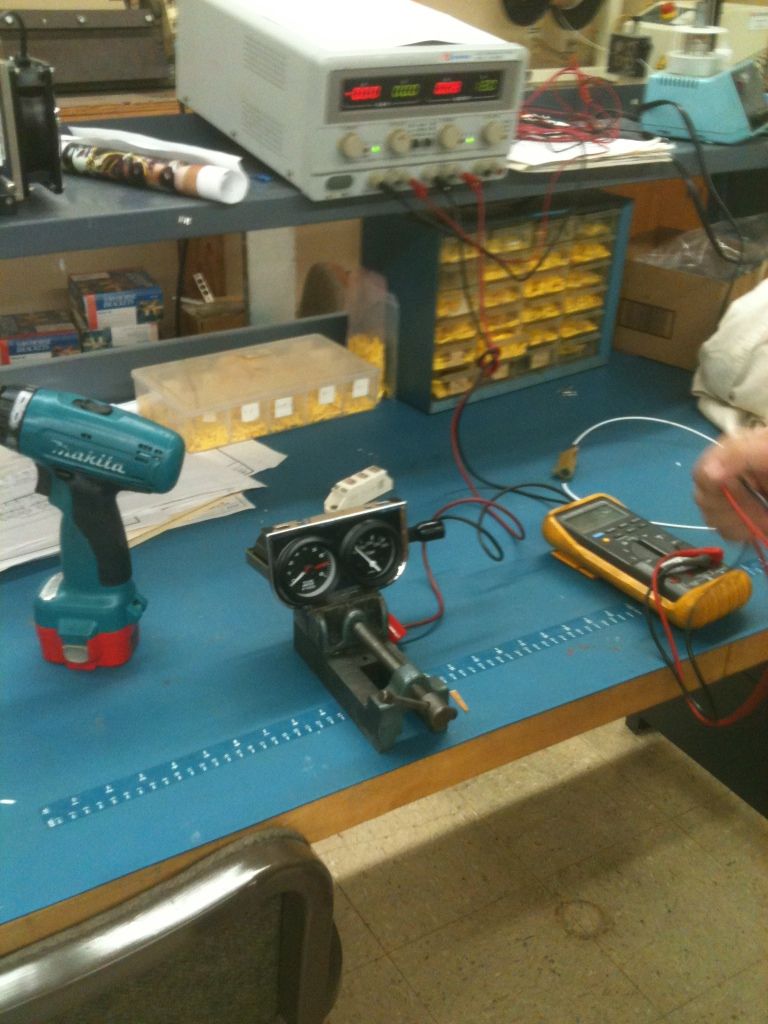
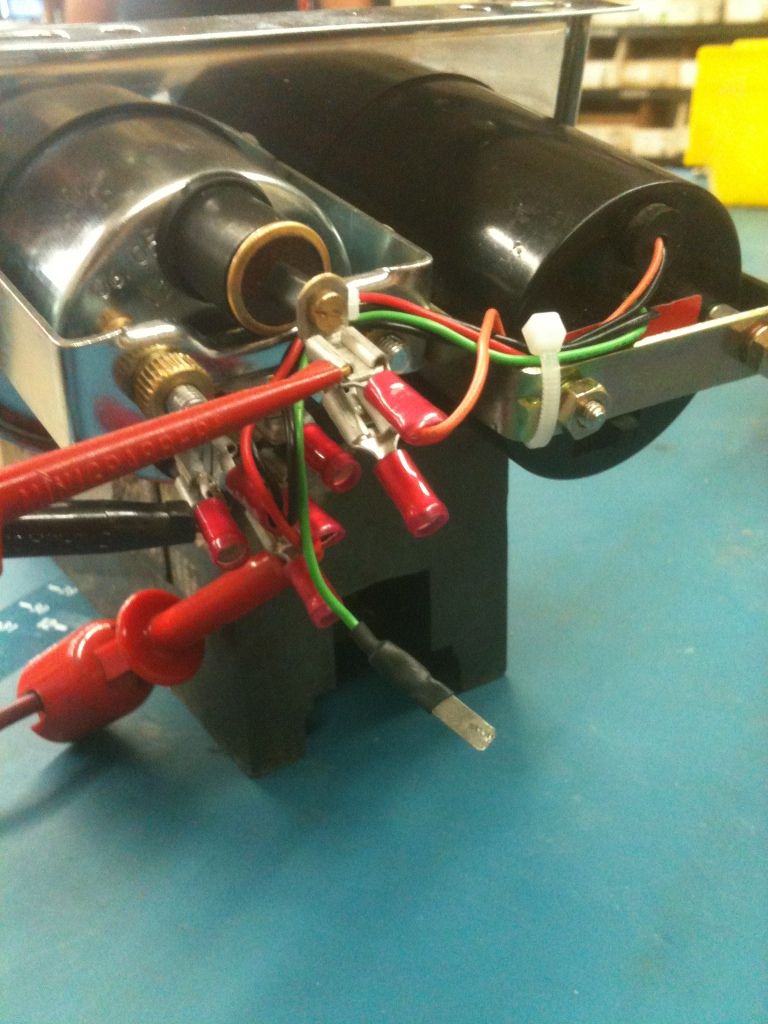
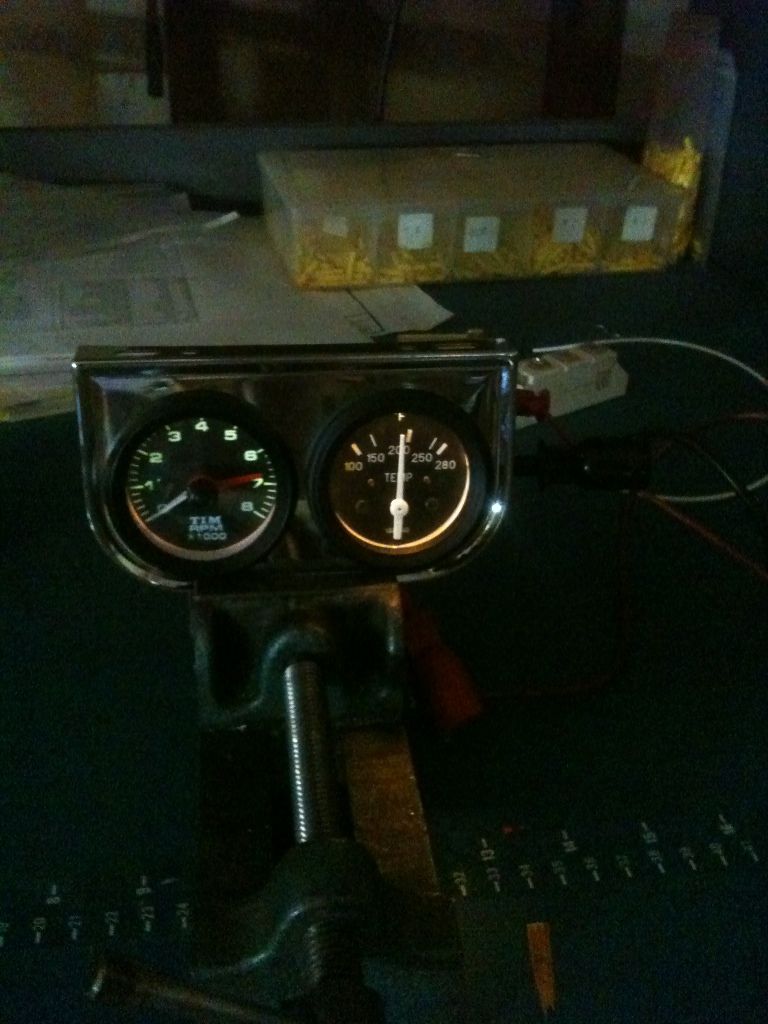
Then I wanted to add the tach and temp gauge that came in my box of spares, but I didn’t want to alter the iconic single gauge. So at work I wired them up so that a few simple connectors could be pulled and the cluster could be removed or installed in a couple minutes.
Here’s a video of it hooked up and starting you can hear my fuel pump which Im pretty sure is on its last legs.
http://s715.beta.pho...3ED7AF.mp4.html
With the engine running nicely I moved onto the brakes, all but one cylinder had seized but luckily they were some replacements in my box of spares. With driving pretty much taken care of I moved to the interior.
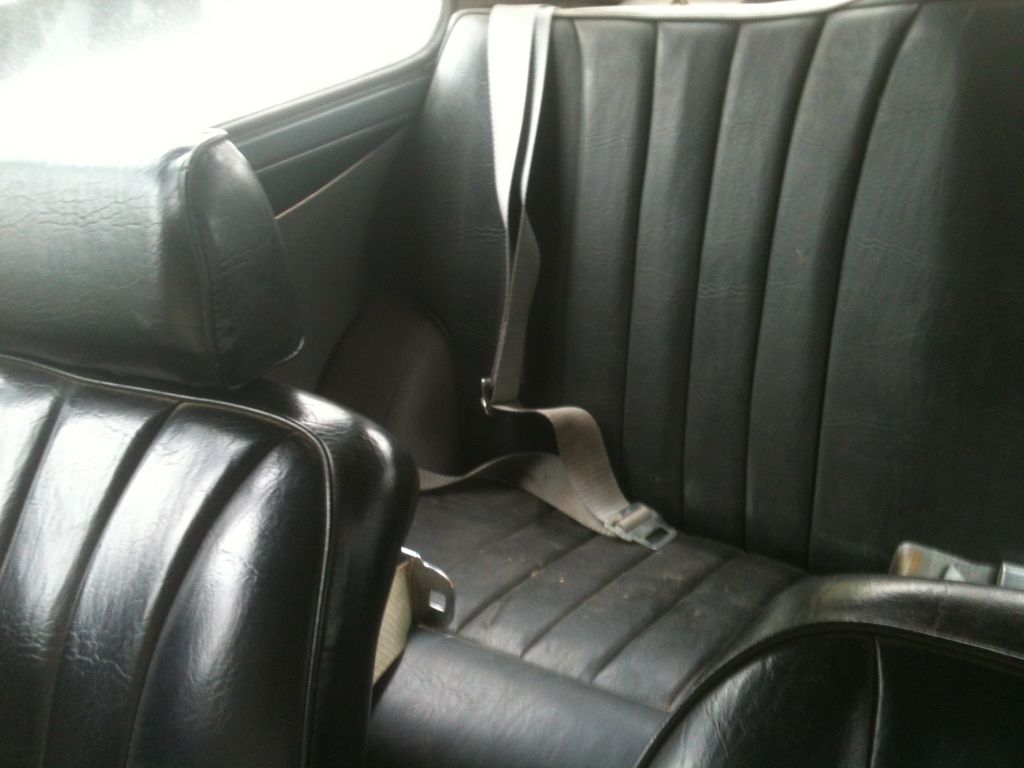
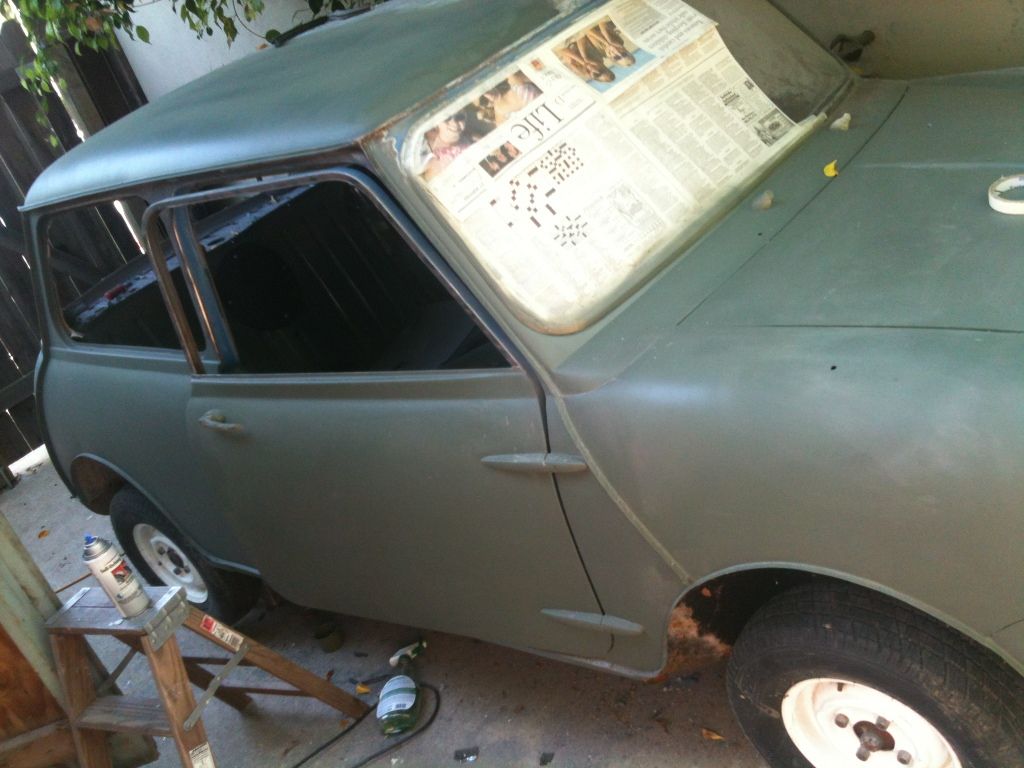
The interior was pretty nasty, the door cards look like they used to be red but were painted over, the dash liner was red but beyond help, and whatever was on the floor, some sort of vinyl material was too disgusting and torn to do anything with so it is all coming out eventually. I plan on a gray carpet I got from minispares, the black seats that were in it (no idea if they are original or not) and black door cards and dash lining. The original whitish headliner will stay for now.
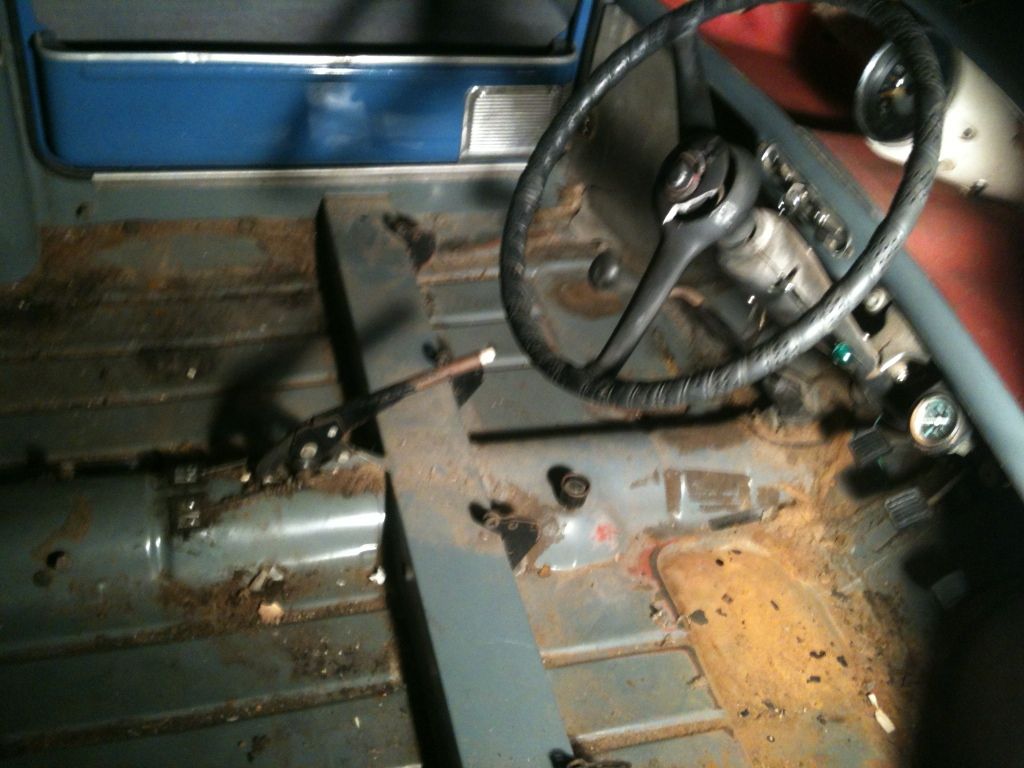
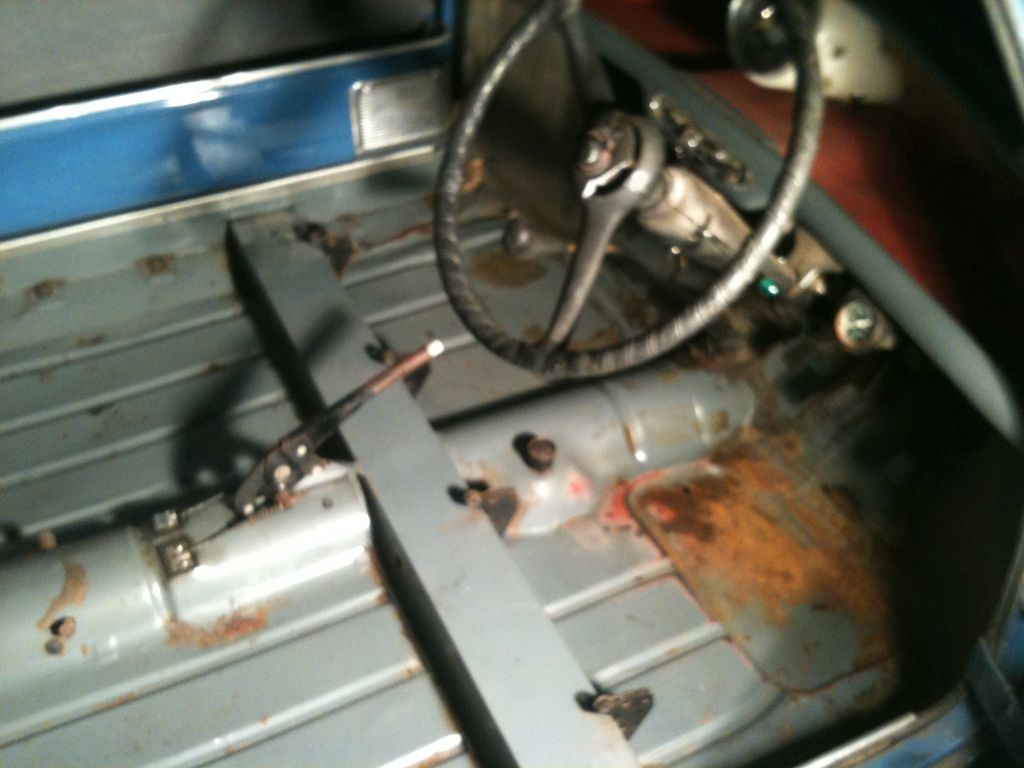
After removing the seats there was really only one logical way to move the car around.

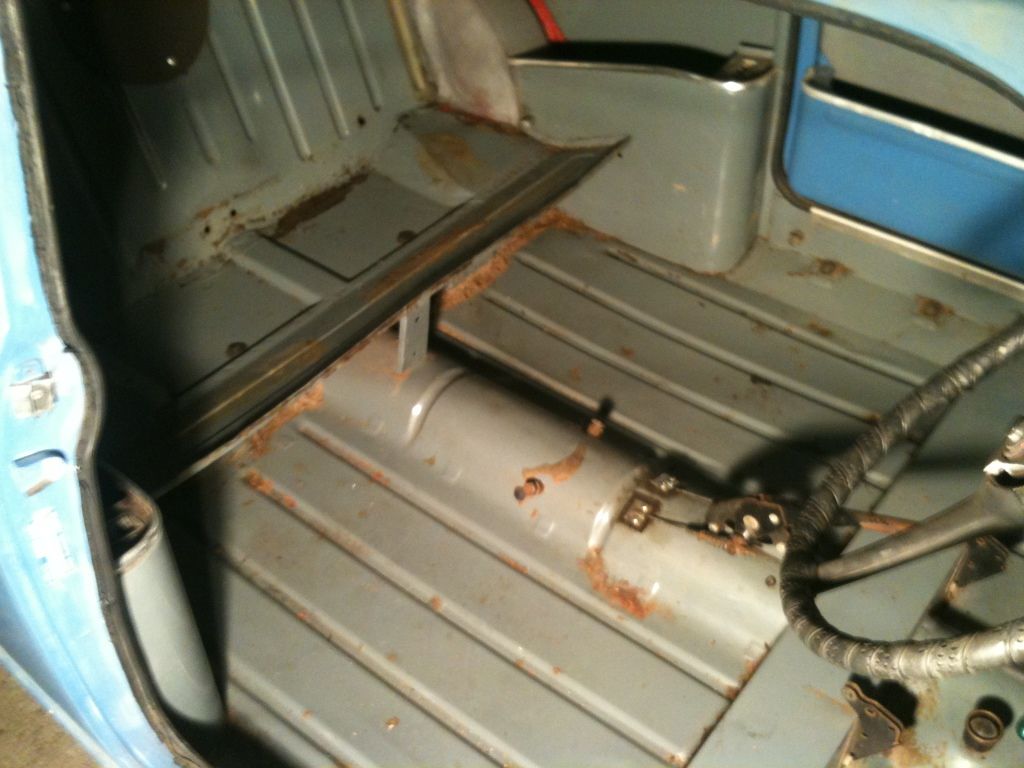
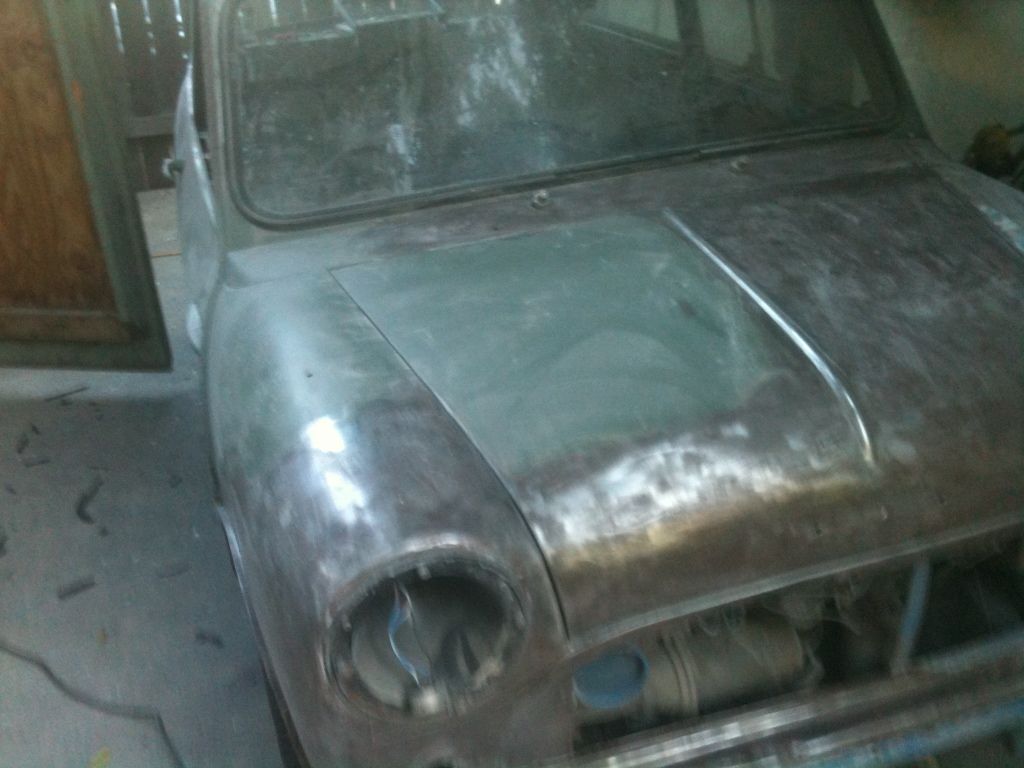
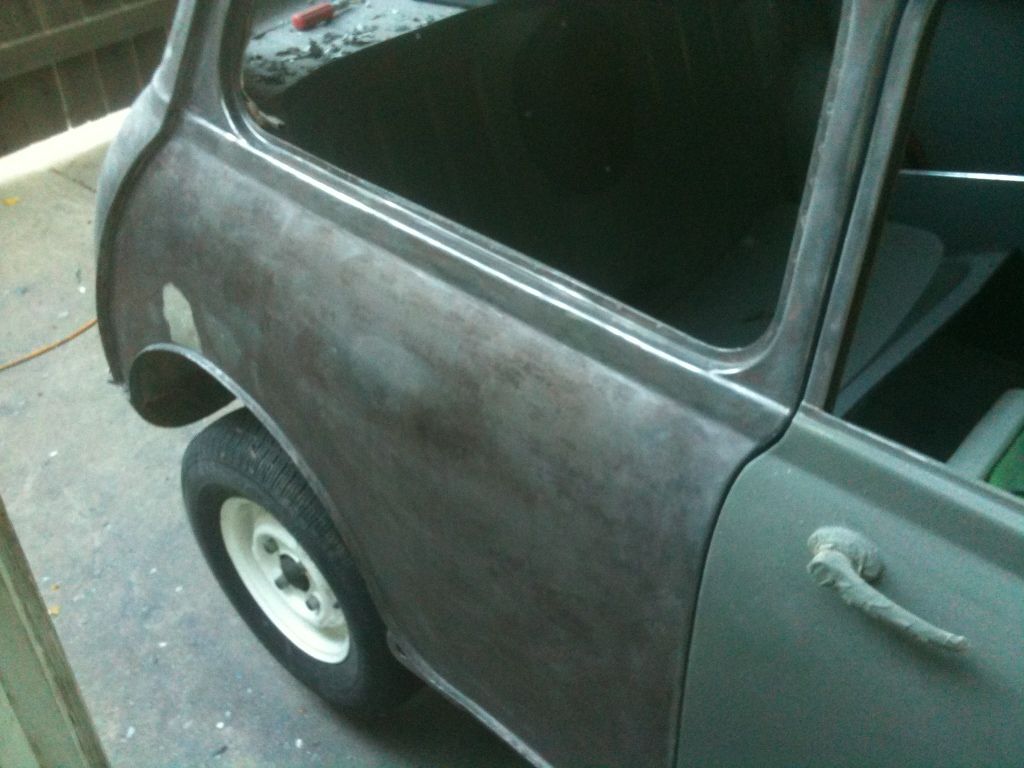
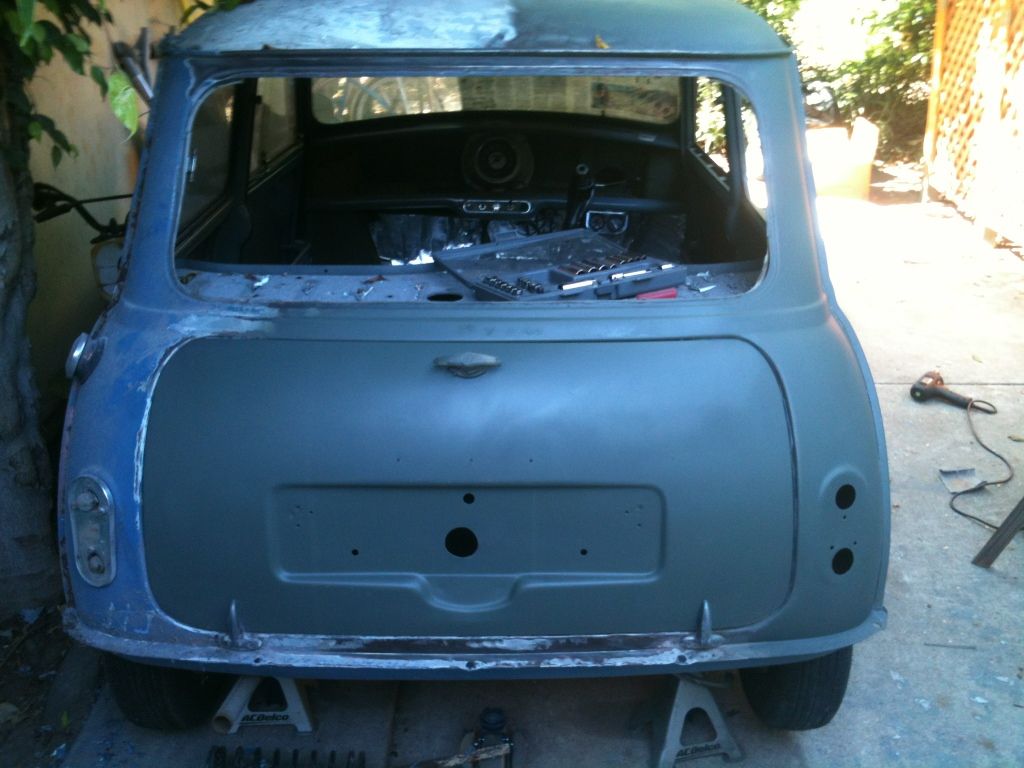
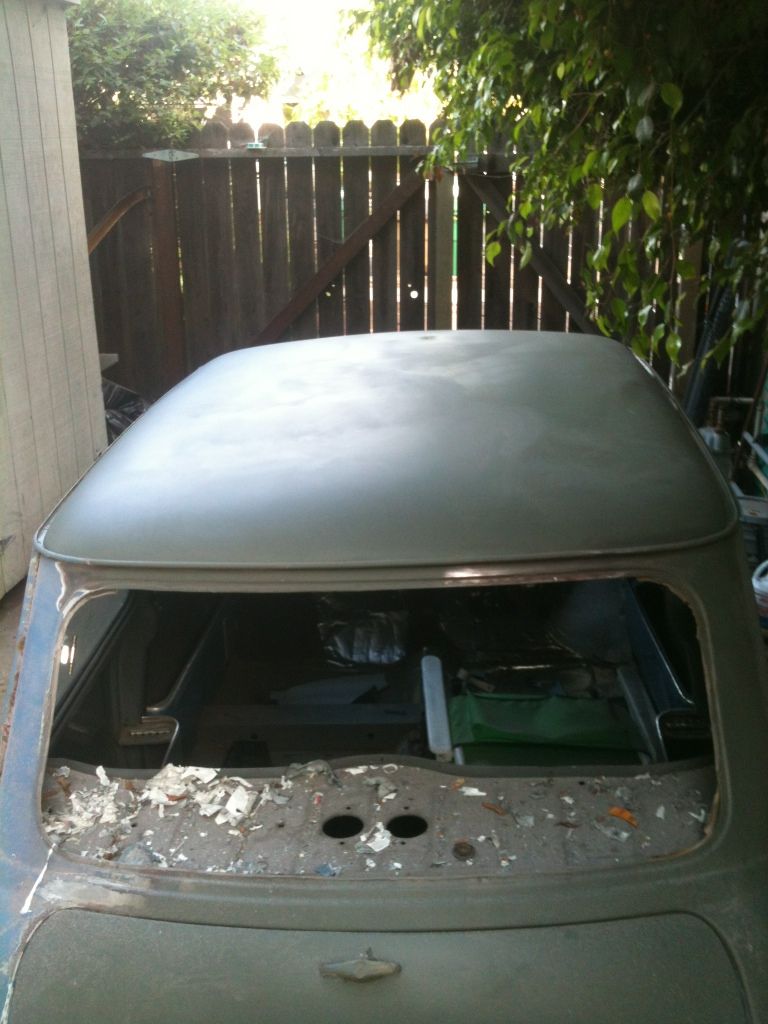
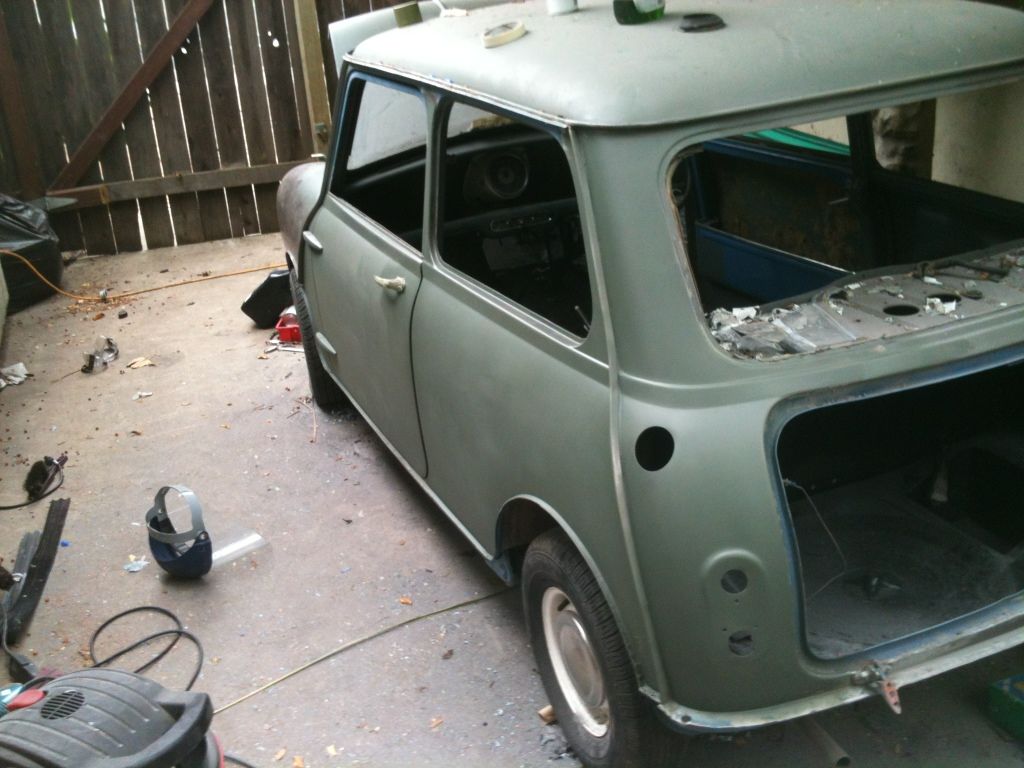
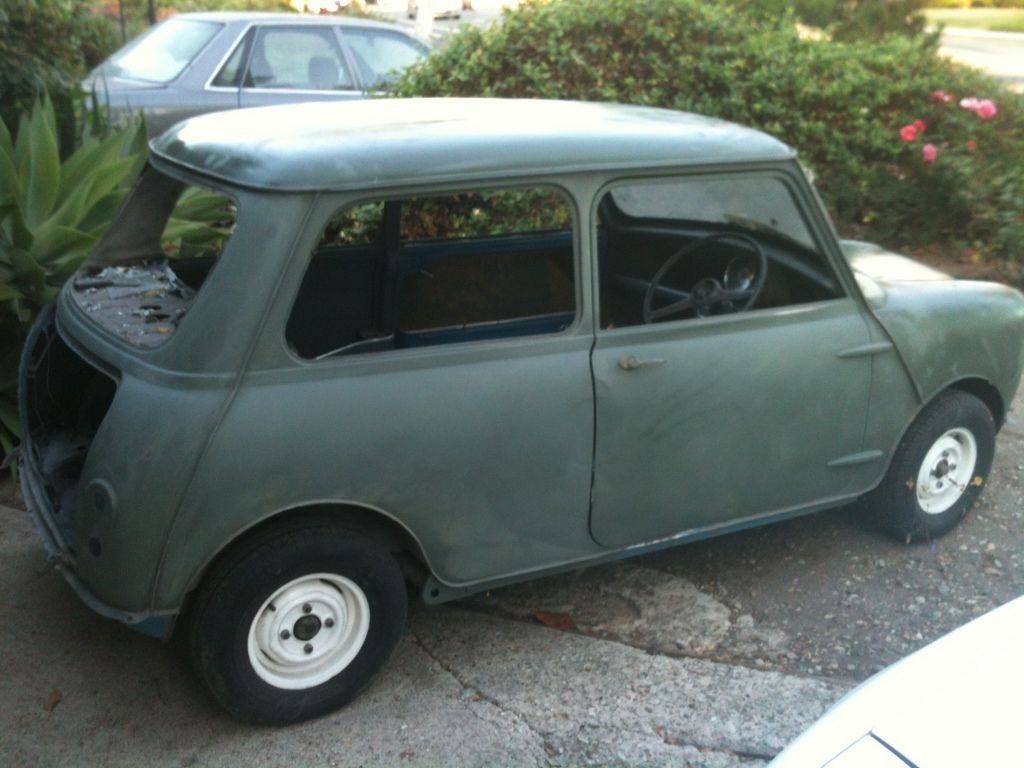
Then I started on the body work, it is in really nice shape and definitely makes me appreciate the climate in California after seeing the rust many of you have to put up with. The only areas of rot are the seams, and in the skin of the trunk because the rear window seal allowed rain water to build up there. To strip the paint I used a mix of coarse wire wheels on my angle grinder, and aircraft brand stripper which I found out the hard way will even melt some of the cheaper rubber gloves. I used an etching primer as I went because I didn’t want any rust forming between the days I was able to work on the car.
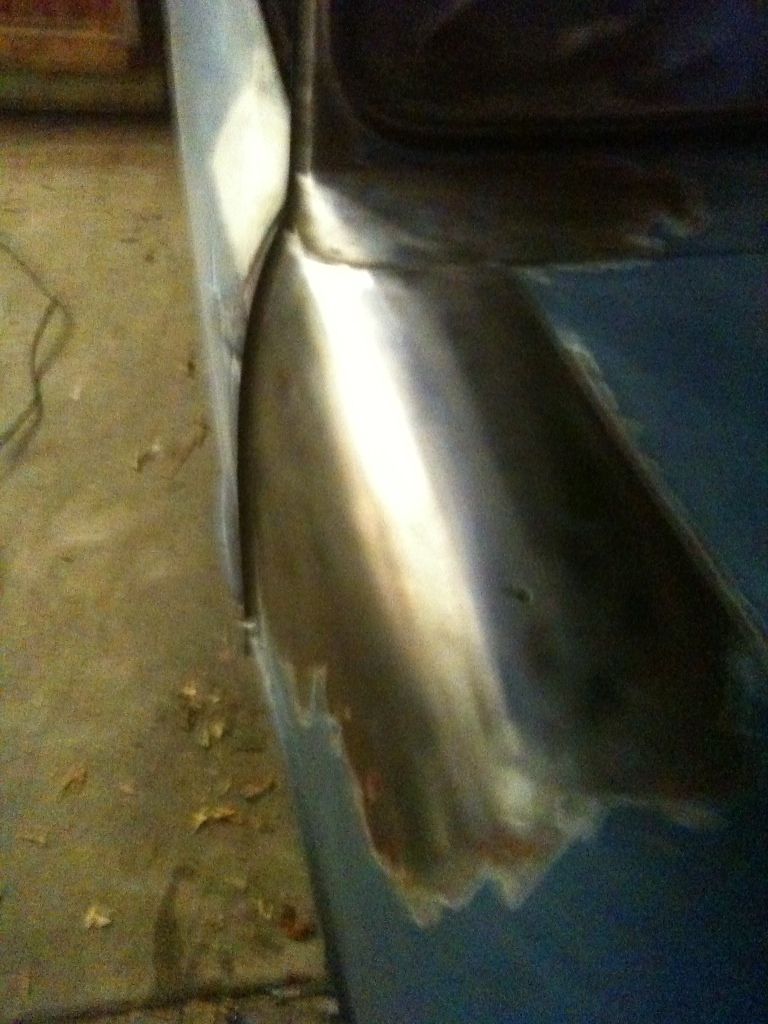

Here you can see the worst of the rust repaired, I had to cut out two pieces on either side of the left hinge and weld some new metal in, then fill and sand.
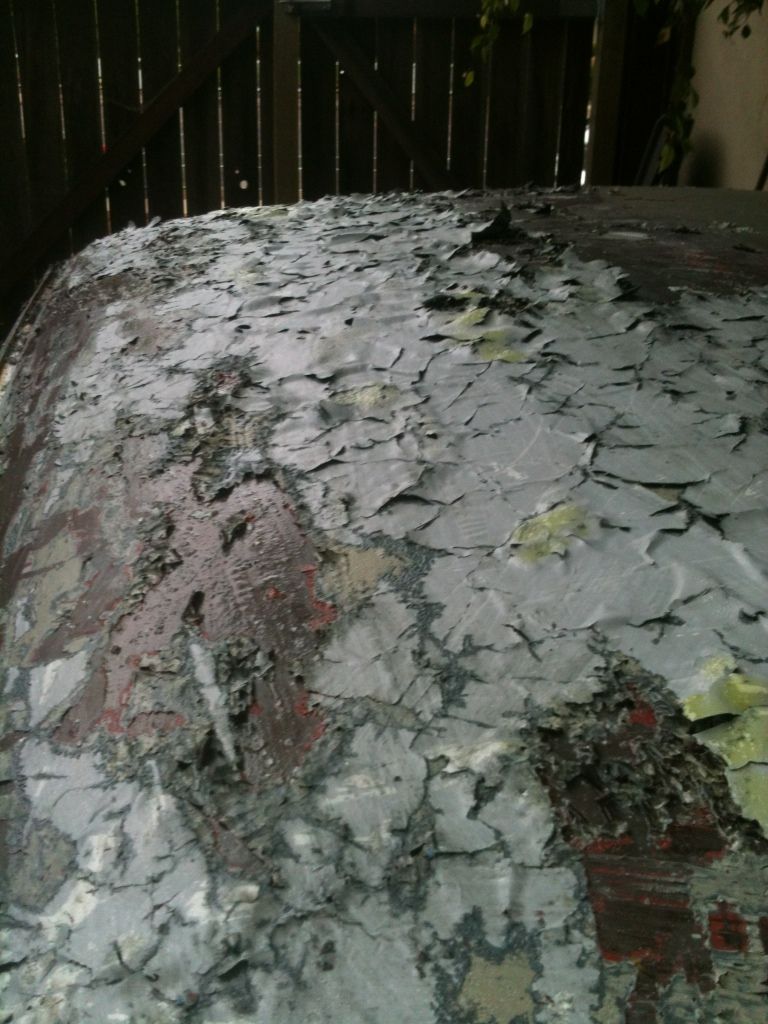
The industrial stripper is pretty awesome stuff, you can see just how thick the paint was.

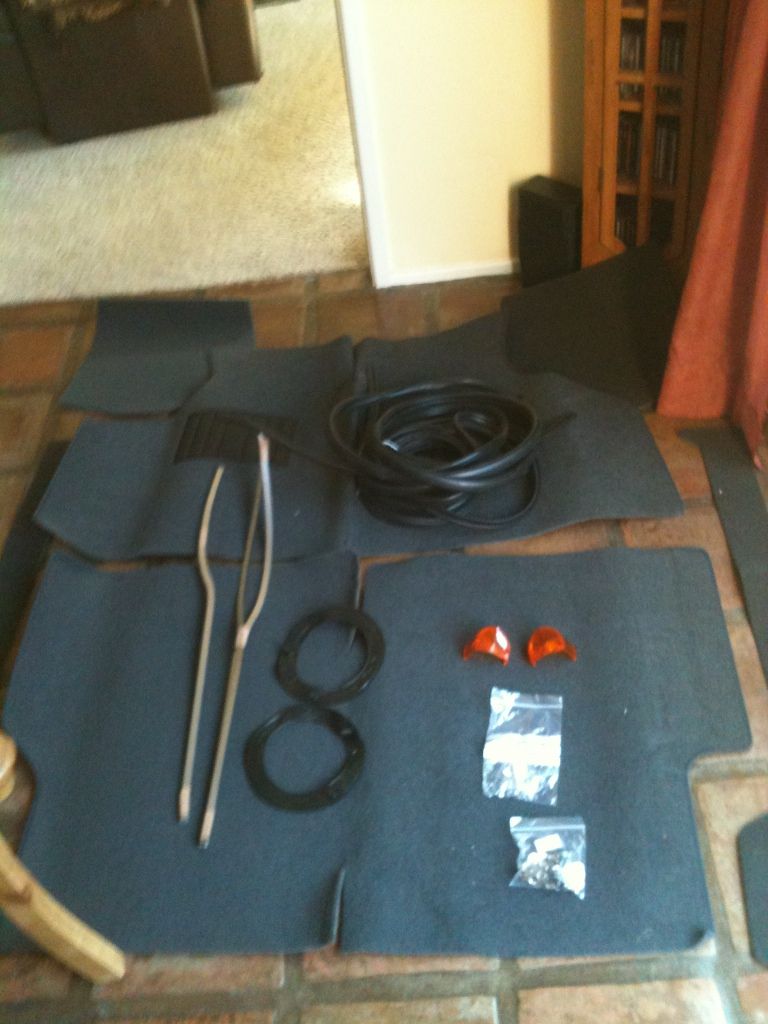
Here are the only parts Ive had to order so far, and apart from an interior light and the fairly elusive/expensive morris horn push, I think this should see me through to completion.
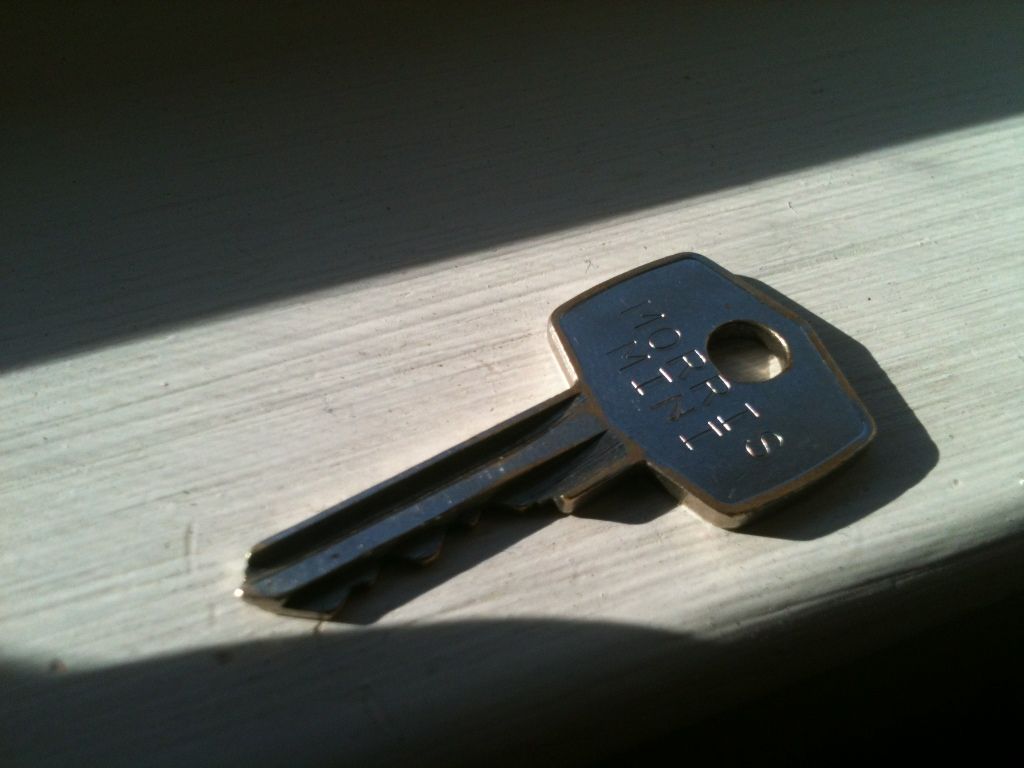
I also have few fun bits that I couldn’t help but get/make like stamping the key on a machine at work
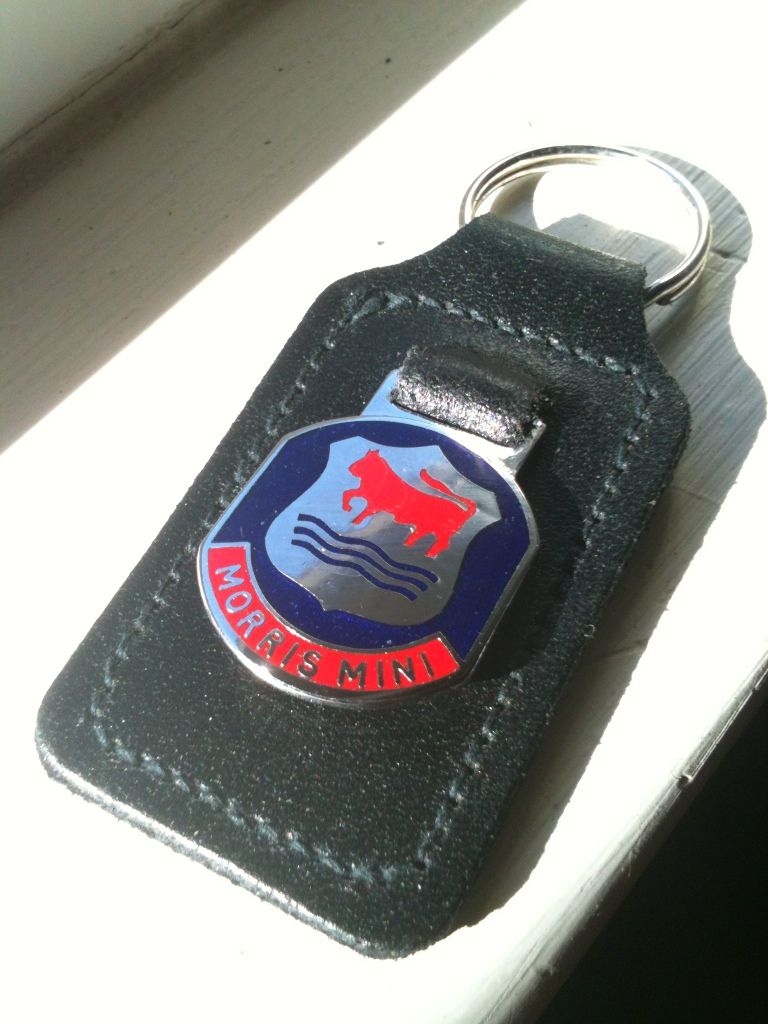
And getting a nice keyfob
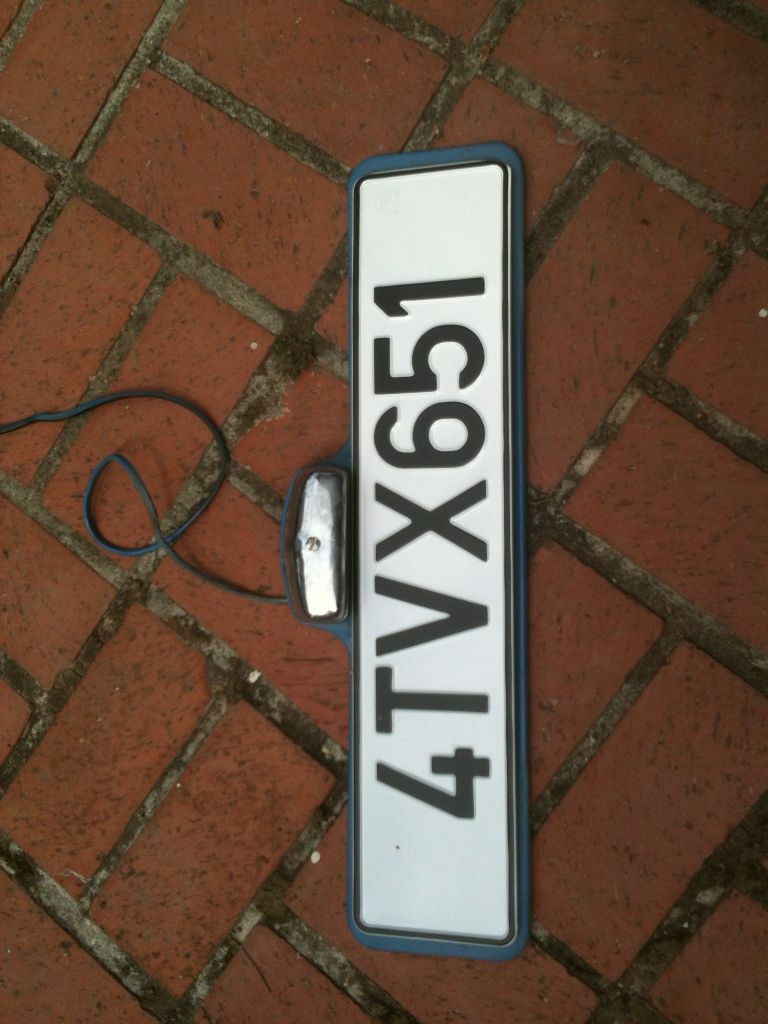
And finally I couldn’t bring myself to put the California plates back on a holder that is so obviously not made for them so a sketchy german company on ebay stamped my number onto some euro plates. Im sure its quite illegal but hopefully if I put my registration on these the cop will understand.
I do have a couple questions some of you experts may be able to answer. First of what would have been the stock mirror style and placement? I have two sets of these fairly nice wing mirrors so I will most likely keep them but it would still be interesting to know what the original would have been. And also would this have come with seat belts? Again I will probably keep the ones that came with car but they have the British leyland logo on them which I believe this mini predates.
Thanks for looking