

 This topic is locked
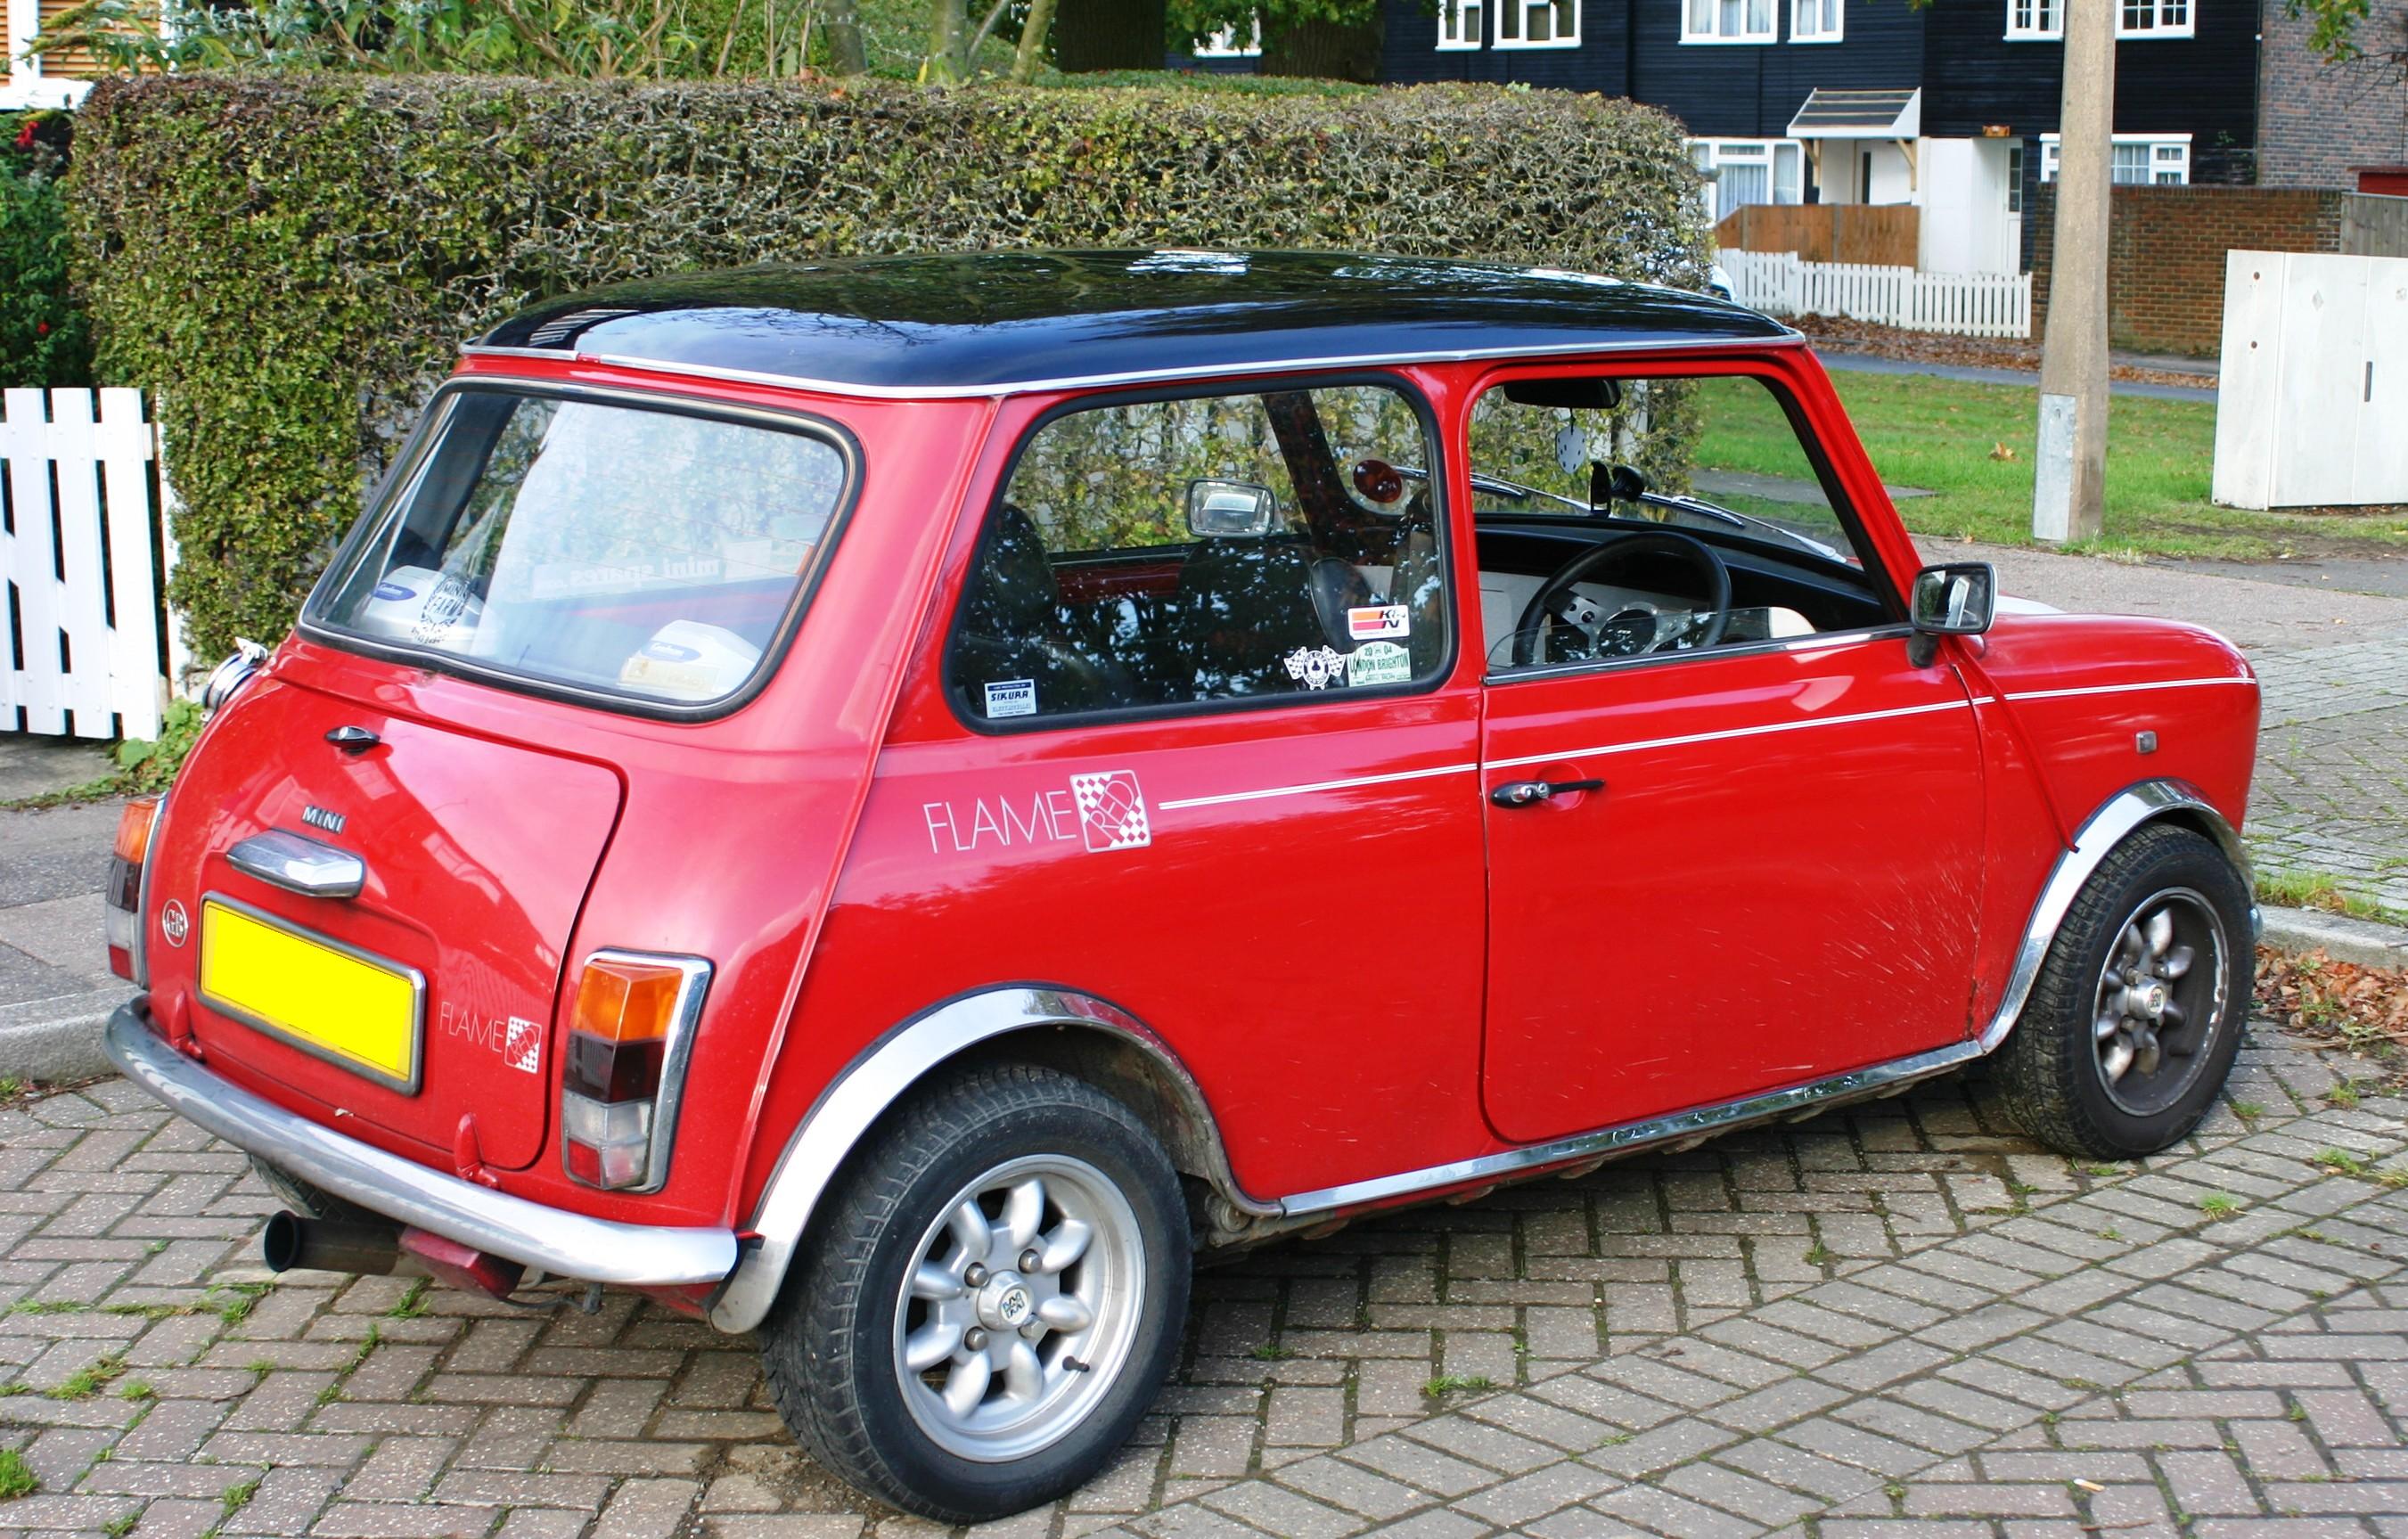
So for the last 5 years I have had sitting in my garage, the lovely Wilma, a mini I tried to give a quick tart up, however being young and foolish at MOT I found out I had missed some very alarming filler work. When I did some digging (with an angle grinder) I found that basically all it was good for to me at the time, would be straining incredibly large portions of vegetables. Since then I have left her to sit after running out of time and maybe buying a new motorbike. Not long after that in 2009 I crashed a different motorbike... badly, thanks to a *bleep bleep bleep* on another bike who cut me up... long story short, I hit a rather large Jag S type and did a lot of damage, I broke my leg in 3 place, fractured my pelvis in two, broke most of my ribs and sustained a head injury. Since learning to walk again, I've been a bit busy but my love for Wilma has always remained.
I have gained a better understanding not just of Minis but of cars in general, I have acquired (most of
 ) the tools I need and have a small bit of monetries saved up. So without further adue... I give you Ladles and Jellyspoons... The full restoration of Wilma.
When I bought her she looked like this:

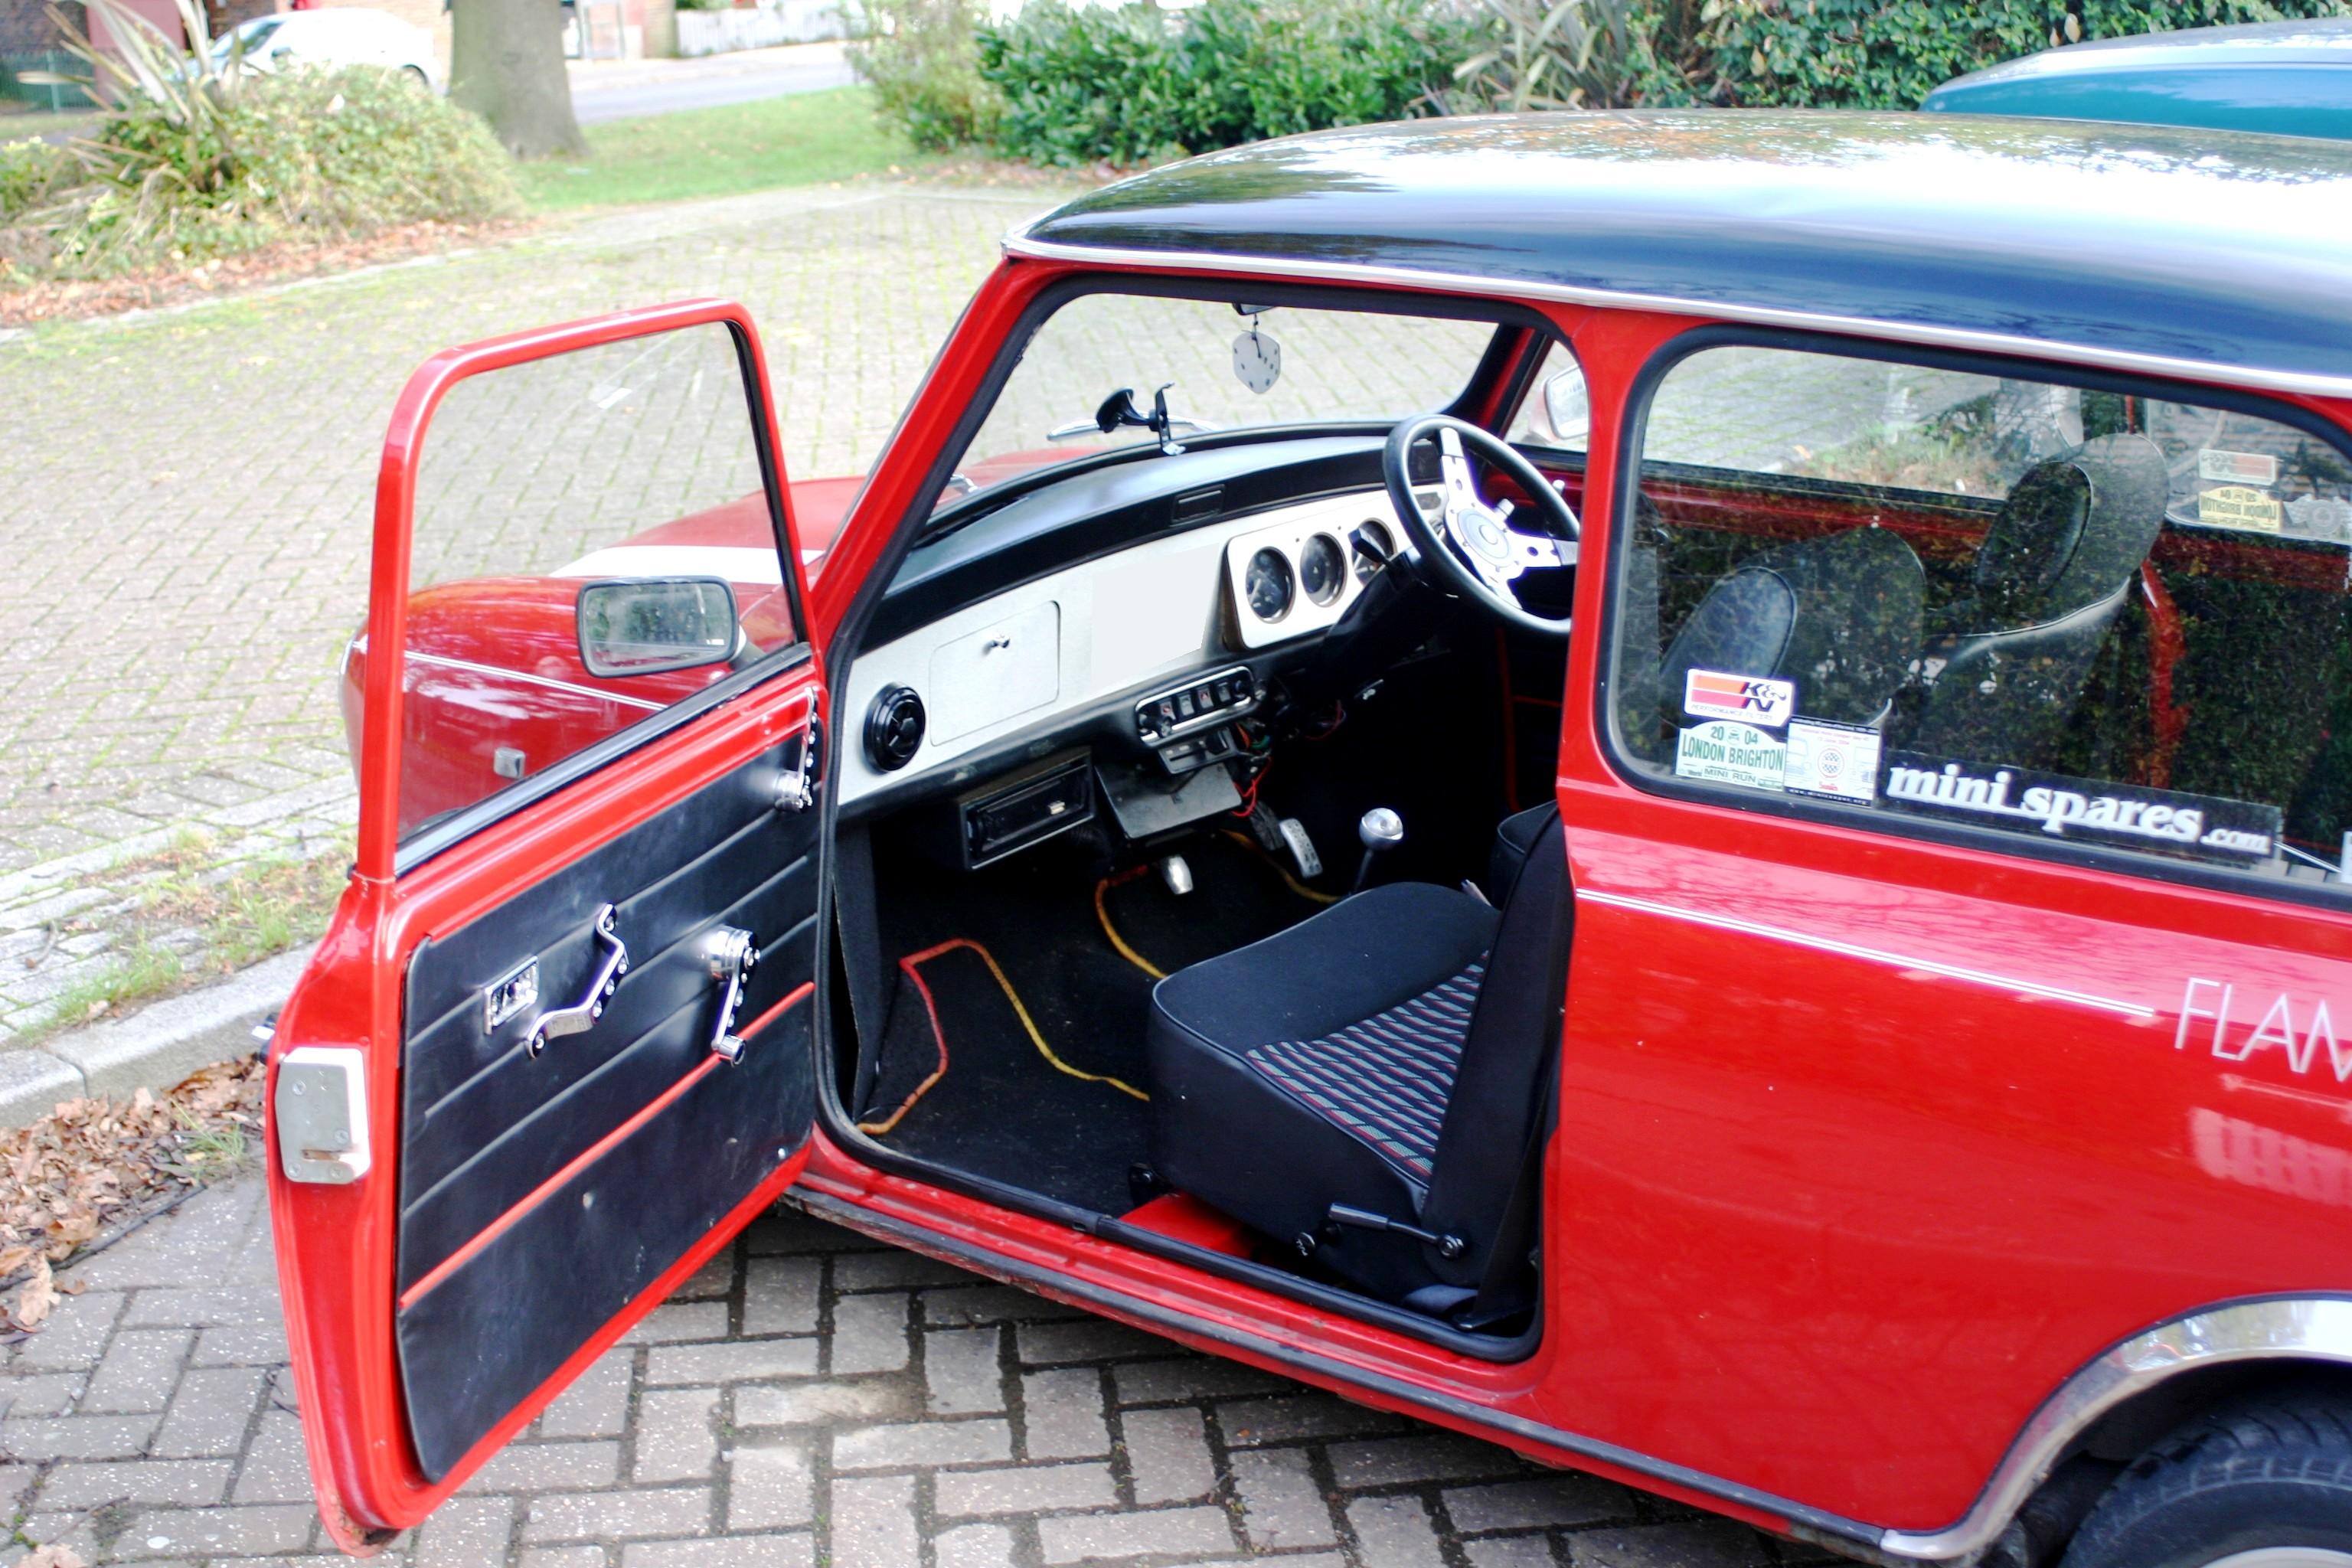
And so yesterday she looked like (apologise for phone pictures) this:
[attachment=141293:IMG_0747.jpg]
[attachment=141294:IMG_0748.jpg]
[attachment=141295:IMG_0815.jpg]
[attachment=141296:IMG_0802.jpg]
[attachment=141297:IMG_0804.jpg]
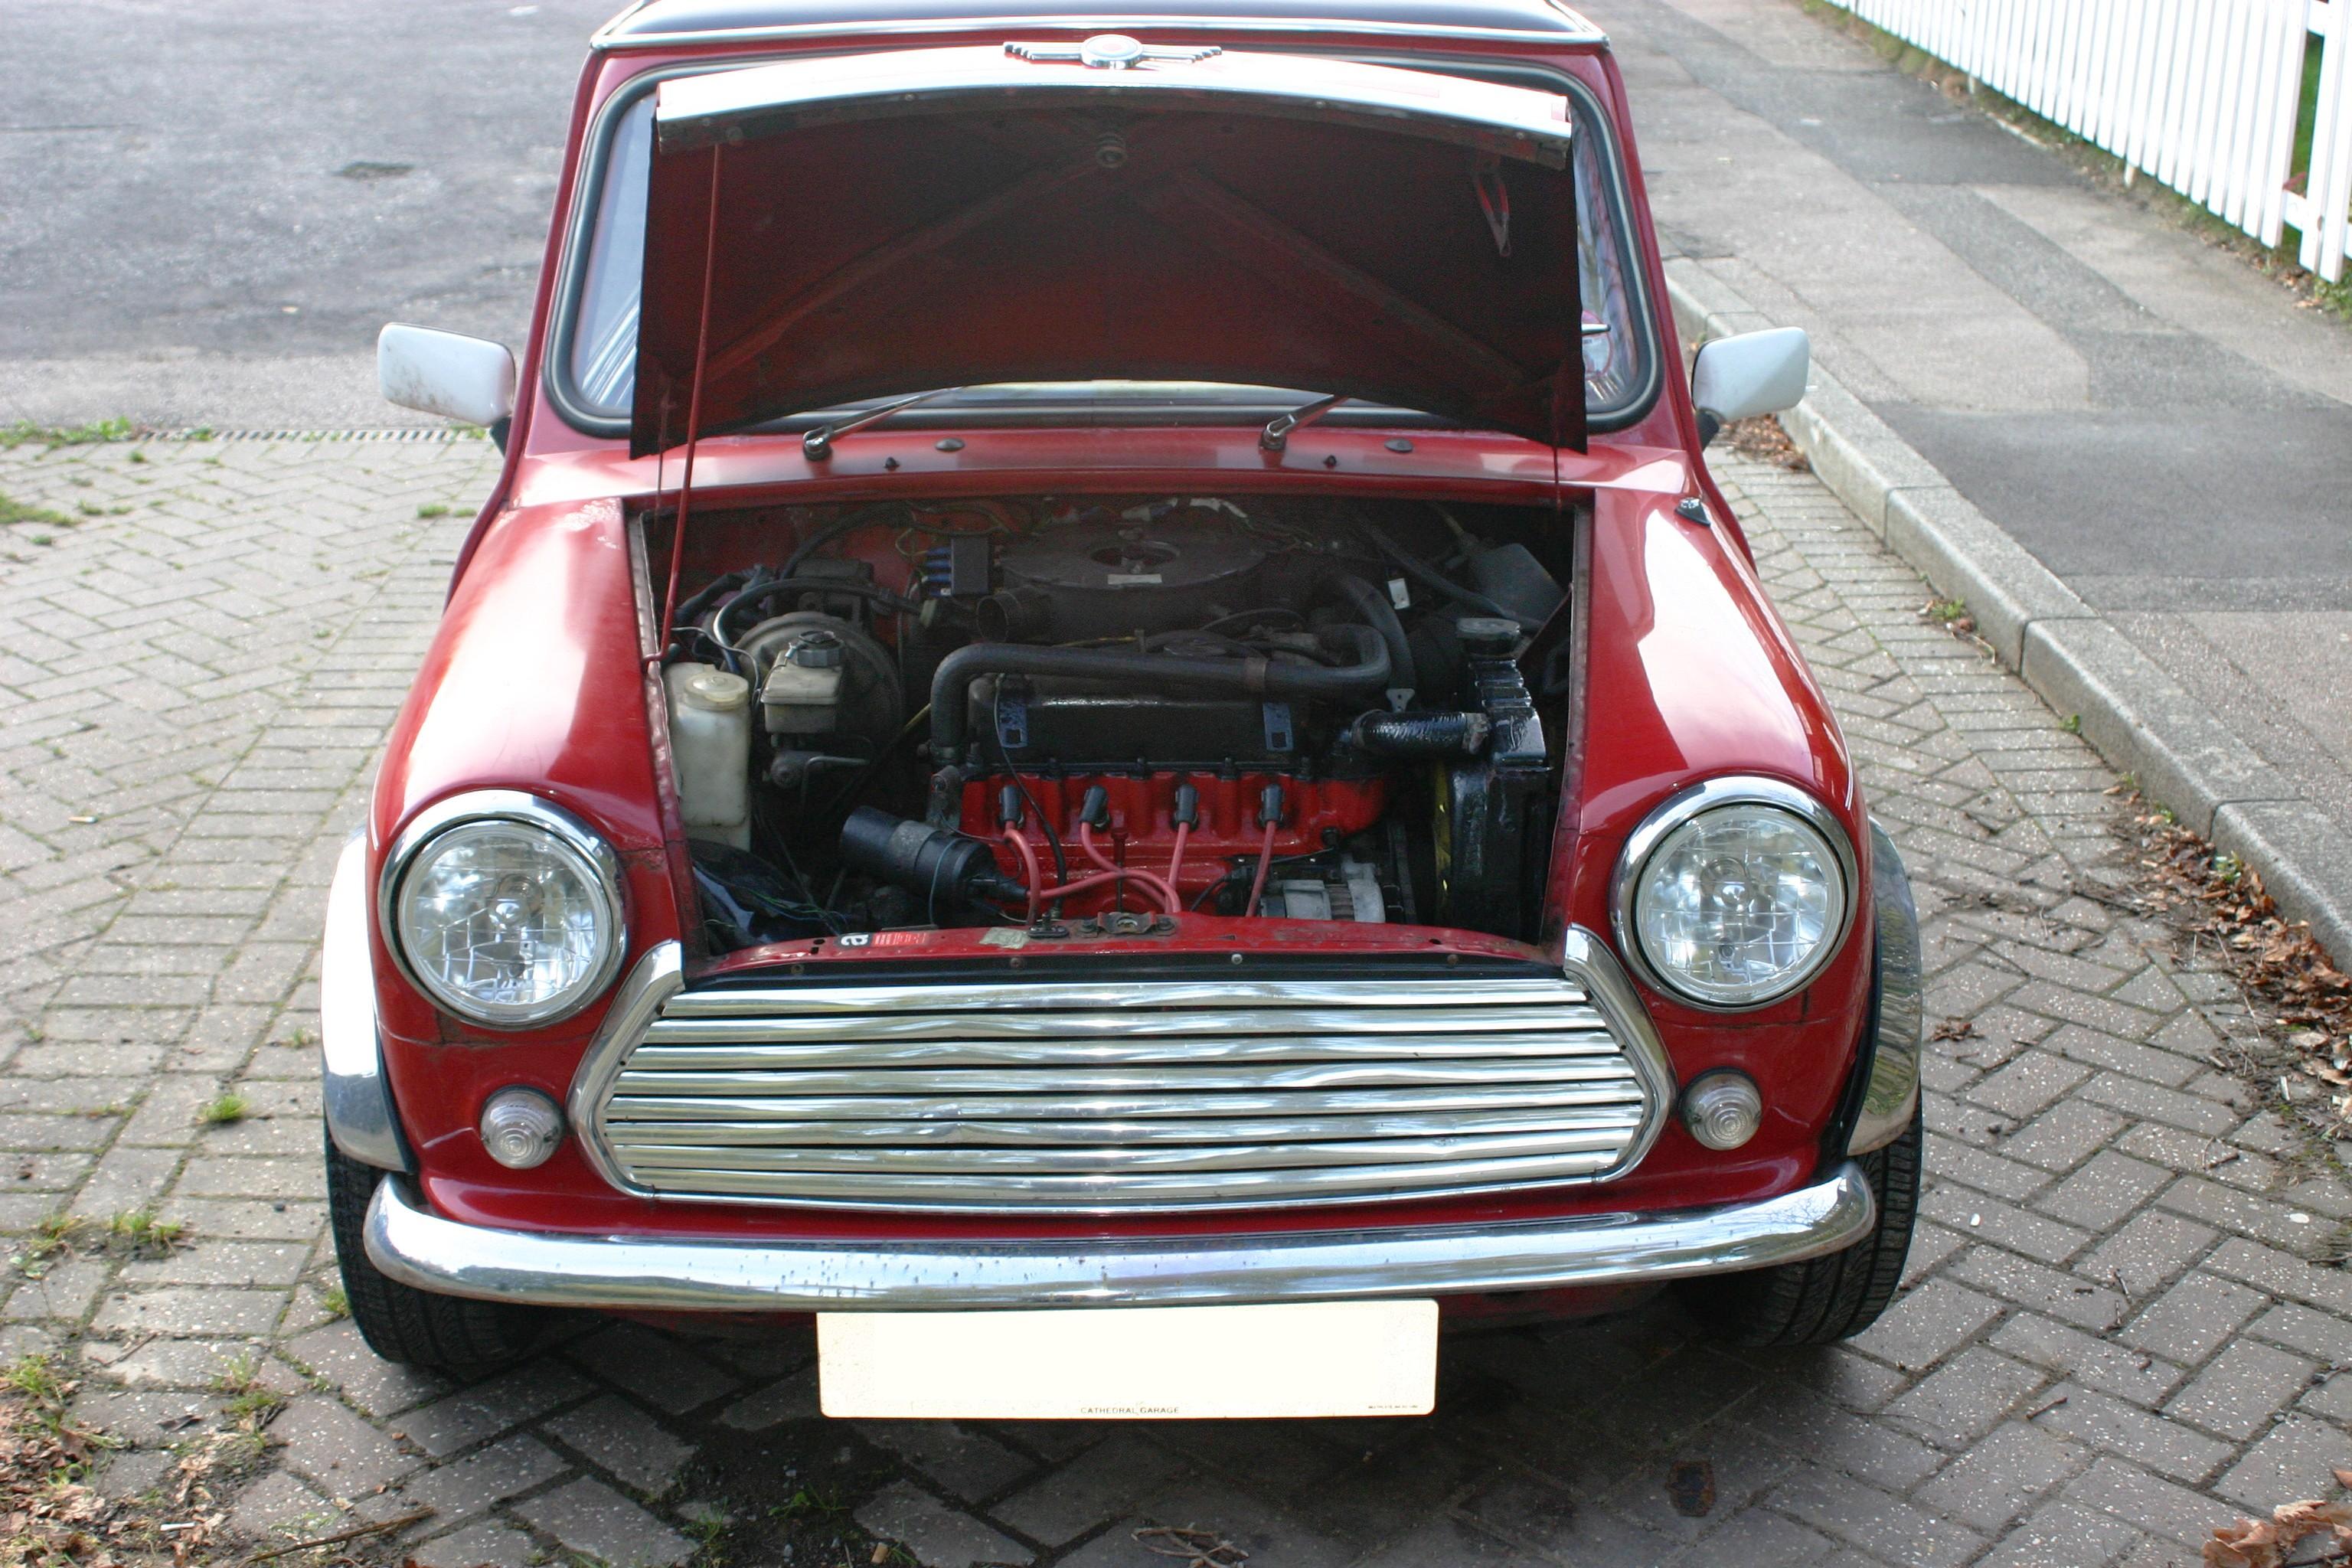
So yesterday I got cracking on taking a few bits off the engine, ready for that to come out (Again sorry for the poor phone pictures)...
First off was the Air box, followed by a rather manky looking carb.
[attachment=141298:IMG_0752.jpg]
Then the inlet and exhaust manifold, I was disturbed by the crud in the inlet manifold


[attachment=141299:IMG_0761.jpg] [attachment=141300:IMG_0763.jpg][attachment=141301:IMG_0764.jpg]
There's always one:


[attachment=141302:IMG_0765.jpg][attachment=141303:IMG_0766.jpg]
Radiator next:
[attachment=141304:IMG_0783.jpg]
It was in a great condition

[attachment=141305:IMG_0771.jpg][attachment=141306:IMG_0772.jpg][attachment=141307:IMG_0773.jpg]
Followed by Coil and Dizzy: (sounds like characters from a kids TV show
 )
)[attachment=141309:IMG_0782.jpg][attachment=141308:IMG_0792.jpg]
Obviously I'm marking wires for future reference, even though I wont use the old coil it won't go in the bin either so I will still be able to reference from it.
Alternator and then the fan (which was just as good but slightly more interesting than the Rad.)
[attachment=141312:IMG_0787.jpg][attachment=141311:IMG_0774.jpg][attachment=141313:IMG_0788.jpg][attachment=141314:IMG_0789.jpg][attachment=141310:IMG_0790.jpg]
Bagged and tagged all removed parts, wrapped them so they are safe. Removed the top rear engine mount, and earth cable, so now the engine rocks... find it makes for easier access when removing the Gearbox Rod steady. Couldn't get the bolt at the bulkhead end out so I just pushed the mount out of the way till I get a punch to it. :doh:
[attachment=141315:IMG_0796.jpg][attachment=141317:IMG_0798.jpg]
Then I had a few errands to run so I called it a day, got some more done today so I'll update once I've transferred pictures
[attachment=141316:IMG_0797.jpg]
BM


